
Home Office Shelving: Get Your Free Desk-Wall Planning Sheet
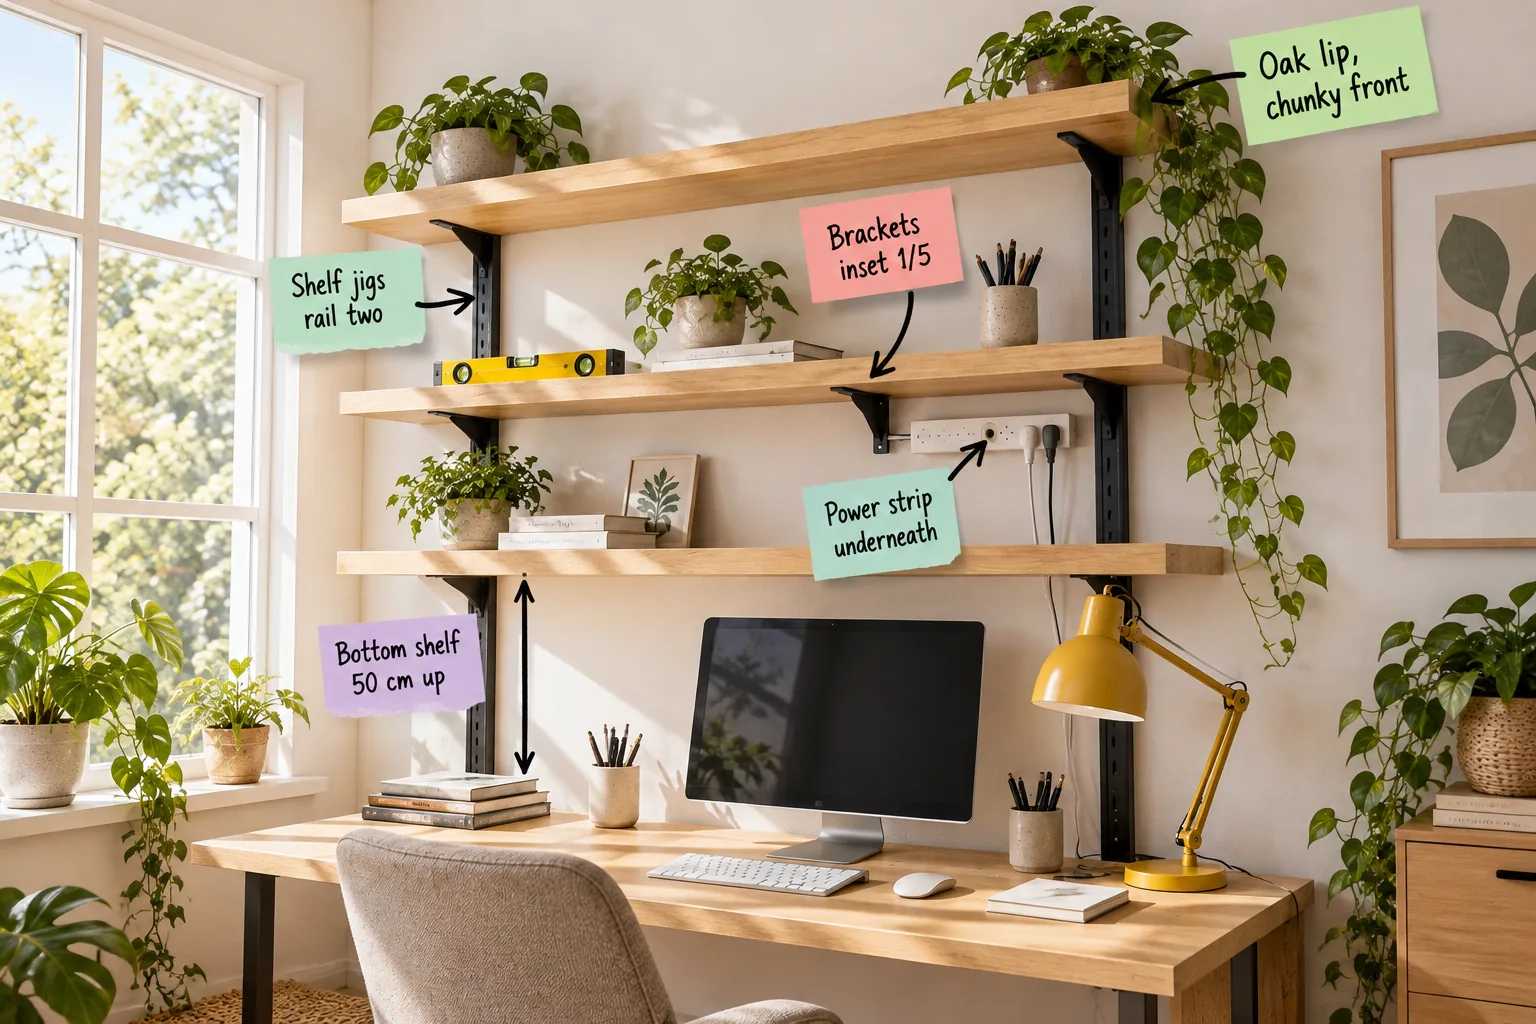
If you are tired of staring at a cluttered workspace, you can easily transform your room by downloading my printable two-page desk-wall shelf planning sheet. You will be able to calculate exact bracket placements, space your wall rails correctly, and install a custom twin-slot system today.
Setting the Bottom Clearance
The most critical measurement for any productive desk wall is establishing the exact gap between your desktop surface and the underside of the lowest shelf. Maintaining a 50 cm vertical clearance provides plenty of room for a standard computer monitor to sit comfortably.
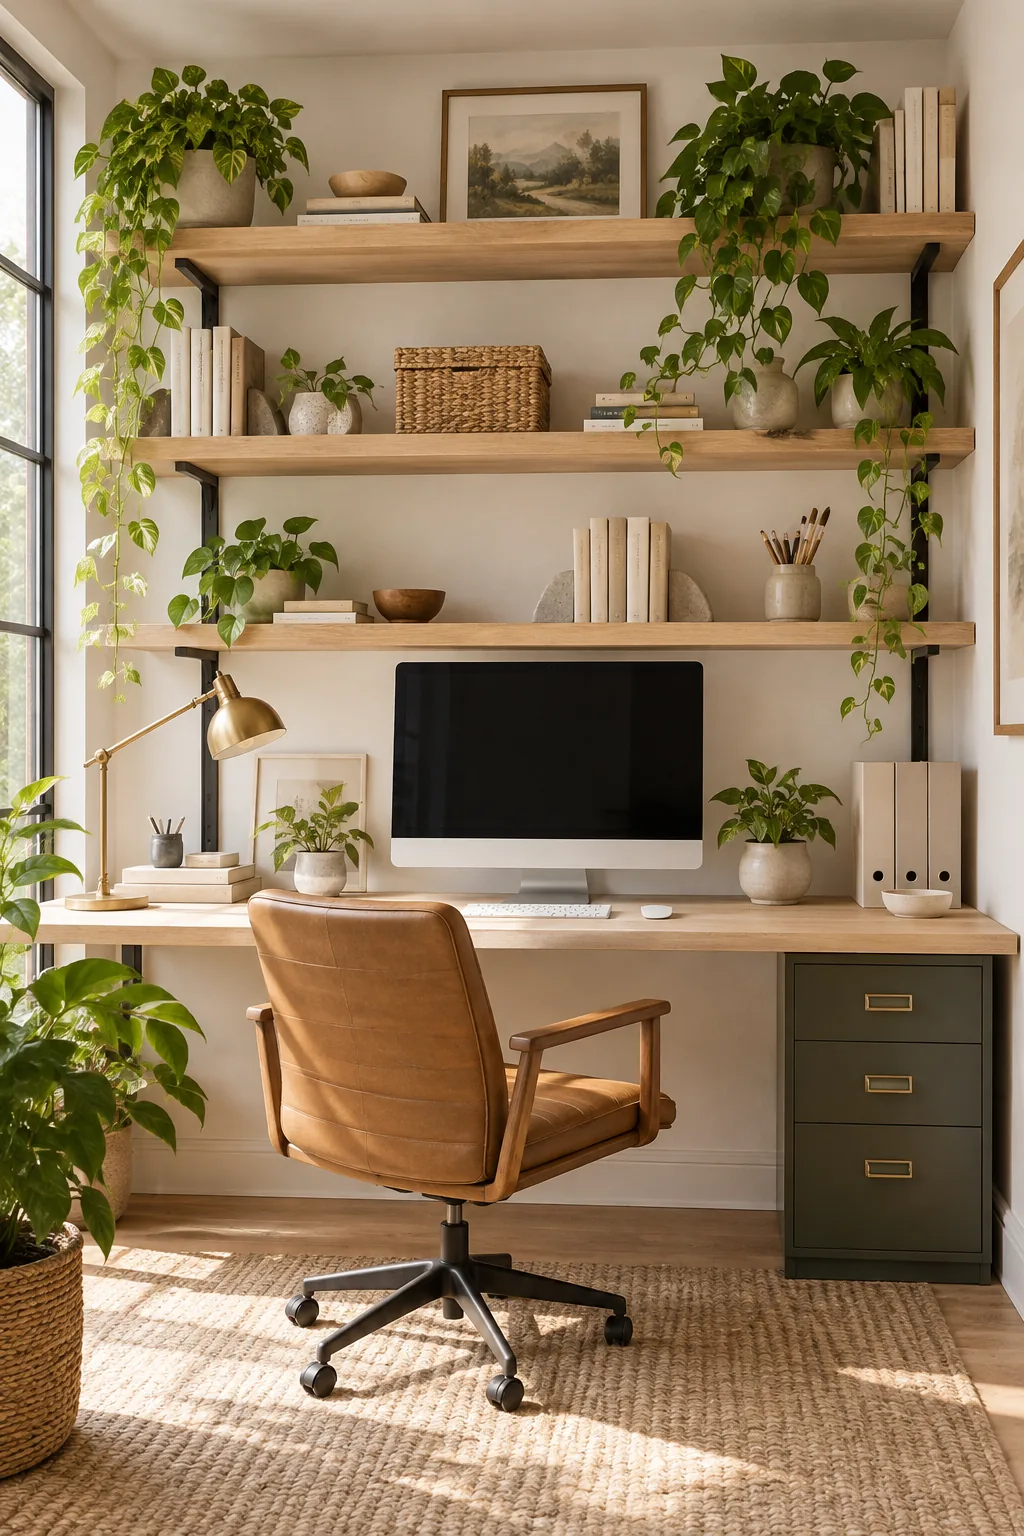
I always recommend this specific height because it keeps your screen from feeling cramped while ensuring the shelf remains easily reachable from a seated position. This ergonomic baseline dictates where every other tier on your wall will ultimately hang.
Spacing the Vertical Uprights
Instead of measuring your wall blindly with a tape measure, you should use the shelf itself as a jig to position the second rail perfectly. This hands-on technique guarantees your twin-slot hardware will align flawlessly without frustrating math errors.
- Secure your first black metal upright into the wall studs using heavy-duty wood screws and a power drill.
- Clip a single bracket into that firmly mounted rail at your preferred working height to act as a pivot.
- Rest your middle wooden shelf directly across that bracket and your loose, unattached second upright.
- Place a slim spirit level on the board to find the exact plumb position before drilling your final holes.
Relying on gravity rather than theoretical measurements ensures perfect horizontal alignment across the entire span of your workspace. This simple trick prevents the metal rails from binding up when you attempt to snap in additional brackets later on.
Calculating the Bracket Inset
During my first Austin home office renovation, I learned that using the shelf board and a spirit level to perfectly position the second upright before drilling saves hours of frustration. Once your rails are set, you must decide exactly where the supports will sit underneath the wood.
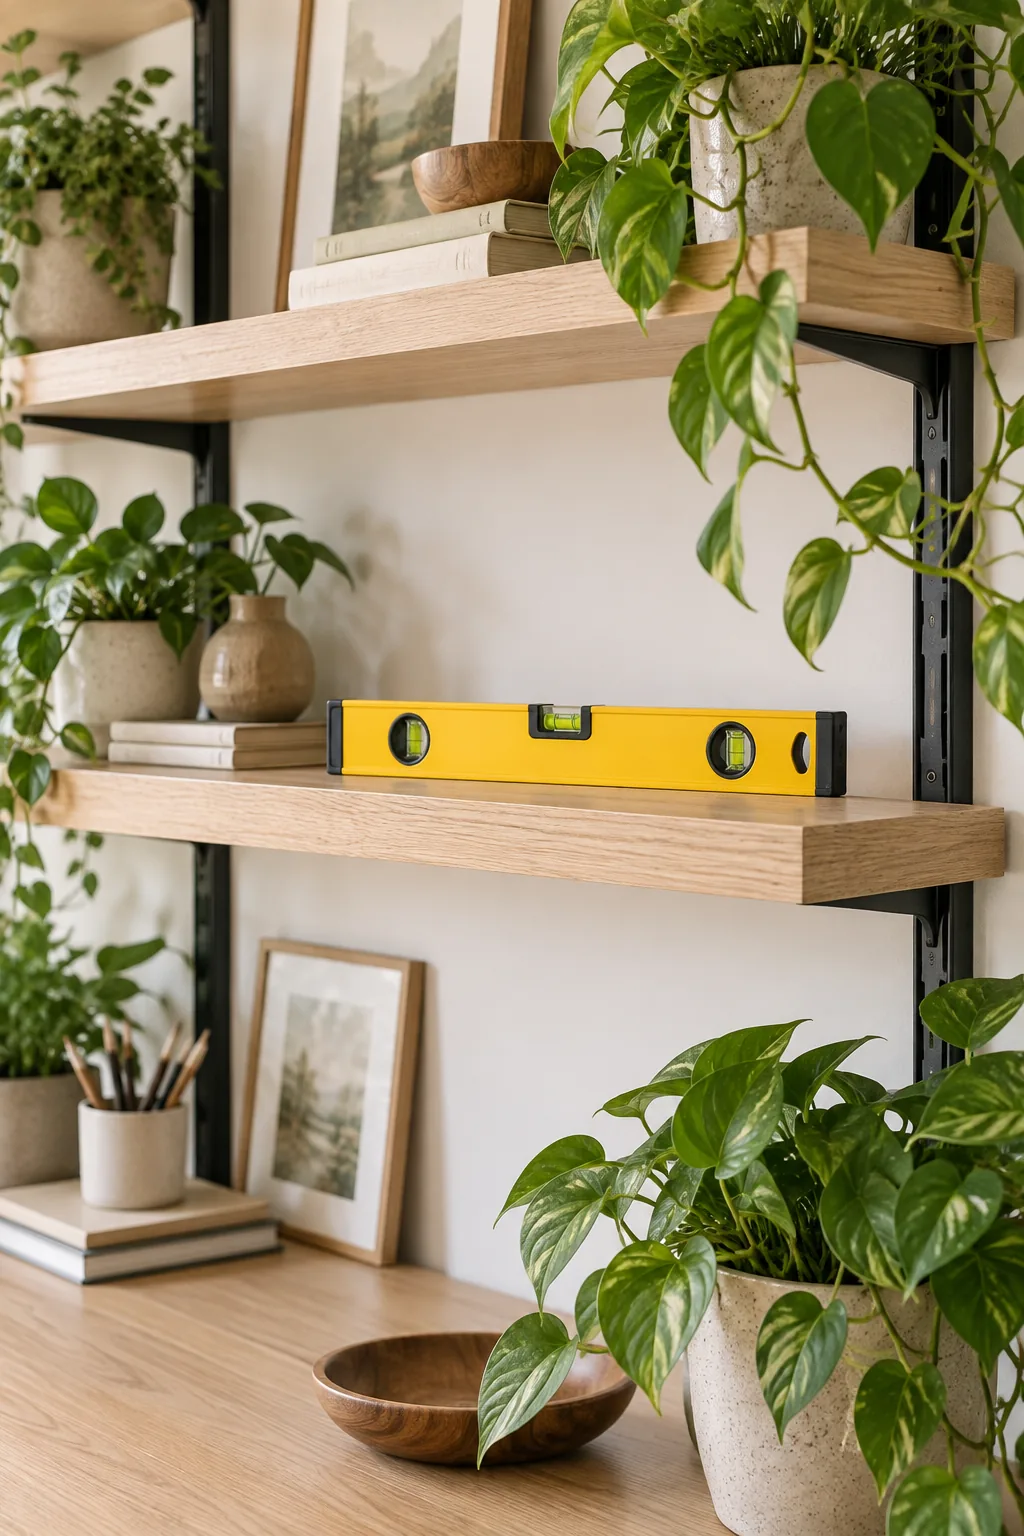
Getting the brackets perfectly symmetrical can be incredibly tricky when you are holding a heavy board overhead.
For the most balanced look, always avoid placing your brackets at the very edges of the boards. You should inset the brackets by 1/5 of the total shelf length from each end to minimize visual bulk and prevent center sagging.
Faking a Thicker Board
Solid, thick oak boards are incredibly expensive and exceptionally heavy to mount on standard residential drywall. Fortunately, you can cheat this premium aesthetic by modifying lighter, more affordable materials right in your own garage or driveway.
You can achieve a high-end look by gluing a deeper solid-oak lip along the front edge of a standard-thickness board. This creates a chunky front profile that drops just below the shelf underside to subtly hide the top of the metal brackets.
Hiding the Power Strip
Setting the brackets exactly one fifth of the way in from the shelf ends creates a beautiful cantilevered effect that balances the visual weight. This strategic placement also leaves the outer edges completely free for clever organizational upgrades.
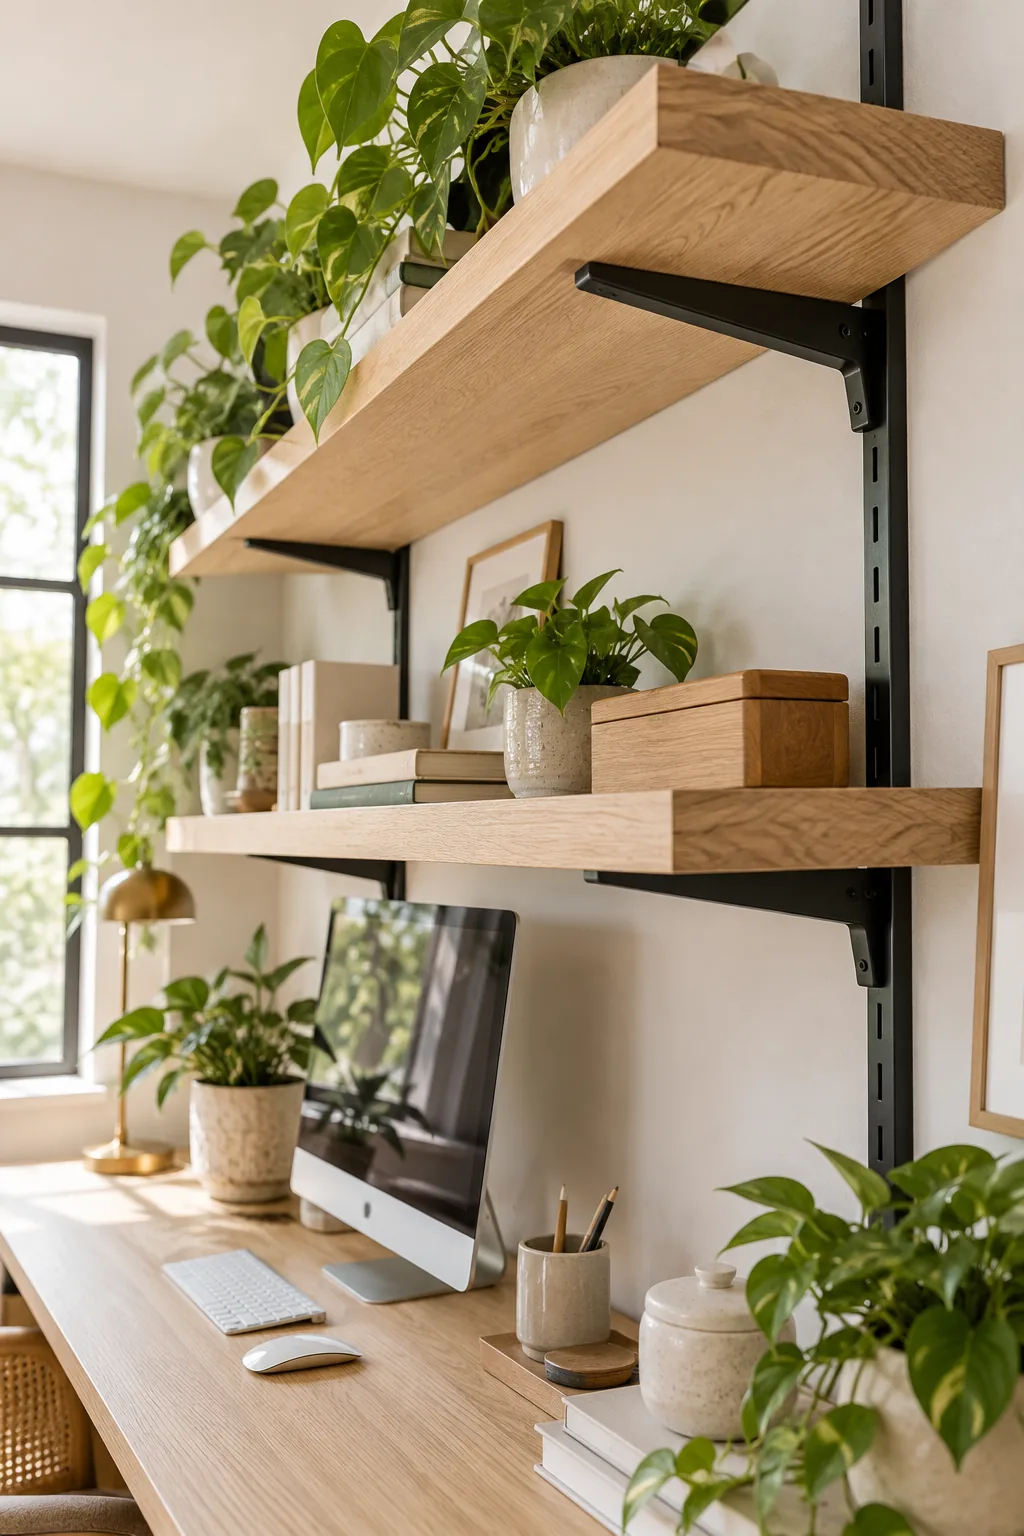
Keep your desktop completely clear of tangled cords by mounting a slim white power strip underneath the lowest shelf. Use short wood screws to secure it safely without piercing the top surface, allowing you to hide your desk lamp cables completely.
Choosing the Right Bracket Depth
Gluing a deeper solid-oak strip to the front edge to create a chunky profile that hides the brackets instantly elevates the entire installation. Once your boards look substantial, you need to ensure they do not overwhelm the room physically.
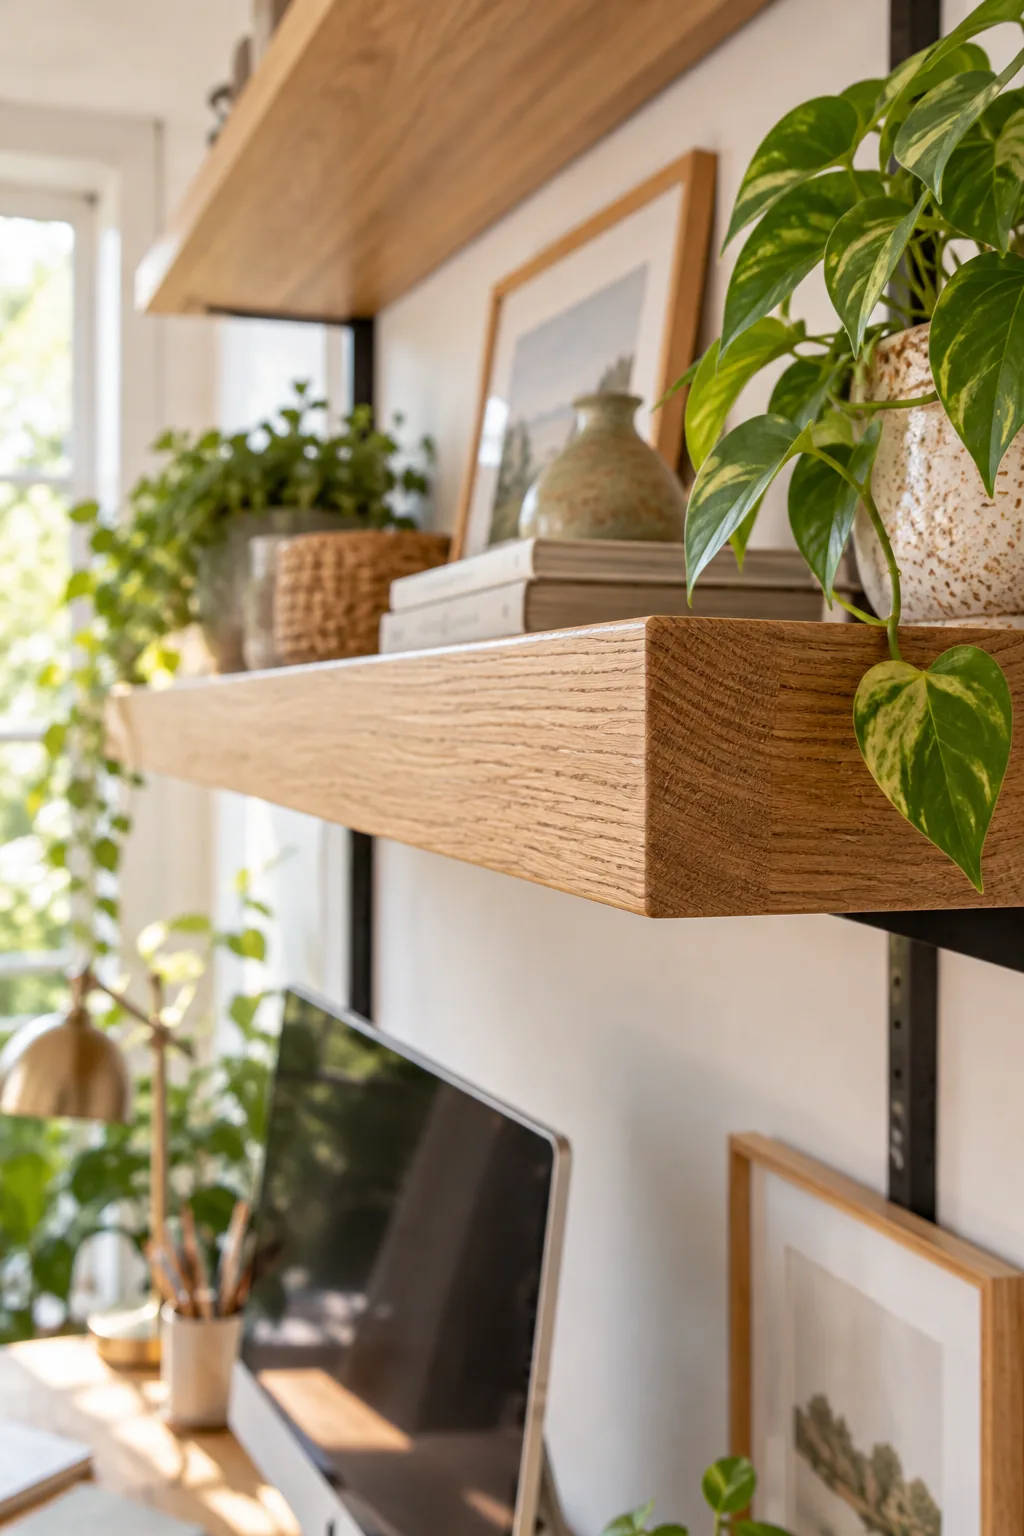
Matching your bracket depth to your specific storage needs prevents shelves from protruding unnecessarily into your limited floor plan. Selecting the correct hardware size keeps your walking paths clear and ensures your books remain safely supported without tipping forward.
| Hardware Depth | Ideal Storage Item | Visual Overhang | Maximum Load |
|---|---|---|---|
| 15 cm | Standard paperbacks | Minimal profile | Light decor only |
| 20 cm | Small potted plants | Balanced look | Medium weight |
| 25 cm | Heavy A4 binders | Substantial shelf | Dense paper stacks |
| 30 cm | Large archive boxes | Deep projection | Maximum capacity |
| 35 cm | Oversized art books | Room-dominating | Requires wall studs |
Determining Weight Limits
The spacing of your vertical uprights directly dictates how much weight the entire system can hold before the wood inevitably begins to bow. Proper rail placement is the single most important factor in building a safe, durable library.
For standard 18 mm board materials, never space the uprights more than 60 cm apart if you plan to store dense stacks of paper. Keeping the rails tightly grouped ensures your shelves remain perfectly flat for decades.
5 Ways to Style Twin-Slot Shelving
Find the perfect aesthetic for your workspace with these distinct shelf styling ideas.
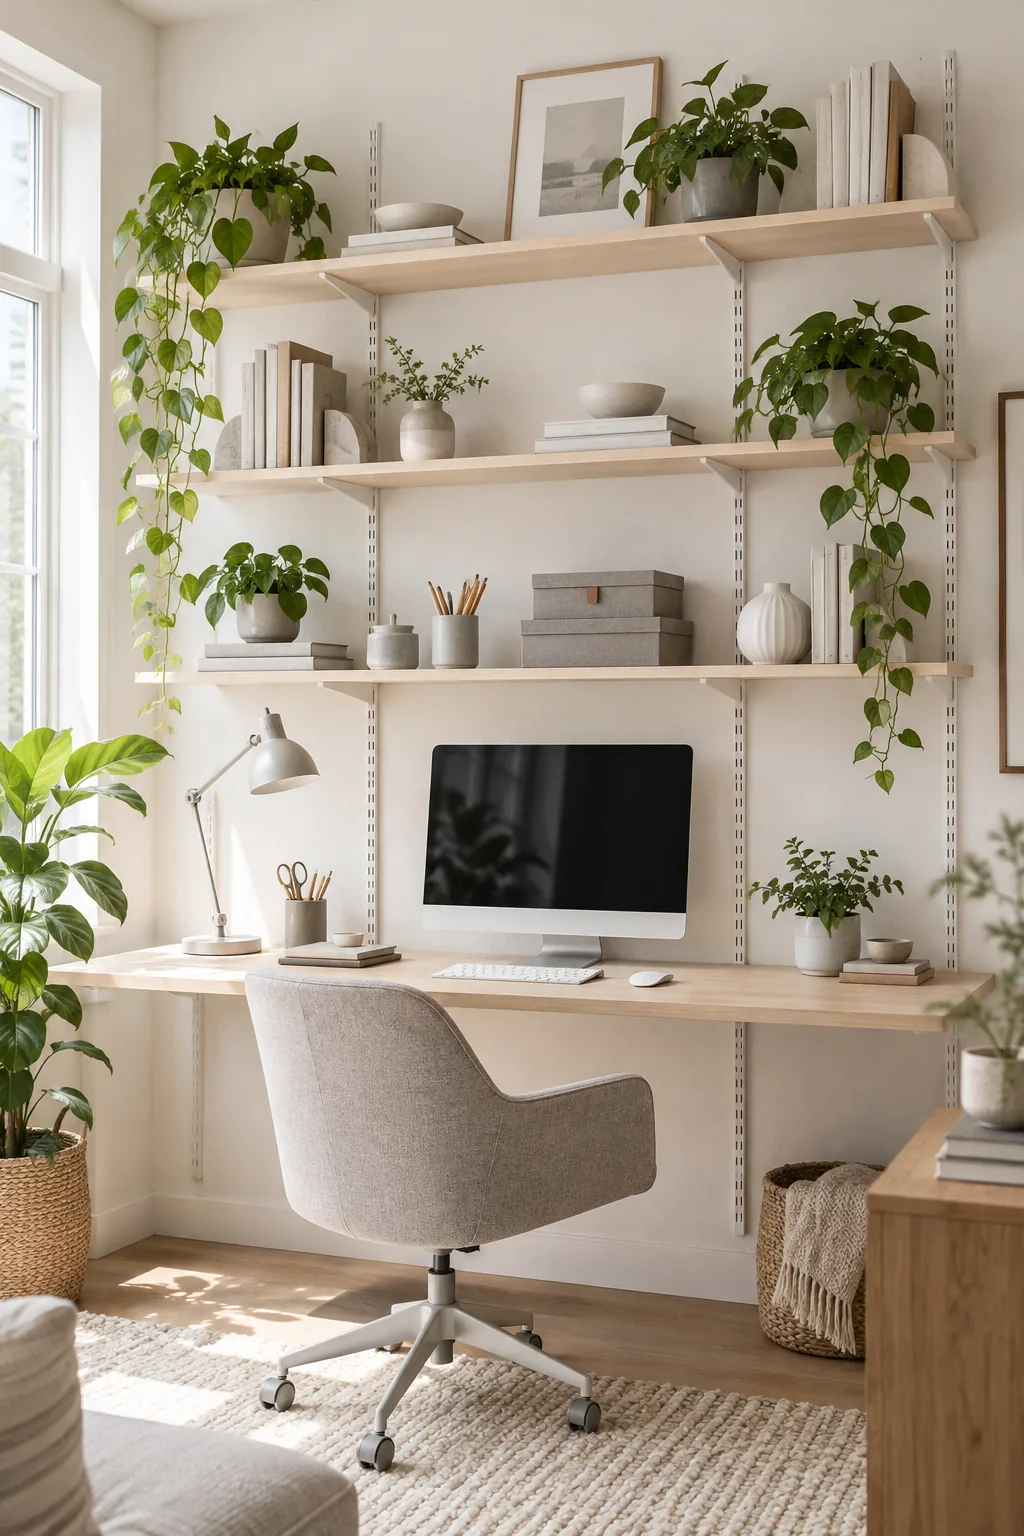
Minimalist Scandi Plywood: White rails and pale birch plywood keep the room feeling airy, while exposed ply edges add a subtle architectural detail.
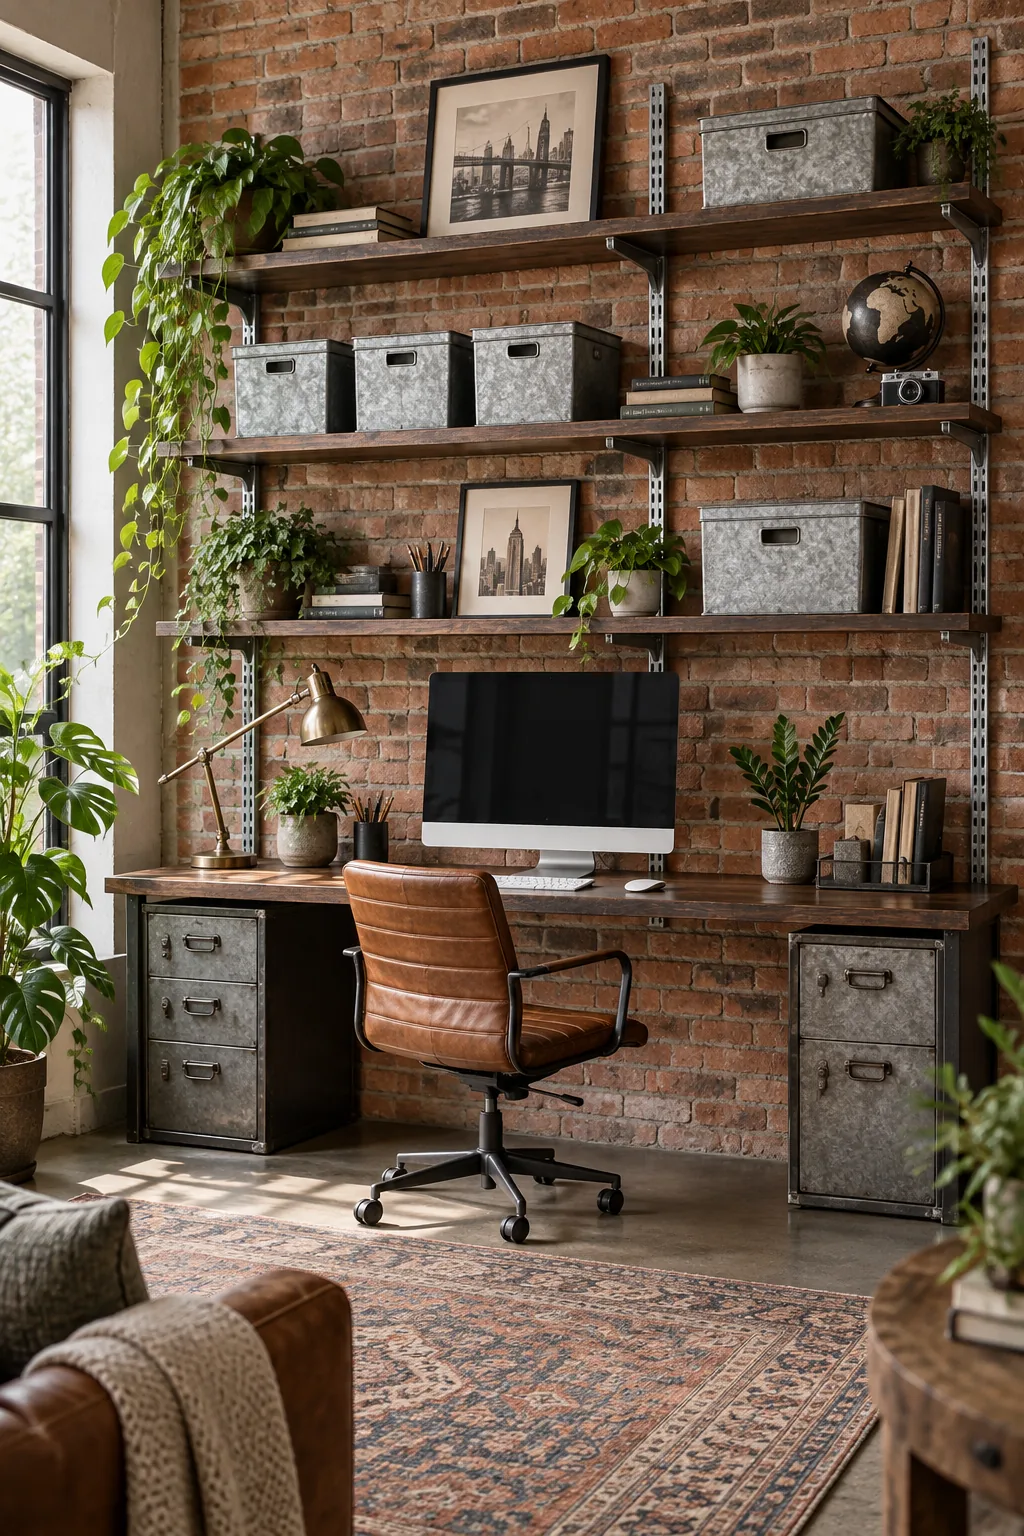
Industrial Loft Walnut: Raw steel hardware paired with rich, dark walnut boards brings warmth and texture to an exposed brick workspace.
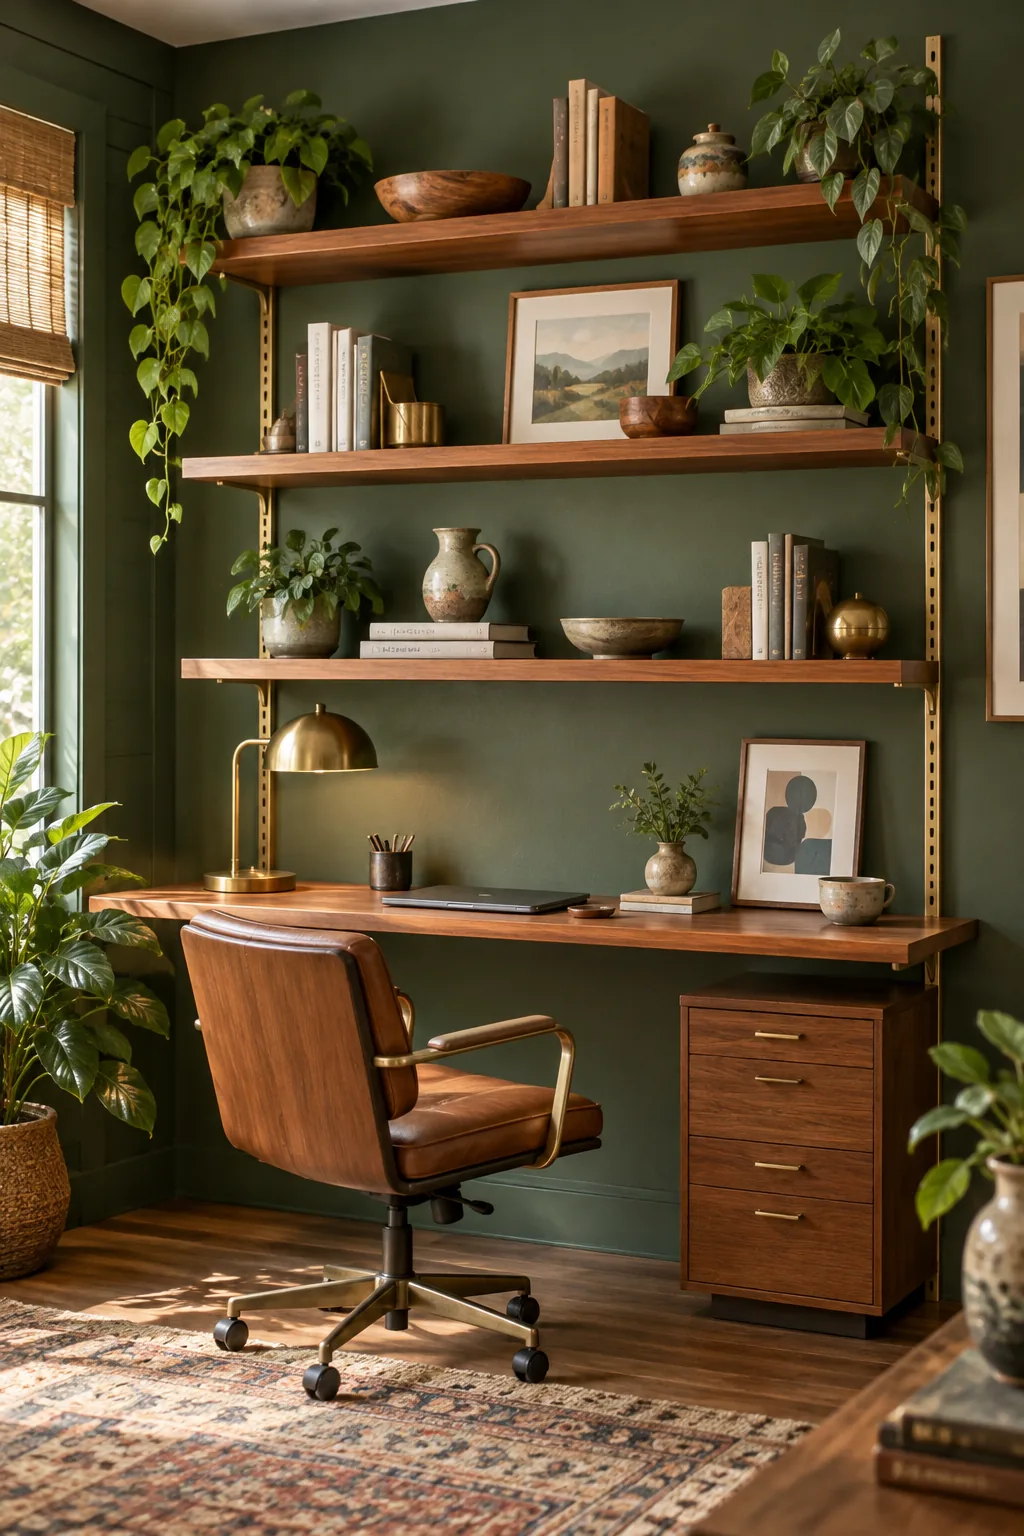
Mid-Century Modern Teak: Elevate basic hardware by spraying the rails a muted brass tone to complement the rich, reddish hues of teak wood.
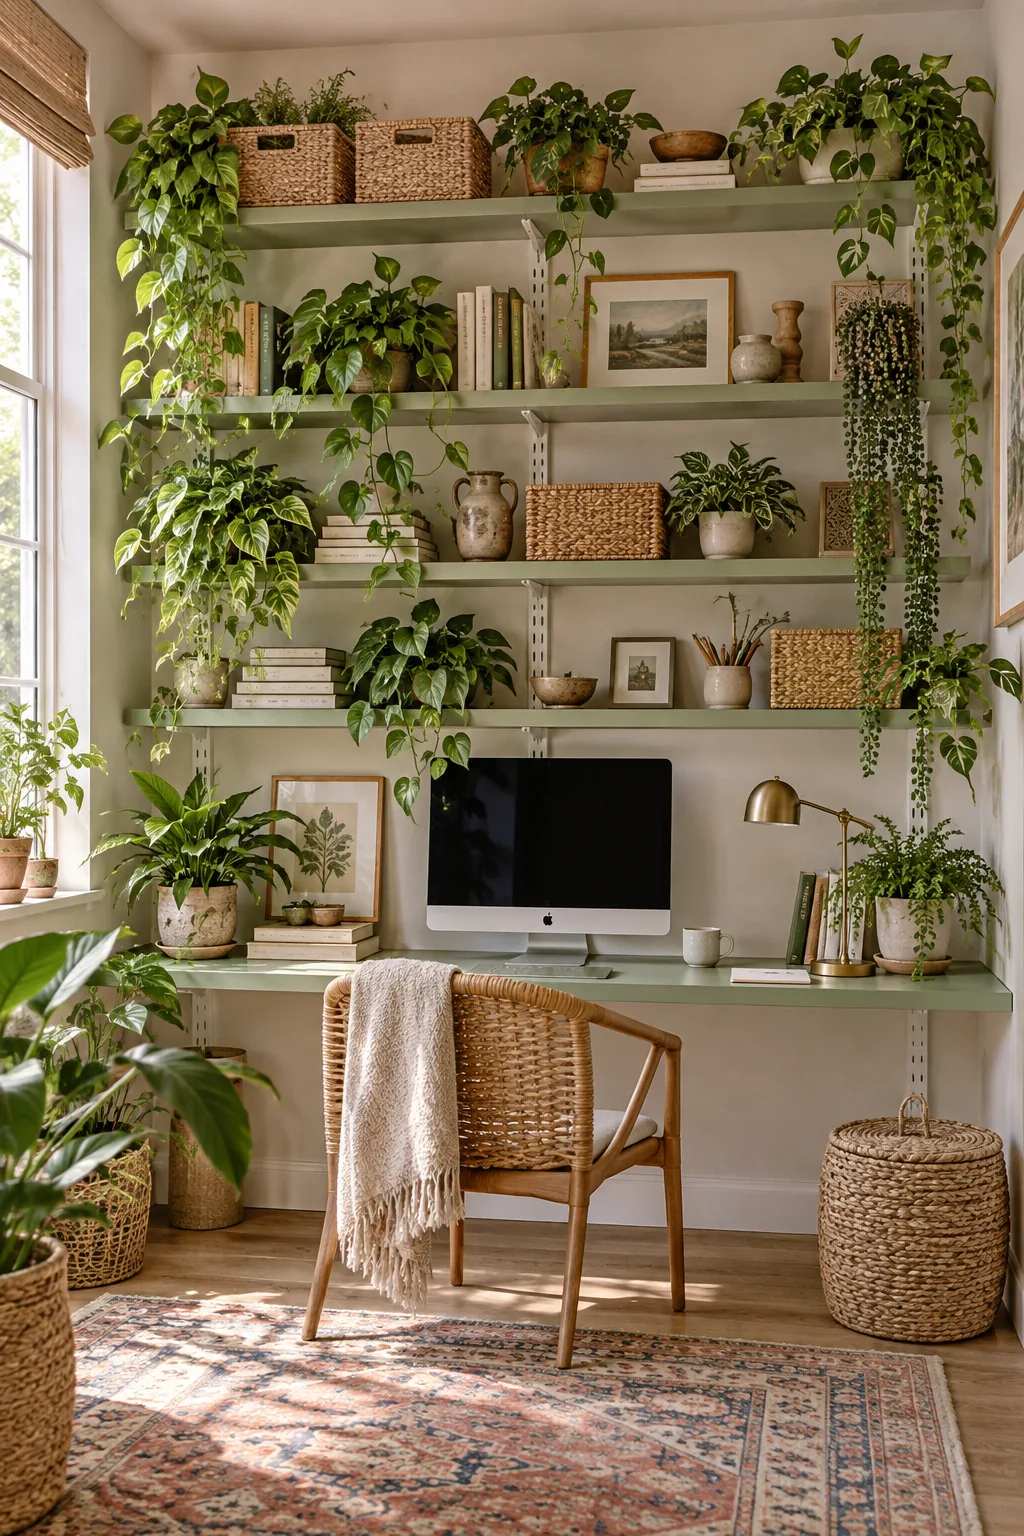
Bohemian Painted Pine: Painting inexpensive pine boards in a soft sage green creates a beautiful, earthy backdrop for an abundance of trailing plants.
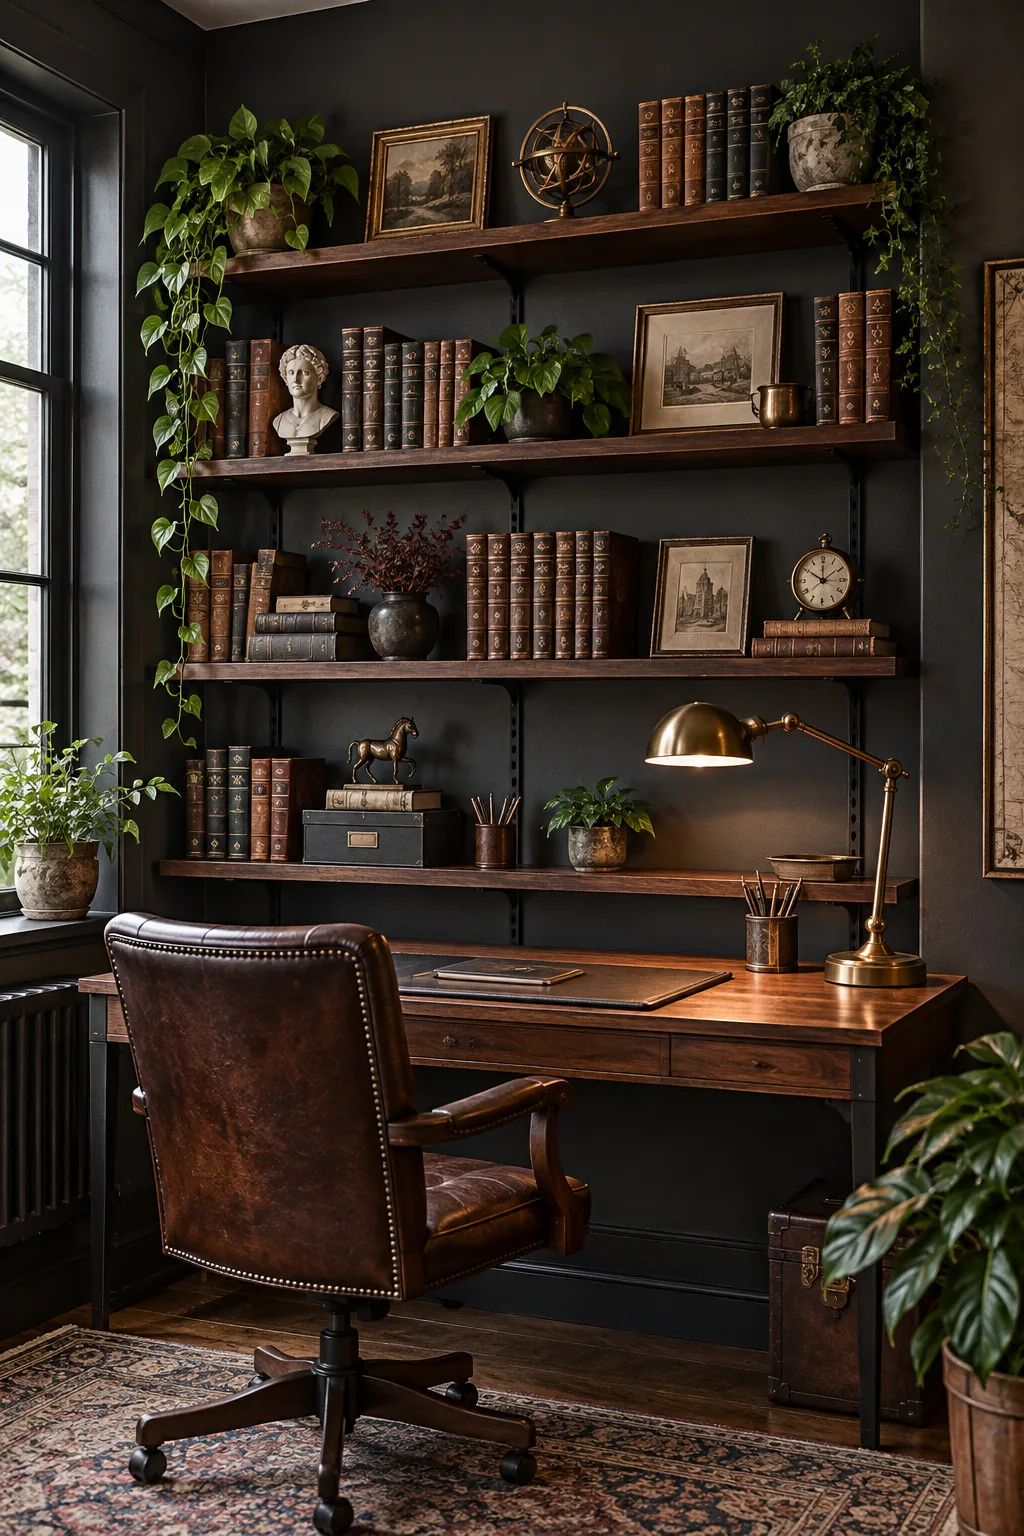
Dark Academia Mahogany: Black hardware disappears against charcoal walls, allowing the rich mahogany shelves and antique book spines to stand out beautifully.
The Desk-Wall Shelf Planning Sheet
Designing my own Austin studio taught me that the cohesive, organized result achieved by using a planning sheet for heights and depths is worth the initial effort. Mapping out every dimension beforehand prevents costly mistakes and wasted materials.
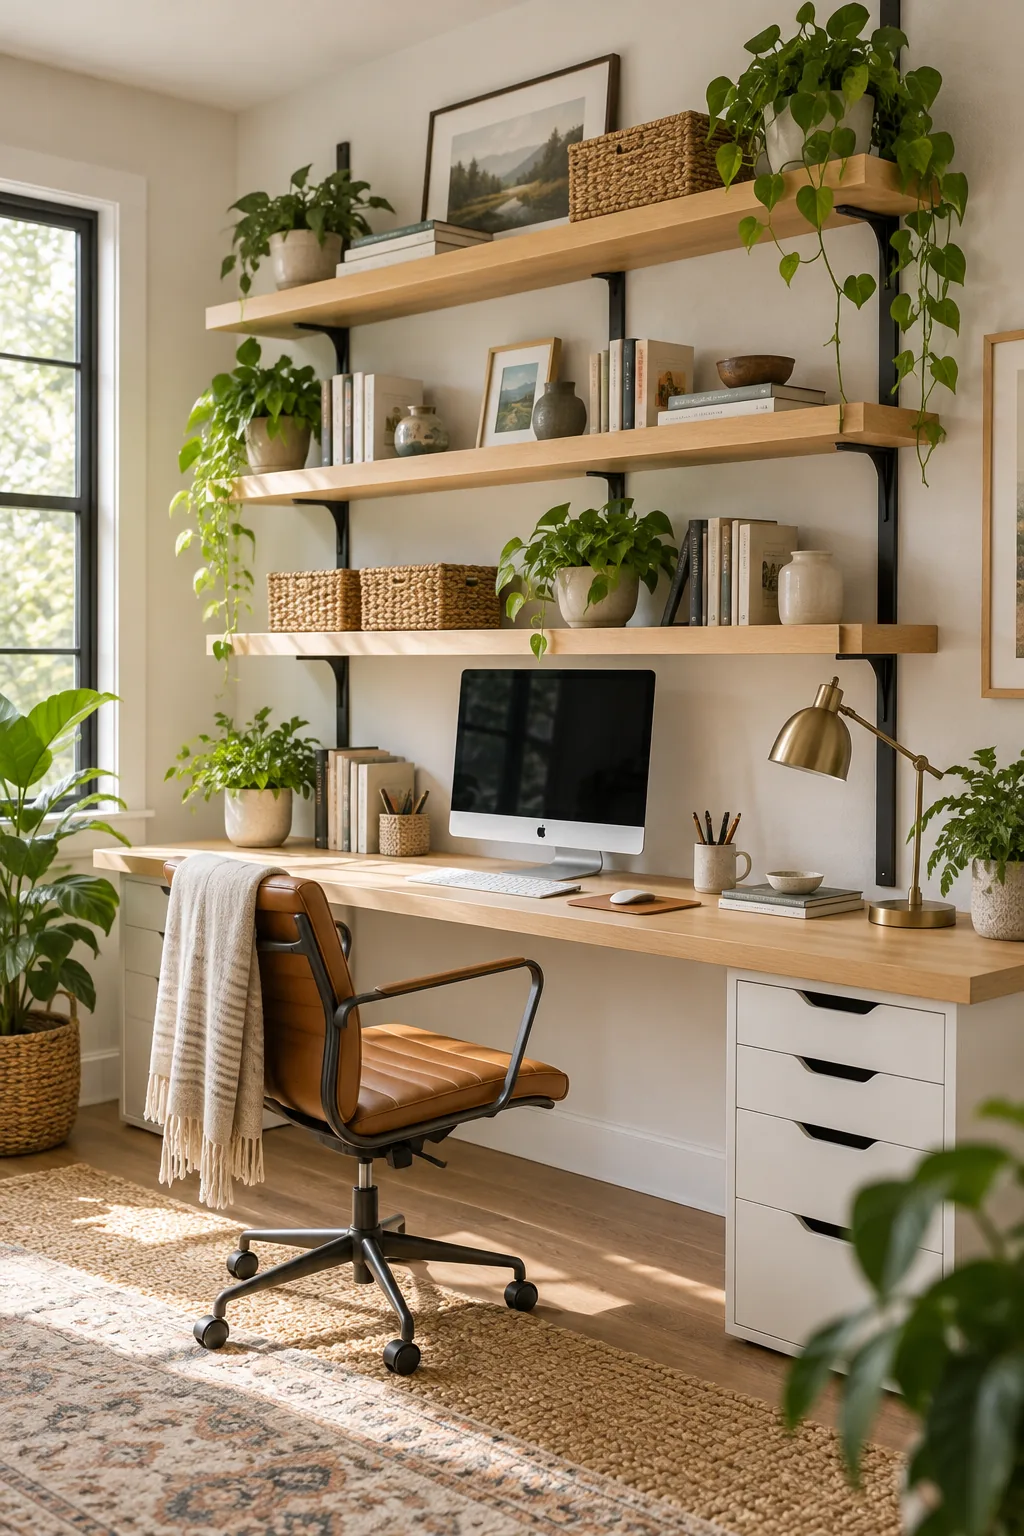
Eliminate the guesswork before you drill a single hole with our printable two-page desk-wall shelf planning sheet. It includes a complete reference table for matching bracket depths to common office items and a worksheet to calculate exact heights above your desktop.