Cabinet Door Tune-up: Adjust Hinges for a Perfect Soft Close
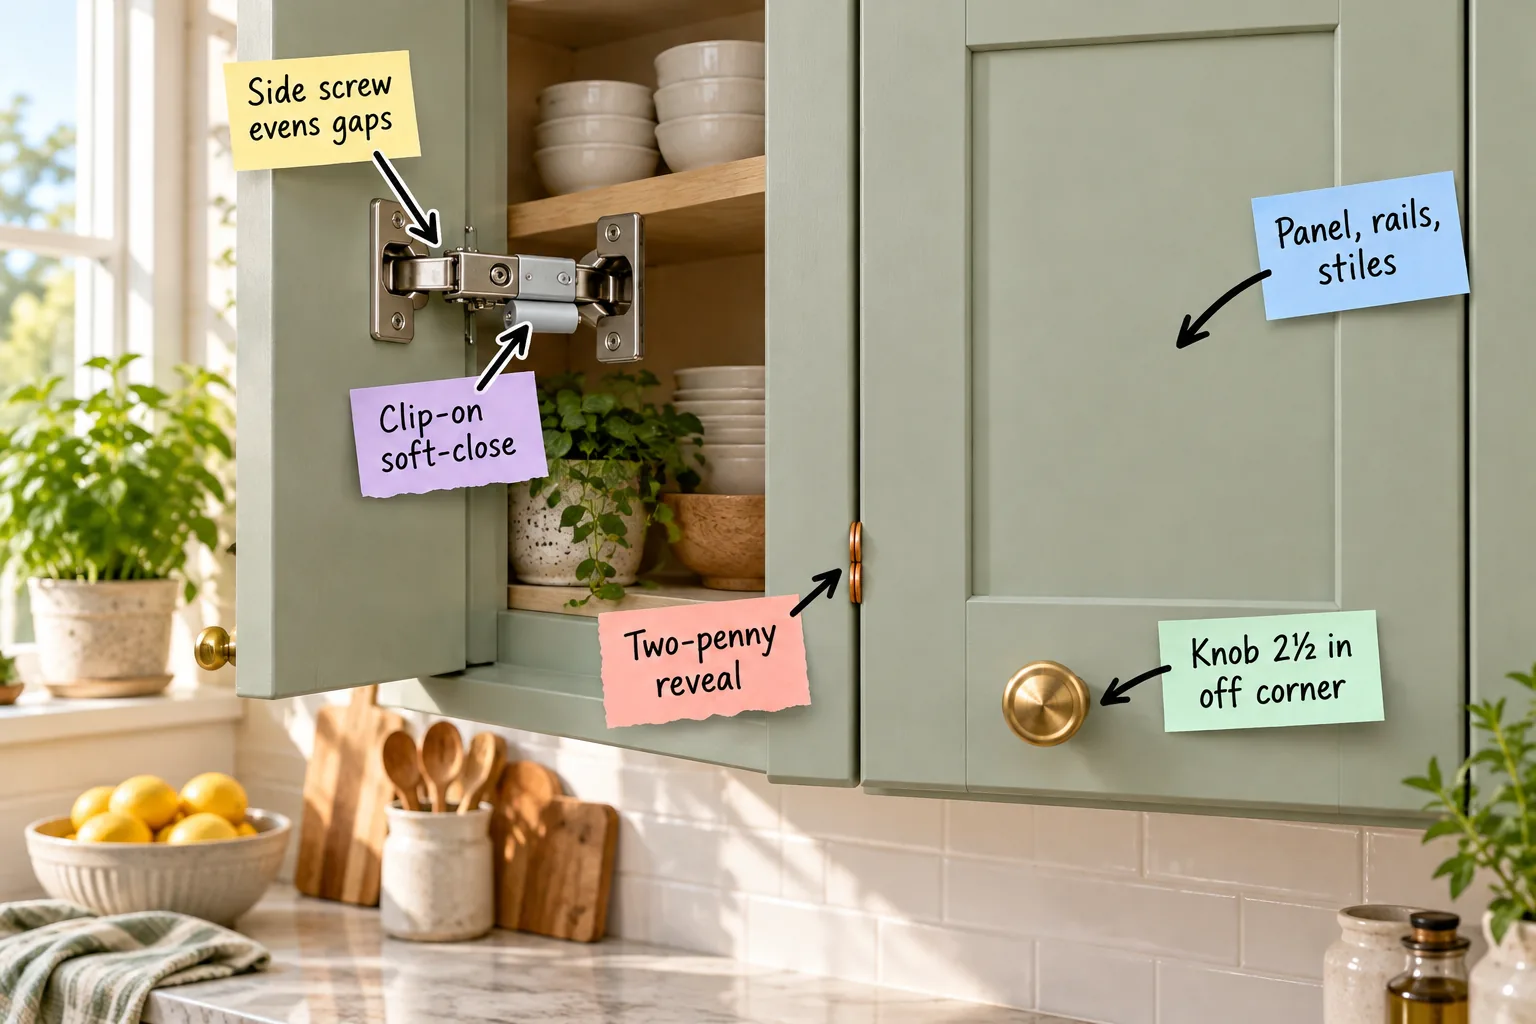
Stop slamming those kitchen cabinets and grab your printable Cabinet Door Tune-Up Sheet to perfectly align hinges, fix uneven gaps, and achieve a silent close. You will be able to align your cabinet doors, silence their close, and place your hardware perfectly using our step-by-step printable reference sheet.
Anatomy of a Classic Shaker Door
Defining the physical structure of the cabinet face starts with understanding how the recessed center panel sits securely within the surrounding frame. This timeless design relies on vertical stiles and horizontal rails to create a sturdy, warp-resistant door that looks beautiful in any kitchen.
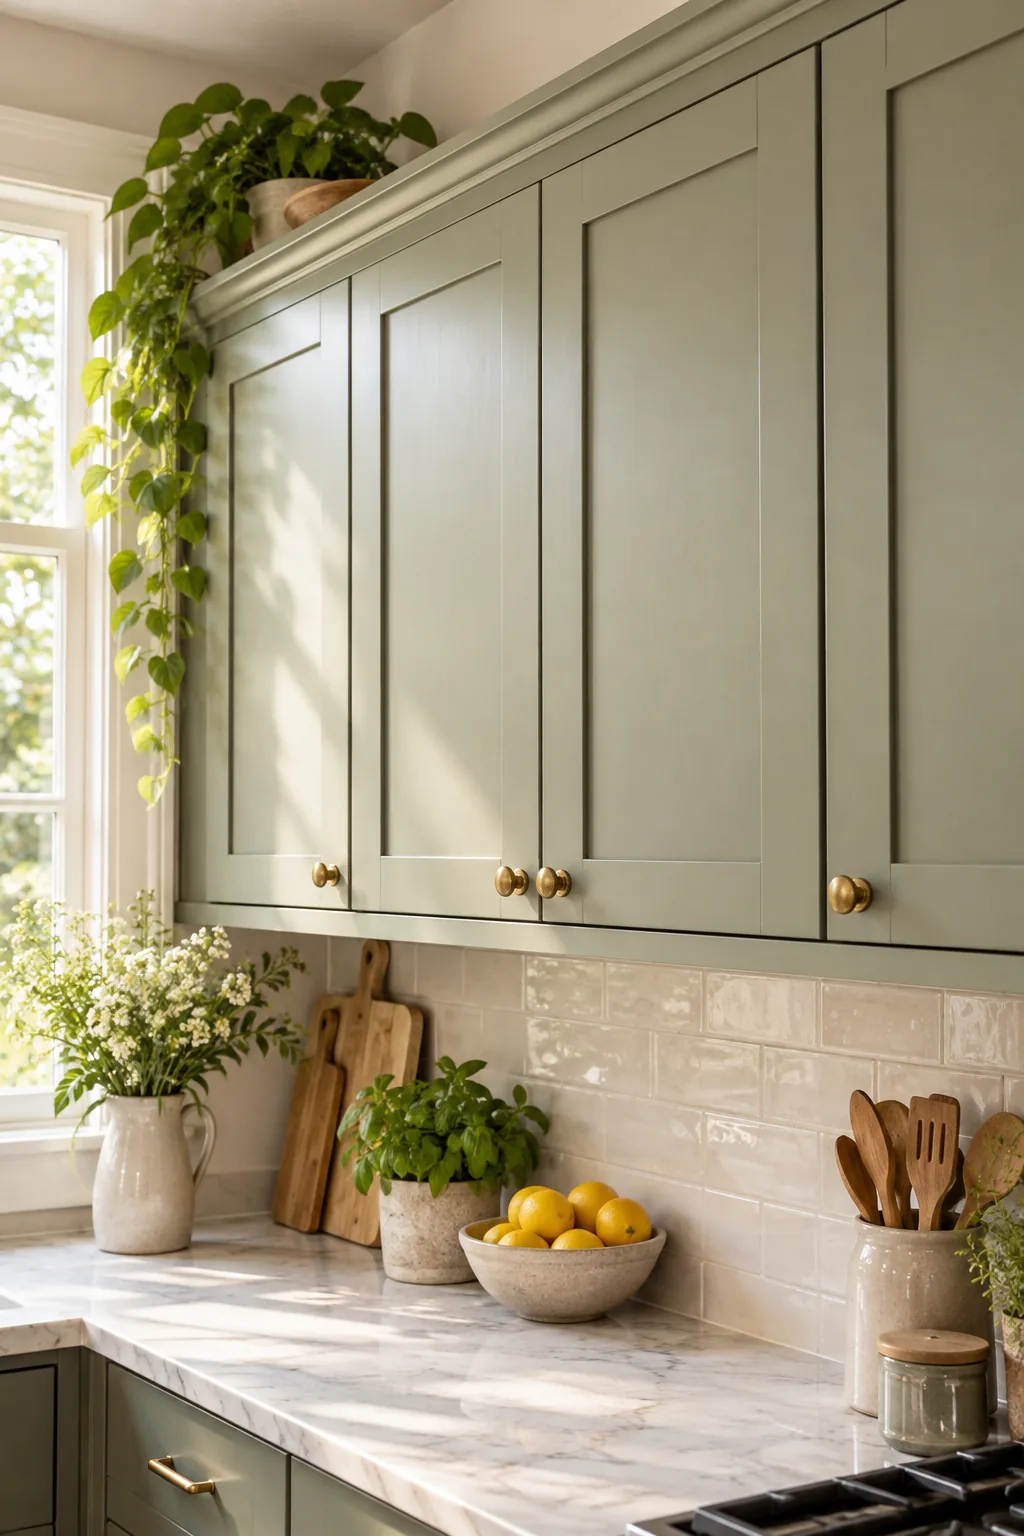
The width of those vertical stiles directly dictates your hardware scale, ensuring that your chosen knobs or pulls look perfectly proportioned against the wood. Taking accurate measurements across the panel, rails, stiles guarantees that your hardware placement remains visually balanced.
Removing Old Hardware Safely
Before starting any tune-up or painting project, carefully backing out the old screws prevents you from accidentally stripping the delicate threads. Storing your original hinges and screws in a labeled plastic bag ensures you never lose a crucial mounting plate during the renovation process.
Protecting Your Hinges from Paint
Taking the time to completely remove the doors from their hinges is always better than trying to mask off the intricate metal joints with tape. Paint that seeps into the delicate hinge hydraulics will permanently ruin the soft-close mechanism and force you to buy replacements.
Cleaning the Wood Surface
Scrubbing the cabinet doors with a powerful degreaser removes years of invisible cooking oils that would otherwise prevent your primer from bonding properly. Rinsing the wood with a damp cloth afterward neutralizes the cleaner and leaves a pristine, ready-to-paint surface behind.
Filling Unwanted Drill Holes
If you are changing your hardware layout, packing the old holes with a high-quality wood filler creates a solid foundation for your fresh paint. Overfilling the hole slightly allows the filler to shrink as it dries, ensuring a perfectly flush surface once you sand it flat.
Identifying Your Wood and Finish
Before you even think about painting or drilling, identifying your specific cabinet material helps you choose the right preparation method for a lasting finish.
- Solid maple: Offers a tight, smooth grain that takes paint beautifully without requiring heavy grain fillers.
- Red oak: Features deep, prominent grain patterns that require a dedicated pore-filling primer for a factory-smooth finish.
- MDF panels: Provide an impeccably flat surface but demand a high-quality, solvent-based primer to prevent moisture swelling along the edges.
Taking the time to properly assess your door materials ensures that your final painted finish remains durable and perfectly smooth for years to come.
Choosing the Right Primer
Applying a high-bonding primer creates a crucial barrier that prevents natural wood tannins from bleeding through your fresh paint and ruining the color. Using a stain-blocking primer on raw wood guarantees that your final topcoat stays vibrant and completely free of yellow streaks over time.
The Flawless Paint Sequence
Measuring 2.5 inches from the corner for centered knob placement is much easier when you start with a beautifully prepped and painted surface.
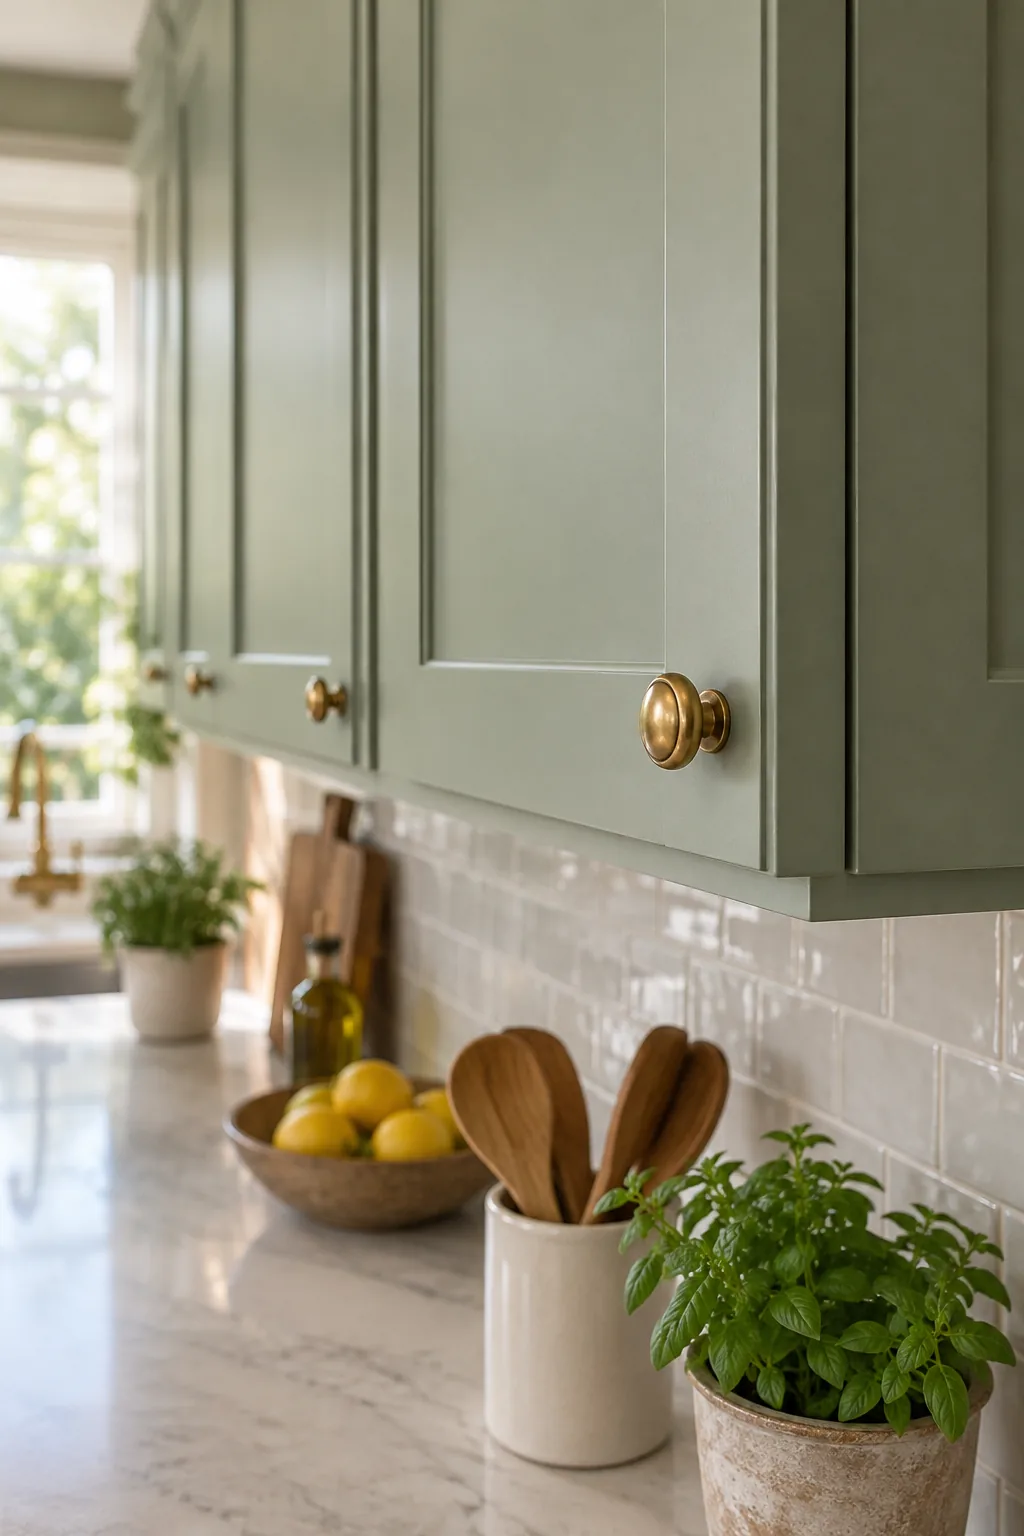
Before drilling for hardware or mounting hinges, achieving a factory-smooth finish requires working with the door’s natural construction rather than fighting it.
Sanding Between Coats
Lightly scuffing the primed surface with a 320-grit sanding sponge knocks down raised wood fibers and guarantees a flawless topcoat adhesion. Wiping the dust away with a slightly damp tack cloth leaves the surface perfectly clean and ready for your final layers of paint.
Choosing the Best Paint Finish
Selecting a high-quality cabinet enamel with a satin or semi-gloss finish provides the perfect balance of a beautiful sheen and ultimate durability. These harder finishes resist daily fingerprints and allow you to easily wipe away kitchen splatters without scrubbing off the actual paint color.
Curing Time for Painted Cabinets
While cabinet paint might feel dry to the touch within a few hours, it requires at least a full week to completely cure and harden. Gently handling the doors by their edges during reinstallation prevents you from accidentally denting the fresh finish before it reaches maximum strength.
Prepping for Hardware Installation
Using a simple plastic drilling template eliminates the guesswork and ensures every single knob lands in the exact same spot across your entire kitchen. Aligning the template firmly against the corner of the stile guarantees that your hardware placement remains perfectly uniform on every door.
Positioning Knobs for Easy Reach
The standard measurement for modern hardware placement dictates centering the warm brass knob perfectly on the vertical stile for a balanced look.
| Door Type | Vertical Placement | Horizontal Placement |
|---|---|---|
| Upper Cabinets | 2½ inches up from bottom corner | Centered on vertical stile |
| Lower Cabinets | 2½ inches down from top corner | Centered on vertical stile |
| Drawer Fronts | Centered vertically | Centered horizontally |
Measuring exactly 2½ inches off the corner keeps the hardware within easy reach while maintaining a balanced, professional aesthetic across the entire room.
Selecting the Right Drill Bit
Always chuck a sharp 3/16-inch brad-point drill bit into your drill to create a clean, splinter-free hole for your cabinet hardware screws. The sharp center point prevents the bit from wandering across the painted wood, ensuring your knob sits exactly where you marked it.
Reattaching the Mounting Plates
When reinstalling your painted doors, driving the screws back into their original holes by hand prevents you from accidentally stripping the wood with a power drill. Ensuring the mounting plate sits perfectly flush against the cabinet frame provides a solid baseline before you begin the final alignment process.
Checking Gaps with the Two-Penny Reveal
The simplest method for checking cabinet alignment involves stacking two standard pennies edge-on in the narrow vertical gap between closed doors.
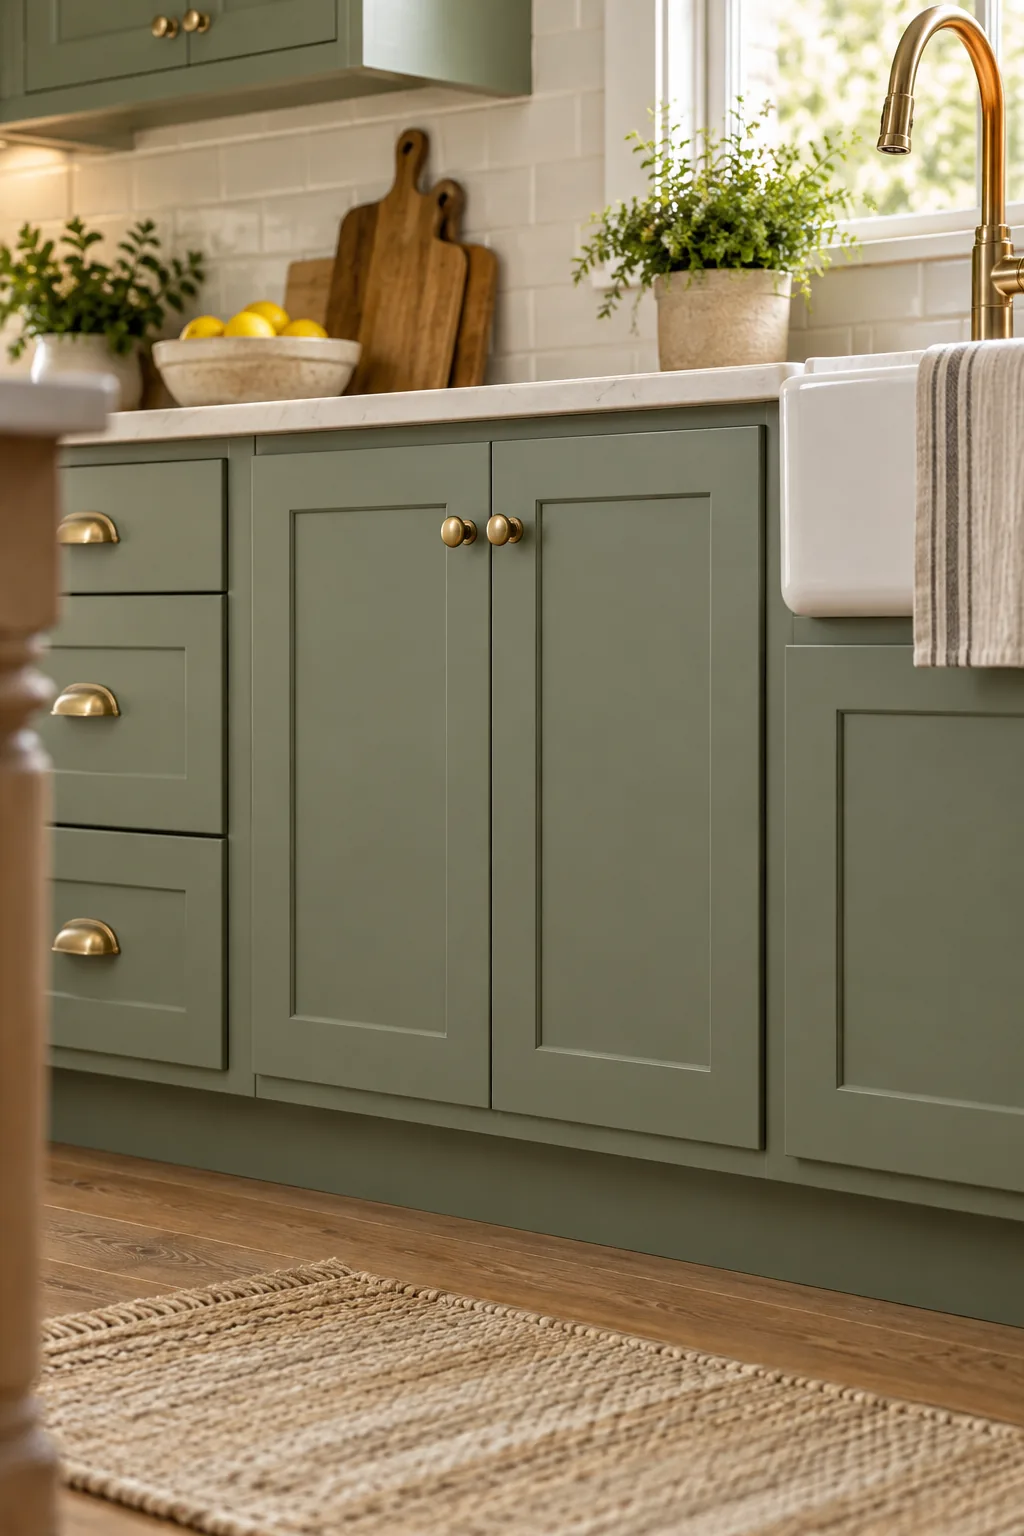
In my own Austin kitchen, using this exact two-penny reveal trick helped me finally achieve that perfectly consistent, professional spacing across all my lower cabinets.
Understanding Seasonal Wood Movement
Because natural wood expands and contracts with seasonal humidity changes, leaving a slight gap prevents your beautifully painted doors from binding during the humid summer months. Maintaining a consistent 1/16-inch clearance ensures that your hardware and hinges operate smoothly regardless of the weather outside.
Upgrading to a Soft-Close Snap
If you are tired of slamming wood, you can install a small cylindrical damper that gently catches the door and slows its momentum.
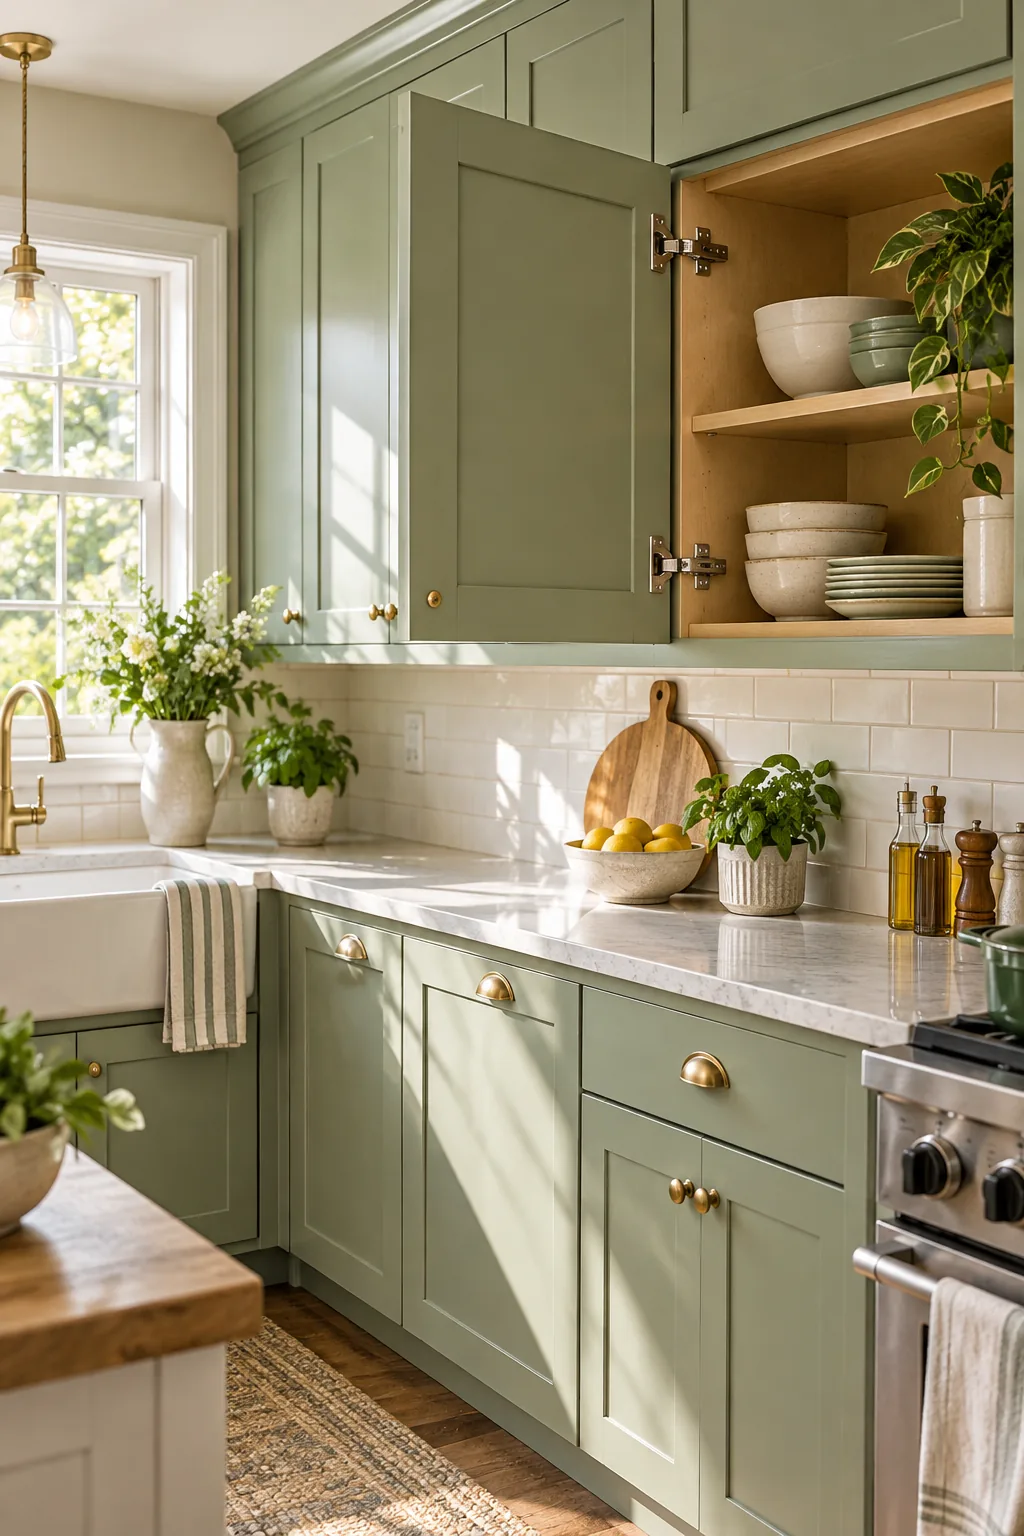
This brilliant clip-on soft-close mechanism easily attaches directly onto the arm of an existing compatible European cup hinge, instantly upgrading your kitchen without requiring new hardware.
Selecting Dampers for Heavy Doors
Larger pantry doors might require snapping a damper onto both the top and bottom hinges to adequately control the extra swinging weight. Testing the door swing after installing the first damper helps you determine if a second mechanism is necessary for a truly silent close.
Maintaining Your Hinge Mechanisms
Periodically vacuuming out the metal hinge cups prevents abrasive dust buildup and keeps the soft-close hydraulics operating silently for years. A quick wipe with a dry microfiber cloth removes any lingering sawdust that could eventually grind against the delicate internal springs and gears.
Fixing Crooked Doors with the Side Screw
To fix a crooked door, you must locate the side-adjustment screw on the concealed European hinge, which is always the screw positioned nearest the door’s edge.
- Open the cabinet door fully to expose the interior hinge arm and locate the front-most adjustment screw.
- Turn the screw clockwise to push the door edge slightly outward and away from the cabinet frame.
- Turn the screw counter-clockwise to pull the door edge inward, closing the gap between double doors.
I used to just ignore slightly crooked doors in my workshop, but realizing that a single turn of this side screw instantly evens the gaps completely changed my DIY confidence.
Diagnosing Binding Hinges
When a door visibly rubs against the cabinet frame during its swing, the hinges are likely mounted too tightly against the interior wall. Checking the clearance along the hinge side helps you identify whether the entire door needs to be shifted outward for smooth operation.
Aligning Double Doors Properly
Always adjust the left door first to establish a perfectly plumb baseline before attempting to align the right door to match it. Working methodically from one side of the kitchen to the other prevents you from constantly chasing uneven gaps across multiple cabinets.
Mastering Height and Depth
Turning the side screw evens gaps by shifting the door slightly left or right, but fully aligning the face requires mastering the remaining adjustments on a standard 3-way European hinge.
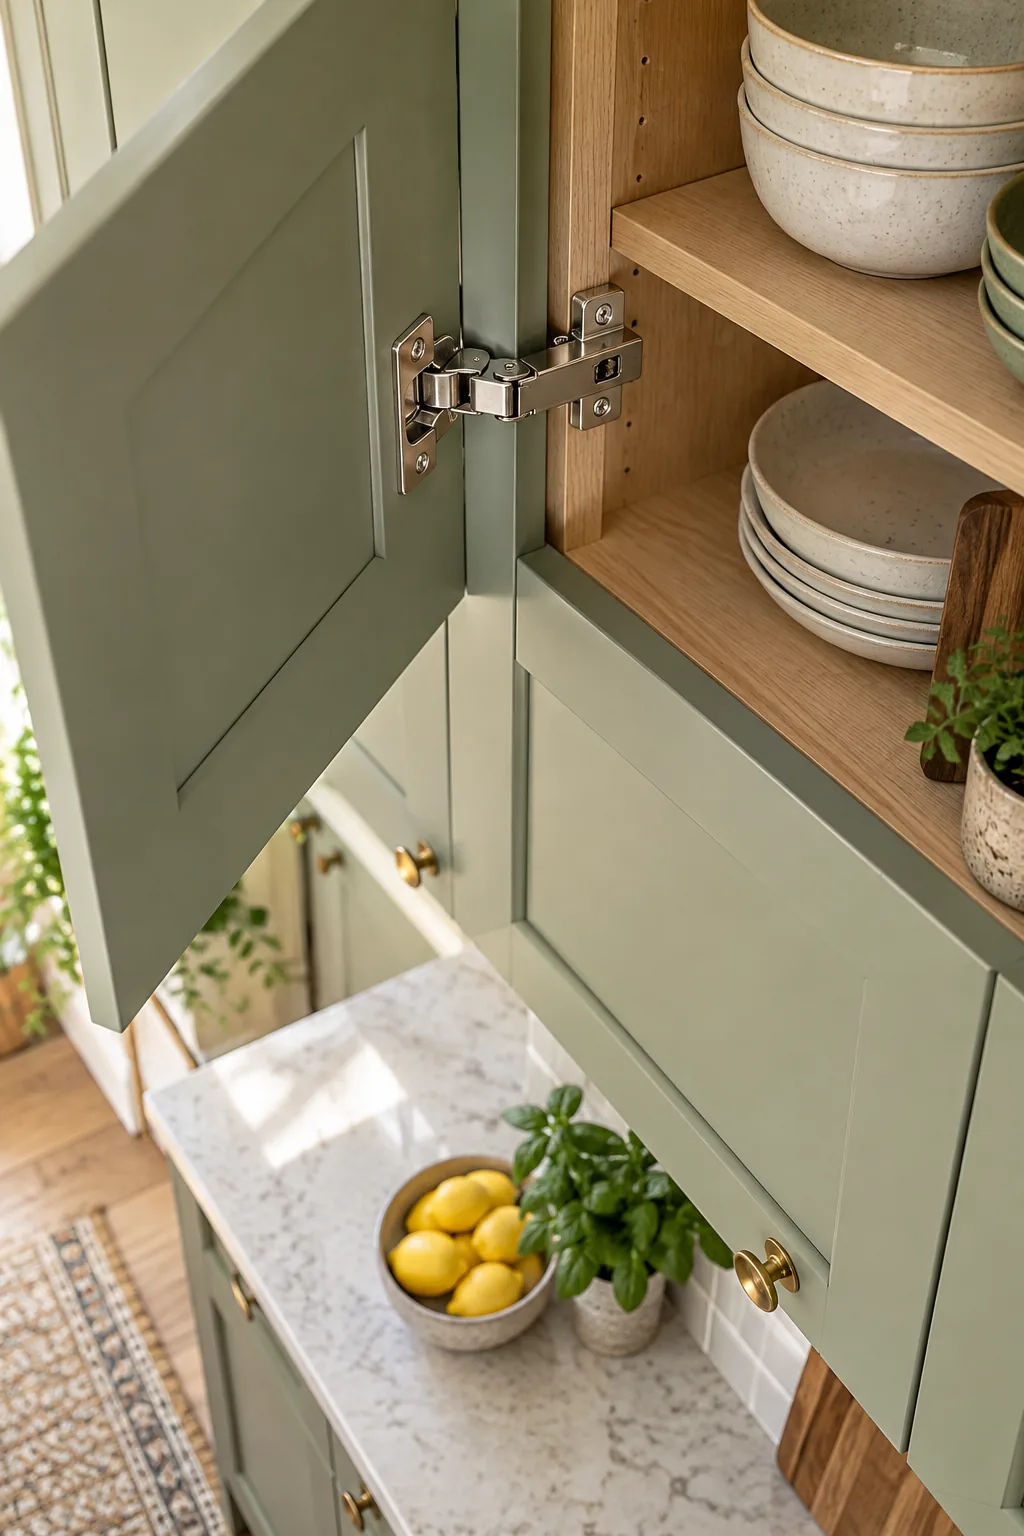
When a door sits too high or binds against the cabinet frame, you need to move beyond the side screw and tackle the mounting plate.
Fine-Tuning the Mounting Plate
The rear screw controls depth for a flush close, while slightly loosening the main mounting plate screws allows you to adjust the overall door height up or down. Retightening these screws firmly ensures that your heavy wooden doors will not slowly slip out of alignment over time.
Print the Cabinet Door Tune-Up Sheet
Completing this tune-up routine guarantees a flawless, gap-free kitchen aesthetic where every door hangs perfectly plumb and closes with a satisfying whisper.
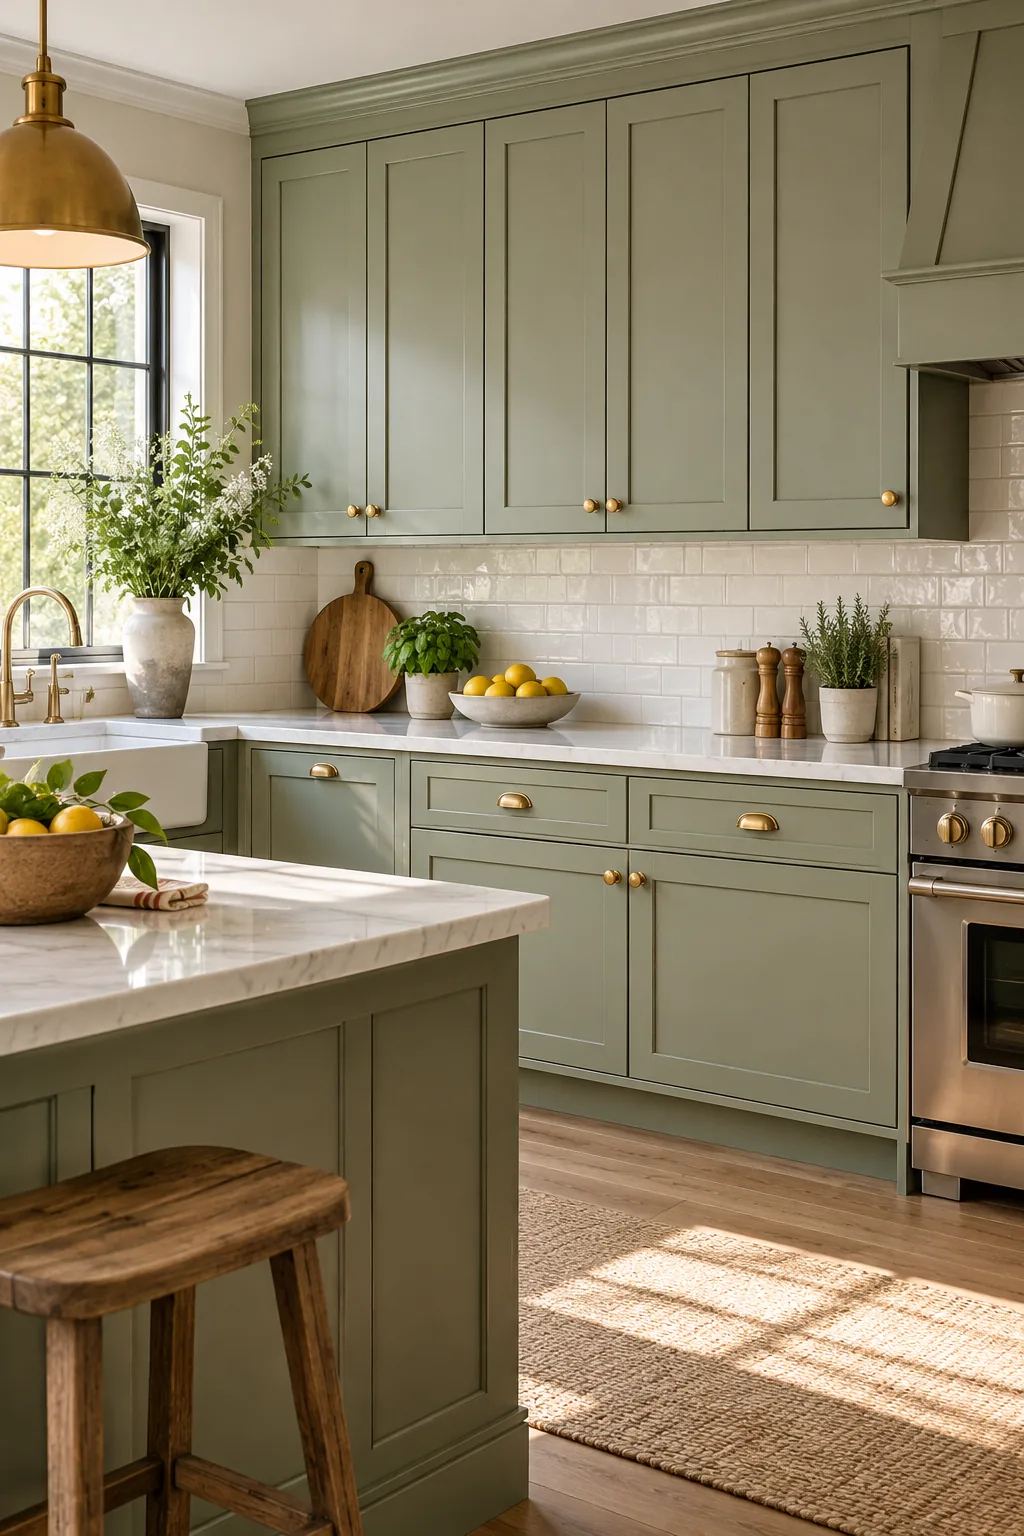
I keep my own printed Cabinet Door Tune-Up Sheet tucked inside a kitchen drawer, and running through these quick adjustments once a year keeps my space looking incredibly sharp.
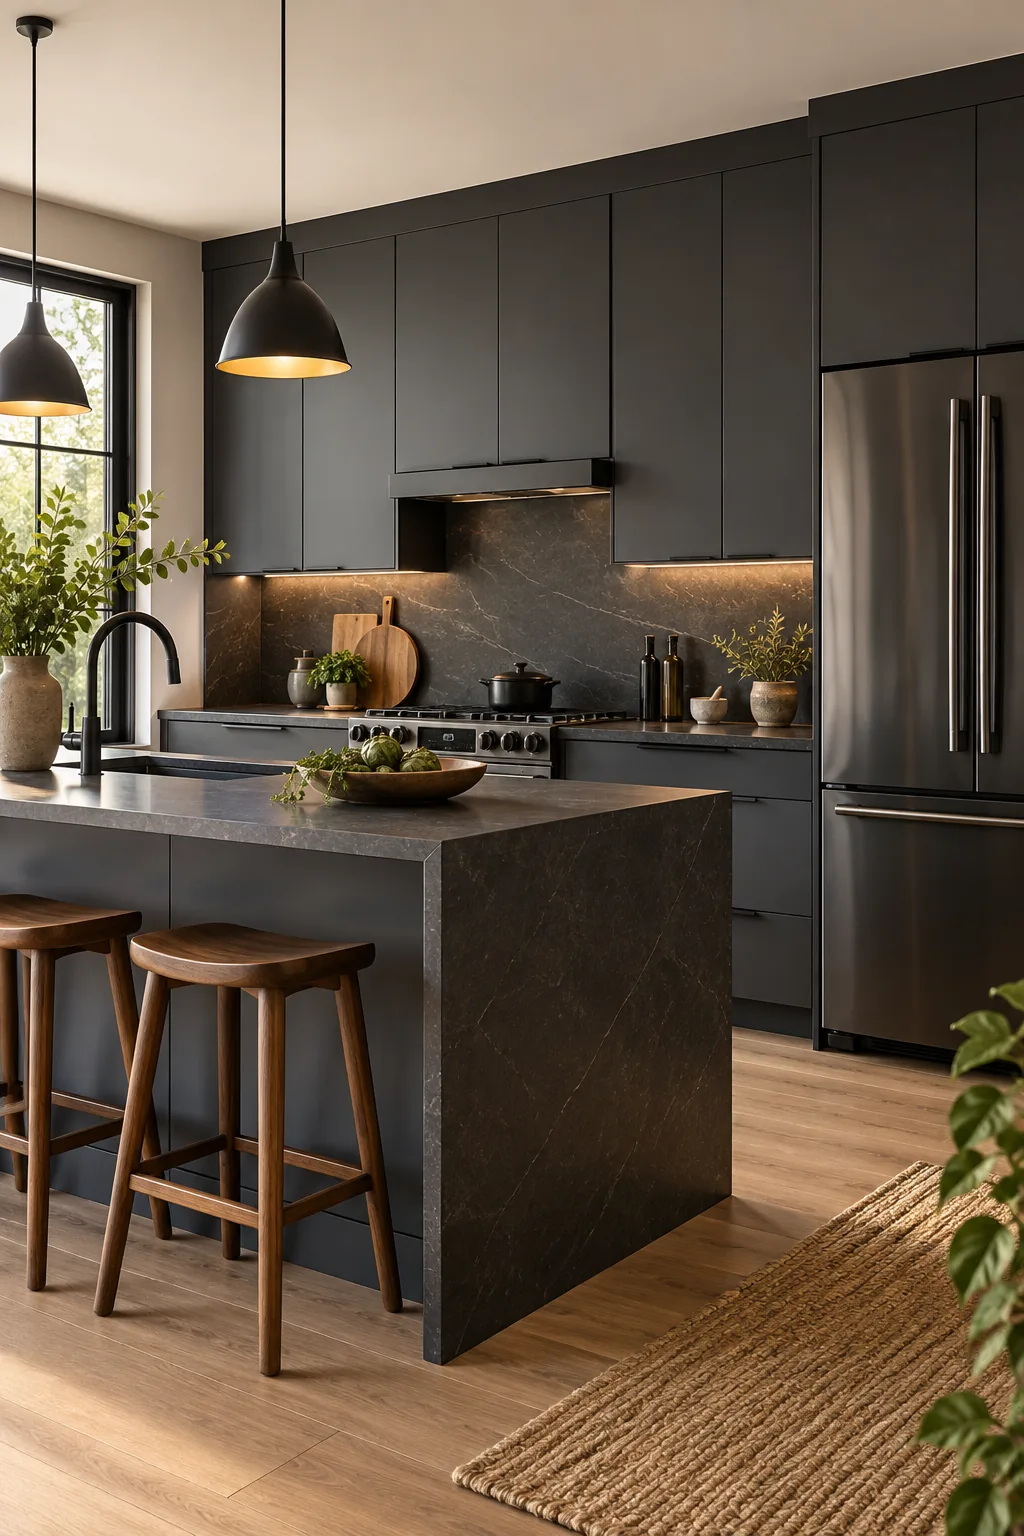
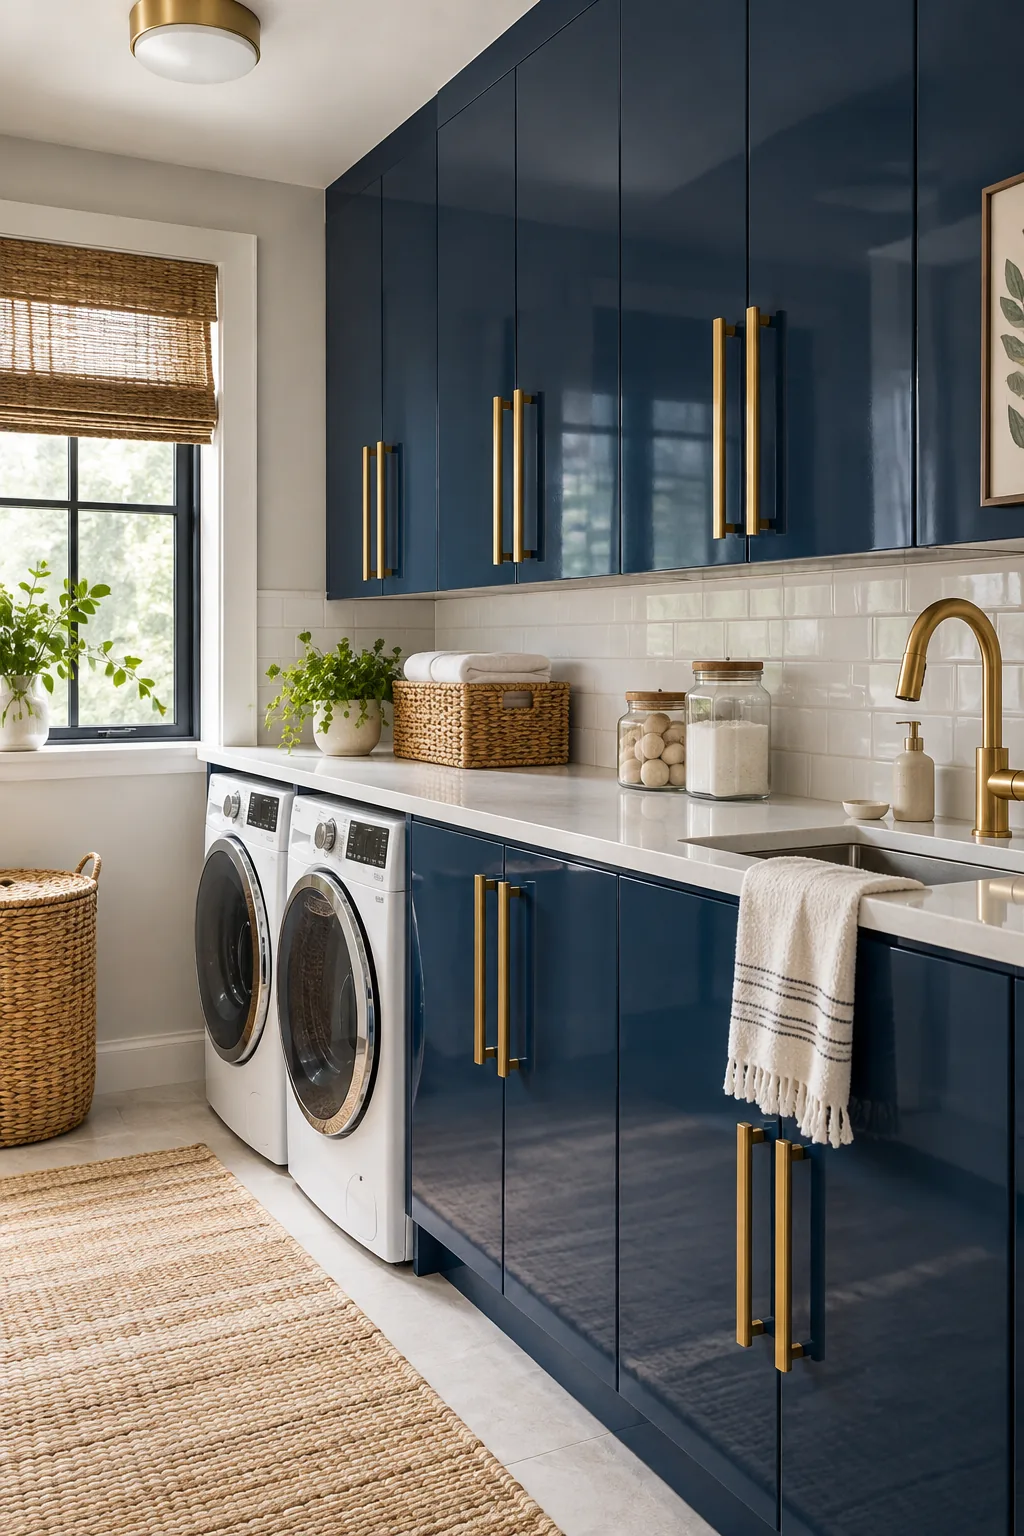
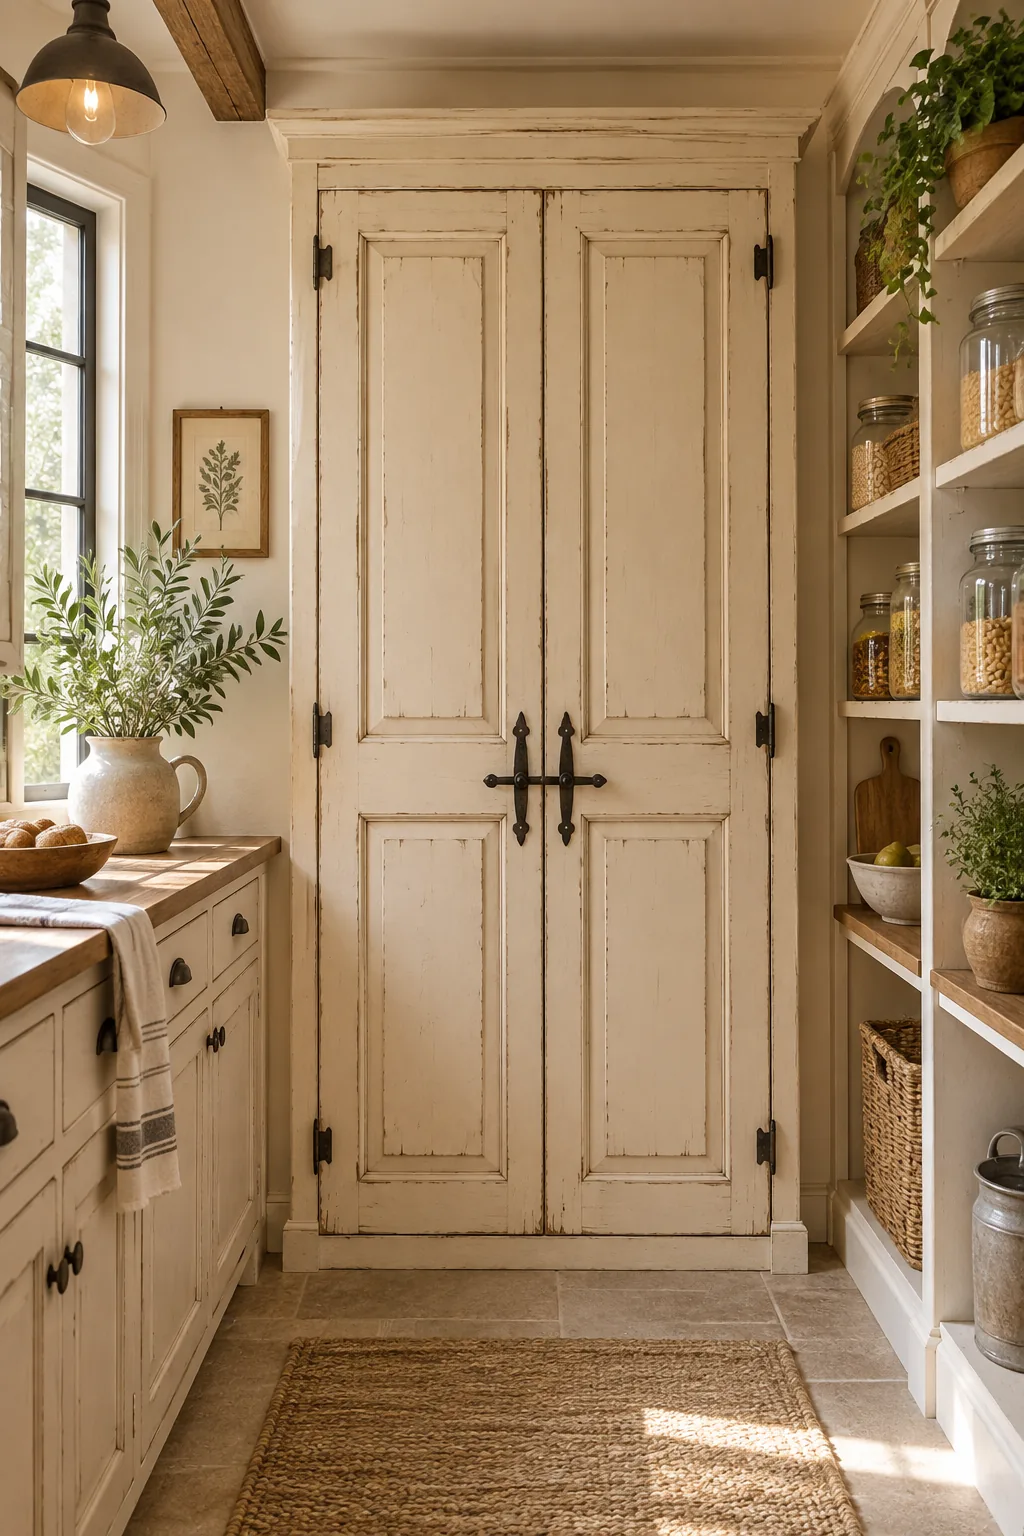
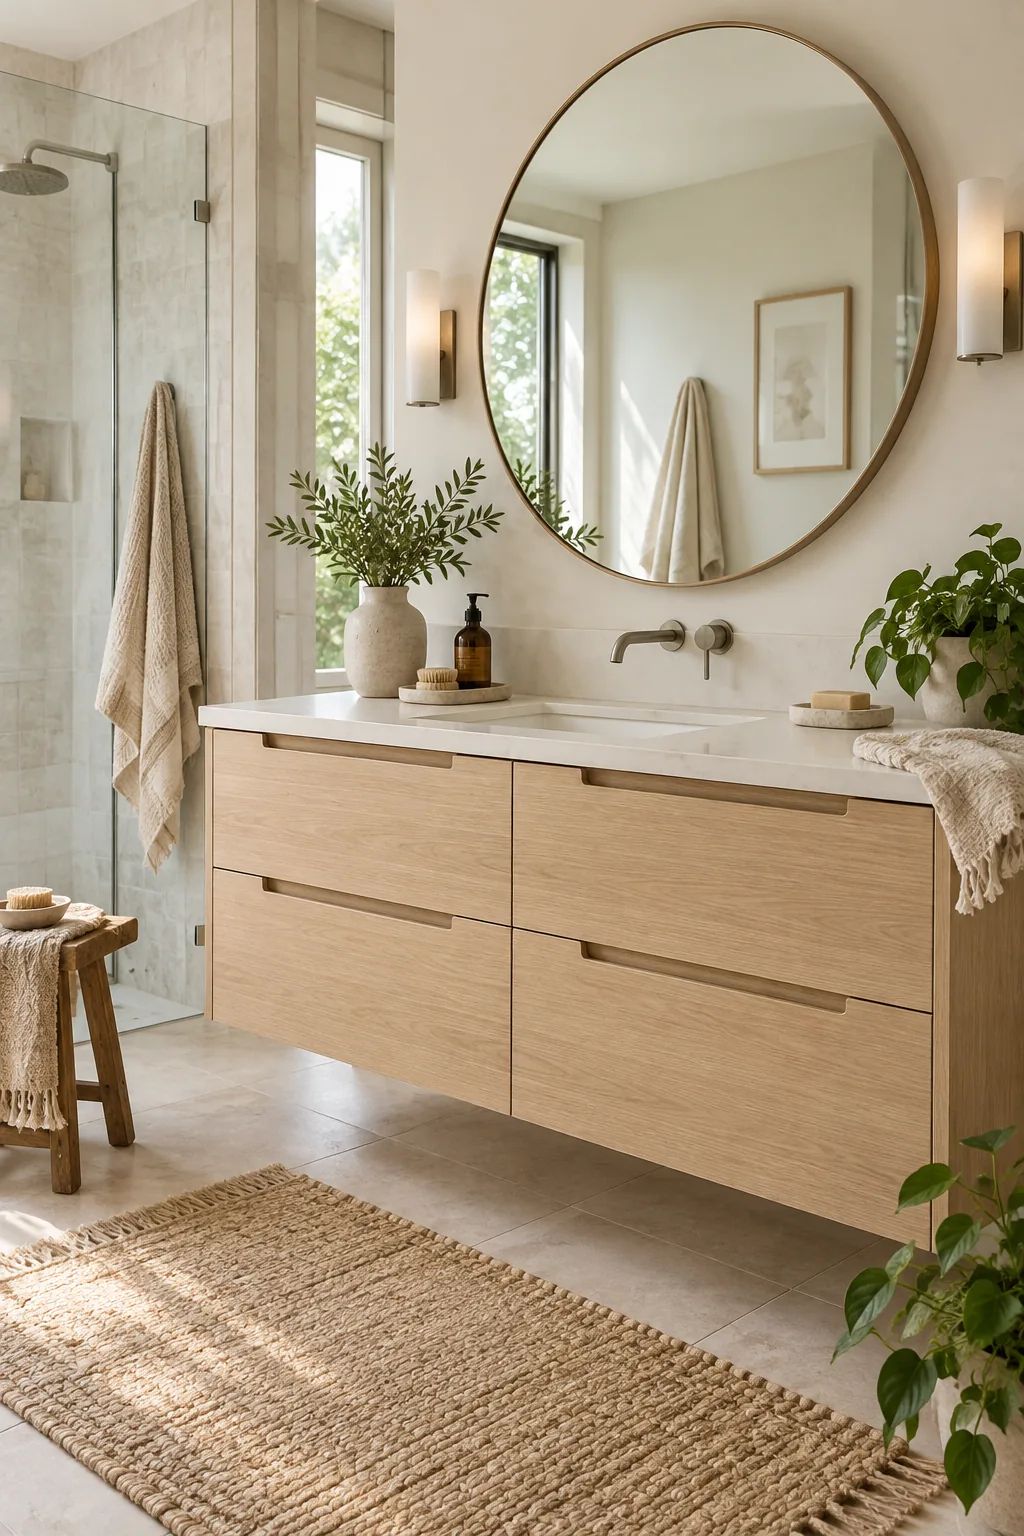
Cabinet Door Styles to Inspire Your Next Update
Find the perfect combination of color, finish, and hardware for your space.
Modern Minimalist Charcoal Kitchen: Embrace a sleek, moody aesthetic with flat-panel doors and discrete edge pulls that let the dark finish shine.
High-Gloss Navy Laundry Room: Reflect light in small utility spaces by pairing a high-gloss navy finish with oversized, glamorous brass hardware.
Rustic Farmhouse Cream Pantry: Add instant history to a walk-in pantry using distressed cream finishes and authentic wrought iron latch hardware.
Serene Scandinavian Oak Vanity: Keep the visual flow completely uninterrupted with pale natural oak and cleverly integrated finger pulls.
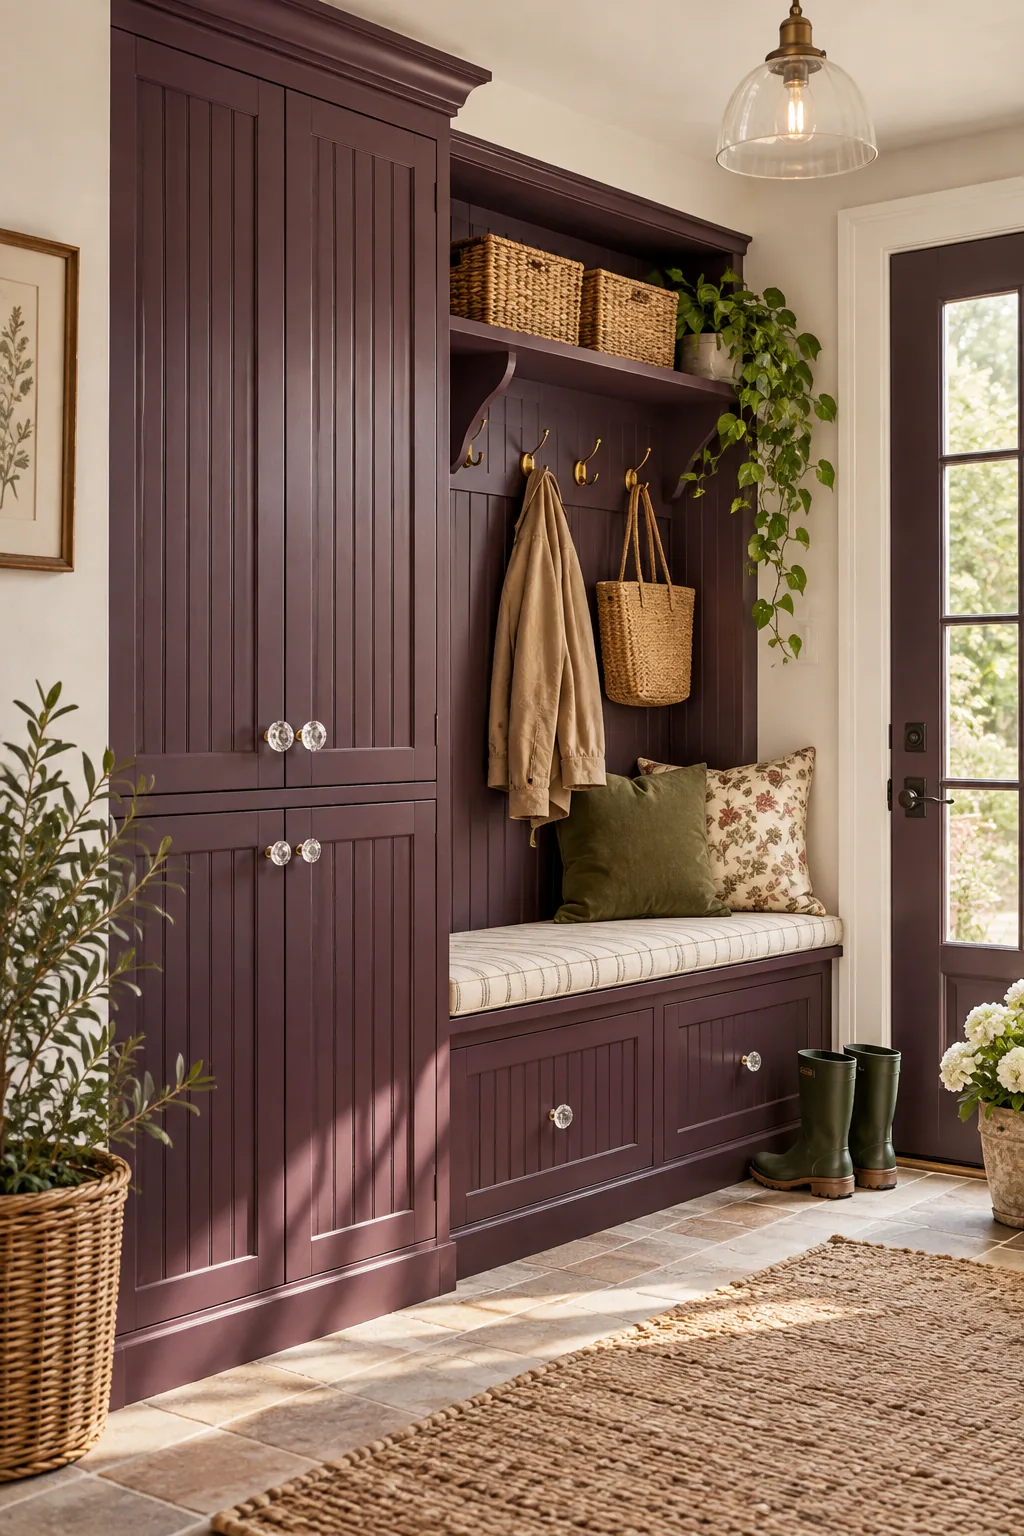
English Cottage Plum Mudroom: Ground a busy entryway with rich plum beadboard detailing and the sparkling contrast of antique glass knobs.