
12 Off-Counter Christmas Kitchen Decor Spots (Free Checklist)
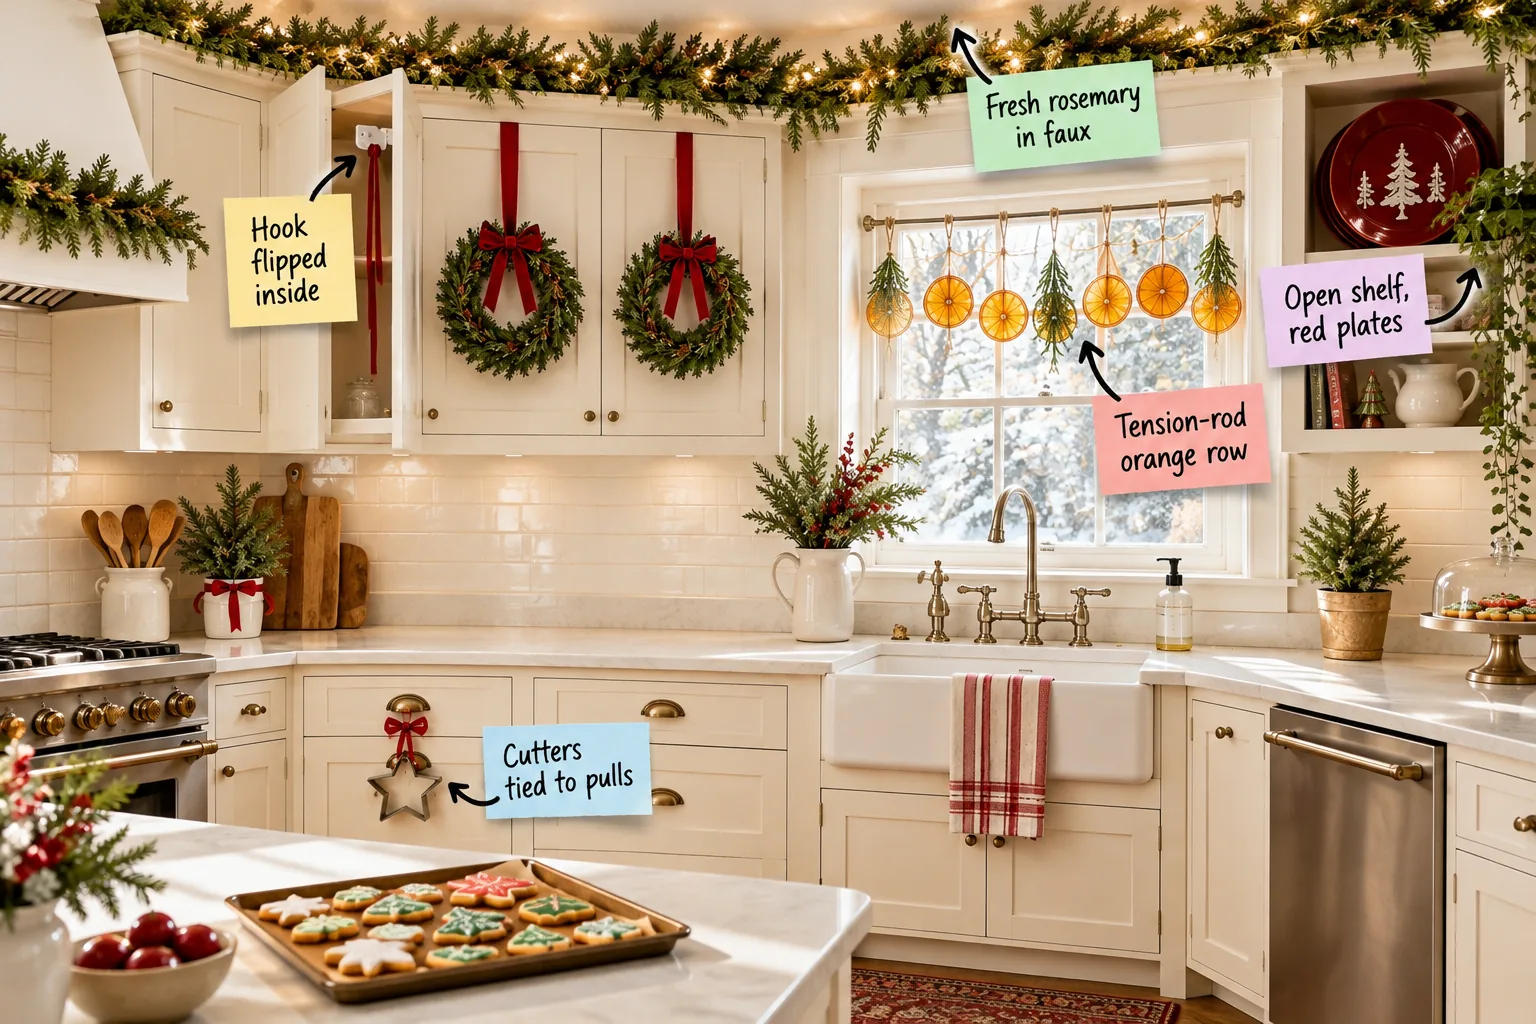
Keep your counters completely clear for holiday baking with this printable checklist of 12 vertical spaces to decorate instead. You will be able to download the checklist, gather your exact ribbon lengths, and decorate your kitchen’s vertical spaces without sacrificing any workspace.
The 12 Off-Counter Decor Spots
Download the printable one-page checklist to plan your vertical holiday decor, covering exactly what you need for all twelve designated spots. The guide includes essential details like 24-inch ribbon lengths for upper cabinets, precise hook weight ratings, and tension rod sizes.
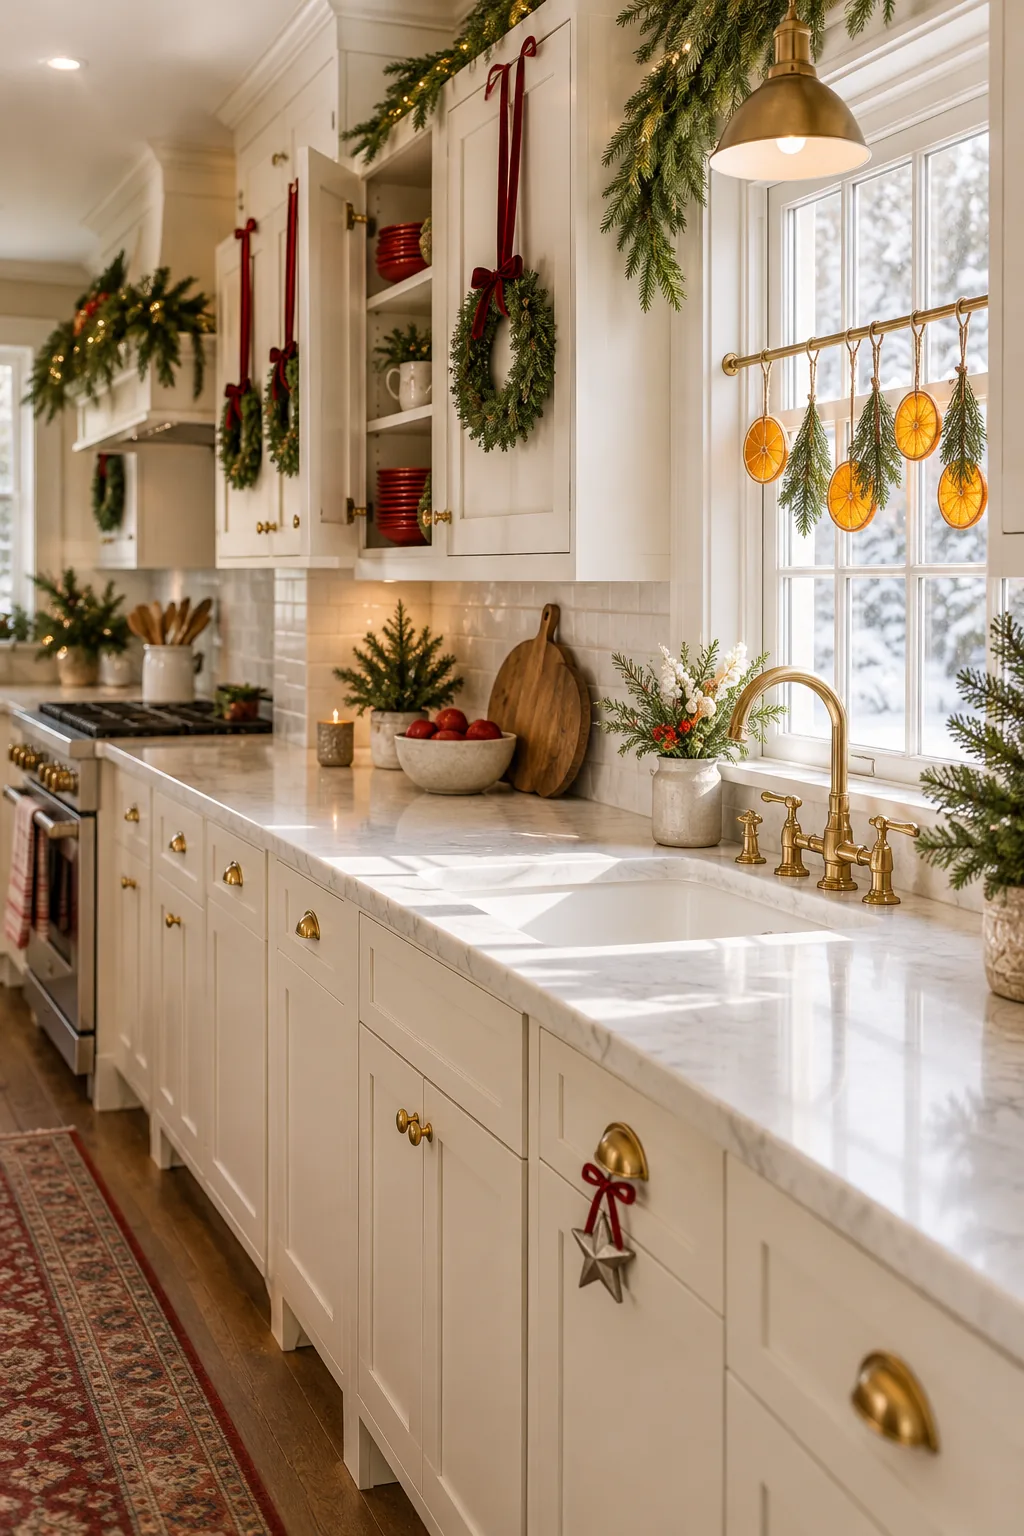
Before printing the complete checklist and heading to the craft store, take a few minutes to measure your specific kitchen features. Gathering these numbers early ensures you buy the correct quantities and avoid frustrating mid-project trips back to the shop.
Sourcing the Faux Garland
Selecting the right base material for the highest points in your kitchen ensures the decor looks intentional rather than messy. Look for an unlit, wired faux pine that allows you to bend individual branches to grip the top edge of your cabinetry securely.
| Garland Type | Flexibility | Best Application |
|---|---|---|
| Wired Pine | High | Gripping upper cabinet edges |
| Grapevine | Low | Flat structural architectural tops |
| Cedar | Medium | Softly draping down the sides |
Measure the linear run of your upper cabinets and buy your greenery in standard nine-foot lengths. Plan to overlap the connecting ends by at least six inches to completely hide the seams and create one continuous, lush visual line.
Layering the Cabinet Tops
Maximize the empty space above your upper cabinets by draping that standard 9-foot faux pine garland along the crown molding. Tuck 6-inch sprigs of fresh rosemary into the faux branches every foot or so to add realistic texture and a natural scent.
Securing Garland to the Crown
Keeping the greenery perfectly stable prevents it from shifting when you open and close the cabinet doors below. Establishing a solid anchor system is critical for heavy faux pine that might otherwise slide forward over the edge over time.
- Use clear adhesive hooks placed flat on the top dust-cap of the cabinets.
- Wrap green floral wire around the garland core and loop it over the hooks.
- Let the softer branch tips spill naturally over the front molding edge.
This completely hidden anchoring system ensures your heavy greenery stays exactly where you styled it for the entire season. You can confidently reach for high baking supplies without worrying about pulling the decor down onto the countertops.
Selecting the Mini Wreaths
Scale is the most important factor when choosing accents for your cabinet doors. Measure the width of your standard upper door and look for a wreath that spans roughly one-third of that dimension to maintain a balanced, highly tailored appearance.
Measuring the Cabinet Drop
Determine exactly where your mini wreaths should sit before cutting any expensive velvet. Hold a wreath against the upper cabinet door and measure the distance from the top edge down to the hanging loop to establish your standard ribbon drop length.
Hanging Upper Cabinet Wreaths
Mount a small, clear adhesive hook upside down on the inside face of your cabinet door, about 1 inch below the top edge. This clever placement keeps the hardware completely invisible from the outside of the kitchen.
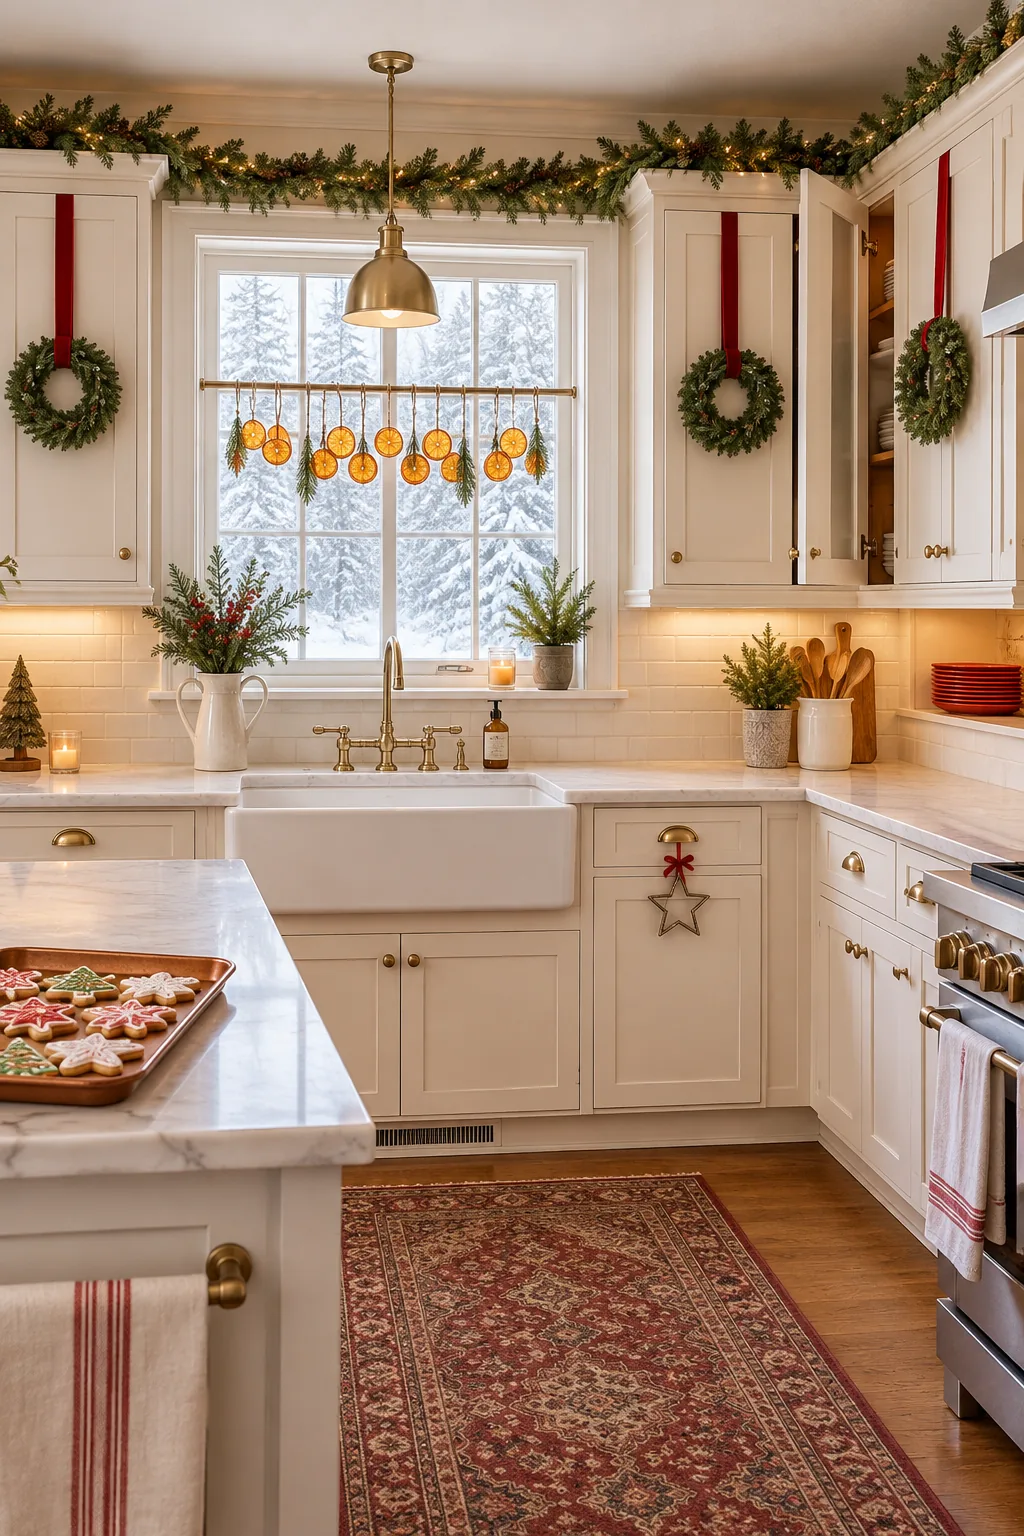
Loop your velvet ribbon over the door and catch it on the flipped hook so the wreath rides smoothly when the door swings. This technique ensures the decor moves perfectly with the cabinet rather than banging against the wood.
Prepping the Cabinet Interiors
Adhesive hooks require a pristine surface to hold the weight of a wreath and ribbon securely. Wipe the inside mounting spot with rubbing alcohol to remove everyday kitchen grease, letting it dry completely before pressing the hook firmly into place.
Testing the Door Clearance
Before committing to your upside-down hook placement, test the swing of your cabinet door. Ensure the hardware clears the adjacent doors and ceiling moldings when fully open, adjusting the hook position slightly downward if the ribbon creates any friction.
Choosing the Right Ribbon
Use a 1.5-inch wide velvet ribbon for the upper cabinet wreaths because this specific width is substantial enough to look luxurious from across the room. The texture catches the light beautifully without overwhelming the small scale of the wreaths.
In my own Boston kitchen, I learned the hard way that anything thicker than this flat-backed velvet prevents the upper doors from clicking completely shut. Choosing the right material ensures your cabinets remain fully functional throughout December.
Pre-Tying the Wreath Bows
Tying bows directly on the hanging wreaths often results in crooked loops and uneven tails. Cut a separate piece of ribbon, tie your perfect bow on the countertop, and wire it to the top of the wreath before hanging it up.
Styling the Open Shelves
Swap out your everyday white dishes for holiday-specific pieces on any short open shelving to create an immediate focal point. Prop a stack of 4 to 6 deep red holiday plates against the back wall, requiring zero counter footprint.
Balancing the Shelf Display
When styling open shelving, balance the heavy stack of red plates with lighter elements on the opposite side. A few simple glass jars filled with white baking staples like flour and sugar will highlight the holiday colors without cluttering the wood.
Spacing Plates on Open Shelves
When displaying decorative plates vertically, leave a small gap between the bottom edge of the plate and the front lip of the shelf. This prevents the plates from vibrating forward when heavy footsteps or closing doors shake the wall.
Dressing the Sink Window
Span a slim 24-to-36-inch tension rod inside the frame of your sink window to build a festive valance that stays completely out of the splash zone. This hardware-free solution requires no drilling into your window casings.
Use short pieces of natural twine to hang 5 to 7 dried orange slices and small faux pine sprigs across the rod. The warm sunlight passing through the translucent citrus creates a gorgeous stained-glass effect above the sink.
Drying the Orange Slices
Creating your own citrus ornaments fills the kitchen with a wonderful scent and costs pennies. Slice navel oranges a quarter-inch thick, pat them dry with a paper towel, and bake them at a low temperature until all moisture evaporates.
Stringing the Citrus Slices
Thread your natural twine through the flesh of the dried orange rather than just the peel to prevent tearing. Tie a small, secure knot at the top of each slice so it hangs perfectly flat against the window glass.
Assembling the Tension Rod Valance
Vary the lengths of your hanging twine to create a staggered, organic look across the window glass. Keep the longest piece at least twelve inches above the faucet handle to ensure the decor never interferes with washing large pots.
Cleaning the Hardware
Before tying anything to your lower cabinets, wipe down the brass or nickel drawer pulls with a gentle degreaser. Removing sticky fingerprints and kitchen oils ensures your satin ribbons grip the metal tightly and stay perfectly centered all season long.
Choosing the Cookie Cutters
Vintage or reproduction metal cookie cutters make brilliant, inexpensive ornaments for the lower half of the kitchen. Look for shapes with distinct, recognizable outlines like stars, trees, or gingerbread men that read clearly from a distance.
Accenting the Lower Pulls
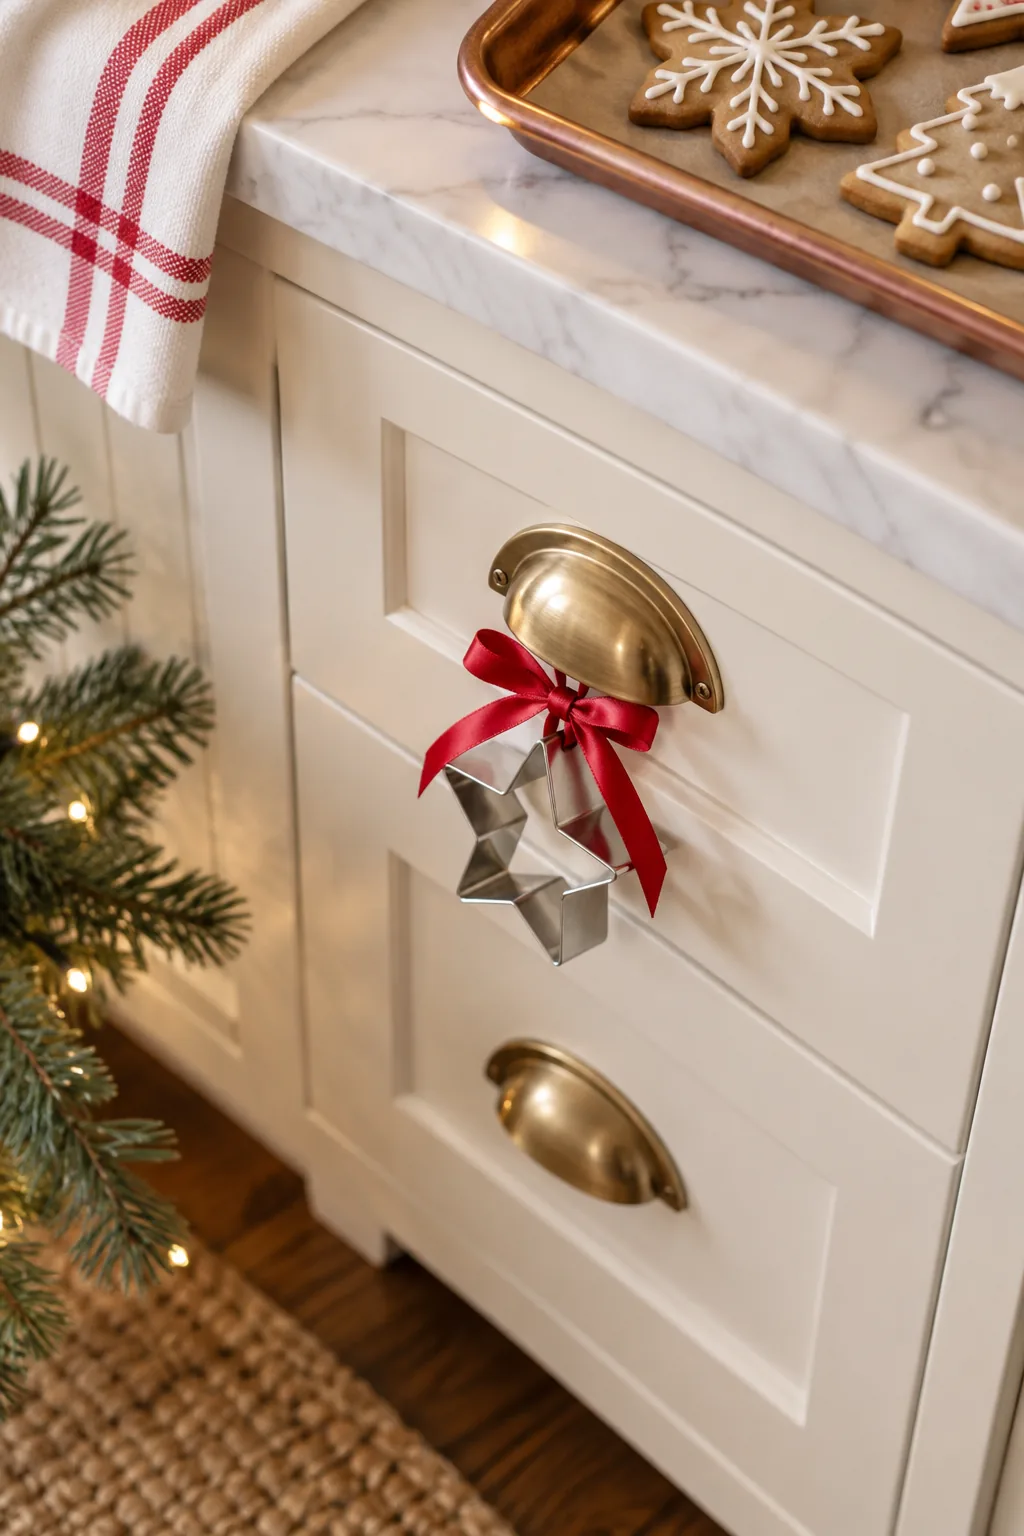
Bring the holiday cheer below the counter by tying metal star cookie cutters to your lower drawer pulls. This unexpected placement draws the eye downward and makes the entire kitchen feel fully decorated from floor to ceiling.
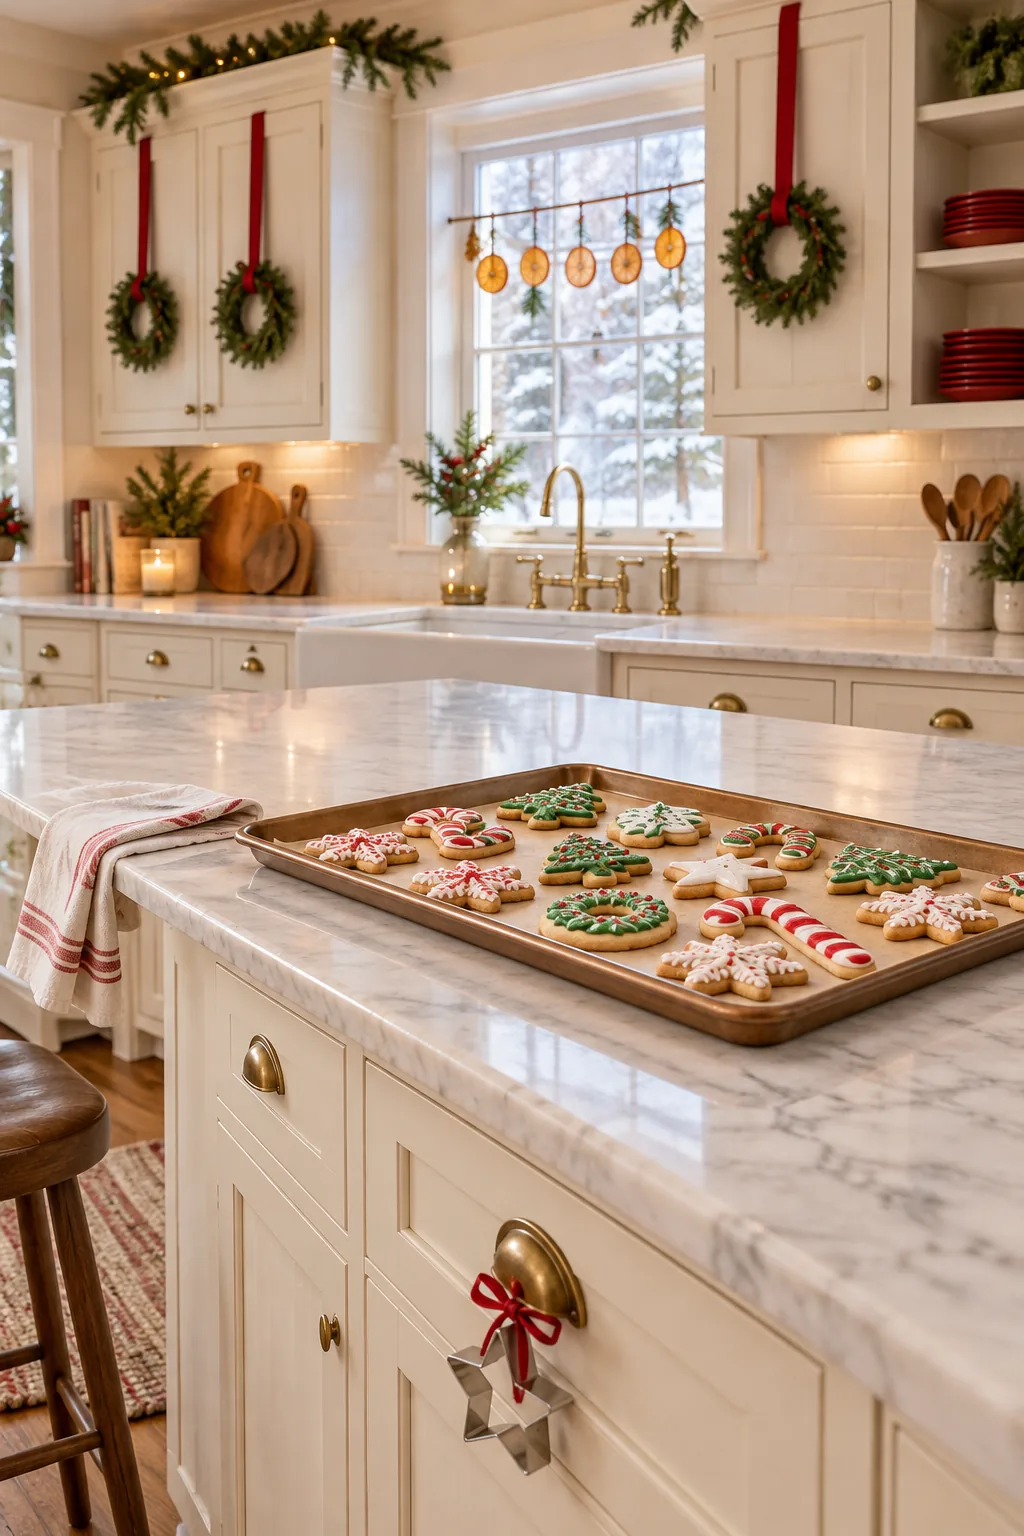
Use an 8-inch length of thin red satin ribbon to secure each cutter, keeping the loops tight so they do not catch on clothing. The satin material provides a subtle sheen that contrasts beautifully with the matte metal shapes.
Tying the Drawer Pulls
Thread the thin satin ribbon through the top curve of the cookie cutter before looping it behind the cabinet hardware. Tie a simple, tight double knot rather than a bow to keep the look streamlined and prevent the ribbon from untying.
Managing the Ribbon Tails
Trim the ends of the satin drawer ribbons at a sharp angle to stop the fabric from fraying over the month. Keep these tails no longer than an inch so they do not get trapped when you close the drawer below.
Scheduling the Installation
Tackle this vertical decorating project in stages to keep the process completely enjoyable. Hang the upper cabinet garlands and wreaths on a Saturday, then finish the window tension rod and lower drawer pulls on Sunday to prevent arm fatigue.
Storing the Decor Post-Holiday
When January arrives, this modular approach makes packing away the kitchen decor incredibly fast. Label a single storage bin specifically for these vertical elements, wrapping the tension rod and cut ribbons together so next year’s installation takes mere minutes.
5 Ways to Style Off-Counter Kitchen Decor
Find the perfect vertical holiday look to match your kitchen's unique cabinet style and color palette.
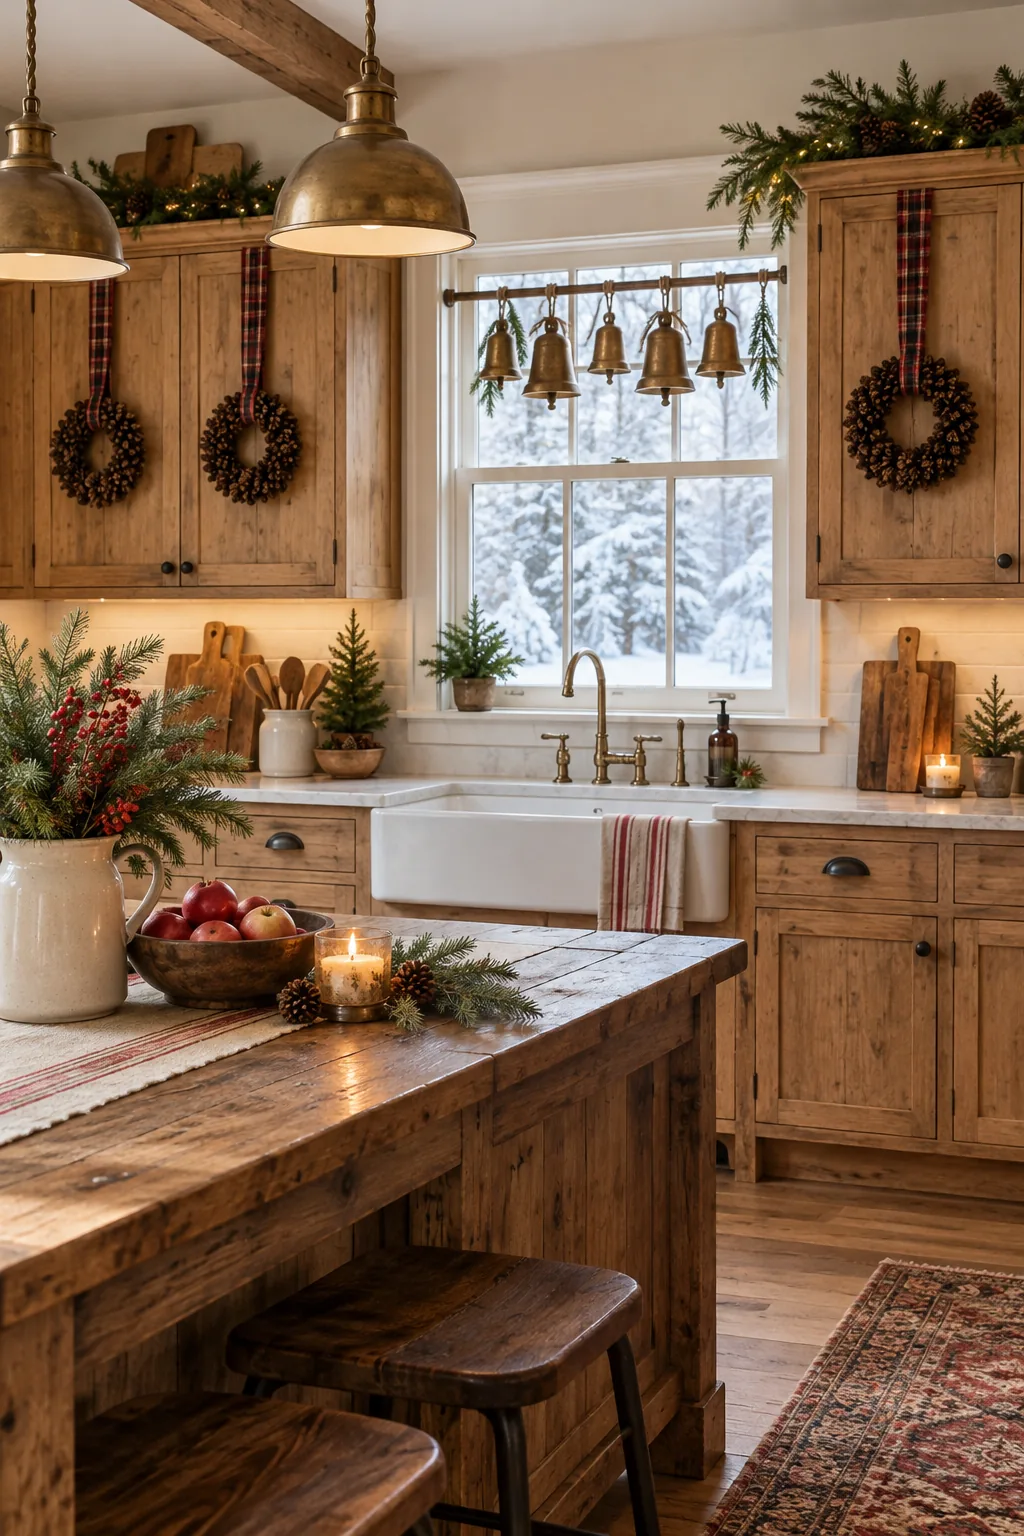
Rustic Farmhouse Wood: Embrace natural textures by pairing unpainted wood cabinets with frayed plaid ribbon and miniature pinecone wreaths.
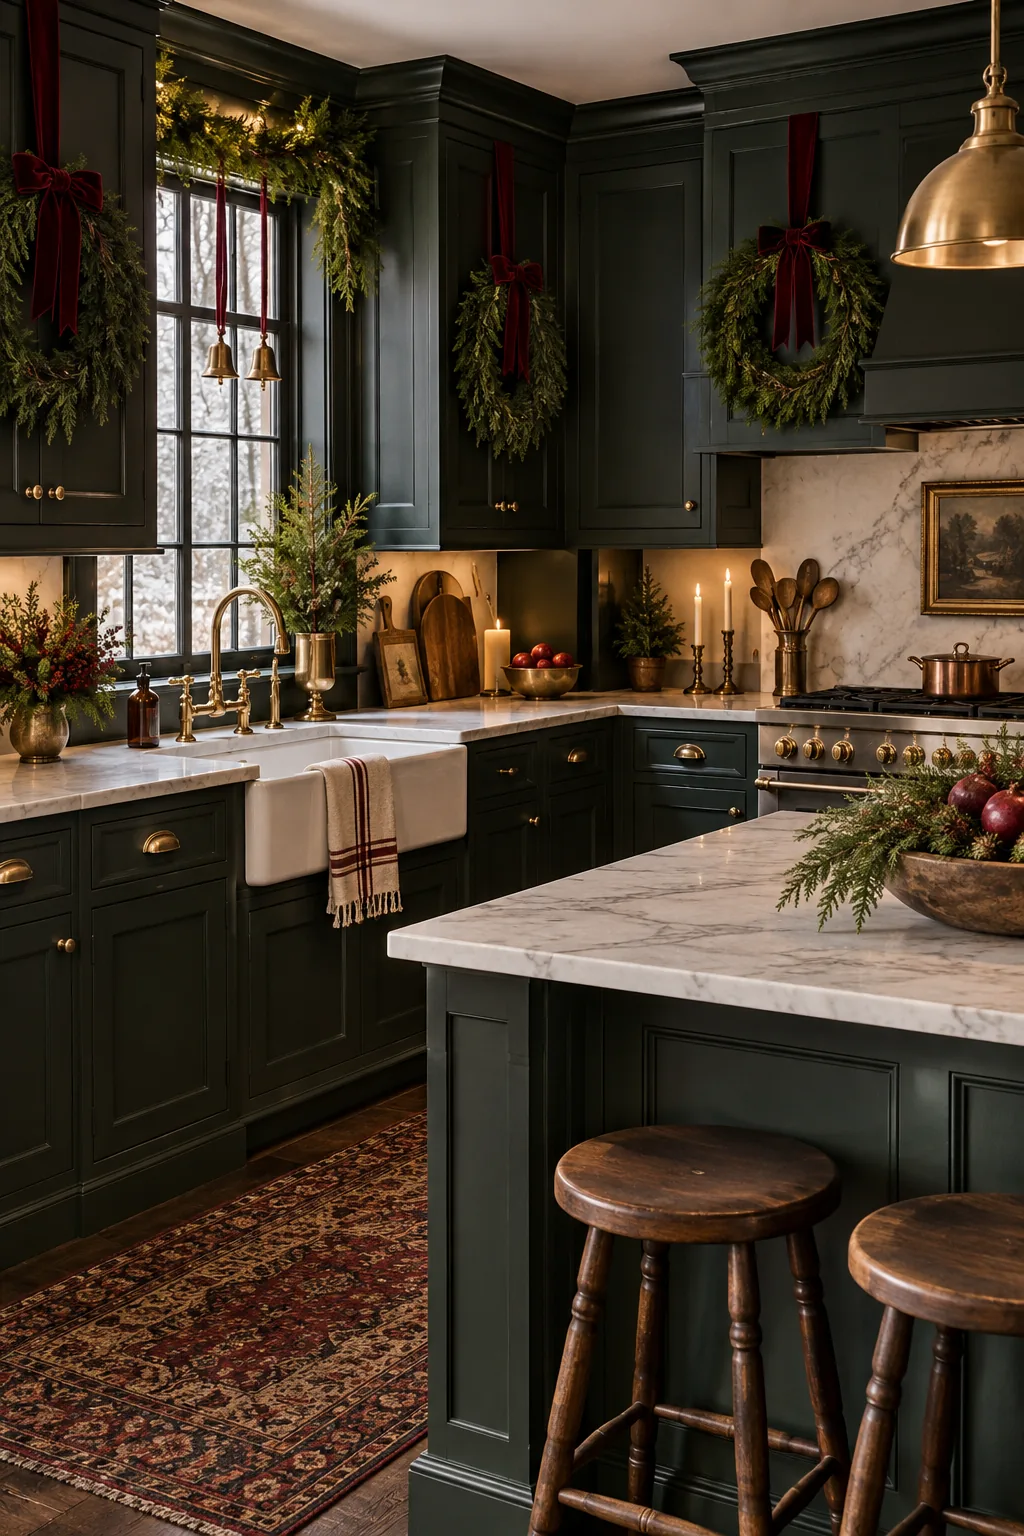
Moody Victorian Green: Create dramatic contrast against dark green cabinetry using rich burgundy velvet ribbons and lush cedar greenery.
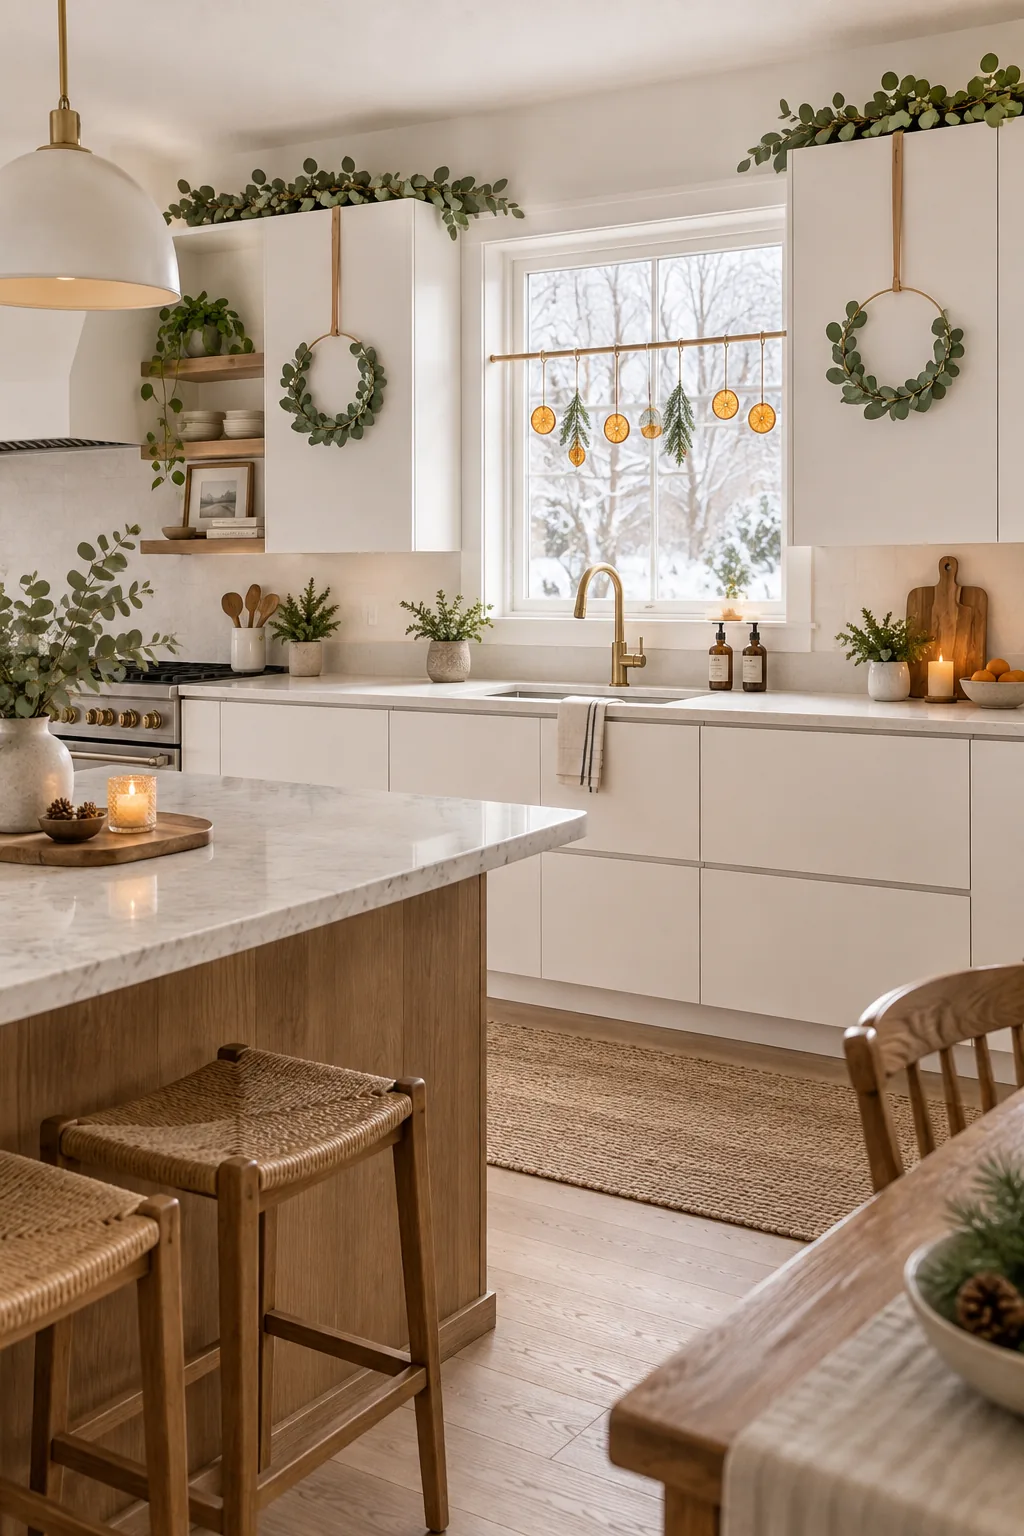
Minimalist Scandinavian White: Keep things beautifully understated with flat-panel white doors, simple eucalyptus hoops, and natural leather cord.
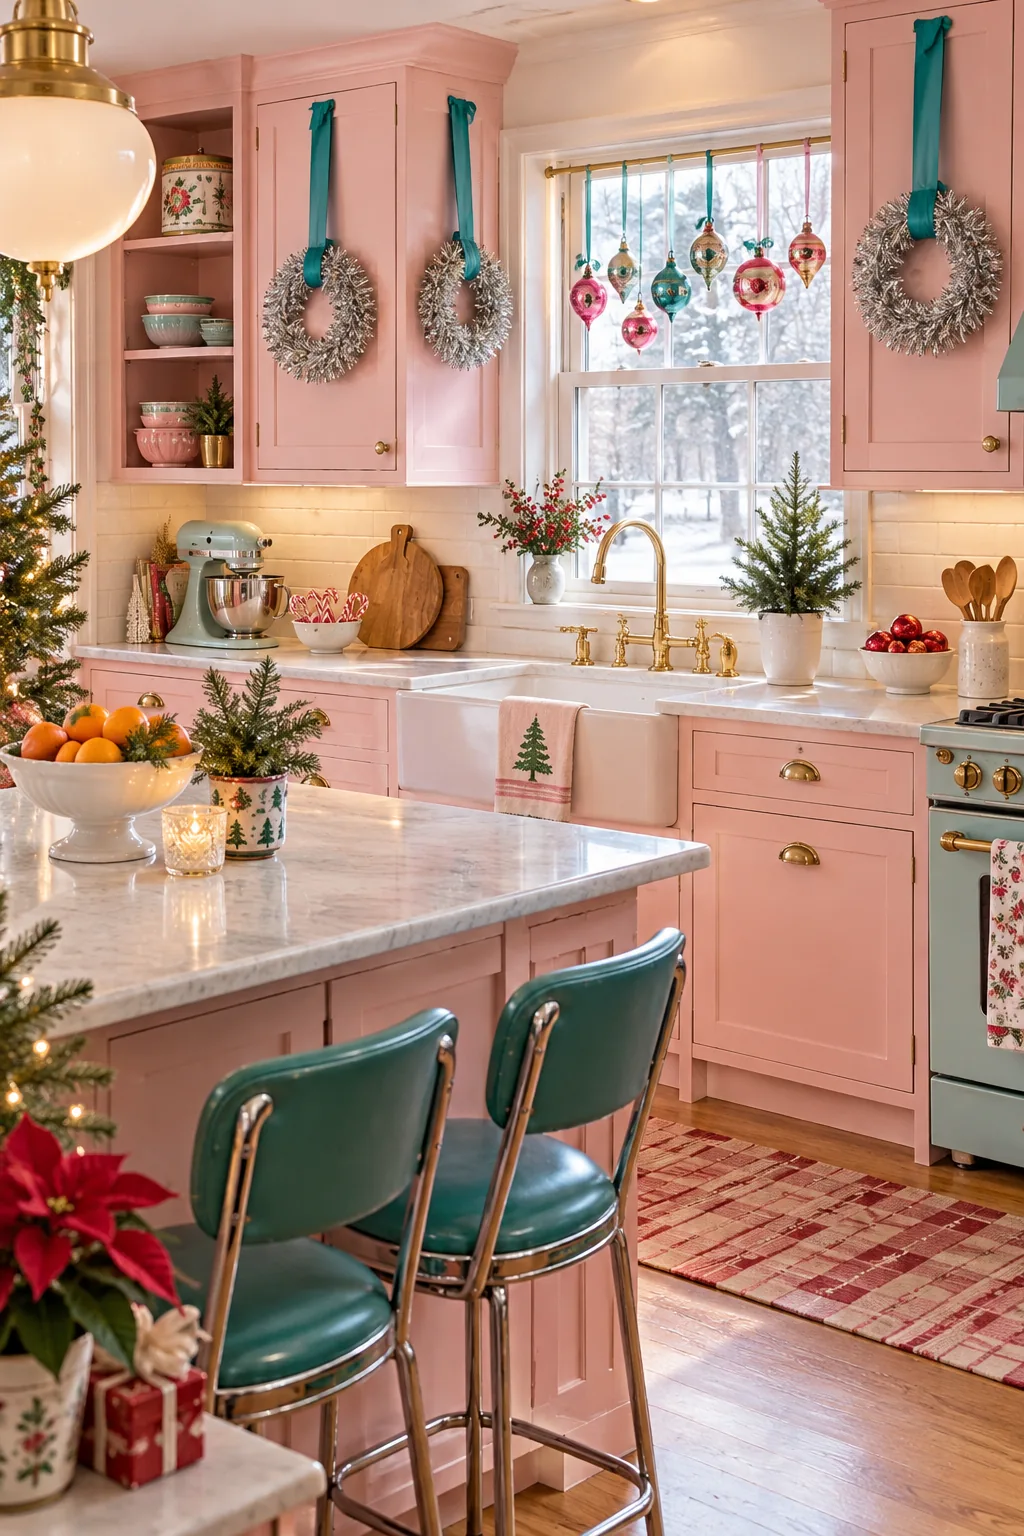
Colorful Retro Pink: Lean into a playful vintage vibe by hanging silver tinsel wreaths from pastel pink cabinets using bright teal ribbon.
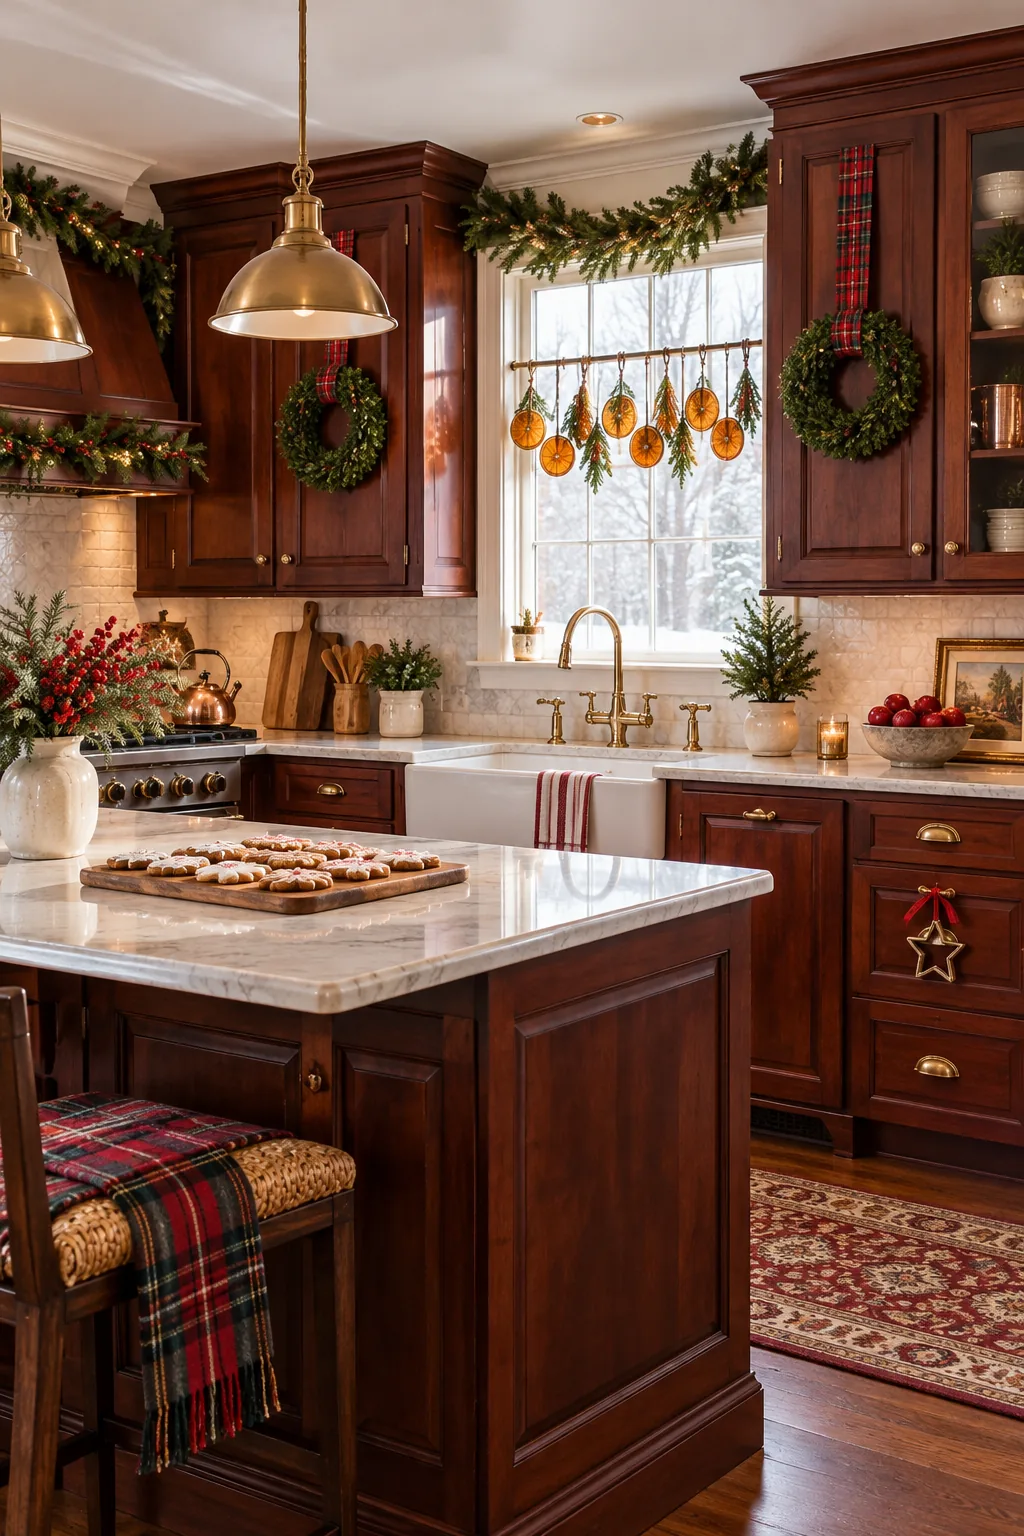
Classic Traditional Cherry: Highlight rich cherry wood tones with perfectly manicured boxwood wreaths and wide, structured red tartan bows.
Protecting the Baking Zone
By moving all decorative elements to the cabinets, shelves, and windows, the main counter expanse remains completely bare. You gain a beautiful holiday aesthetic without sacrificing a single inch of your practical daily workspace.
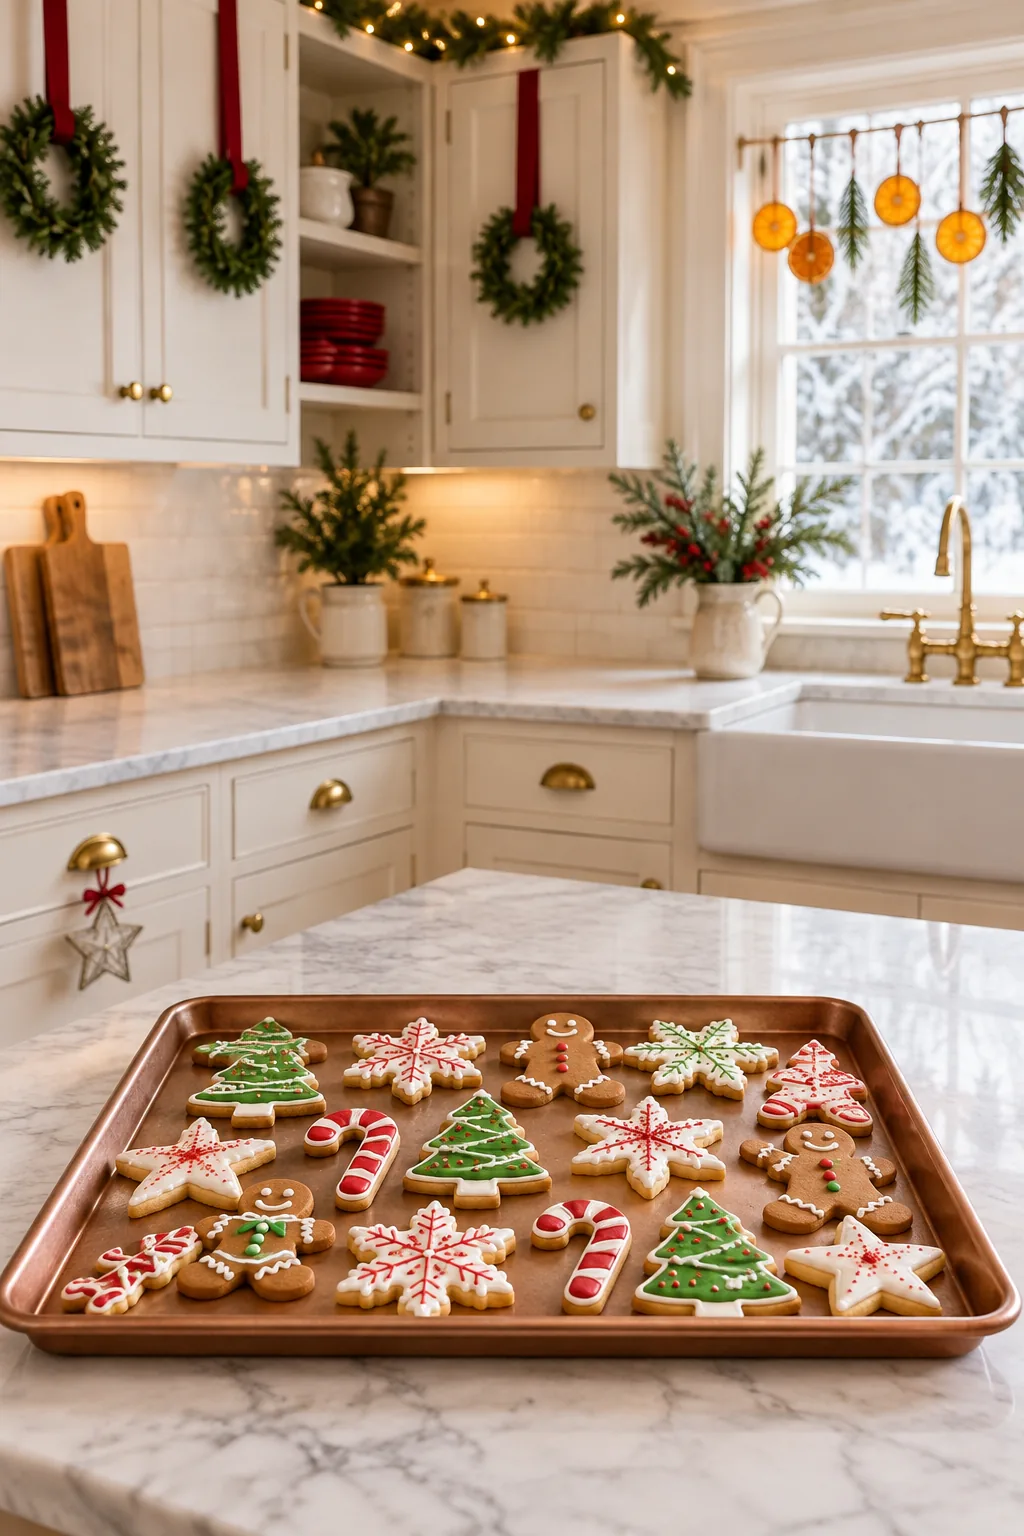
Last December, keeping my counters clear meant I could set up three cooling racks and decorate dozens of iced cookies without constantly shifting props. This vertical strategy leaves you ample room to work while keeping the room beautifully festive.