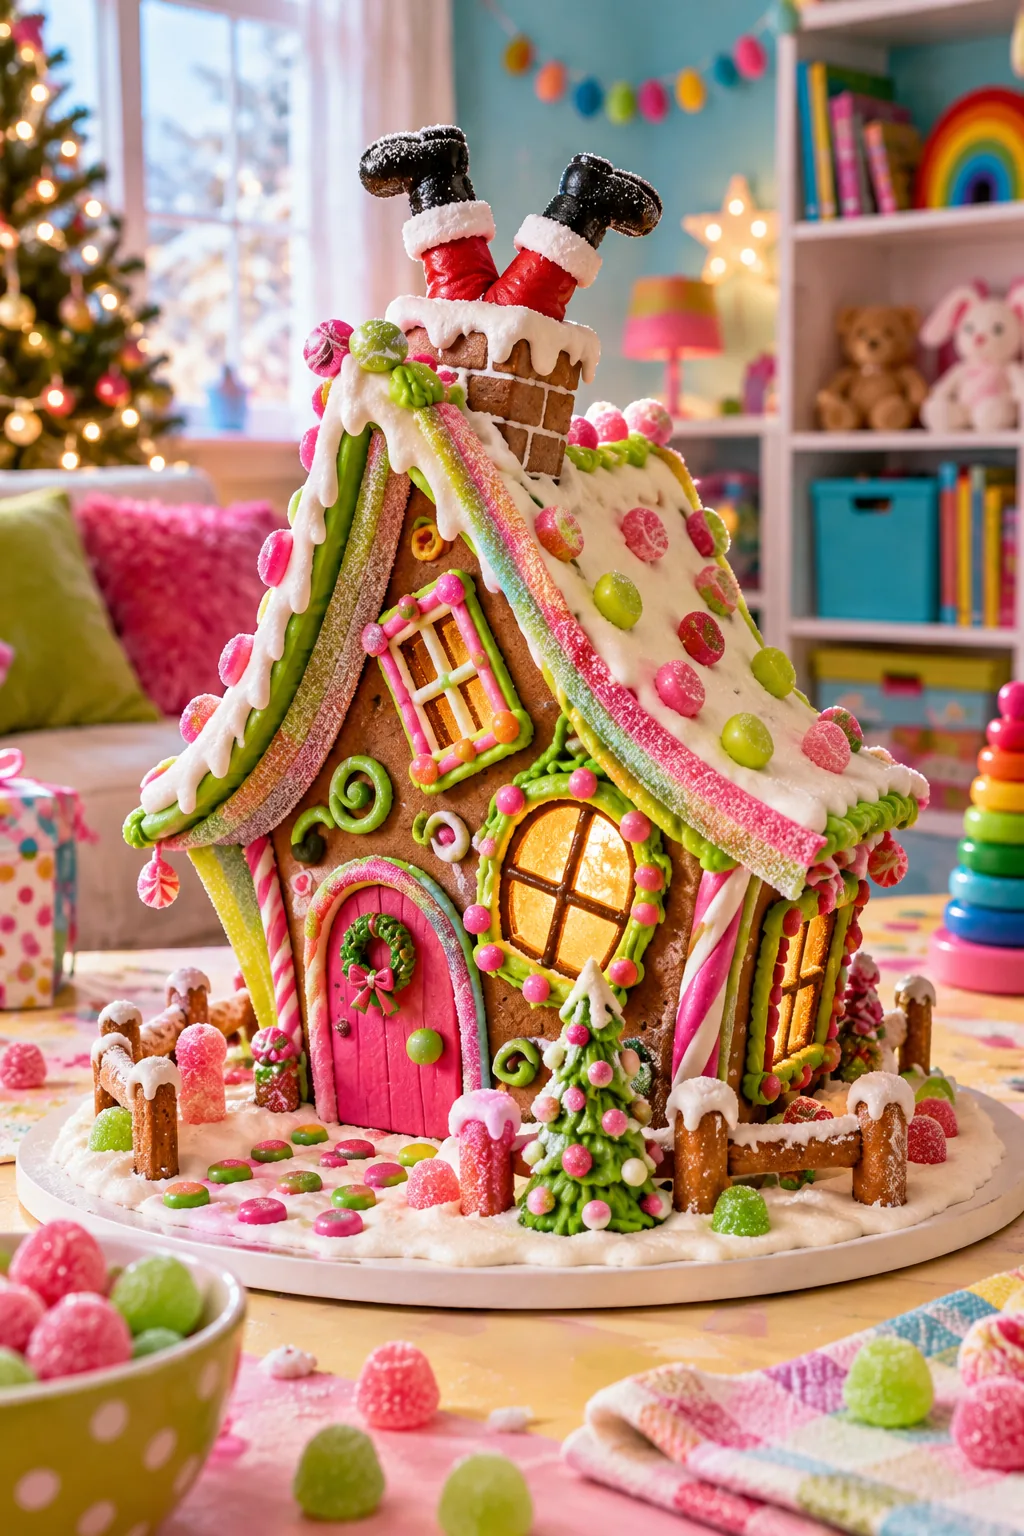
Funny Gingerbread House: The Stuck-Santa Build Schedule
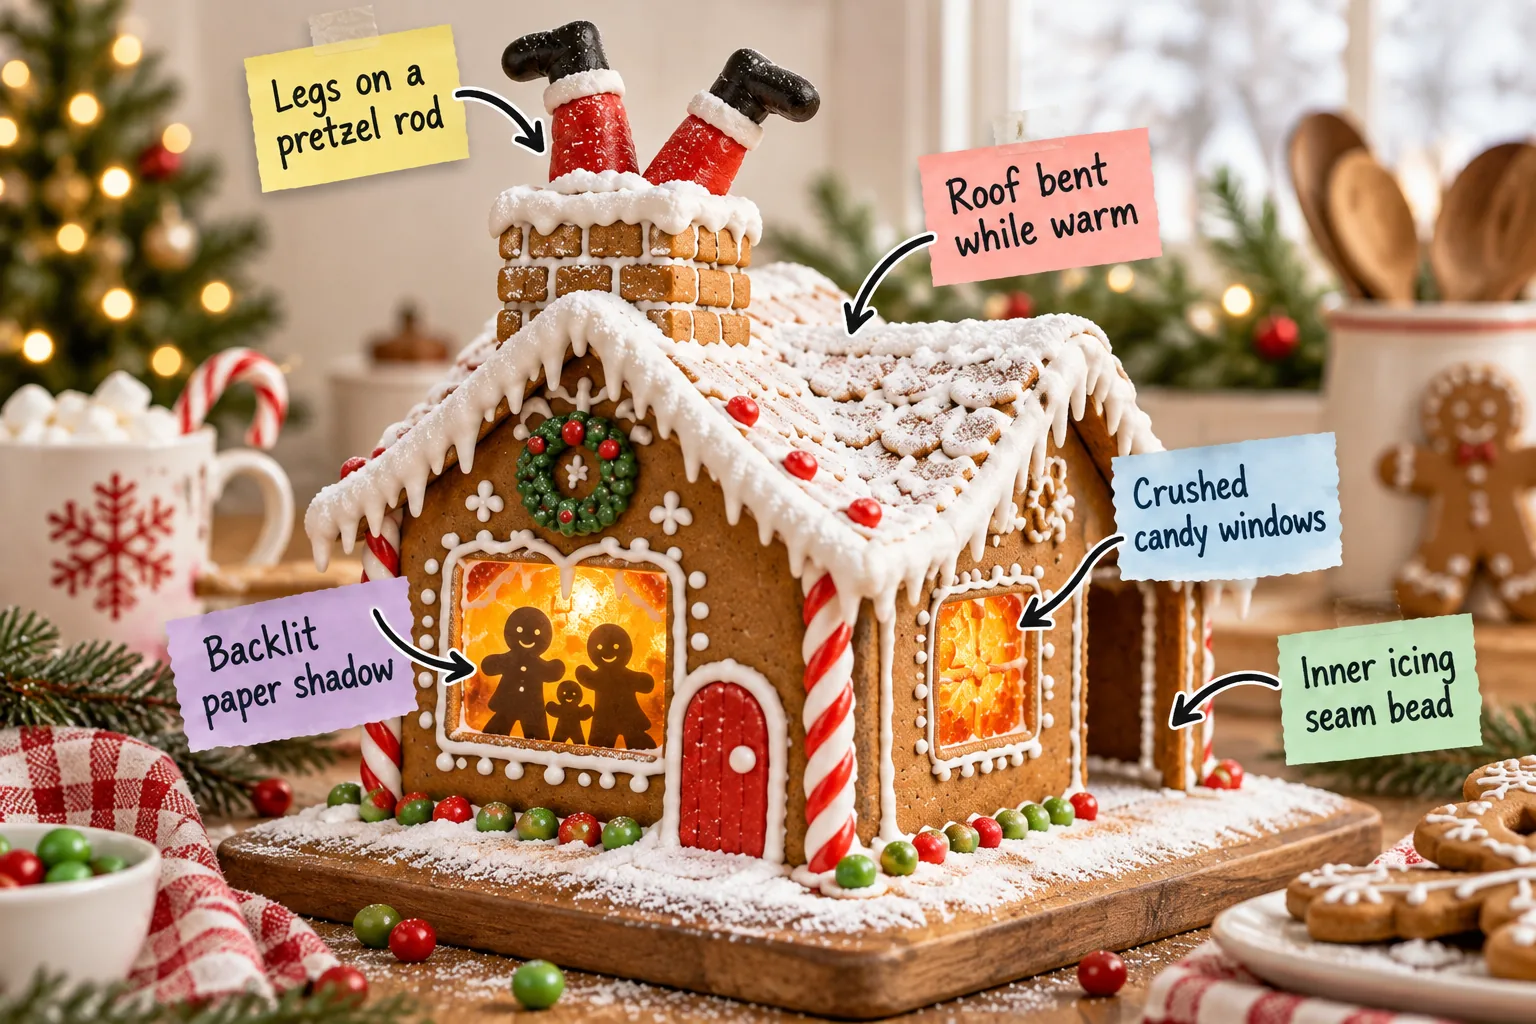
You will be able to bake, construct, and illuminate a structurally sound gingerbread house featuring a swaybacked roof and a backlit shadow-box joke. Grab the printable two-page Stuck-Santa Build Schedule with a panel cut list, roof-curve dimensions, and exact icing consistencies below.
Shaping the Swaybacked Roof
To achieve that signature cartoonish, sagging look, you need to shape your gingerbread roof panels while they are still hot and pliable from the oven. A specialized construction-grade gingerbread relies on a significantly higher ratio of flour to fat to remain perfectly rigid.
- Roll the chilled dough directly onto parchment paper to a precise quarter-inch thickness.
- Bake the heavy panels until the edges are completely firm and slightly browned.
- Immediately transfer the hot, flexible gingerbread directly to your curved shaping form.
Leave the warm panels draped over the curved form for exactly 10 minutes before carefully moving them to a wire cooling rack. Moving them too soon causes tearing, while leaving them on the form too long traps steam and makes the gingerbread roof soggy.
Pouring the Amber Candy Glass
Creating glowing, realistic windows requires filling your baked cutouts with crushed butterscotch candies right before the baking time finishes. The hard candies melt into a stunning translucent pane that perfectly mimics the look of antique, fire-lit glass when illuminated from within the dark house.
| Preparation | Crush hard candies into a fine powder | Before baking |
| First Bake | Bake gingerbread until edges are firm | 12 minutes |
| Candy Fill | Spoon crushed candy into the window cutouts | Quickly |
| Final Melt | Return to oven to melt the candy glass | 4 minutes |
The baking sheet must return to the 350°F oven for exactly 4 minutes to melt the candy into a smooth, glass-like pane. Watch the oven closely, because butterscotch burns incredibly quickly and will turn cloudy and bitter if left in the heat too long.
Mixing the Two Icing Consistencies
Structural seams require a stiff-peak icing that holds its shape, while the snowy roof details need a 15-second flood icing for natural drips. I once tried using flood icing for walls, and my entire cottage collapsed into a sticky puddle before I even added the roof.
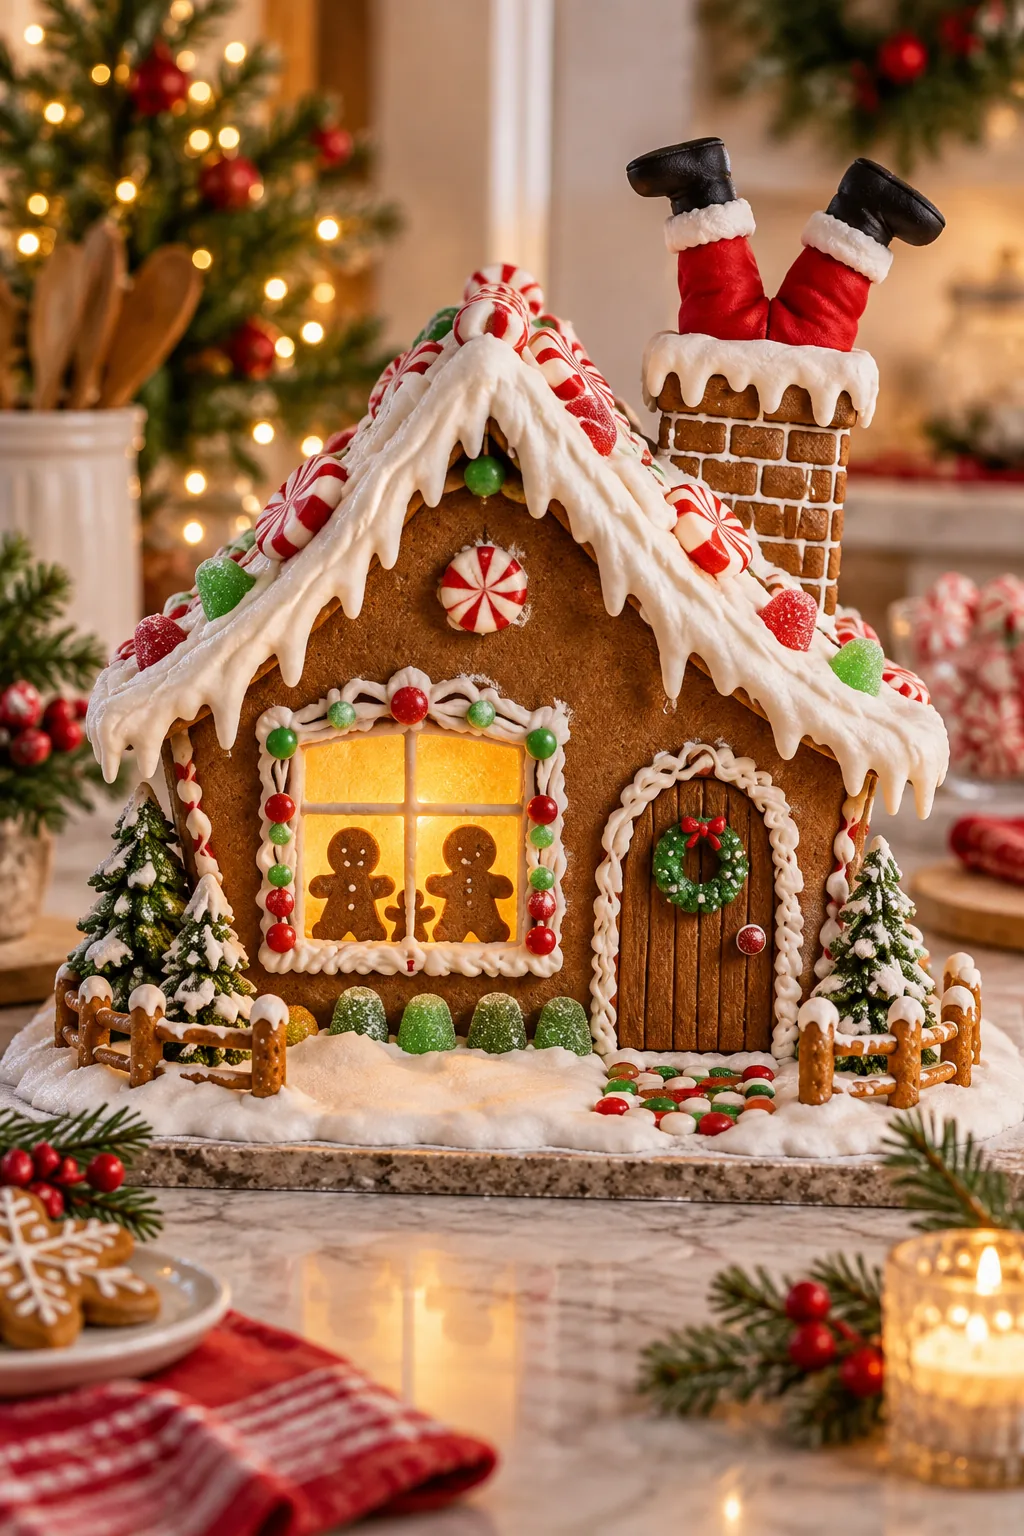
Getting the icing texture right is the single most important factor in preventing a sudden gingerbread collapse, so verify your batches against these benchmarks. Testing your icing before piping saves you from dealing with sliding walls or clumpy, unnatural-looking snow on the roof.
Reinforcing the Inner Seams
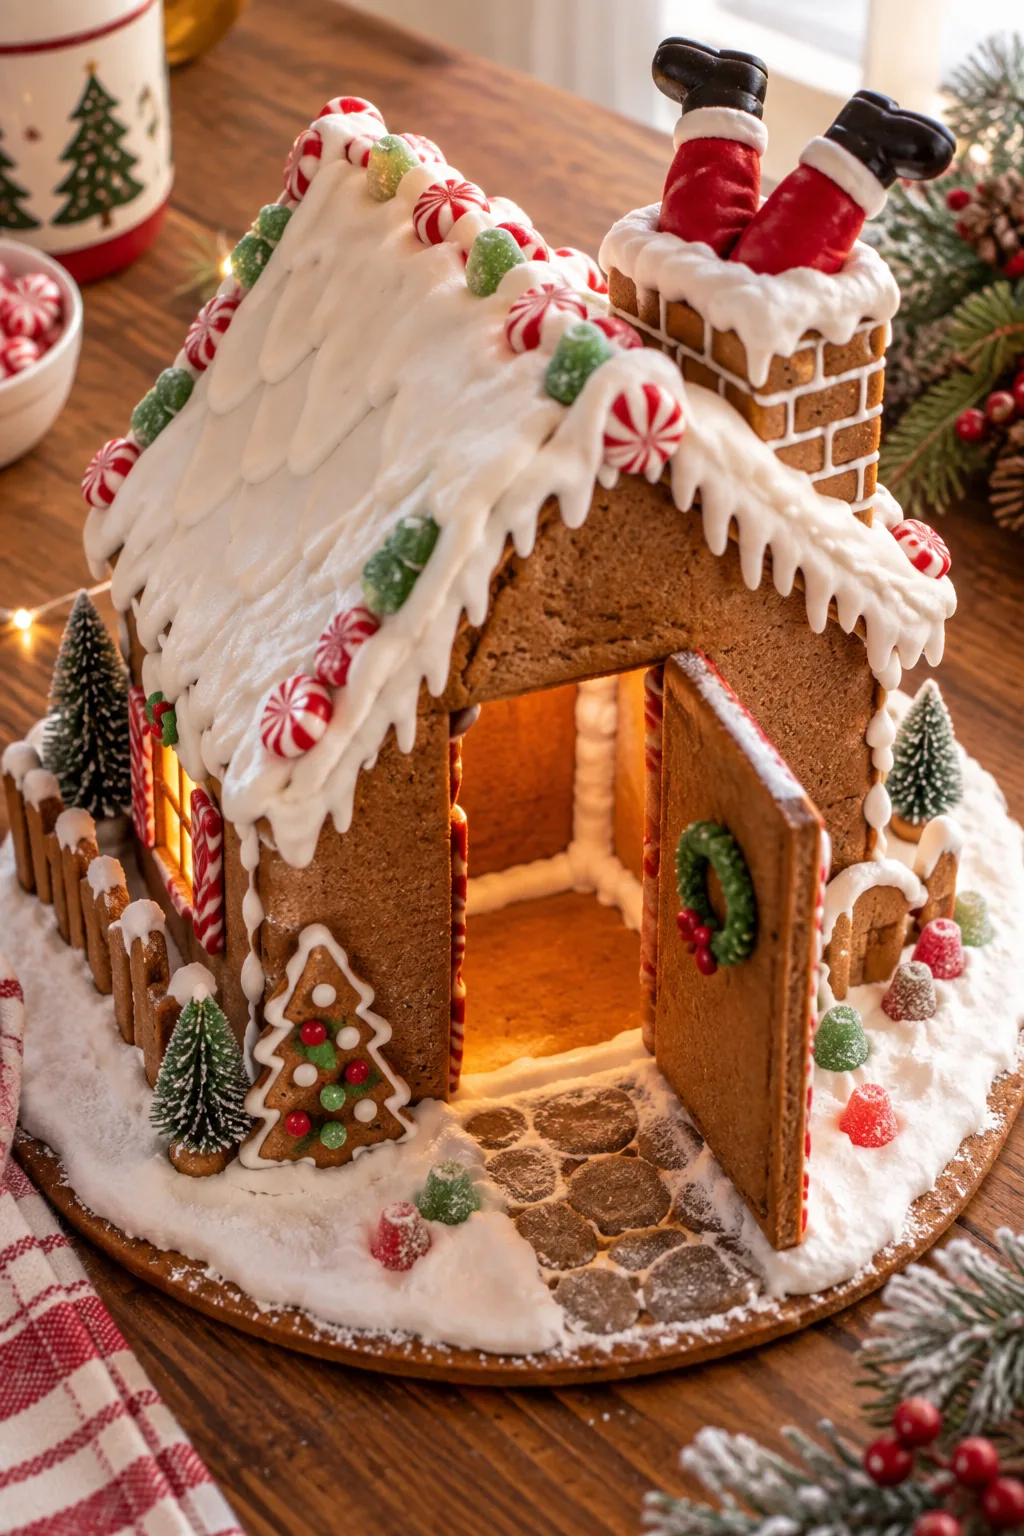
A rock-solid foundation relies on piping a thick, continuous bead of stiff royal icing along every single interior joint of the house. These hidden supports act exactly like the wooden framing of a real home, locking the heavy gingerbread panels together permanently and securely.
Press the baked walls together, hold them firmly for sixty seconds, and prop them with heavy canned goods while the icing sets. Emphasize that these inner seams must cure for a full 4 hours before attempting to attach the heavy, curved roof panels.
Creating the Snowy Roof Drips
Once the structural icing has fully cured, you can use your thinner flood icing to create thick, cartoonish snowdrifts along the eaves. Pushing the icing gently over the curved edges allows it to drip naturally, mimicking the look of freshly fallen, heavy winter snow.
Layering the Snowdrifts
Applying the snow in multiple thin layers creates much more realistic volume than trying to pile on a massive amount of icing all at once. Let each layer set for twenty minutes before adding the next to build up those deep, fluffy, overhanging drifts.
Placing the Family Silhouette
The punchline of the joke comes to life when you cut a gingerbread family silhouette out of black cardstock to hide inside. My kids spent an hour cutting out tiny paper dogs to add to our window scene last year, and it totally made the joke.
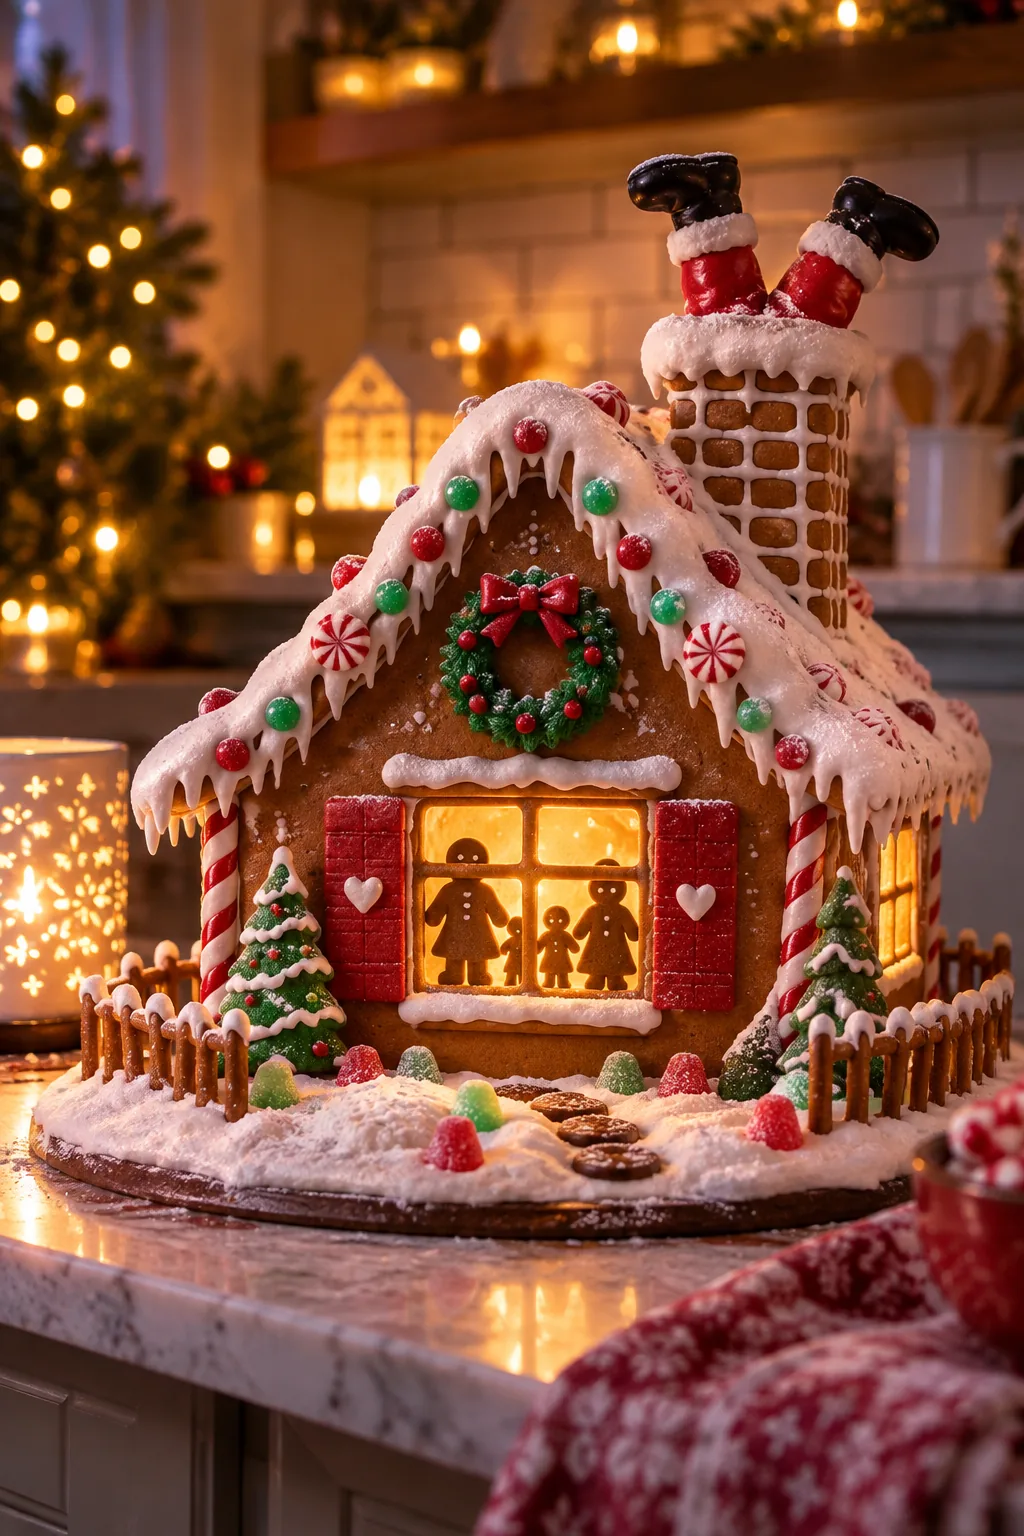
Mount the paper cutout exactly 1/4-inch behind the front candy window using two small dabs of stiff icing on the inner wall. Leaving this small gap prevents the paper from sticking to the candy glass and significantly enhances the dimensional, realistic shadow effect.
Lighting the Gingerbread Scene
To make the amber windows glow and cast the paper shadow, you need to illuminate the interior with a bright, cool-running light source. I always route the wire through the back doorway so I can easily swap batteries when we leave it glowing all evening.
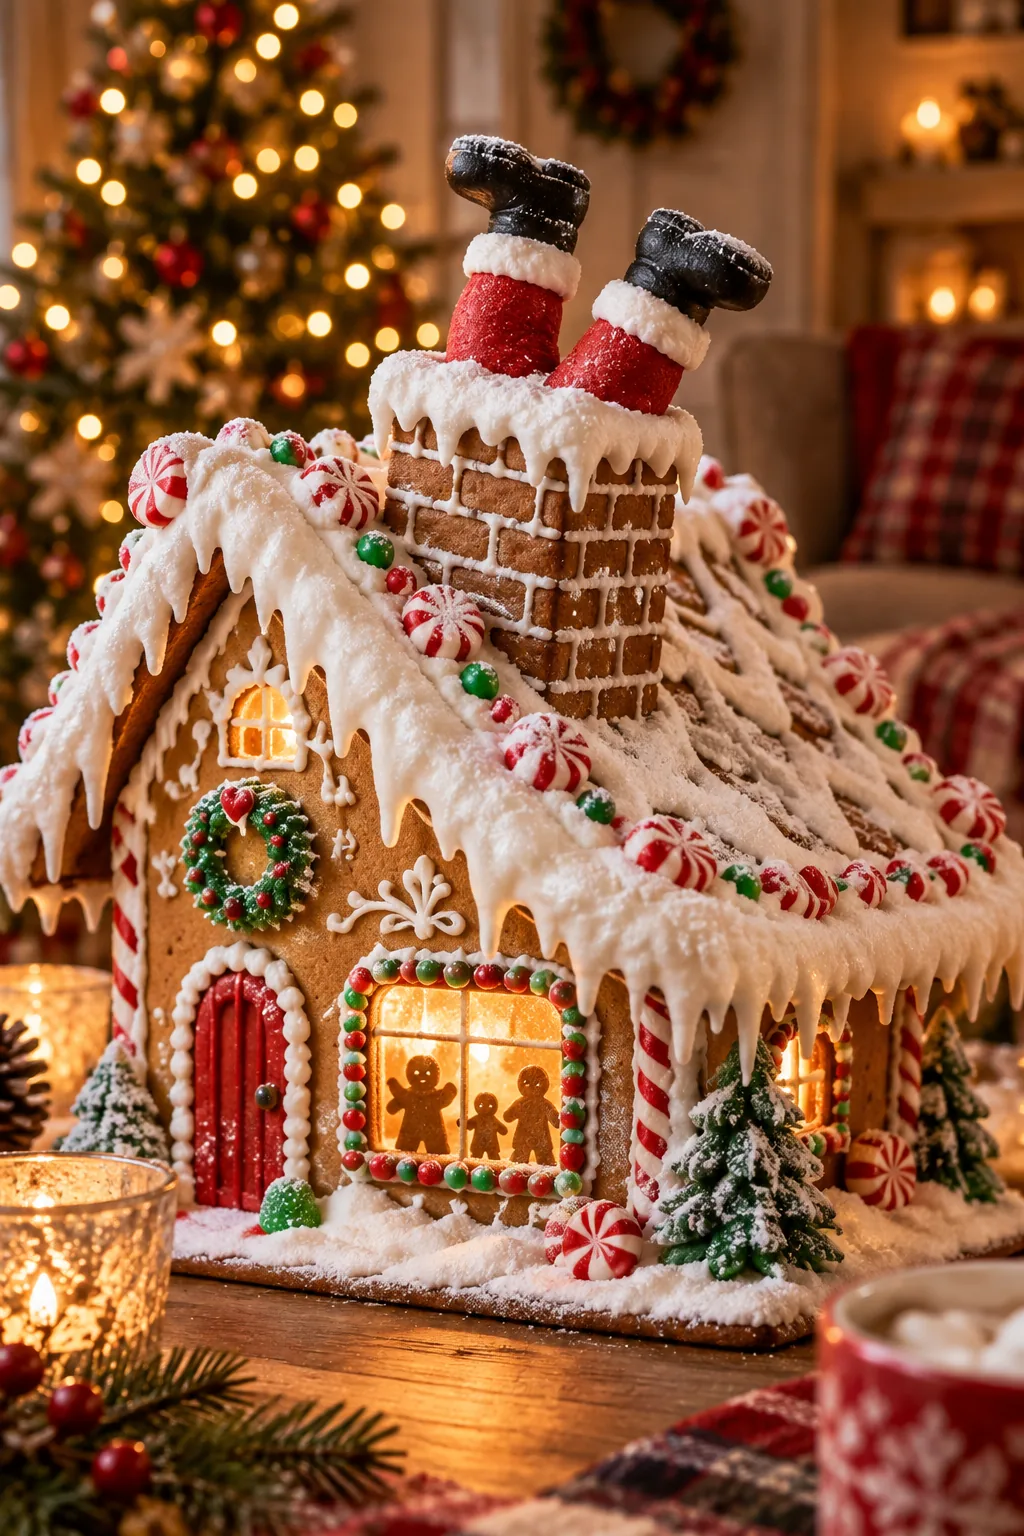
A short strand of battery-operated warm white LED fairy lights provides the perfect fireplace glow while leaving the battery pack fully accessible. Never use traditional incandescent bulbs, as they generate enough ambient heat to melt the candy windows and soften the crucial structural icing.
Building the Chimney Structure
Before Santa can get stuck, you need to construct a sturdy chimney block out of four small, rectangular gingerbread panels. Assembling this mini-structure separately on your counter ensures the corners are perfectly square before you attempt to mount it on the slanted, curved roof.
Setting the Chimney Core
A hollow chimney cannot support the weight of the fondant-covered legs without eventually cracking under the pressure. Filling the center with a dense core of stiff icing provides the necessary structural backing to hold the heavy pretzel rods securely in place all season long.
Anchoring the Pretzel-Rod Legs
Building Santa’s legs requires thick pretzel rods as an edible armature to support the heavy weight of the fondant and icing. I used to make the legs purely out of fondant, but they would always wilt sideways until I discovered the sturdy pretzel trick.
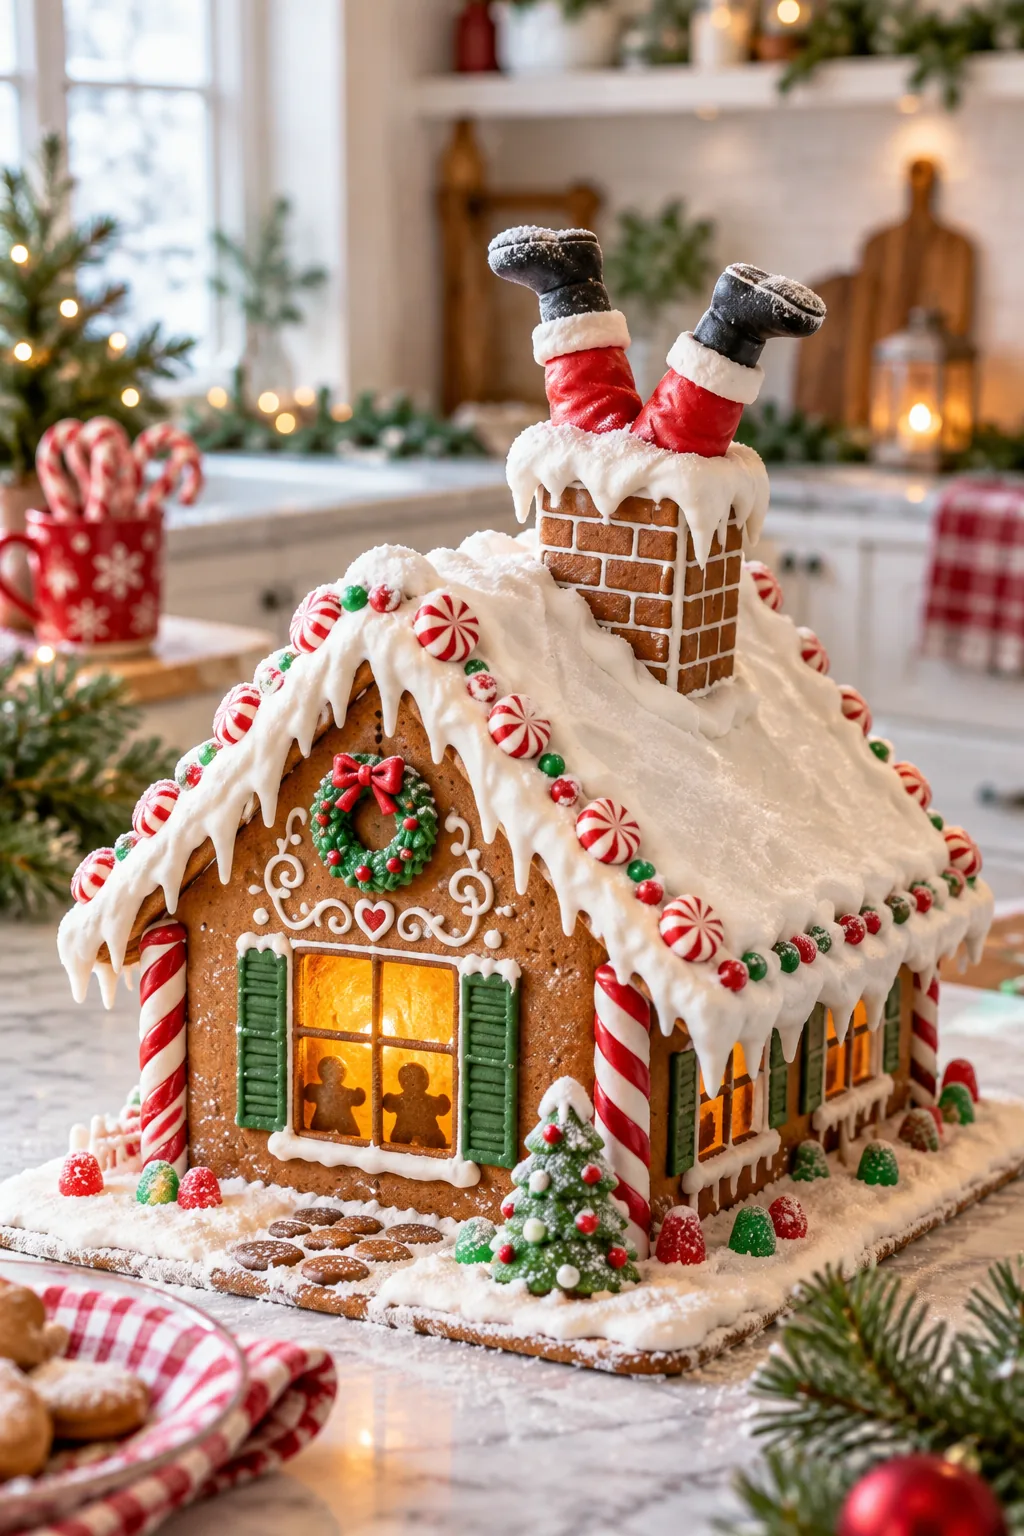
Coat the rods in red fondant, attach black marshmallow boots, and sink them 2 inches deep into the icing-filled chimney. The displaced icing will bulge out around the boots, creating the hilarious visual illusion that he squeezed into the chimney a bit too tightly.
Curing the Final Assembly
Moving a freshly assembled gingerbread house is a guaranteed recipe for disaster, as the heavy walls can easily shift out of alignment. You must leave the completed structure completely undisturbed on its display board for at least twenty-four hours before attempting to relocate it safely.
Transporting the Display Board
When it is finally time to move your masterpiece to the dining table, always lift from the bottom of the sturdy wooden display board. Never grab the gingerbread walls or the delicate curved roof, as the pressure from your hands can easily snap the rigid icing seams.
Adding the Final Snow Details
Once the main structure is rock solid, you can pipe small dots of flood icing across the yard to resemble a fresh, light snowfall. Adding these tiny finishing touches transforms the bare display board into a complete, cohesive winter wonderland aesthetic.
- Dust the entire finished scene with a fine layer of powdered sugar.
- Pipe small icicles hanging down from the edges of the candy windows.
- Arrange small fondant snowballs around the base of the sturdy chimney.
Always wait until the house is in its final display location before adding these delicate powdered sugar touches. Moving the board afterward will cause the loose sugar to shift, ruining the pristine, freshly fallen snow effect you just created.
The Stuck-Santa Build Schedule
Having the dimensions and timeline clearly laid out takes the guesswork out of this ambitious project, ensuring you never miss a crucial drying window. Grab the printable guide below to keep your kitchen organized and your gingerbread panels baking exactly on schedule.
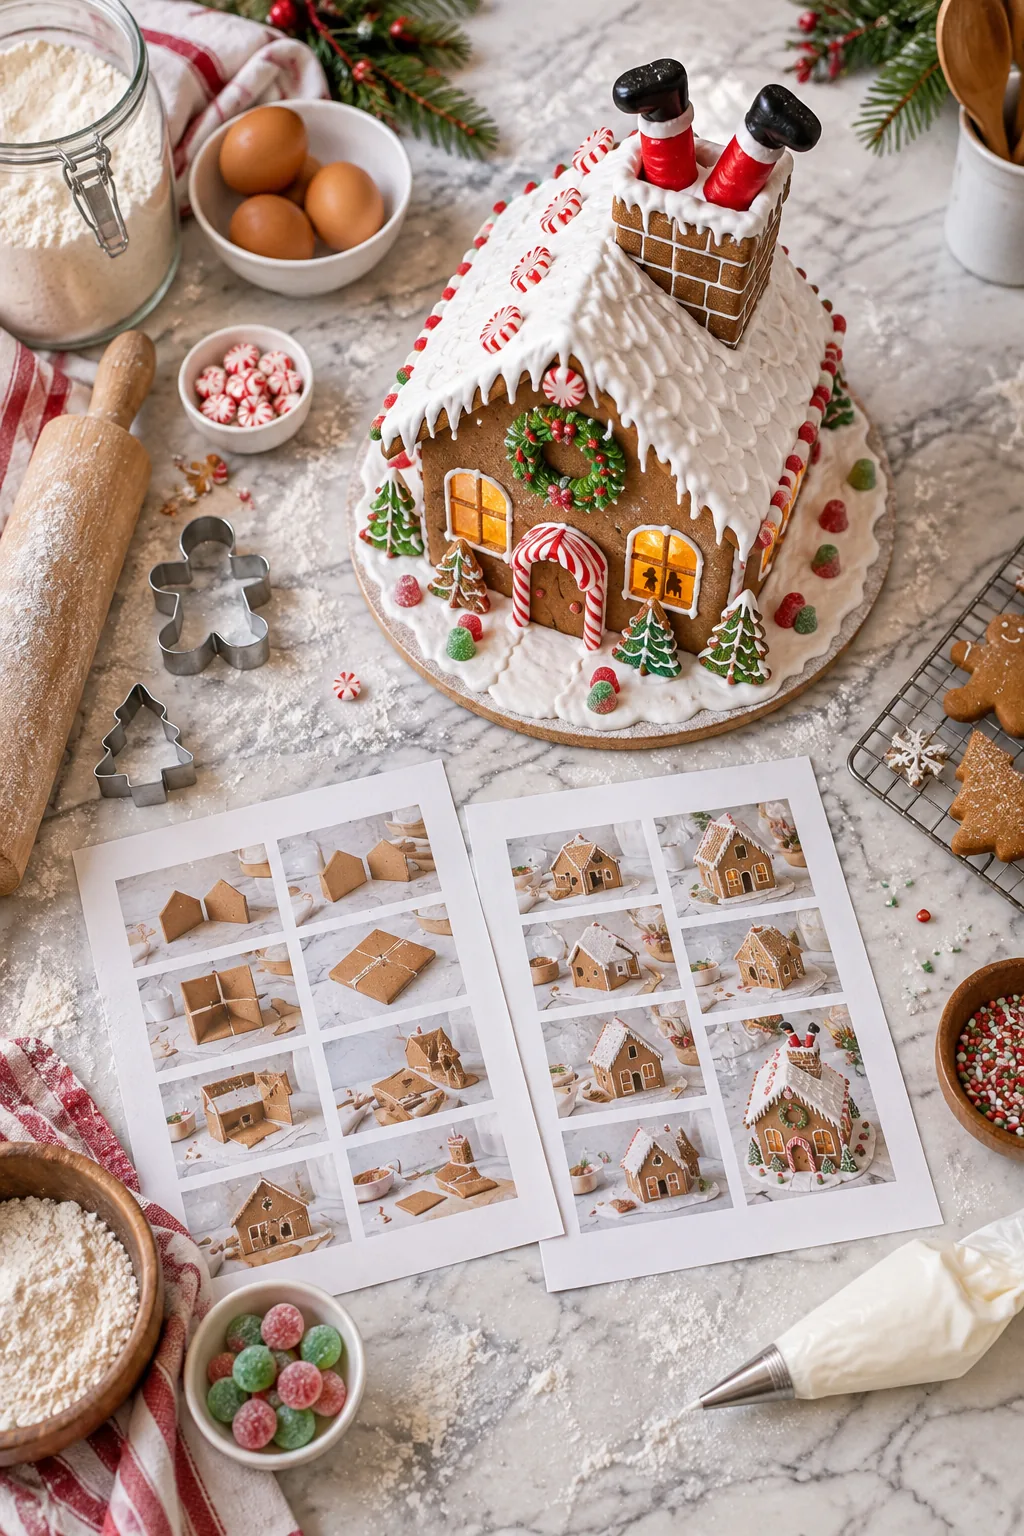
Following the exact baking, drying, and assembly timeline guarantees a stress-free build, giving you the step-by-step order of operations. Keep this schedule on your counter to master the bent roof, candy windows, and backlit shadows without any mid-construction collapses.
More Ways to Style the Stuck-Santa Joke
Adapt the humorous silhouette concept to fit any holiday decor style.
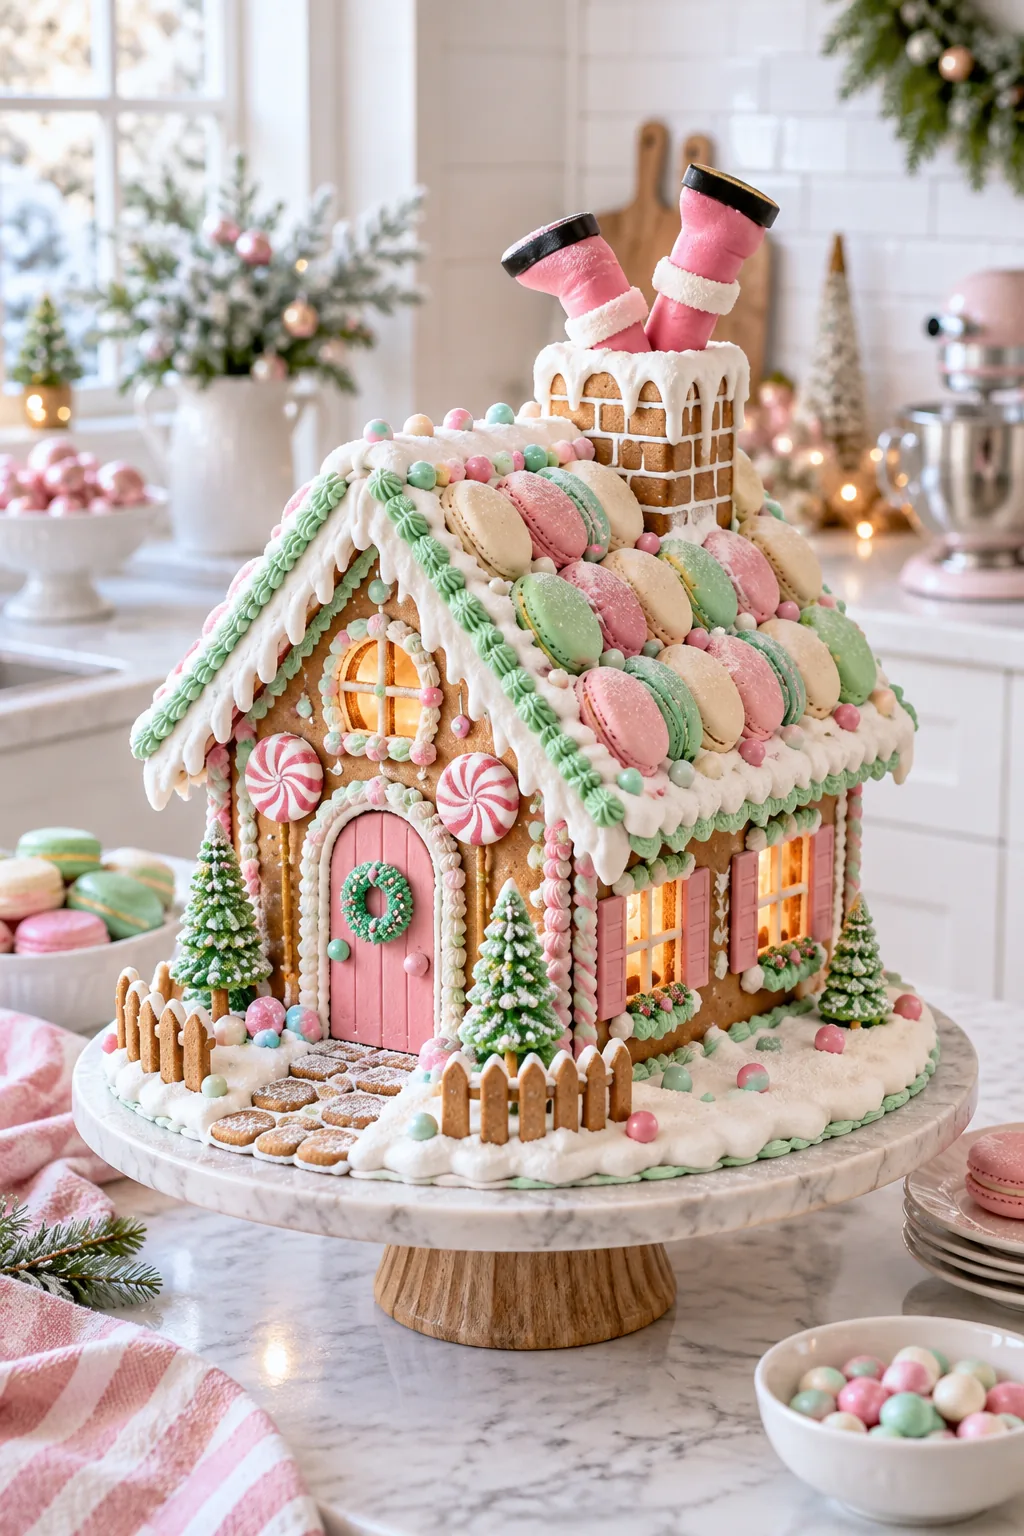
Pastel Candyland Cottage: Swap traditional colors for mint and pink icing to create a playful candyland vibe. Use halved macarons for a textured, colorful roof.
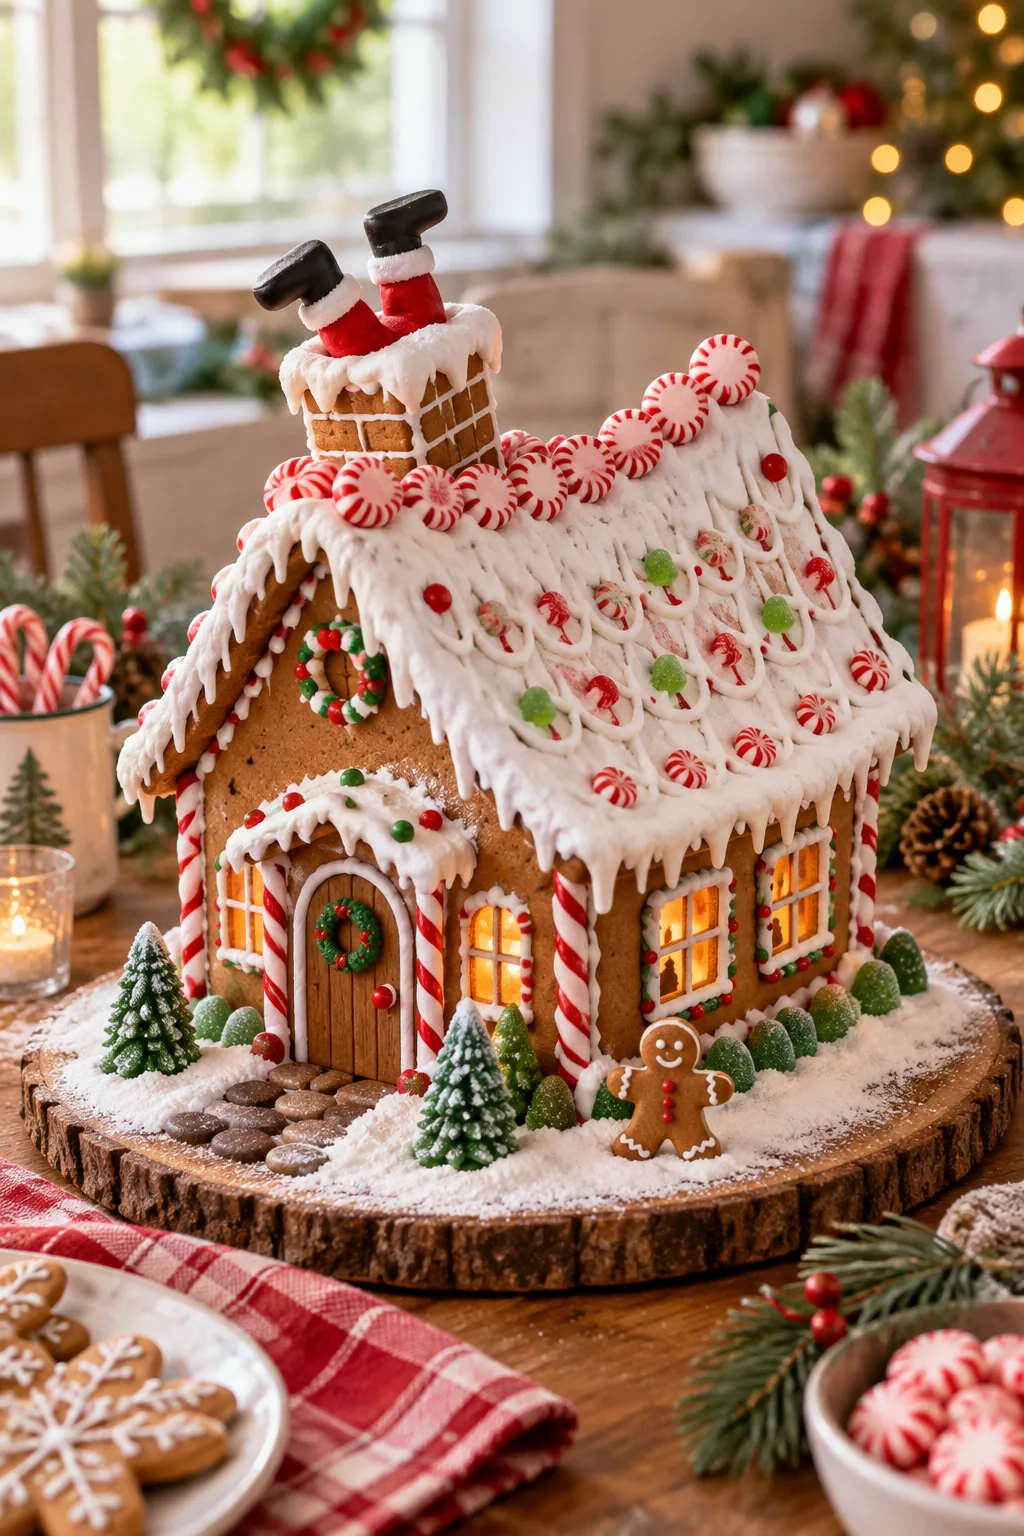
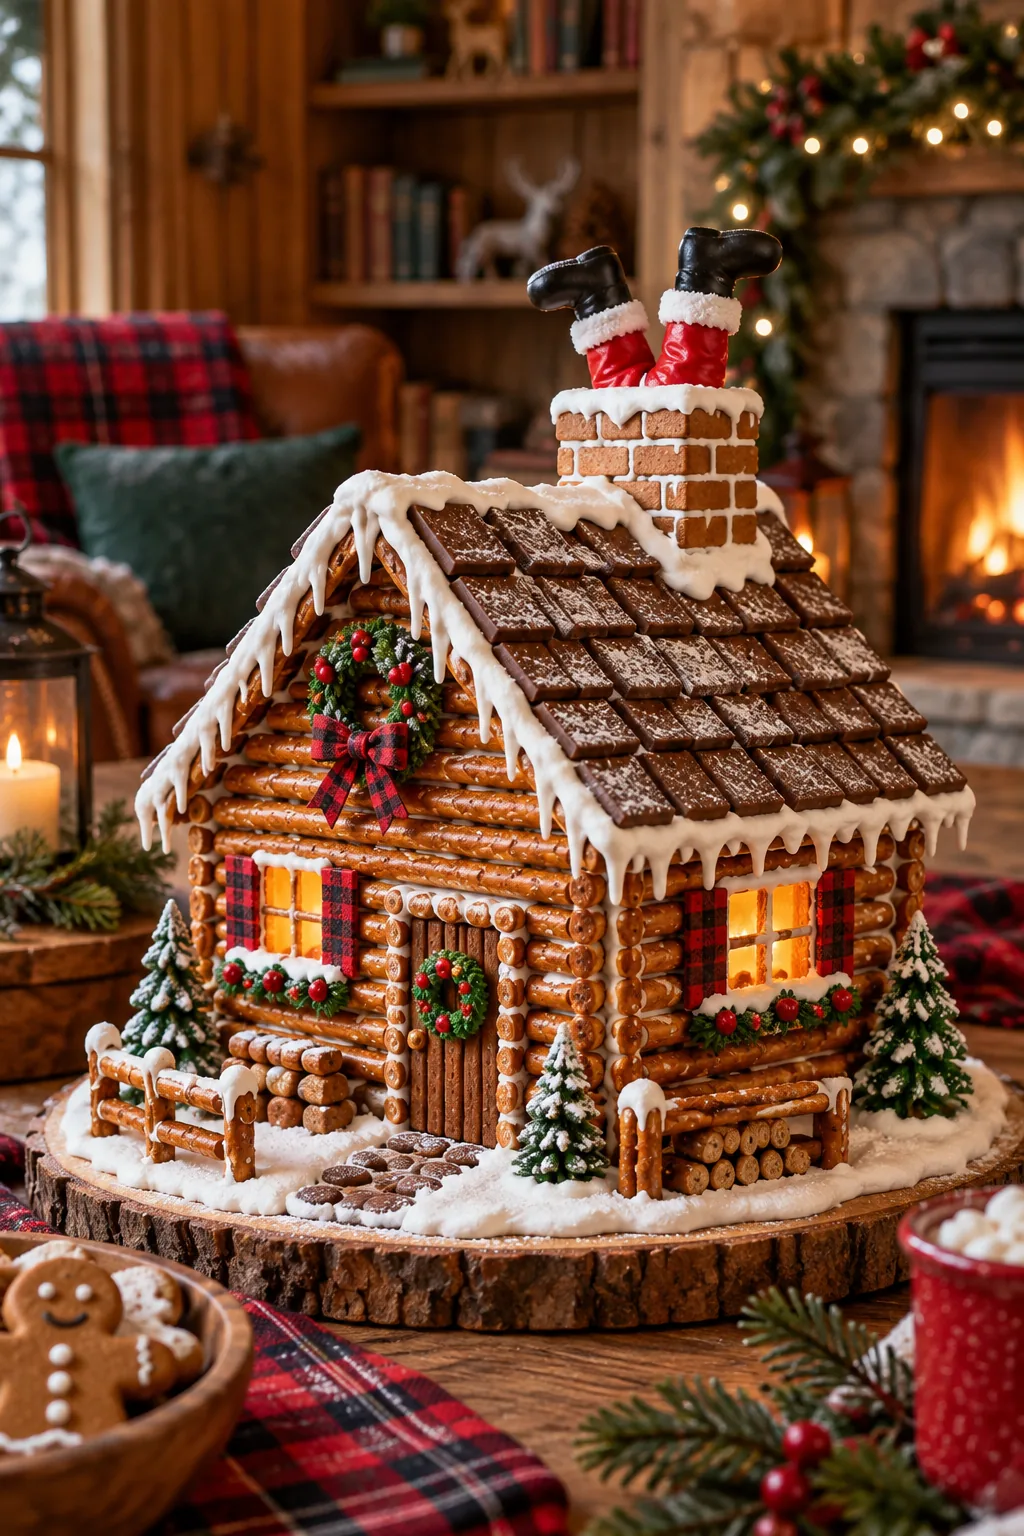
Rustic Pretzel Log Cabin: Build the walls using thick pretzel rods for a rustic woodland look. Finish the roof with overlapping chocolate squares instead of traditional gingerbread.
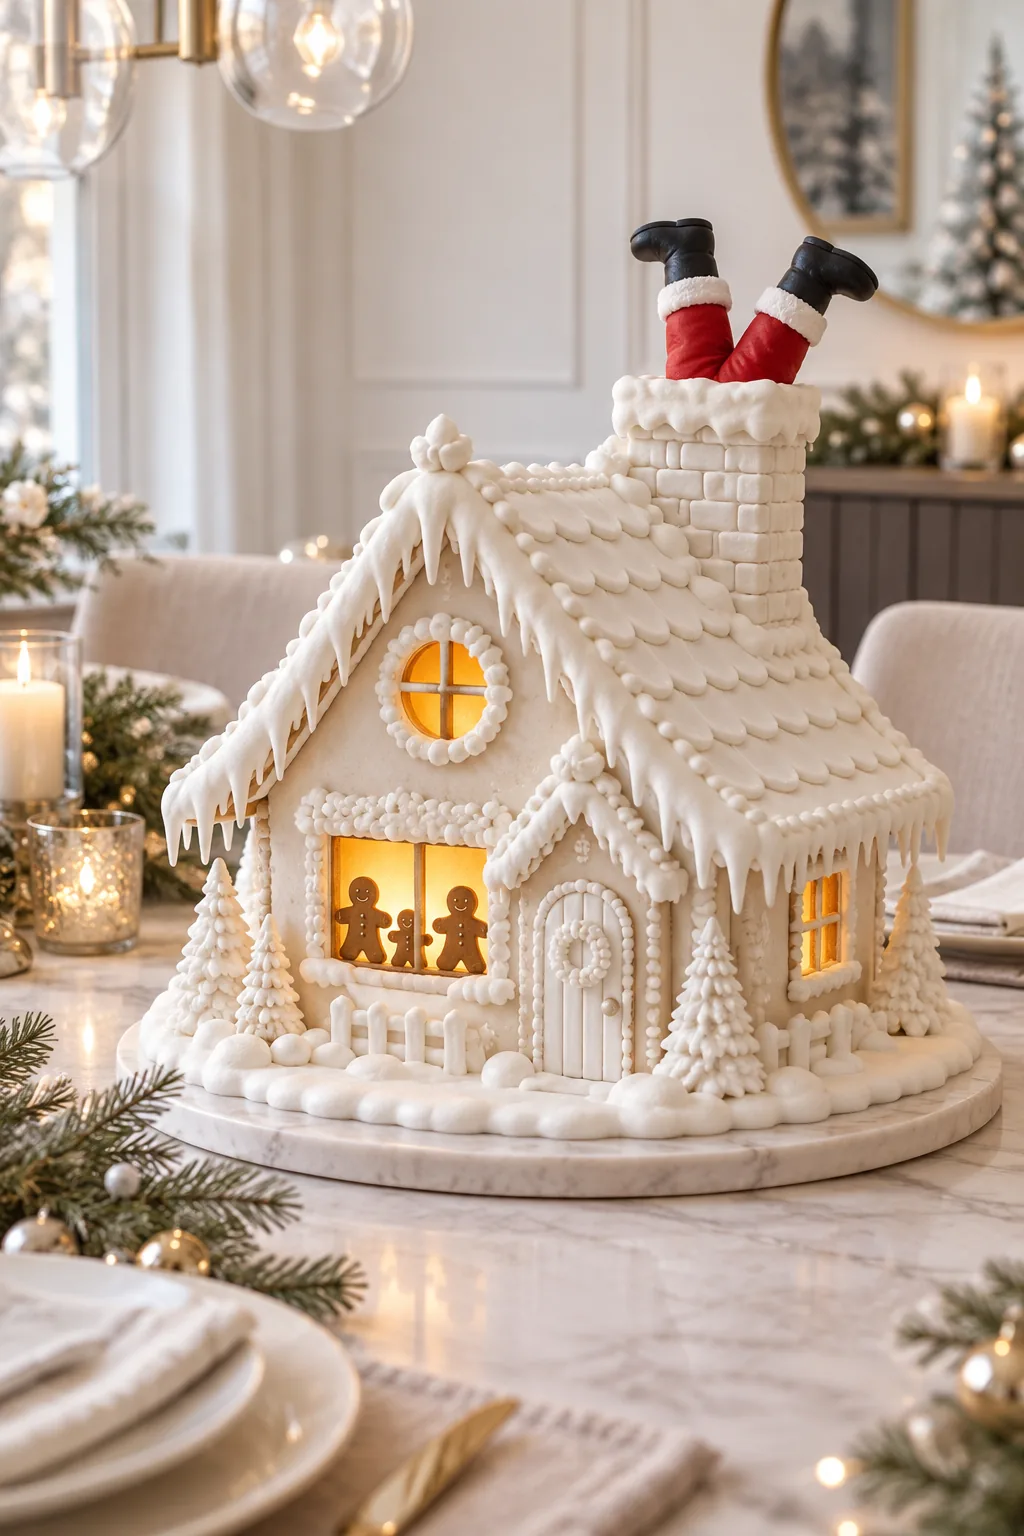
Minimalist White Winter House: Stick to a strict all-white icing palette for a modern, sophisticated take on the joke. The stark white exterior makes the amber windows pop brilliantly.
Neon Whimsical Wonky Build: Lean into the humor with extreme, asymmetrical angles and bright lime green accents. Sour candy strips make excellent vibrant trim around the wonky doors.