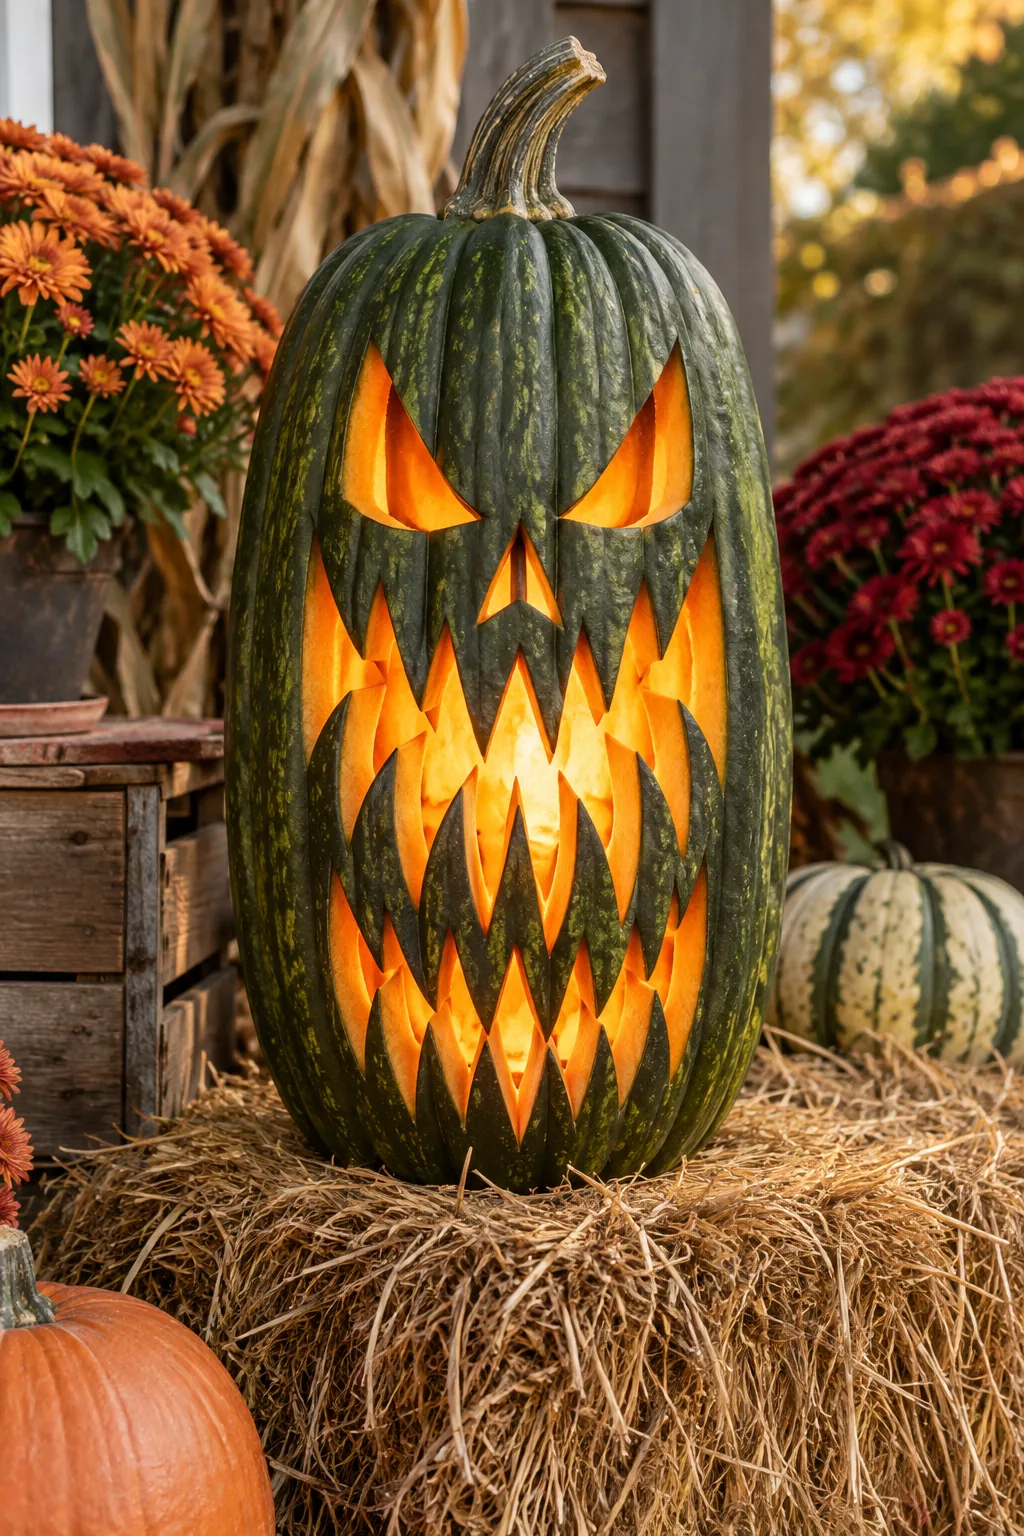
Tall Pumpkin Faces: Printable Vertical Carving Templates
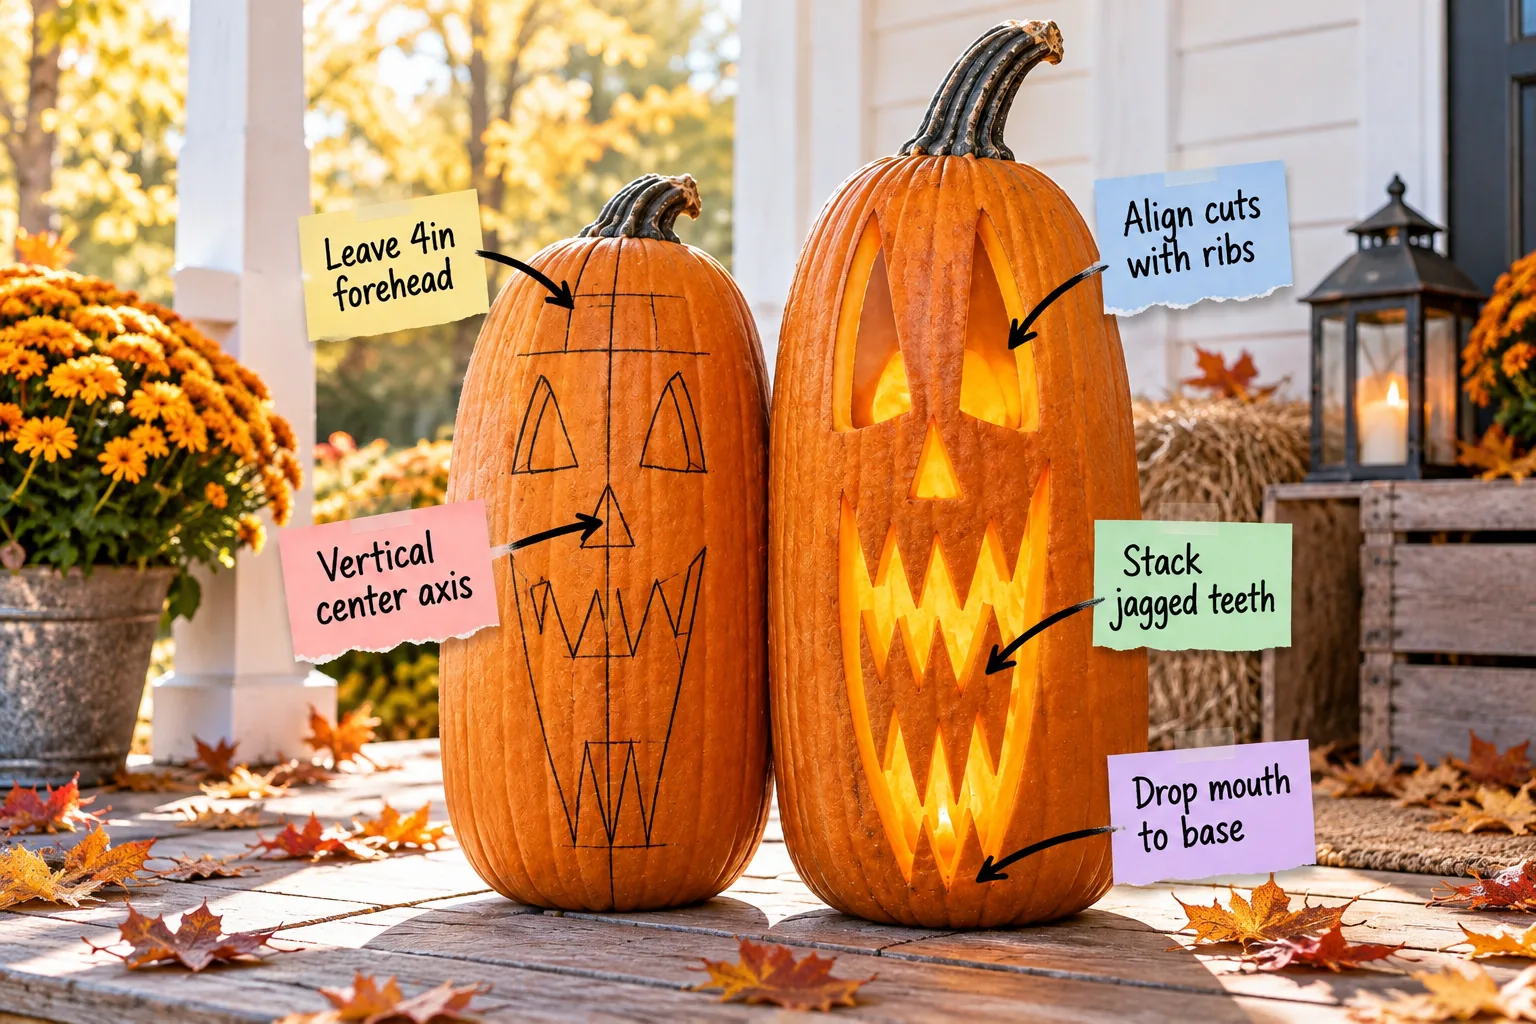
Grab our free printable proportion templates to turn oblong pumpkins into perfectly balanced, glowing porch displays this autumn. You will be able to map out and carve flawlessly proportioned tall pumpkin faces using these exact vertical layout guides.
Establishing the vertical center axis
Finding the true vertical center ensures your elongated face doesn’t look warped or lopsided once carved. I once ruined a gorgeous heirloom pumpkin by eyeballing the middle, only to realize my entire design drifted sideways across the uneven surface.

Because tall pumpkins rarely grow perfectly straight, you need a flexible way to map the true midline before drawing any features. Pinning a piece of string at the stem and letting gravity pull it downward creates a perfect reference line.
- Pin a piece of heavy baker’s twine directly into the base of the front stem.
- Tie a small metal washer to the bottom of the string to act as a plumb bob.
- Trace the resulting straight line lightly with a washable marker to lock in your axis.
Leaving a four-inch forehead
You must leave a strict 4-inch solid forehead above the eyes to support the heavy upper dome. Maintaining this wide, uncarved space prevents the structural lid from eventually collapsing inward as the carved pumpkin begins to soften and age.
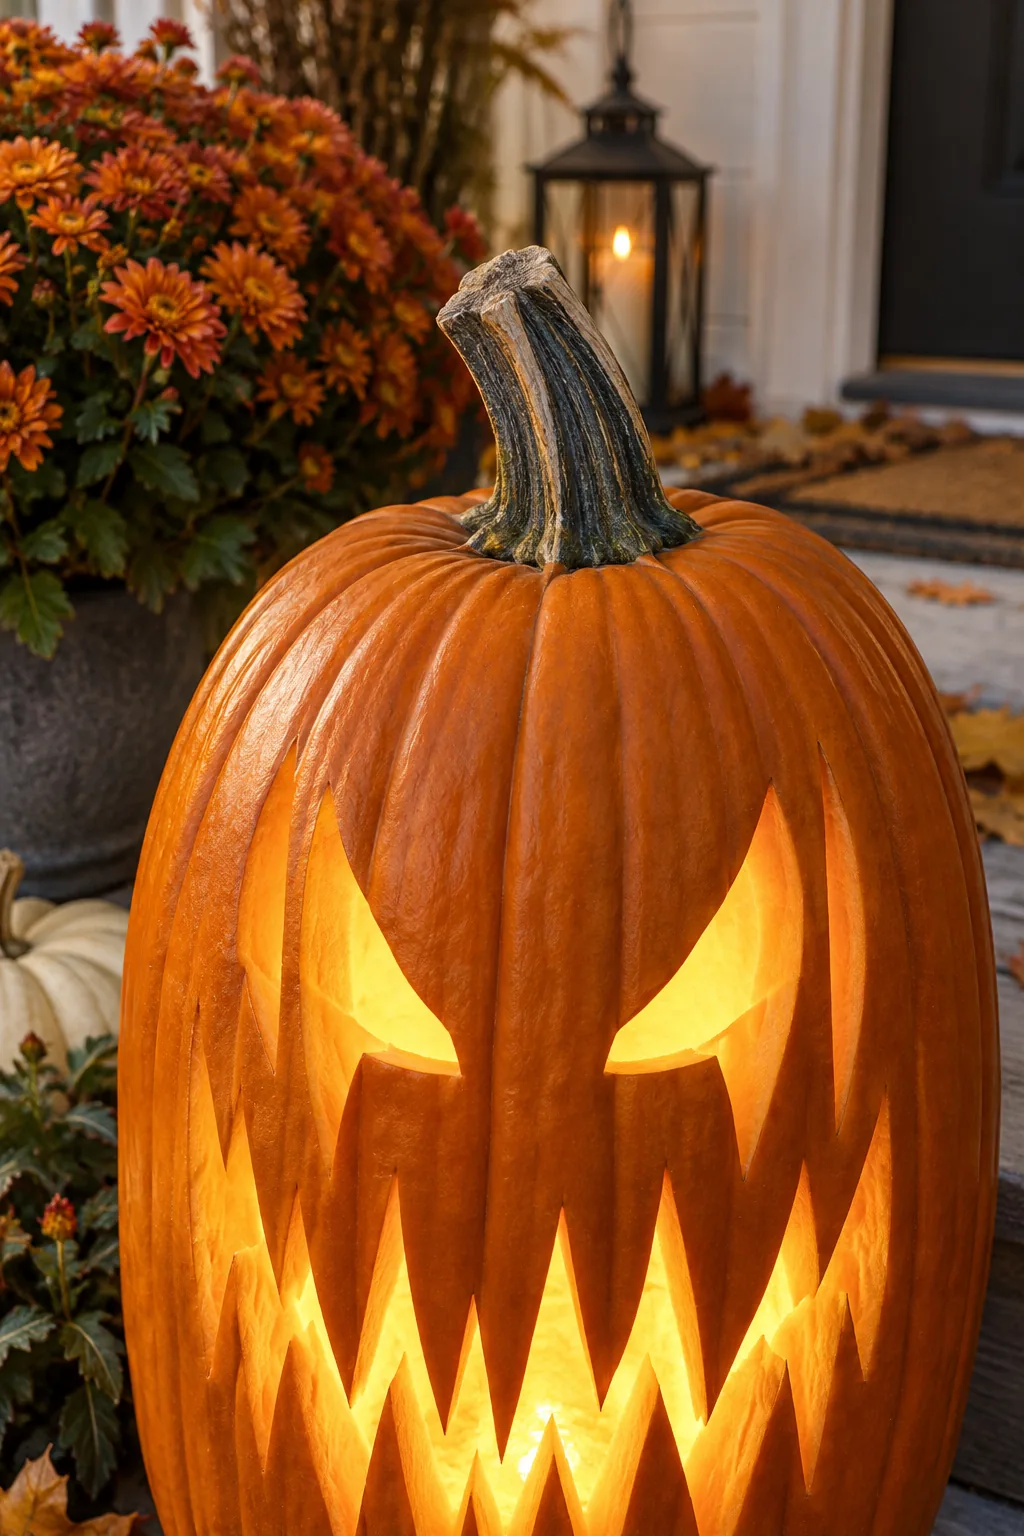
This blank upper zone also provides crucial visual balance for the dramatically stretched features below. Without a tall forehead anchoring the design, the elongated face will look squashed and entirely out of proportion.
- Measure exactly four inches down from the lowest edge of your planned lid cut.
- Keep this entire upper quadrant completely free of any decorative surface scoring.
- Use this solid forehead space to hide the insertion point for heavy hanging hardware.
Aligning eye cuts with natural ribs
You can create a much stronger design by using the pumpkin’s natural vertical grooves as outer guides for the tall eyes. Last year, I started aligning my major cuts with these deep channels, and it completely stopped my detail blades from snapping.
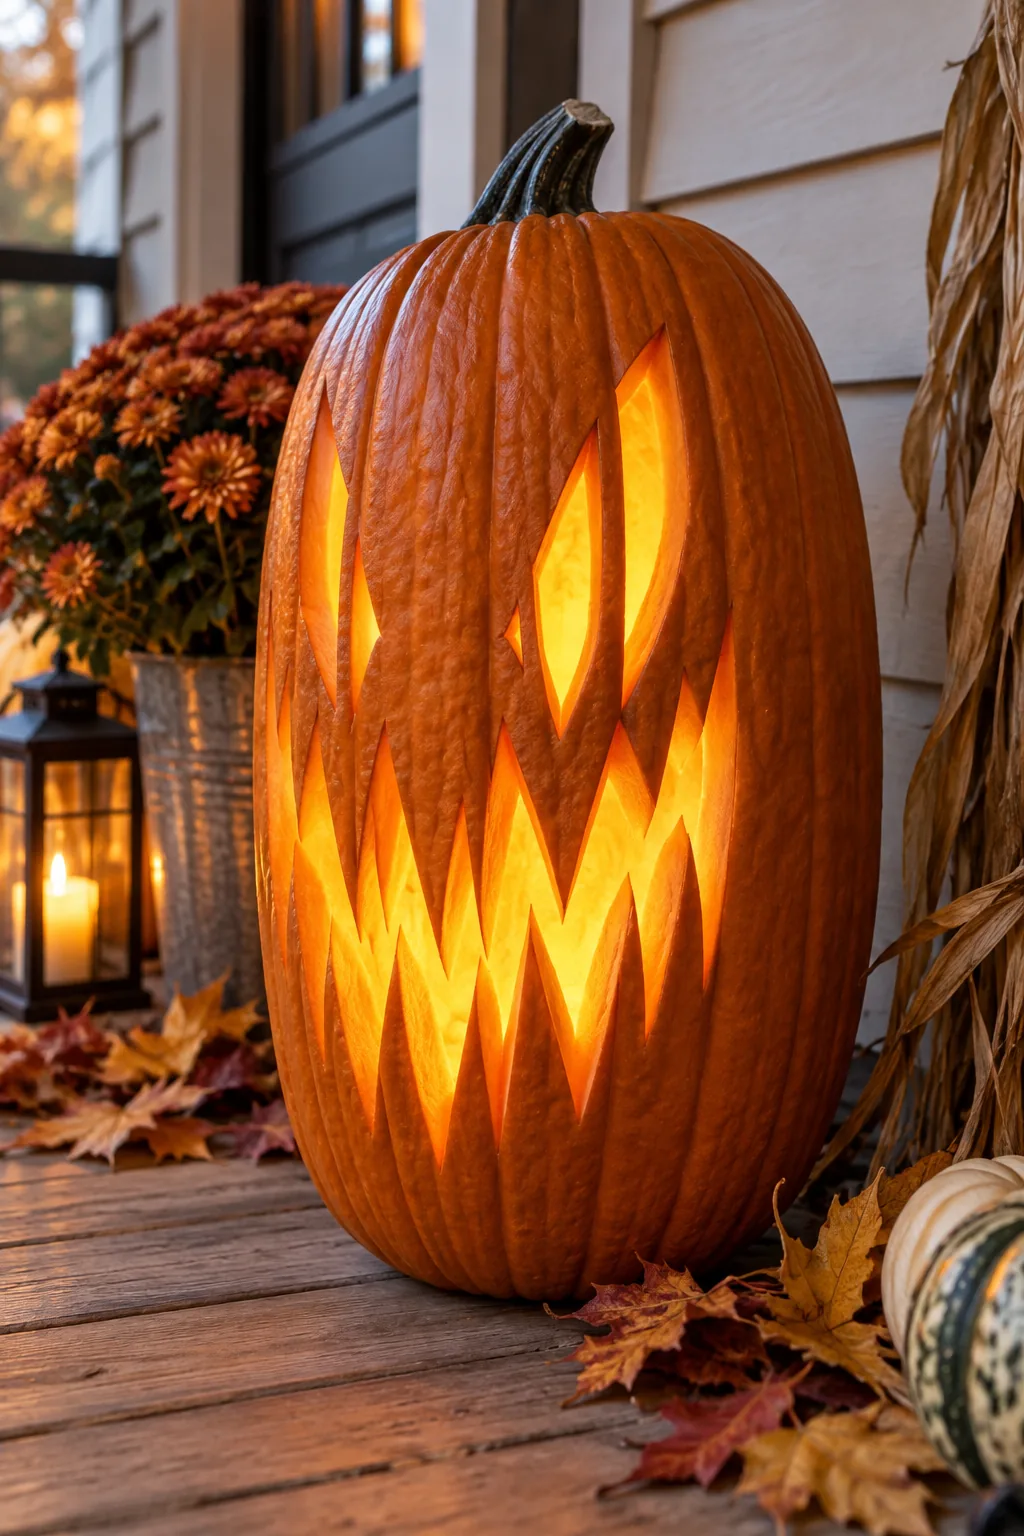
Following the pumpkin’s natural architecture not only looks cleaner but also makes the physical carving process significantly easier. Sinking your blade into the thinner membrane of these valleys requires far less force than sawing through the thickest ridges.
Stacking jagged teeth for height
Filling the massive vertical space requires stacking two or three distinct rows of jagged teeth rather than a single horizontal smile. I love building these towering, layered mouths because they cast the most incredible, intimidating shadows across our front porch steps.
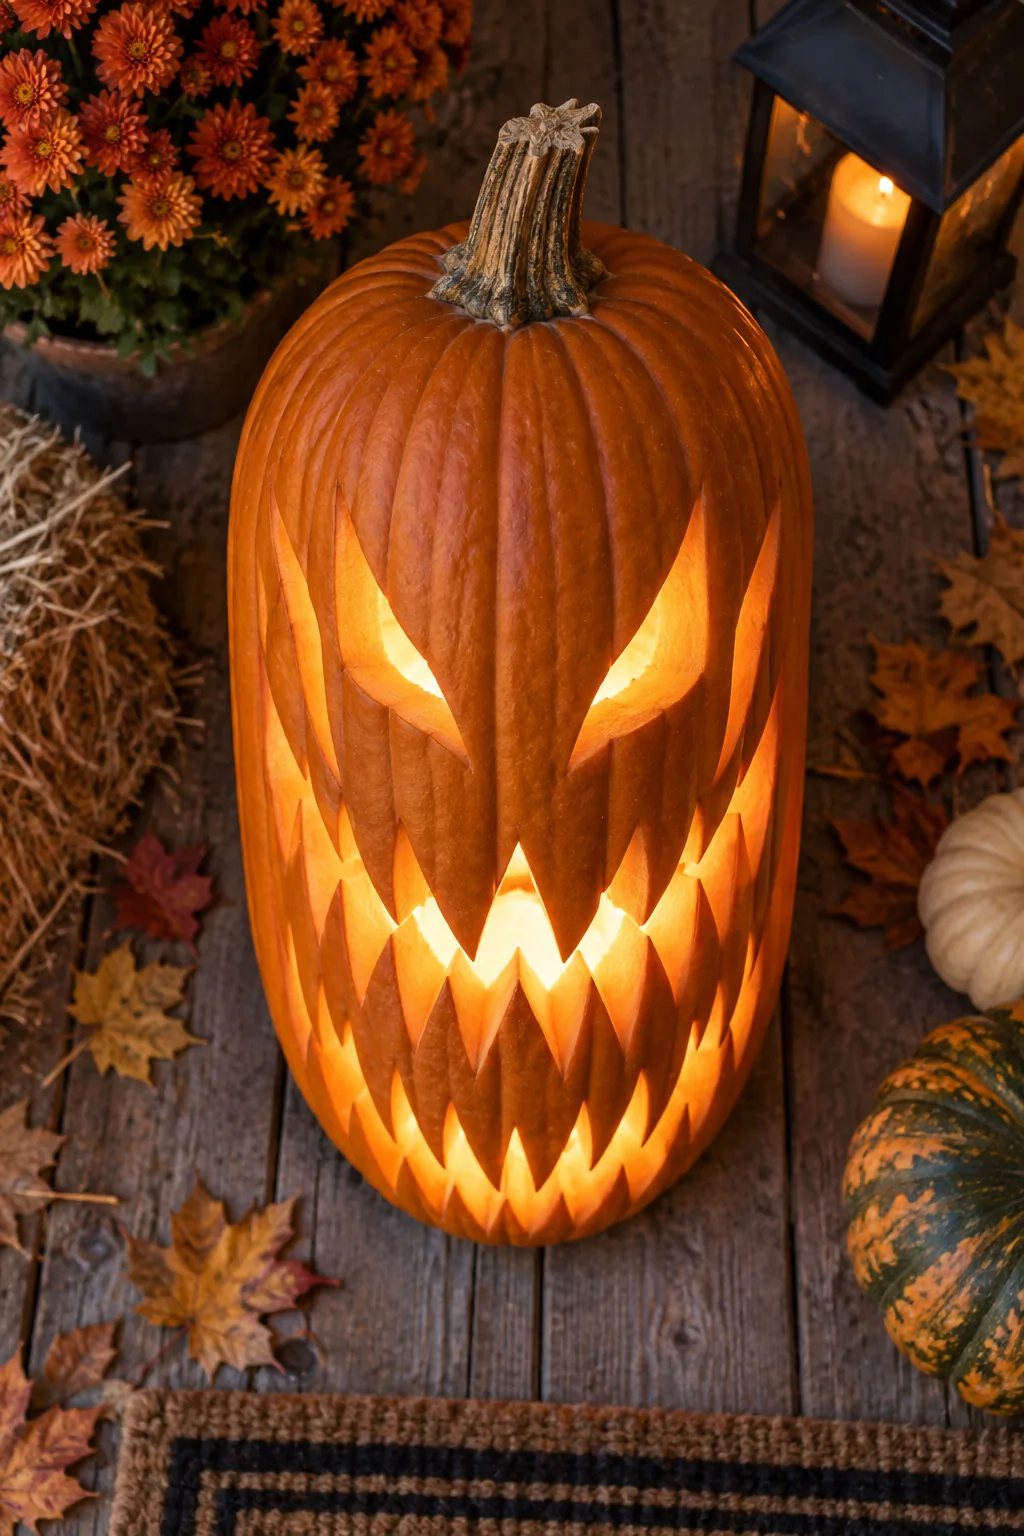
To keep these intricate layers from breaking off, you must maintain a minimum 1-inch base width for every individual tooth. Structuring the mouth in distinct tiers allows you to safely remove large sections of the heavy rind.
| Mouth Tier | Ideal Height | Minimum Base Width | Vertical Gap |
|---|---|---|---|
| Top Row | 2.5 inches | 1.0 inch | 0.5 inches |
| Middle Row | 3.0 inches | 1.5 inches | 0.5 inches |
| Bottom Row | 2.0 inches | 1.0 inch | N/A |
Dropping the mouth to the base
You should drop the lowest carved edge of the mouth close to the bottom to fully maximize the elongated, stretched appearance. When I finally stopped centering the features and pushed the jawline downward, my tall pumpkins instantly looked far more dramatic.
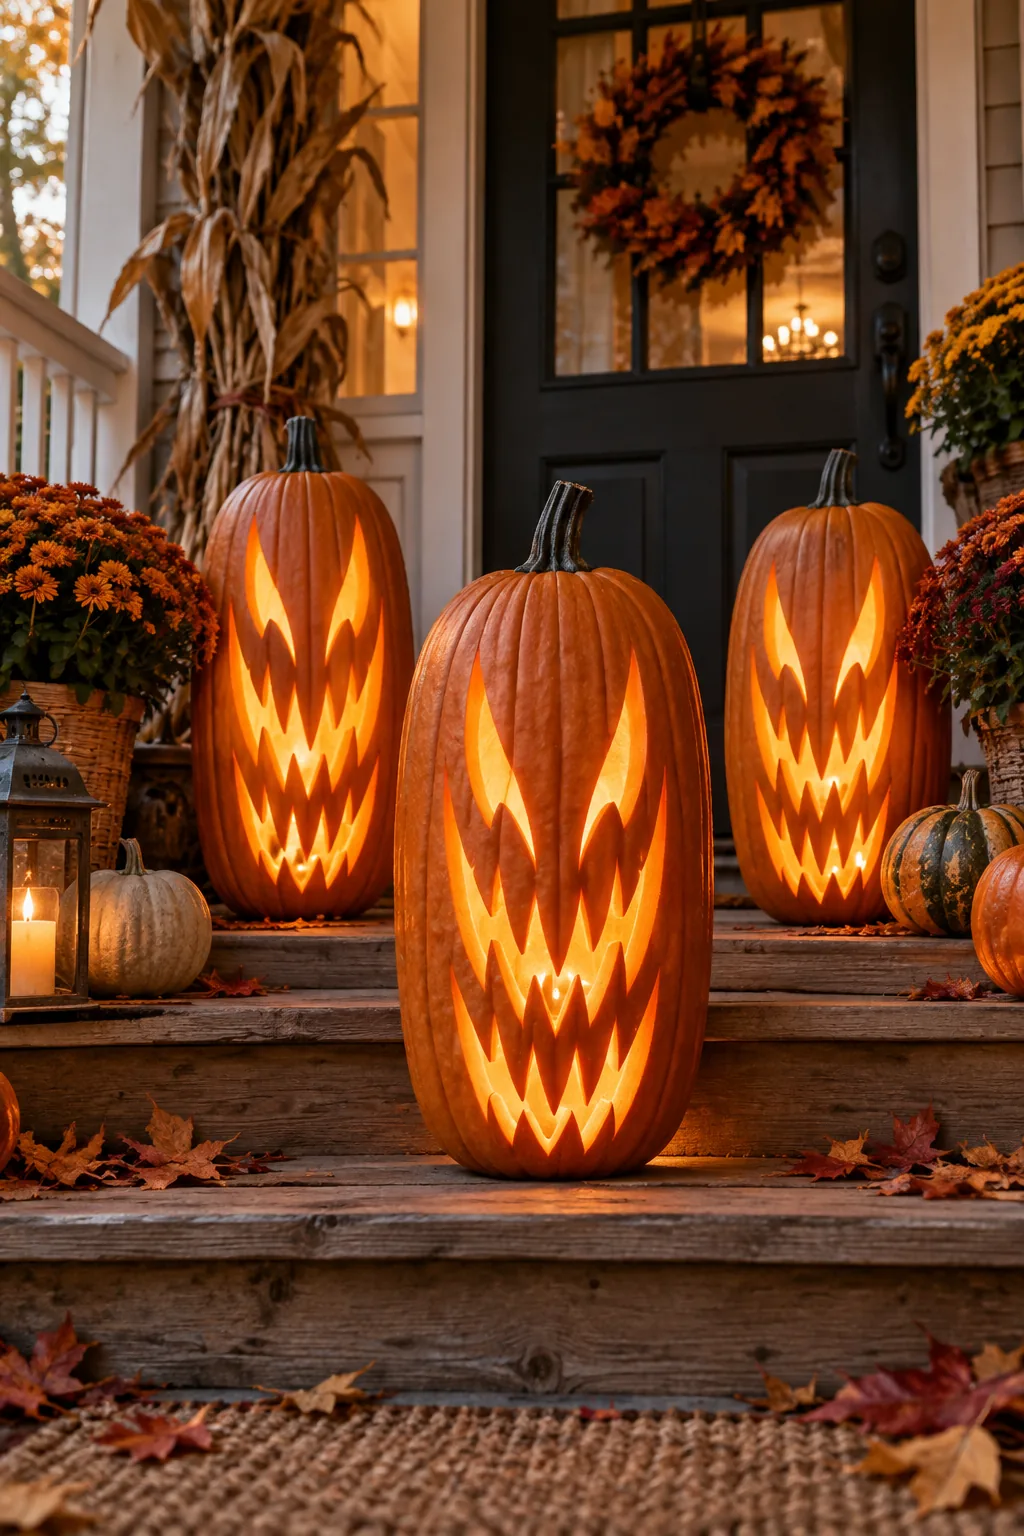
While maximizing the vertical space is the goal, pushing the boundaries too far downward can compromise the entire structure. You must leave a strict 2-inch structural base intact to support the massive weight of the upper walls.
Download the tall face templates
Our downloadable PDFs are specifically pre-scaled to fit the challenging, stretched proportions of oblong pumpkins perfectly. These printable vertical proportion templates include the mandatory 4-inch forehead guide and the complex stacked teeth layouts already mapped out for you.

Simply print the guides at full size, tape them directly to your stabilized vertical center axis, and transfer the design using a basic poking tool. Having the precise measurements locked in takes all the stressful guesswork out of carving these magnificent, towering autumn displays.
More ways to style tall pumpkins
Discover how different carving styles and pumpkin varieties can completely change the mood of your elongated display.
Classic Jack-o'-Lantern: Stick to traditional warm lighting and rustic porch elements to let the elongated face stand out naturally.
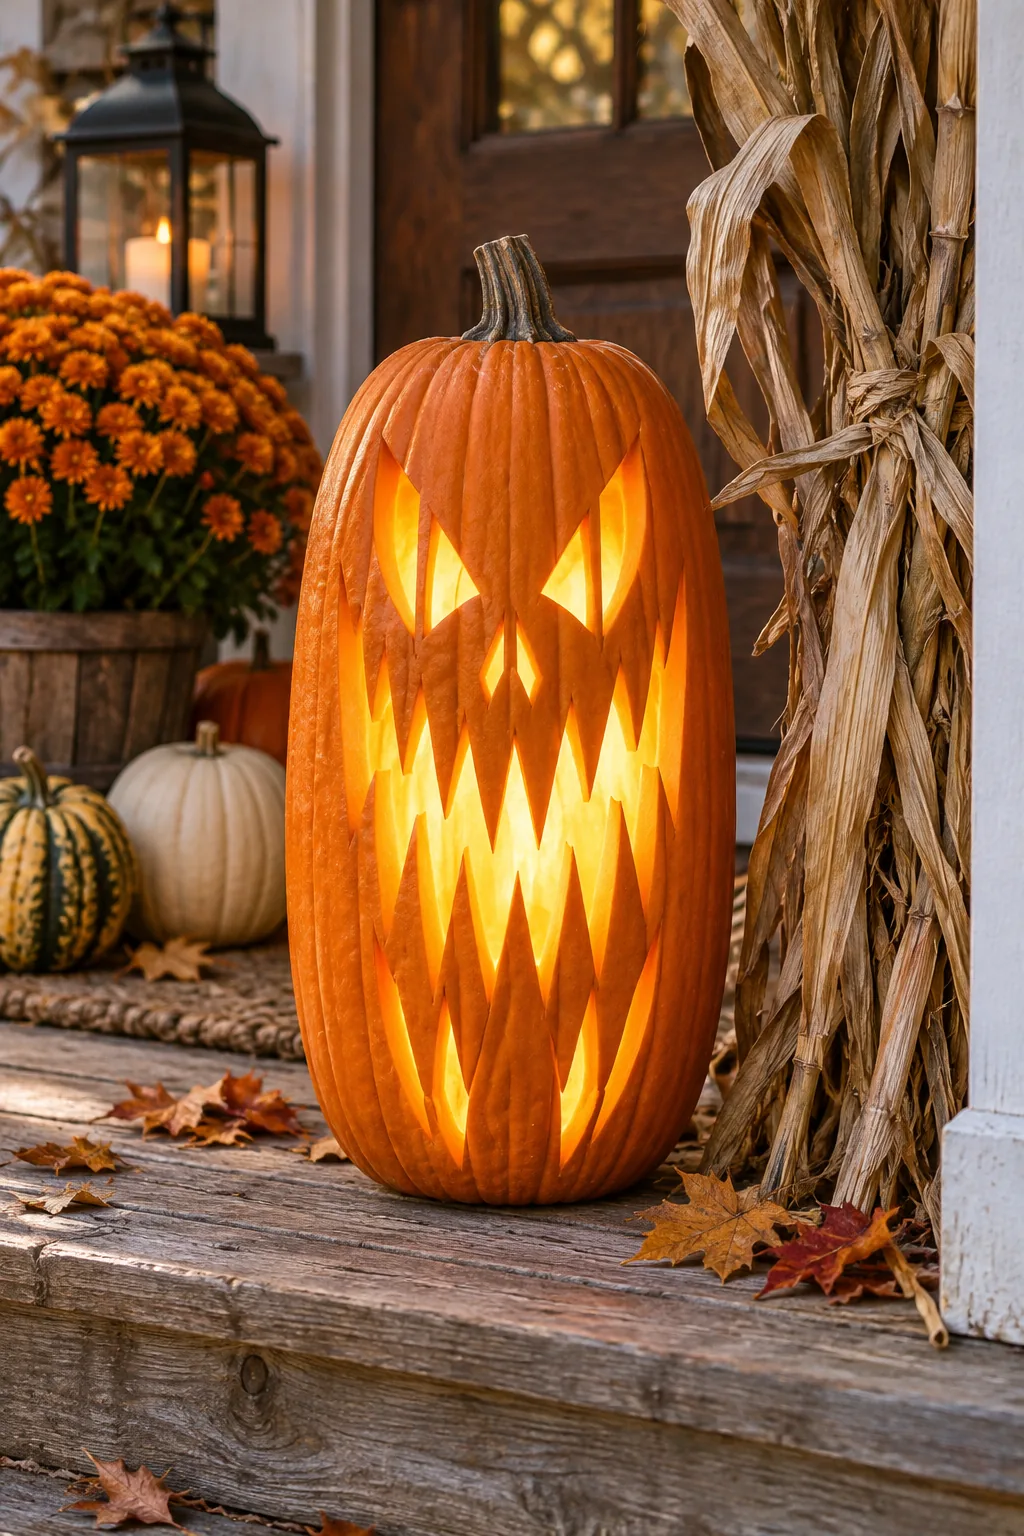
Spooky Gothic Silhouette: Paint the exterior matte black before carving to create a striking, high-contrast silhouette against the glowing cuts.
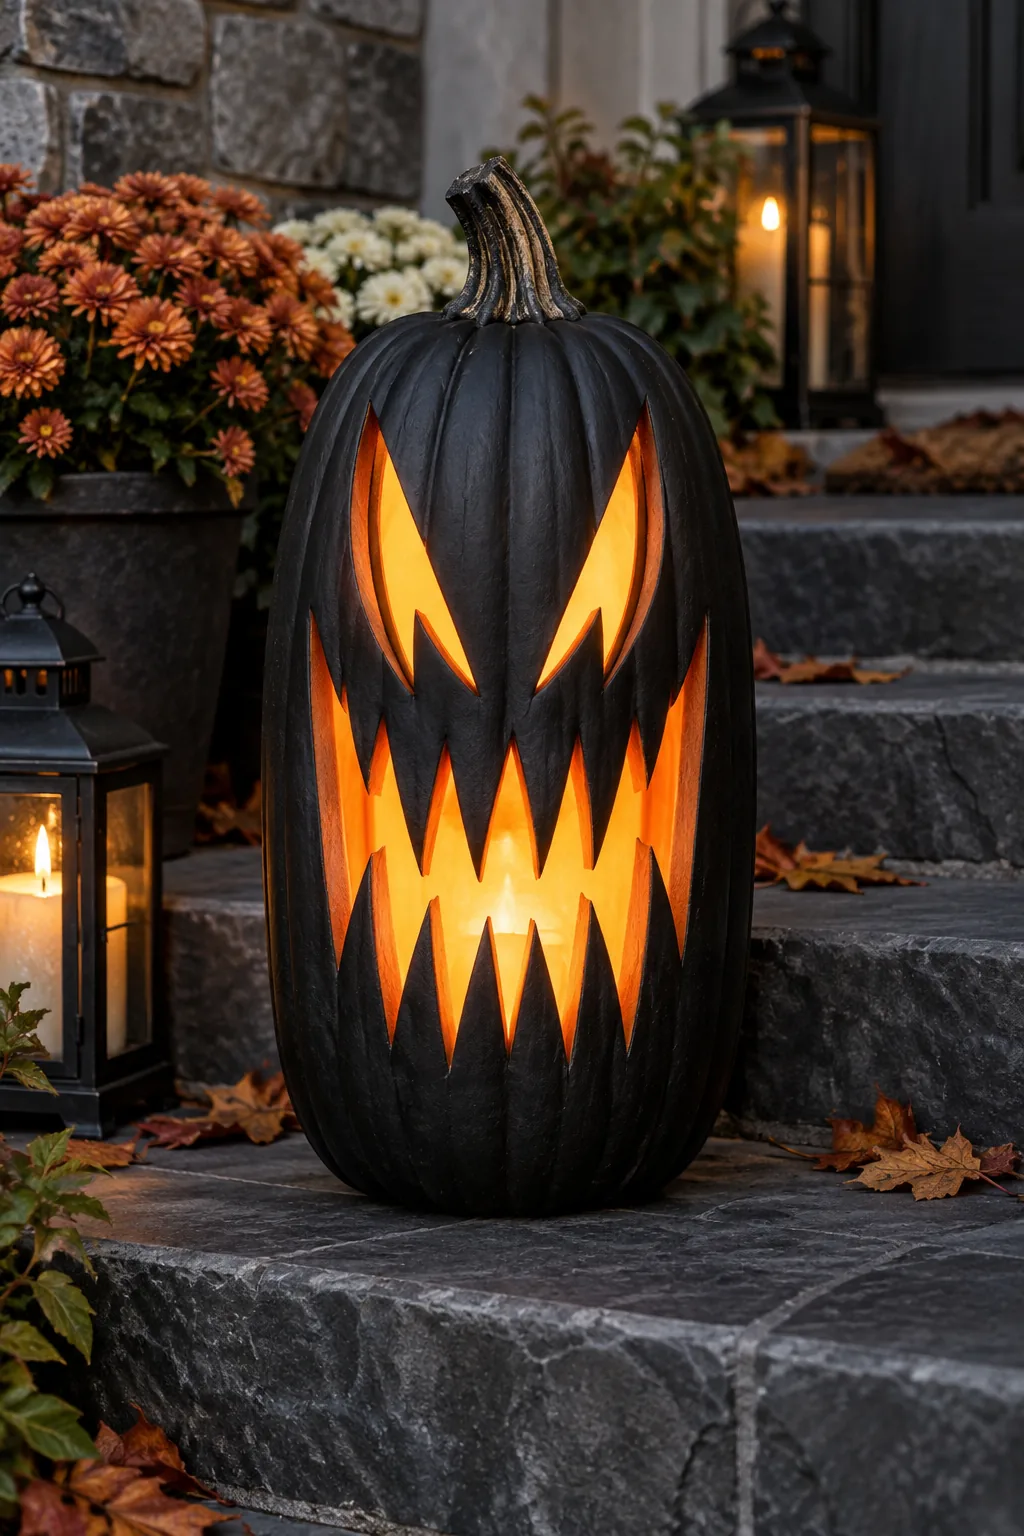
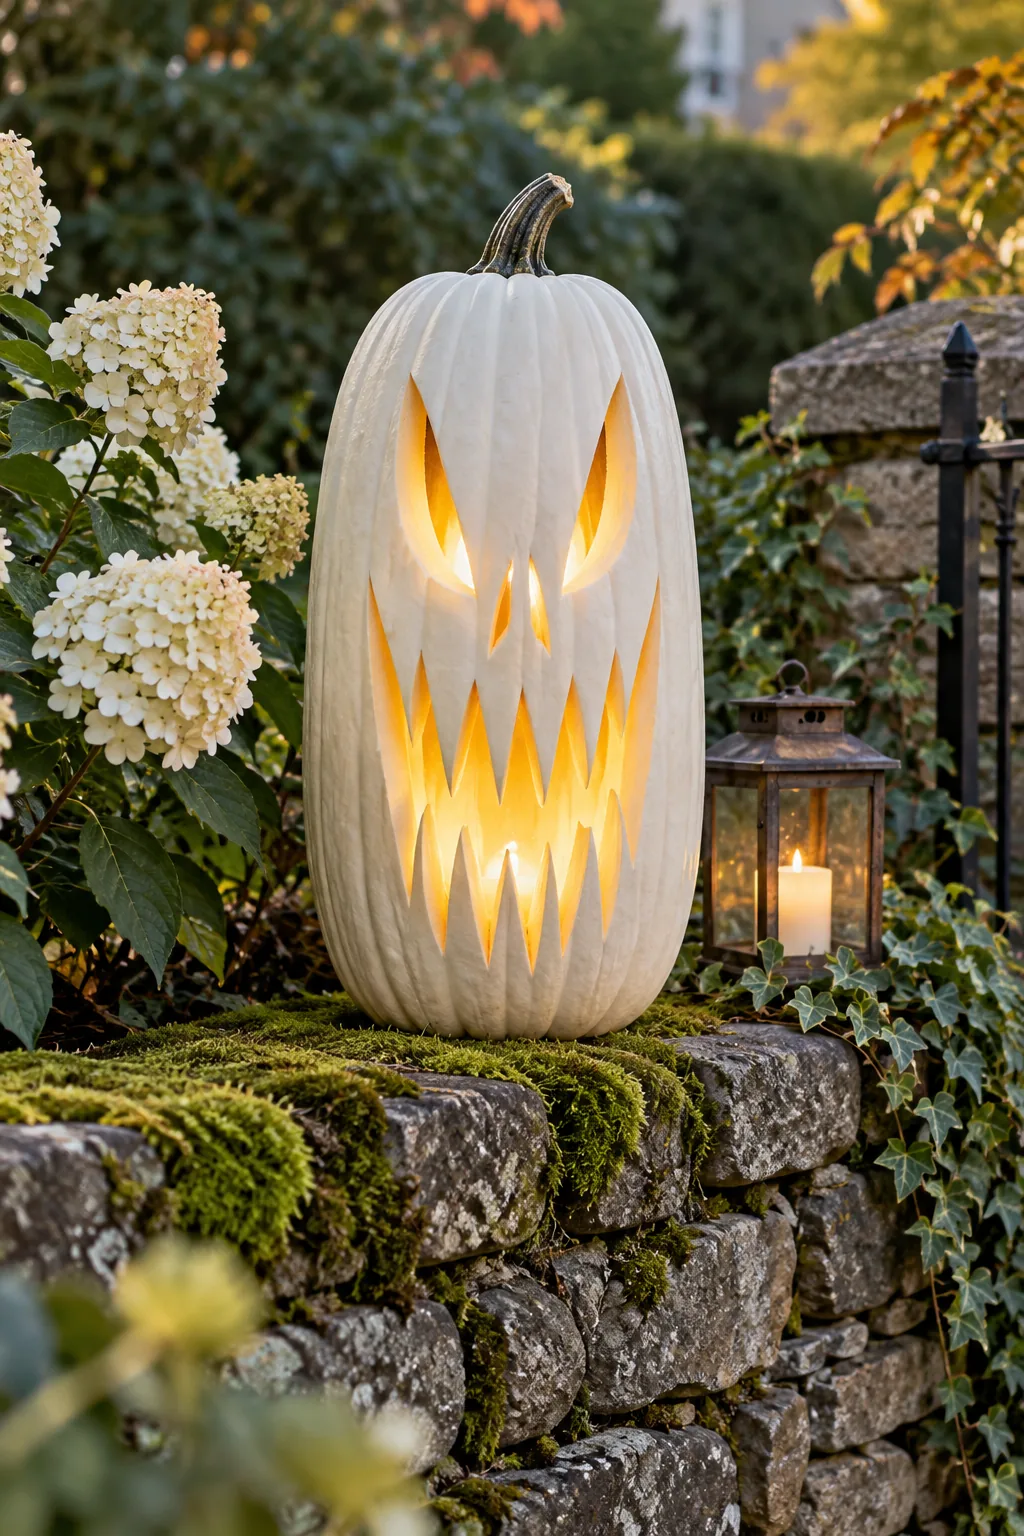
Whimsical Woodland Face: Use a tall white pumpkin and soft lighting to create an ethereal, woodland-inspired display.
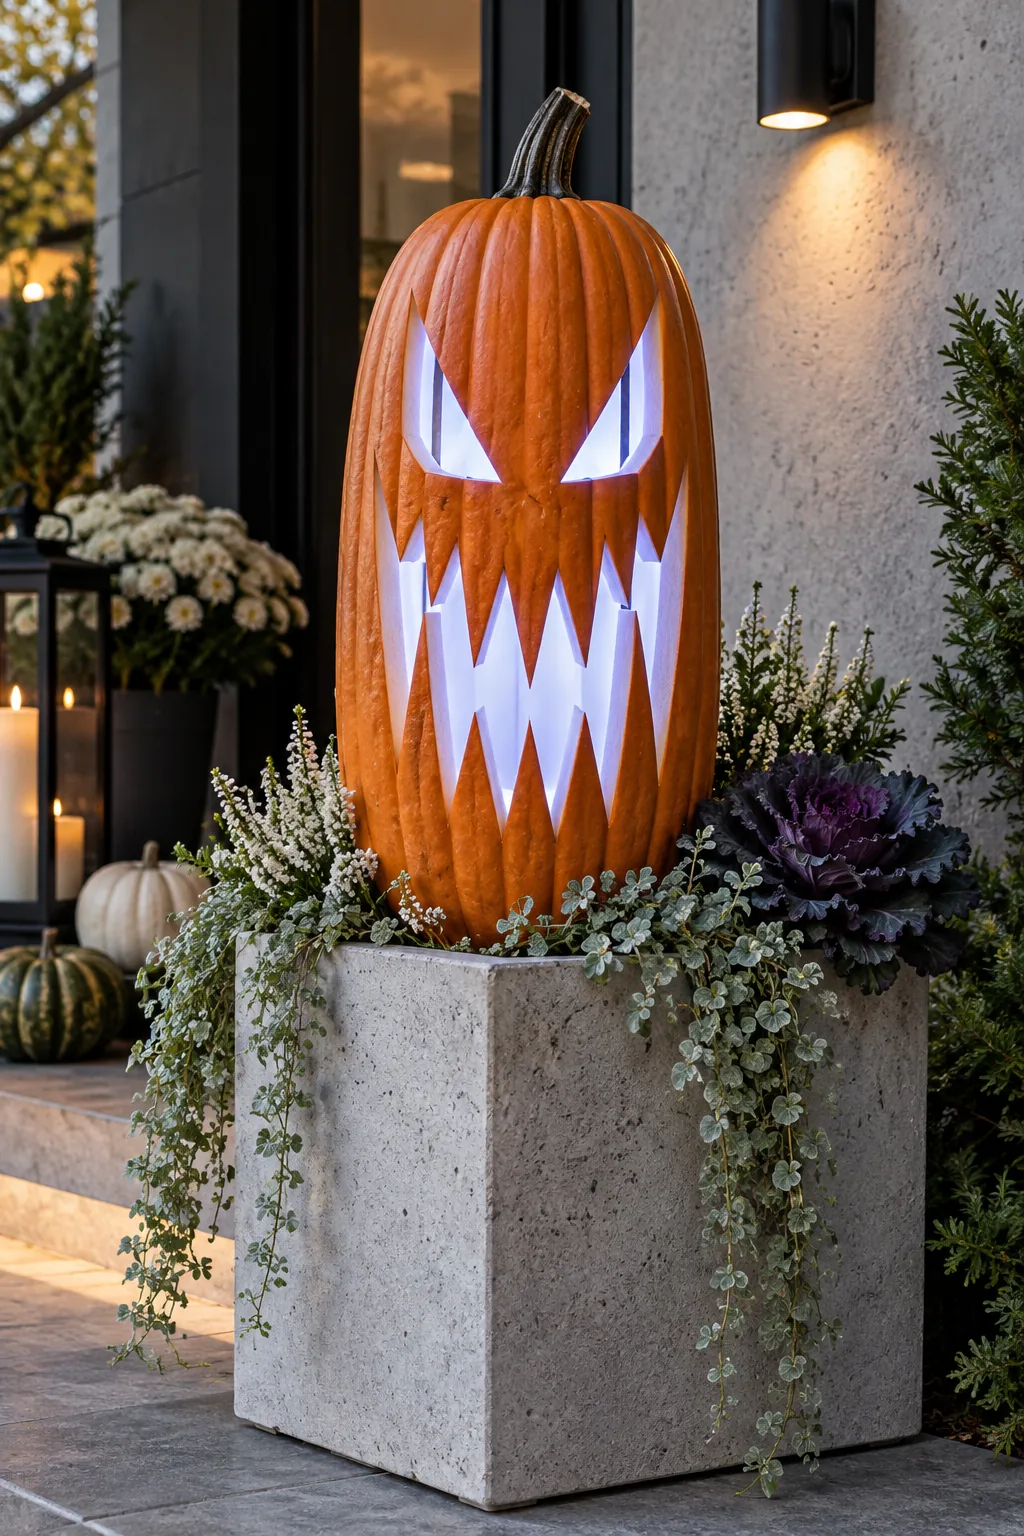
Modern Geometric Carving: Swap warm candles for cool white LEDs to give sharp, geometric stacked teeth a modern edge.
Toothy Grin Display: Choose a tall green heirloom variety to make an oversized, multi-layered toothy grin look even more unique.