
Small Home Office Layout: The Alcove Measurement Cheat Sheet
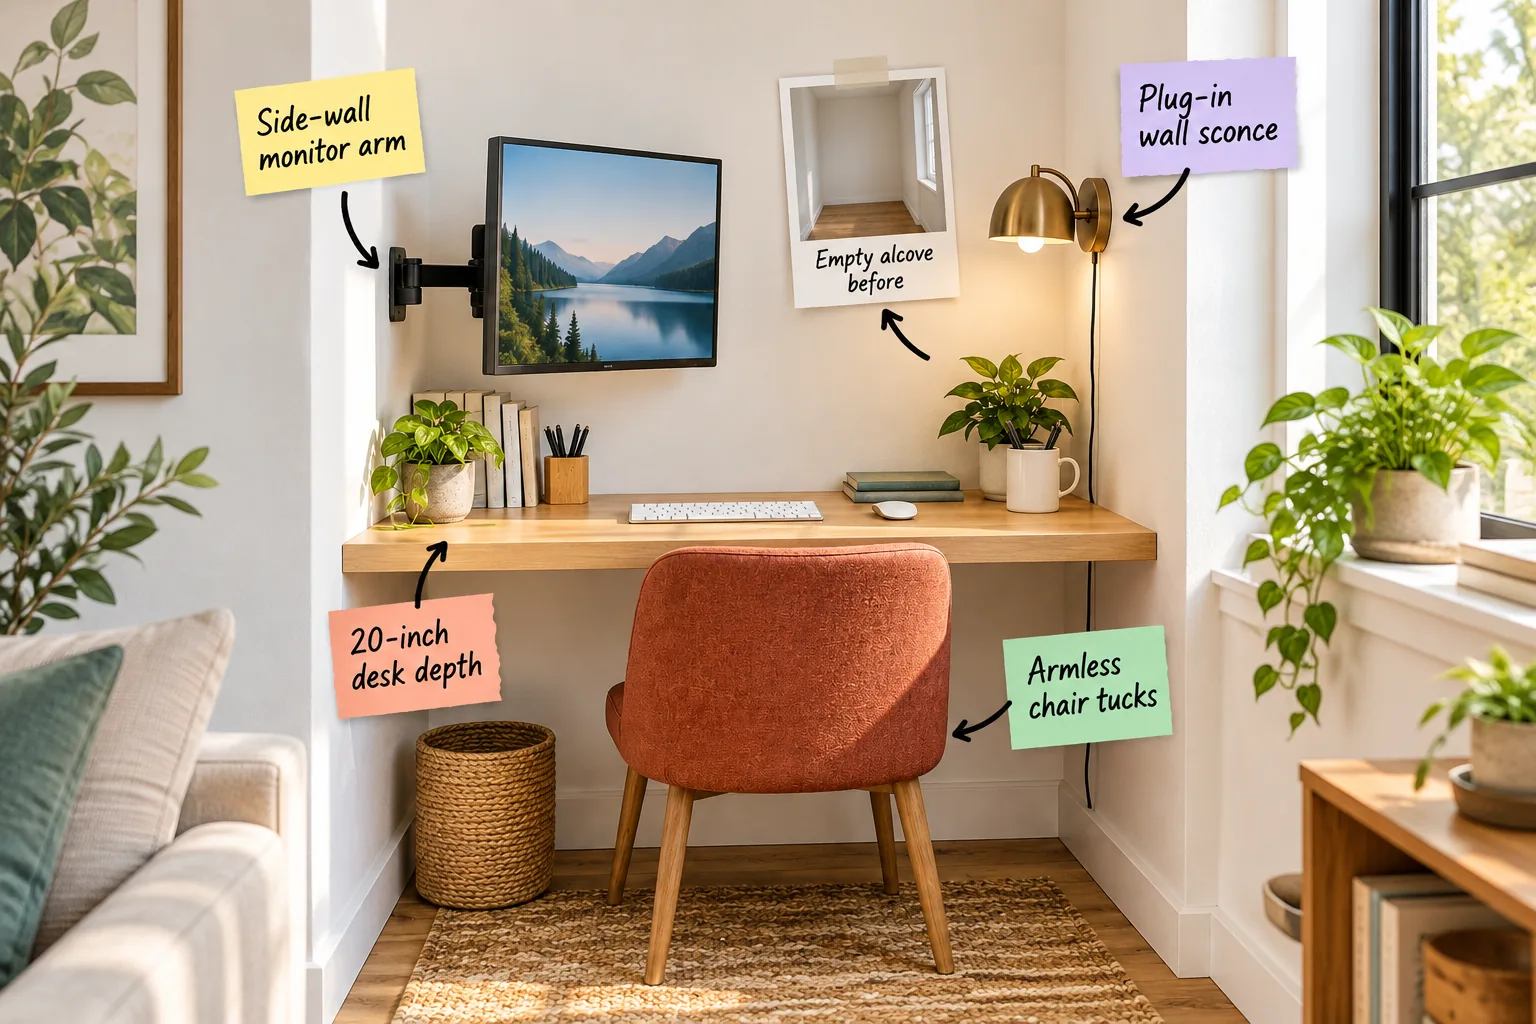
Transforming an empty nook into a highly functional workspace requires exact dimensions, which is why this small-space office measurement cheat sheet is your blueprint. You will be able to measure, plan, and arrange a fully functional micro-office in any unused room alcove.
Spotting the Right Alcove
Before you build, review that empty alcove before photo and verify you have a minimum width of 36 inches between the walls. Identifying a dead space or architectural nook that can support a desk is the essential first step.
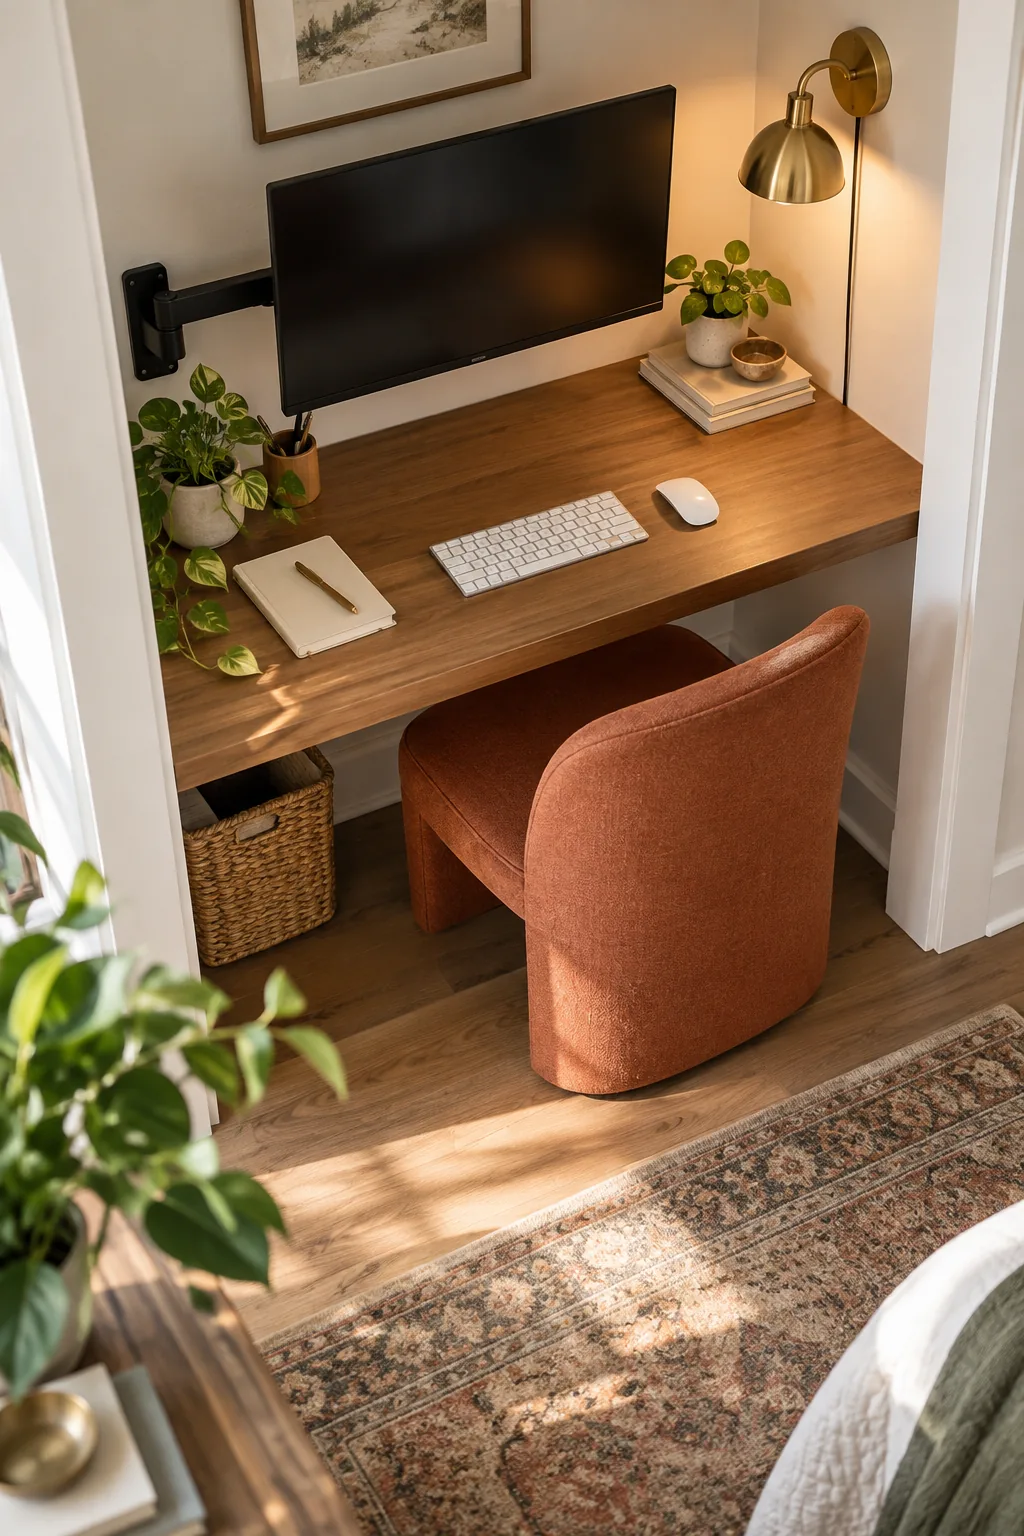
This exact dimension ensures adequate shoulder room and clearance for your chair once the walls enclose the workspace. A narrower gap will feel restrictive and severely limit your daily seating options.
Assessing the Wall Structure
Once you secure the right width, you must confirm the structural integrity of the surrounding drywall before proceeding. A floating desk setup demands reliable anchoring points to safely support the weight of your equipment, so always locate the framing studs first.
Removing Existing Baseboards
If you want a truly seamless look, consider removing existing baseboards inside the nook entirely. This allows the desk to sit flush against the back drywall, eliminating the frustrating gap where pens and paperclips inevitably vanish.
Planning the Electrical Layout
A functional office requires accessible power, so map out your electrical outlets before committing to a specific nook. You need at least one standard duplex receptacle within three feet of the desk to avoid trailing extension cords across the floor.
Painting the Alcove Walls
Before installing any hardware, consider painting the alcove walls a distinct color to visually separate the office from the rest of the bedroom. A deep, moody shade like slate or forest green instantly defines the workspace boundary.
Sizing the Floating Desk
A 20-inch desk depth is the golden rule for tight spaces, providing exactly enough room for a keyboard, mouse, and notebook. This precise proportion prevents the surface from protruding awkwardly into the main room’s walkway.
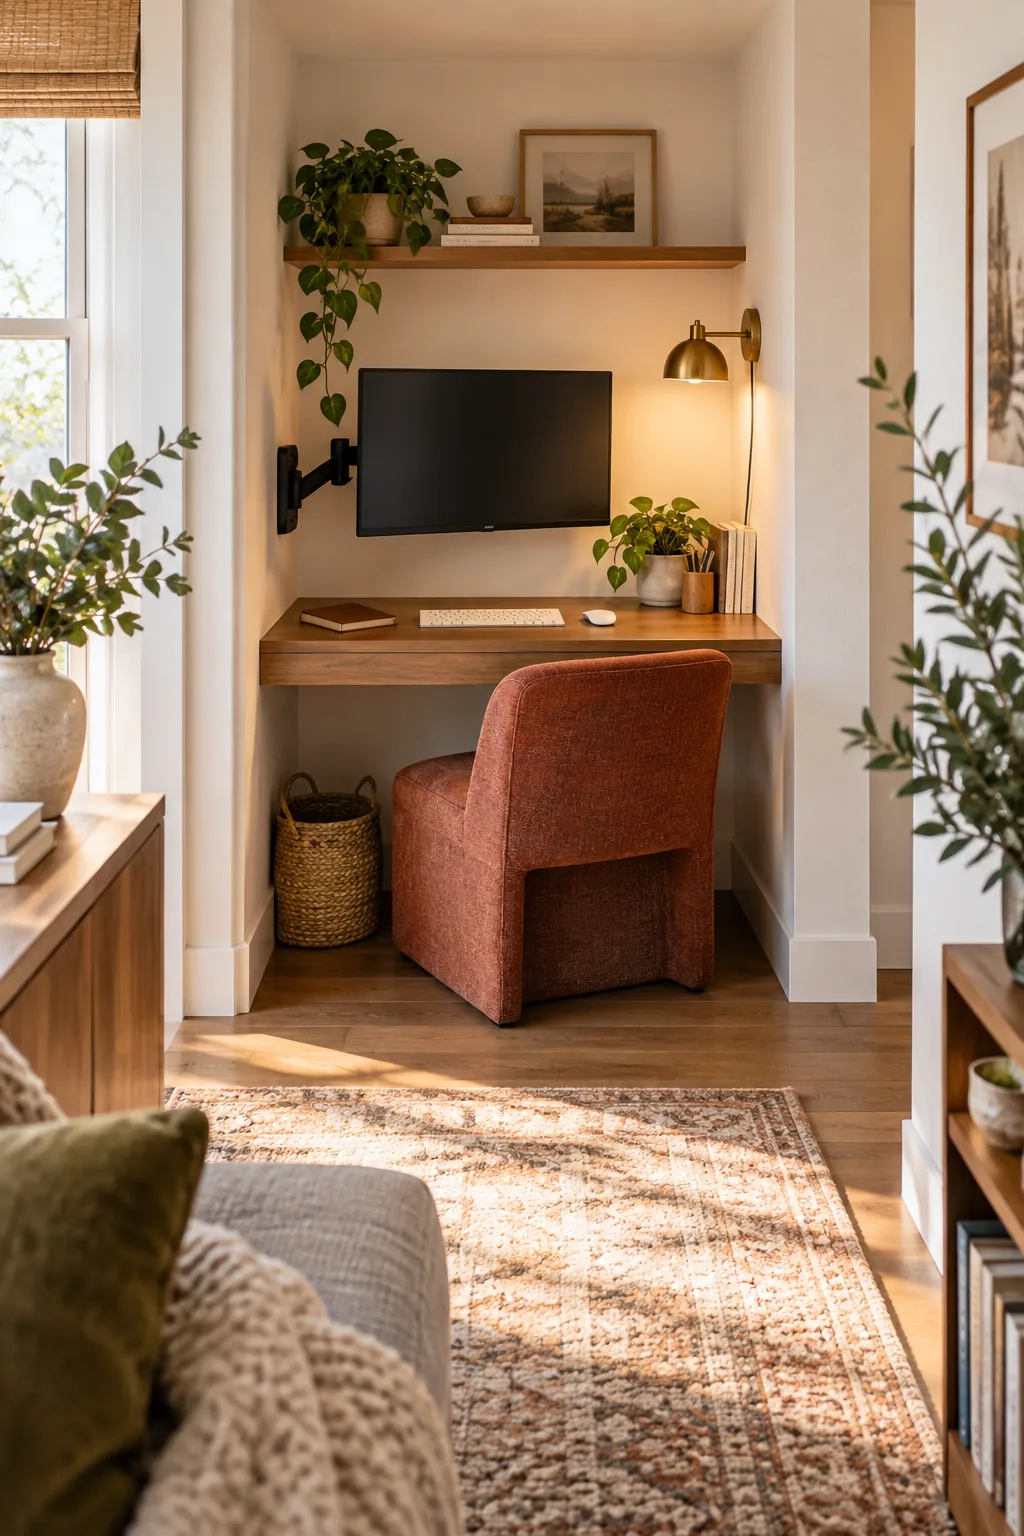
Getting the desk surface right requires avoiding a few common sizing errors that can completely ruin the ergonomics of a small space.
Selecting the Bracket Hardware
Heavy-duty steel brackets are non-negotiable when creating a legless workspace that feels solid under pressure. Look for low-profile L-brackets rated for at least 100 pounds each, ensuring your new surface will never bounce while you type.
Measuring Baseboard Clearances
Always measure your alcove width above the baseboards to capture the true wall-to-wall distance for your desktop. Cutting your wood based on the floor measurement will leave you with a desk that simply will not slide into place.
Sanding the Edges
Before applying any sealant, spend time sanding the edges of your cut wood until they are perfectly smooth to the touch. A sharp 90-degree corner will quickly cause wrist fatigue and dig into your forearms while typing.
Finishing the Desk Surface
Protecting the wood is crucial since this compact zone will see heavy daily friction from your mouse and coffee mugs. Apply three coats of a matte polyurethane finish to seal the grain while maintaining a natural, glare-free appearance.
Allowing for Cure Time
Patience is critical after sealing the wood; you must allow at least 72 hours of proper cure time before setting down heavy equipment. Placing a monitor stand on tacky polyurethane will permanently dent the finish and ruin your hard work.
Mounting the Monitor Off-Desk
Reclaim that limited surface area by moving the screen entirely off the wood using a heavy-duty side-wall monitor arm. This strategic upgrade instantly frees up the crucial space directly in front of your keyboard.
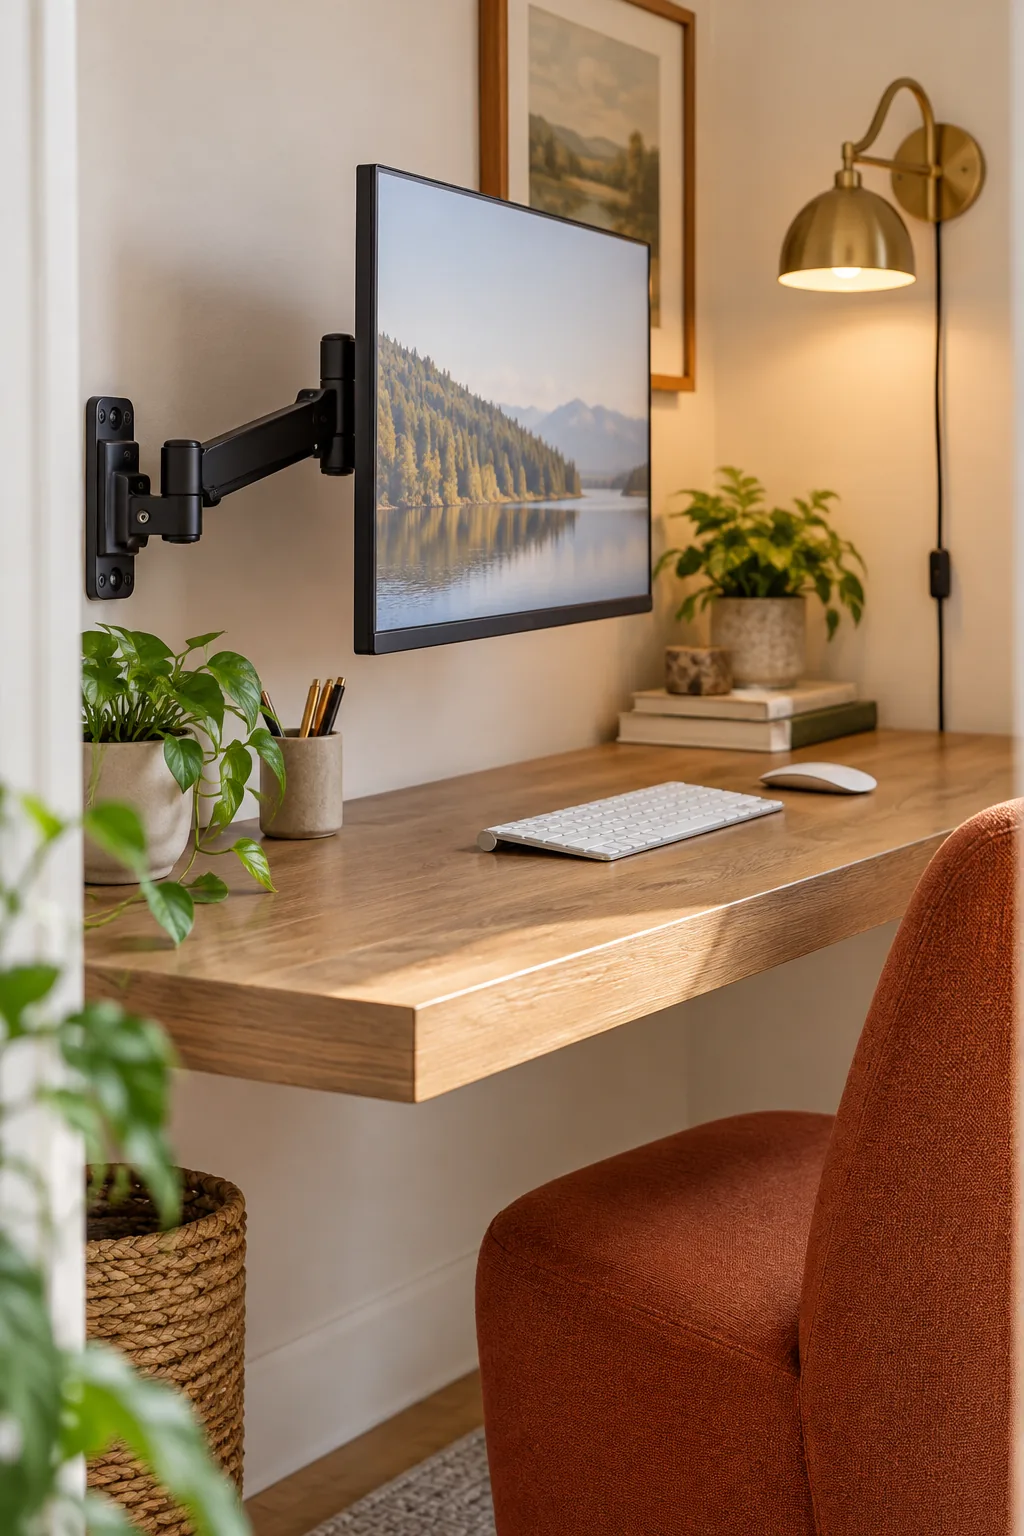
This articulating metal arm allows you to push the screen flat against the side wall or pull it securely into the center. Adjusting the tension joints ensures the monitor hovers precisely at the ideal ergonomic height.
Locating the Wall Studs
Mounting heavy hardware to the side wall requires driving lag bolts directly into solid wood framing, never just drywall anchors. Use a high-quality magnetic stud finder to pinpoint the exact center of the stud before drilling your pilot holes.
Testing the Articulating Arm
Once the bracket is secured to the stud, attach the screen and begin testing the articulating arm through its full range of motion. Ensure the hinges glide smoothly without sagging under the weight of your specific display.
Calibrating the Ergonomic Height
Your monitor screen should rest exactly at eye level when you are sitting up straight in your chair. Positioning the display too low forces your neck forward, completely defeating the ergonomic benefits of the adjustable wall mount.
Adding Task Lighting Without Hardwiring
Good lighting is essential in a recessed nook, but you can skip the electrician and install a beautiful plug-in wall sconce. This practical approach delivers immediate illumination without the expense of opening up your walls.
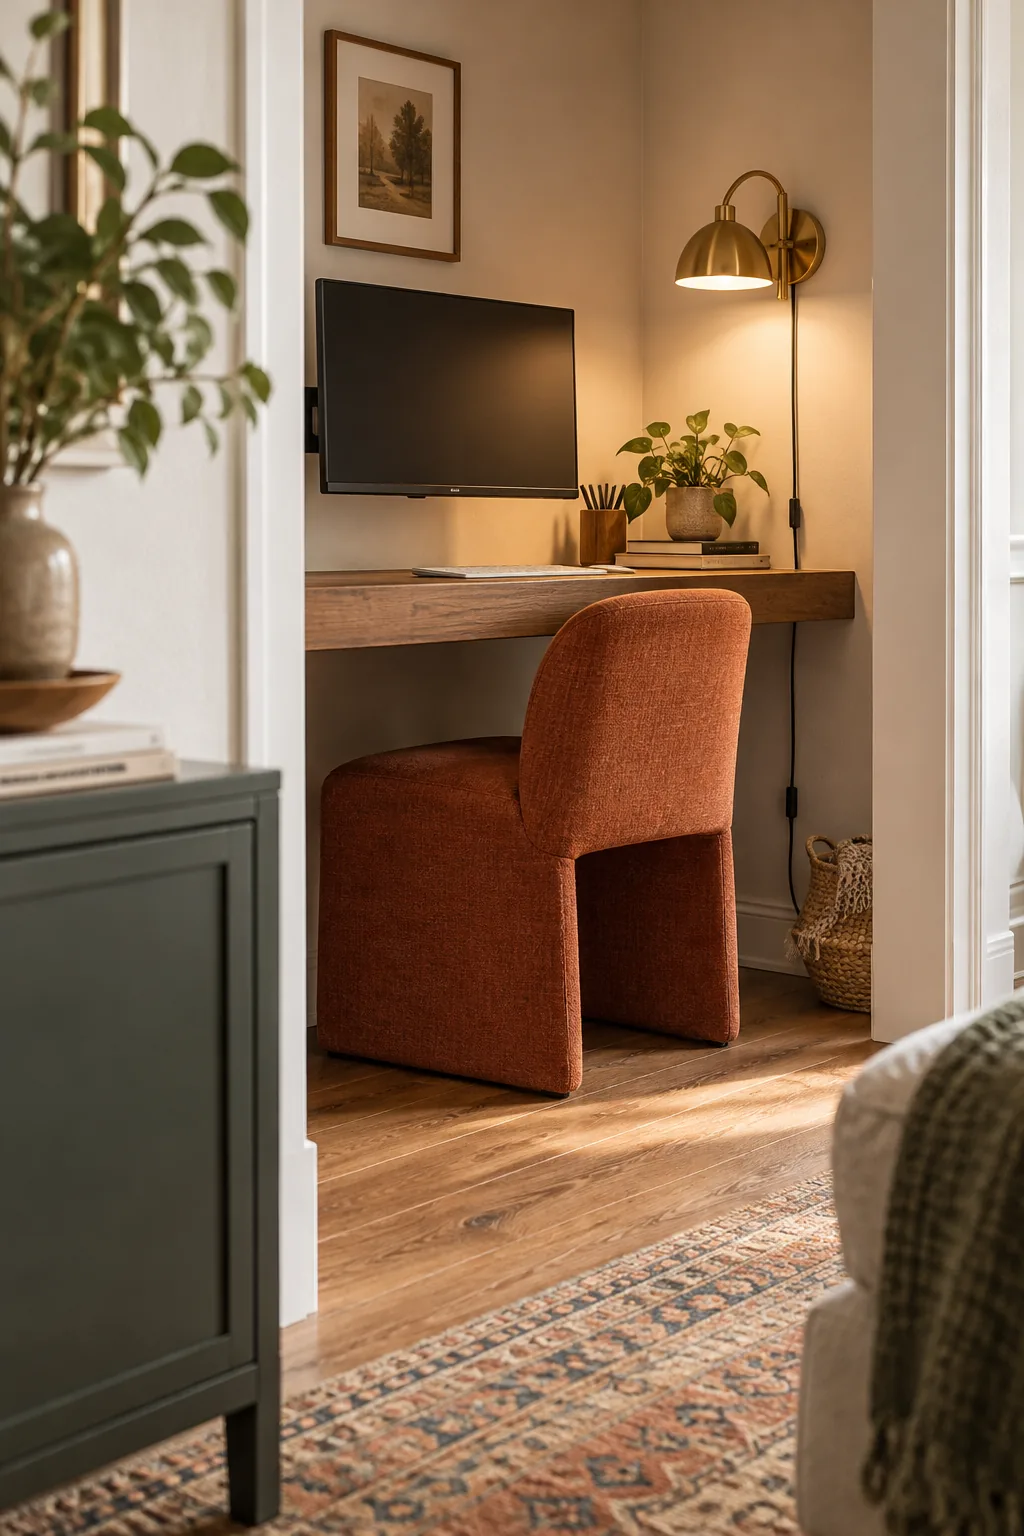
Mount this brass fixture approximately 15 inches above the desk surface to cast warm task lighting precisely where you need it. This specific height keeps the bulb out of your direct eyeline while leaving the desktop completely clear.
Balancing Warm and Cool Bulbs
Selecting the right color temperature transforms the mood of your micro-office from sterile to inviting. I always recommend a 3000K LED bulb, which provides crisp clarity for reading without the harsh, blue tint of commercial office lighting.
Positioning the Switch
When installing a plug-in fixture, verify that the inline power switch hangs at an easily reachable height from your seated position. You never want to stand up or reach awkwardly across your laptop just to turn on the light.
Routing the Sconce Cable
A plug-in fixture introduces a visible cord, but you can manage it cleanly by running it straight down the corner seam. Securing the wire with small, paintable adhesive clips blends the cable right into the alcove wall.
Selecting the Right Seating
In an alcove office, the chair must disappear when the workday ends, so an armless chair tucks completely under the desk. This choice ensures the room’s primary footprint remains entirely unobstructed when you step away.
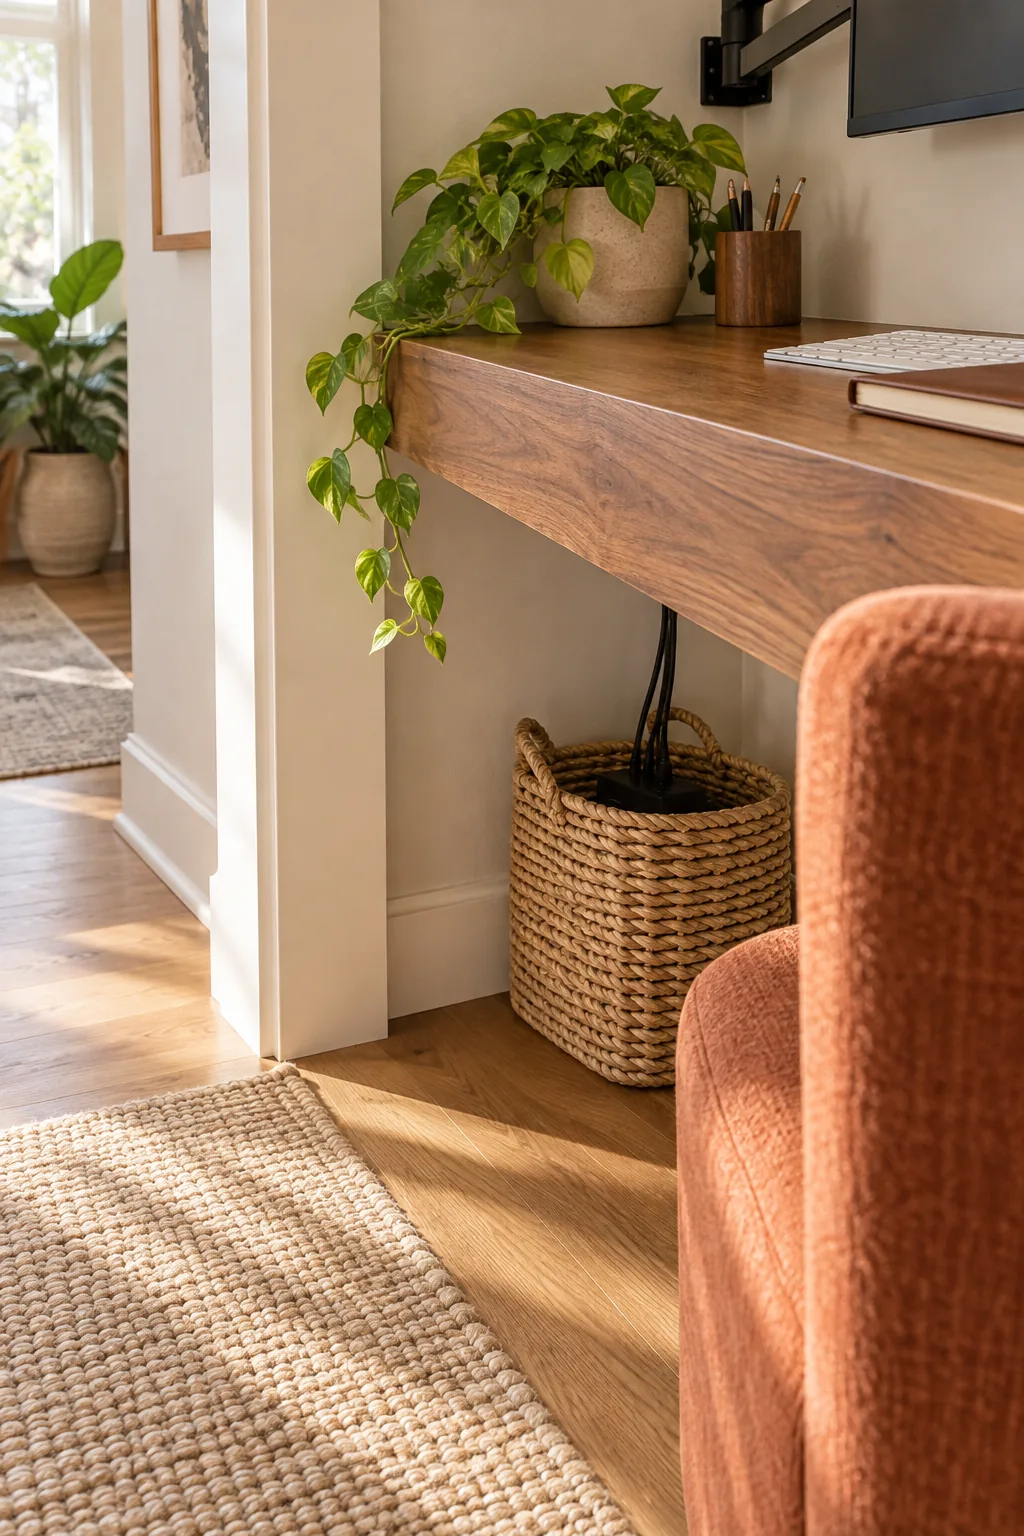
Selecting an upholstered seat without arms prevents the fabric from scraping against the bottom of the floating desk. Measure the distance from the floor to the lowest mounting bracket to guarantee a perfectly smooth fit.
Matching Upholstery to the Room
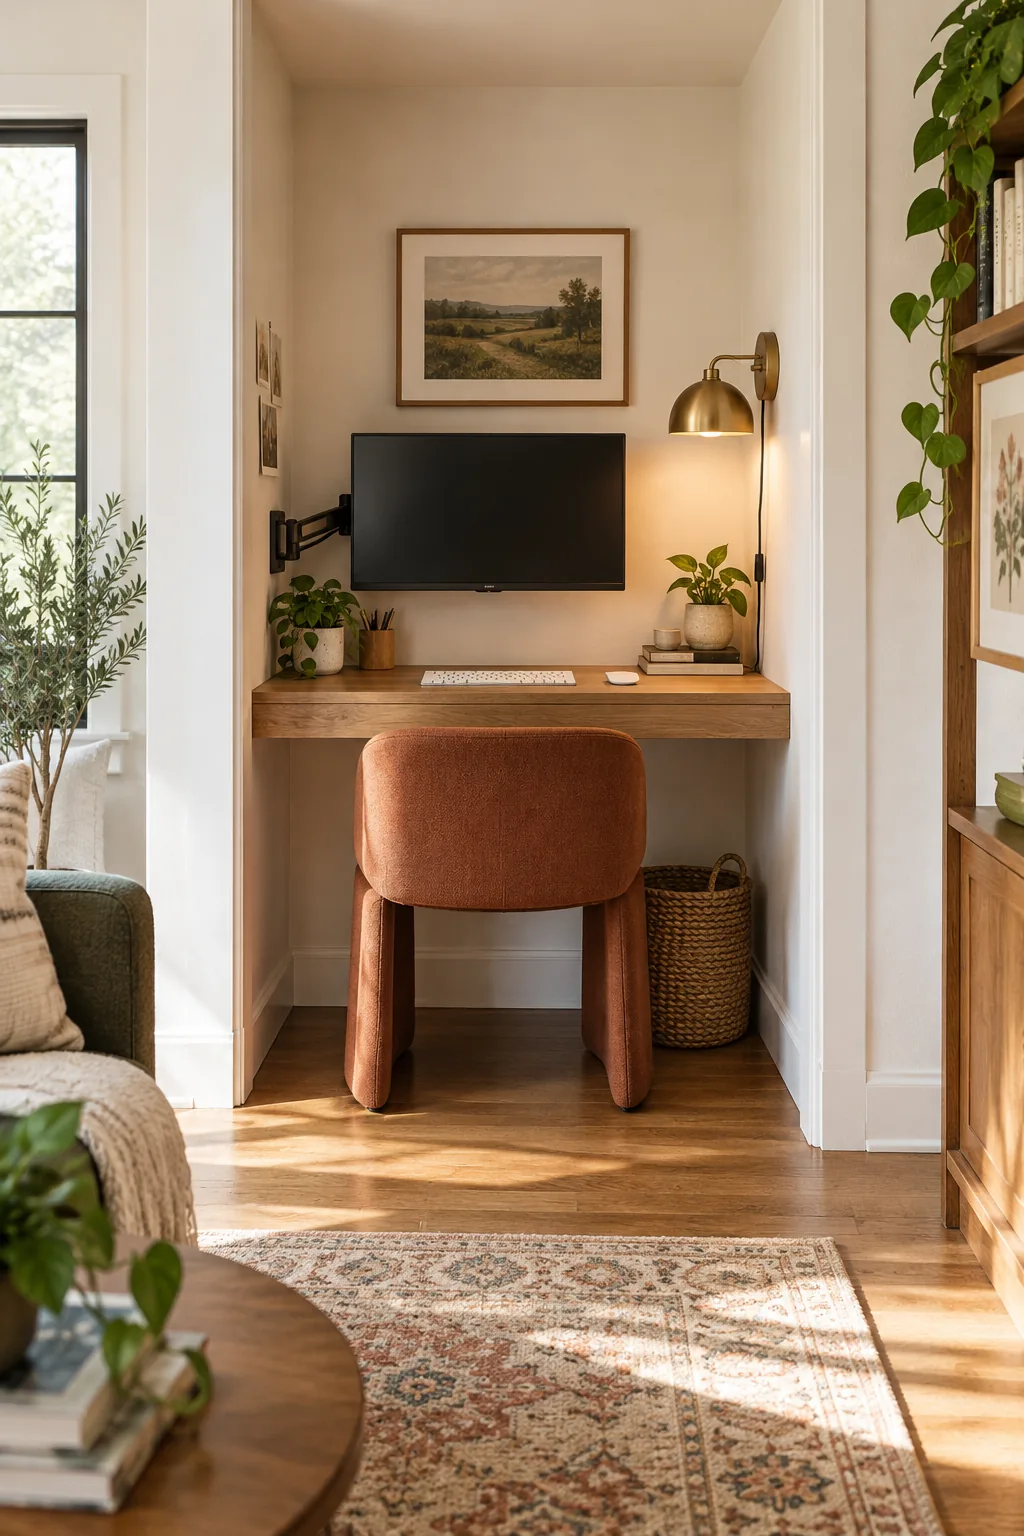
Because the office occupies a visible nook, the chair fabric must harmonize with the surrounding bedroom or living space. Choosing a textured terracotta or warm neutral fabric bridges the gap between functional office gear and residential furniture.
Choosing the Right Casters
If you prefer a rolling chair over a stationary base, swap out standard hard plastic wheels for soft polyurethane casters. This inexpensive upgrade protects your hardwood floors from permanent scratches as you slide in and out of the alcove.
Testing the Seat Height
Your feet must rest flat on the floor while your elbows form a 90-degree angle at the 20-inch desk height. If your preferred chair sits too low, add a firm, tailored seat cushion to correct your posture instantly.
Managing Cords in a Tight Space
With a floating desk, dangling cords are instantly visible, which drove me crazy in my own Denver home office until I found a fix. Running cables tightly along the back edge keeps the immediate visual field perfectly clean.
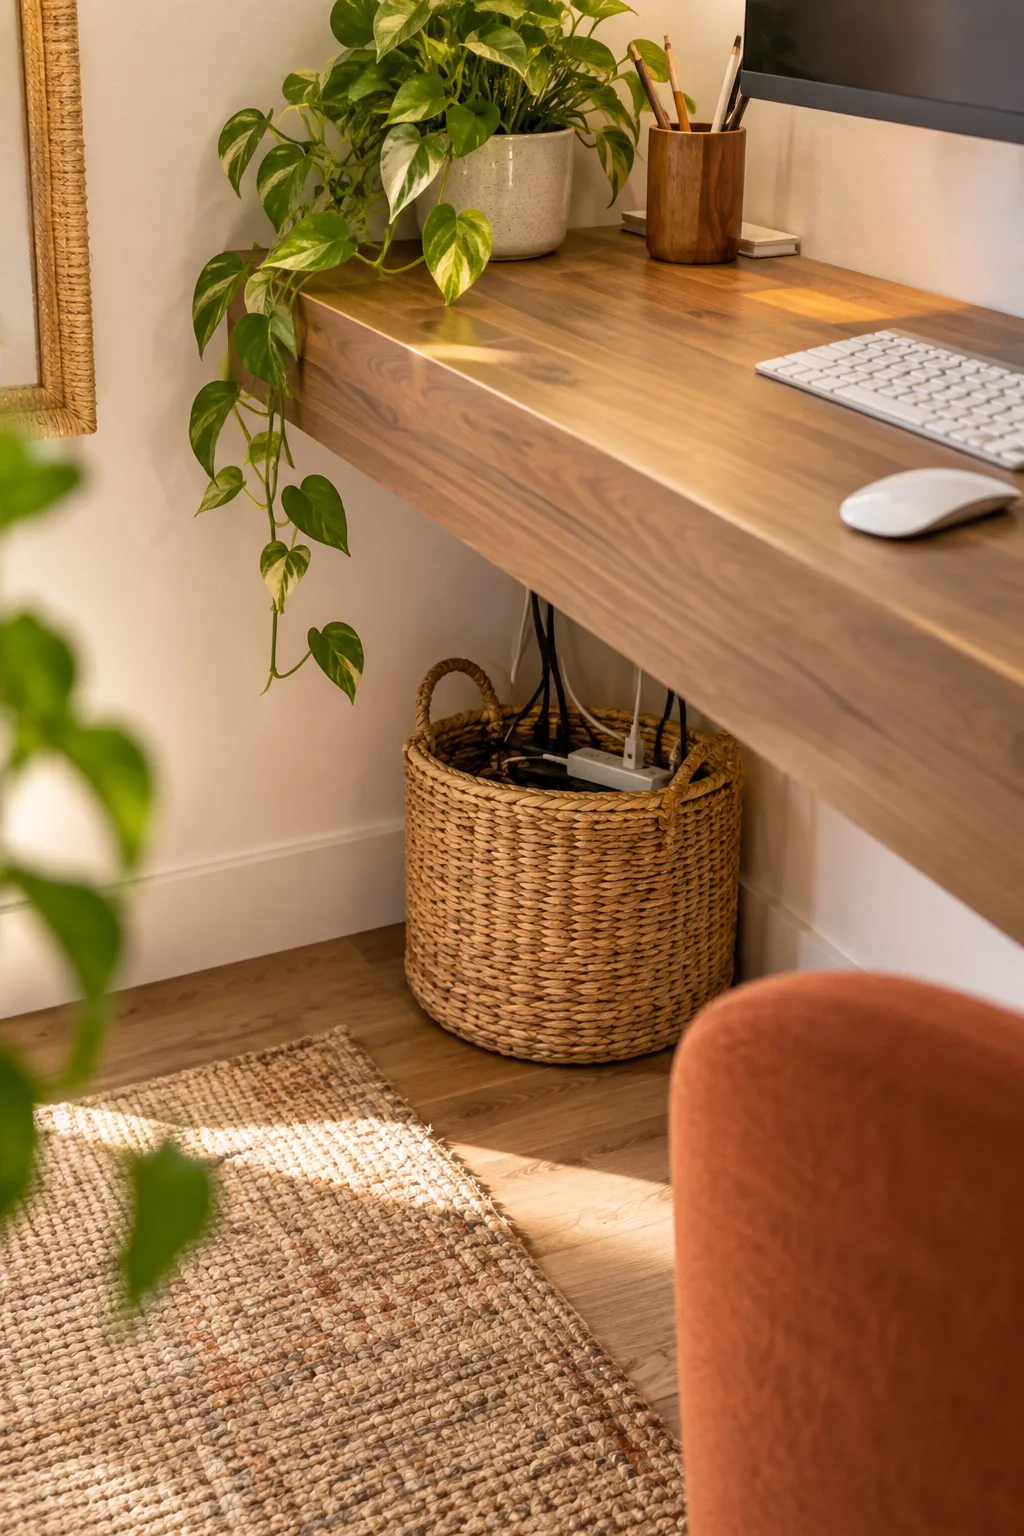
Drop the bundled wires directly into a textured floor basket to hide the bulky power strip and excess monitor cables. This simple styling trick conceals the technology while adding a beautiful touch of natural woven material.
Using Cable Ties
To keep the hidden wires from becoming a tangled mess inside the basket, bundle the slack using reusable cable ties. Grouping the power cords separately from the delicate monitor display cables prevents electrical interference and makes future troubleshooting simple.
Grouping the Power Supplies
Consolidating your power needs into a single heavy-duty surge protector prevents a chaotic web of wires stretching to multiple outlets. Plug the monitor, laptop charger, and sconce into one strip hidden safely inside the floor basket.
Styling the Desktop for Productivity
Keep decorative elements strictly to the perimeter, a boundary rule I use in every client project to maintain mental focus. Clutter in a tight alcove visually shrinks the space and quickly disrupts your daily workflow.
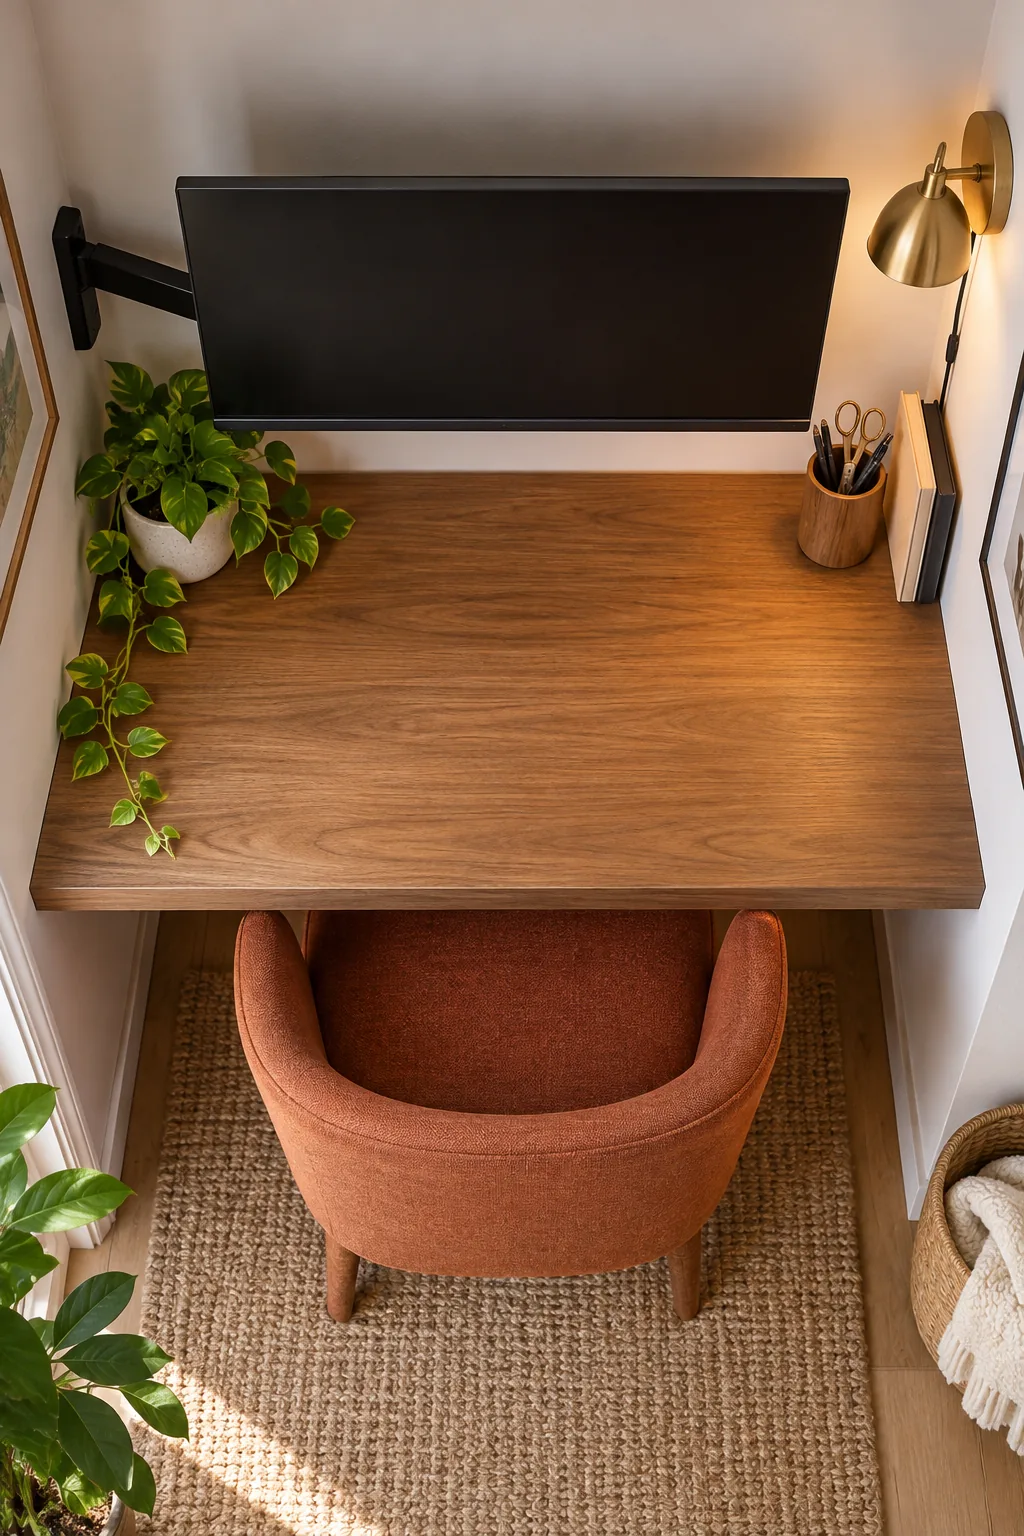
Place a small plant or a structured pen cup far back in the corners to add personality without crowding your hands. Leaving the center 24 inches of the desk completely bare guarantees active, uninterrupted work.
Choosing the Right Desk Accessories
When surface area is this limited, every accessory must earn its keep through both exceptional function and beautiful form. Opt for a heavy brass pen holder or a ceramic tray that feels deliberate rather than accidental.
Adding Vertical Storage
If you need space for physical files, look up rather than cluttering the desk surface. Installing a single floating shelf high above the monitor provides vertical storage for reference books without encroaching on your active work zone.
Maintaining the Minimalist Aesthetic
At the end of each workday, clear away loose papers and close your laptop to reset the visual calm. Treating the desk as a styled architectural feature rather than a storage shelf keeps the entire room feeling expansive.
More Small Office Looks to Steal
See how the same clever alcove layout adapts to three completely different interior styles.
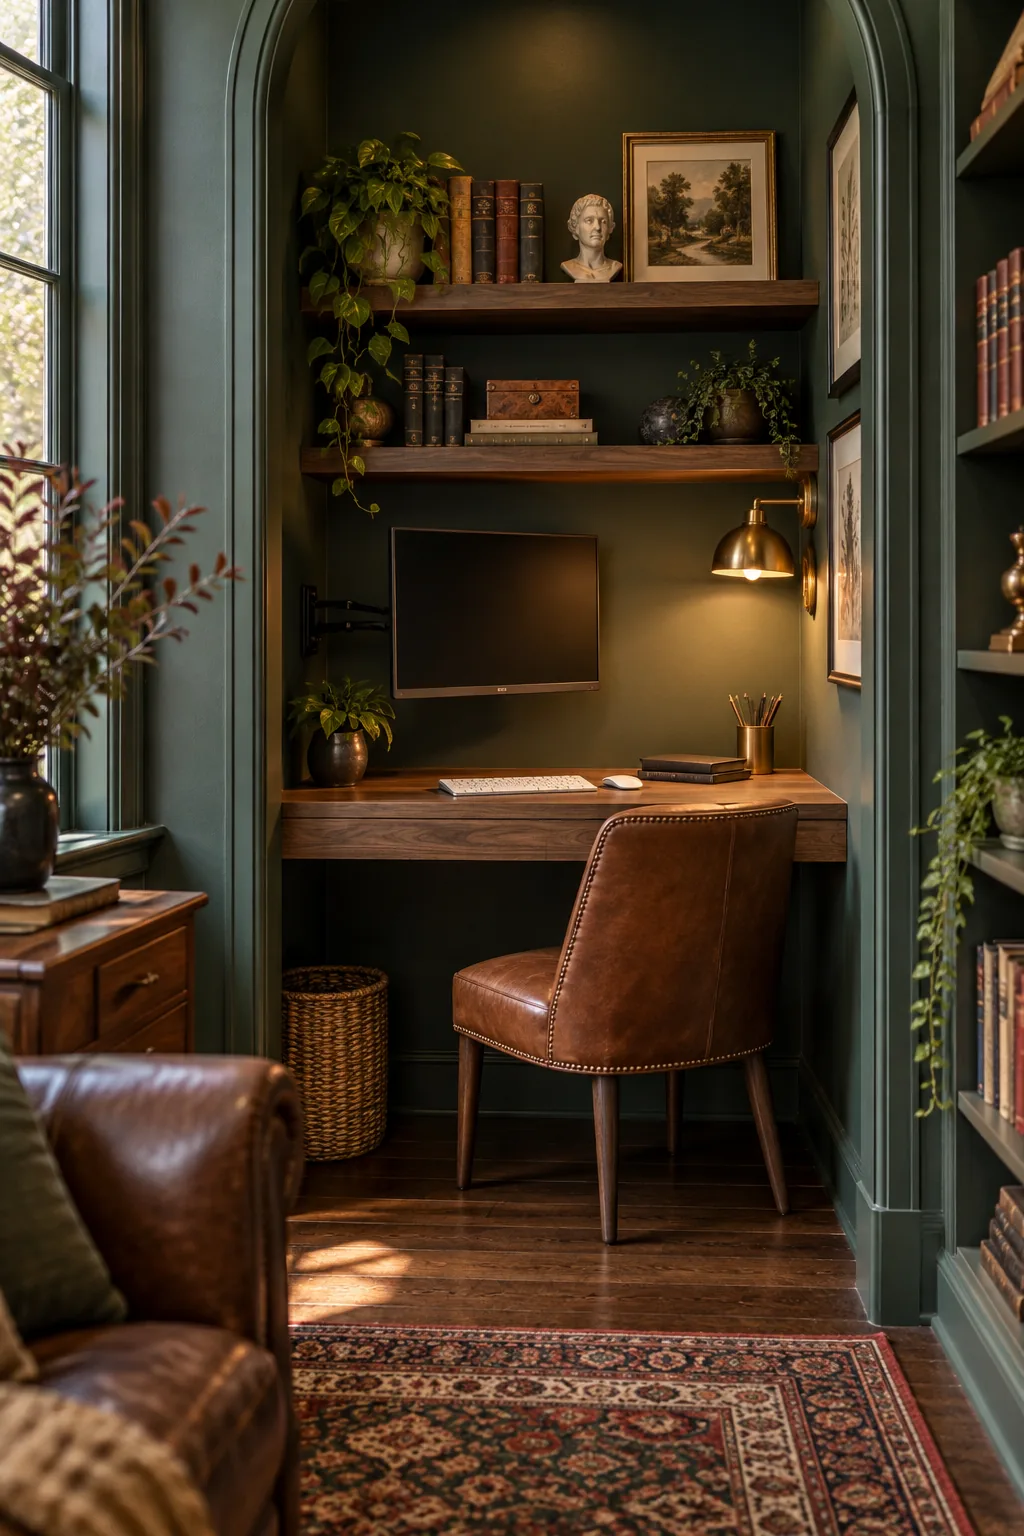
Moody Dark Academia: Deep green walls and a rich walnut desk create a sophisticated, library-inspired workspace.
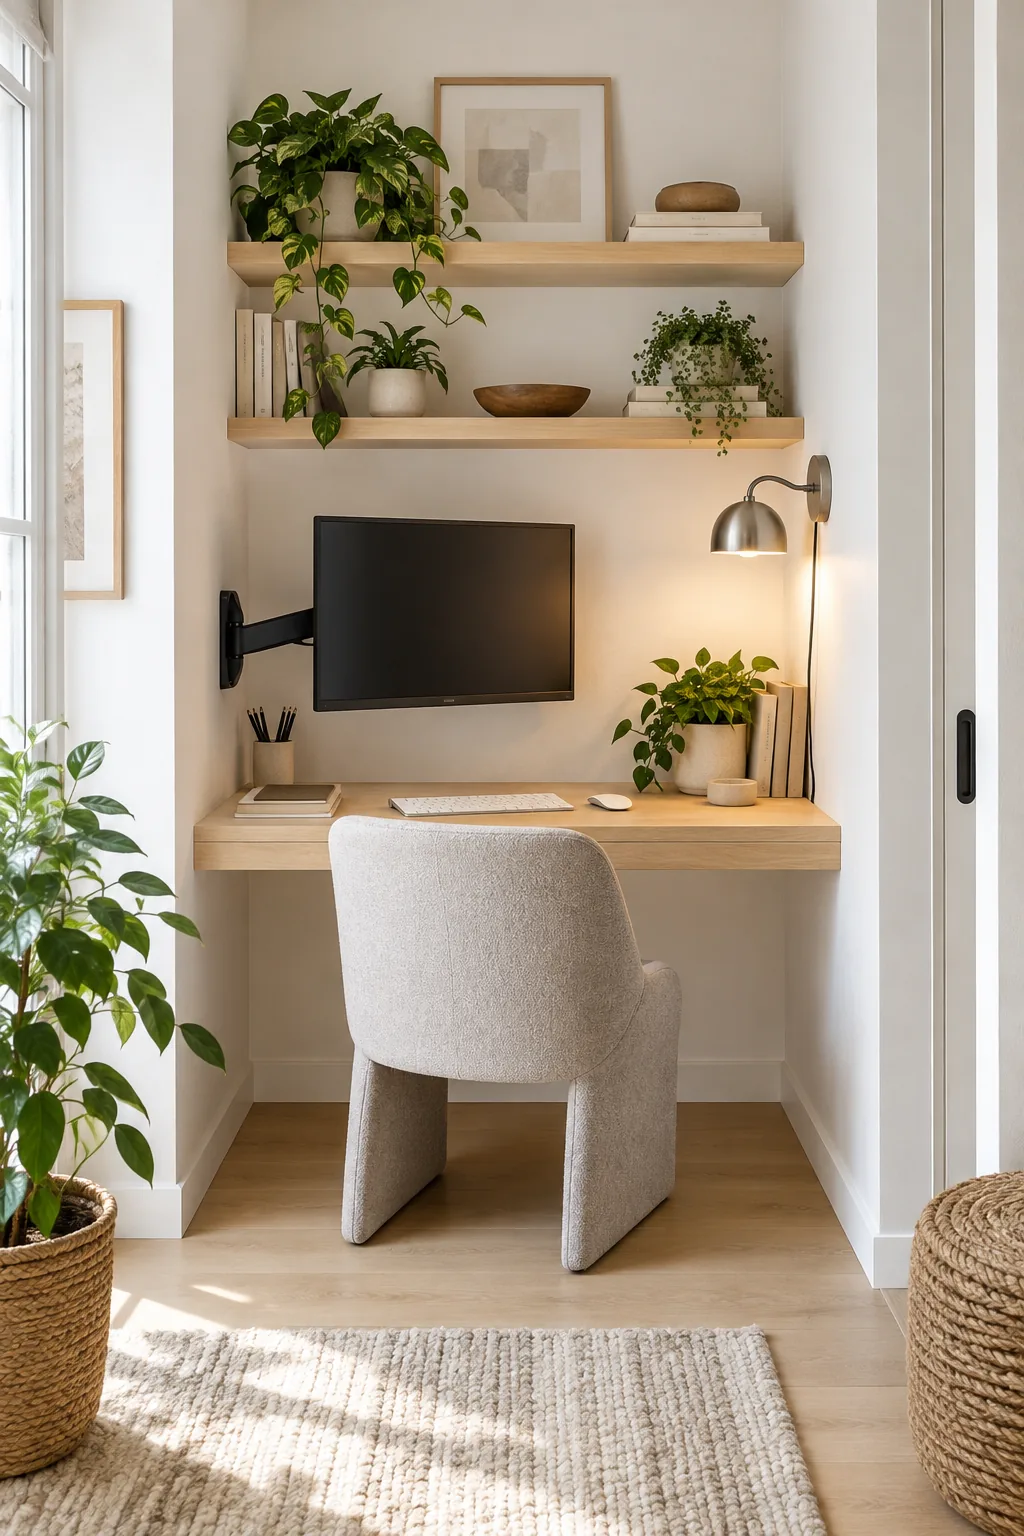
Minimalist Scandinavian: Pale white oak and crisp white walls keep the tight space feeling bright and expansive.
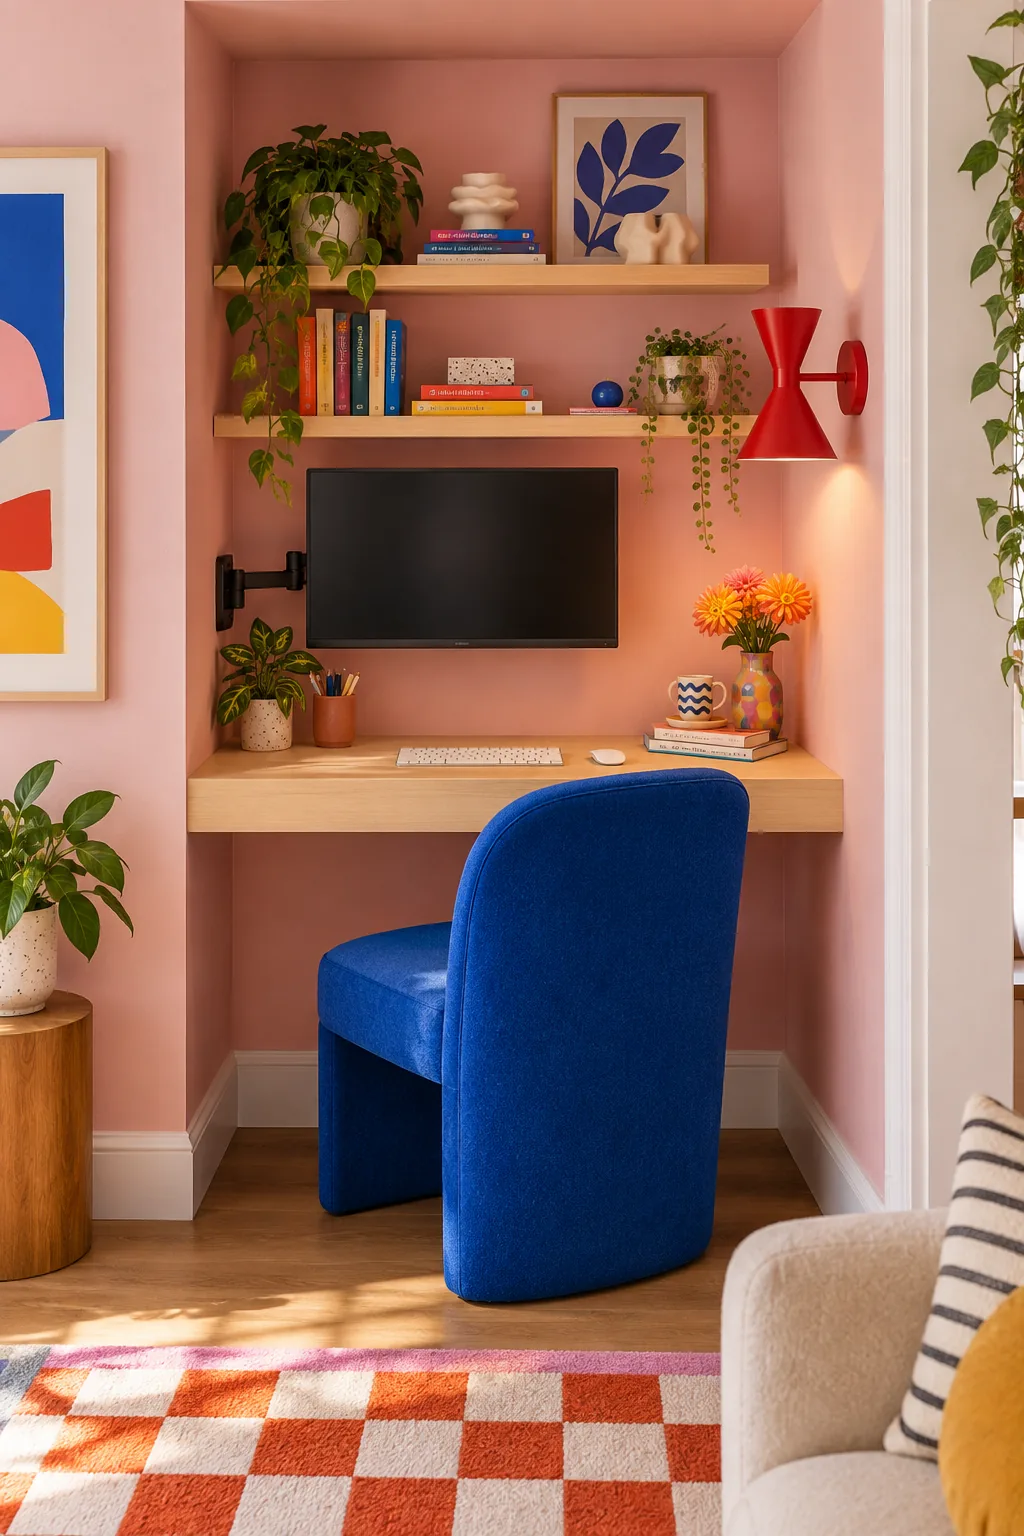
Colorful Postmodern: A blush pink nook paired with a striking cobalt blue chair adds an instant surge of creative energy.
The Small-Space Measurement Cheat Sheet
Pulling this layout together requires sticking to specific dimensions I rely on whenever I convert a dead space into a desk. Precision is the difference between an awkward closet and a bespoke architectural workspace.
Use this final reference guide to guarantee your proportions are correct before you purchase materials or drill into the drywall.
- Maintain a maximum 20-inch desk depth.
- Set the monitor center exactly at seated eye level.
- Mount the sconce 15 inches above the desk surface.
- Choose a chair with an overall width under 22 inches.
Before you commit to the final installation, run through this quick checklist to lock in your layout.