The Bedroom Flooring Layout and Material Cheat Sheet
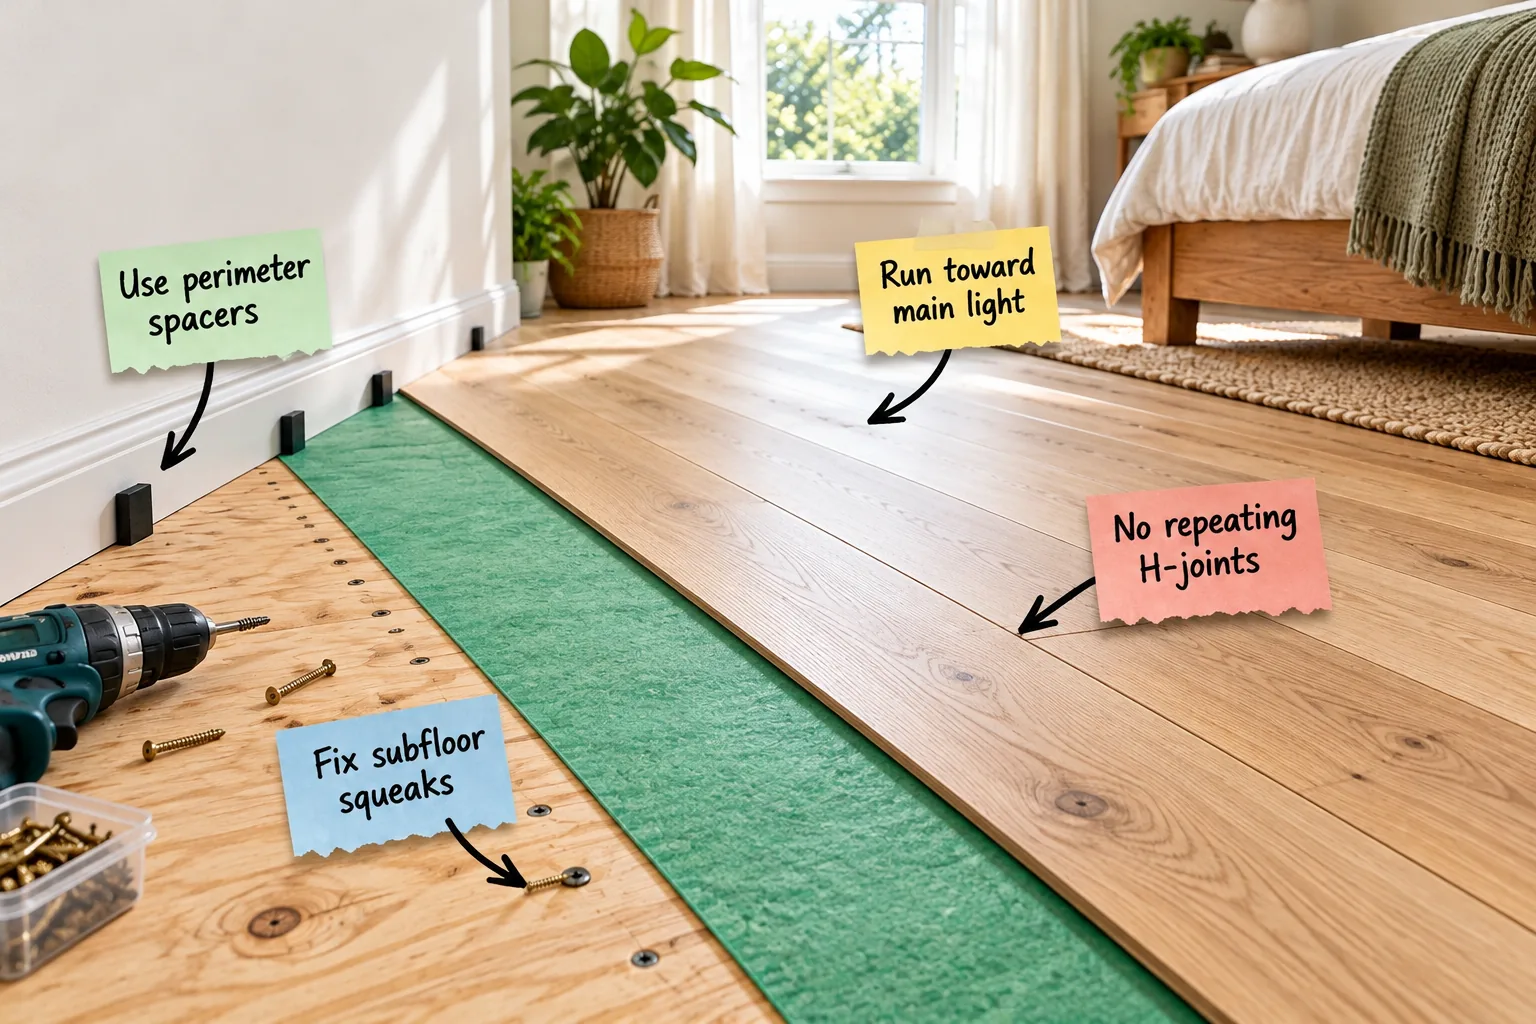
You can easily calculate your materials, choose the correct plank direction, and install a squeak-free sanctuary with this complete bedroom flooring layout and material cheat sheet. Master your expansion gaps and underlayment choices for a quiet, professional-looking space you will love waking up in.
Assessing the Existing Floor
Before purchasing any materials, pull up a corner of your old bedroom carpet to reveal the condition of the structural base beneath it. Identifying whether you have concrete, oriented strand board, or standard plywood dictates the exact preparation steps required for a successful installation.
Removing Old Baseboards Safely
Score the top edge of your existing baseboards with a sharp utility knife to break the old paint seal before gently prying them away from the drywall. Labeling the back of each trim piece with a marker ensures you can easily reinstall them in the correct order later.
Securing the Plywood Subfloor
A quiet bedroom starts before the flooring is even unboxed, so walk the bare plywood to locate loose spots and drive 2-inch wood screws directly into the joists every 8 inches.
A quiet floor relies on the right fasteners, but rushing this subfloor preparation can actually make those annoying squeaks worse over time.
Sanding Down High Spots
Run a long straightedge across the plywood joints to identify any peaks that could cause your new planks to flex or snap under heavy footsteps. Use a coarse-grit belt sander to aggressively knock down these high spots until the entire surface sits perfectly flush.
Filling Low Subfloor Dips
Pour a high-quality cement-based leveling compound into any structural depressions that dip more than 3/16 of an inch over a 10-foot span. Feather the edges of the compound smoothly with a wide trowel so the dried patch blends seamlessly into the surrounding wood.
Sweeping and Vacuuming the Base
Push a stiff-bristled broom across the entire bedroom to gather the heavy sawdust generated by your subfloor sanding and leveling efforts. Follow up immediately with a heavy-duty shop vacuum to pull the remaining fine grit out of the plywood grain and wall corners.
Adding Acoustic Underlayment
Roll out a high-quality 3mm closed-cell or felt acoustic underlayment over your prepped subfloor to dampen foot traffic noise and smooth out minor imperfections. This essential green layer acts as a crucial moisture barrier while making the finished floor feel softer under bare feet.
Taping the Underlayment Seams
Butt the long edges of the underlayment rolls tightly together without allowing the thick material to overlap and create a raised ridge. Seal every seam completely with moisture-resistant foil tape to ensure the acoustic and vapor protection remains entirely continuous across the bedroom.
Planning the Plank Direction
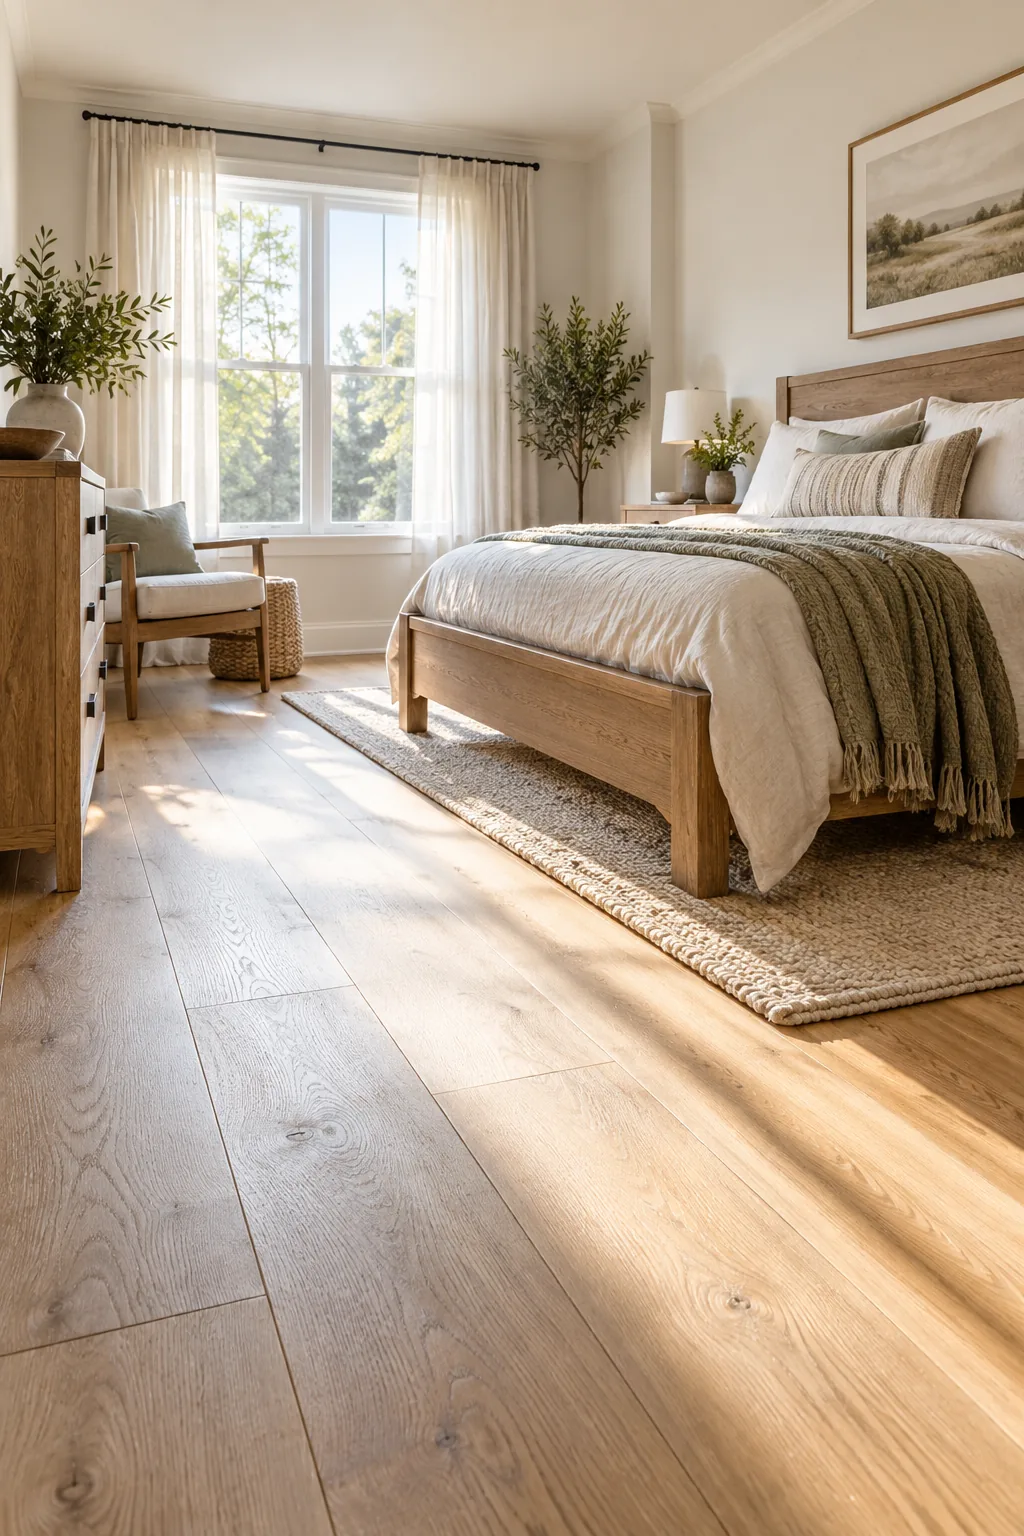
Orient your planks so the long edges run parallel to the room’s primary natural light source to minimize the shadows cast by the micro-bevels.
Running the layout toward the main light makes the finished surface look completely seamless, even when the bright afternoon sun hits it directly.
Measuring the Room Width
Stretch a reliable tape measure across the bedroom perpendicular to your chosen plank direction to determine the exact total width of the space. Divide this total measurement by the width of a single floorboard to see exactly how many full rows you will need.
Calculating the First Row Width
If your width calculation leaves a final row narrower than two inches, rip your starting row down on a table saw to balance the layout. Starting with a slightly narrower first plank guarantees you will not end up with a tiny, fragile sliver of wood at the opposite wall.
The Layout and Material Cheat Sheet
Calculate your room’s square footage and add a 10 percent overage for cuts and waste, ensuring your shopping list includes 2-inch subfloor screws, 3mm acoustic underlayment, wide-plank flooring, and 1/4-inch plastic perimeter spacers. Planning ahead prevents frustrating mid-project trips to the hardware store.
Undercutting the Door Jambs
Lay a scrap piece of flooring and a patch of underlayment flat against the door frame to use as a precise height guide for your oscillating multi-tool. Plunge the blade straight into the wooden jamb to slice off the bottom, allowing the new floor to slide neatly underneath.
Setting Perimeter Expansion Gaps
Wood flooring expands and contracts with seasonal humidity changes, so you must wedge 1/4-inch plastic spacers between the planks and the drywall around the entire room.
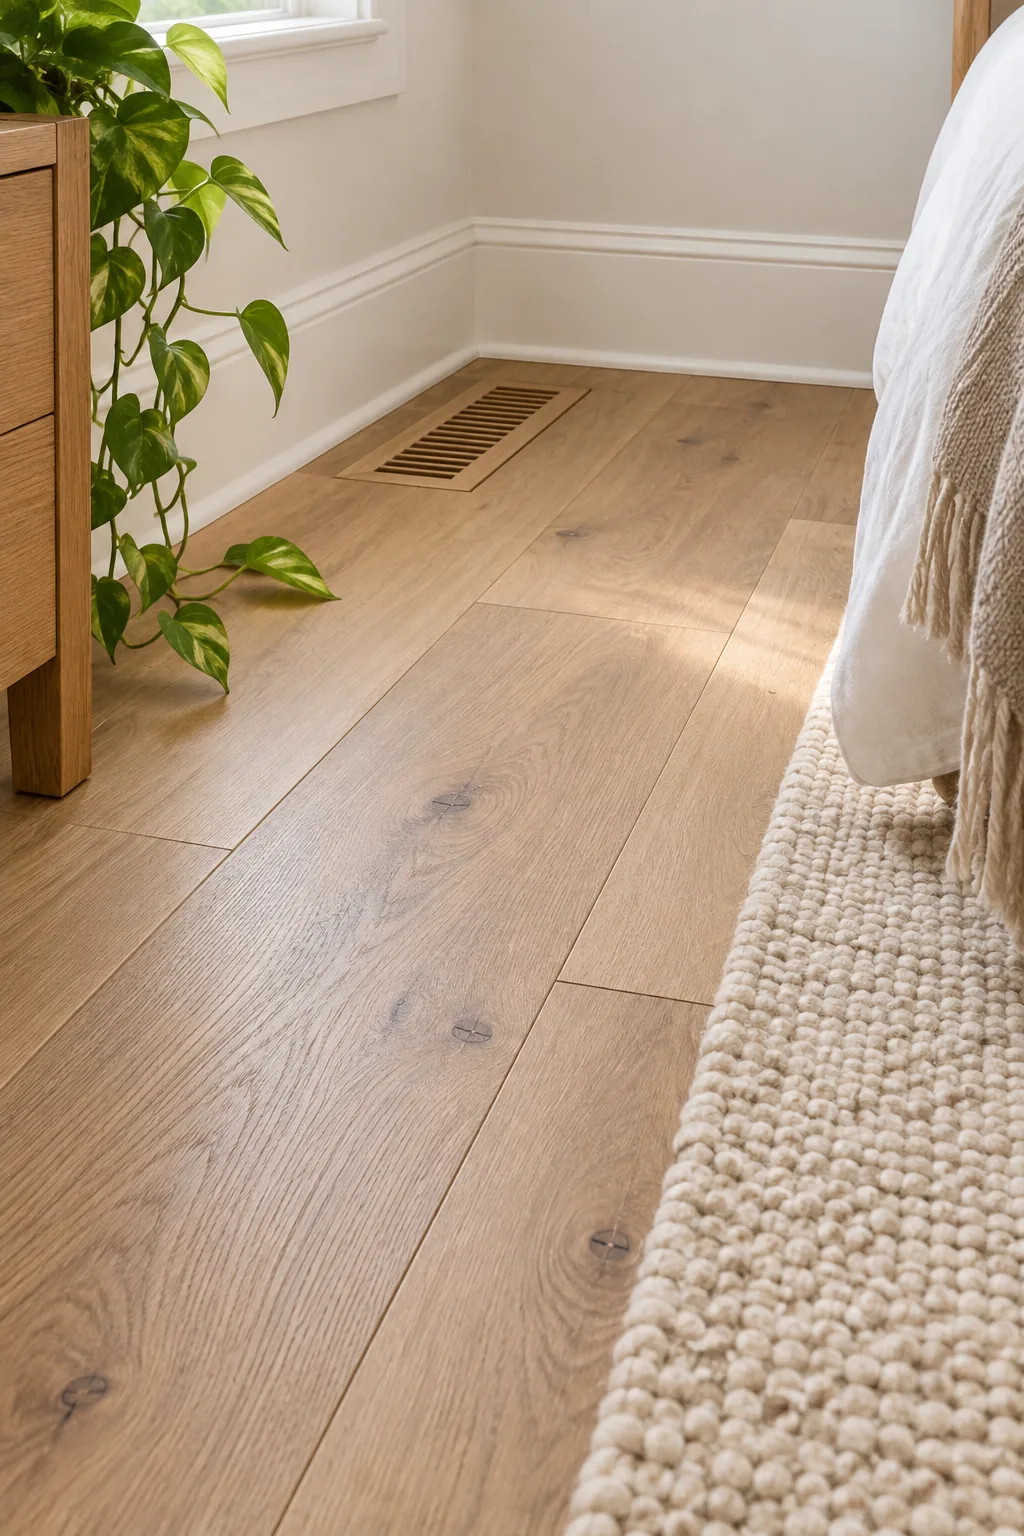
Leaving this intentional expansion gap around the perimeter prevents your beautiful new planks from buckling when the humid summer weather inevitably rolls in.
Racking the Floor Planks
Open three or four different boxes of flooring at once and mix the planks together across the bedroom floor before you begin the actual installation. This traditional racking technique blends the natural color variations and grain patterns evenly throughout the space rather than clustering identical boards.
Avoiding Repeating H-Joints
Stagger the end seams of your planks by at least 6 to 8 inches from the joints in the adjacent row to maintain the floor’s structural integrity.
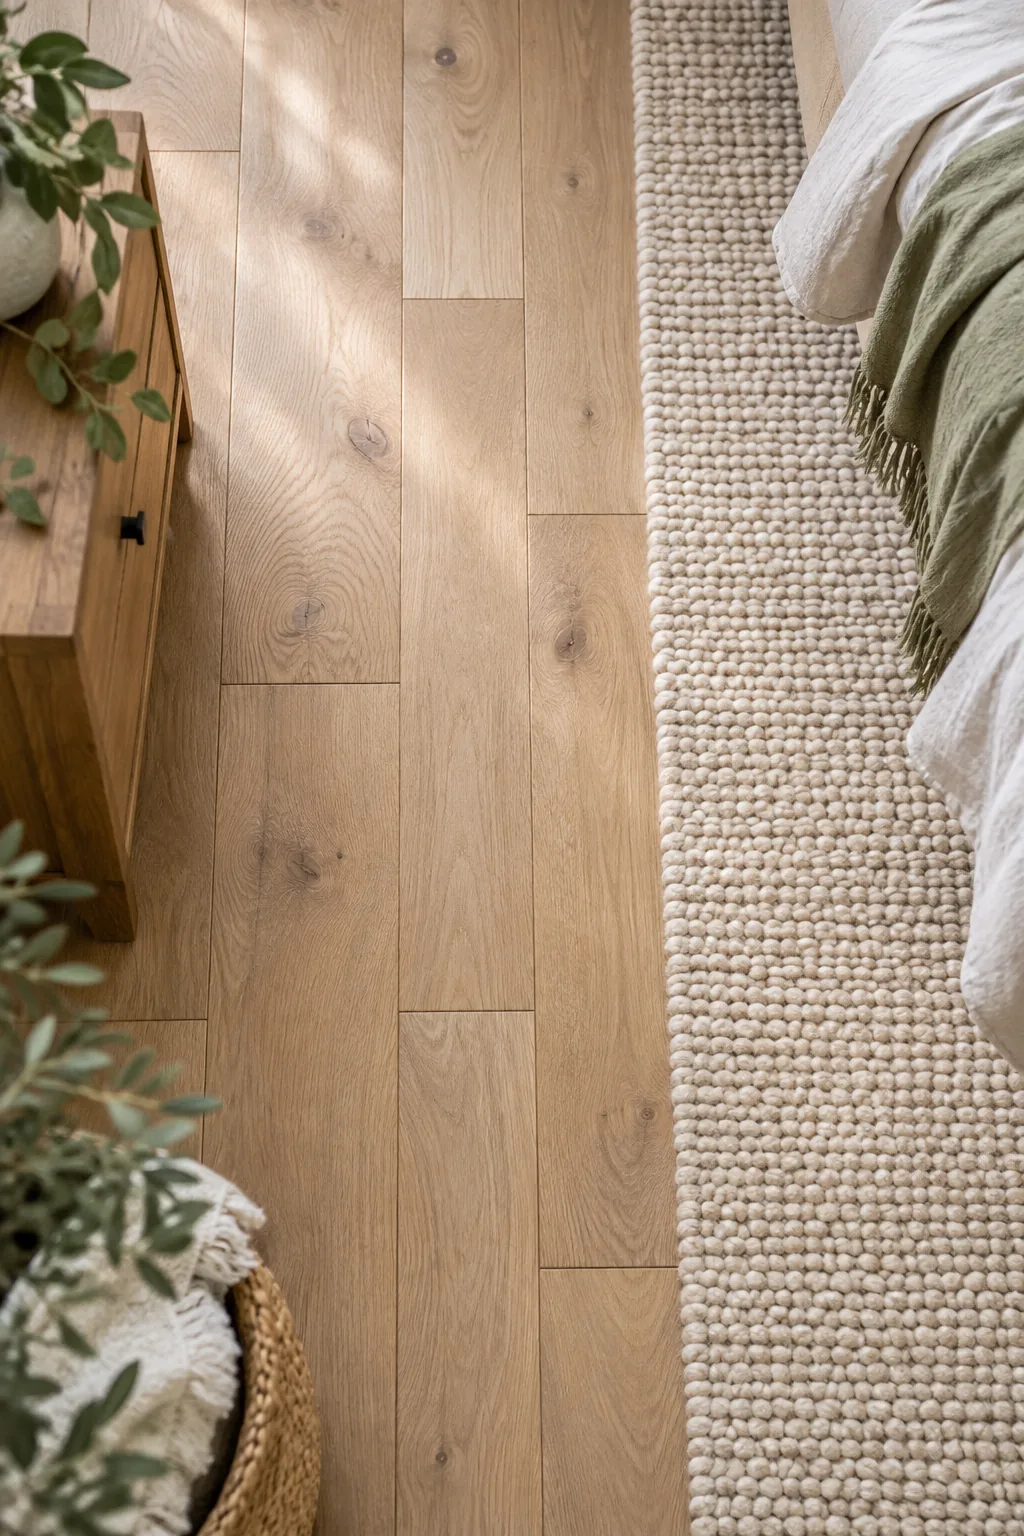
I learned the hard way in my first guest room that creating stair-step or repeating H-patterns draws the eye straight to the seams instead of the beautiful wood grain.
Locking the First Row
Place the grooved edge of the first row facing the starting wall, ensuring the plastic spacers hold the wood firmly in place. Connect the short ends of these initial boards perfectly flush, as any slight angle here will aggressively compound as you build across the bedroom.
Tapping the Seams Tight
Angle the tongue of the next board into the groove of the established row, dropping it flat to engage the mechanical locking system. Strike a specialized tapping block with a heavy rubber mallet to close the microscopic gaps between the planks without damaging the fragile finished edges.
Cutting Around Floor Vents
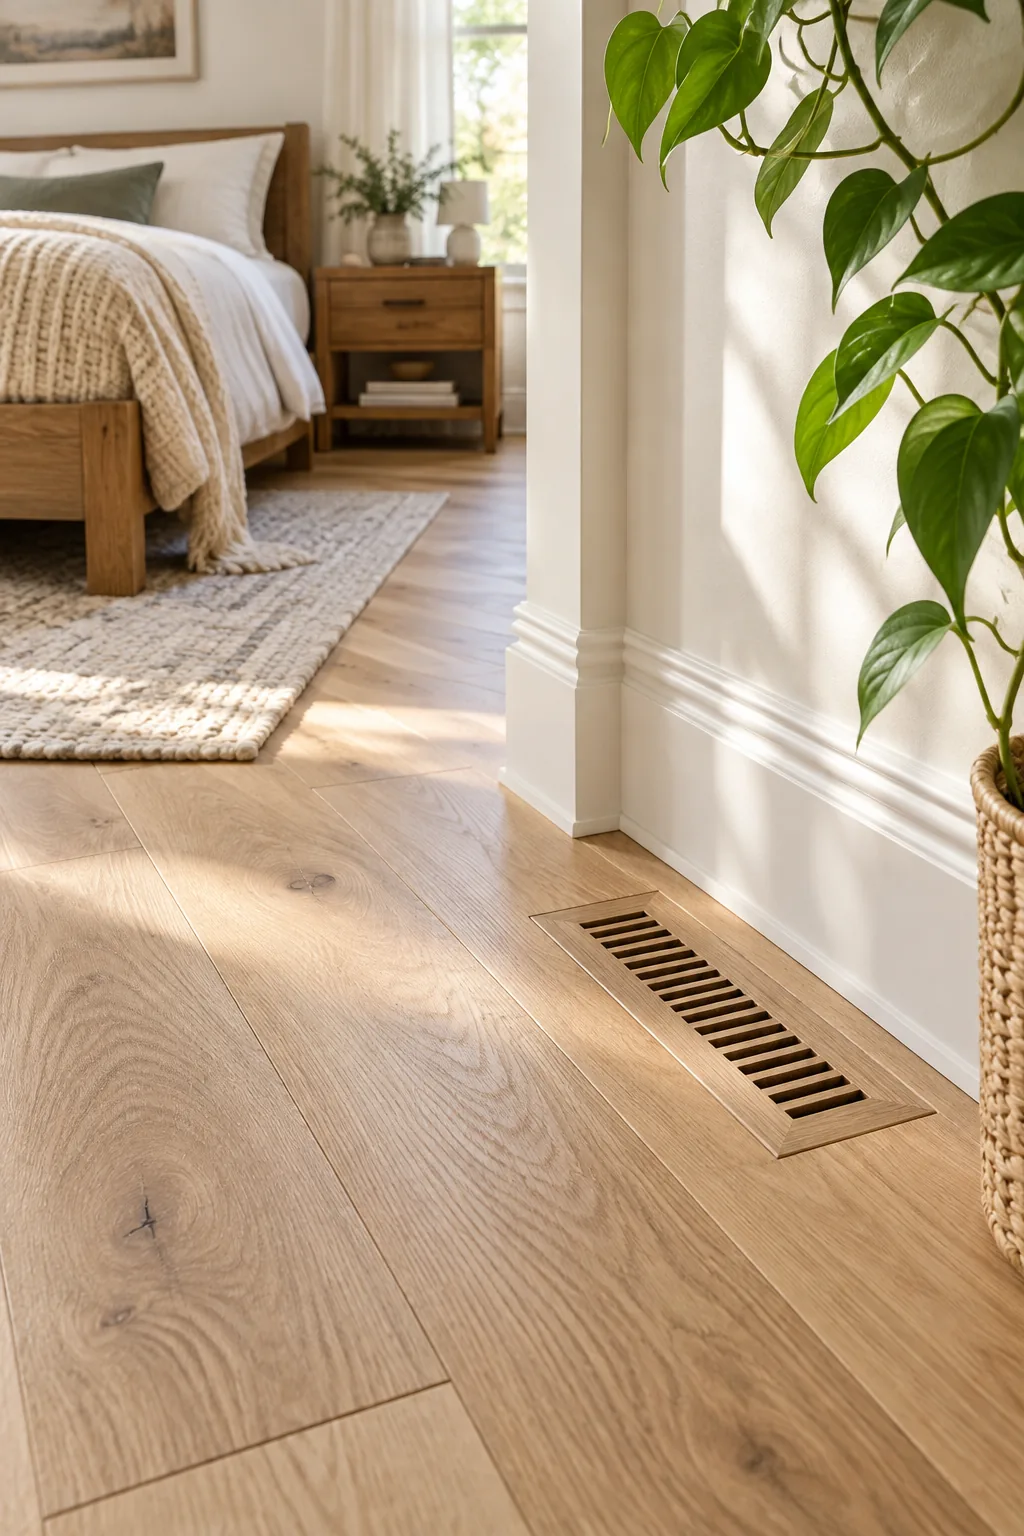
Trace the exact outline of the metal HVAC register onto the back of the plank before drilling a pilot hole in each marked corner. Drop a fine-toothed jigsaw blade into the pilot holes to cut out the rectangular opening, leaving a clean edge for the vent cover to overlap.
Handling Doorway Transitions
Plan a clean transition at the bedroom door if the hallway flooring runs in a different direction or sits at a different height. When I updated my own primary suite, bridging that awkward half-inch drop with a flush reducer completely saved the project.
- Measure the exact height difference between the bedroom subfloor and the hallway surface.
- Select a matching T-molding for even floors or a flush reducer for uneven heights.
- Leave the required expansion gap inside the metal transition track before snapping the wood trim down.
Ripping the Final Row
Measure the remaining gap between the second-to-last row and the wall at multiple points, subtracting the required quarter-inch expansion space from your final numbers. Run these last boards through a table saw to match the wall’s contour, then pull them tight against the previous row using a metal pull bar.
Finishing with Baseboards
Once the floor is laid, remove all plastic spacers and install baseboards by nailing them directly into the wall framing, never down into the floating floor.
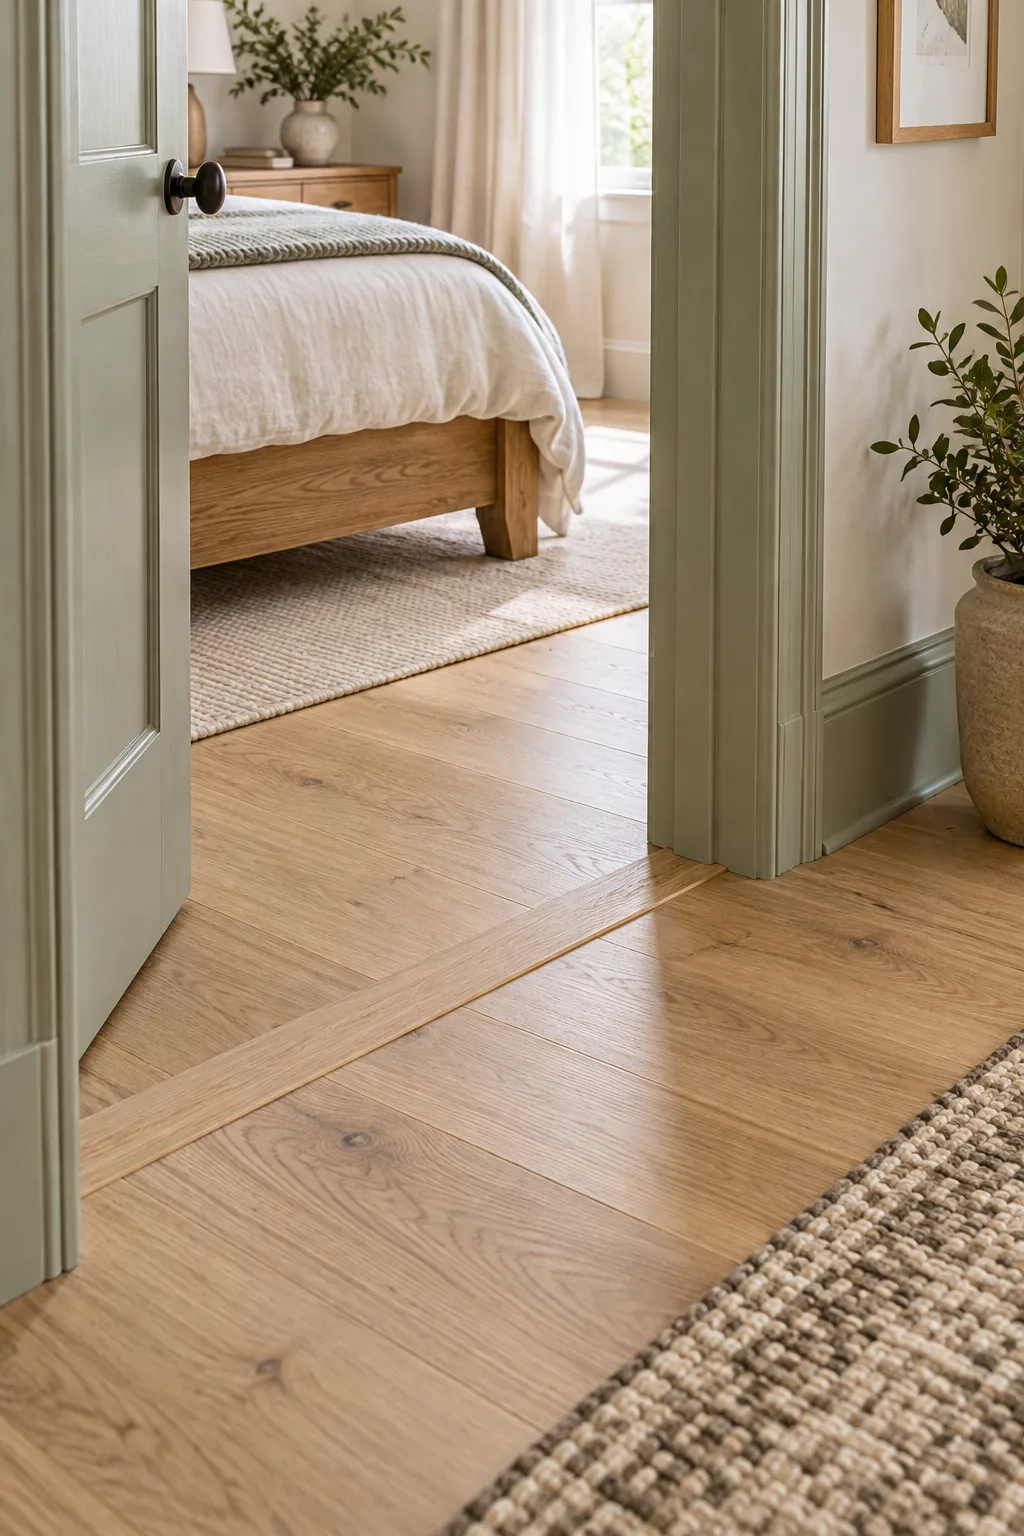
Before firing the brad nailer, I always do a final walkthrough of the room’s perimeter because I once accidentally pinned a floating floor down with a rogue baseboard nail.
Bedroom Flooring Style Inspiration
Explore how different wood tones and finishes completely change the mood of a bedroom.
Light Scandinavian White Oak: Wide-plank European white oak paired with crisp white linens creates a serene, airy retreat. Copy this look by choosing planks with minimal knots and a matte finish.

Moody Modern Dark Walnut: Rich walnut flooring anchors a moody, sophisticated bedroom with dark painted walls. Recreate this atmosphere using a satin-finish dark wood and plush velvet textiles.

Rustic Farmhouse Reclaimed Hickory: Reclaimed hickory brings warmth and deep texture to a cozy farmhouse bedroom. Look for hand-scraped planks with high color variation to achieve this authentic, lived-in style.
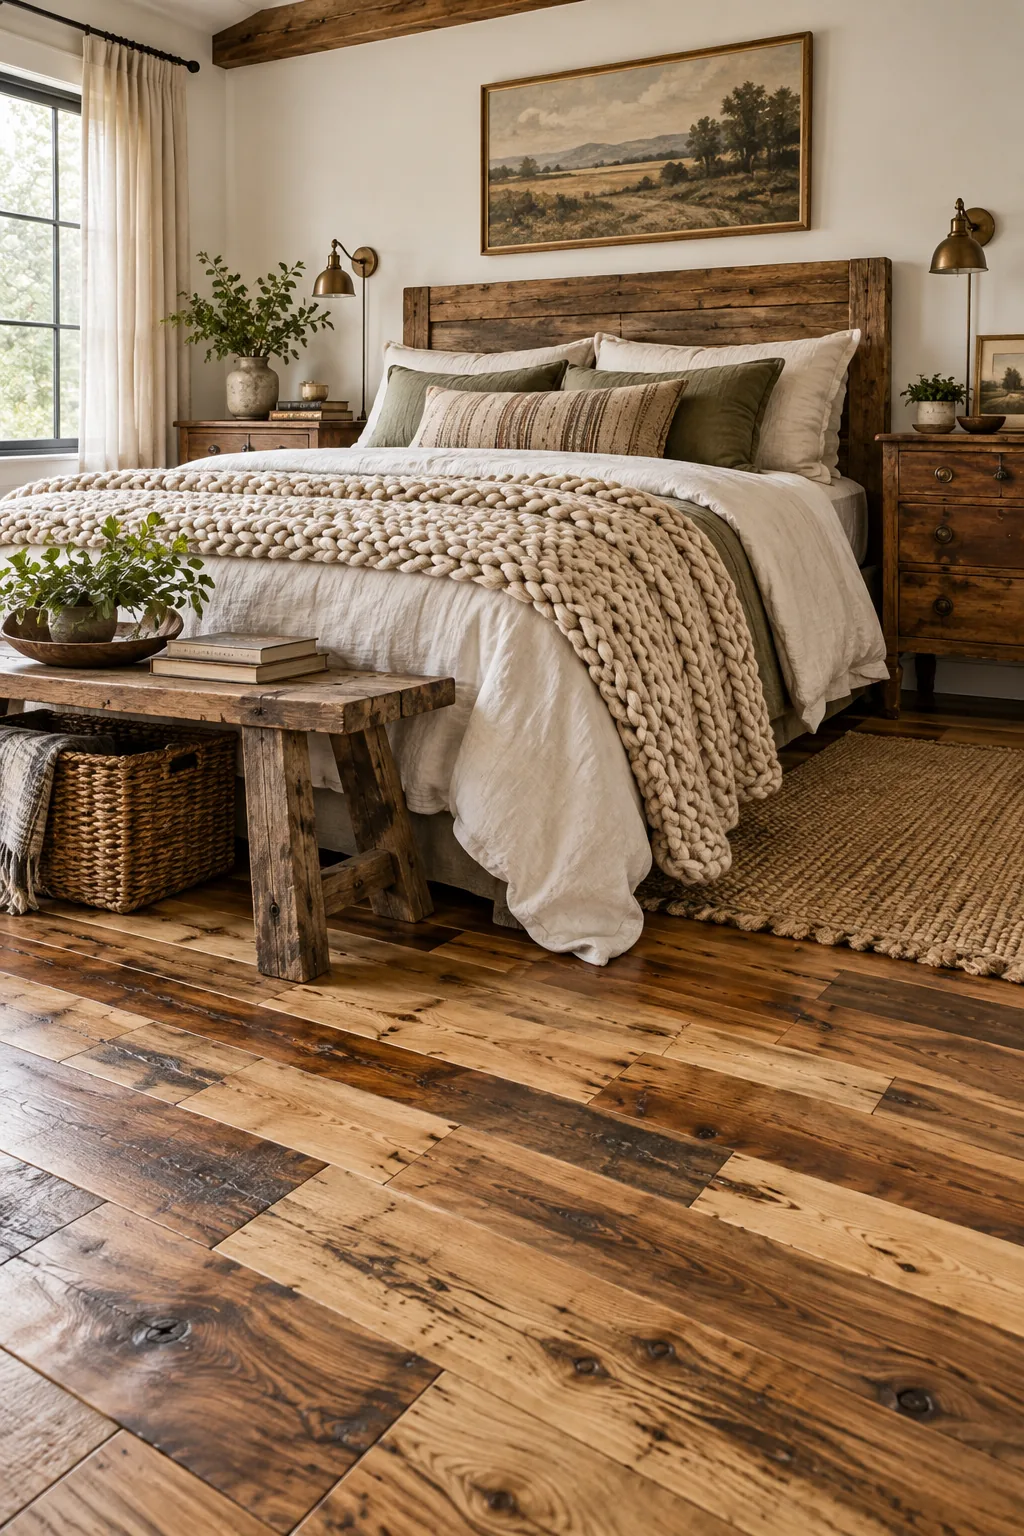
Coastal Cottage Whitewashed Pine: Whitewashed pine planks set a breezy, coastal tone alongside woven rattan furniture. Use a wire-brushed light wood floor to hide sand and daily wear effortlessly.