
Small Bathroom Upgrades: Framing & Clearance Measurement Sheet
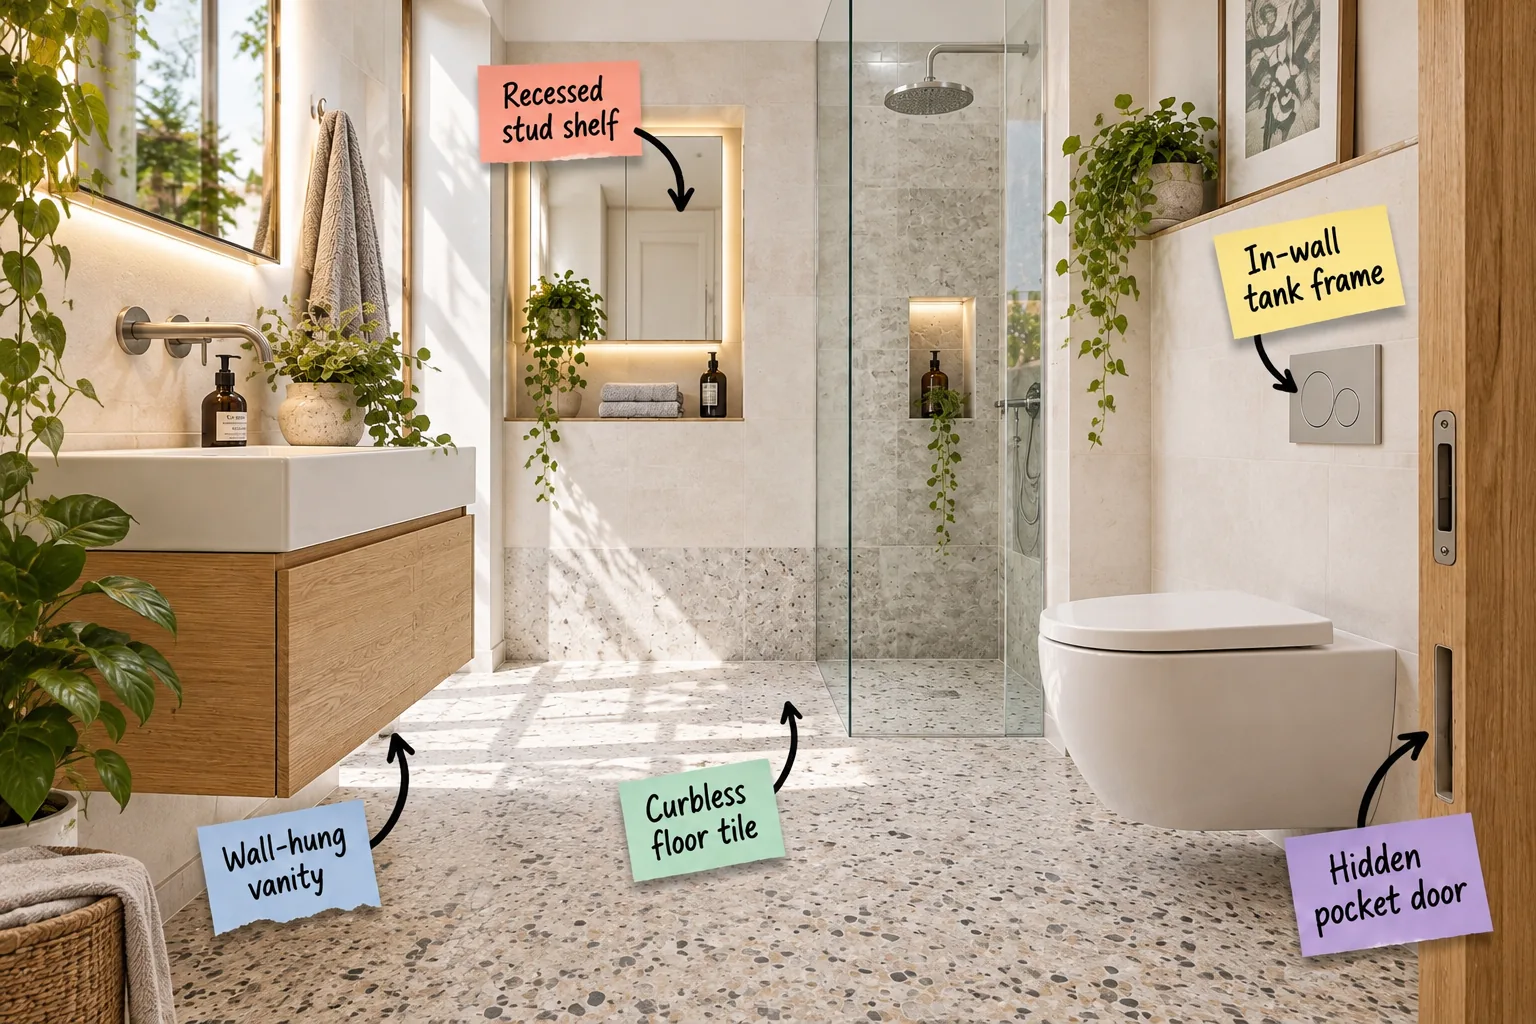
Unlock hidden space in your compact layout using these precise in-wall upgrades and our complete Small Bath Framing & Clearance Measurement Sheet. You will be able to confidently plan your bathroom remodel using exact structural dimensions and minimum fixture clearances.
Reclaiming Space with a Hidden Pocket Door
Eliminating the traditional door swing radius instantly reclaims about 10 to 14 square feet of highly usable floor space in a tight layout. This simple architectural shift dramatically changes how you move through the entryway on busy mornings.
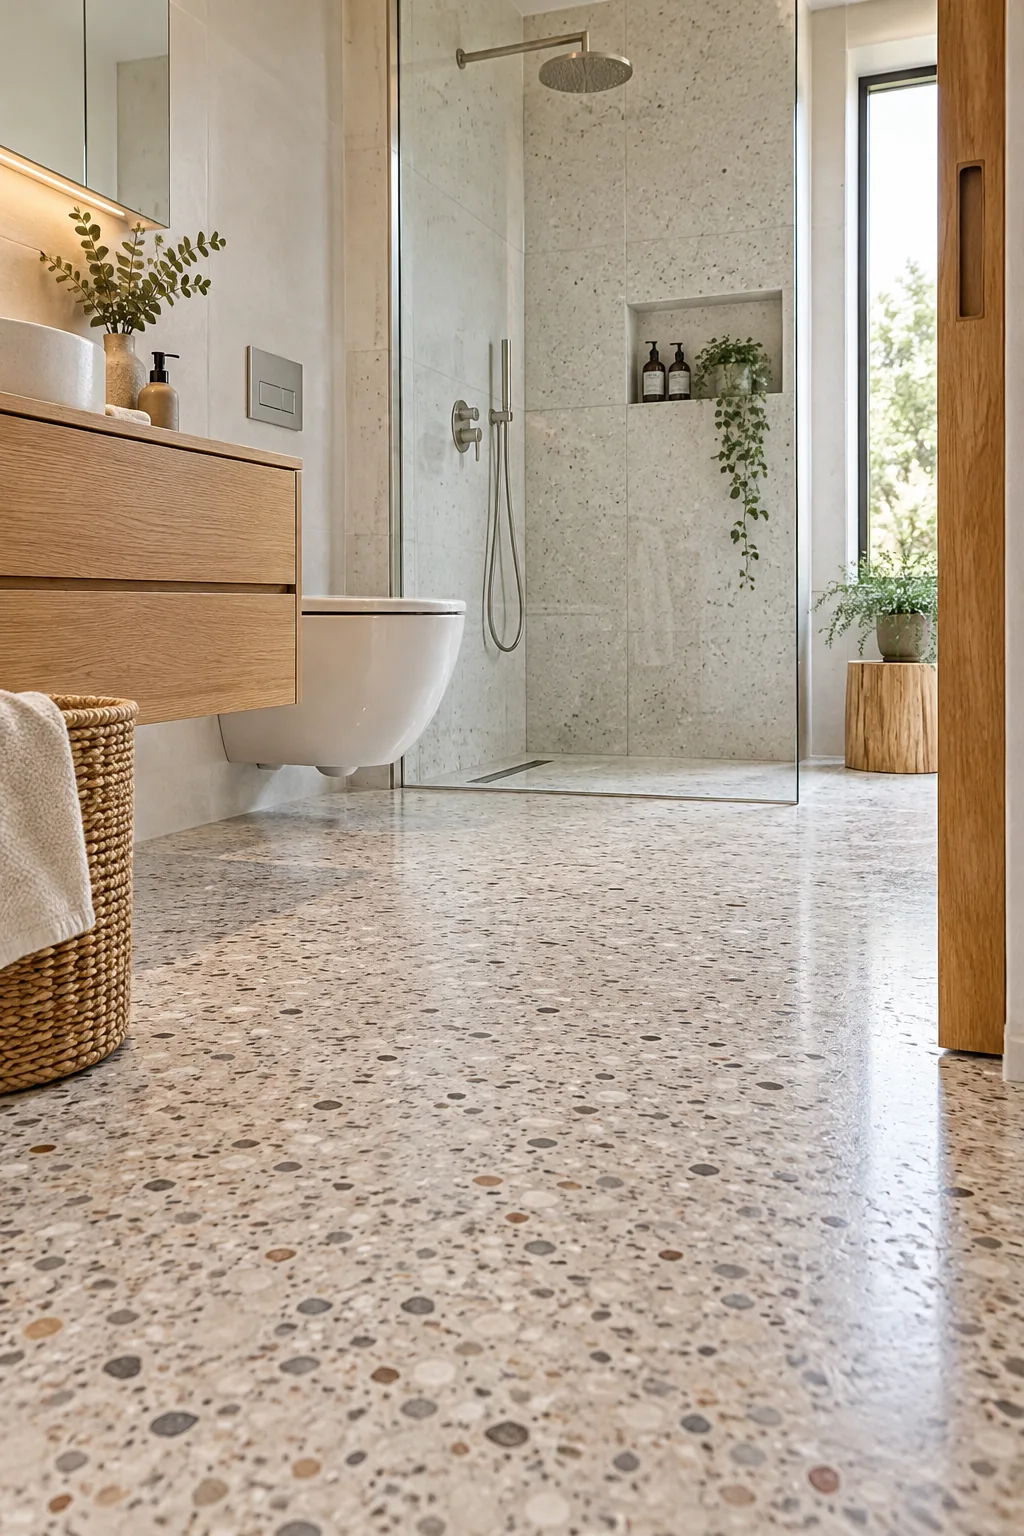
This sliding upgrade requires a completely clean wall cavity, meaning you must route all existing plumbing stacks and electrical lines away from the track zone. A dedicated framing pocket ensures the timber panel glides silently without internal obstructions.
Soundproofing the Shared Bathroom Wall
Because a pocket door replaces solid insulation with a hollow track cavity, acoustic privacy often suffers in adjacent rooms. I always specify mass-loaded vinyl or specialized acoustic drywall on the exterior face of the pocket frame to block airborne noise.
Structural Requirements for Pocket Door Framing
Standard residential framing requires precise rough opening dimensions to support the heavy sliding hardware without eventual sagging. Use this reference table to verify your header heights and track widths before the carpenter begins cutting the king studs.
| Door Width | Rough Opening Width | Rough Opening Height | Header Support |
|---|---|---|---|
| 28 inches | 58 inches | 84.5 inches | Double 2×6 |
| 30 inches | 62 inches | 84.5 inches | Double 2×6 |
| 32 inches | 66 inches | 84.5 inches | Double 2×8 |
| 36 inches | 74 inches | 84.5 inches | Double 2×8 |
Seamless Transitions Using Curbless Floor Tile
Running the exact same terrazzo tile continuously from the doorway straight into the shower visually expands the floor by removing harsh visual boundaries. This unbroken plane tricks the eye into perceiving a significantly larger total square footage.
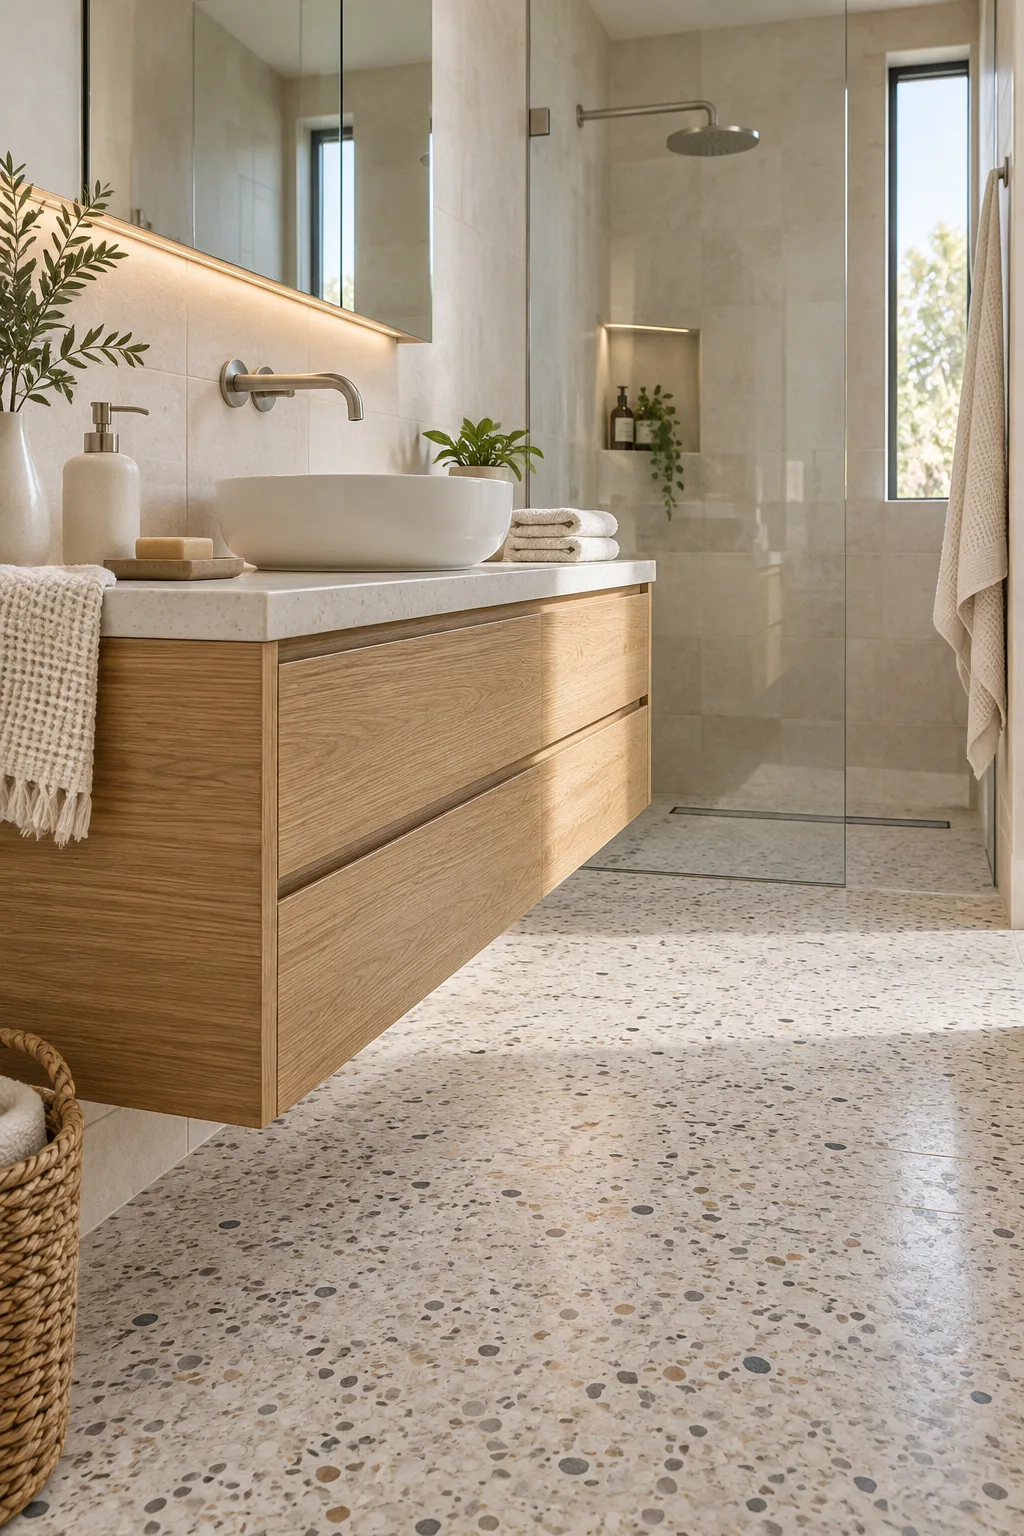
To achieve the required curbless drainage slope, your contractor must drop the shower subfloor by at least 2 inches during the initial framing phase. This structural recess allows the mortar bed to angle downward without raising the room’s threshold.
Establishing the Proper Drainage Slope
A safe and effective walk-in shower requires a precise mortar pitch of exactly 1/4 inch per foot toward the linear drain. Anything less risks standing water pooling on your beautiful terrazzo, while a steeper pitch feels unstable underfoot.
Waterproofing the Continuous Shower Subfloor
When eliminating the traditional shower curb, capillary action can easily draw moisture out into the main bathroom flooring. You must apply a continuous liquid waterproofing membrane extending at least 3 feet beyond the shower zone to protect the joists.
Maximizing the Footprint with a Wall-Hung Vanity
Floating the vanity exposes the floor directly underneath, which tricks the eye into perceiving a much wider and deeper room. Seeing the baseboards continue uninterrupted beneath the cabinetry instantly relieves the cramped feeling typical of narrow layouts.
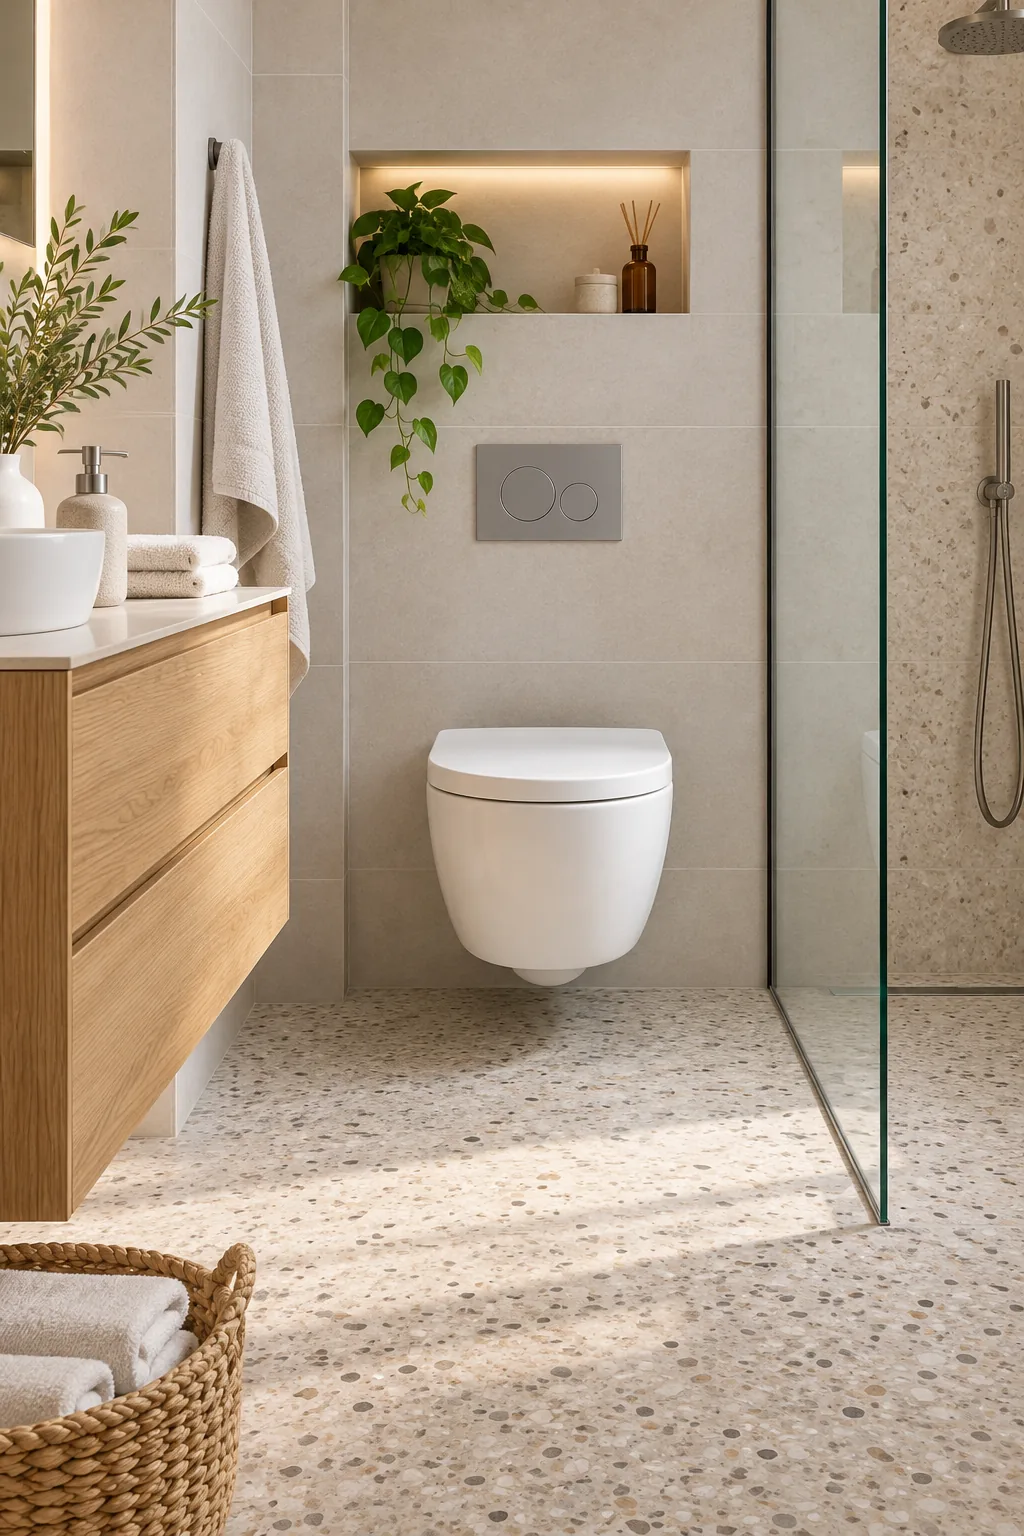
I always recommend mounting the floating basin so the top edge sits at a comfortable finished height of 34 to 36 inches above the floor. This modern elevation accommodates taller users while preserving that crucial visual air space below.
Securing Floating Cabinetry to Wall Studs
A cantilevered oak vanity filled with ceramic sinks and heavy cosmetics exerts immense downward leverage on your drywall. You must install continuous 2×8 solid wood blocking between the wall studs during the rough framing phase to prevent catastrophic sagging.
Routing Supply Lines for Floating Sinks
Because a wall-hung unit lacks a base cabinet to hide messy plumbing, your supply lines and P-trap become highly visible. Specify a sleek, polished chrome bottle trap and route all water lines tightly through the wall rather than the floor.
Concealing Plumbing in an In-Wall Tank Frame
An in-wall carrier system hides the bulky toilet tank inside the stud wall, pushing the bowl back and saving up to 9 inches of forward projection. This mechanical upgrade is often the only way to meet building codes in ultra-compact footprints.
Before purchasing your concealed carrier system, verify your existing wall depth and tile layout to avoid costly framing modifications. Planning the exact location of the actuator panel ensures a perfectly symmetrical finish line.
Evaluating Wall Depth for Carrier Installation
Standard interior partition walls are framed with 2×4 lumber, which barely accommodates ultra-slim concealed tanks. If your chosen carrier requires a 5.5-inch mounting depth, you will need to sister the studs or reframe the wall entirely with 2×6 lumber.
Selecting the Right Flush Plate Mechanism
The actuator plate is the only visible component of your hidden toilet system and serves as the essential access panel for internal maintenance. Opt for a dual-flush mechanical plate over pneumatic versions to ensure long-term reliability and straightforward cable adjustments.
Capturing Storage Inside a Recessed Stud Shelf
Utilizing the empty 3.5-inch depth between standard wall studs creates perfectly flush storage for a medicine cabinet without encroaching on valuable shoulder room. This spatial efficiency keeps your grooming surfaces entirely clear of cluttered amber bottles and cosmetics.
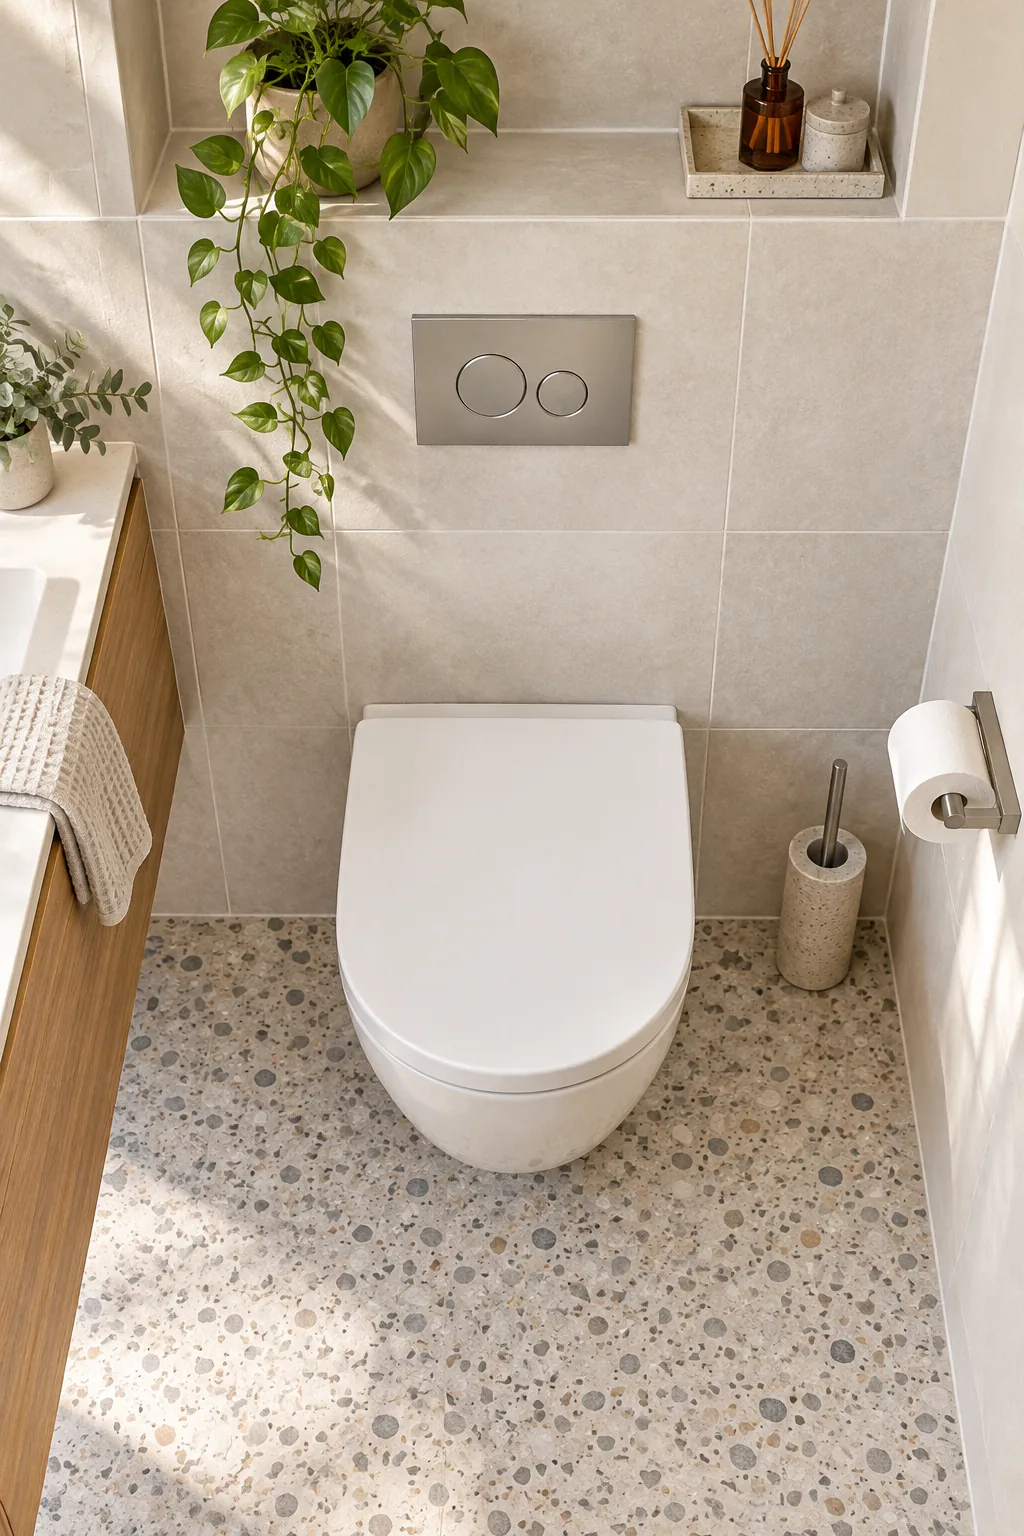
This hidden structural void keeps your daily essentials easily accessible while maintaining the strict, minimalist geometry of the surrounding walls. Framing these niches early ensures they align perfectly with your eventual grout lines.
Framing Custom Niches Without Compromising Load
Cutting into vertical wall studs to create wider storage niches transfers the structural load to the surrounding framing members. Always treat a wide recessed cabinet exactly like a window opening by installing a proper header and supportive jack studs.
Small Bath Framing and Clearance Measurement Sheet
In my own recent guest bathroom remodel, adhering to the non-negotiable 21-inch minimum clear space in front of the toilet prevented the space from feeling cramped. You must also leave at least 15 inches from the toilet center to any adjacent side wall.
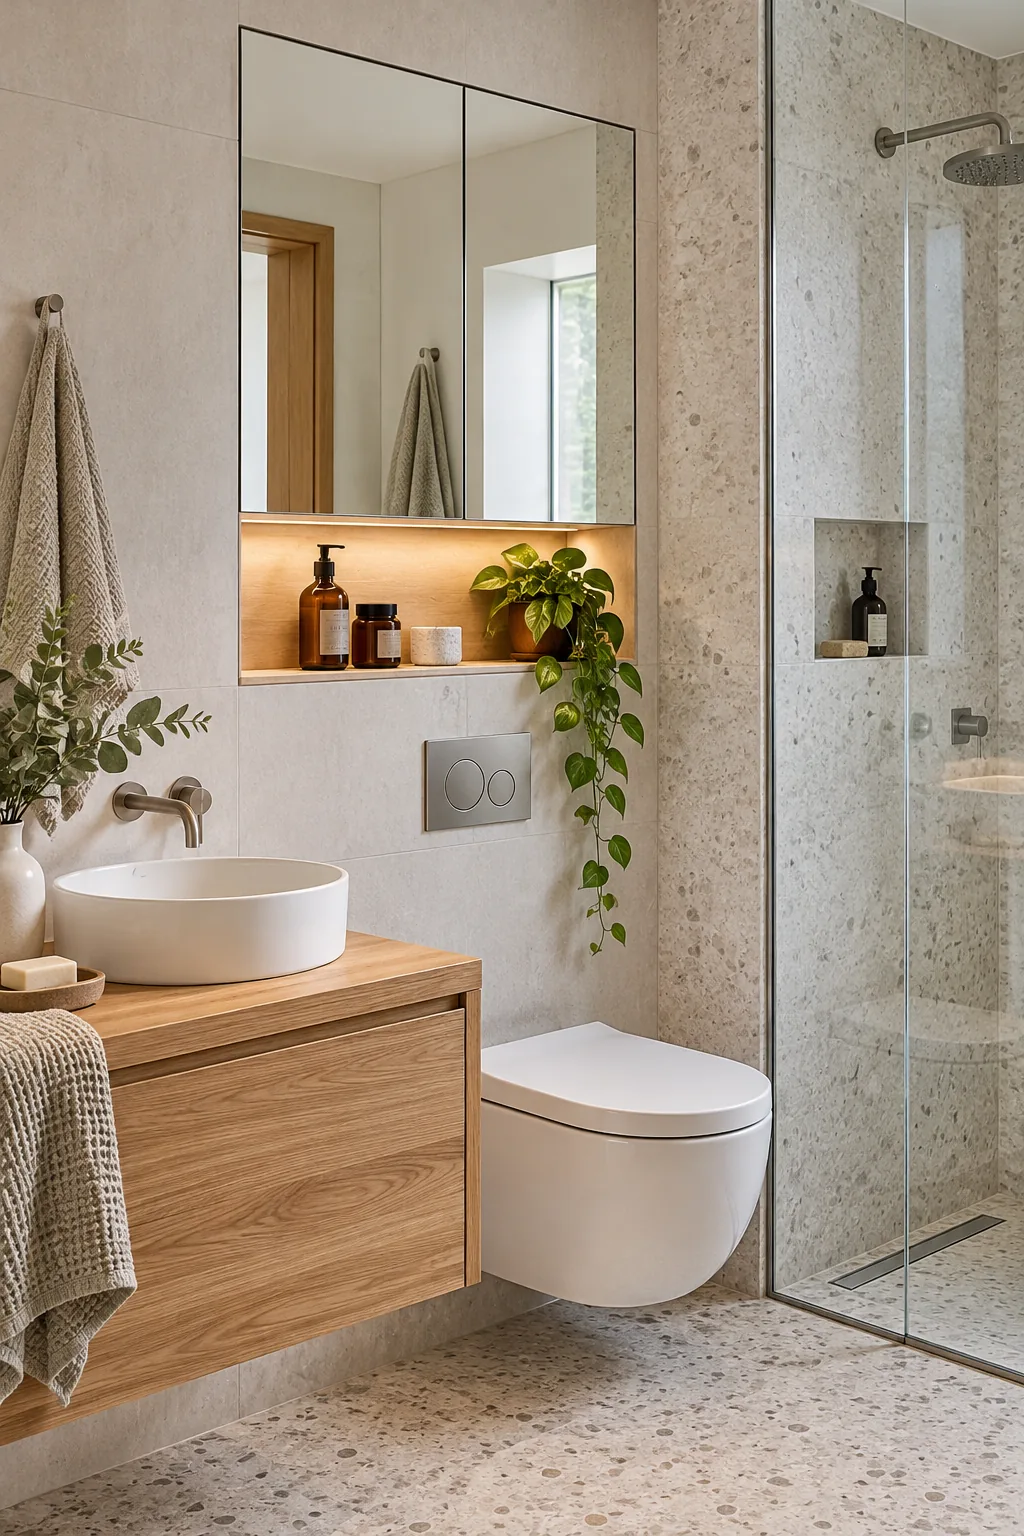
Run through these final structural verifications before the drywall goes up to ensure your hidden upgrades function perfectly and safely. Catching a framing error now saves thousands of dollars in tile demolition later.
Navigating Minimum Walkway Widths
Beyond individual fixture clearances, the primary traffic path through your compact bathroom must remain entirely unobstructed. Maintain a strict 30-inch minimum walkway width from the entryway straight through to the shower zone to ensure comfortable daily navigation.
Coordinating Minimalist Bathroom Hardware
Matching the flush plate, faucets, and door hardware in a consistent finish keeps visual clutter exceptionally low in tight spaces. I used brushed nickel across all fixtures in my master bath, which beautifully unified the room without demanding unnecessary attention.
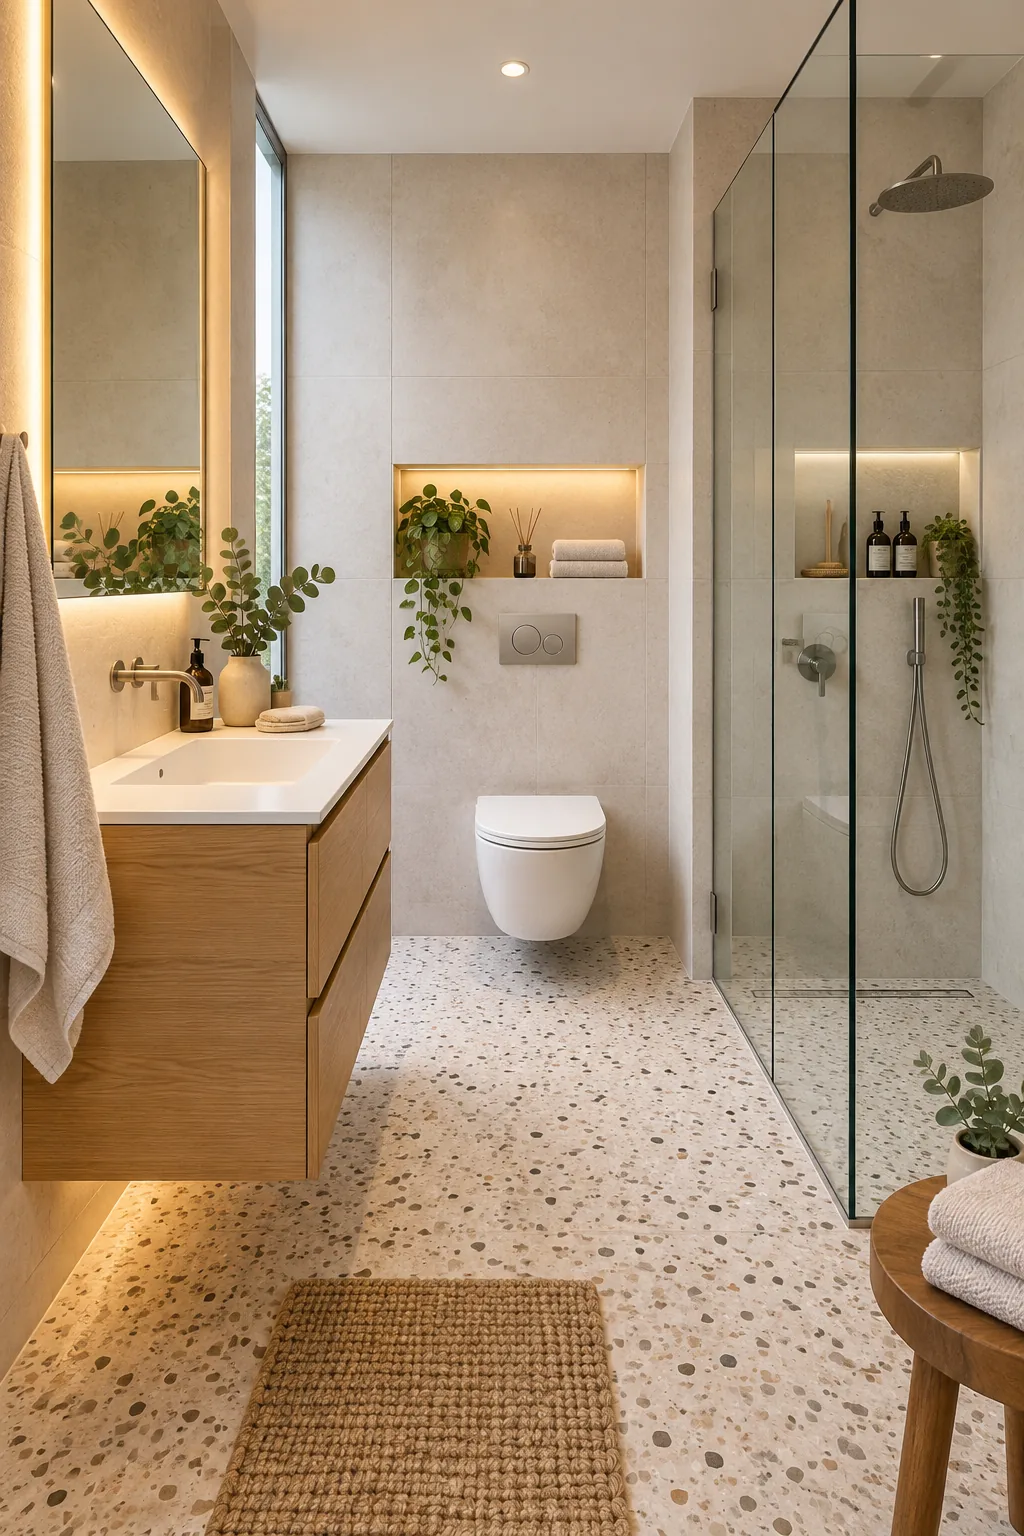
Balancing Metallic Finishes with Stone
When specifying hardware for a terrazzo-lined space, select a metal finish that pulls out the subtle accent colors within the stone aggregate. Matte black fixtures provide a sharp, grounding contrast, while aged brass adds a necessary layer of classic warmth.
Integrating Hidden Ventilation Systems
A compact bathroom traps humidity rapidly, making powerful and discreet ventilation absolutely critical for preventing persistent mold growth. Install a high-capacity inline exhaust fan above the ceiling drywall, leaving only a sleek, minimalist intake grille visible above the shower.
Layering Task and Ambient Light Zones
Relying on a single harsh overhead fixture flattens the room’s architecture and casts unflattering shadows at the vanity mirror. Separate your lighting into distinct circuits, pairing bright directional sconces for grooming with soft, waterproof downlights inside the shower zone.
4 Distinct Looks for Compact Bathrooms
Find the perfect material and color palette to match your home's aesthetic.
Warm Minimalist Spa: Warm minimalist styling pairs beige plaster walls with a light oak vanity, creating a serene atmosphere you can easily replicate with natural textures.
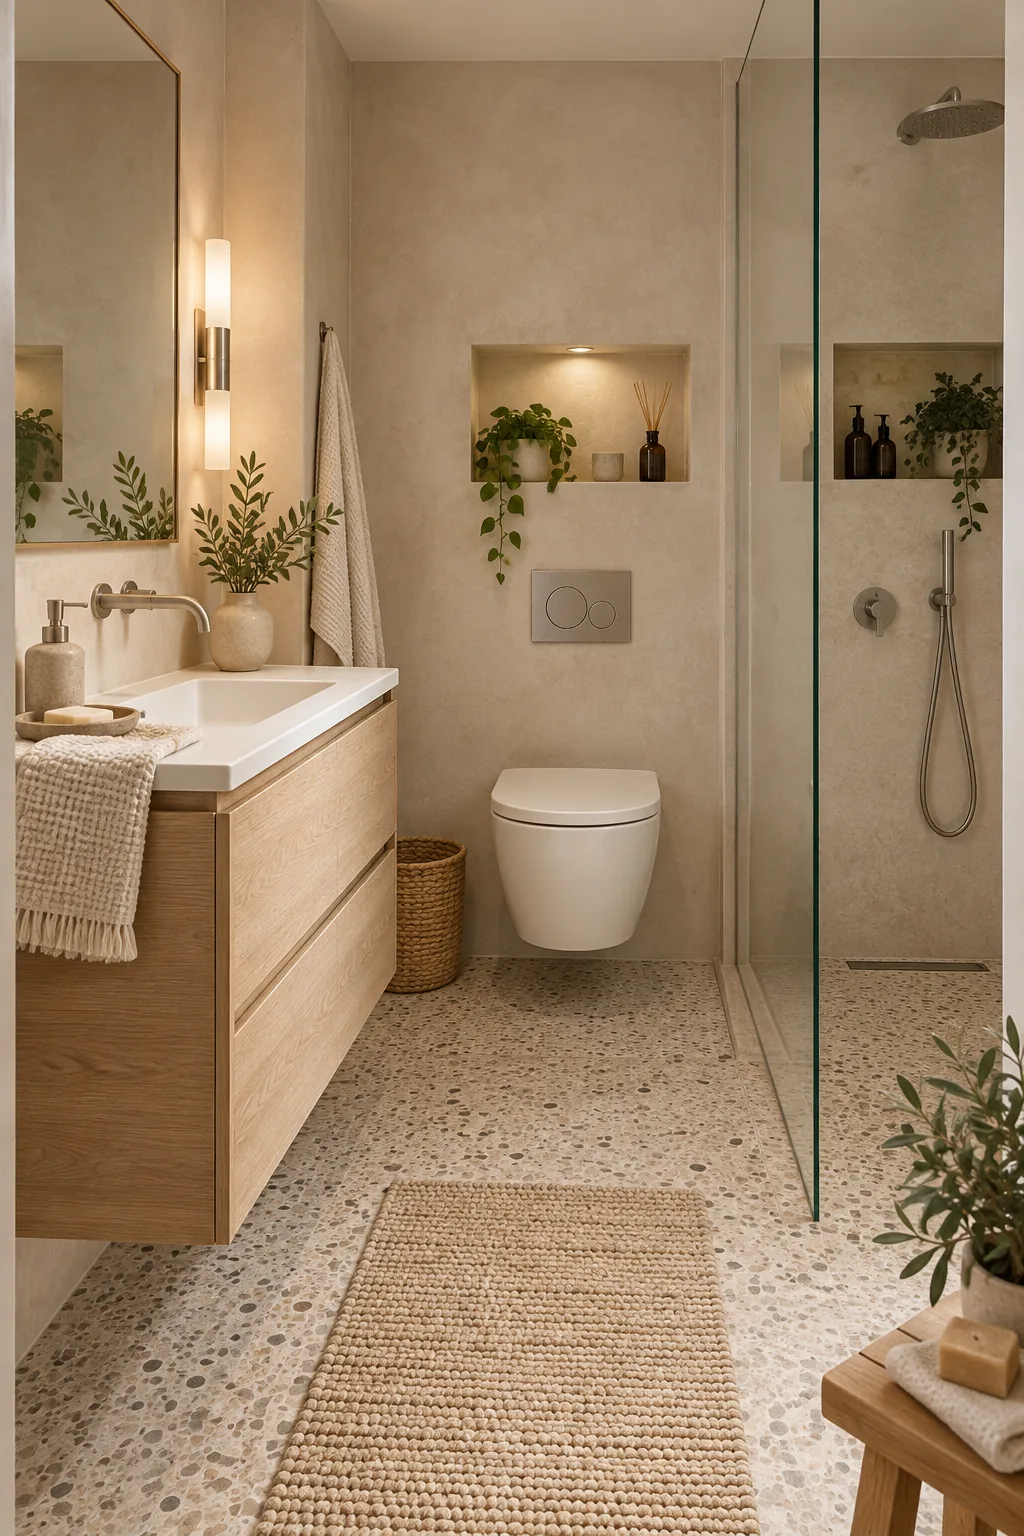
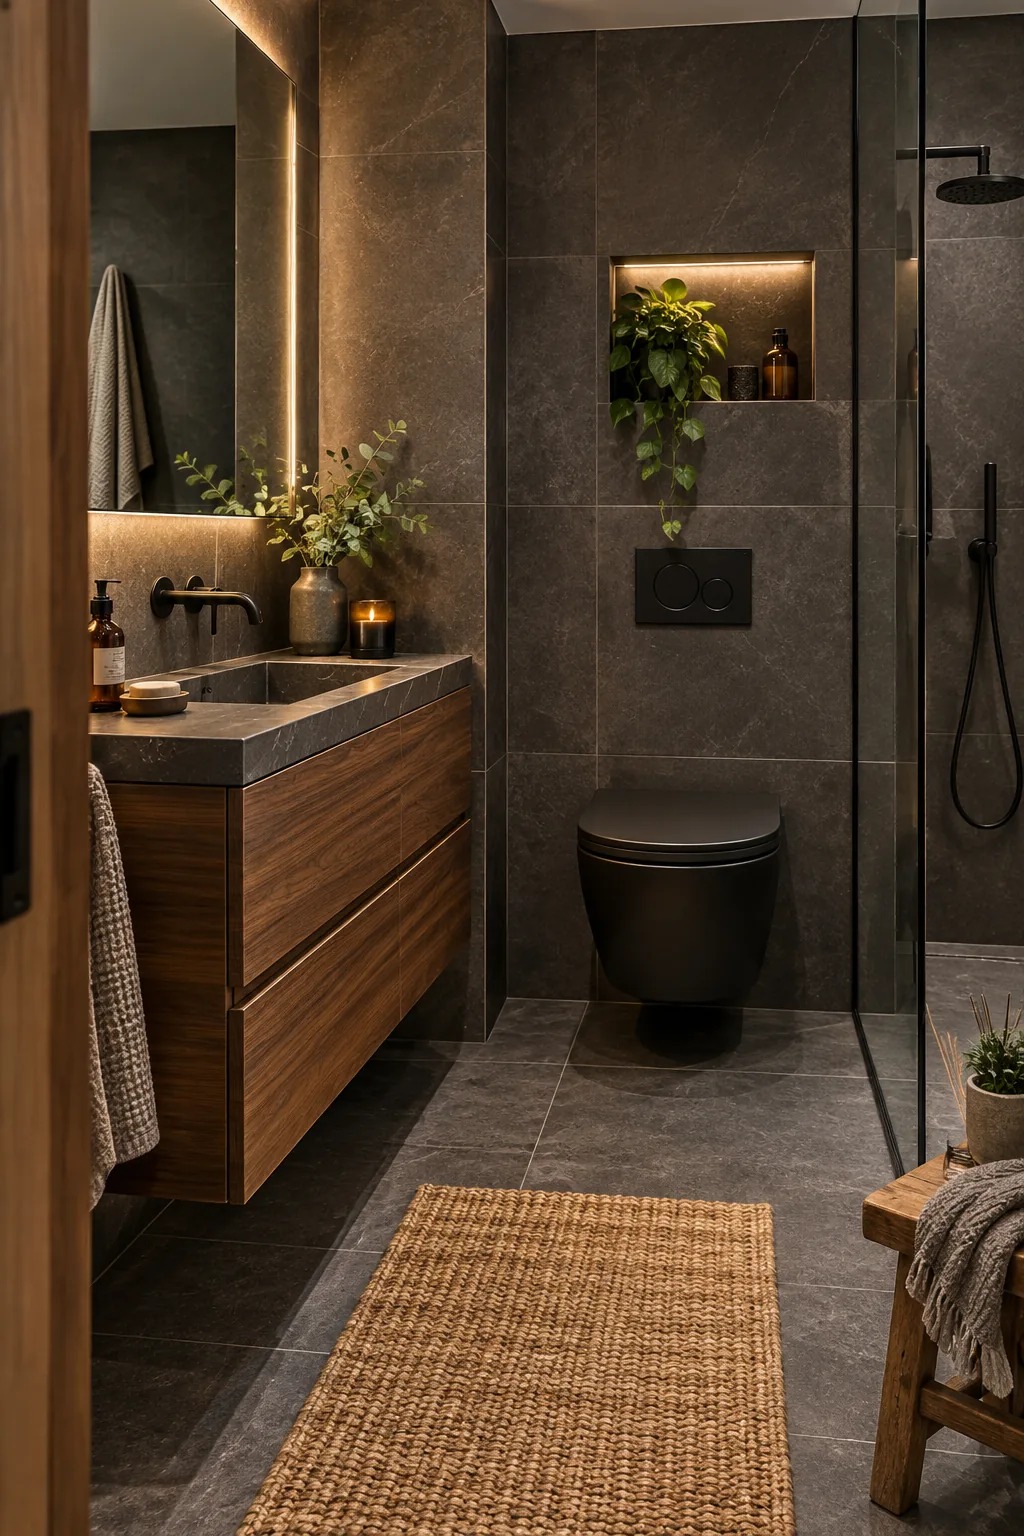
Moody Slate Elegance: Dark charcoal tiles and a rich walnut vanity give this compact layout a dramatic, moody edge that feels incredibly sophisticated and intimate.
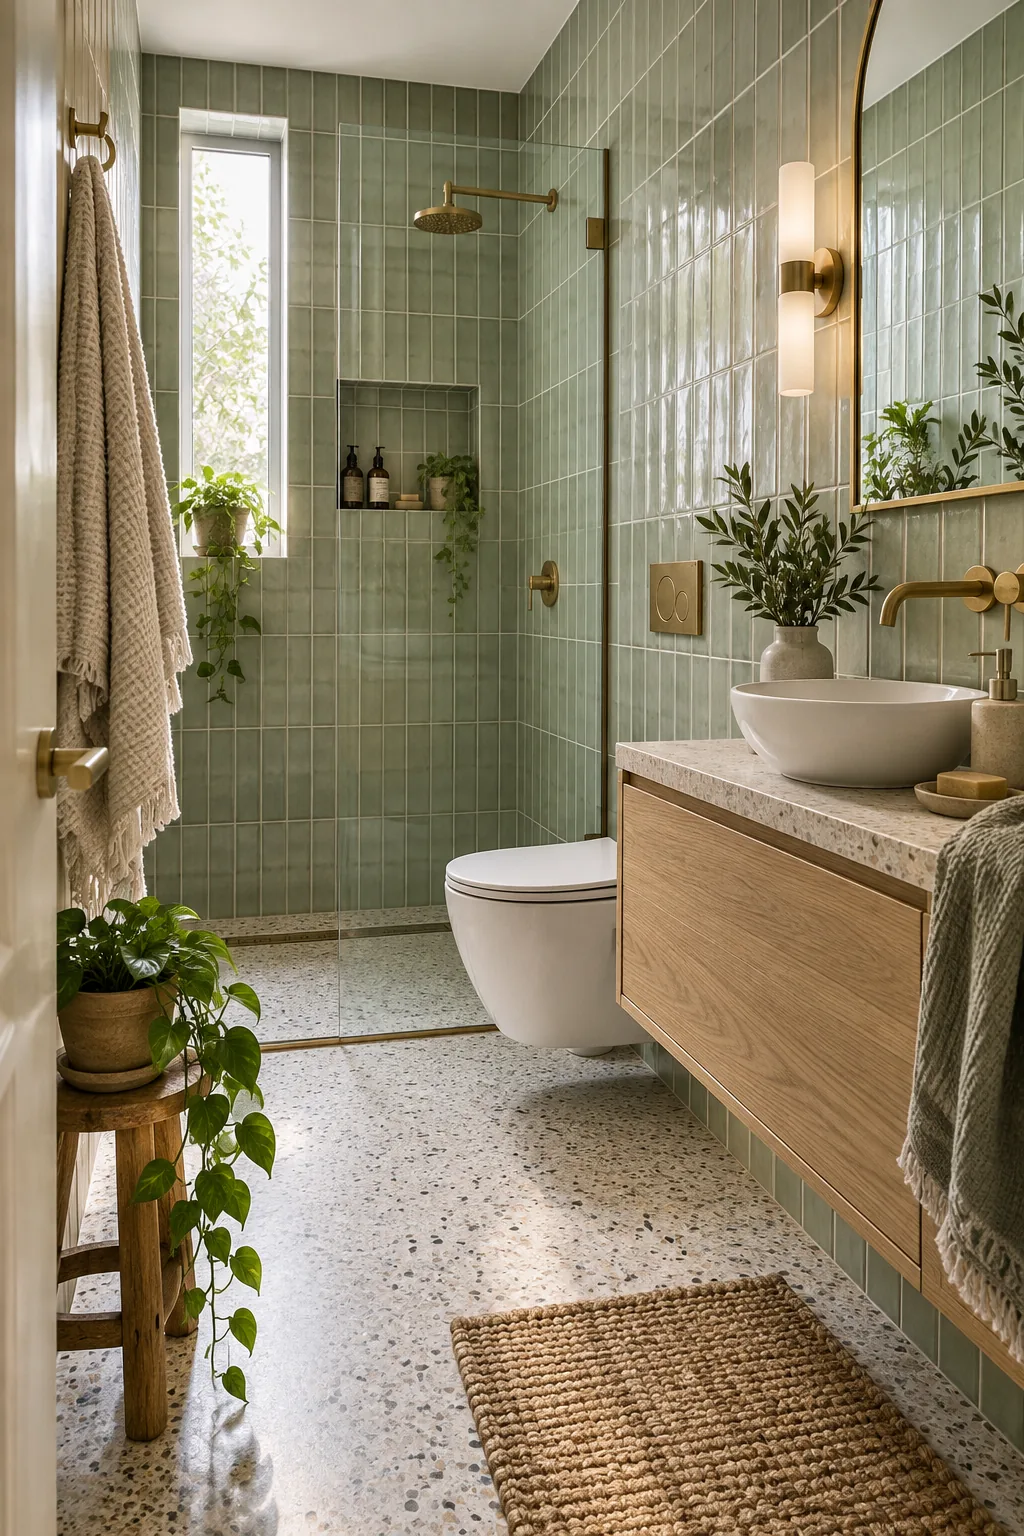
Soft Sage and Brass: Vertical sage green tiles draw the eye upward to make the ceiling feel higher, while unlacquered brass hardware adds a touch of vintage warmth.
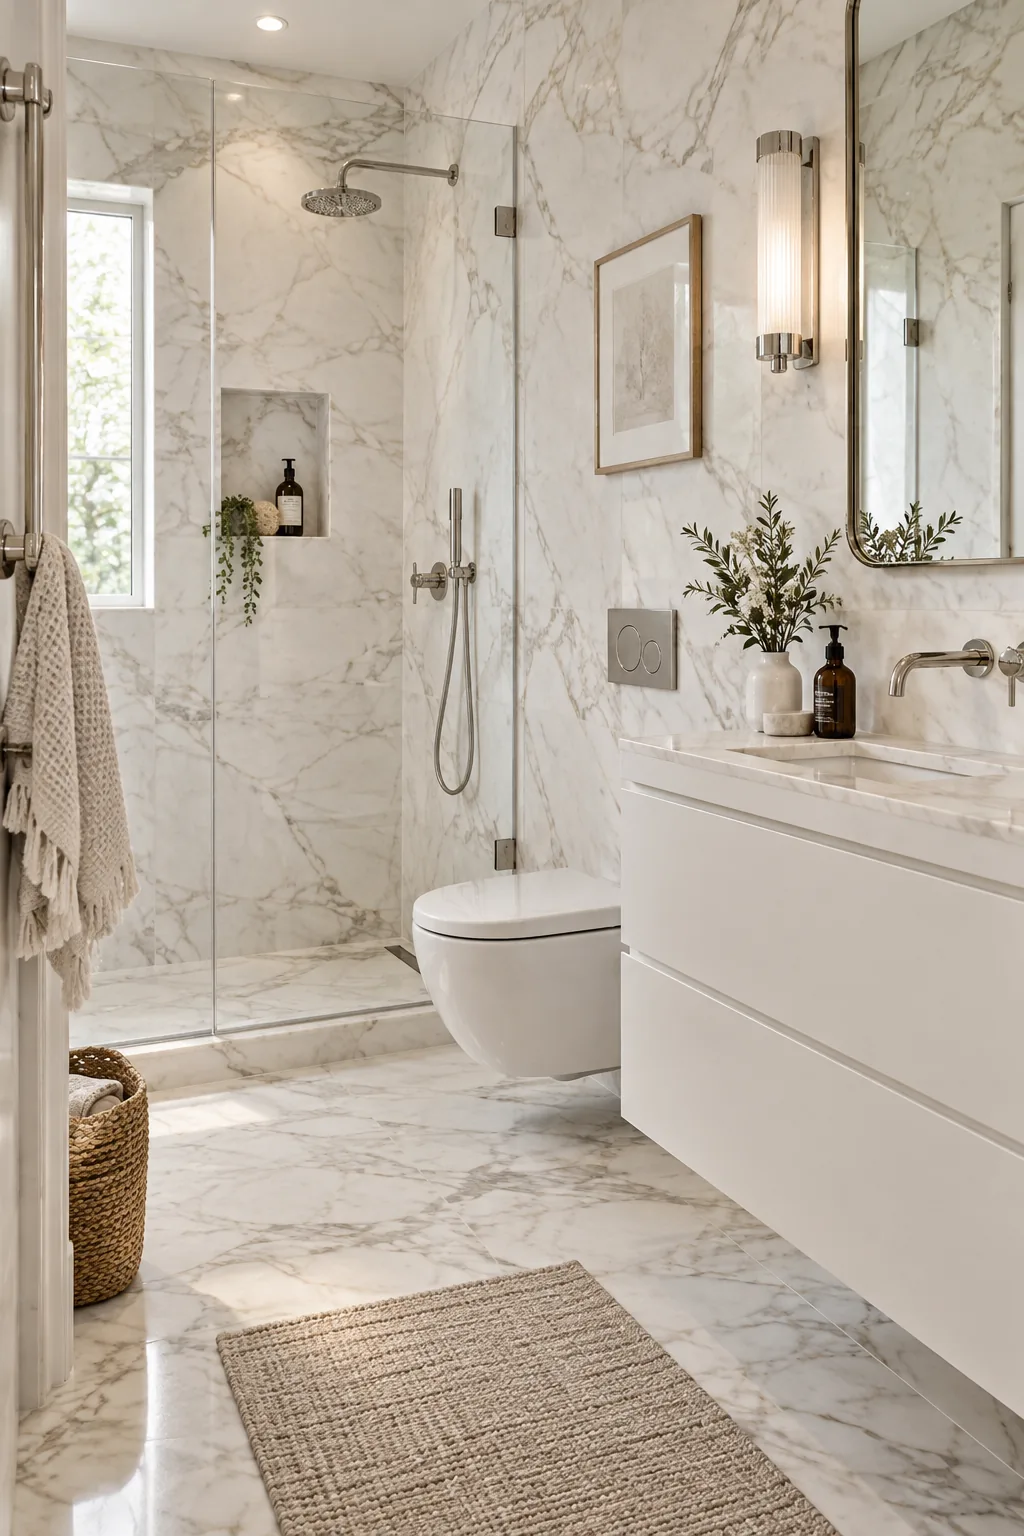
Classic Marble Luxury: Seamless Calacatta marble slabs eliminate busy grout lines, allowing this ultra-compact space to feel luxurious, bright, and completely timeless.
Styling the Ultra-Compact Modern Bathroom
You need to add necessary warmth to this highly functional, hardware-heavy space by incorporating organic textures like exposed oak grain and trailing greenery. These natural elements prevent the strict, built-in architecture from feeling sterile or uninviting.
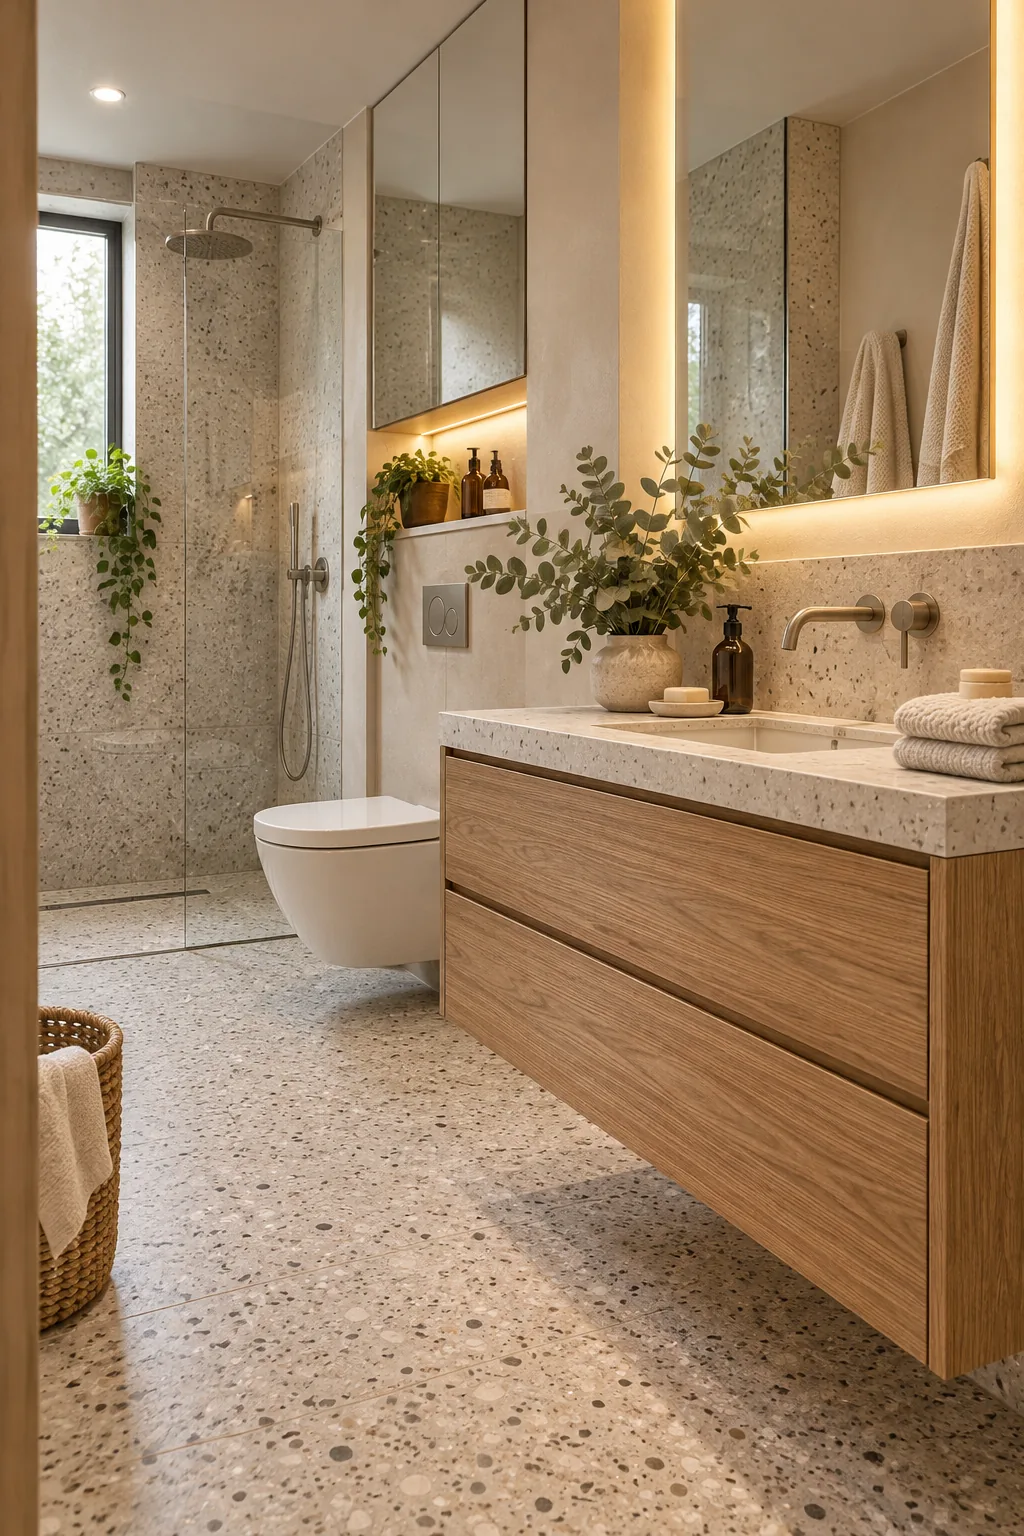
Integrating soft LED backlighting behind the floating mirror softens the sharp geometry of your modern built-in fixtures. This gentle ambient glow completes the balanced sanctuary, making the tightest floor plan feel intentionally luxurious.