
Classy Outdoor Christmas Lights: The One-Afternoon Plan
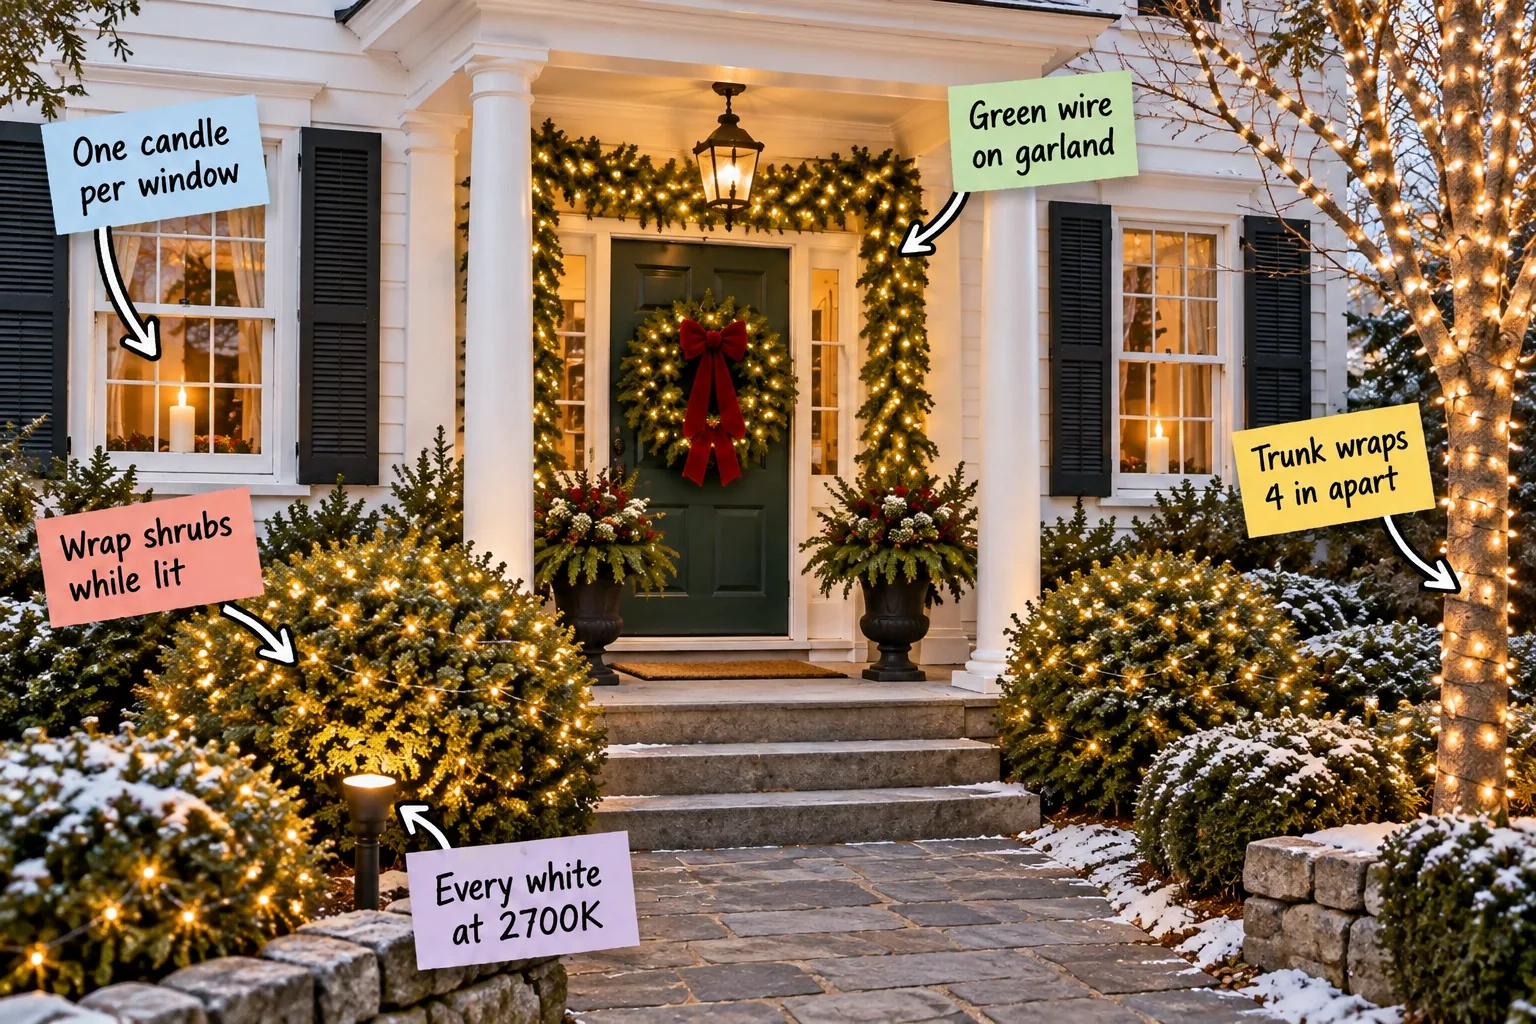
Getting a classy outdoor Christmas display doesn’t have to take all weekend when you use my printable one-afternoon hanging plan. Download the timed step-by-step sequence and strand-count shopping list below to execute a perfectly coordinated exterior glow before dinner.
Matching Color Temperatures at 2700K
Establish a cohesive, elegant glow by ensuring every single bulb is rated at exactly 2700K. This specific warm-white temperature mimics traditional incandescent lighting and prevents the stark, icy look of higher kelvin ratings across your front porch.
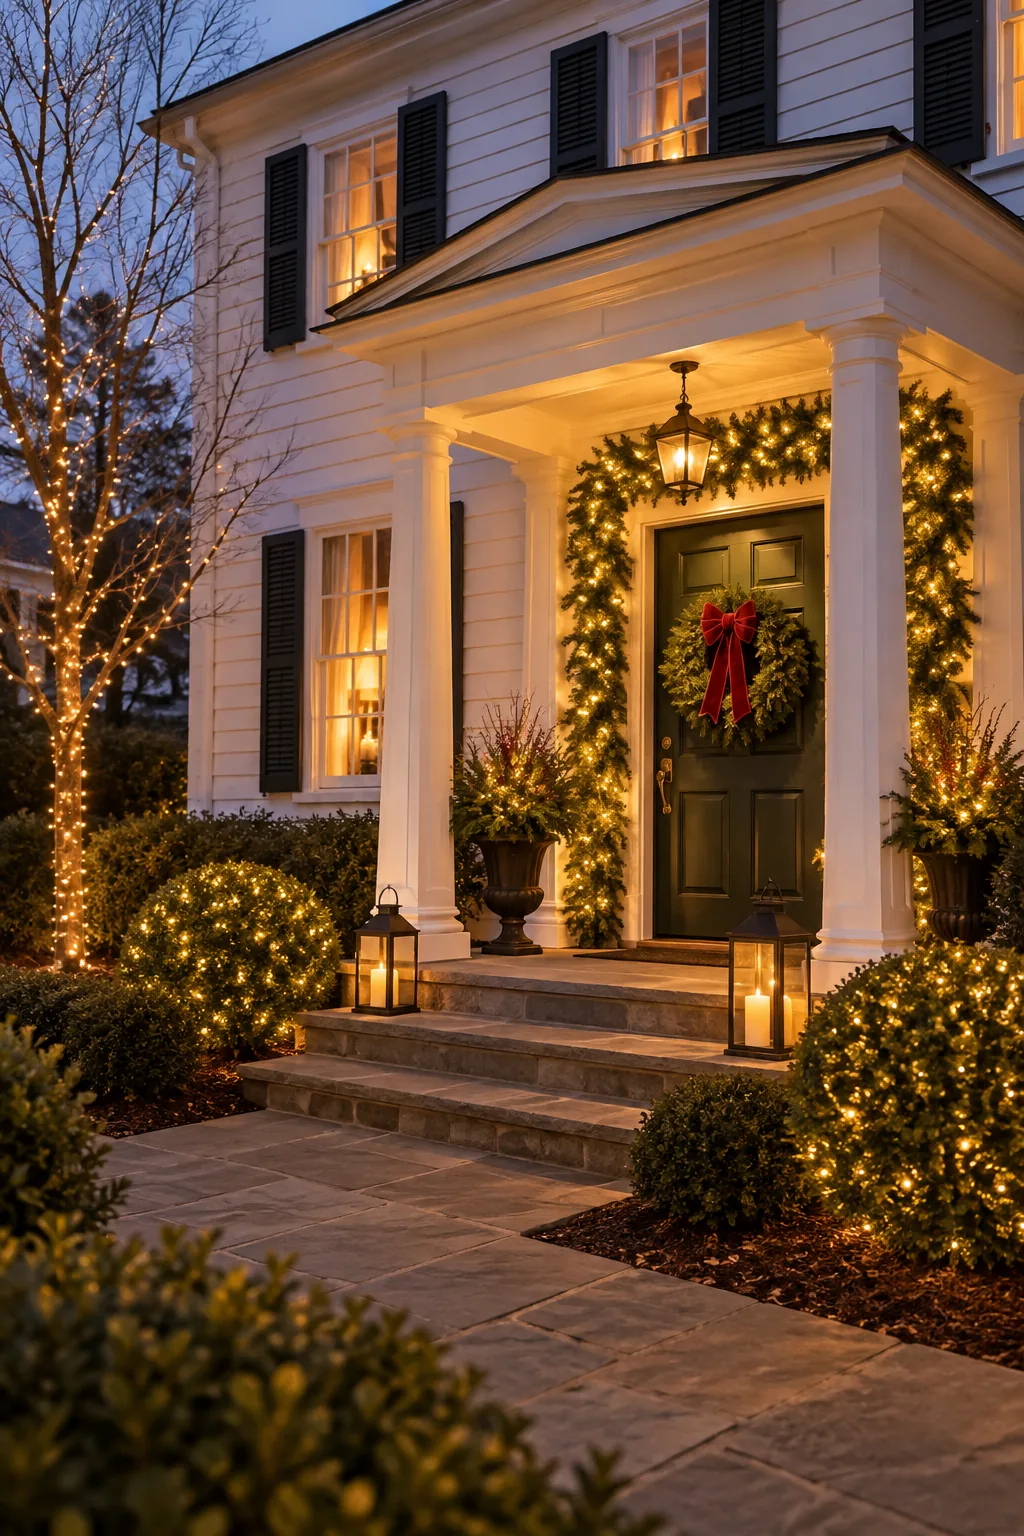
Inconsistent color temperatures instantly downgrade an otherwise beautiful display, making the porch look pieced together rather than intentionally planned.
Inspecting the Yard for Debris
Walk the entire front lawn to clear away fallen branches or sharp rocks before you start running extension cords. A clean workspace prevents accidental wire damage and makes the afternoon installation process much faster.
Calculating Your Total Strand Count
Before hanging anything, tally your required strands based on the specific zones you plan to illuminate. Having the exact number of boxes prevents mid-afternoon store runs and ensures your entire display uses the same manufacturing batch.
| Zone | Formula | Typical Strands |
|---|---|---|
| Window Candles | 1 per window | N/A |
| Door Garland | 1 strand per 9 feet | 2 strands |
| Small Shrubs | 2 strands per shrub | 4 strands |
| Tree Trunks | 1 strand per 3 feet of trunk | 3 strands |
Testing Bulbs Before Installation
Make sure to plug every single strand into a wall outlet while you are still inside the house. Finding a dead section or a mismatched color temperature is much easier on your living room floor than on a frozen front lawn.
Storing Empty Light Boxes
Keep all the original cardboard packaging neatly stacked in your garage until January. Storing the exact brand and kelvin rating information makes replacing a damaged strand next season incredibly simple.
Placing One Candle Per Window
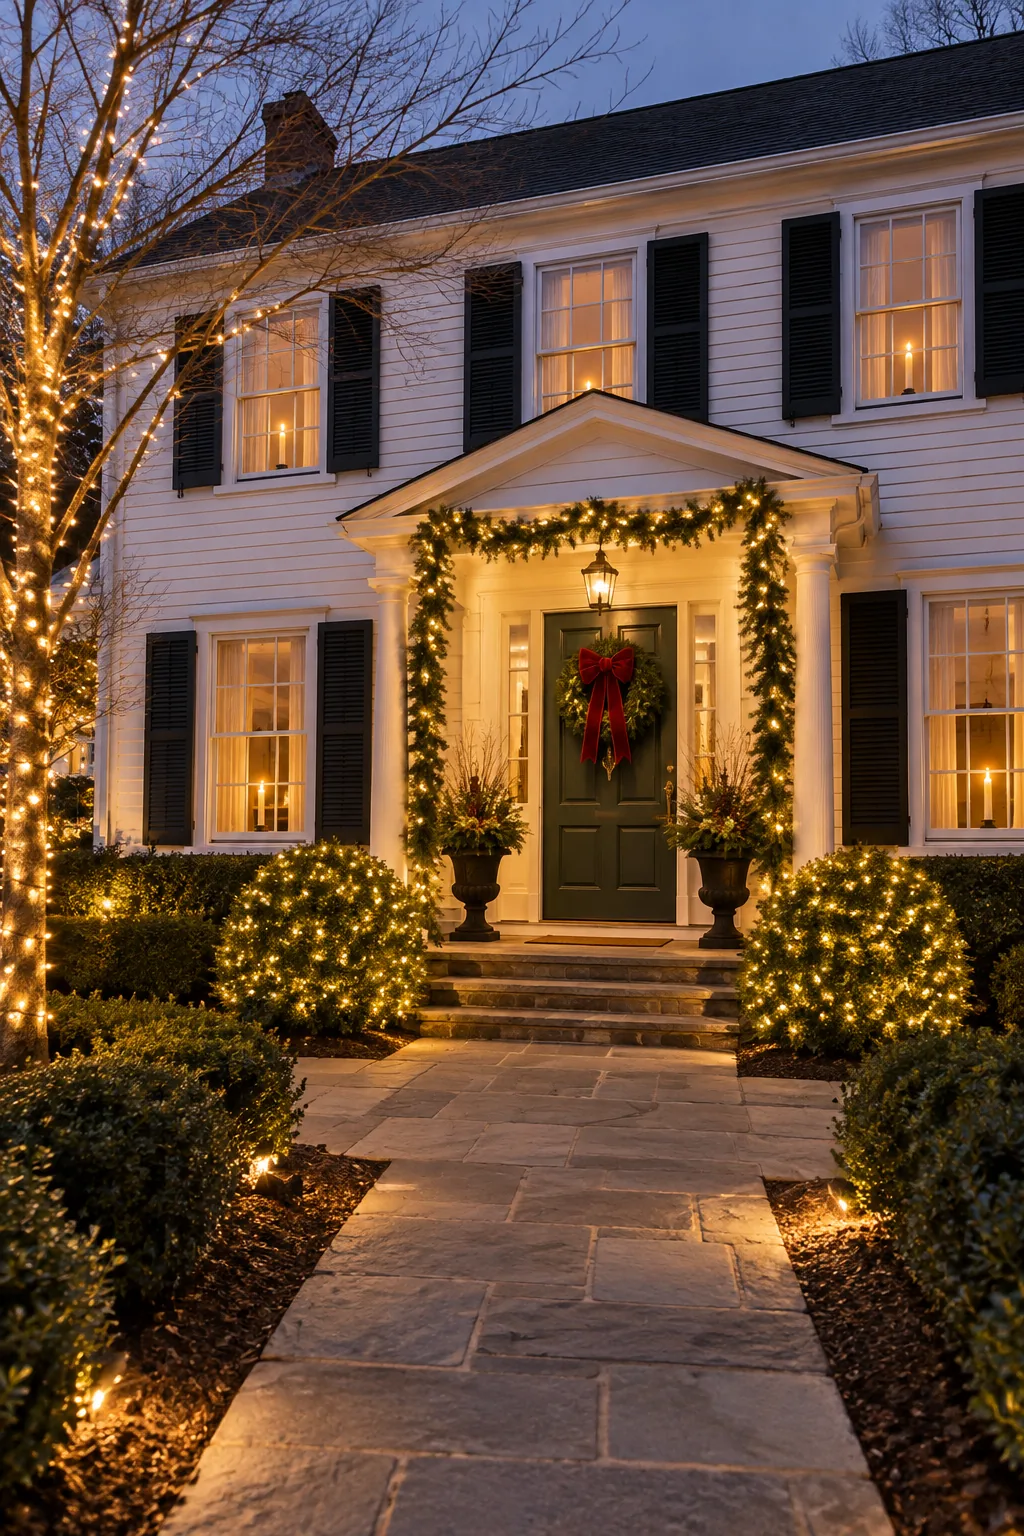
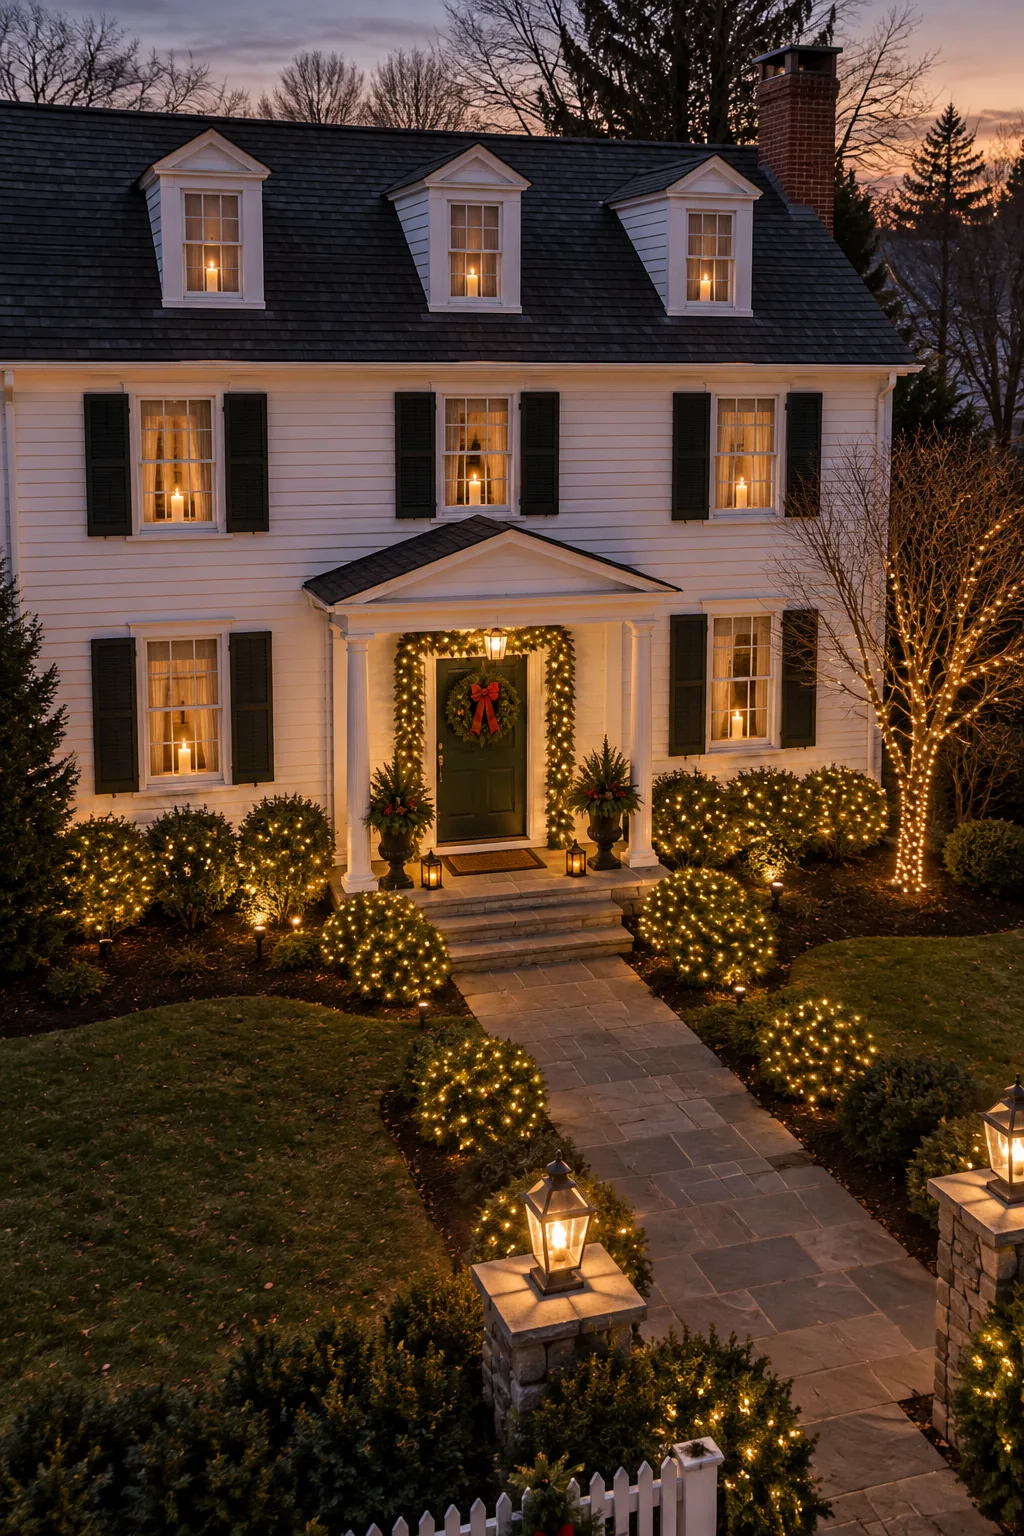
Begin your installation indoors by centering a single electric taper candle on every front-facing window sill. This quiet, symmetrical baseline makes the exterior lights feel entirely intentional rather than chaotic when viewed from the street.
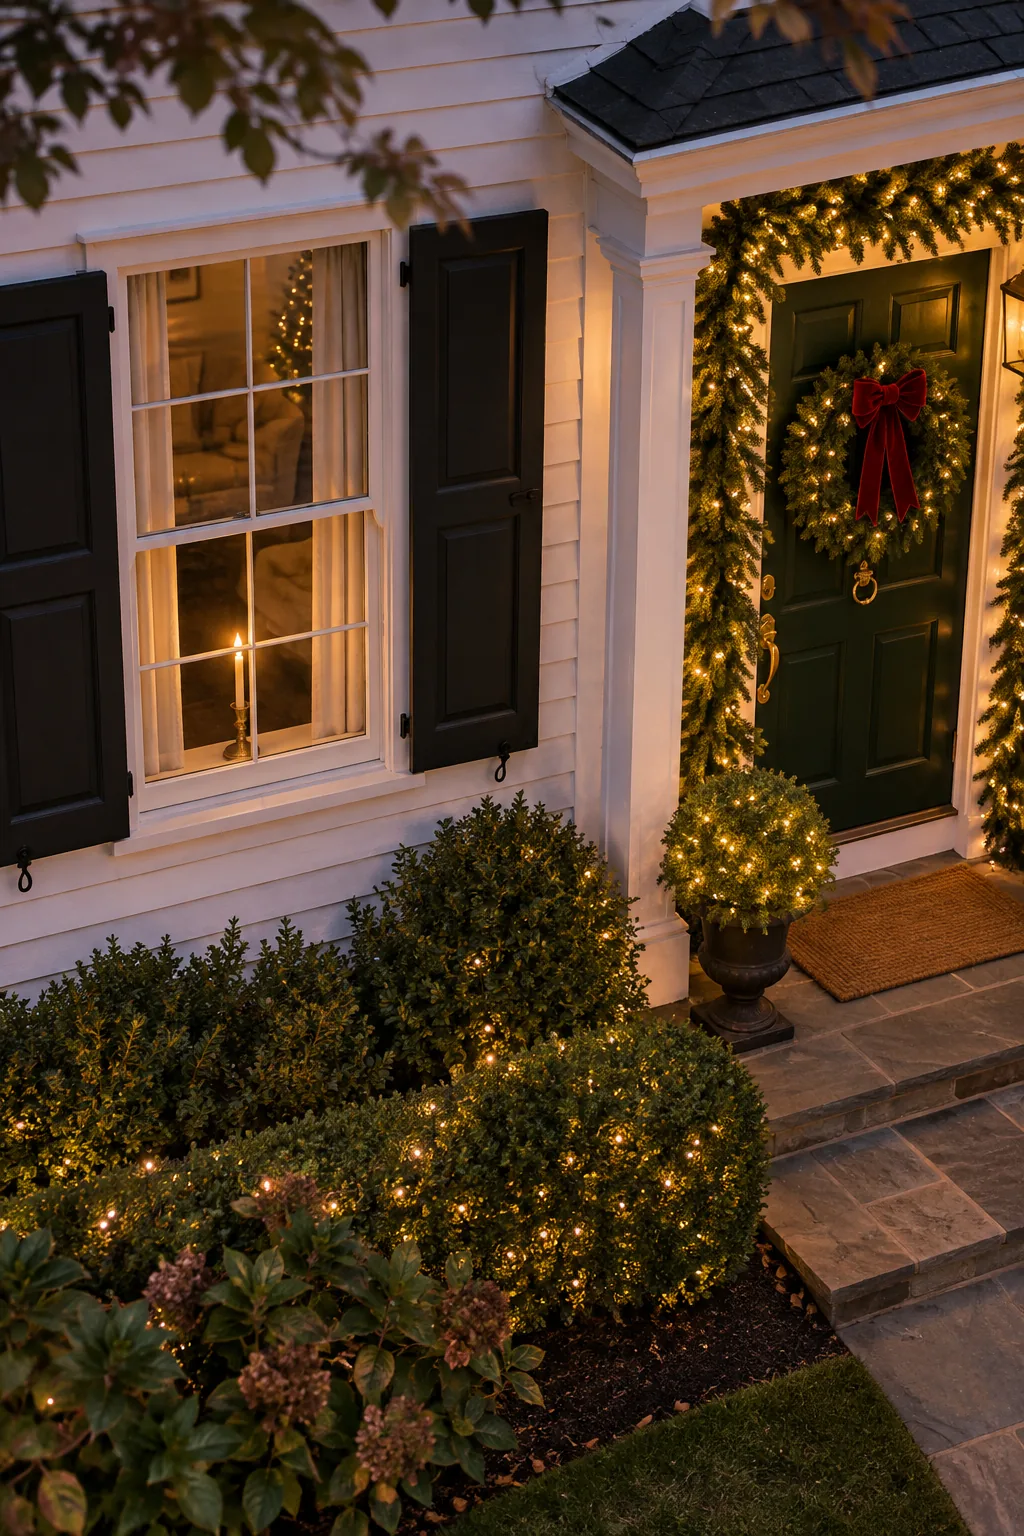
I always lock my interior window candles in place with a tiny piece of painter’s tape underneath the base so they never shift.
Standardizing Candle Height
Ensure every candle sits at the exact same height across your home’s facade. If your first-floor windows have taller sills than the second floor, place small wooden blocks under the lower candles to visually level the entire display.
Removing Old Fasteners
Pull out any rusted staples or brittle plastic clips left over from last year’s holiday display. Starting with a completely clean doorframe ensures your new cedar garland hangs perfectly straight and secure.
Hiding Green Wire in the Garland
Move out to the front door and weave mini lights into your cedar garland before hanging it. Using green-wired strands ensures the mechanics disappear completely into the greenery, leaving only illuminated bulbs visible against the door frame.
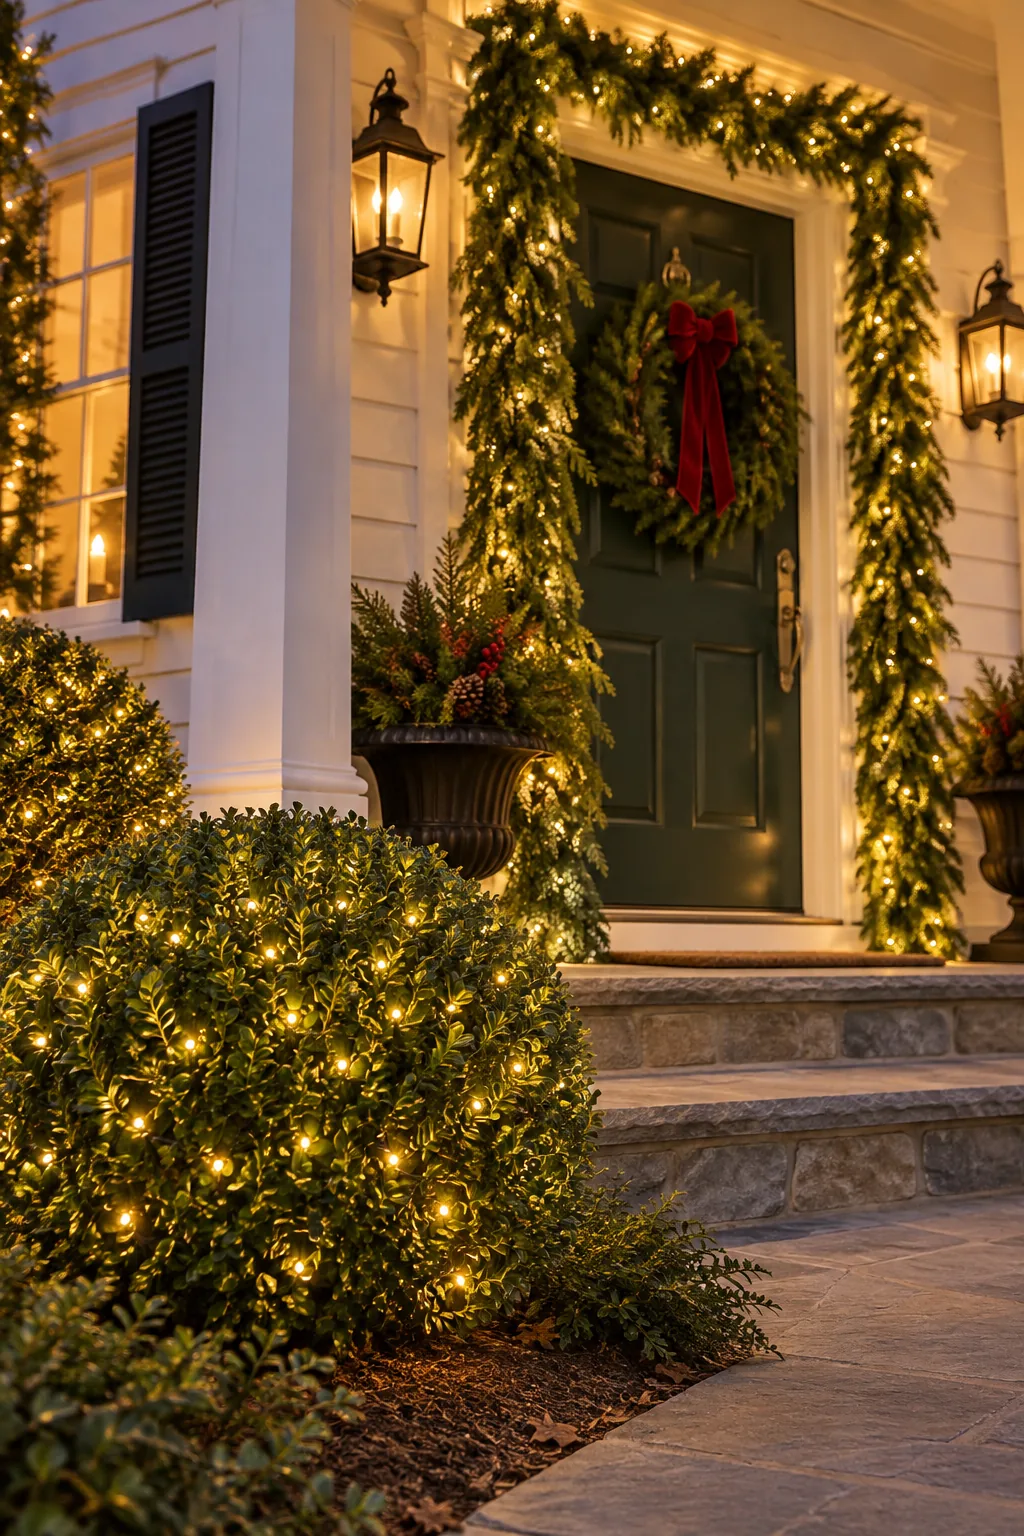
Working the lights into the garland while it rests flat on your walkway is significantly faster than trying to wrap branches while reaching over your head.
Fluffing the Cedar Branches
Once the lights are woven in, gently pull the faux or real cedar tips outward to cover any exposed wire segments. This quick fluffing step creates a lush, expensive profile that looks beautiful even during the daytime.
Securing the Garland to the Frame
Use heavy-duty tension rods or specialized doorway hangers to support the illuminated garland without drilling holes in your trim. Place the central swag exactly in the middle of the doorframe to maintain the strict symmetry established by your windows.
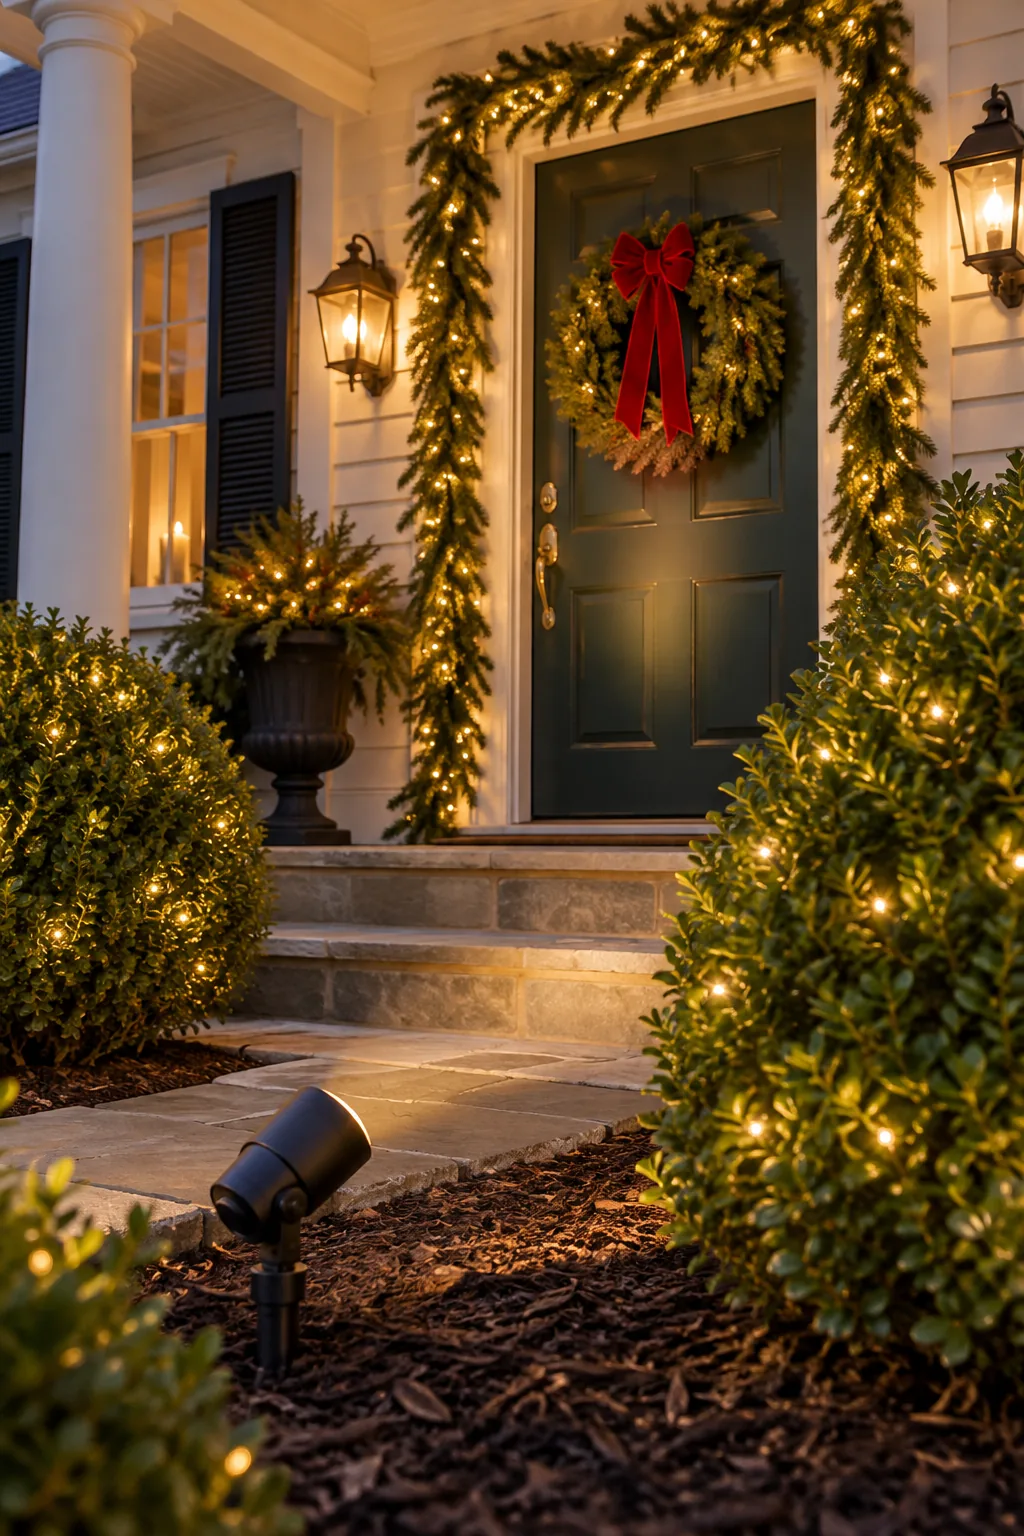
Wrapping Shrubs While Lit
Tackle the foundation planting next by plugging your LED strands in before you begin wrapping the boxwoods. Working with the lights turned on allows you to see dark patches and hot spots immediately, ensuring a perfectly even, deep glow.
Push the bulbs deep into the center of the shrub before wrapping the outer perimeter to give the plant a magical, three-dimensional depth.
Securing Strands in the Foliage
Tuck the wire loops tightly behind sturdy branches so the winter wind cannot blow your careful wrapping out of place. Avoid using zip ties on delicate boxwoods, as the plastic can easily snap brittle twigs during freezing temperatures.
Spacing Trunk Wraps Four Inches Apart
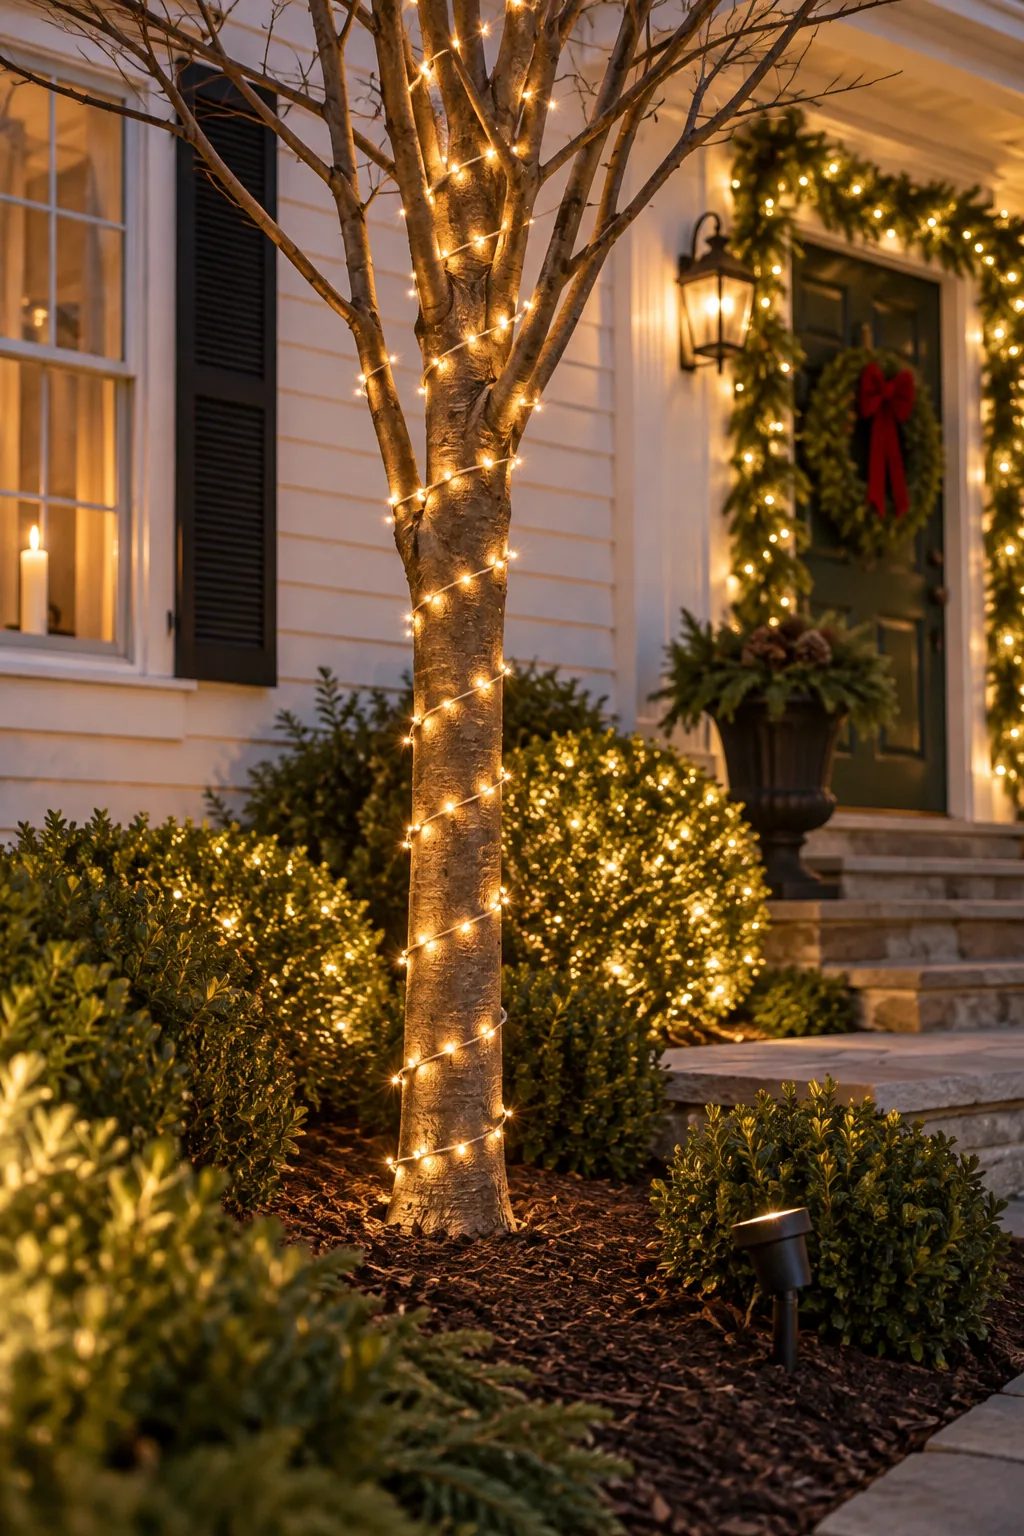
Wrap the trunks of small ornamental trees using a strict four-inch spacing between each spiral. This precise measurement prevents the tree from looking cluttered while providing enough density to stand out from the street.
I used to just guess the spacing on my Texas mountain laurels, but physically measuring that four-inch gap completely transformed my yard from messy to professional.
Terminating the Trunk Wrap
Stop wrapping the trunk exactly where the main branches begin to fork. Tucking the final plug securely into the crotch of the tree prevents the strand from unraveling and keeps the overall silhouette incredibly clean.
Adding a Wreath Spotlight
Instead of running a visible cord to a lit wreath on a moving door, install a small ground-staked spotlight hidden in the boxwood bed. Aim the beam directly at an unlit wreath to highlight the red velvet bow and evergreen texture.
Adjust the angle of the stake slightly upward so the beam catches the wreath without blinding guests as they walk up the front steps.
Concealing the Ground Stake
Bury the base of the spotlight stake beneath a thick layer of dark pine bark mulch. Hiding the plastic hardware ensures the illumination feels magical and keeps your landscaping looking immaculate during daylight hours.
Managing Cords and Timers
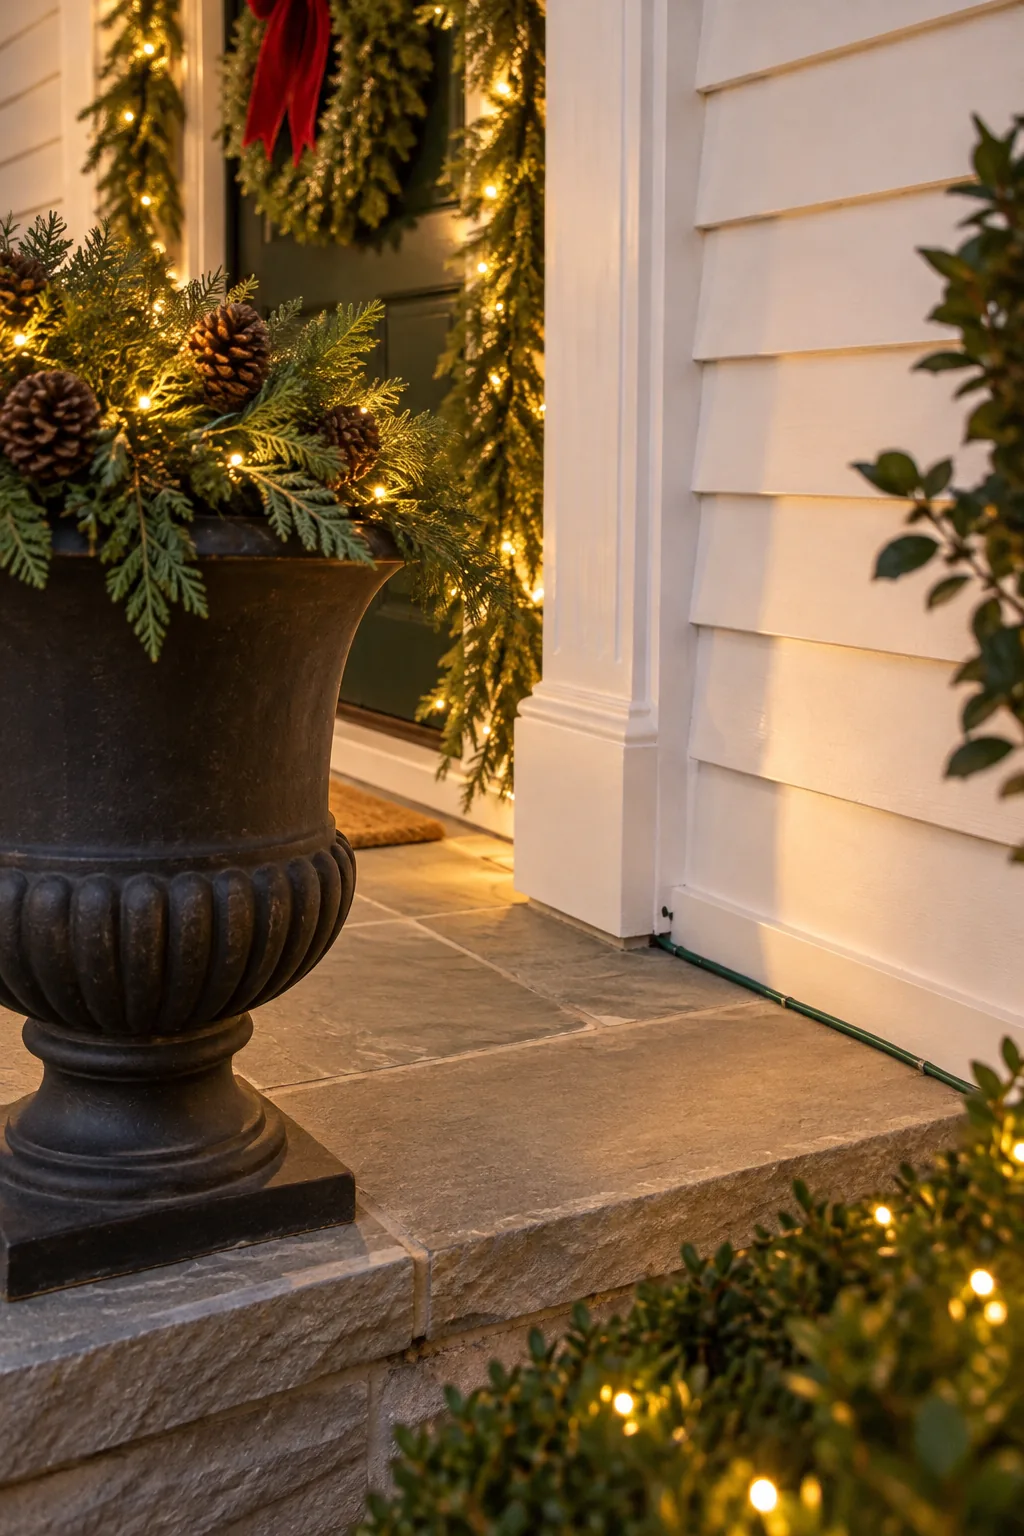
Route all heavy-duty outdoor extension cords behind planters and along the back edge of garden beds. Connect the entire yard to a single photocell timer so the display turns on automatically at dusk without daily manual effort.
Tucking my main extension cord behind our heavy cast-iron urn finally stopped my husband from tripping over it every time he checked the mail.
Waterproofing the Connections
Wrap every single plug connection in a specialized outdoor cord cover or a generous layer of electrical tape. Keeping moisture out of the socket prevents frustrating ground-fault trips during heavy winter rainstorms or melting snow.
Positioning the Photocell Sensor
Place the photocell timer on a wall or post that receives natural ambient light but avoids direct glare from streetlamps. If the sensor is too close to a bright porch light, it will constantly cycle your holiday display on and off.
More Elegant Exterior Lighting Styles
Explore different ways to adapt this classic lighting framework to your home's unique architecture.
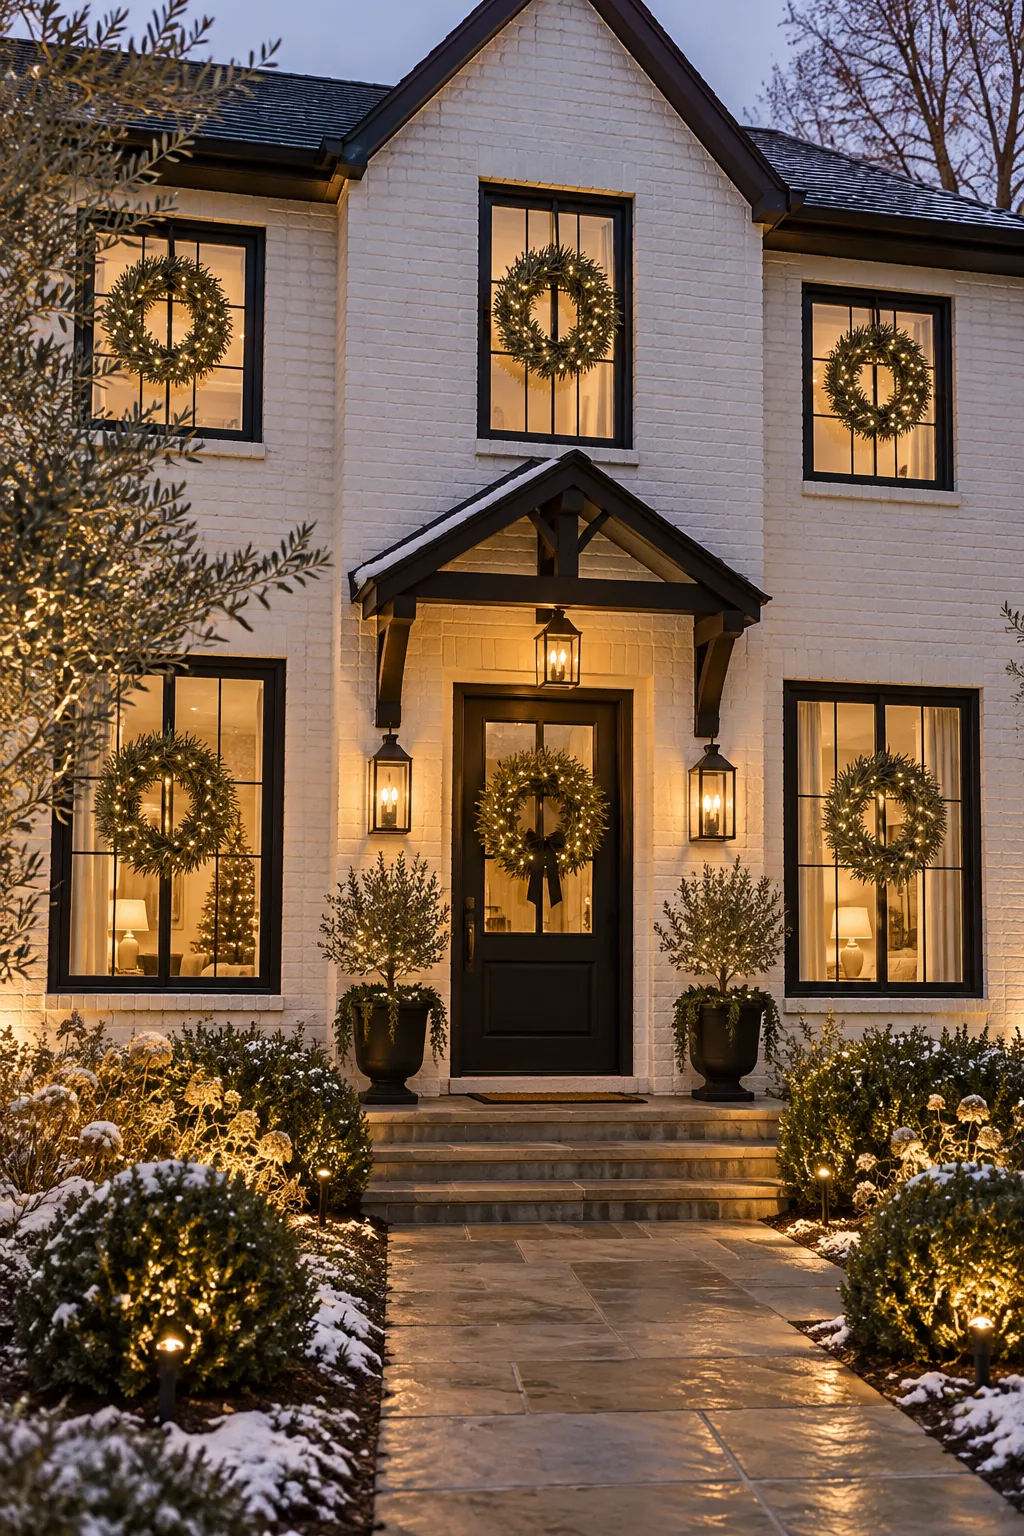
Modern Farmhouse Contrast: Pair stark black trim and white painted brick with sparse olive branch wreaths for a minimalist, high-contrast holiday approach.
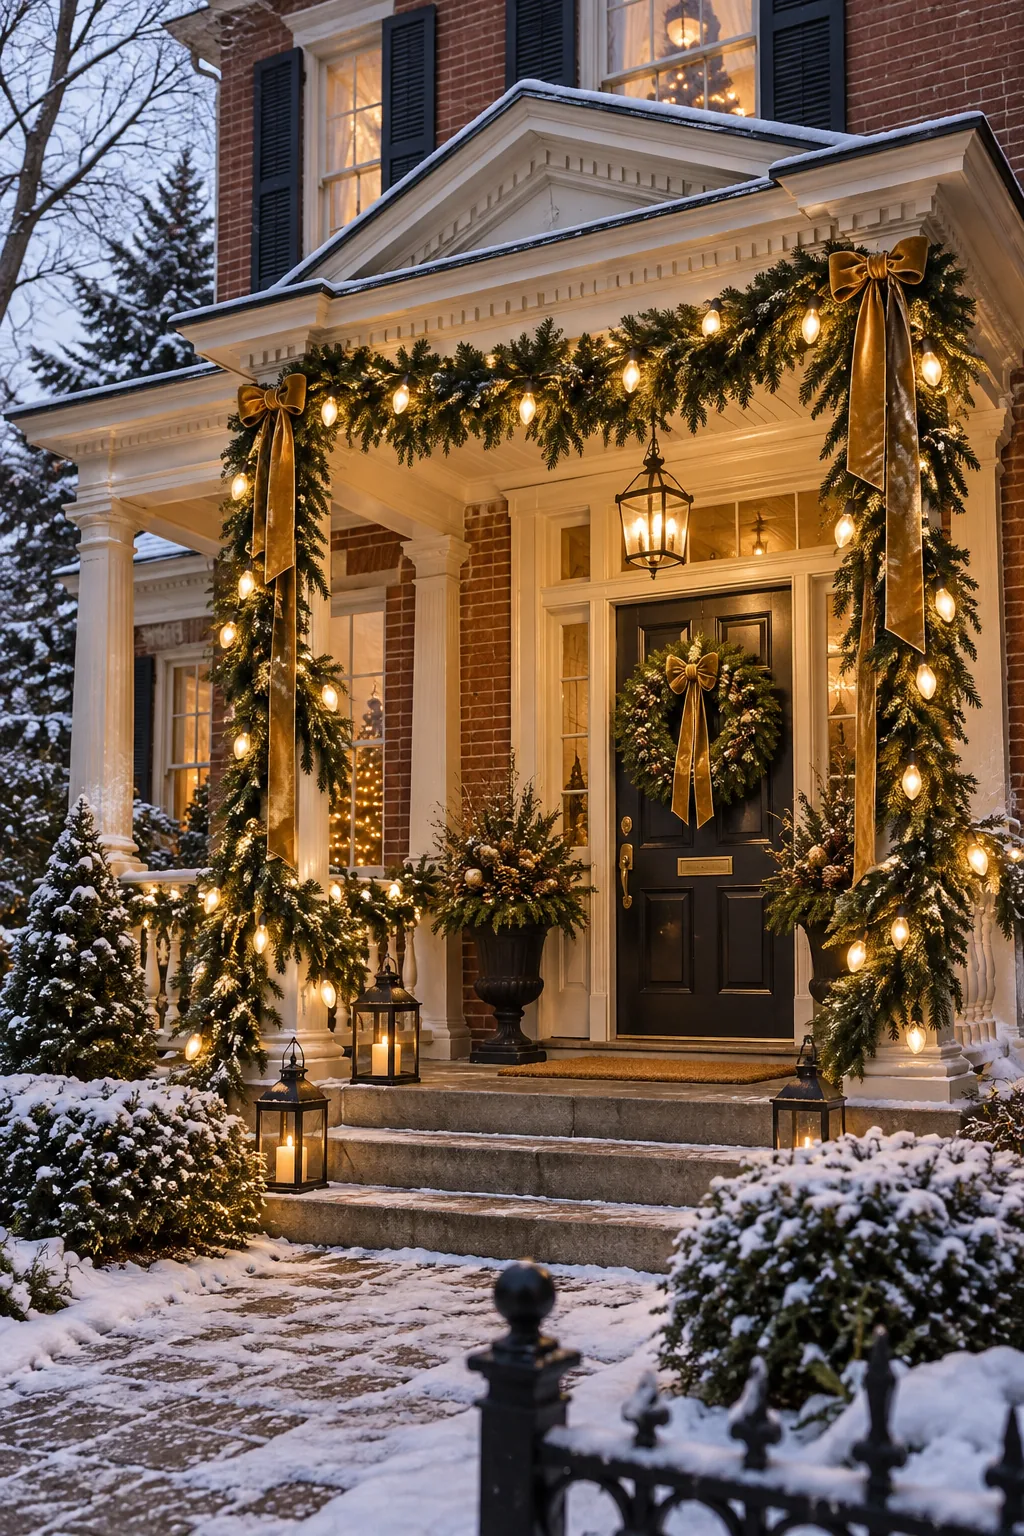
Victorian Warmth: Embrace historic architecture by swapping mini lights for oversized C9 bulbs nestled into heavy pine garlands with gold ribbon.
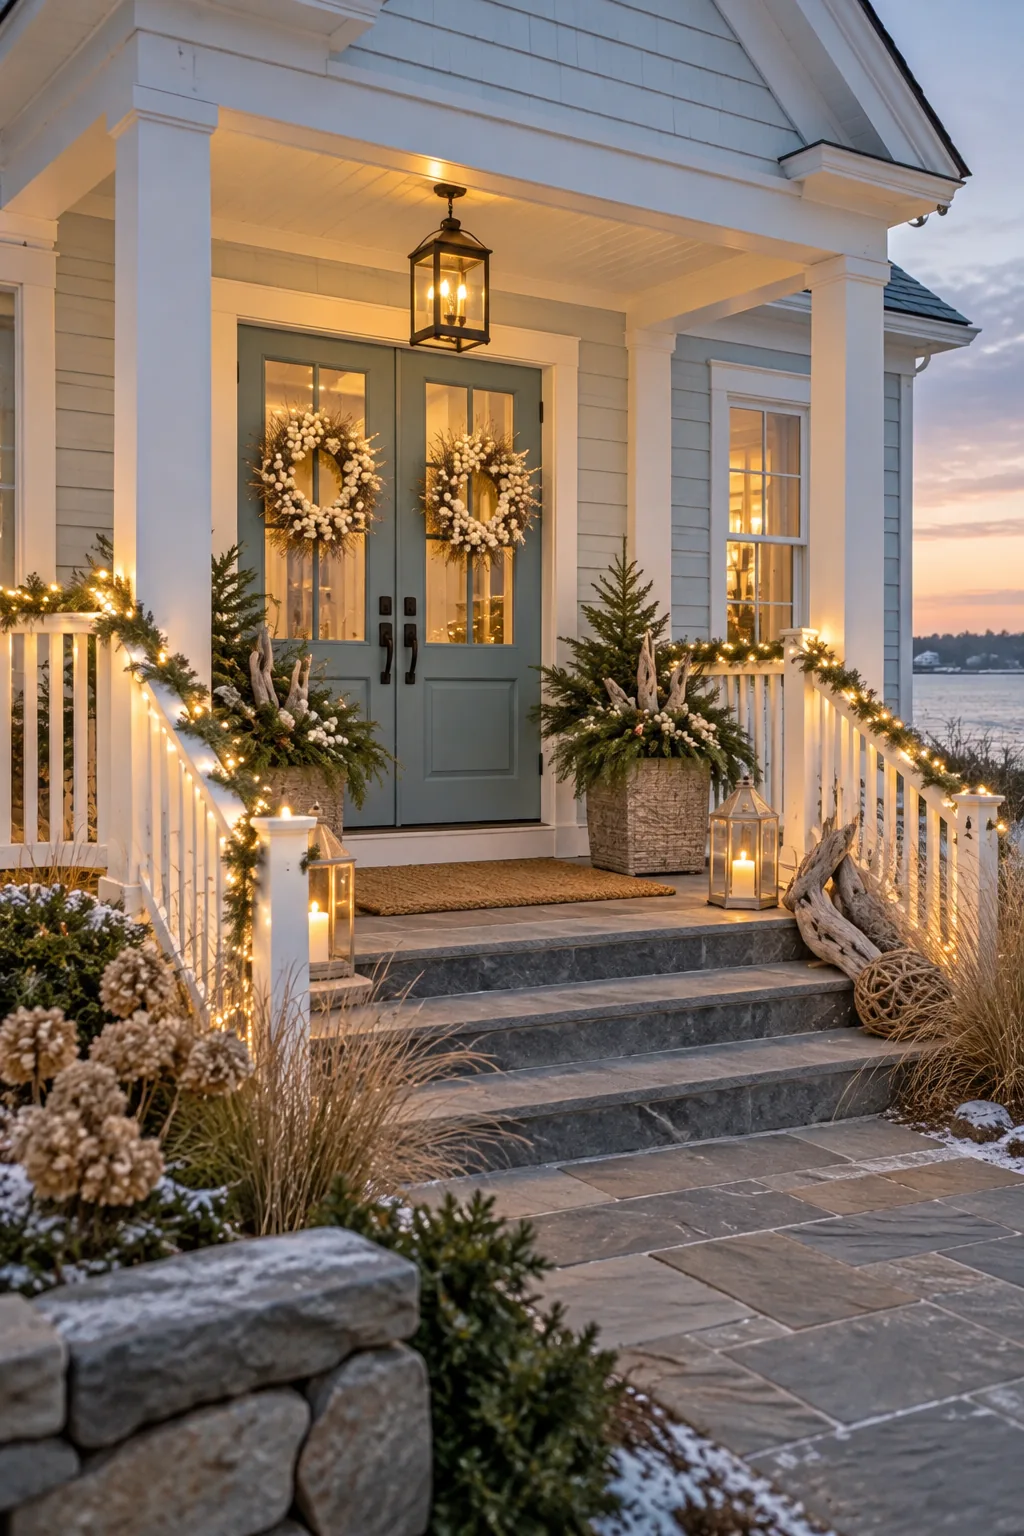
Coastal Winter: Complement pale blue siding by using white berry wreaths and incorporating natural driftwood pieces into your lit porch planters.
Your One-Afternoon Hanging Plan
Print the complete two-page timed sequence to keep your installation on track. The guide includes a matching strand-count and fixture shopping list so you have exactly the right amount of lights, green wire, and stakes before you start.
Before starting the clock on your afternoon installation, verify your materials are ready to go using the checklist below.