
School Halloween Door Decoration: Printable Monster Templates
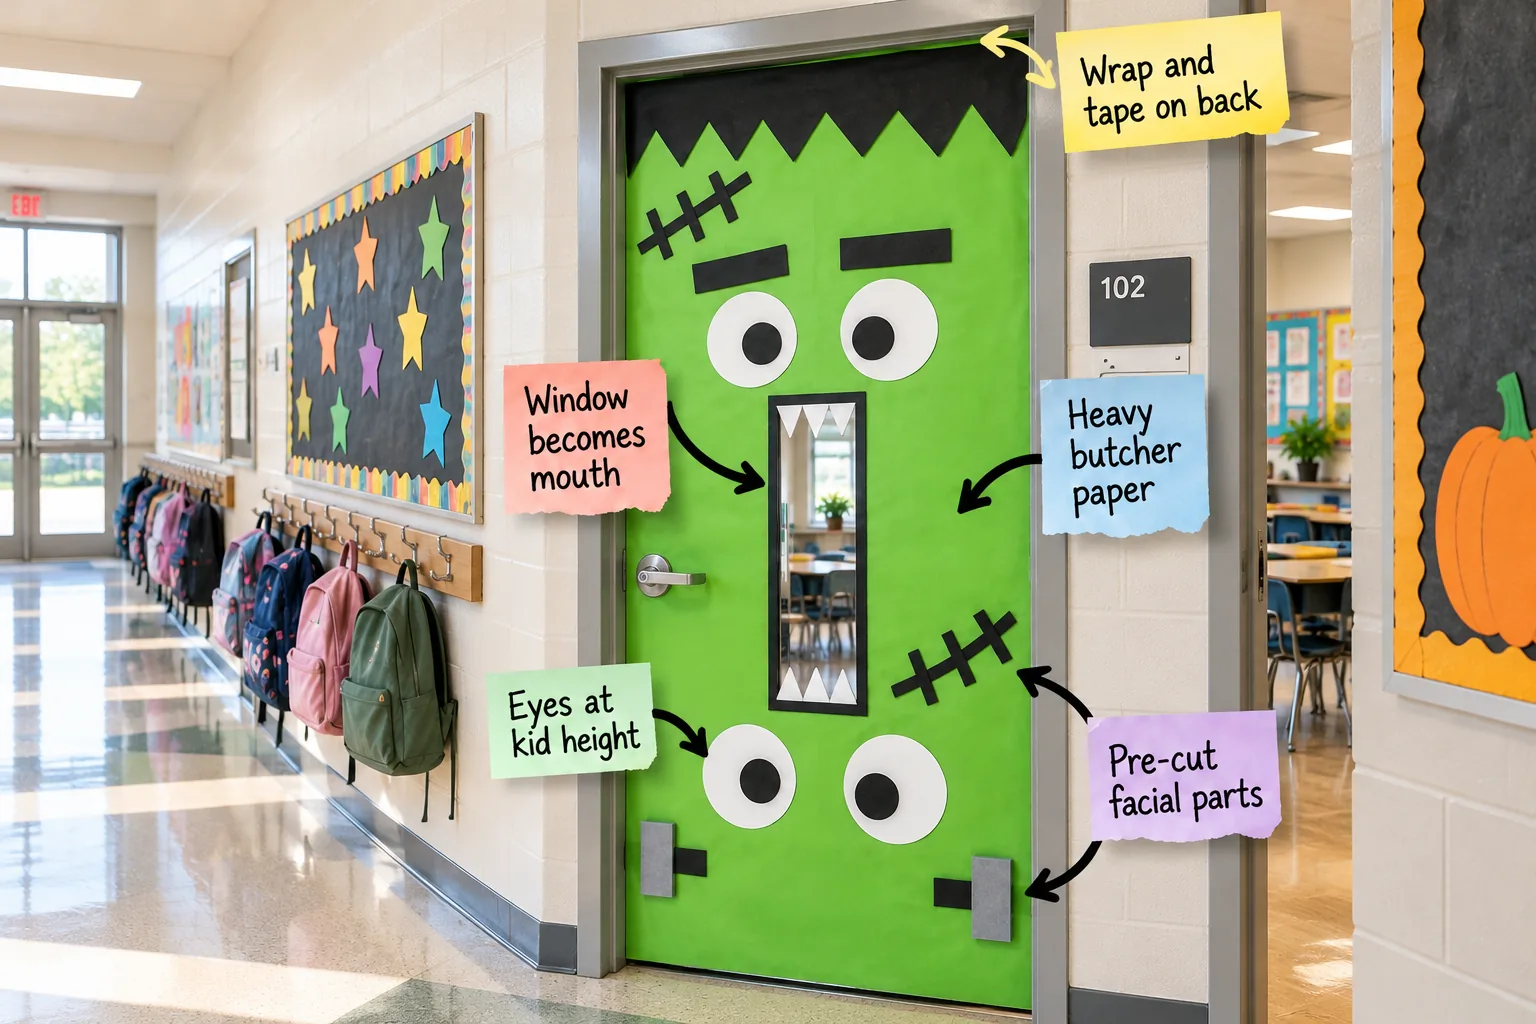
You can easily build a friendly Frankenstein classroom door that lasts all October using our free printable monster templates and a school-approved materials list. I promise you will be able to print the exact facial features, buy the right teacher-approved tape, and assemble this durable monster in under 20 minutes.
Measuring the Door Frame Safely
Before buying supplies, measure your exact classroom door dimensions. Standard school doors run roughly 36 by 84 inches, but older buildings often feature custom sizes that require extra paper.
| Door Type | Width | Height |
|---|---|---|
| Standard Classroom | 36 inches | 84 inches |
| Older Campus | 32 inches | 80 inches |
| Double Hallway | 72 inches | 84 inches |
Always add four extra inches to your final measurements to ensure you have enough slack for wrapping the edges cleanly.
Choosing School-Approved Base Materials
Start your project with a 36-inch wide roll of heavy green butcher paper because thicker material naturally resists tearing from passing backpacks. This heavier weight also holds its vibrant color beautifully under harsh fluorescent hallway lights.
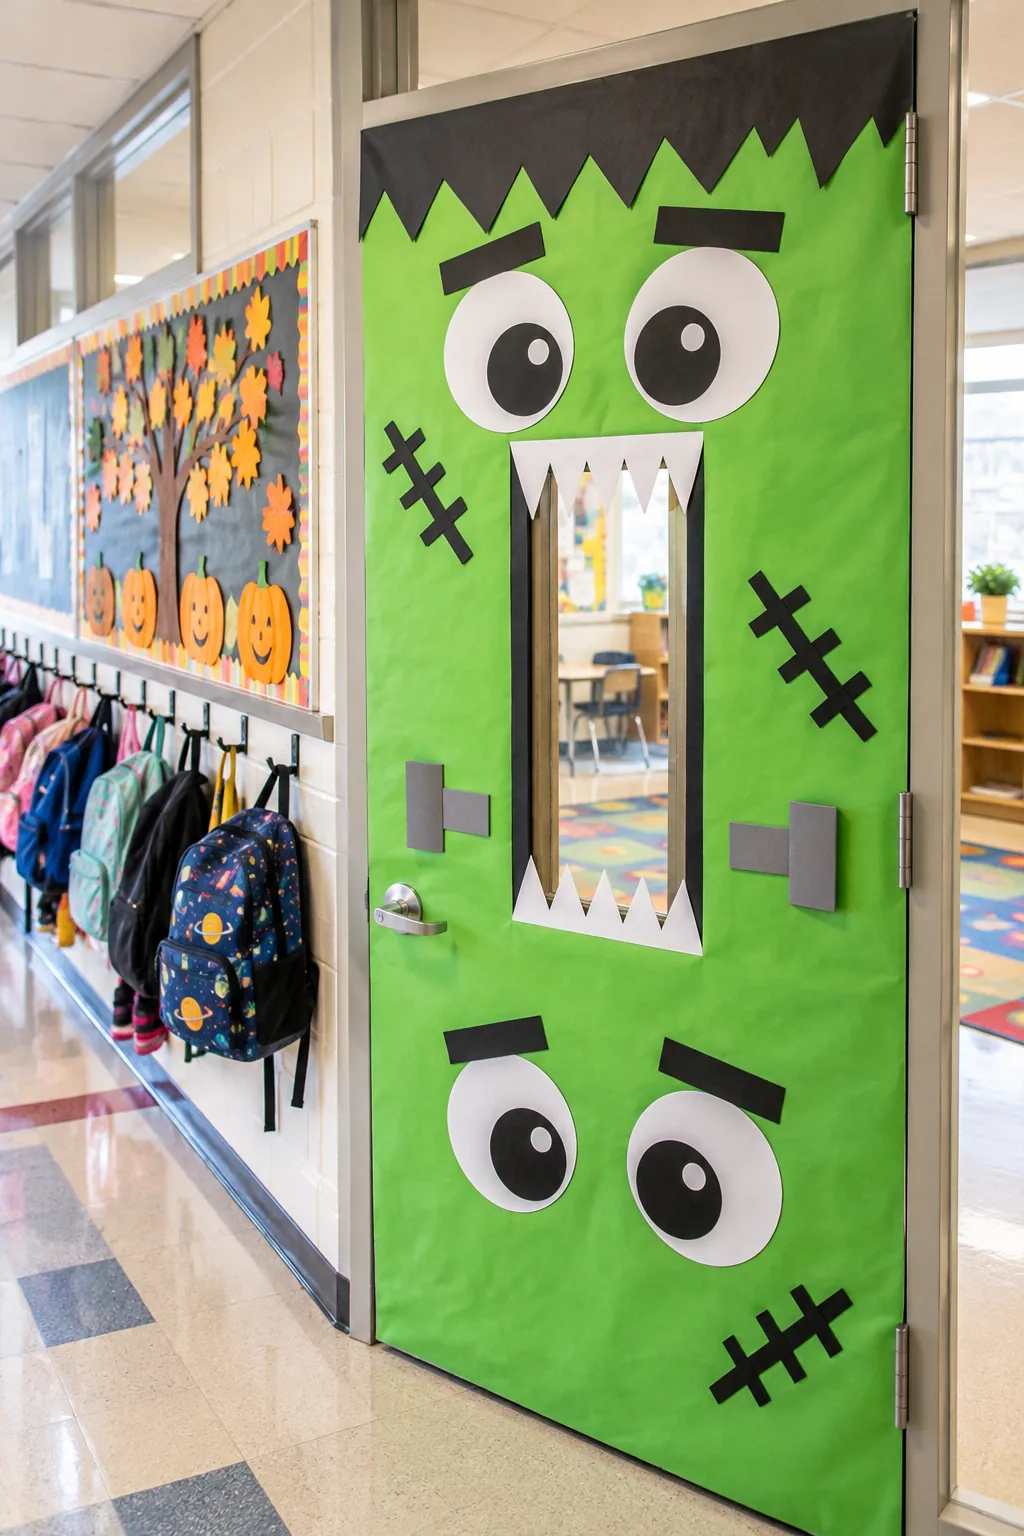
Always verify if your district requires certified fire-retardant paper before purchasing your base roll. A quick email to the administration office ensures your hallway decor stays fully compliant with local safety codes.
Selecting the Best Temporary Tape
Avoid standard masking tape because it loses grip on commercial metal doors within days. Look for a high-adhesion painter’s tape designed specifically for multi-surface temporary holds.
This specific adhesive formula grips the heavy butcher paper tightly without baking onto the painted door frame under warm hallway lights.
Wrapping the Edges for a Seamless Look
Cut your paper base exactly four inches wider and taller than the classroom door so you have plenty of material to fold over the top and side edges.
Secure the folded excess on the back side of the door using wide painter’s tape to keep the adhesive hidden. This specific taping method stops the paper edges from curling or peeling as students constantly brush past.
Smoothing Out Paper Bubbles
Once the top edge is taped, pull the paper taut down the center of the door. Use a soft tool to gently smooth out trapped air toward the sides before taping the bottom edge.
- A dry microfiber cloth
- A flexible plastic squeegee
- A clean chalkboard eraser
Taking an extra minute to flatten these bubbles prevents the monster face from looking wrinkled and ensures your taped edges sit perfectly flush against the metal frame.
Turning the Safety Window Into a Mouth
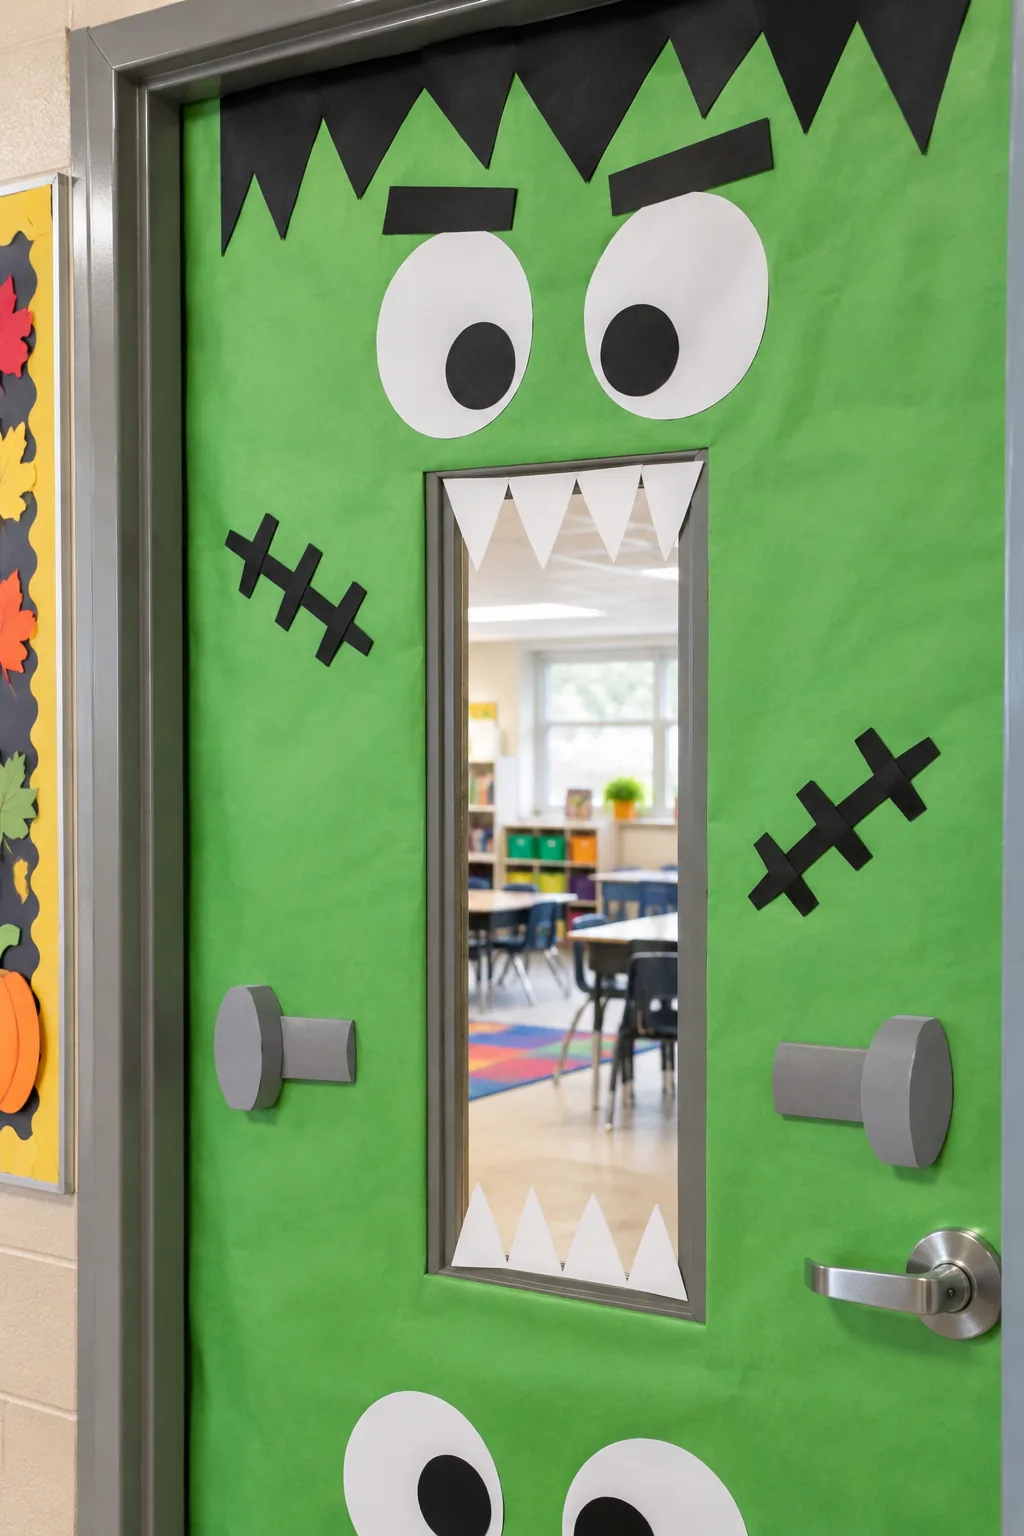
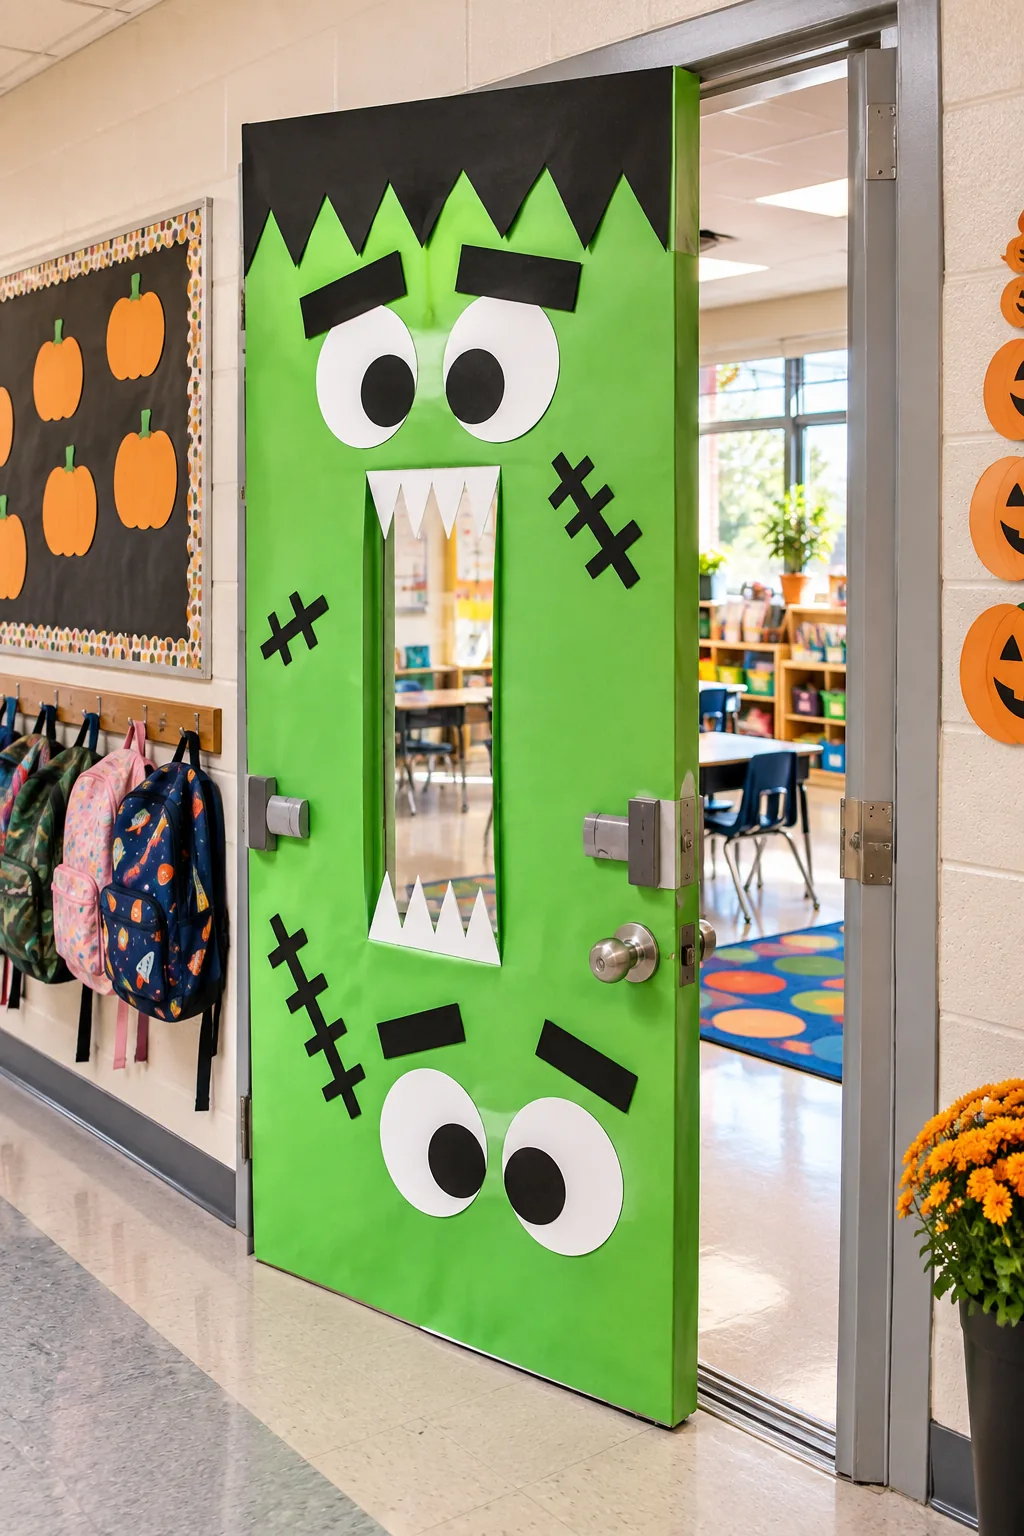
Classroom safety windows must remain unobstructed, so instead of covering the glass, frame the vertical window with white paper triangles to create a jagged monster mouth.
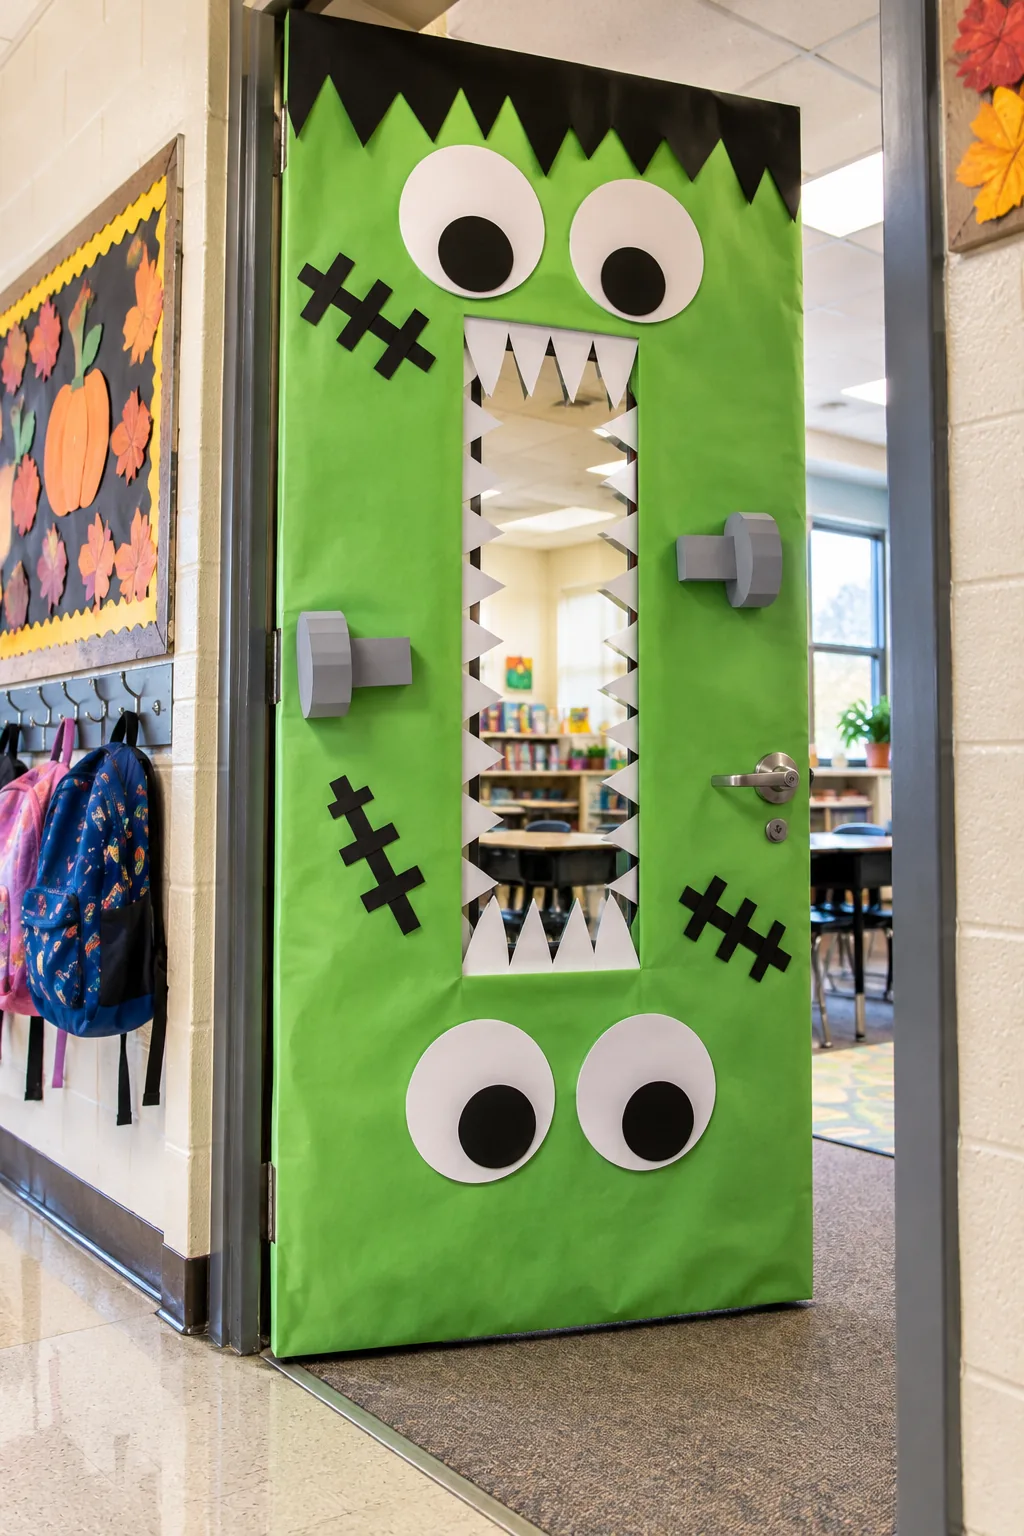
Before taping anything near the glass or handles, review your district’s fire codes to ensure your design stays compliant and safe.
Creating Dimension With the Paper Teeth
Cut the white paper triangles slightly varied in length to give the monster a more organic, goofy smile. Overlap the flat bases of the teeth by a quarter-inch when taping them to the green background.
This slight overlap adds subtle 3D dimension to the flat door, making the character pop visually when students walk down the long hallway.
Pre-Cutting the Facial Features
Cut out the black stitches, neck bolts, and jagged hair before you even approach the classroom door. Having all these small pieces prepped and separated into folders makes the actual hallway assembly incredibly efficient.
This simple preparation step turns a potentially stressful installation into a quick 15-minute task you can easily finish during a single planning period.
Organizing the Pre-Cut Folders
Sort your cut pieces into two rigid folders so the heavy structural elements stay separated from the delicate facial features. Labeling these folders keeps the fragile paper edges crisp during your commute to campus and guarantees your Frankenstein monster looks sharp.
Aligning the Stitched Scars
Place the largest stitched scar diagonally across the upper left corner of the green paper. Angle the remaining smaller scars randomly to mimic a classic, pieced-together aesthetic, stepping back three feet to check the visual balance before committing with tape.
Attaching the Neck Bolts Securely
The grey neck bolts sit at the very bottom edges of the door, making them prime targets for passing backpacks. Cut these pieces from heavy cardstock rather than standard printer paper for extra durability, applying tape to the entire back surface.
Placing Details at Kid Height
Position a second set of large paper eyes in the lower half of the door, roughly 36 to 42 inches from the floor.
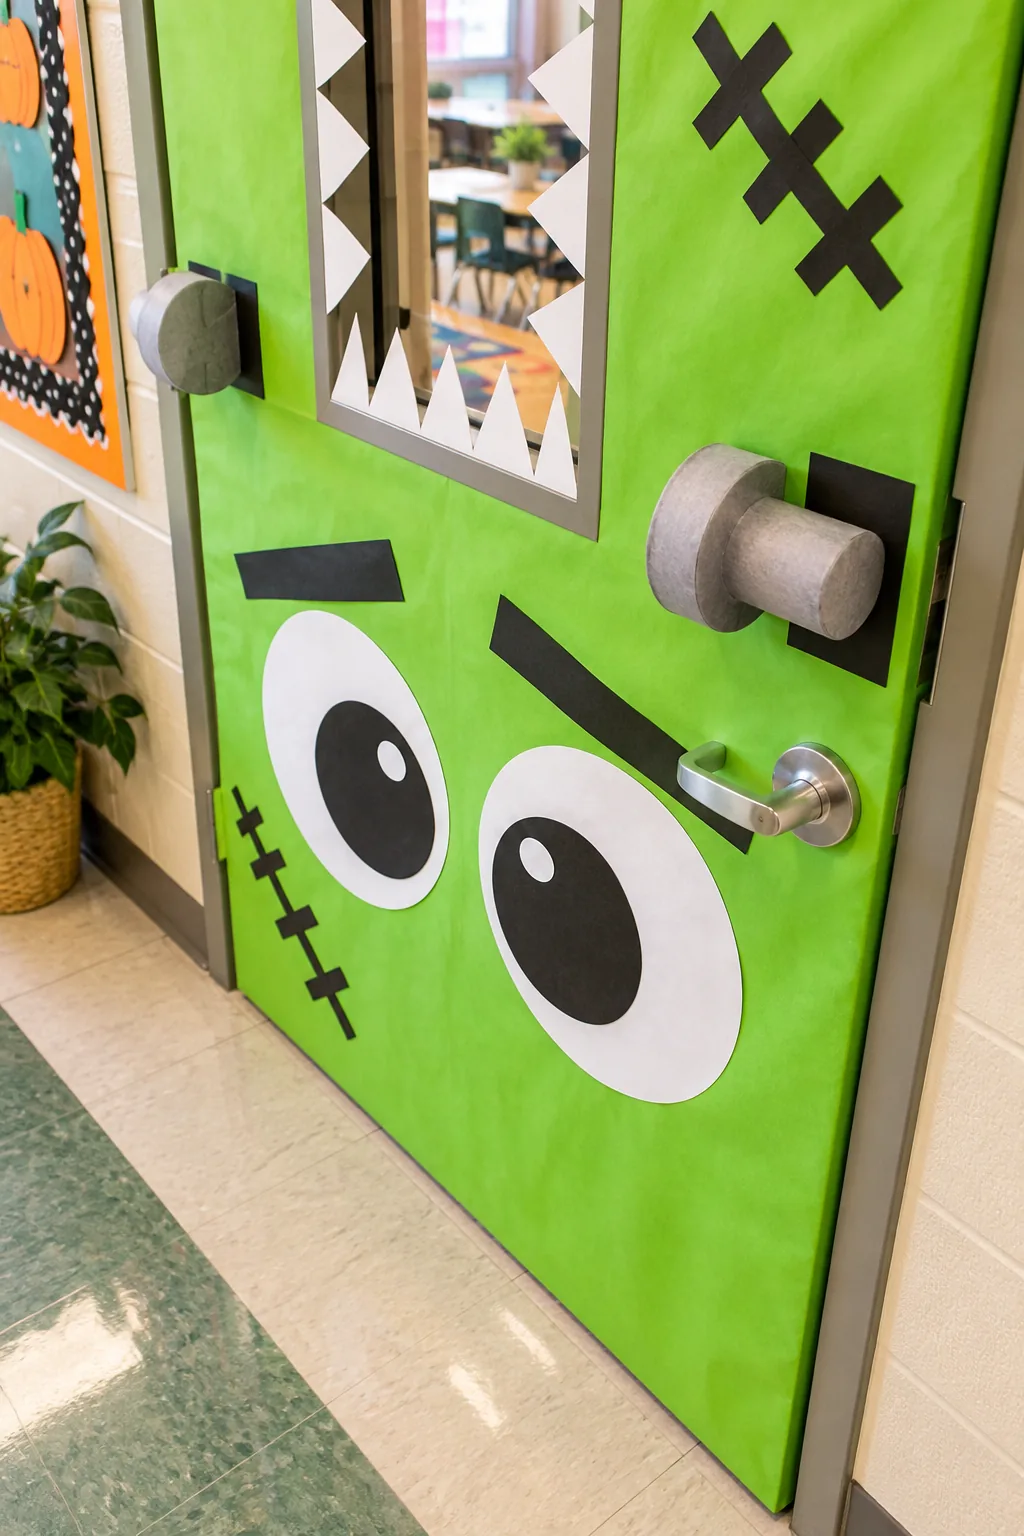
This lower placement allows younger students to interact with the monster face eye-to-eye rather than just looking up. When I decorated my niece’s kindergarten door this way, the kids spent all week giggling at the lower eyes perfectly level with their own.
Reinforcing the Decor for the Whole Month
School hallways see heavy daily traffic, so standard clear tape simply will not survive the entire month of October.
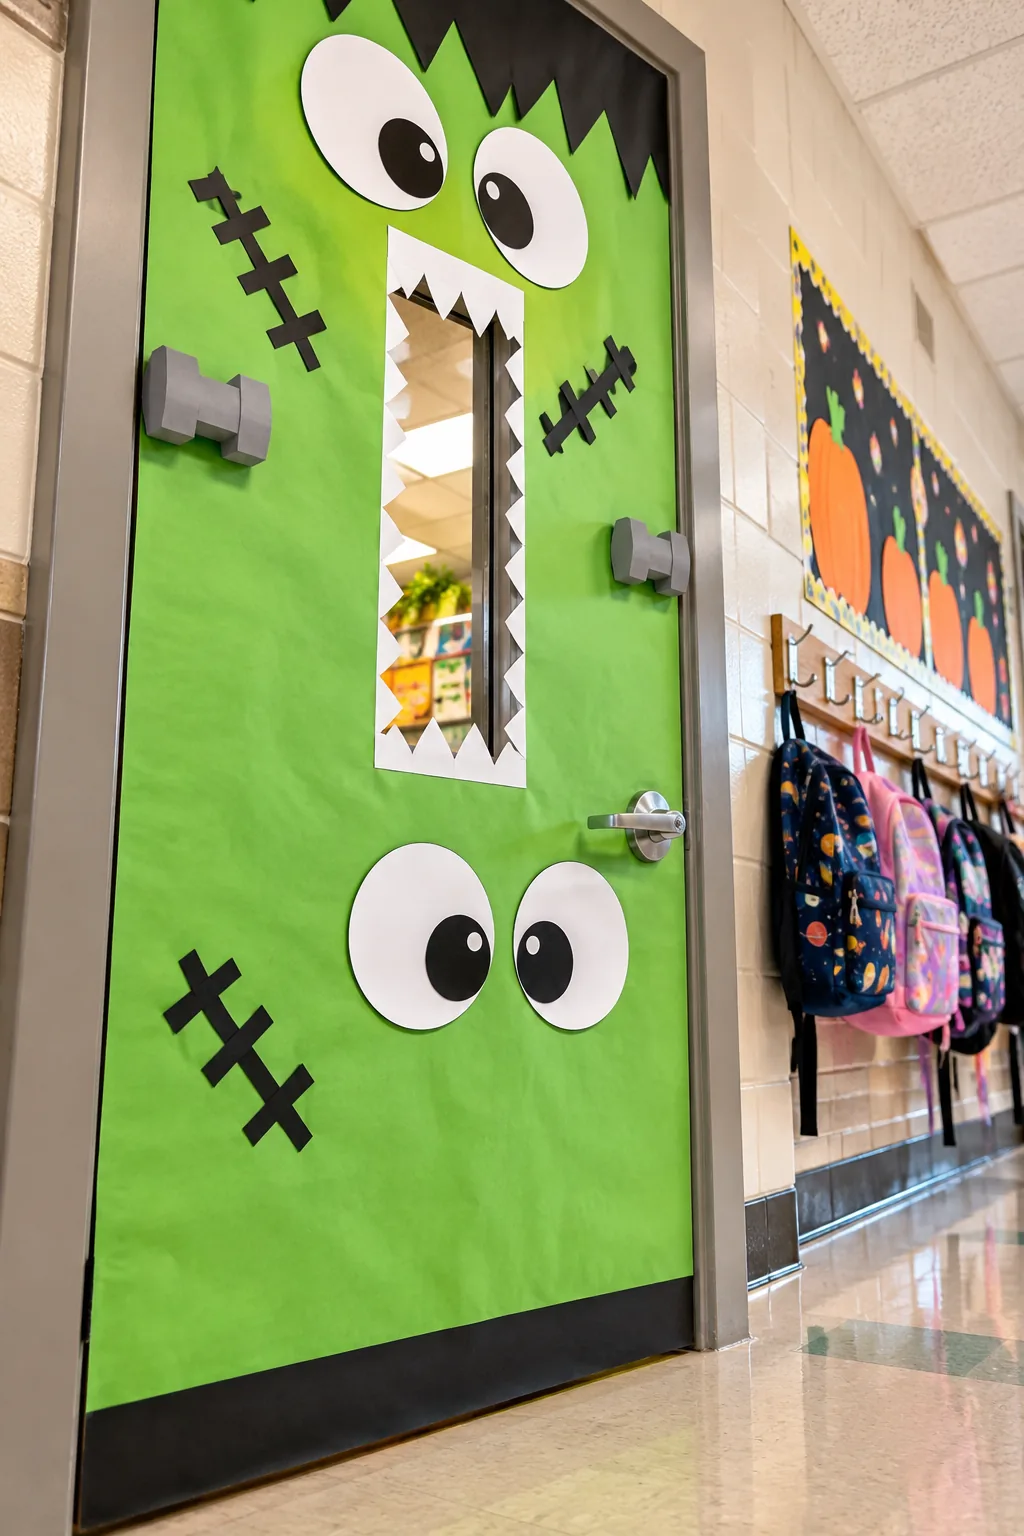
Reinforce the heaviest paper elements, like the large eyes and neck bolts, with double-sided mounting squares rated for temporary wall use. I learned this the hard way after my first classroom door lost an eyeball on day three, but mounting squares keep everything intact until Halloween.
Inspecting the Final Hallway Display
Once all pieces are attached, open and close the door vigorously three times to test for loose edges. Listen closely for any flapping paper sounds that indicate a weak tape joint needing immediate reinforcement before the morning bell rings.
Getting the Printable Templates
Download the complete PDF to get the perfectly scaled monster eyes, teeth, scars, and neck bolts ready for immediate printing. The file also includes a simple checklist of teacher-approved tapes and heavy-duty papers to make your craft store run incredibly simple.
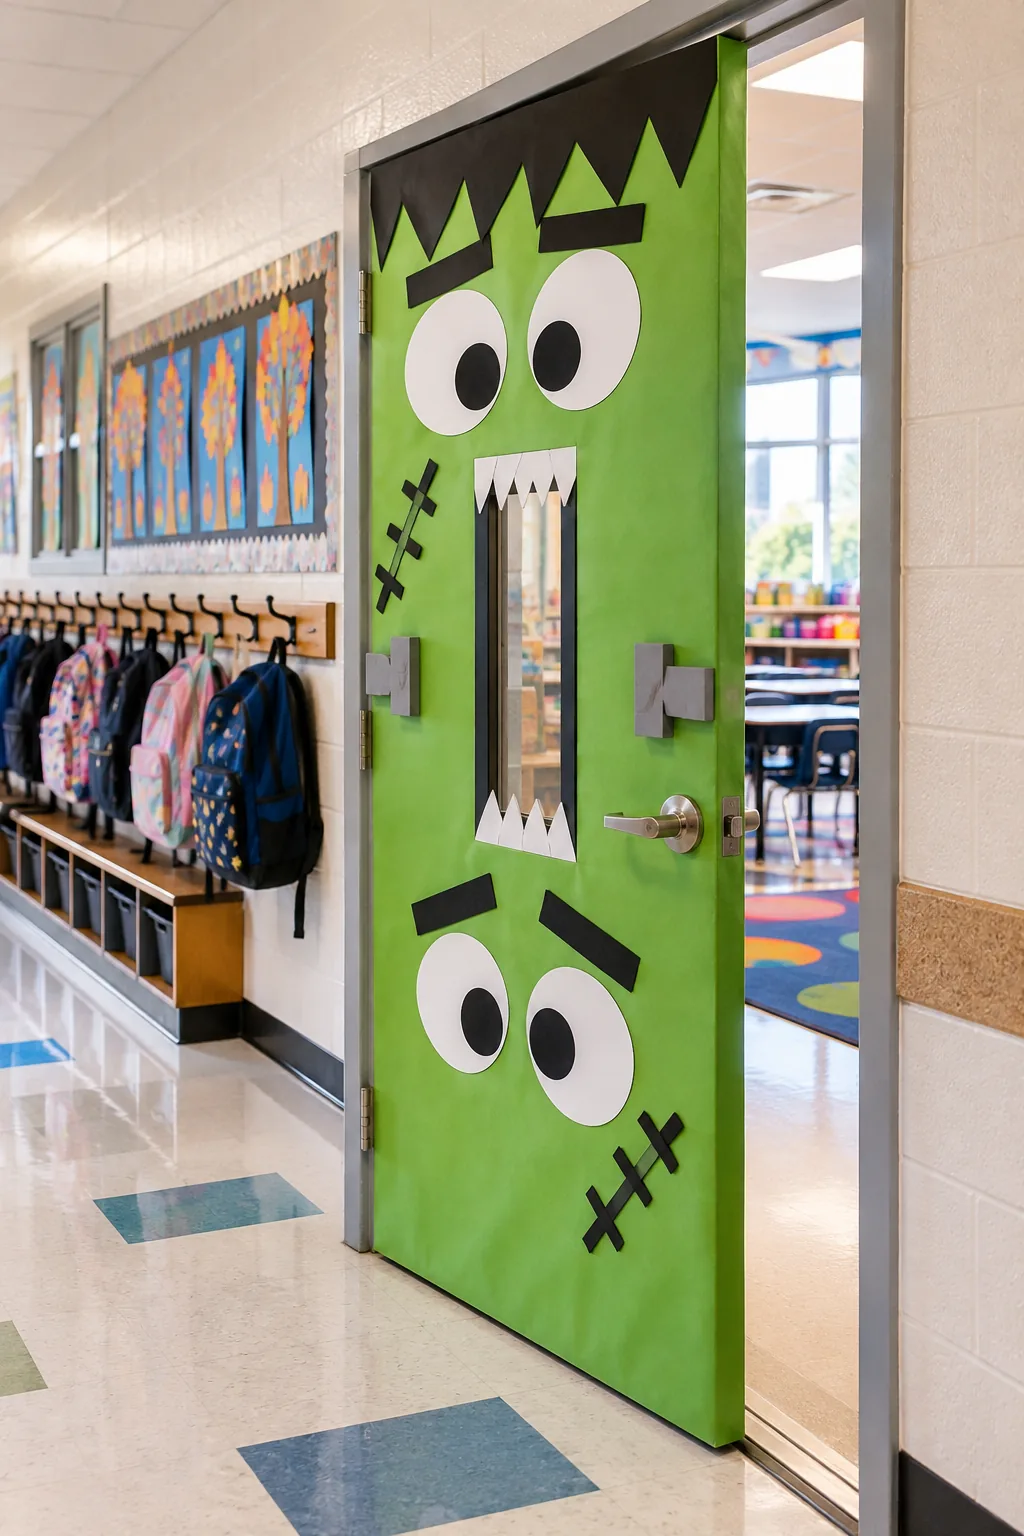
- Download and print the monster facial features on standard US Letter paper.
- Cut out the precisely scaled eyes, jagged teeth, and stitched scars.
- Pack the pieces and your approved tapes into a flat folder for transit.
I love keeping these templates saved on my computer because I can easily reprint a fresh set if a piece gets damaged mid-month.
More School-Approved Halloween Doors
Explore these alternative classroom door designs that balance festive fun with hallway safety rules.
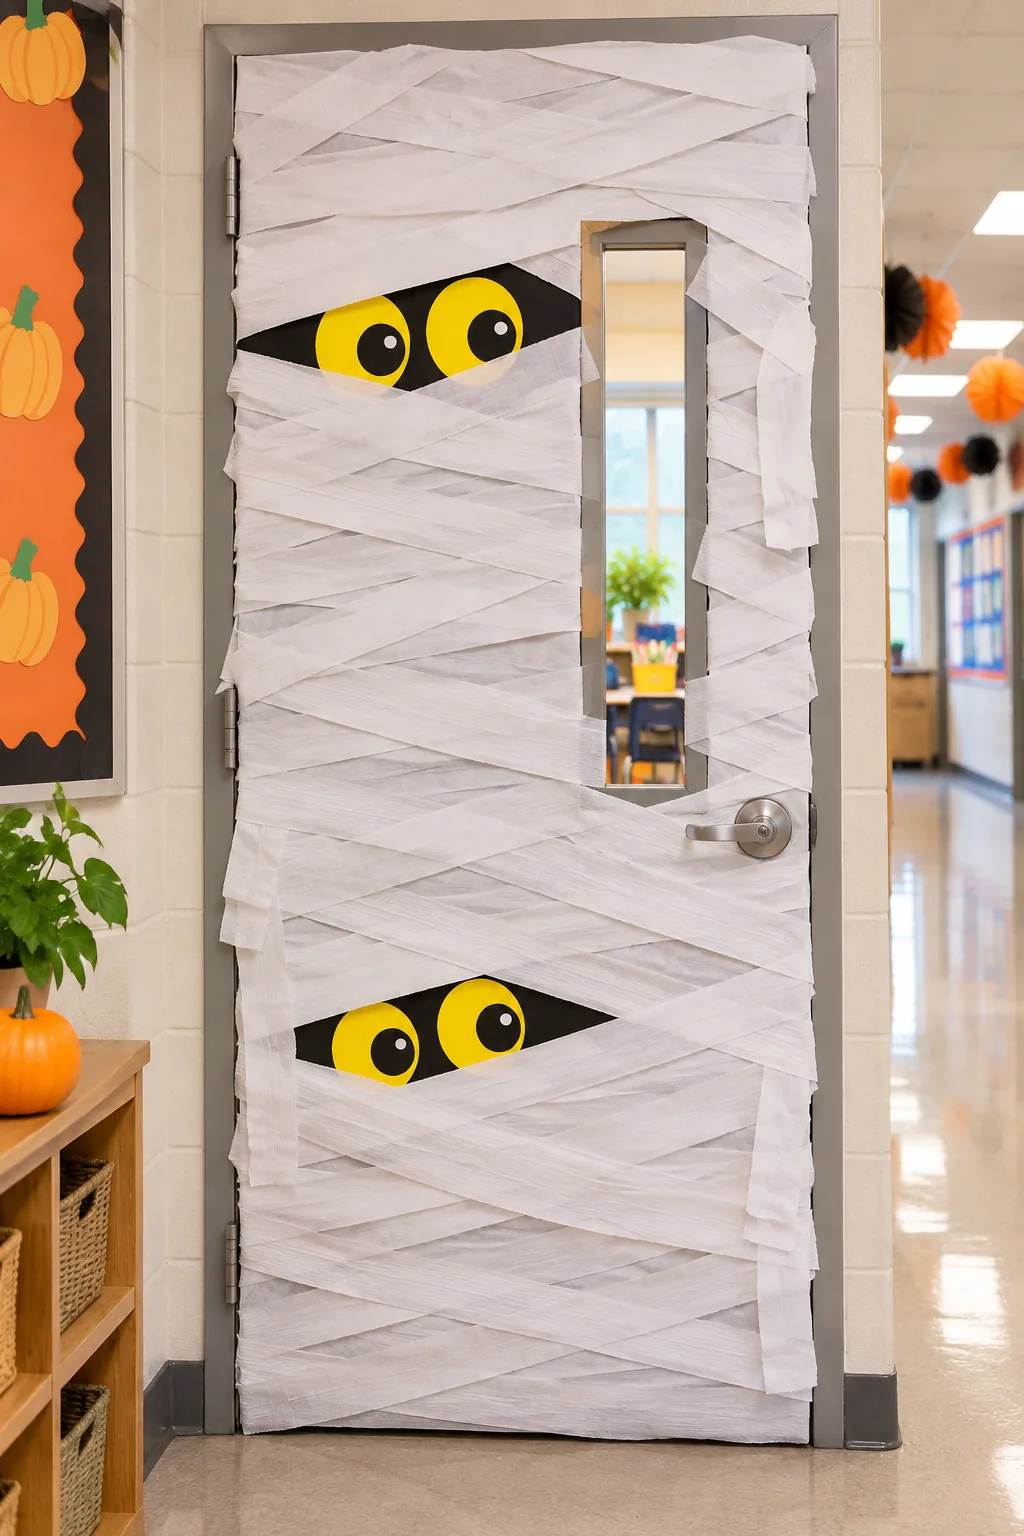
Playful Mummy Door: Overlapping strips of white crepe paper create a textured mummy wrap that is incredibly budget-friendly.
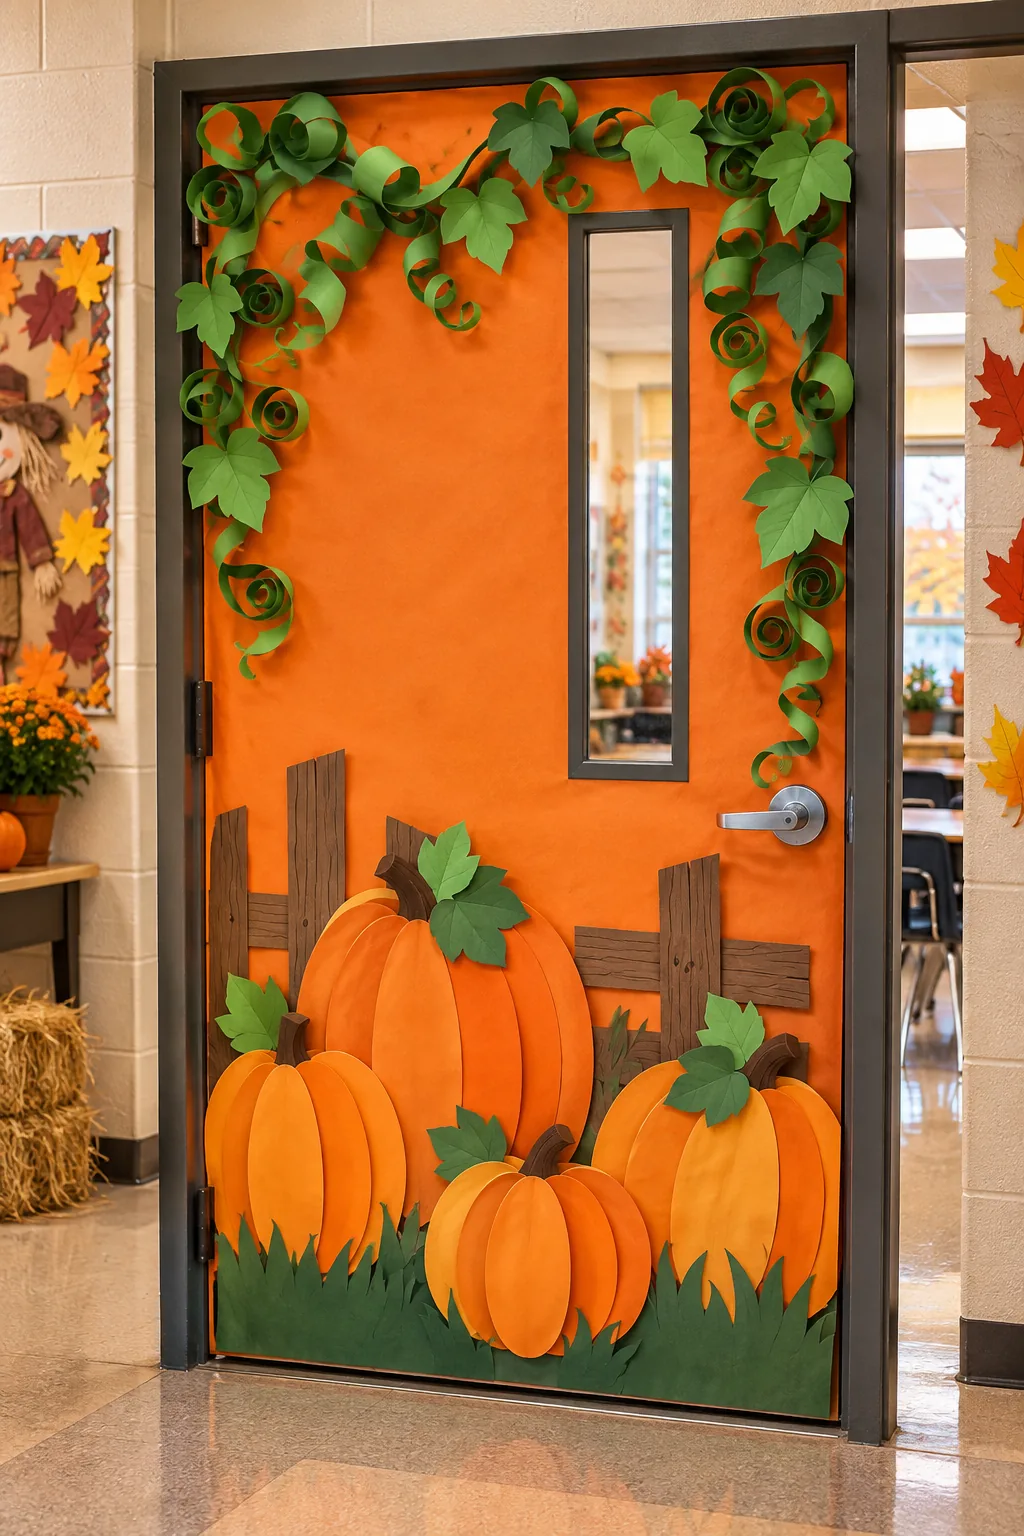
Fall Harvest Pumpkin Patch: Curled green paper vines add a striking 3D element to a simple orange background.
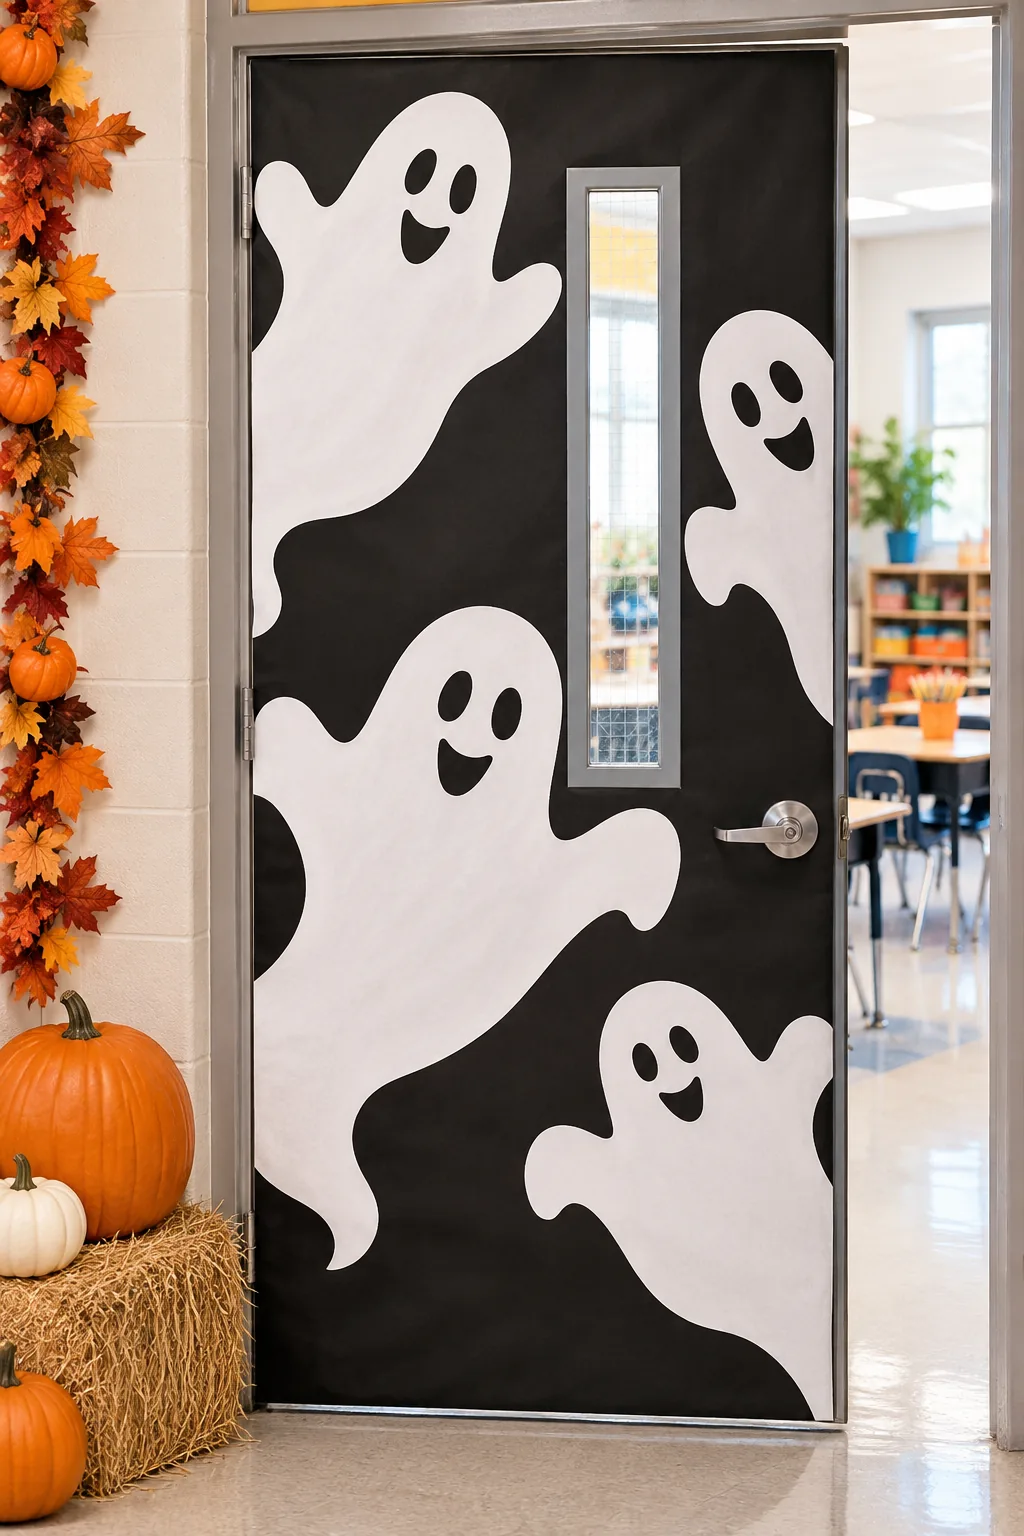
Classic Friendly Ghosts: High-contrast white ghost silhouettes pop beautifully against a solid black paper base.
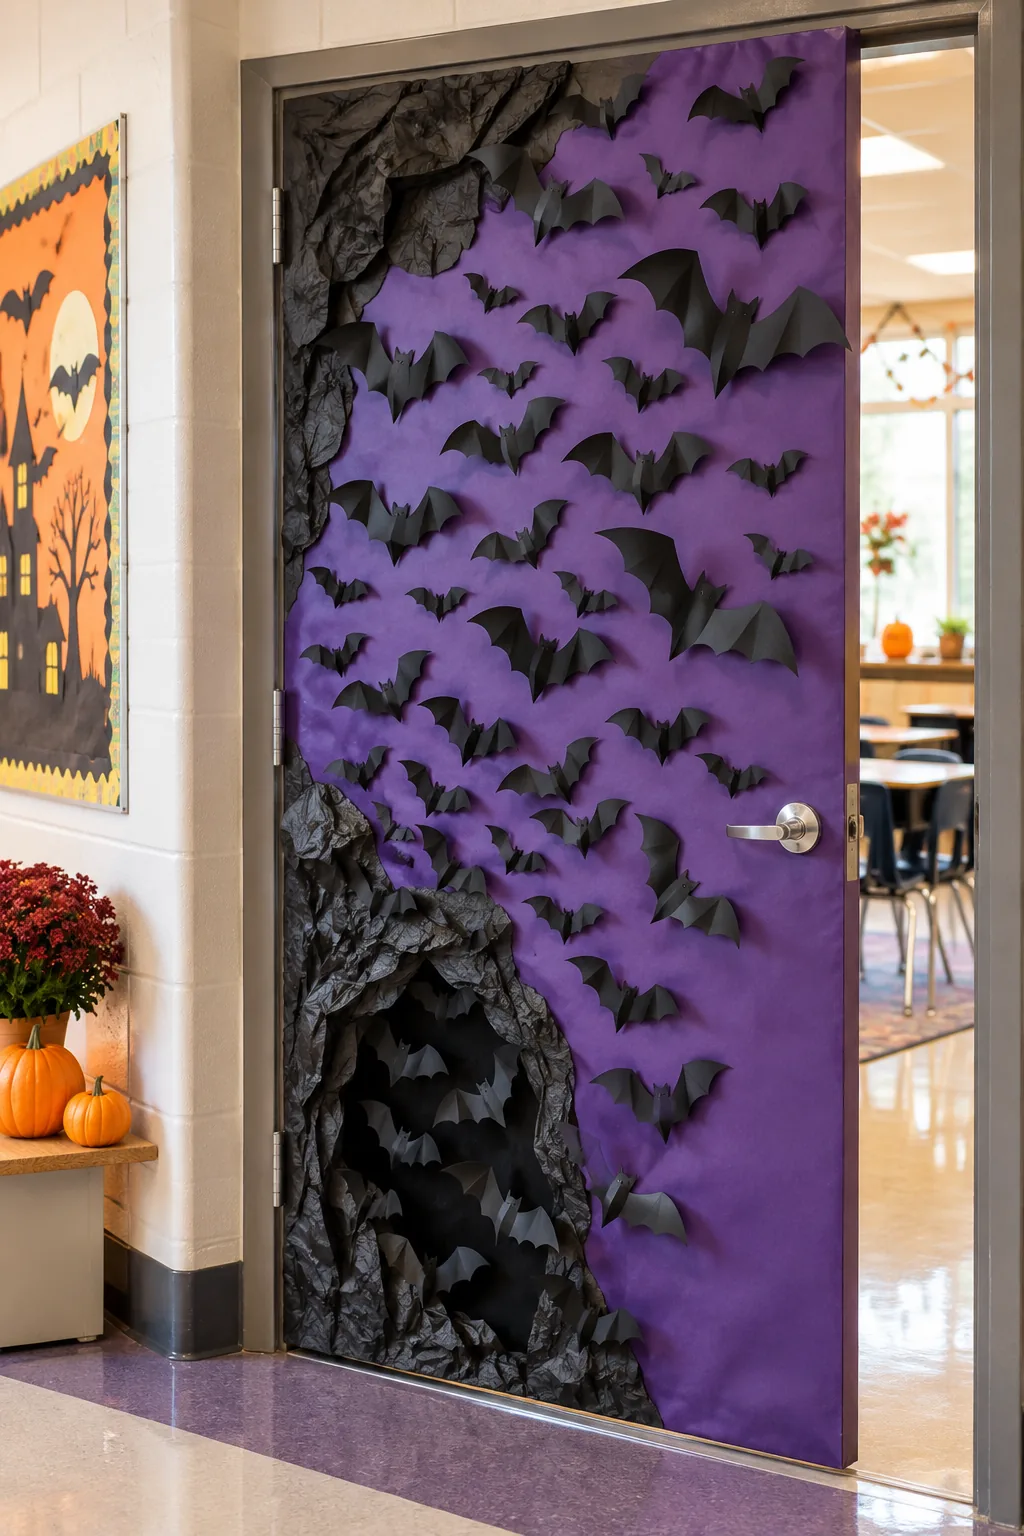
Spooky 3D Bat Swarm: Folding black paper bats down the center gives the entire door a dynamic sense of movement.
Removing the Tape Without Damage
When November arrives and it is time to take the monster down, peel the painter’s tape back slowly at a 45-degree angle.
This gentle removal technique prevents the adhesive from stripping the commercial paint or leaving a sticky residue on the metal door frame. The last time I helped tear down a hallway display, pulling the tape flat and slow left the door looking absolutely pristine.