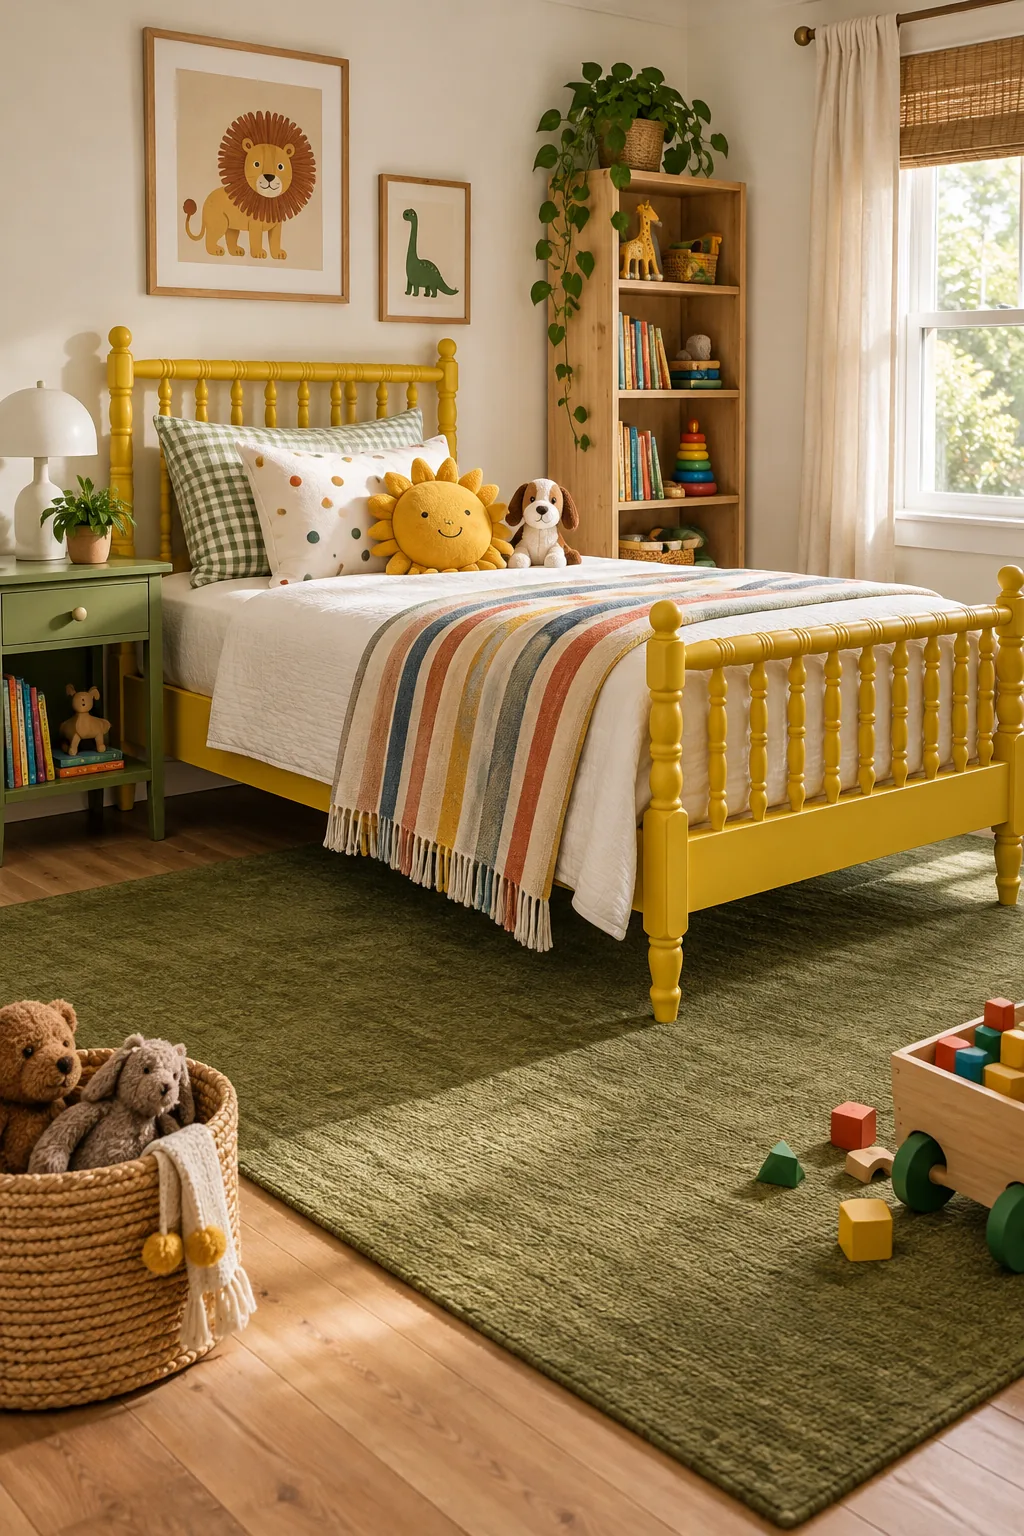
Bedroom Rug Size Guide: Print Your Perfect Placement Chart
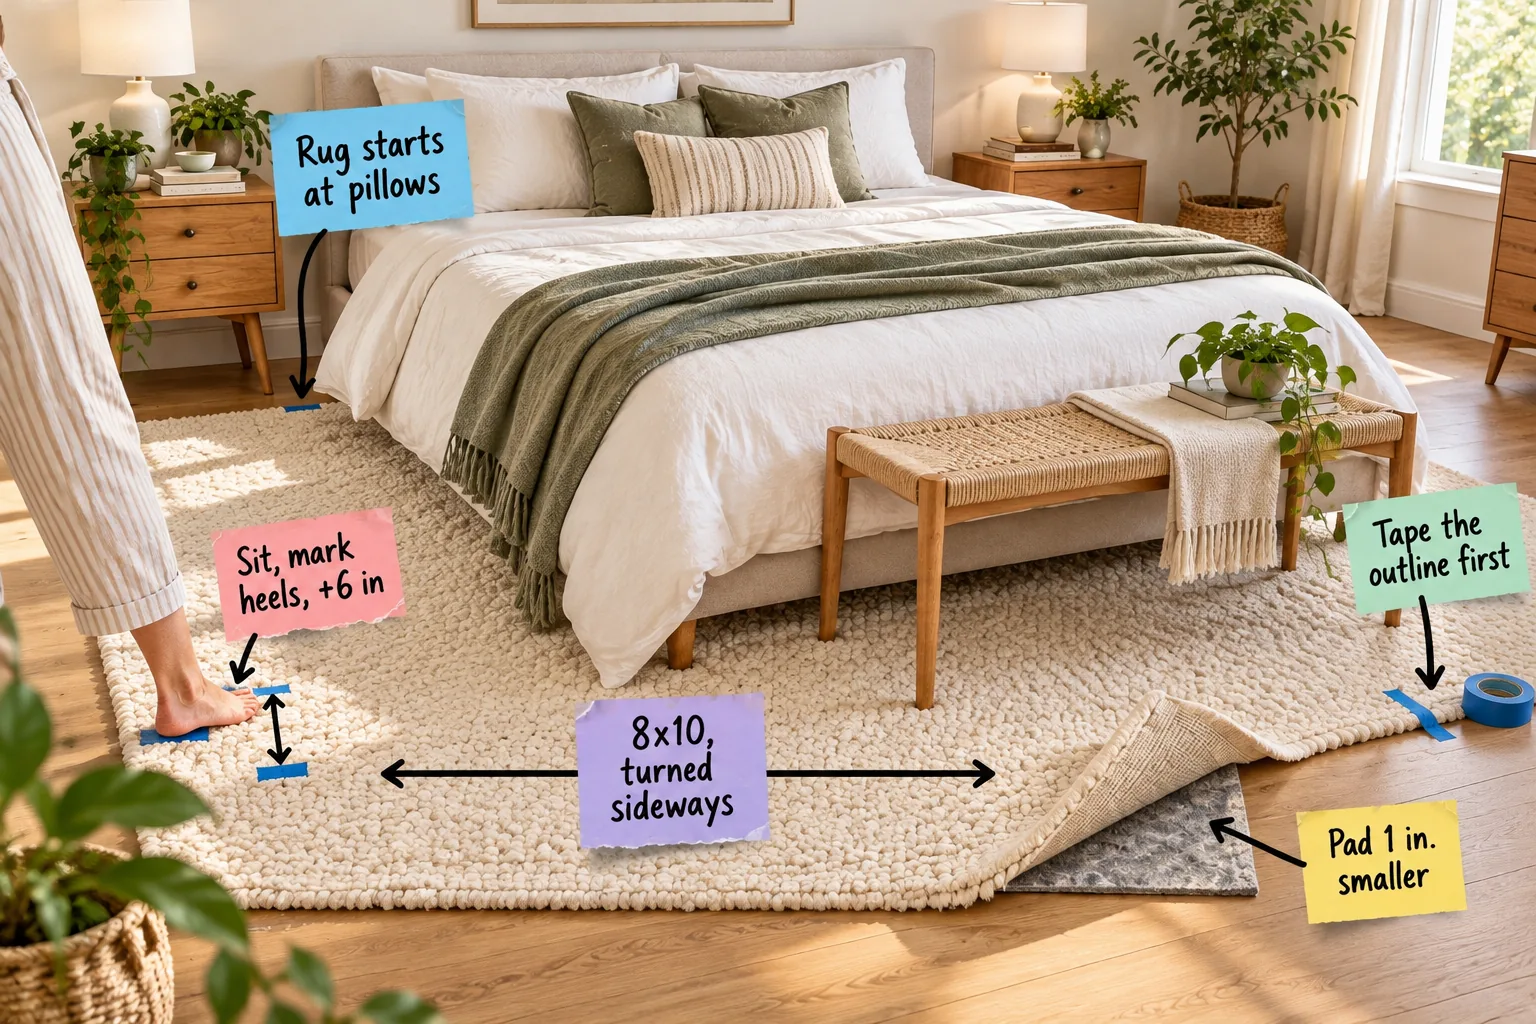
Struggling to figure out exactly how large your primary bedroom carpet should actually be? Download our printable bed-by-bed size chart and five-step tape checklist below to confidently select, physically test, and position the absolute perfect rug dimensions for your specific sleeping space.
The Bed-by-Bed Size Chart
Taking the guesswork out of rug shopping starts with knowing exactly which standard dimensions actually fit your specific furniture setup. Our printable one-page bedroom placement chart instantly shows you the precise proportions required to achieve a beautifully balanced, professionally designed room.
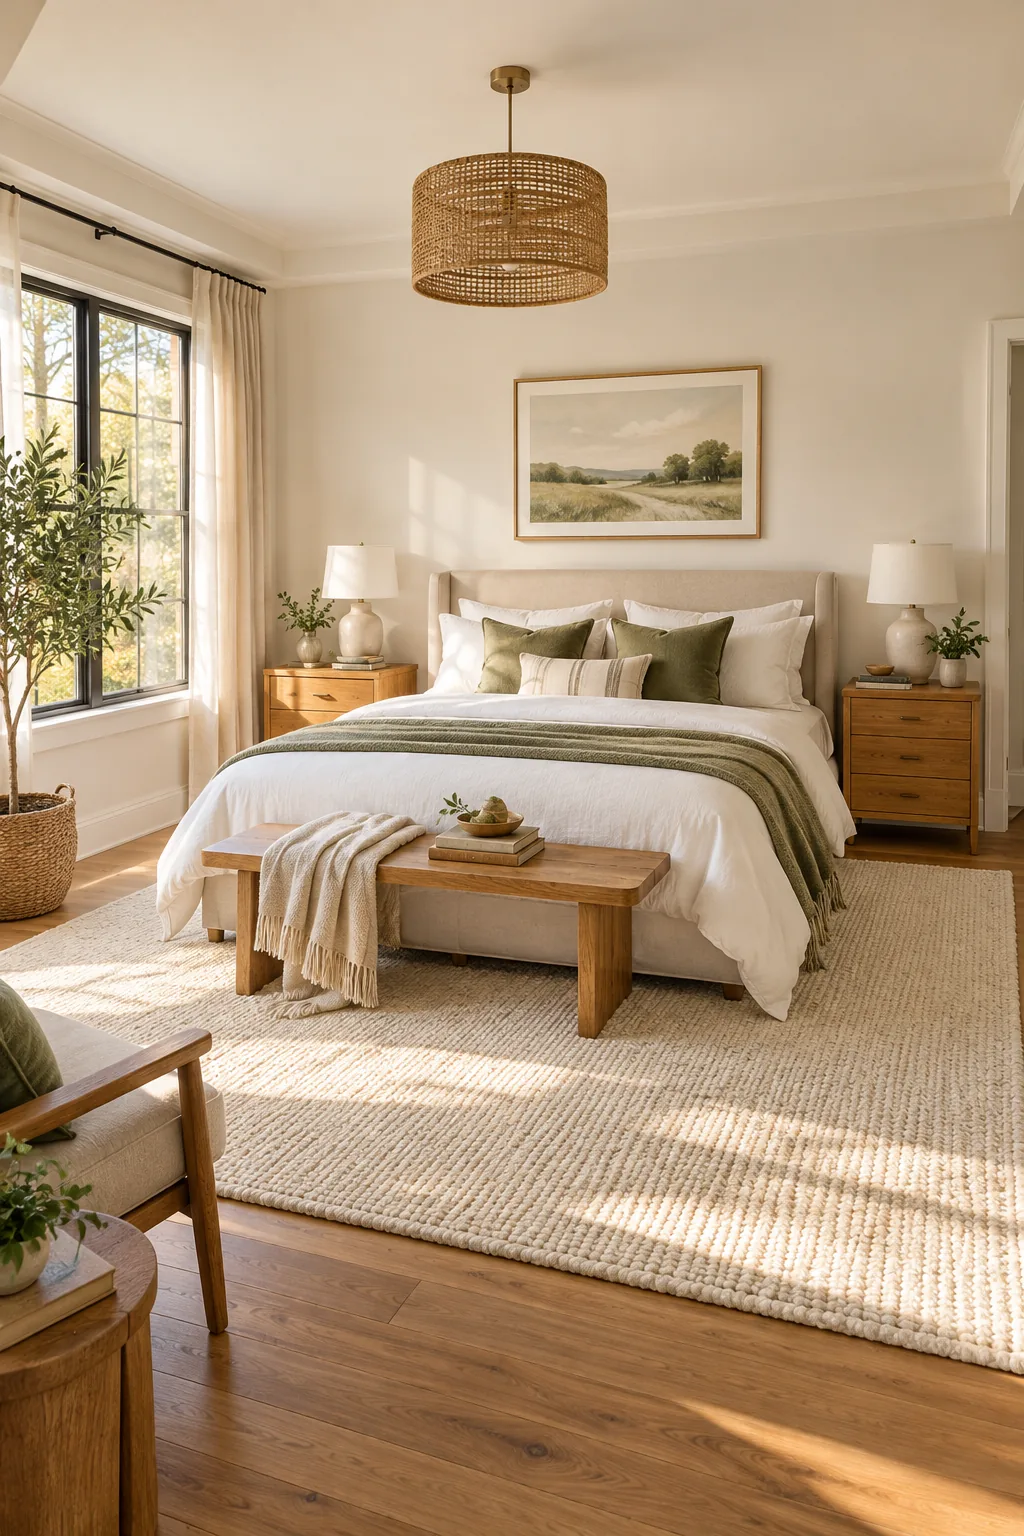
Your printable chart specifies that twin beds need a 5×8 rug, while standard full beds require a 6×9 footprint. Queen mattresses demand an 8×10 size for generous landing zones, and king beds call for a massive 9×12 carpet to maintain proper scale.
The Toe Test for Side Borders
The most crucial measurement in your entire sleeping space is precisely where your feet land every single morning. You must ensure you always step onto plush, warm wool rather than shocking your system on freezing cold hardwood floorboards when waking up.
Sit, mark heels, +6 in is the golden mathematical formula that ensures guaranteed daily comfort for your specific height. Cross-reference your personal heel measurement with these standard border requirements to find your ideal fit before committing to a final purchase.
| Mattress Size | Minimum Side Border | Ideal Side Border | Room Clearance Needed |
|---|---|---|---|
| Standard Twin | 12 inches of rug extending past the frame on the open side | 18 inches for a highly comfortable morning landing zone | Leave exactly 24 inches of bare floor exposed near all walls |
| Standard Full | 14 inches of rug extending past the frame on both sides | 20 inches for a highly comfortable morning landing zone | Leave exactly 24 inches of bare floor exposed near all walls |
| Standard Queen | 18 inches of rug extending past the frame on both sides | 24 inches for a highly comfortable morning landing zone | Leave exactly 36 inches of bare floor exposed near all walls |
| Standard King | 24 inches of rug extending past the frame on both sides | 30 inches for a highly comfortable morning landing zone | Leave exactly 36 inches of bare floor exposed near all walls |
| California King | 24 inches of rug extending past the frame on both sides | 30 inches for a highly comfortable morning landing zone | Leave exactly 36 inches of bare floor exposed near all walls |
| Custom Oversized | 30 inches of rug extending past the frame on both sides | 36 inches for a highly comfortable morning landing zone | Leave exactly 48 inches of bare floor exposed near all walls |
Starting the Rug at the Pillows
Never push your new carpet all the way against the headboard wall, which wastes expensive material where nobody actually walks. Instead, pull the top edge down so the rug starts at pillows, perfectly aligned with their bottom edge across the mattress.
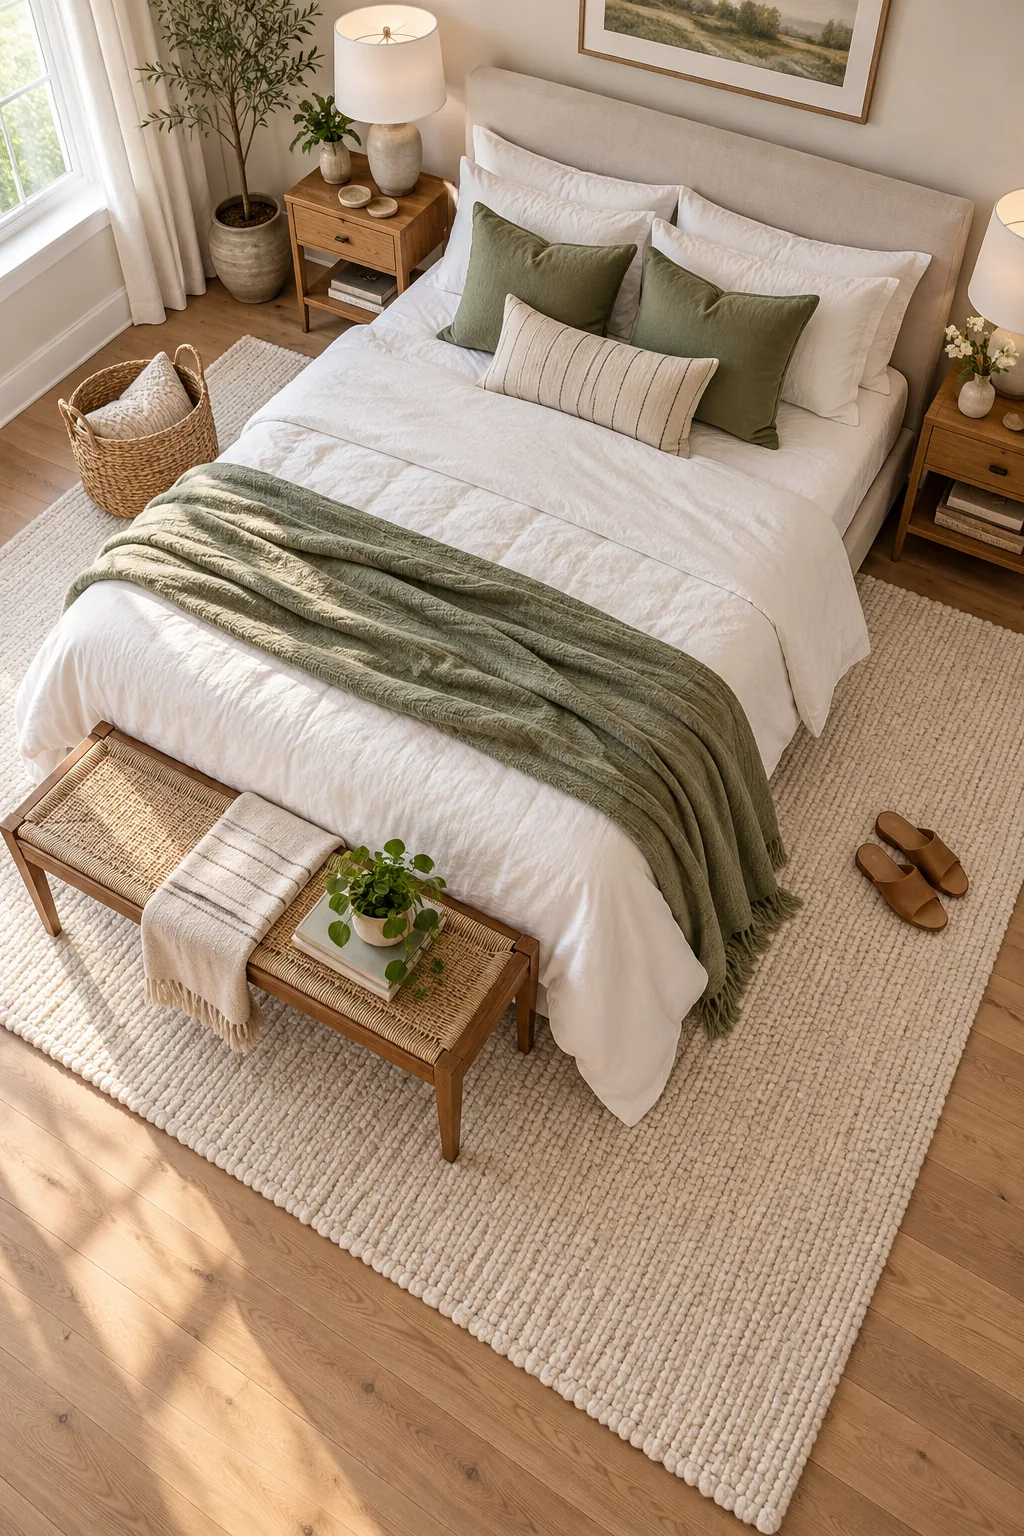
This strategic placement shift leaves beautiful bare oak exposed at the head of the bed while pushing the soft surface exactly where you need it most. You instantly maximize the usable plush area without spending more money on a larger size.
Turning an 8×10 Rug Sideways
When dealing with standard queen or king mattresses, you should always orient an 8×10, turned sideways to capture the absolute best room proportions. Running the long 10-foot edge parallel to the headboard guarantees wonderfully generous side borders for your bare feet.
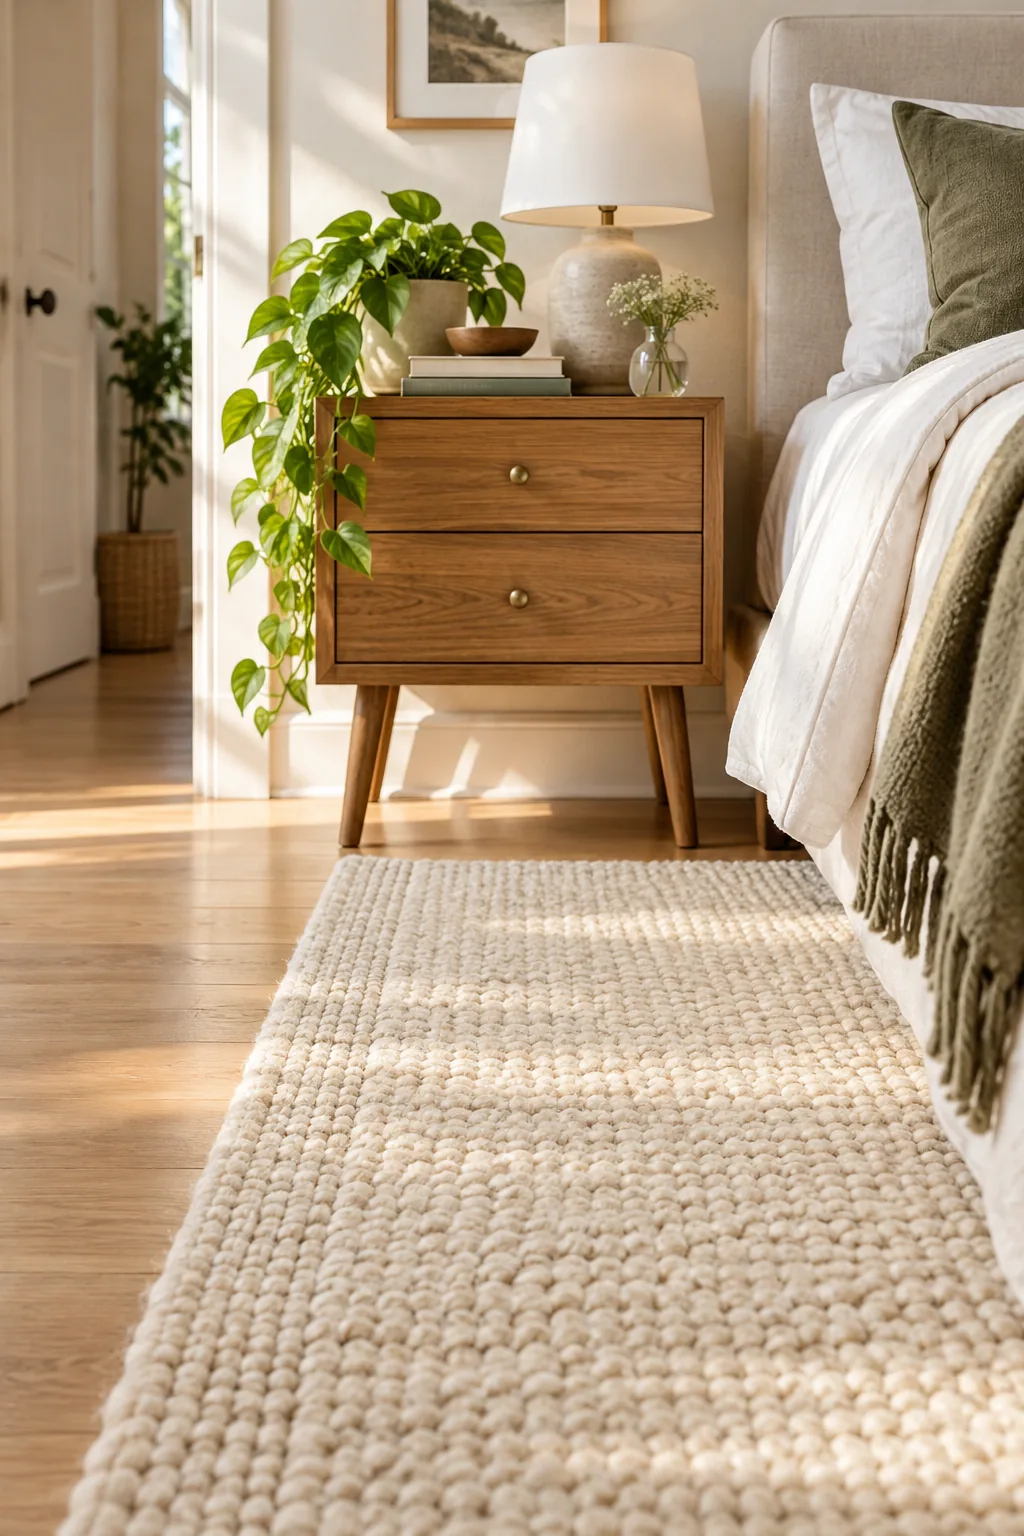
This horizontal orientation stretches the soft landing zone outward toward your dressers and windows, exactly where your daily walking paths actually exist. Follow these structured priority steps when deciding how to spin your rectangular carpet for the absolute maximum visual impact.
- Measure the room width: Ensure you have at least two feet of bare floor between the rug edges and your baseboards to maintain visual breathing room and prevent a cramped aesthetic.
- Check the side paths: Verify the horizontal layout covers the primary walkways you use when getting out of bed or walking toward your main closet doors.
- Align the long edge: Position the longest side completely parallel to your headboard before rolling the heavy piece flat against the underlying floorboards.
- Center on the mattress: Measure from the edge of the rug to the wall on both sides to confirm the carpet is perfectly centered beneath the bed frame.
- Verify the footboard clearance: Ensure the sideways orientation still leaves enough depth to extend significantly past the end of your bed frame to anchor the room.
Clearing the Nightstand Legs
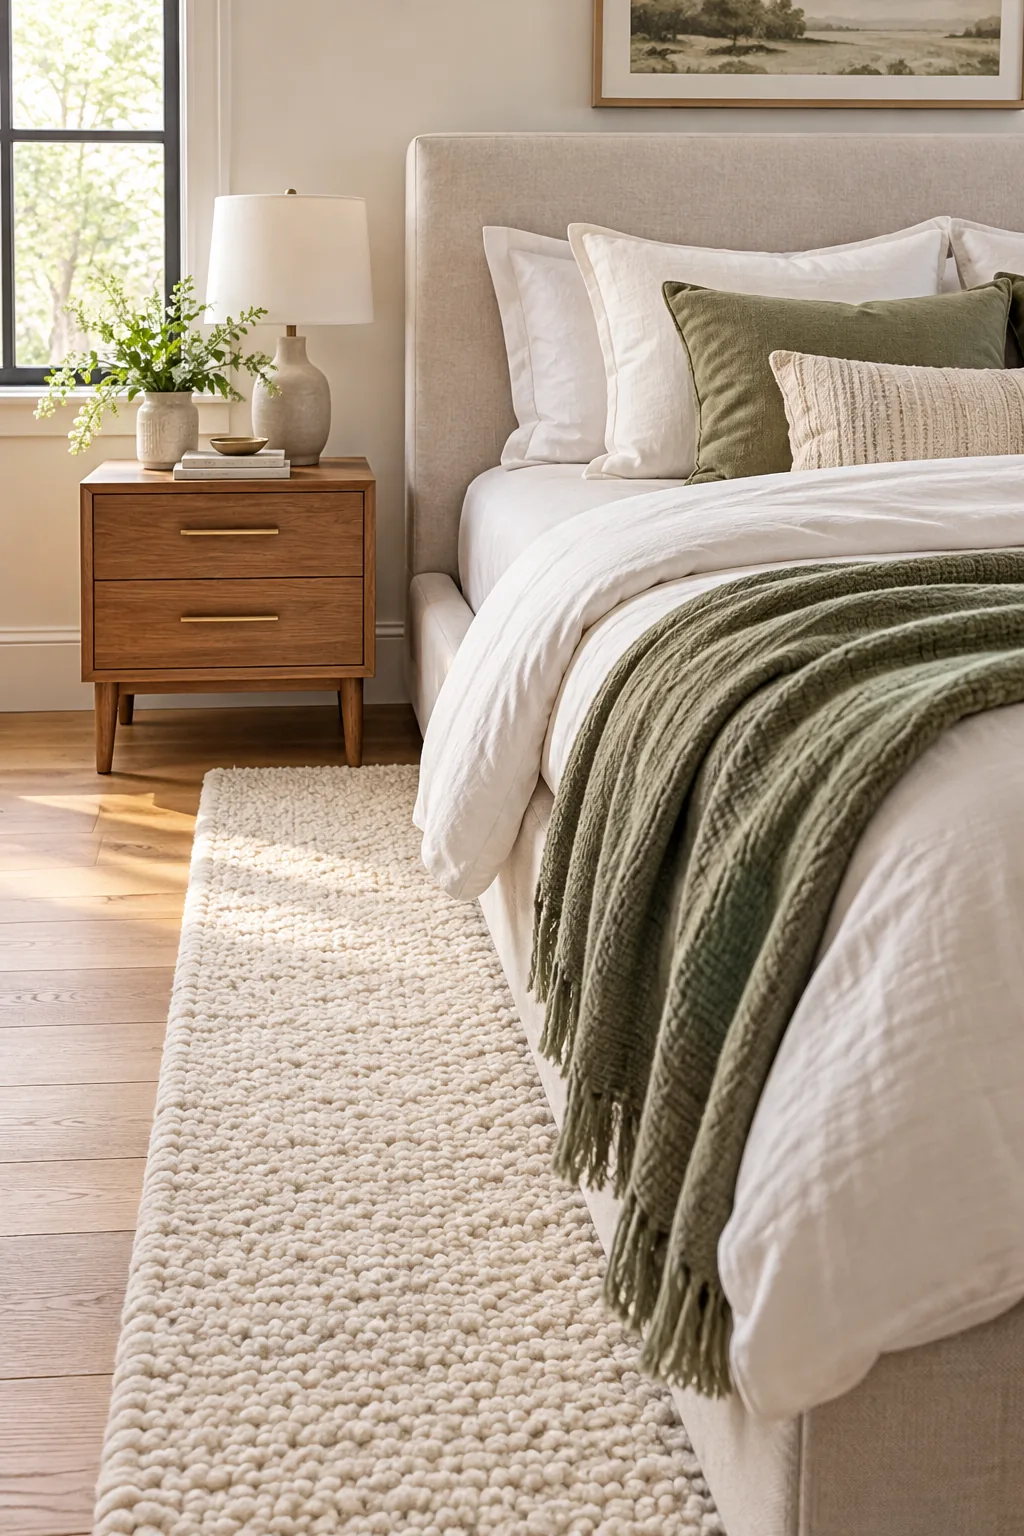
When positioning that top edge, you must ensure it lands a few inches in front of your bedside furniture. In my own Denver bedroom, keeping all four nightstand legs firmly on bare wood finally stopped my heavy reading lamp from constantly wobbling.
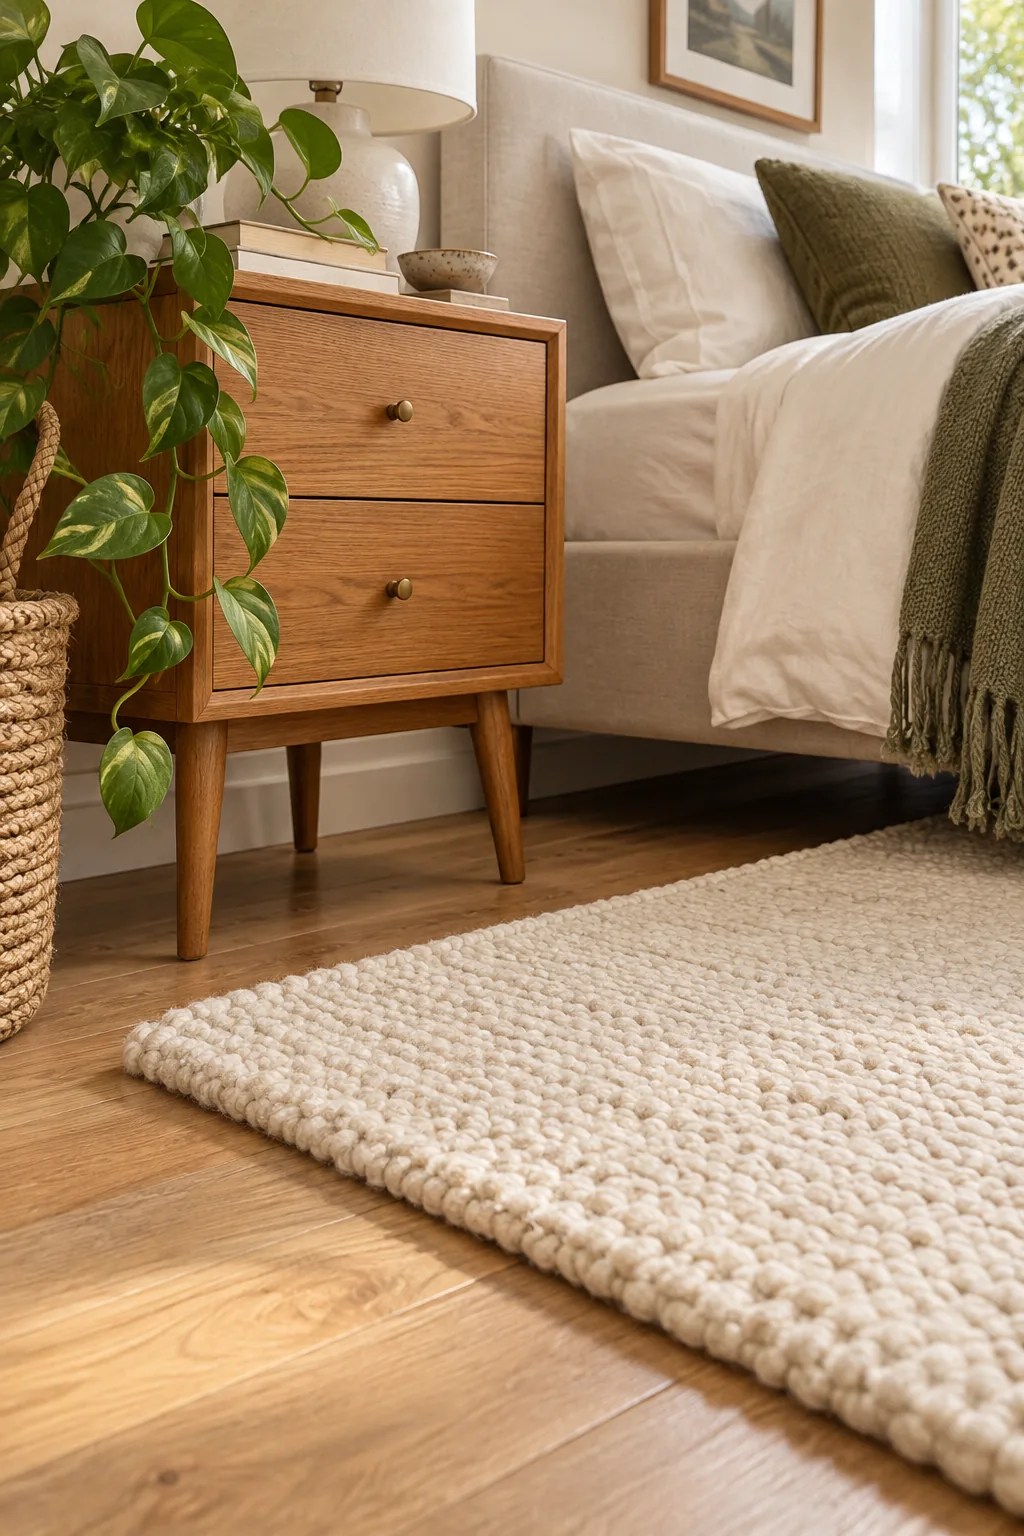
Getting the side borders right is incredibly important, but ignoring how the rug interacts with your surrounding furniture can completely ruin the room’s daily functionality. Watch out for these highly common bedside placement errors before finalizing your layout.
Extending Past the Footboard
A beautifully sized carpet should always extend generously past the end of the bed to visually anchor your heaviest furniture. In my recent downtown loft project, leaving exactly 24 inches of exposed rug beyond the footboard perfectly framed a heavy oak storage bench.
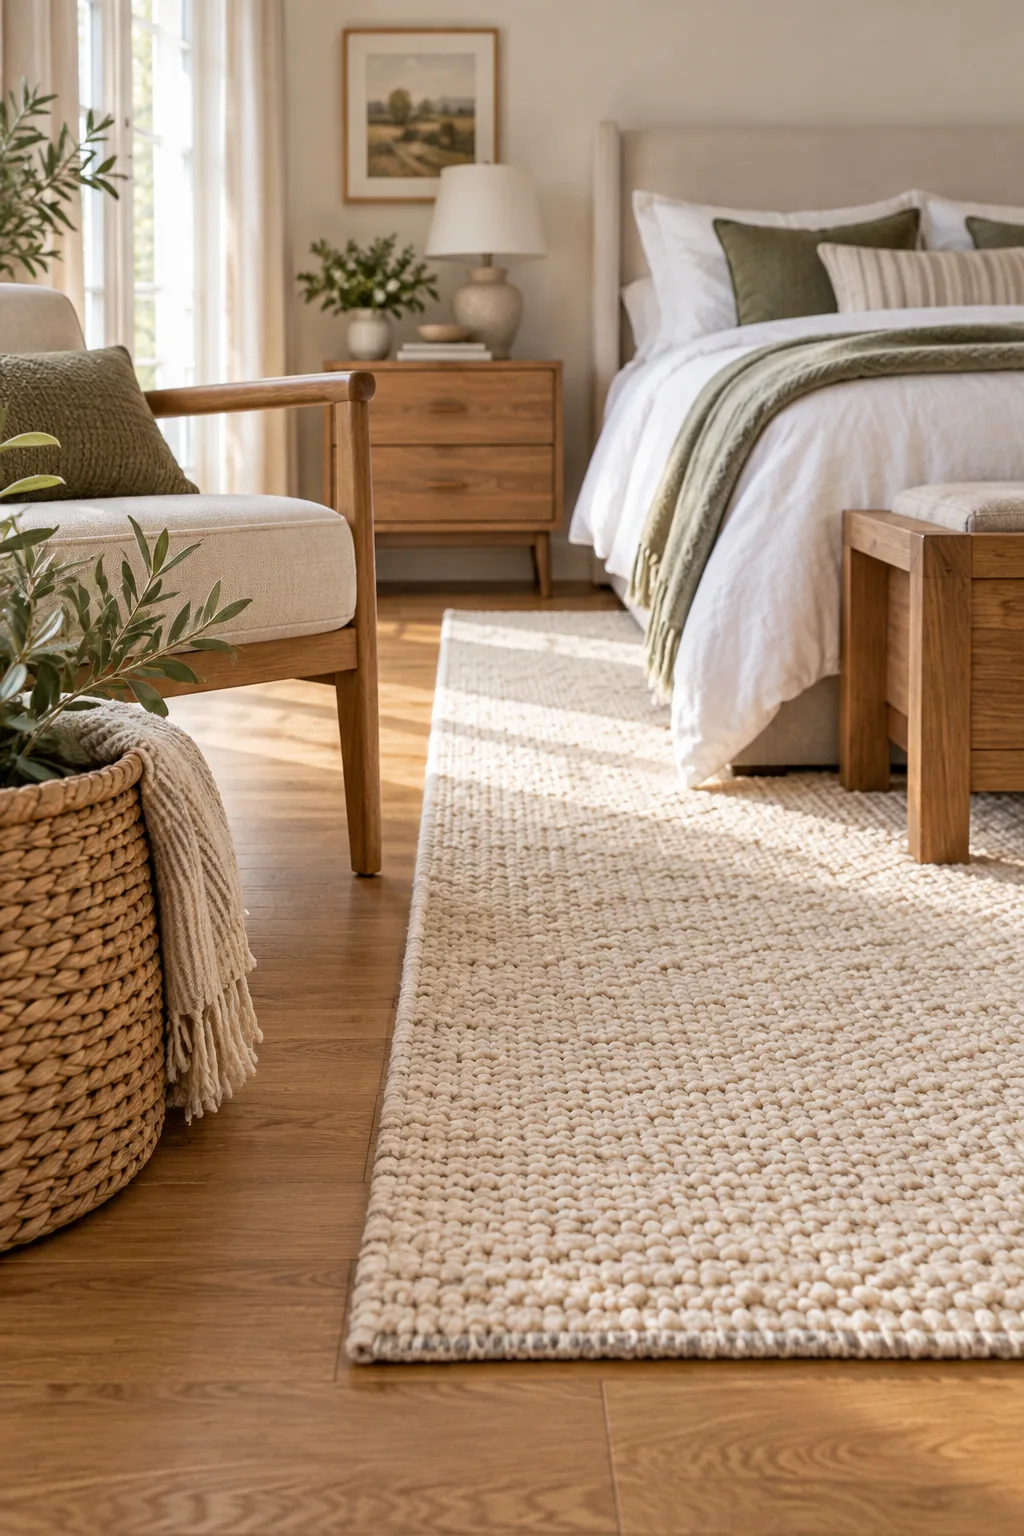
This extended footprint balances the room visually while providing a warm, comfortable spot to sit when tying your shoes each morning. Aim for 18 to 24 inches of visible border at the foot to prevent the mattress from looking awkwardly cut off.
Testing the Footprint With Tape
Before ordering, visualize the final footprint on your floor to ensure it will not block doors or crowd your heavy dressers. Grab a roll of blue painter’s tape and mark the exact corners of your planned size to experience how it changes the room’s flow.
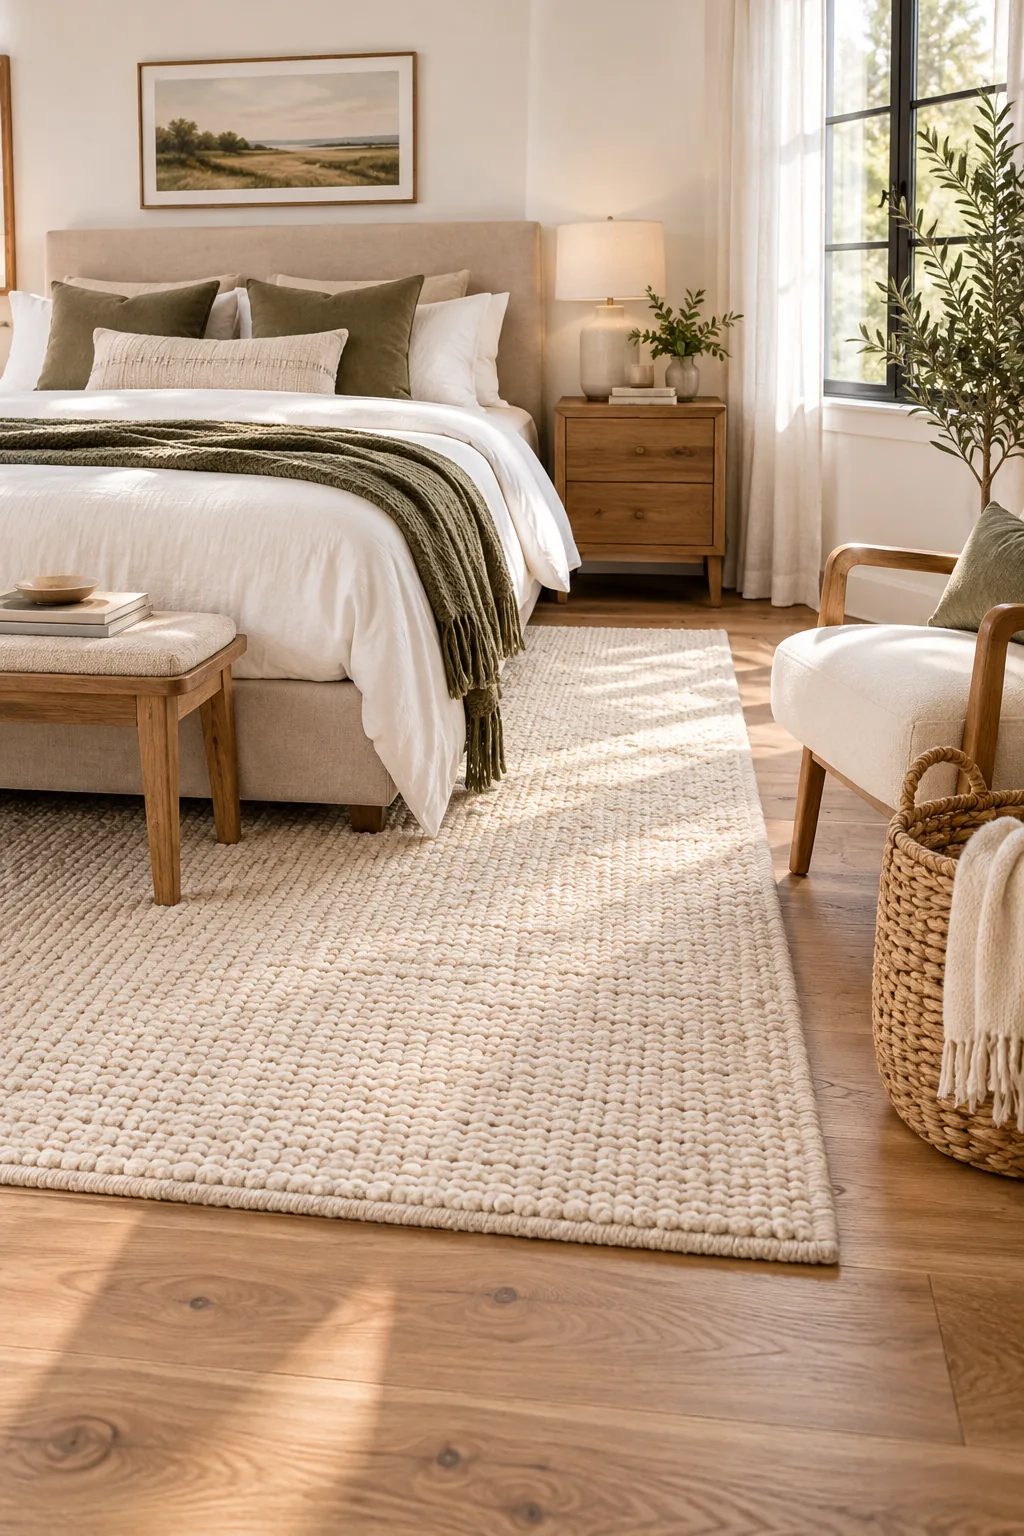
You can completely avoid the massive hassle of returning a heavy, oversized carpet by running a quick physical rehearsal in your bedroom. Tape the outline first using this simple five-step layout checklist before you ever click the final buy button.
Sizing the Hidden Rug Pad
A plush rug desperately needs a dense felt pad to protect the floors, but that structural pad should never actually peek out. Trim your underlayment so it stops exactly 1 inch short of the rug edge on all four sides.
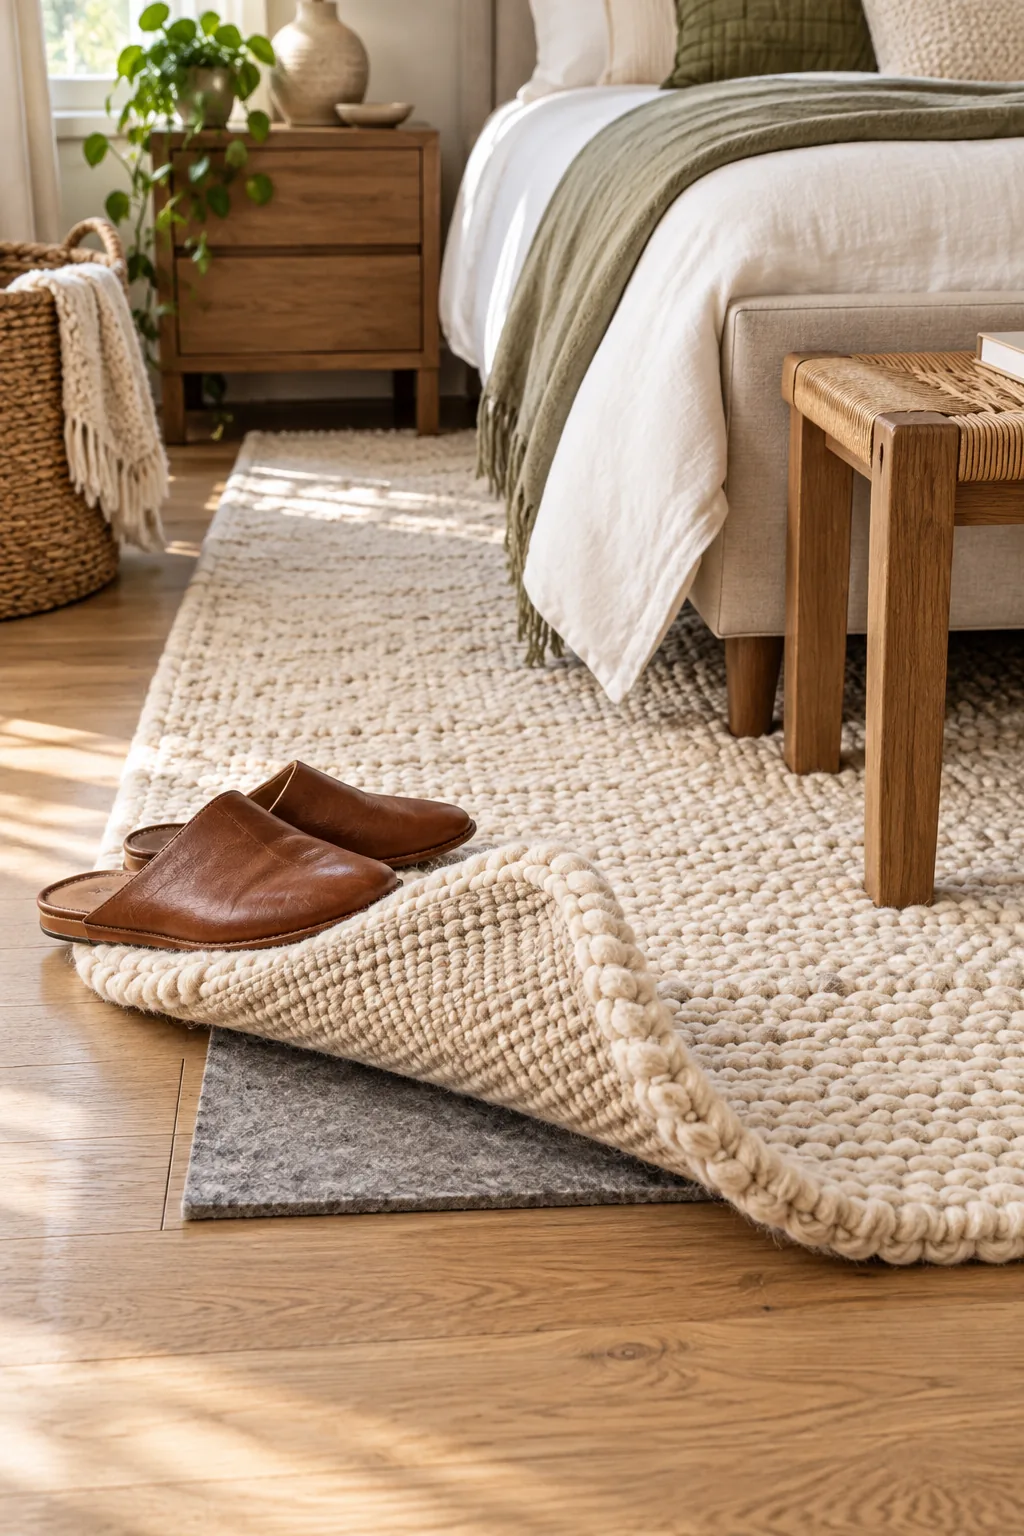
Pad 1 in. smaller is the essential rule that allows the wool border to taper smoothly down to the floorboards. This crucial recessing technique stops thick corners from becoming dangerous tripping hazards while keeping the entire carpet perfectly tensioned and completely flat.
5 Ways to Style Your Bedroom Rug
Once you have the sizing right, explore these distinct styling directions to find the perfect texture and color for your space.
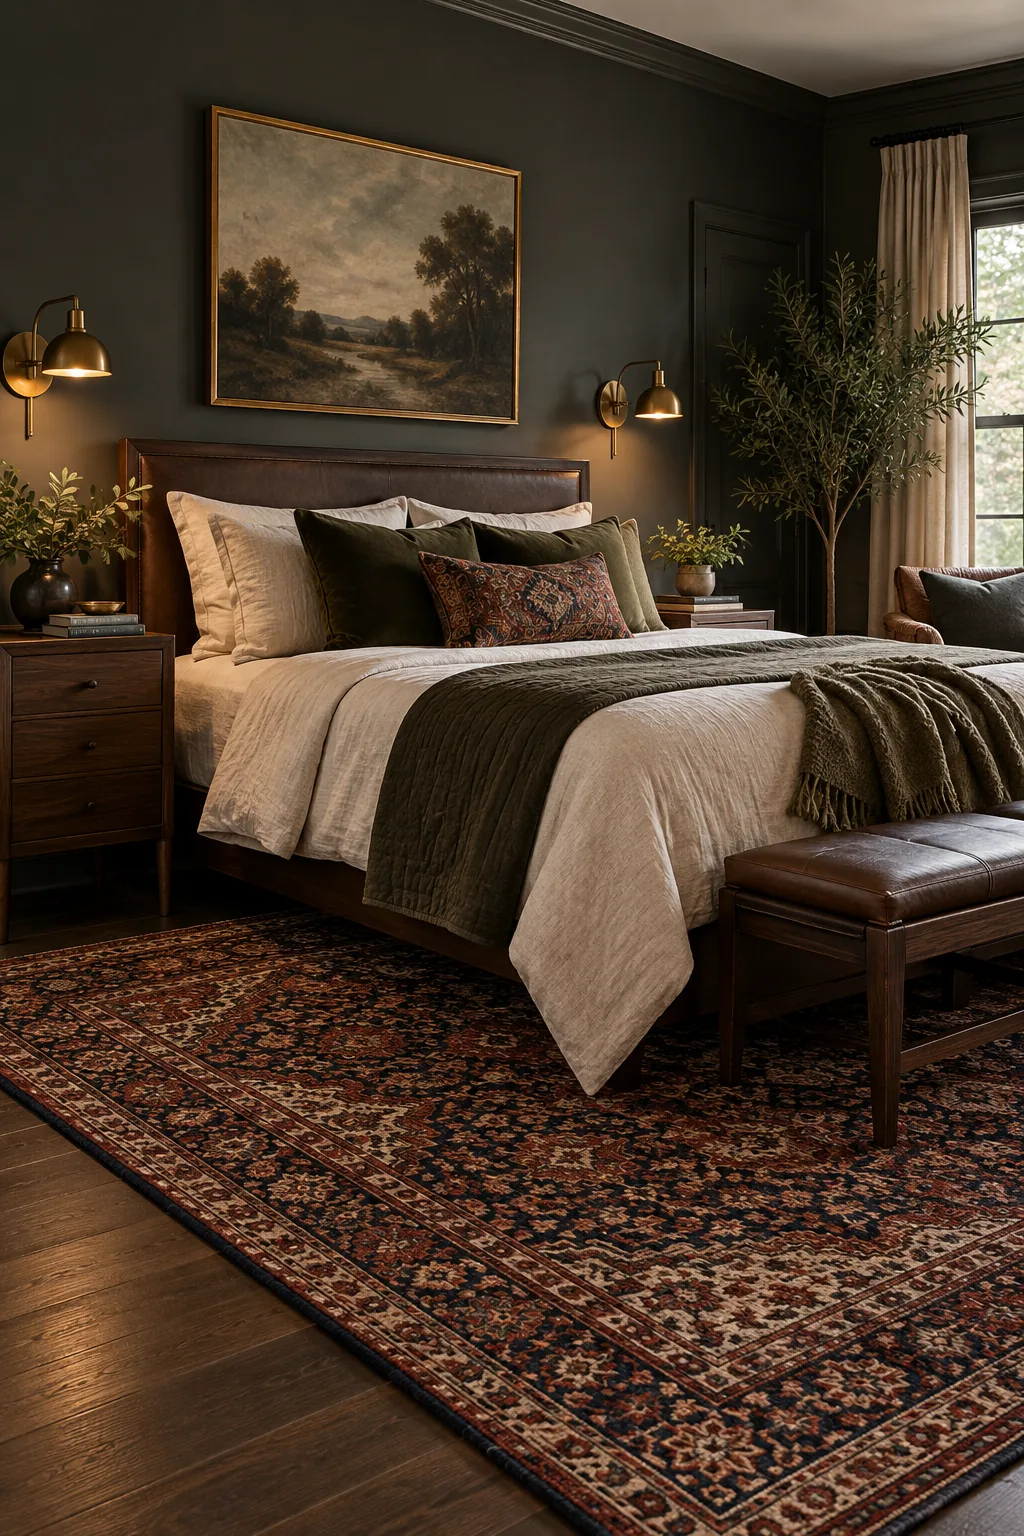
Moody Vintage Persian: Deep reds and navy blues hide wear beautifully while adding incredible warmth to a dark, sophisticated bedroom.
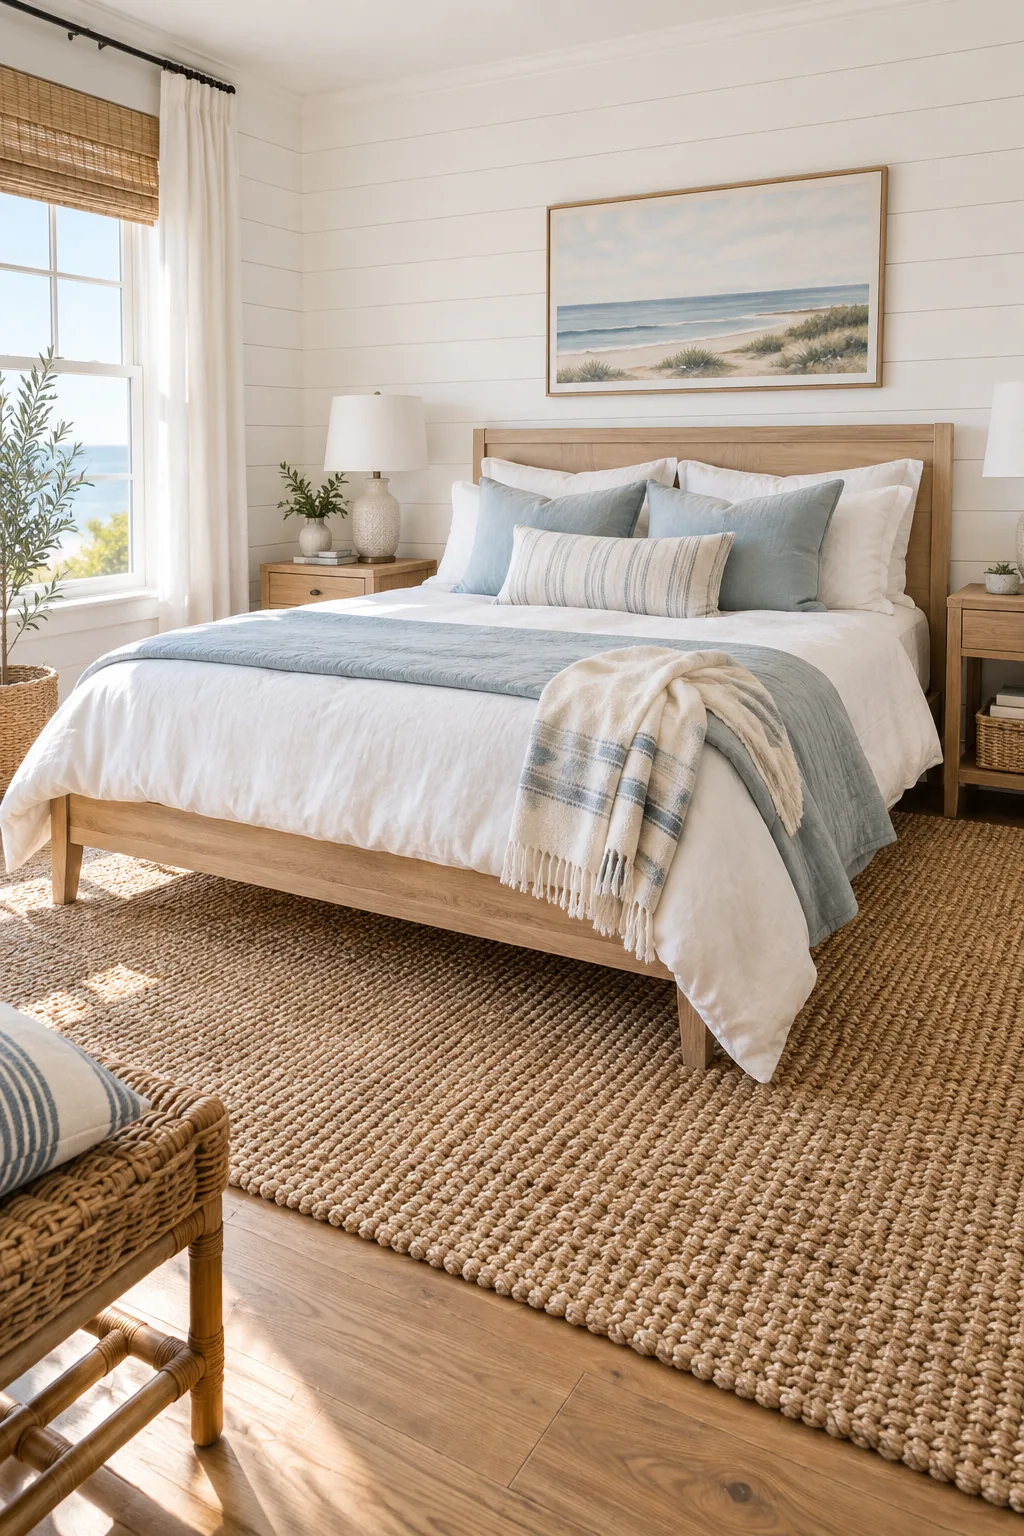
Breezy Coastal Jute: Natural fiber rugs bring effortless organic texture to a breezy room, pairing perfectly with crisp white linens.
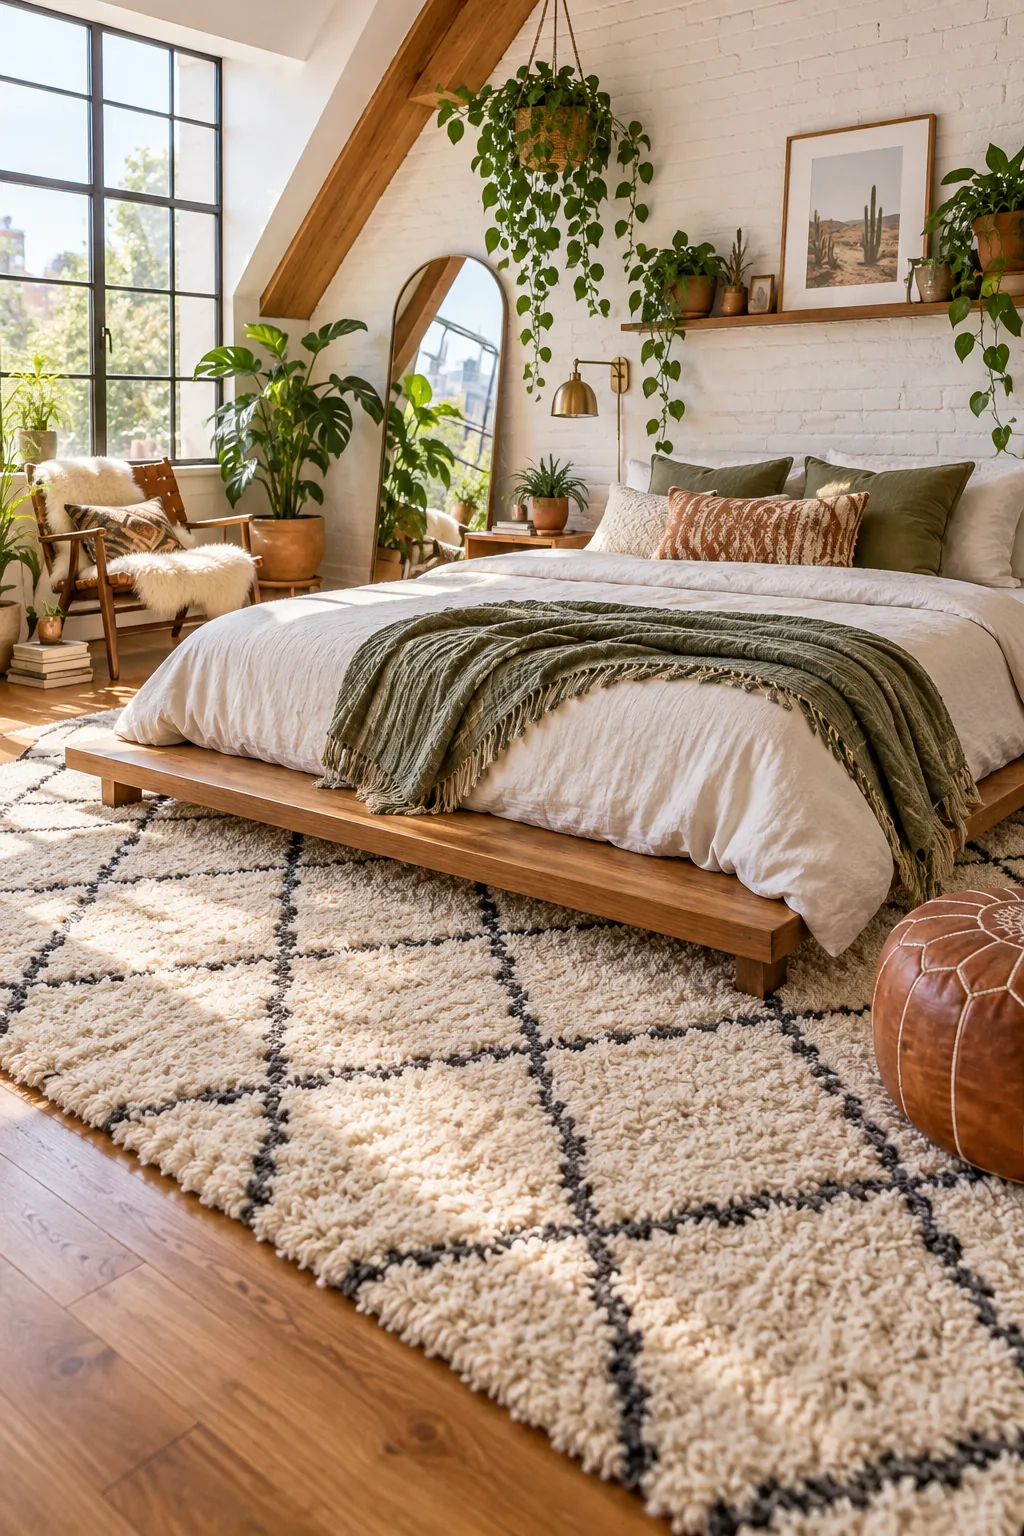
Boho Geometric Shag: A high-pile Moroccan shag offers the ultimate soft landing for bare feet in a relaxed, plant-filled loft.
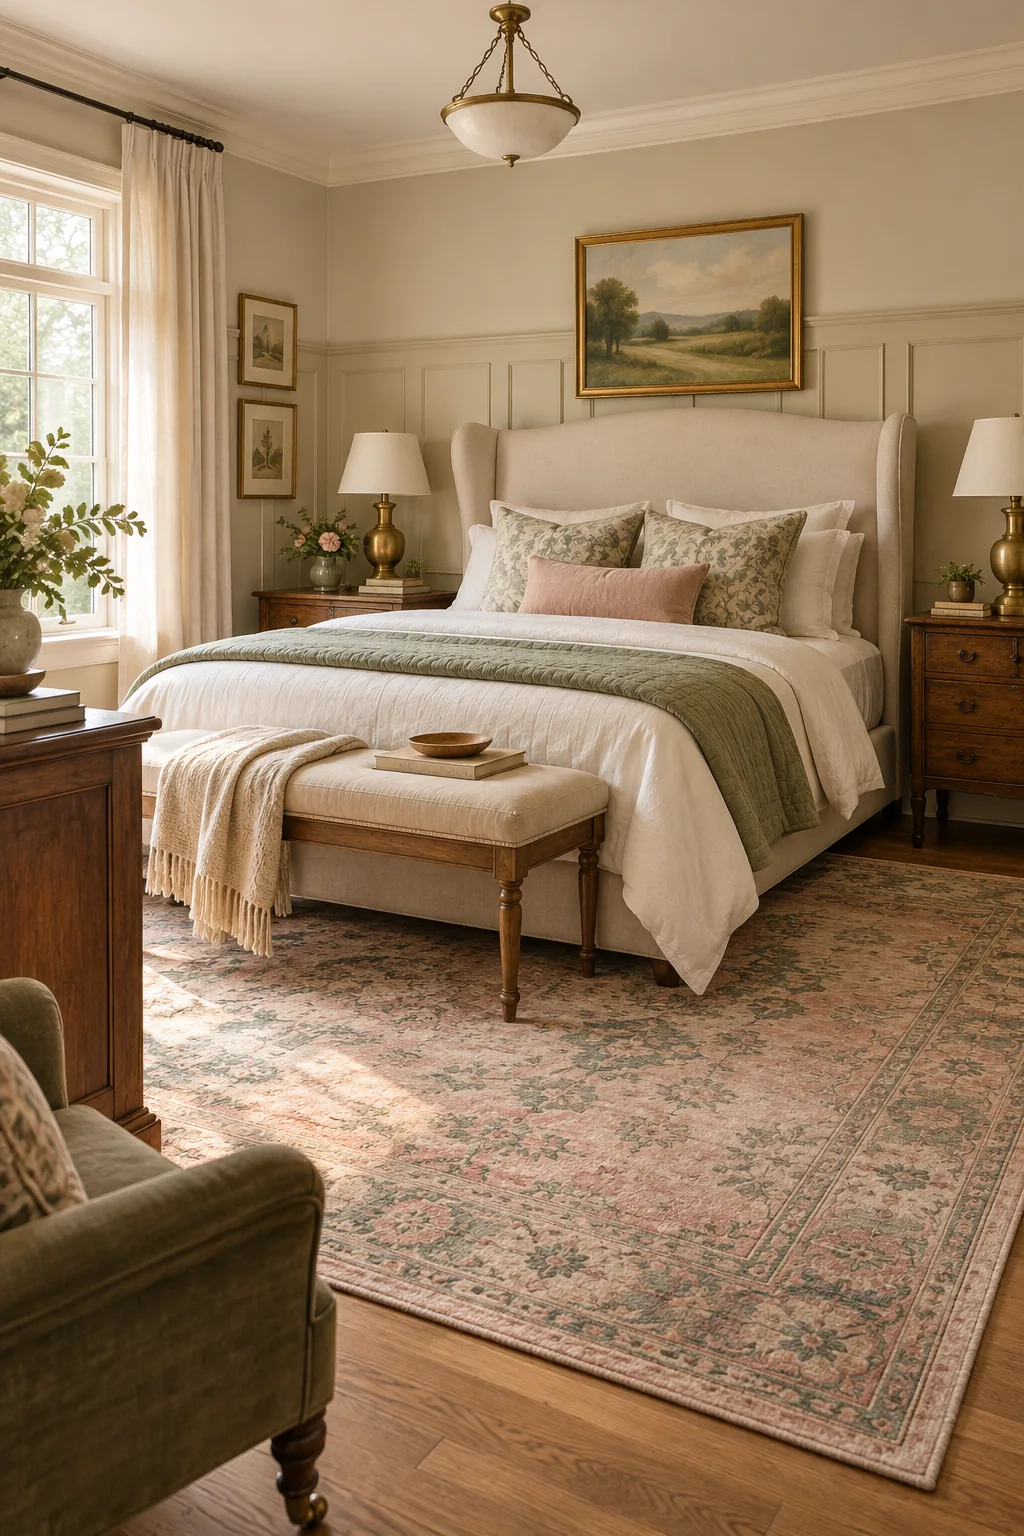
Traditional Pastel Oushak: Muted pinks and soft greens in a traditional Oushak weave add quiet elegance to a classic primary suite.
Playful Olive Performance: A solid olive performance rug grounds bright colors while standing up easily to heavy playtime traffic.