
Front Yard Hill Landscaping: The 9-Step Planting Sequence
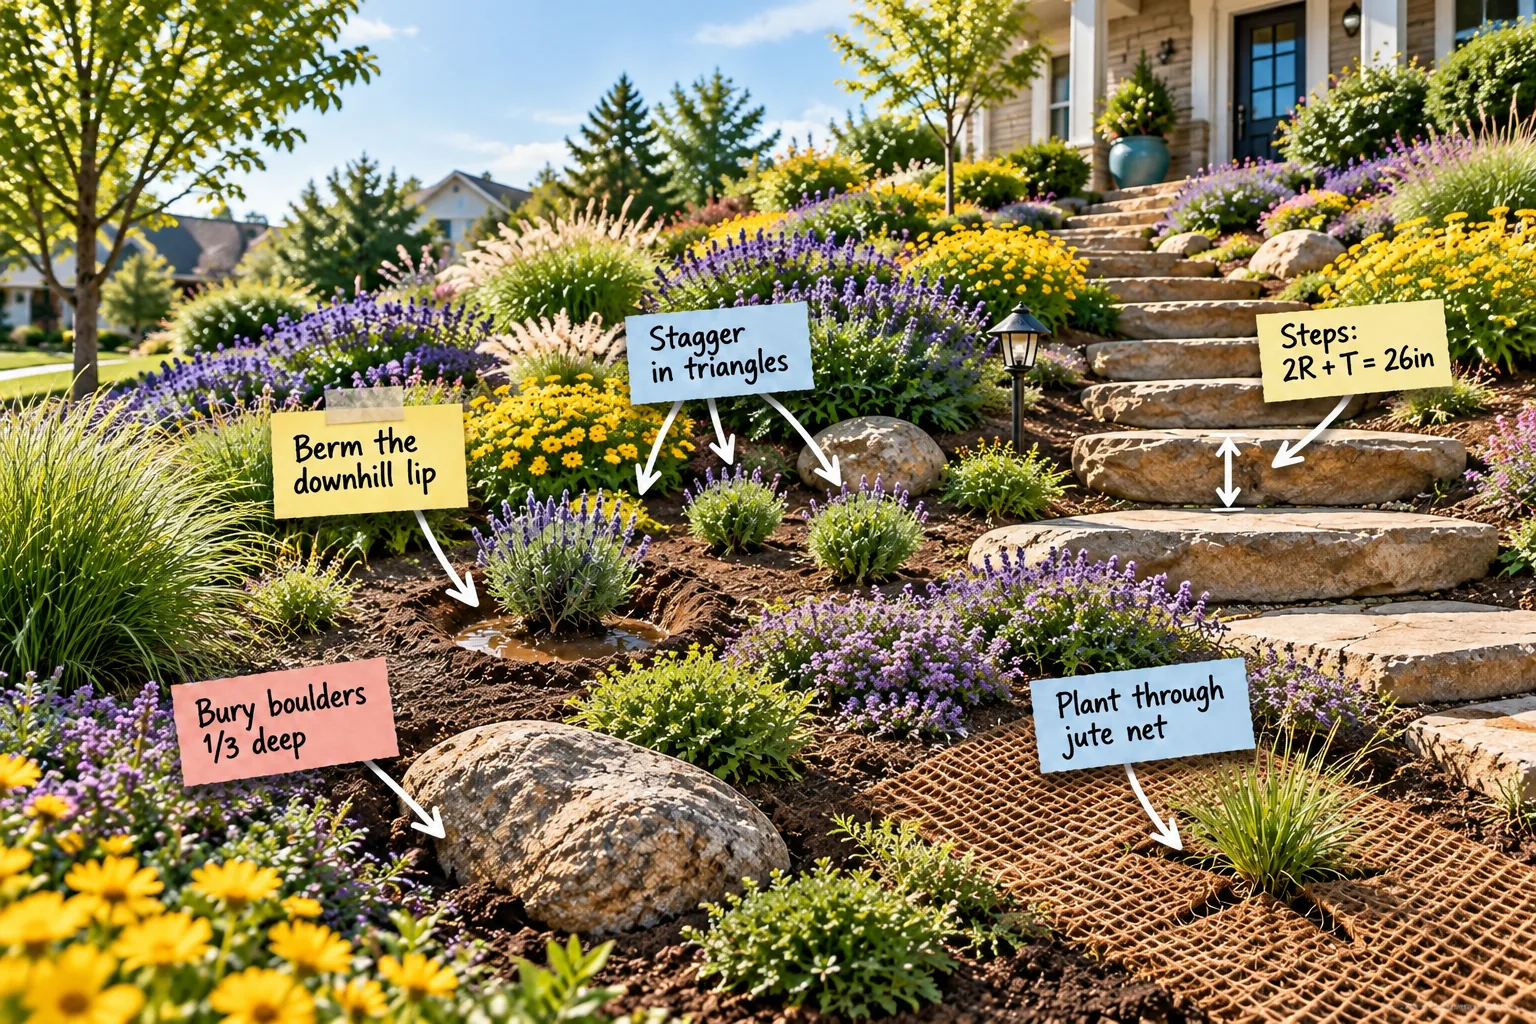
If you are struggling with a severely sloped yard, my printable 9-step hillside planting sequence will help you permanently stop erosion and build comfortable natural steps. We will walk through the exact physical construction order from shaping the initial hardscape and laying jute netting to planting along contours.
The 9-Step Hillside Planting Sequence
When my own Austin front yard washed out during a brutal spring storm, I realized a comprehensive sequenced approach is the only way to create a cohesive, stable hillside landscape. Sticking strictly to this proven construction order prevents you from accidentally undoing your own hard work.
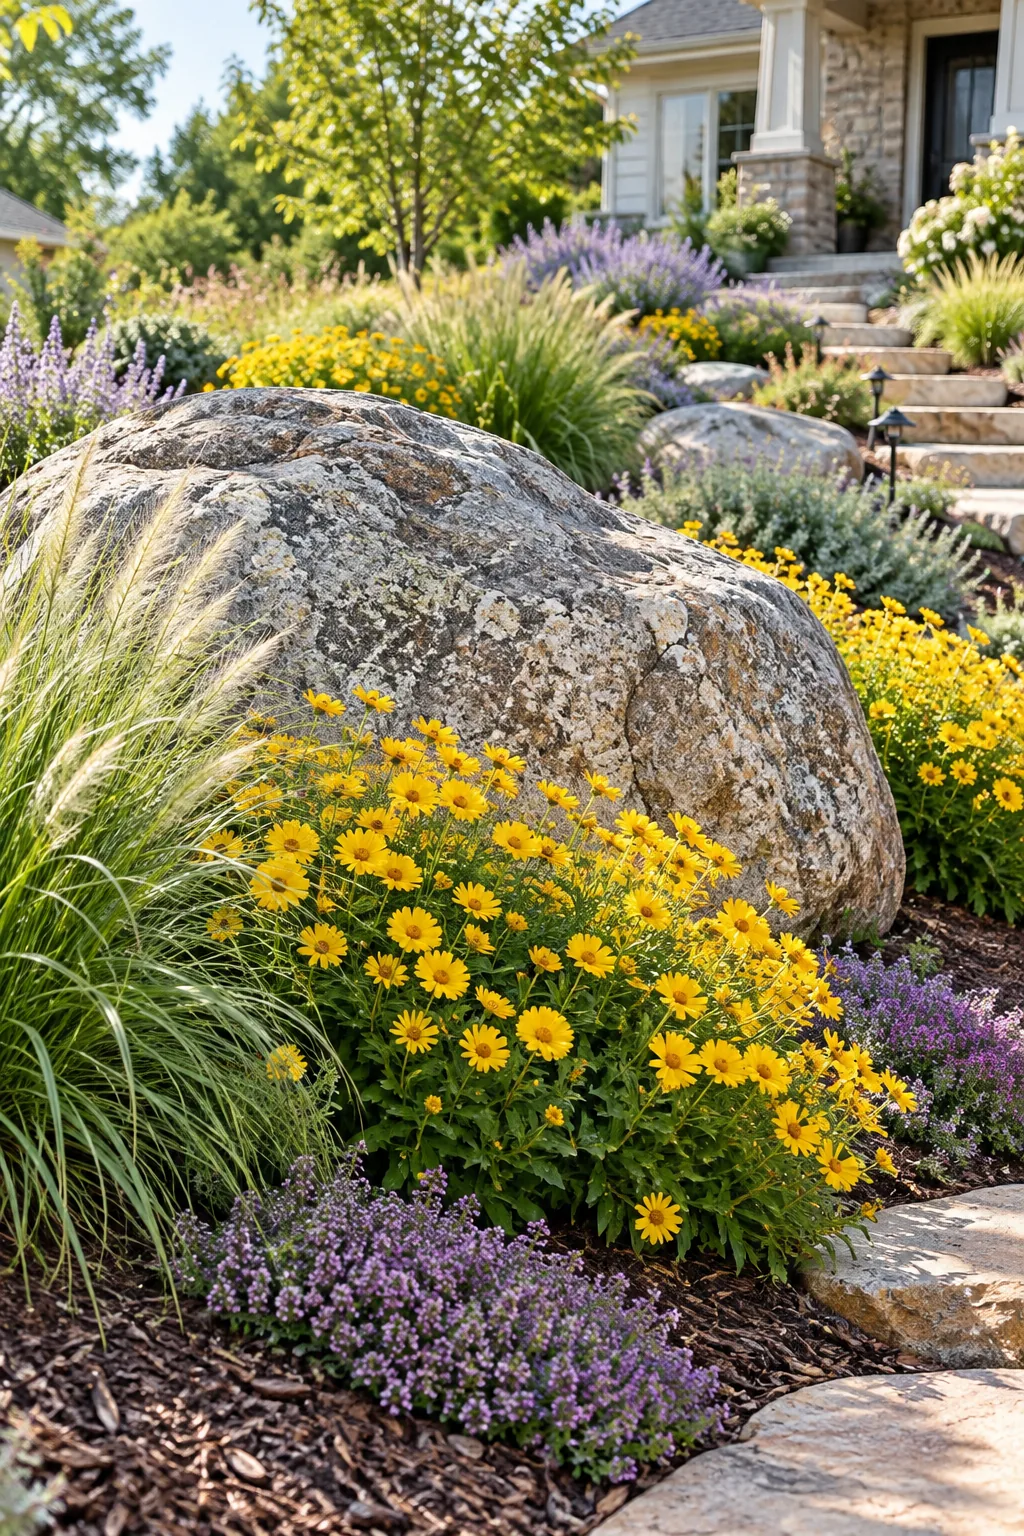
Follow these exact steps sequentially from the bottom of your yard to the top to ensure your slope stays completely anchored while delicate new roots establish themselves.
- Stake your level contour lines directly across the slope face.
- Cut and shape the raw soil for your step treads.
- Set your heavy path stones and border boulders securely.
- Trench the extreme top and bottom edges for netting.
- Pin biodegradable brown jute netting tightly across all contours.
- Map out a staggered offset triangle spacing for plants.
- Cut a tight X-slit through the jute for each root ball.
- Berm the downhill lip of every single plant.
- Apply shredded hardwood mulch to protect the final grade.
Flagstone Steps: The 2R + T = 26in Rule
Building a natural flagstone path requires incredibly accurate step sizing, so you should always multiply the riser height by two and add the tread depth to equal exactly 26 inches.
| Riser Height (R) | Tread Depth (T) | Total Formula (2R + T) |
|---|---|---|
| 5 inches | 16 inches | 26 inches |
| 6 inches | 14 inches | 26 inches |
| 7 inches | 12 inches | 26 inches |
While this standard landscape formula works perfectly for gentle slopes, steeper yard inclines require careful mathematical adjustments to keep the finished path safe.
Trenching the Edges for Erosion Control
Before you roll out any fabric, you must dig a six-inch trench along the absolute top and bottom perimeters of your designated planting zone. Burying the ends of your erosion control fabric prevents high-velocity stormwater from slipping underneath and scouring the topsoil away.
Burying Boulders One-Third Deep
Landscaping rocks look highly artificial and physically unstable if they simply sit loosely on top of the bare soil. Seating massive stones deeply into the earth creates necessary visual weight and crucial structural anchoring for the surrounding sloped terrain.
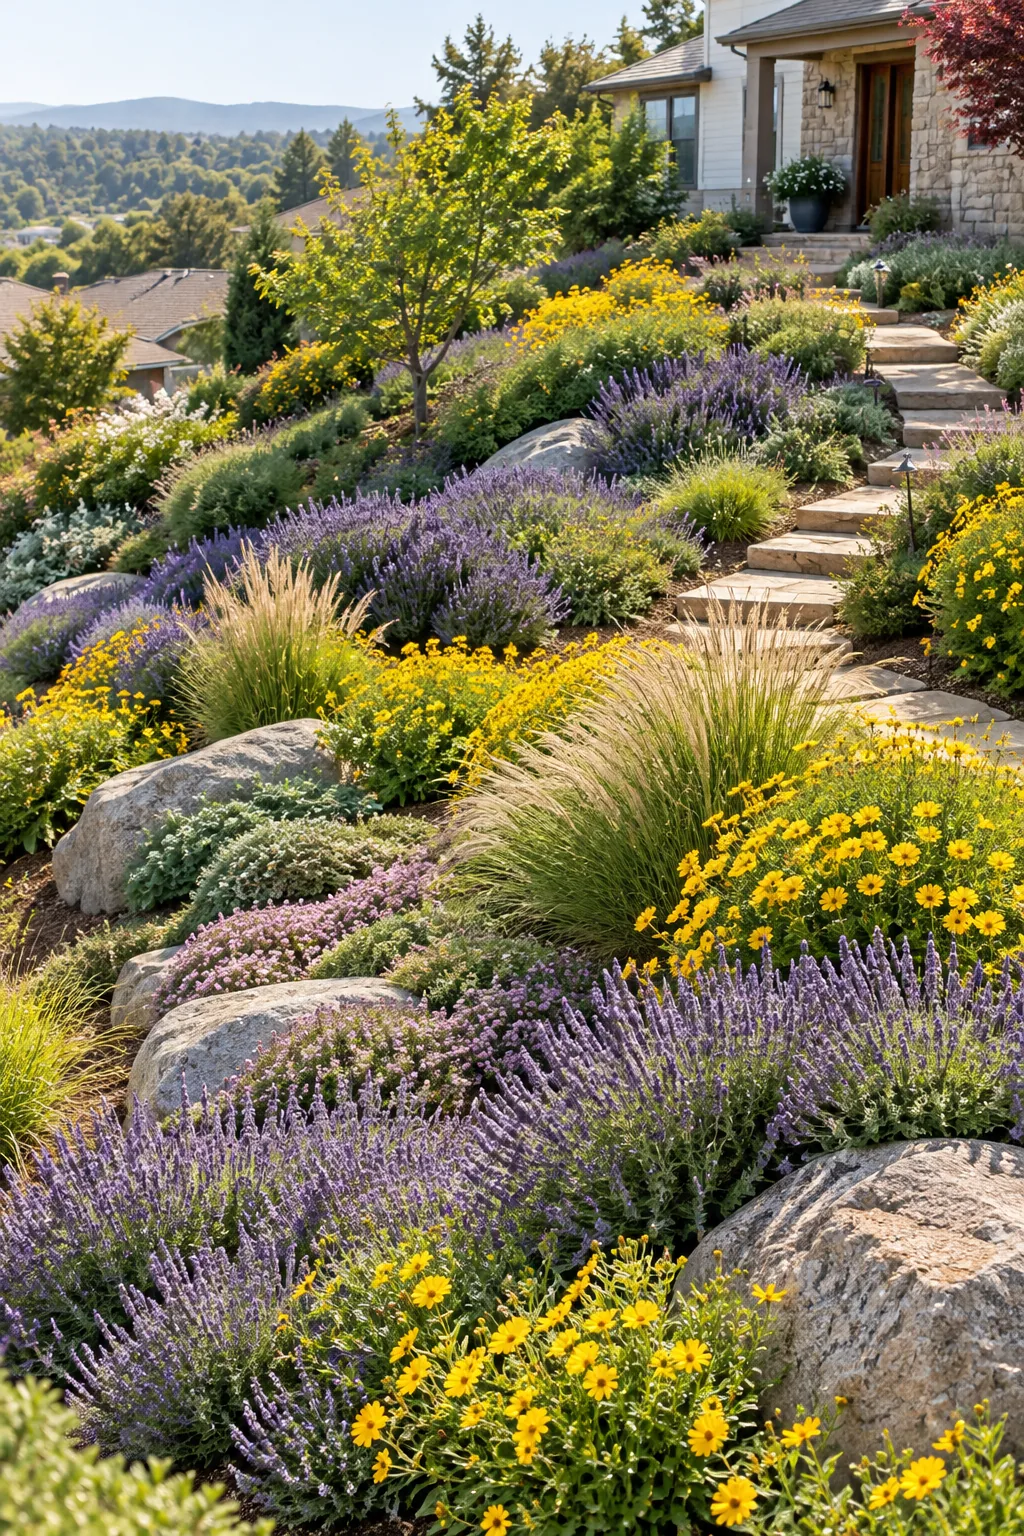
To achieve this seamless natural look, you must physically bury at least one-third of every weathered granite boulder firmly into the hillside.
Securing the Slope with Jute Netting
Before young roots can fully establish, bare topsoil remains highly vulnerable to catastrophic washouts during sudden downpours. You must pin biodegradable jute netting tightly across the contours using six-inch steel landscape staples driven every three feet.
Staggering Plants in a Triangle Pattern
Planting in straight vertical grid lines creates dangerous artificial channels where rainwater accelerates rapidly down the steep hill. Mature offset planting drifts create a beautiful, continuous visual flow across the yard while physically protecting the fragile soil.
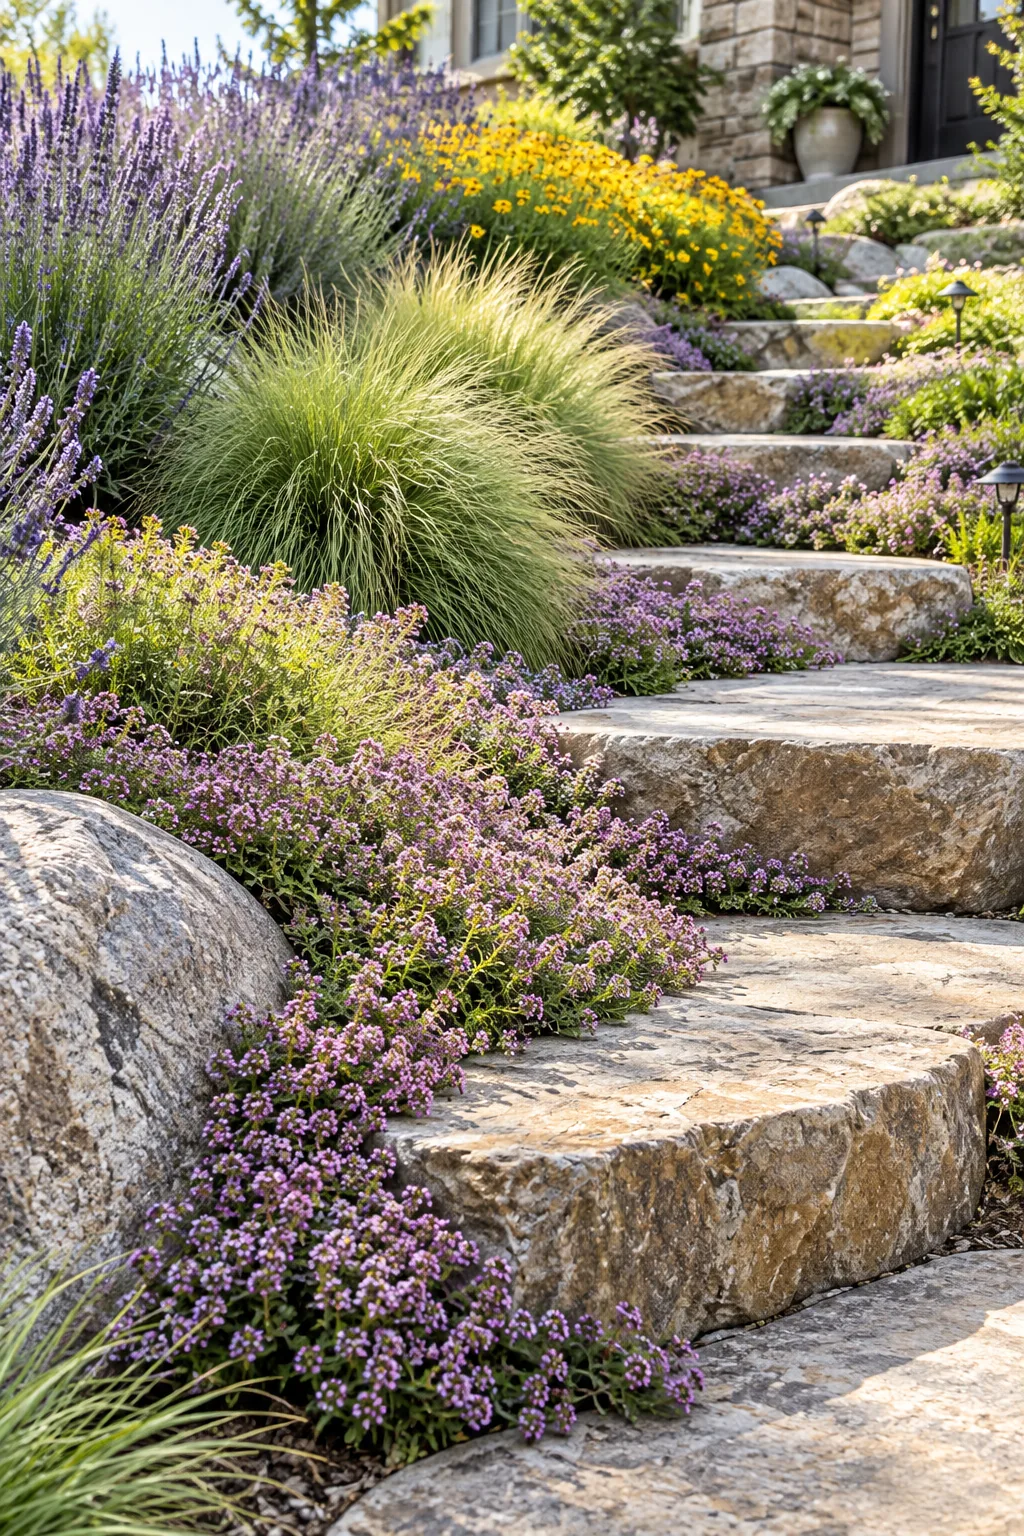
By staggering young plants in precise offset triangles across the slope, you naturally catch surface runoff and force water to weave slowly through the stems.
Cutting the Jute for Root Balls
Preserving the structural integrity of your erosion control fabric is critical, so never hack large ragged holes for your nursery pots. Carefully cut a simple, tight X-slit through the tough fibers only where you specifically need to insert a plant root ball.
Berming the Downhill Lip for Watering
Trailing groundcovers soften hardscape edges while actively binding the topsoil, but irrigation water often runs off a steep slope before it can soak into their roots. Build a crescent-shaped soil ridge on the downhill side of each young plant to create a temporary percolation pool.
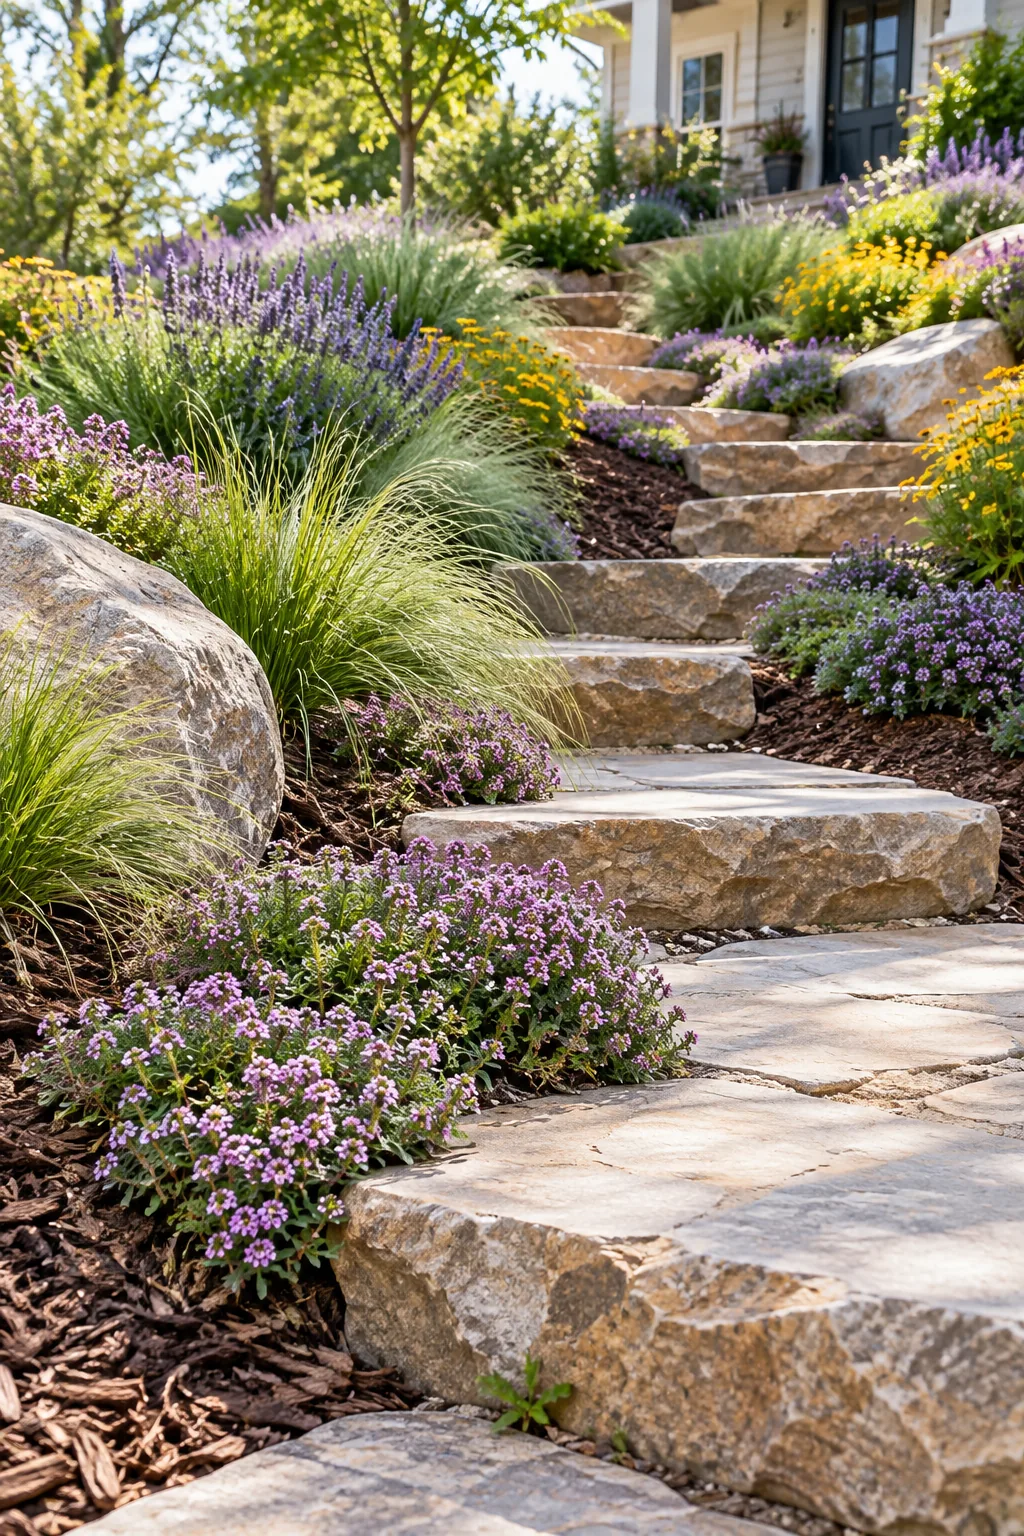
Even with a perfectly constructed berm, water will quickly run off if applied too fast, making proper irrigation techniques absolutely critical for newly installed plants.
Selecting Deep-Rooted Slope Plants
Shallow-rooted annuals simply cannot stabilize a hillside, which I learned the hard way before switching my own front yard entirely to tough, drought-tolerant perennials. Choose deeply rooted options like lavender, creeping thyme, and ornamental grasses that weave a dense subterranean mat to lock topsoil firmly in place.
Establishing a Drip Irrigation Layout
Running standard spray sprinklers on a severe incline wastes water and actively promotes dangerous soil erosion. Snake flexible half-inch drip irrigation tubing horizontally across the established contours, placing a one-gallon-per-hour emitter directly uphill of each plant stem to encourage deep roots.
4 Ways to Style a Sloped Front Yard
Discover how different plant palettes and hardscape materials can completely change the character of your hillside.
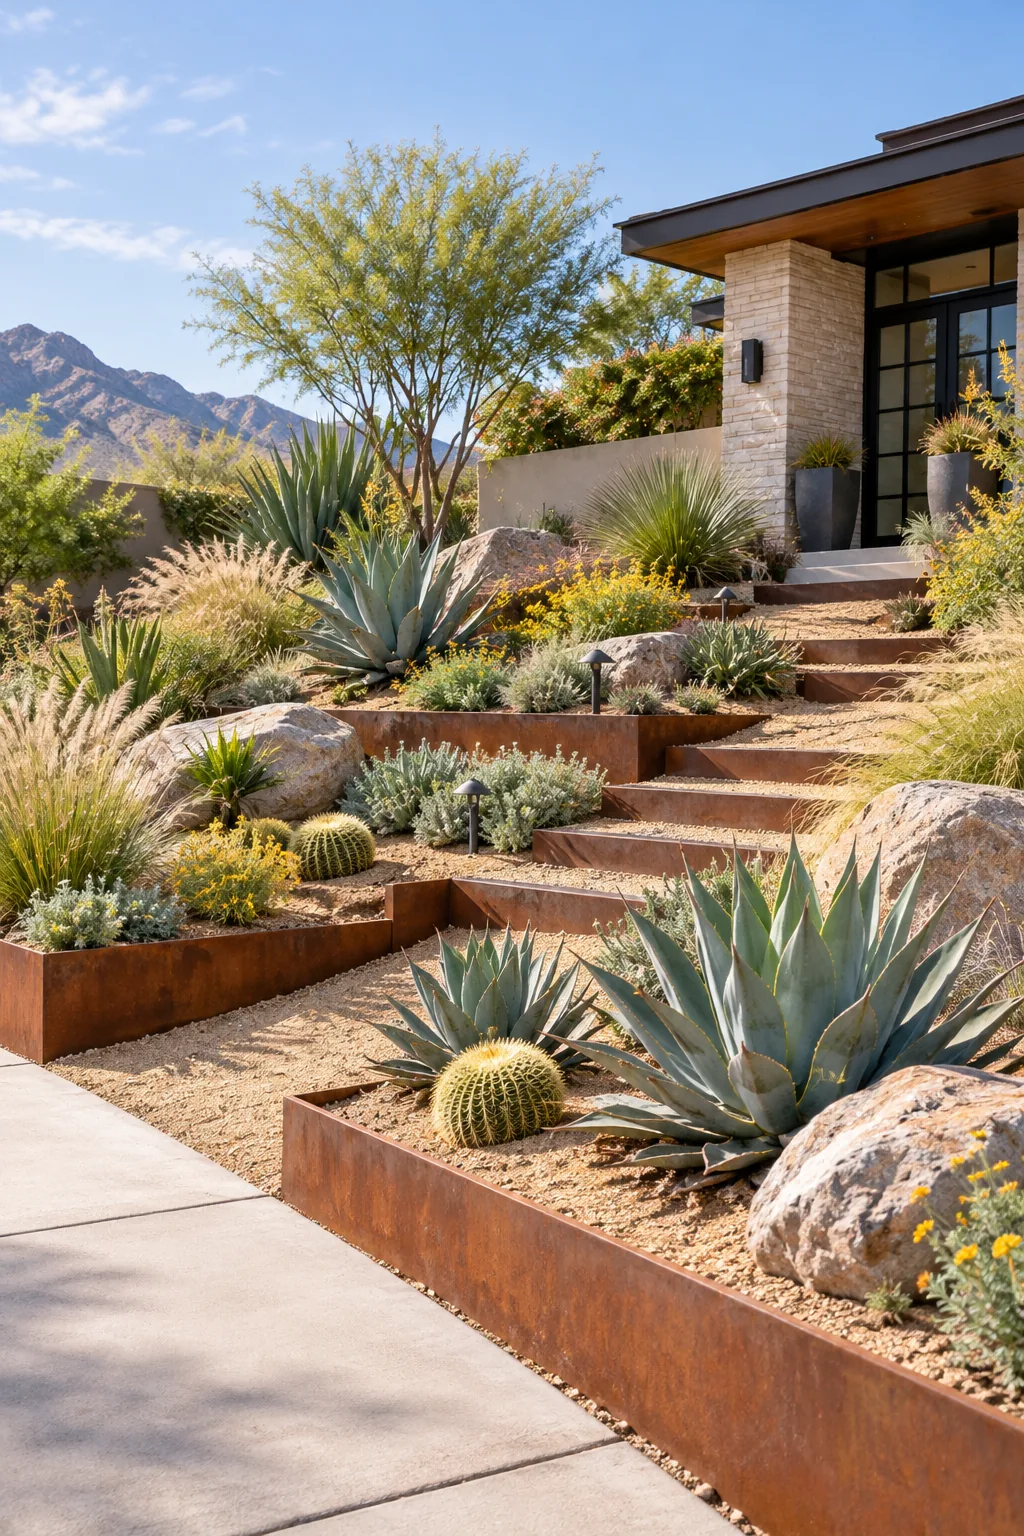
Modern Desert Hillside: Warm decomposed granite and rusted corten steel edges provide a striking architectural contrast to structural agave plants.
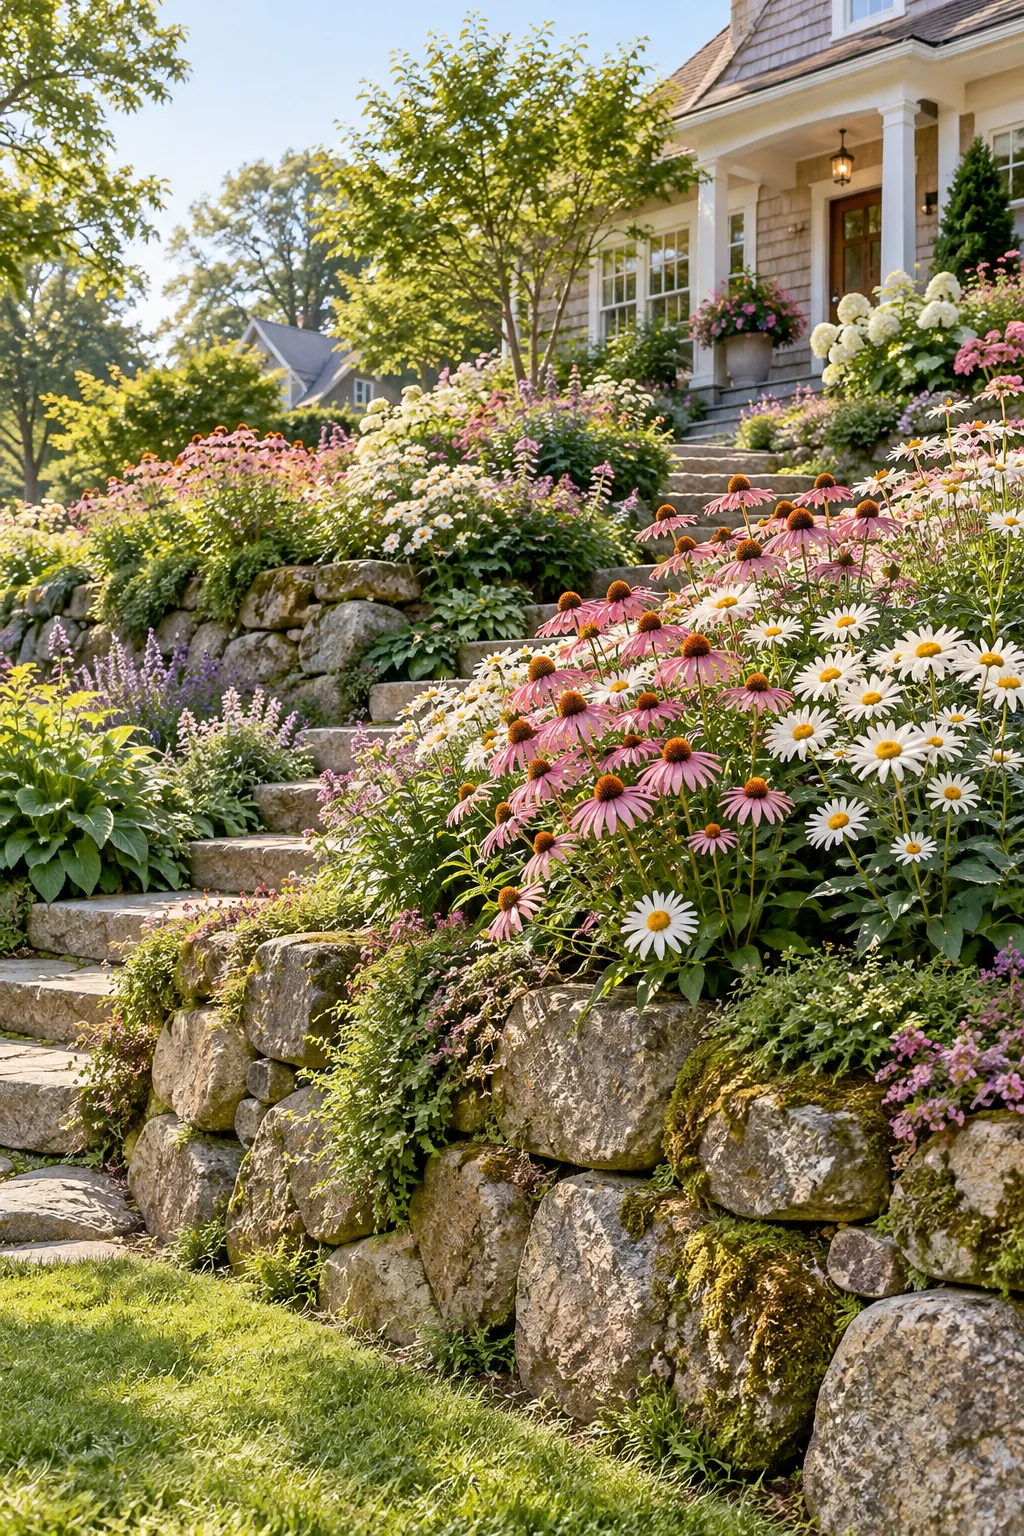
Cottage Garden Slope: Loose fieldstone walls disappear beneath a dense, romantic riot of blooming echinacea and cheerful daisies.
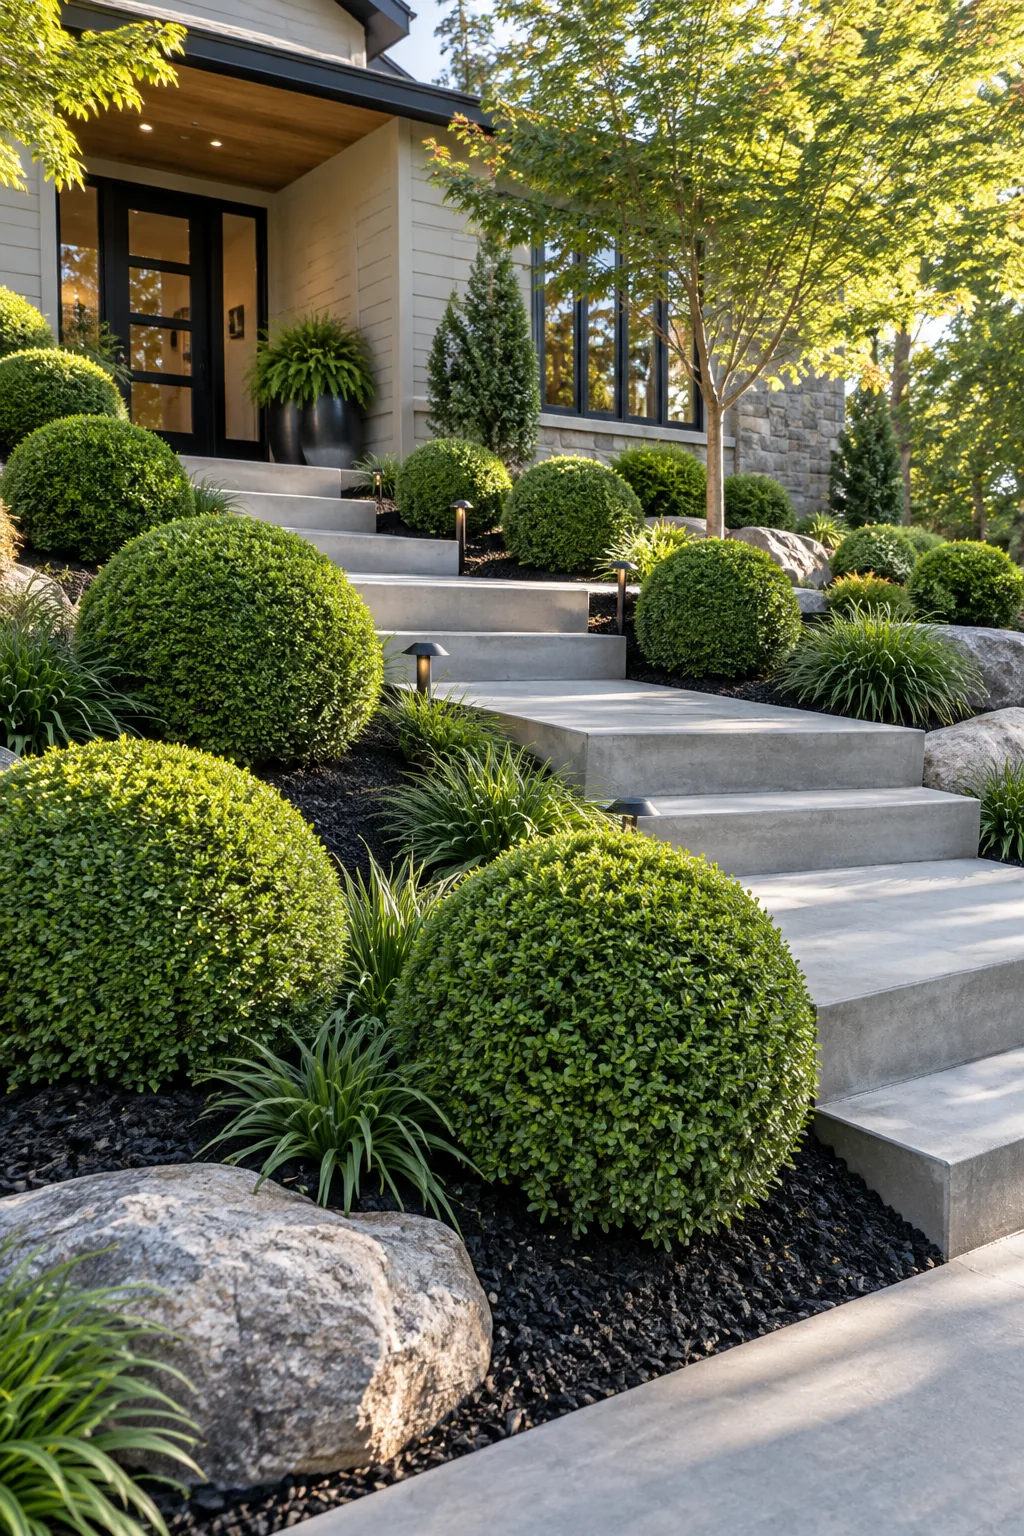
Minimalist Evergreen Terrace: Sleek poured concrete steps and dark mulch create a highly tailored backdrop for perfectly clipped boxwood spheres.
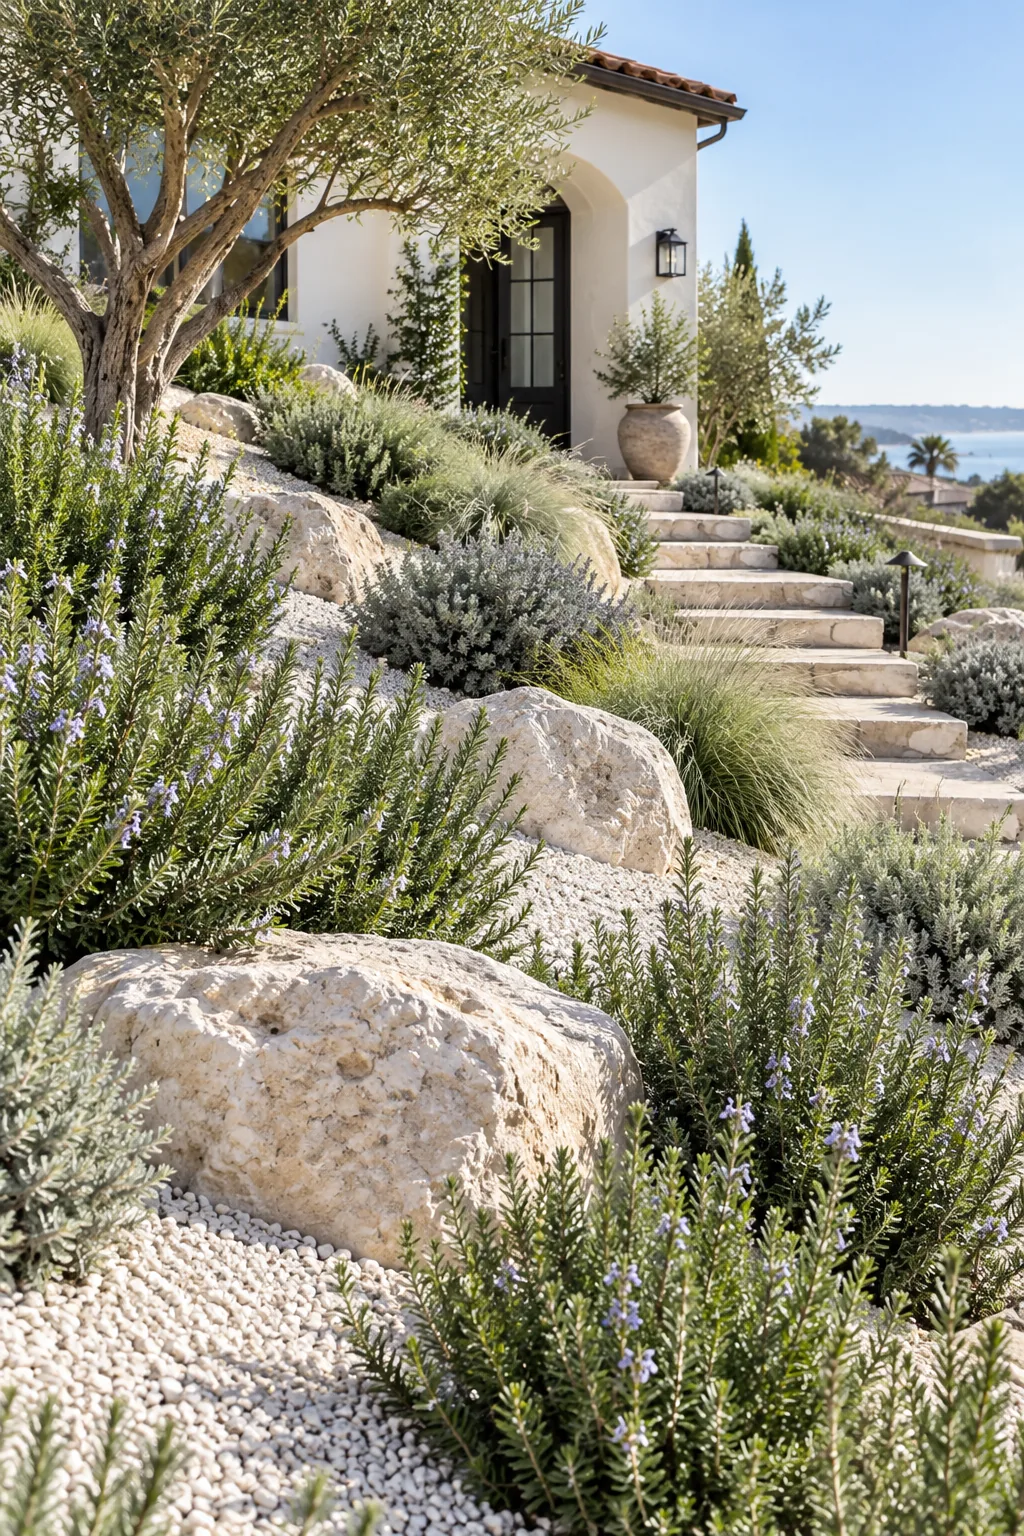
Mediterranean Coastal Bank: Pale limestone boulders and bright white gravel reflect the sun, perfectly complementing the silvery-green foliage of fragrant rosemary.
Mulching to Protect the Final Grade
Standard loose wood chips will roll right down a steep yard and pile onto your sidewalk during the very first heavy storm. Shredded bark is absolutely essential for finishing the grade because the fibrous pieces physically knit together.
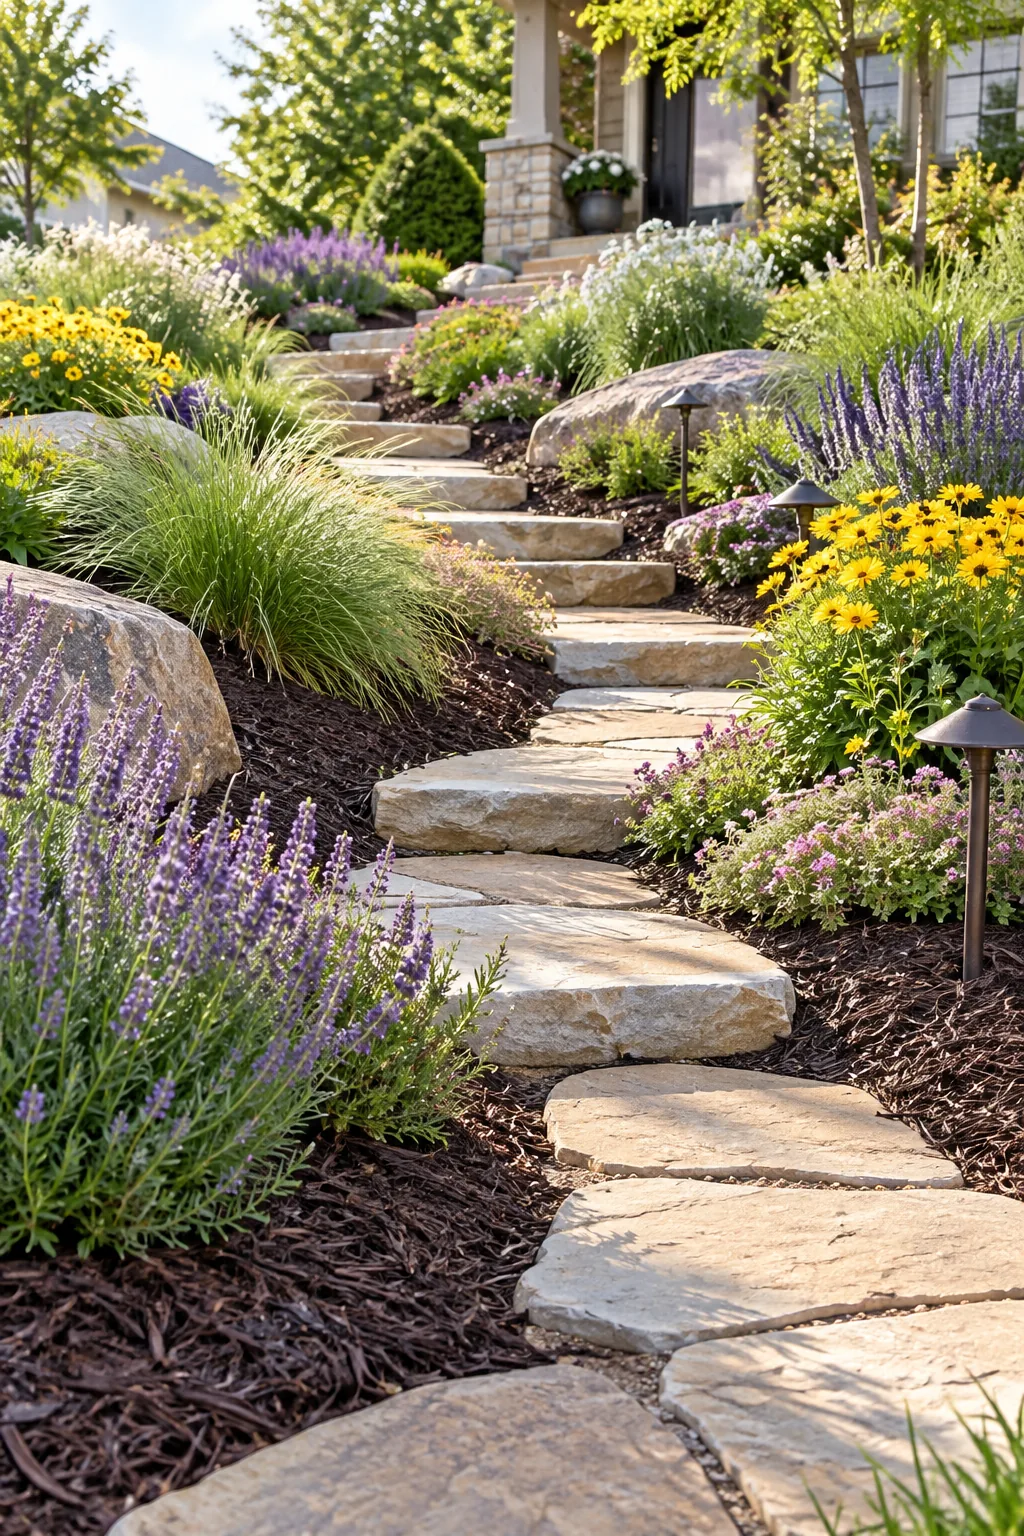
Apply a heavy three-inch layer of this shredded hardwood mulch to completely cover the jute netting, suppress aggressive weeds, and retain vital soil moisture.