Kitchen Floating Shelves: The Ultimate Bracket & Weight Guide
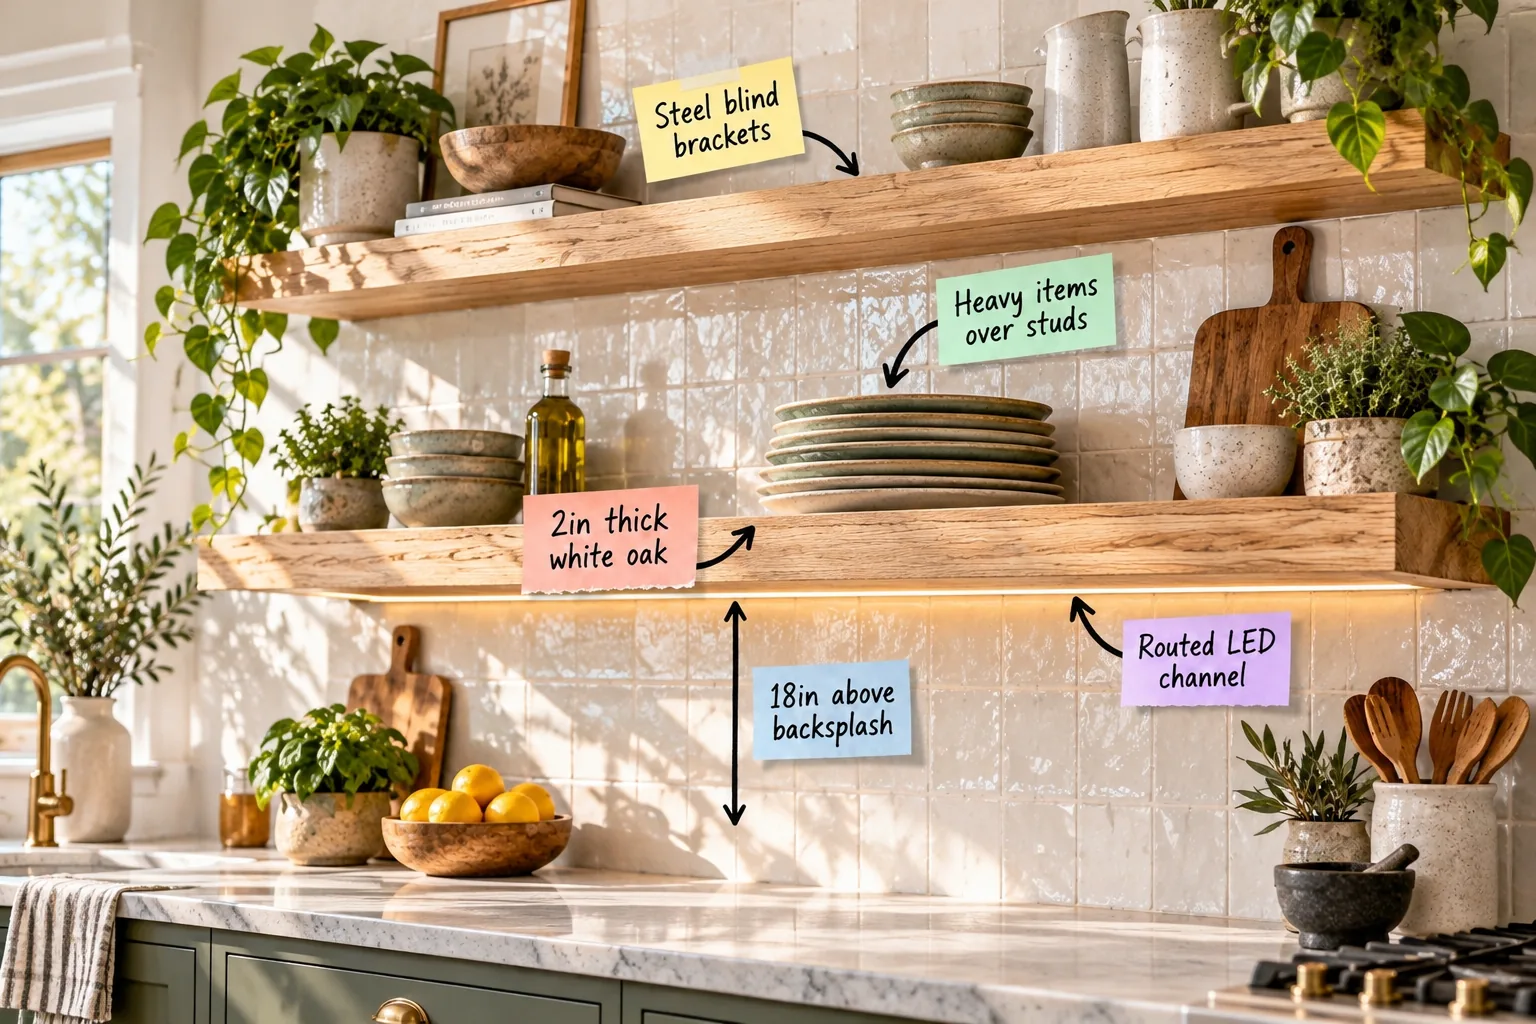
I know you want to safely display heavy dinnerware on solid oak shelves without worrying about sagging, so I put together this ultimate floating shelf bracket and weight guide. You will learn the exact hidden strength trick to securely mount and style your beautiful kitchen display.
Planning the Floating Shelf Layout
Start by mapping out your shelf placement against the wall studs using a reliable magnetic stud finder. You must locate solid anchoring points before ordering any hardware, because heavy-duty blind brackets require direct structural framing support to safely hold your heavy kitchenware.
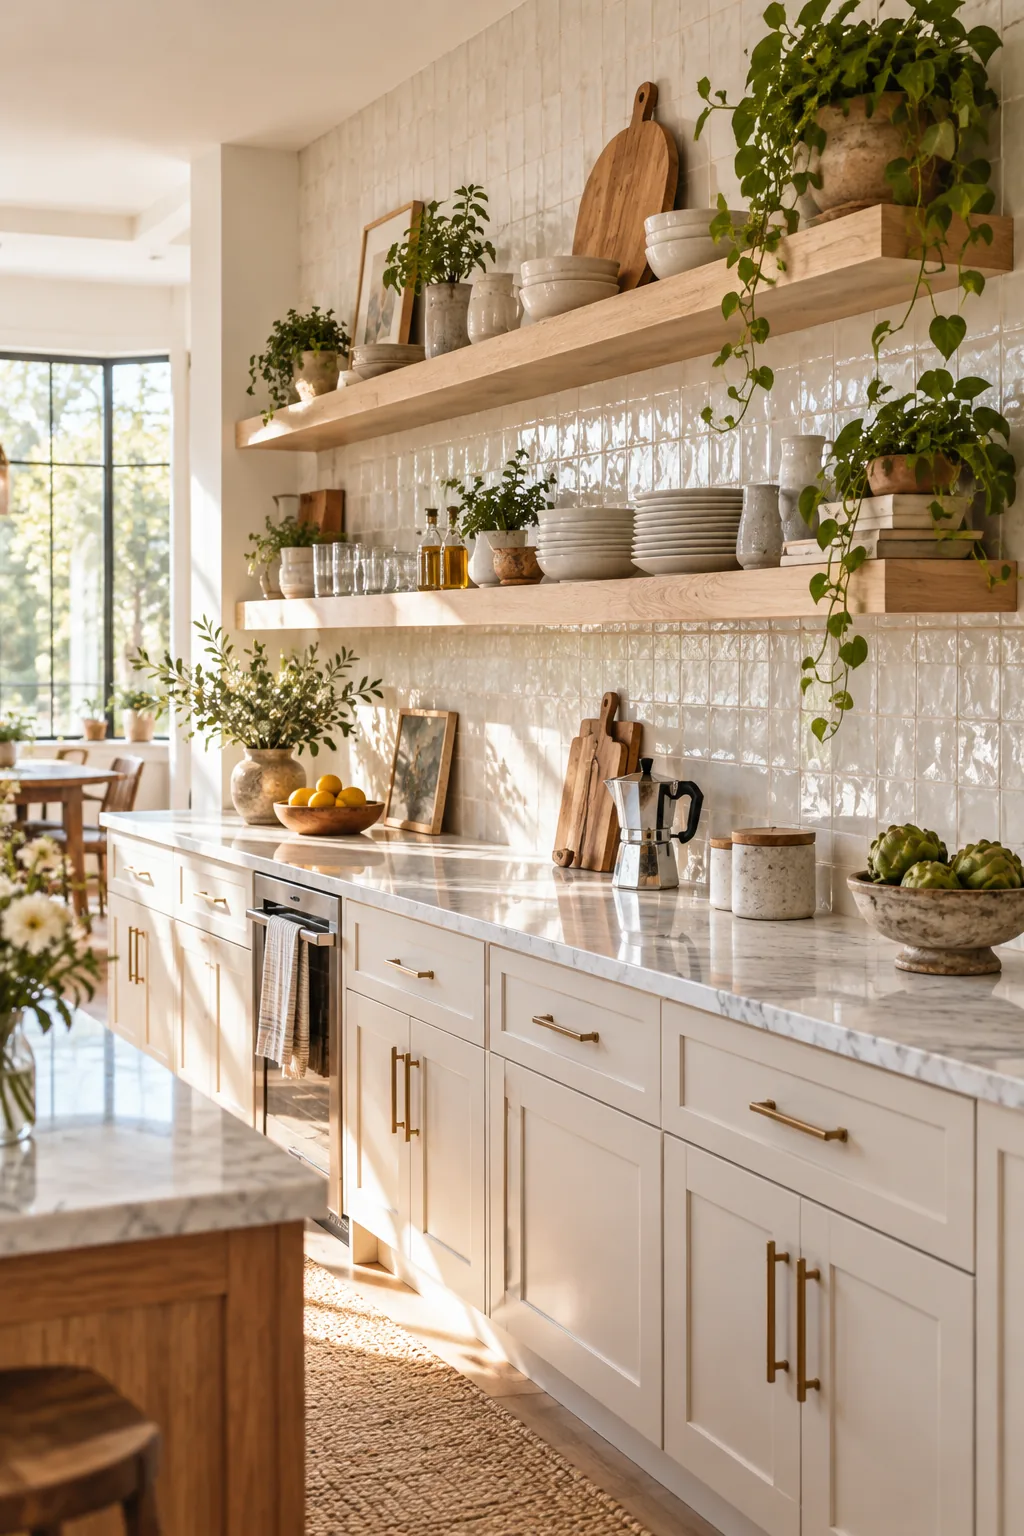
Once your studs are clearly marked on the drywall, you can confidently determine the maximum safe span for your custom wooden shelves. Planning your layout around the existing framing ensures your heavy ceramic collections stay securely anchored to the wall for years.
Setting the Right Shelf Height
You want to leave exactly 18in above the backsplash or countertop to the bottom edge of the first floating shelf. This standard spacing keeps everyday items comfortably within reach while providing enough vertical clearance for most daily-use small kitchen appliances.
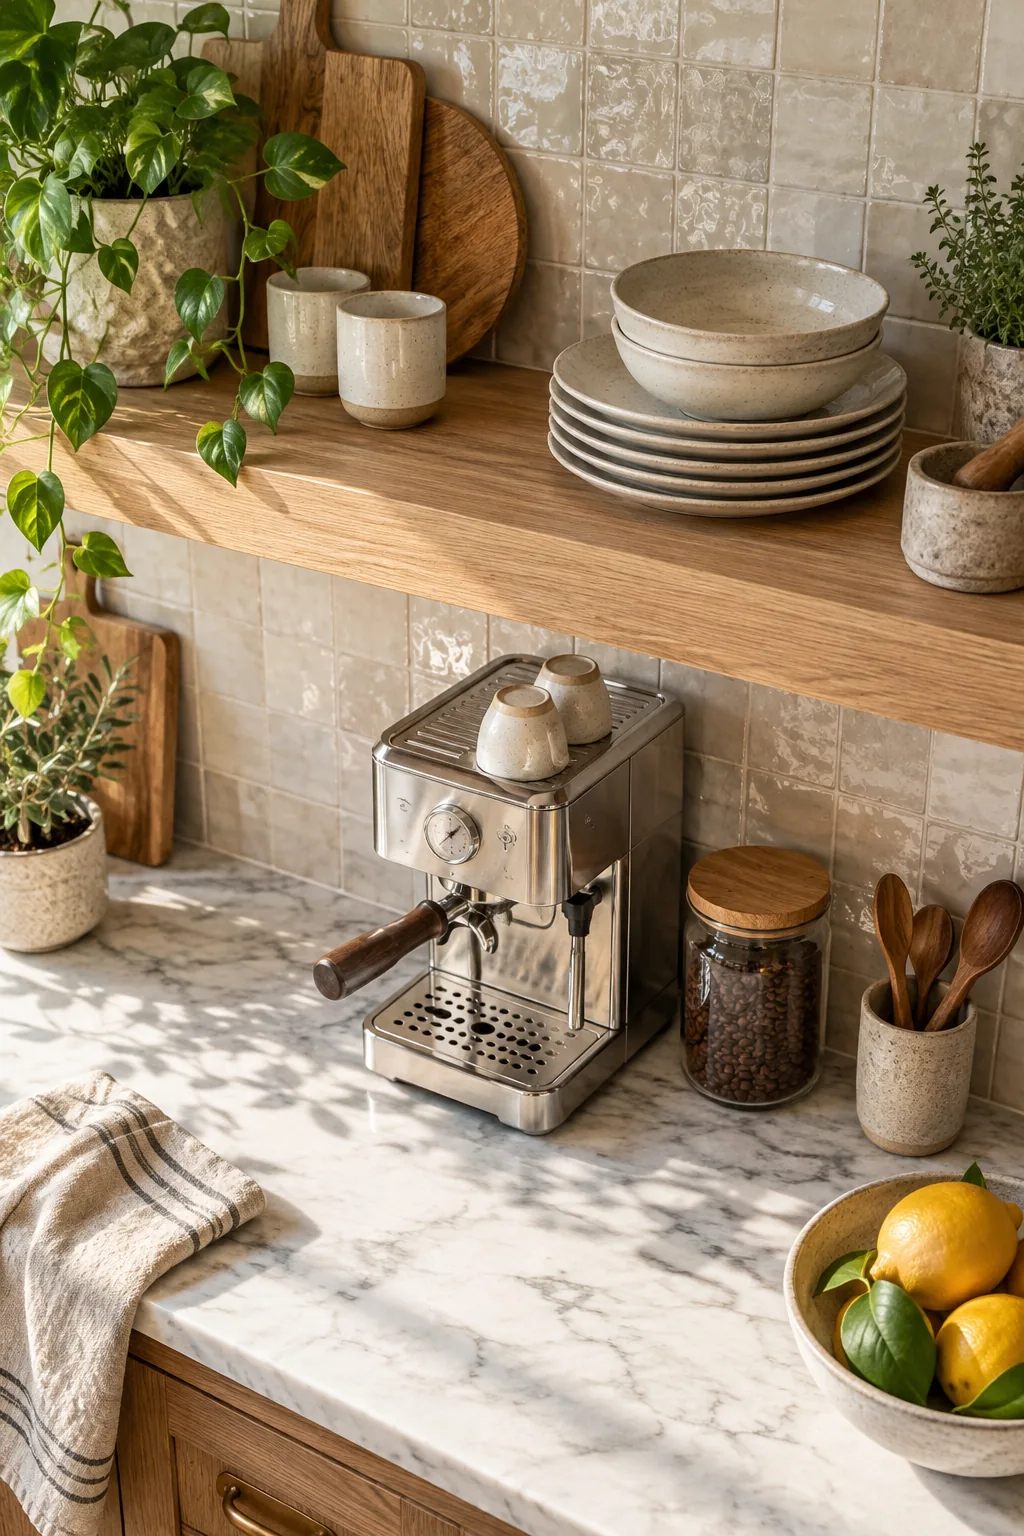
When I renovated my own Austin kitchen, sticking strictly to that 18-inch clearance rule was an absolute lifesaver. It left just enough room for my tall espresso machine to vent hot steam without warping the beautiful white oak wood right above it!
Choosing the Right Wall Anchors
While blind brackets must hit studs, you might need heavy-duty toggle bolts for the outermost mounting holes if your framing doesn’t perfectly align. Always verify that any supplemental hollow-wall anchors are rated for at least 100 pounds in half-inch drywall to prevent dangerous pull-out.
Pre-Drilling the Tile Backsplash
If you are mounting over a finished wall, you must carefully bore through the ceramic before hitting the wooden studs. Use a high-quality diamond-tipped hole saw and constant water spray to cleanly cut through the hard glaze without cracking your beautiful tile work.
Securing the Steel Blind Brackets
The real secret to sag-free open shelving is bolting heavy-duty steel blind brackets directly into those wall studs you found earlier. These hidden metal supports slide into precise holes drilled into the back of the wood, creating a seamless floating effect against your tile.
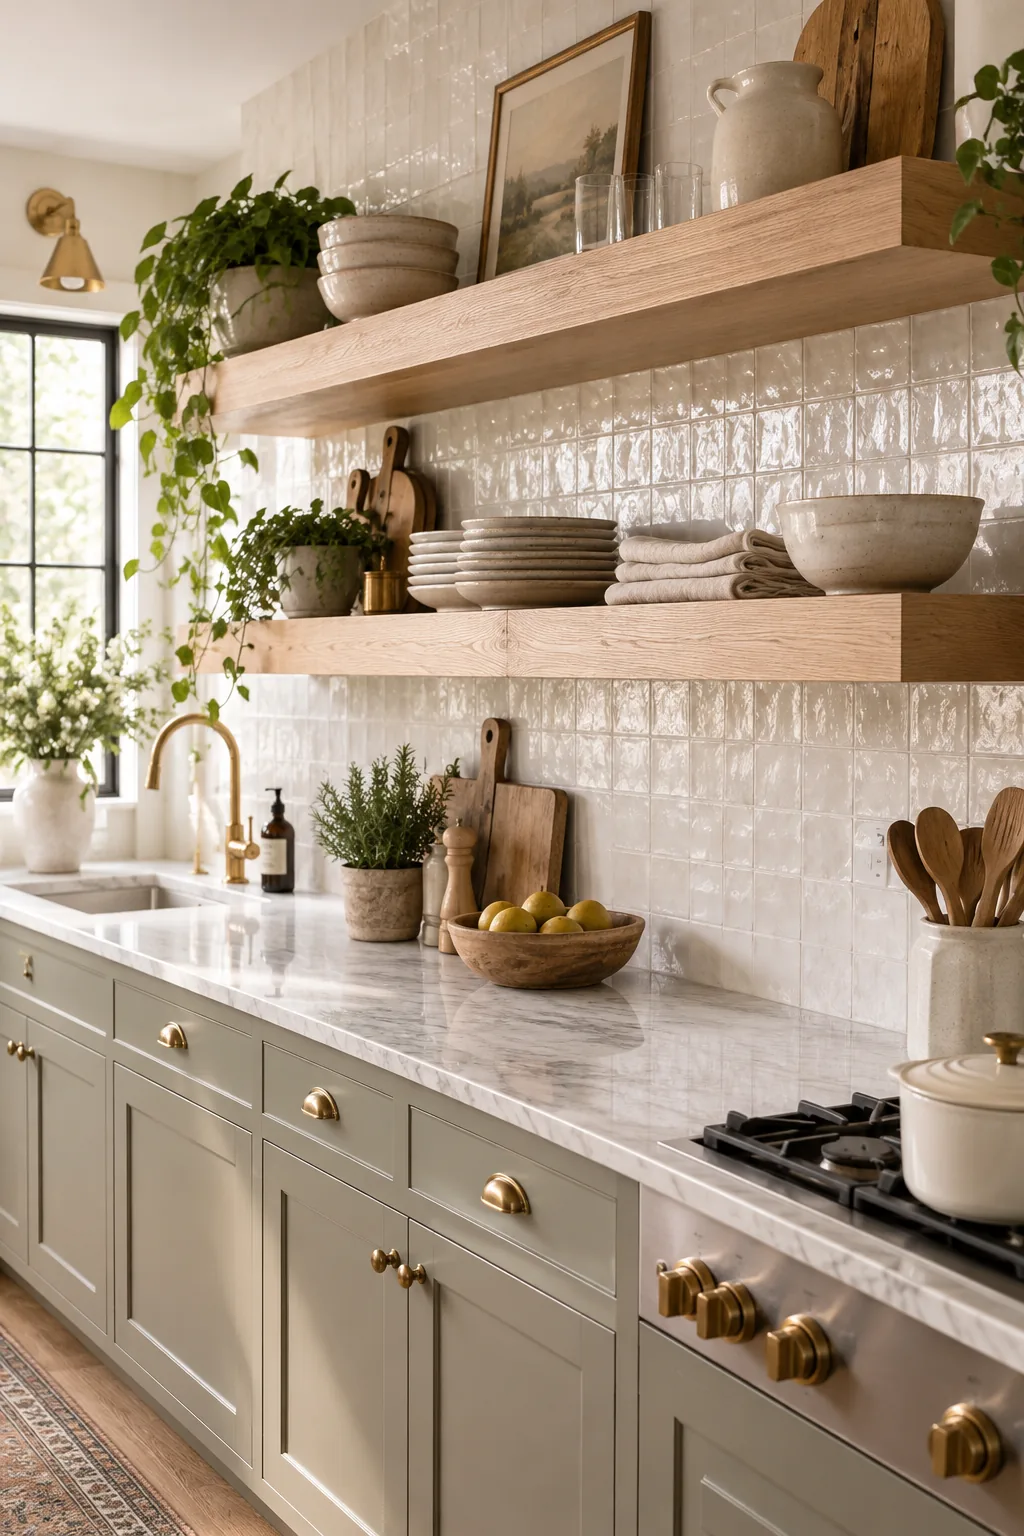
Because the hidden bracket rods carry the entire weight load of your dishes, making sure they are perfectly level during installation is absolutely crucial. Always use a long laser level straight across all the metal mounting plates before you tighten down the final lag screws.
Choosing the Right Wood Thickness
Solid wood shelves need adequate thickness to completely conceal the steel hardware without splitting the natural grain. I always recommend using 2in thick white oak to fully cover the bracket posts while providing a substantial, luxurious look that strongly resists long-term warping.
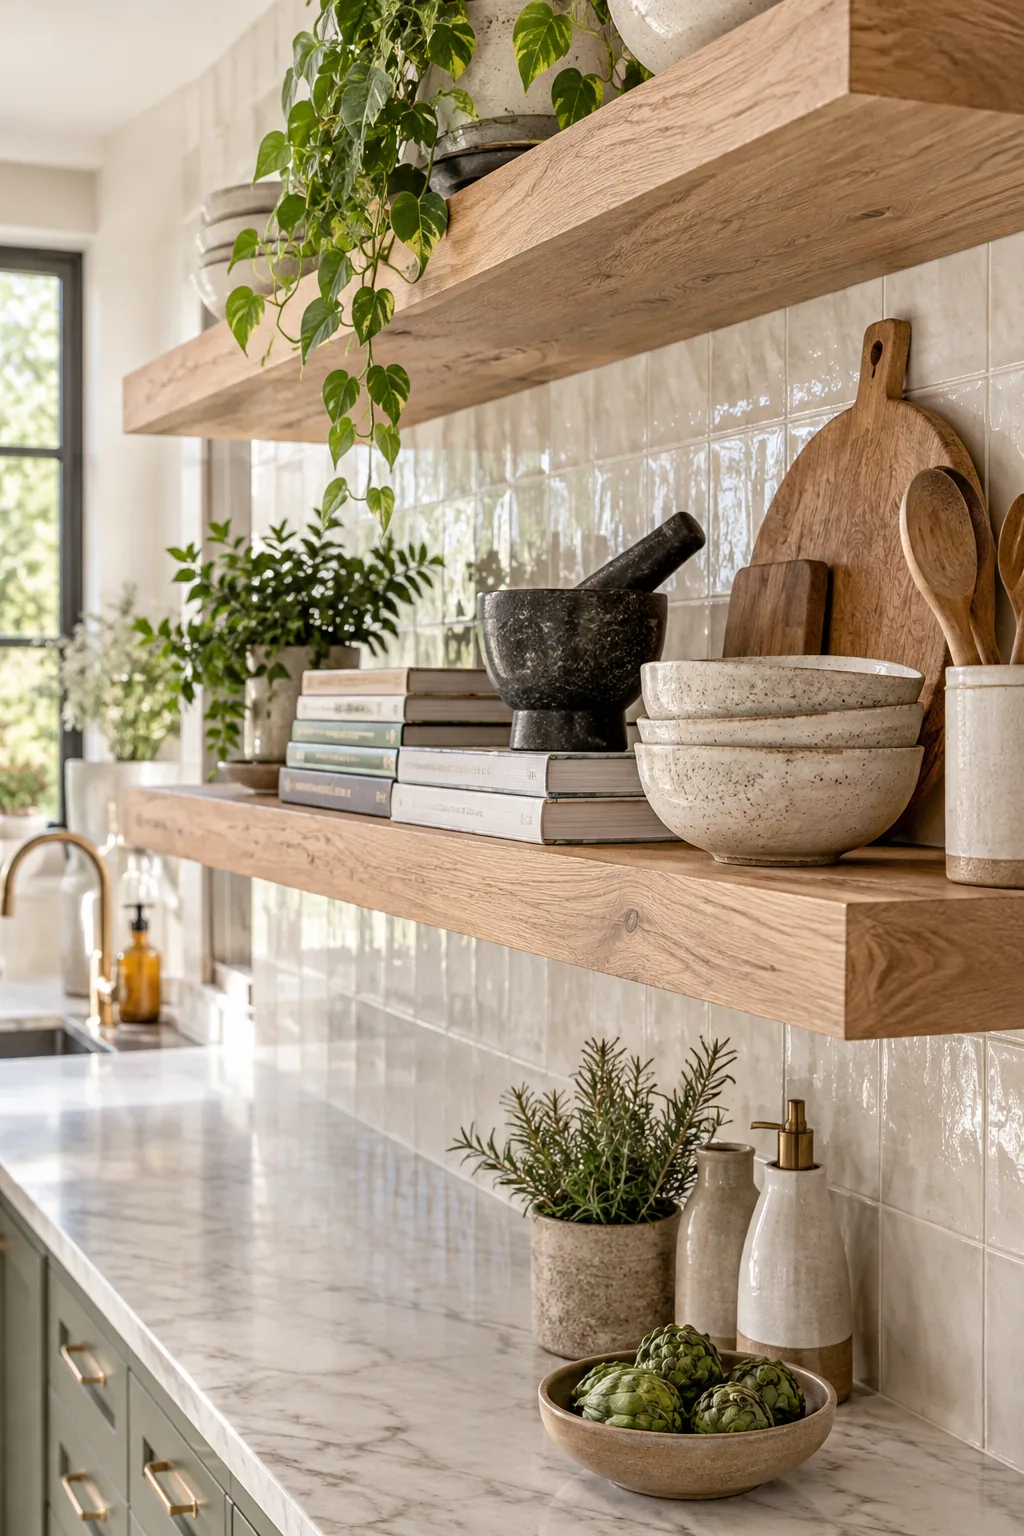
Before heading to the local lumber yard to purchase your materials, avoid these common structural errors that inevitably lead to sagging shelves over time.
Drilling the Shelf Cores
Creating the hidden pockets inside your wood requires extreme precision so the shelves sit perfectly level. Use a heavy-duty drill press and a long auger bit to hollow out the exact diameter needed to snugly fit your steel bracket rods without wandering off course.
Sanding and Prepping the Oak
Before any metal hardware goes into the wood, smooth out the rough mill marks by sanding up to a 220-grit finish. Follow this simple progression to achieve a buttery texture without leaving visible cross-scratches that finishing oils will amplify.
- Start with an 80-grit paper to aggressively level the uneven edges.
- Move to a 120-grit paper to erase the deep scratches left by the first pass.
- Finish with 220-grit paper, then wipe the boards down with a sticky tack cloth.
The Floating Shelf Bracket and Weight Guide
To calculate safe weight limits, match your bracket rod length closely to your shelf depth so rods extend at least two-thirds into the wood. A high-quality blind bracket mounted into two wall studs can safely support 45 to 50 pounds per mounting point.
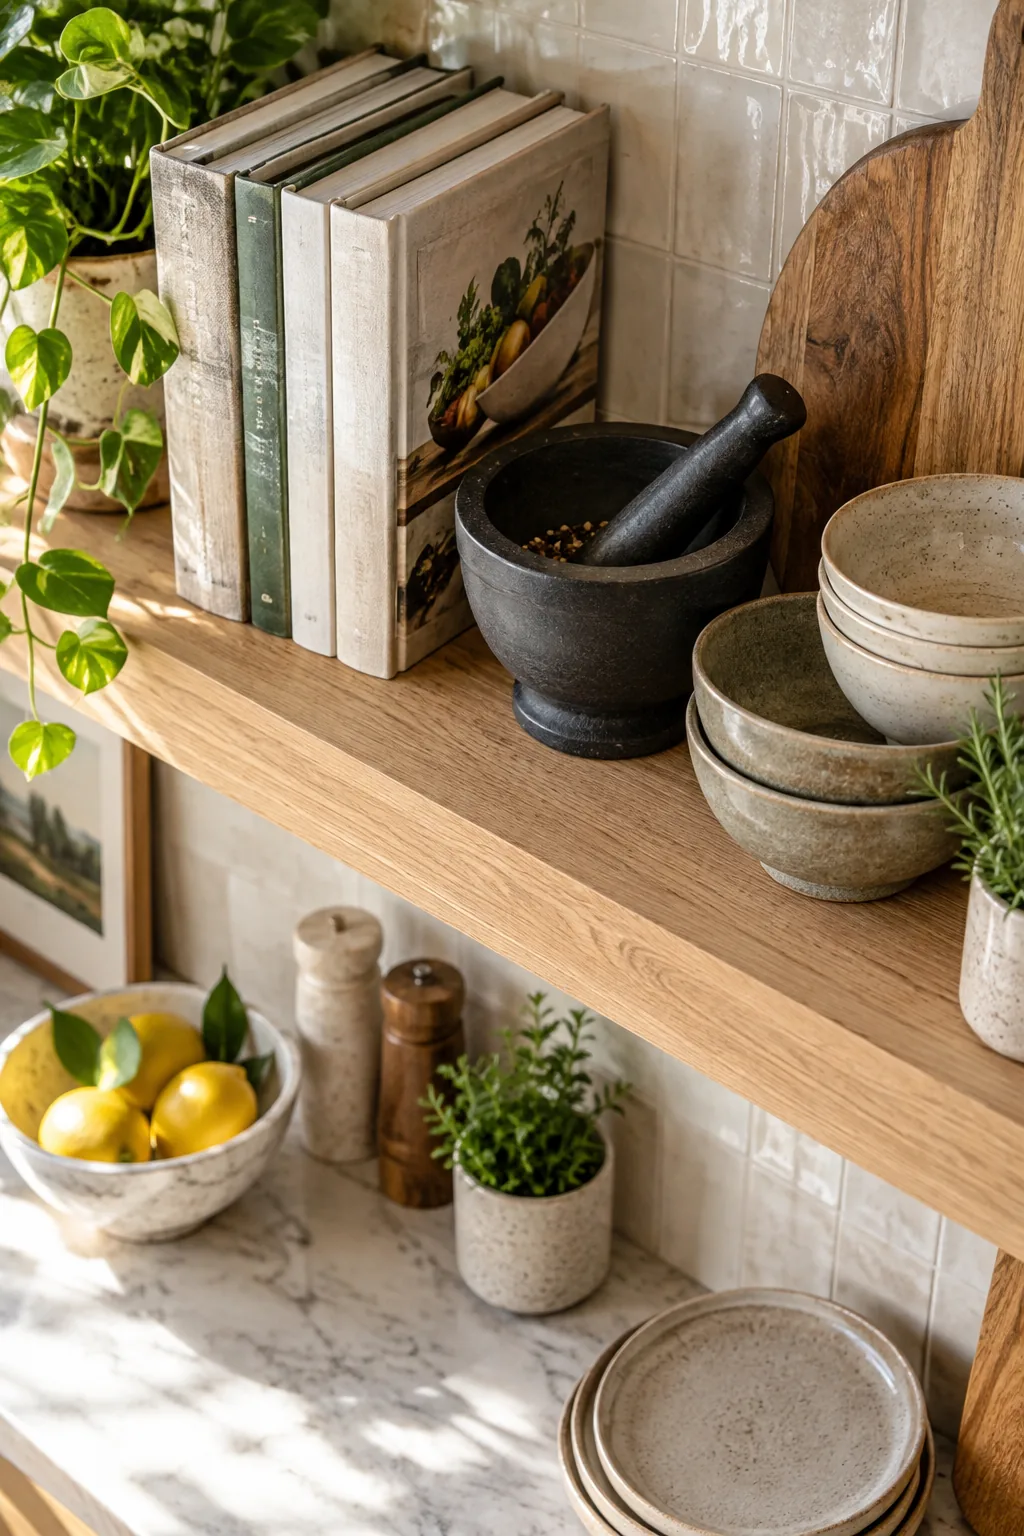
Refer to this quick weight guide to ensure your steel bracket rods are long enough to properly leverage your specific shelf depth.
| Shelf Depth | Min. Rod Length | Weight Limit (2 Studs) |
|---|---|---|
| 8 inches | 5 inches | 90 lbs |
| 10 inches | 7 inches | 100 lbs |
| 12 inches | 8 inches | 100 lbs |
Sliding the Shelves into Place
With the brackets bolted to the wall, gently guide the hollowed-out oak boards onto the greased steel rods until they sit flush against the tile. If the fit is tight, use a rubber mallet and a scrap block to tap the shelf backward without denting it.
Adding Hidden Undercabinet Lighting
You can easily incorporate gorgeous task lighting by routing a shallow groove into the underside of the bottom shelf. Installing a flush routed LED channel casts a warm, useful glow on your countertop workspace without exposing any ugly visible light fixtures.
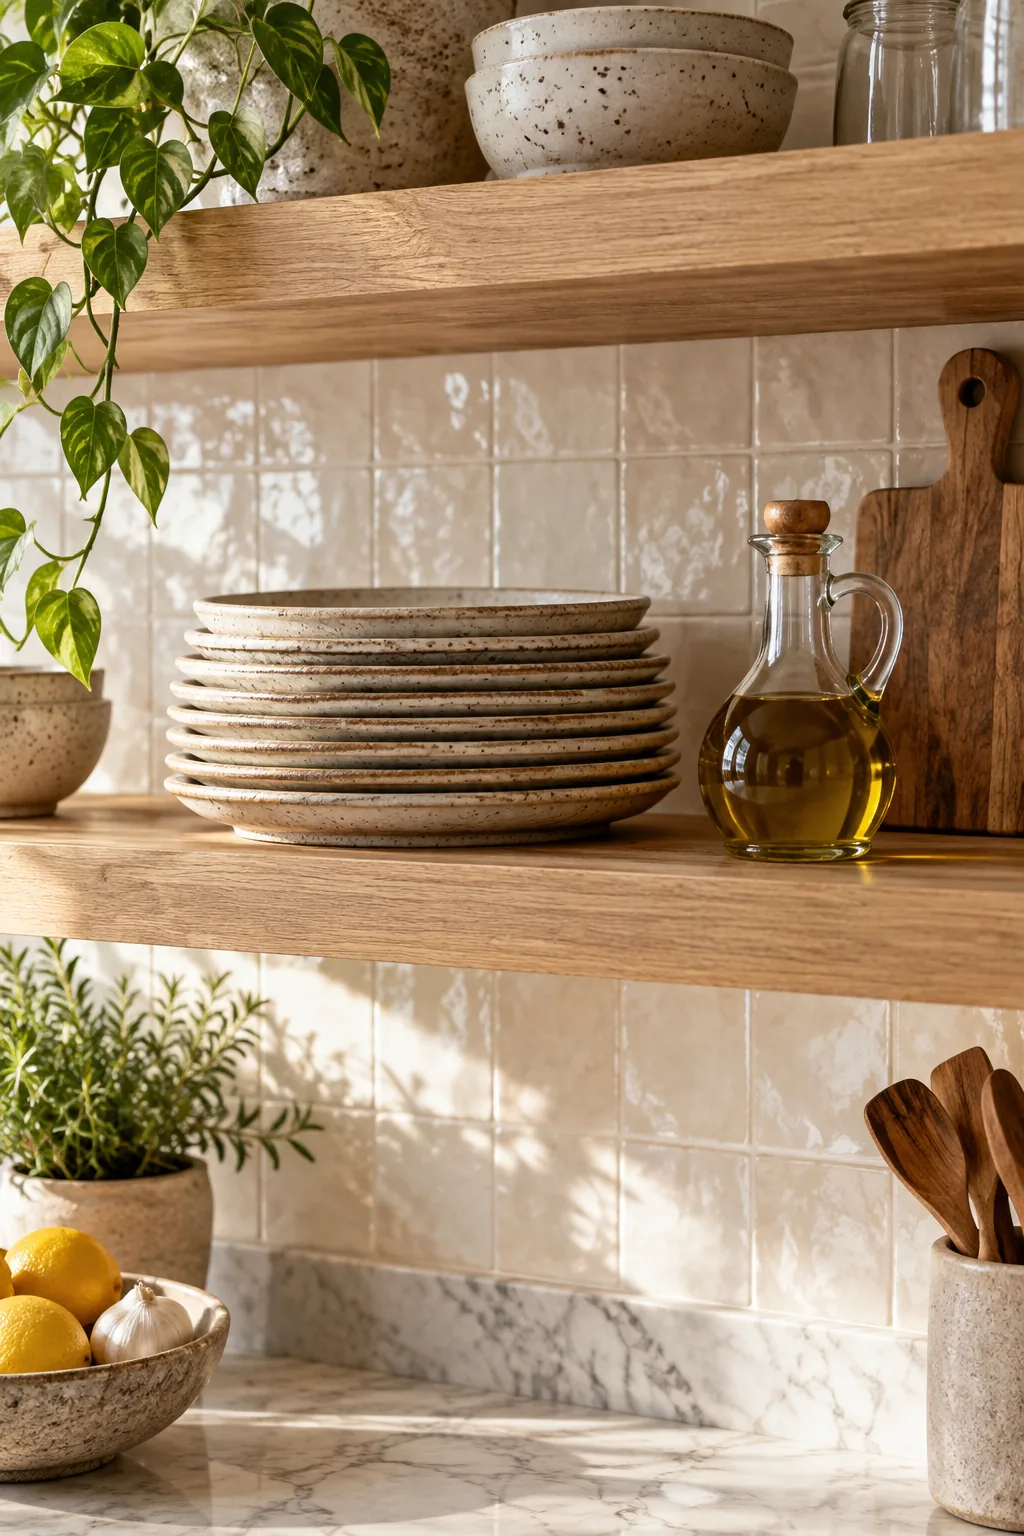
I initially skipped the plastic covers on my own kitchen shelves, and the bare LED dots glared terribly against my glossy backsplash tile. Snapping in a milky diffuser instantly softened the harsh light into a professional, continuous beam.
Hiding the Lighting Wires
To keep the floating illusion completely intact, route a small vertical channel into the back edge of the wood to drop the lighting wires into a hidden wall cavity. Fish these slim cables behind the drywall down to a concealed driver unit inside your lower cabinets.
Sealing the Backsplash Joint
Even when your wood sits perfectly flush against the tile, a microscopic gap will allow cooking moisture to seep behind the shelf. Run a tiny bead of clear silicone caulk along the top seam to protect the hidden steel brackets from rusting over time.
Adjusting for Uneven Walls
Older homes rarely have perfectly flat walls, which can cause your straight wooden shelves to gap slightly at the ends. You can carefully scribe the back edge of the oak board with a belt sander to perfectly match the wavy contour of your drywall or tile.
Styling Safely with Heavy Dinnerware
Distribute your weight strategically when loading up your new open shelving with everyday dishes. Always stack heavy items over studs, placing dense ceramic plates directly above the hidden bracket rods to minimize leverage on the unsupported wood span.
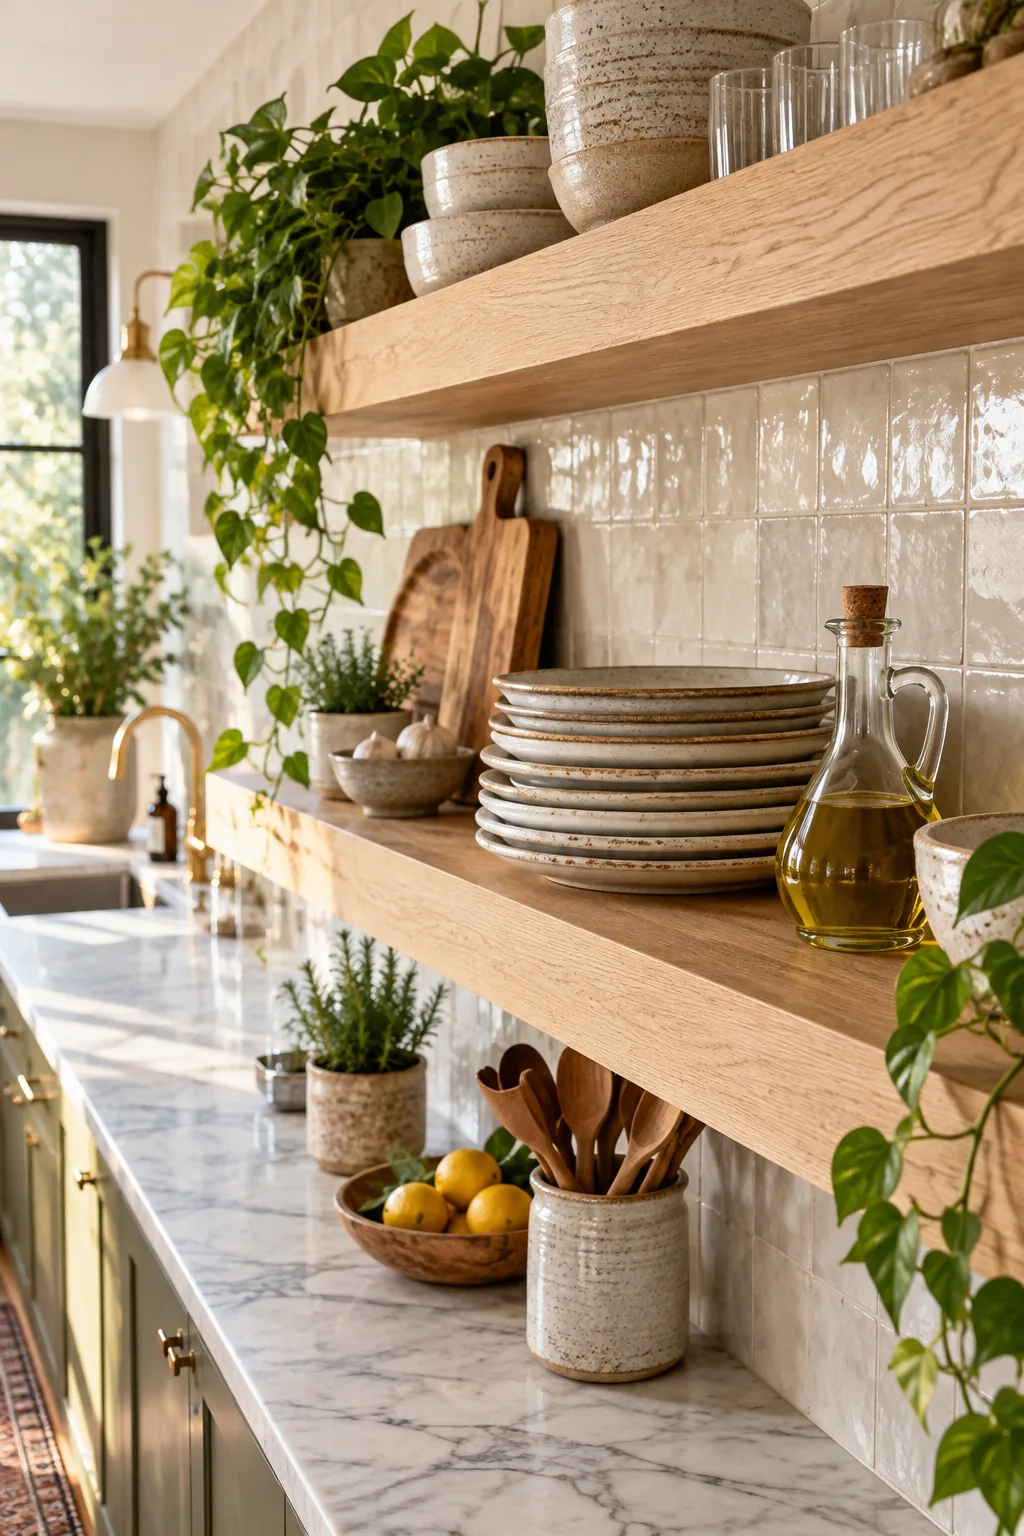
Keep lighter items like delicate glassware, small wooden bowls, or trailing pothos plants near the outer edges of the shelf. This simple styling trick prevents long-term bowing and keeps your entire kitchen display looking beautifully balanced.
Mixing Textures in Your Display
Once the heavy plates are safely anchored, contrast the sleek ceramic dishes with warm brass accents, woven baskets, or vintage wooden cutting boards. Mixing these organic materials softens the hard lines of the cabinetry and makes the whole room feel incredibly inviting.
Maintaining Your Open Kitchen Shelves
Keep your solid oak shelves looking fresh by dusting weekly and wiping down sticky cooking grease with a damp microfiber cloth. You should apply a food-safe hardwax oil annually to protect the natural wood grain from harsh kitchen moisture and heat.
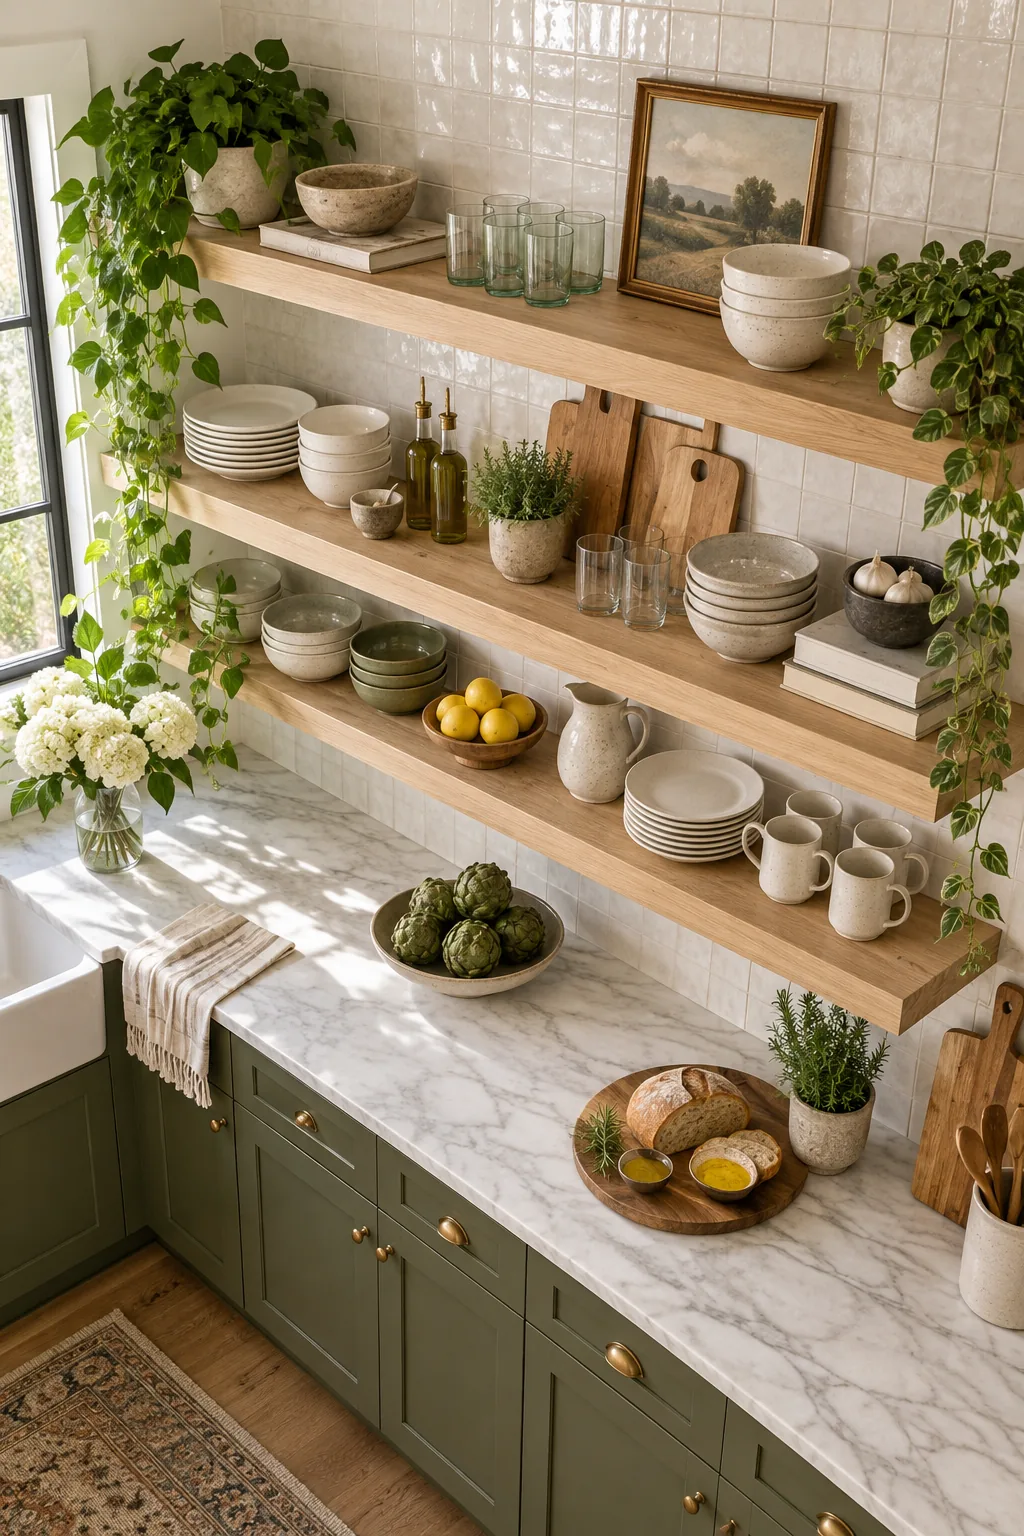
Keep your floating shelves looking pristine and structurally sound year after year with this simple annual maintenance routine.
Floating Shelf Looks to Copy
Find the perfect material and styling combination for your own kitchen.
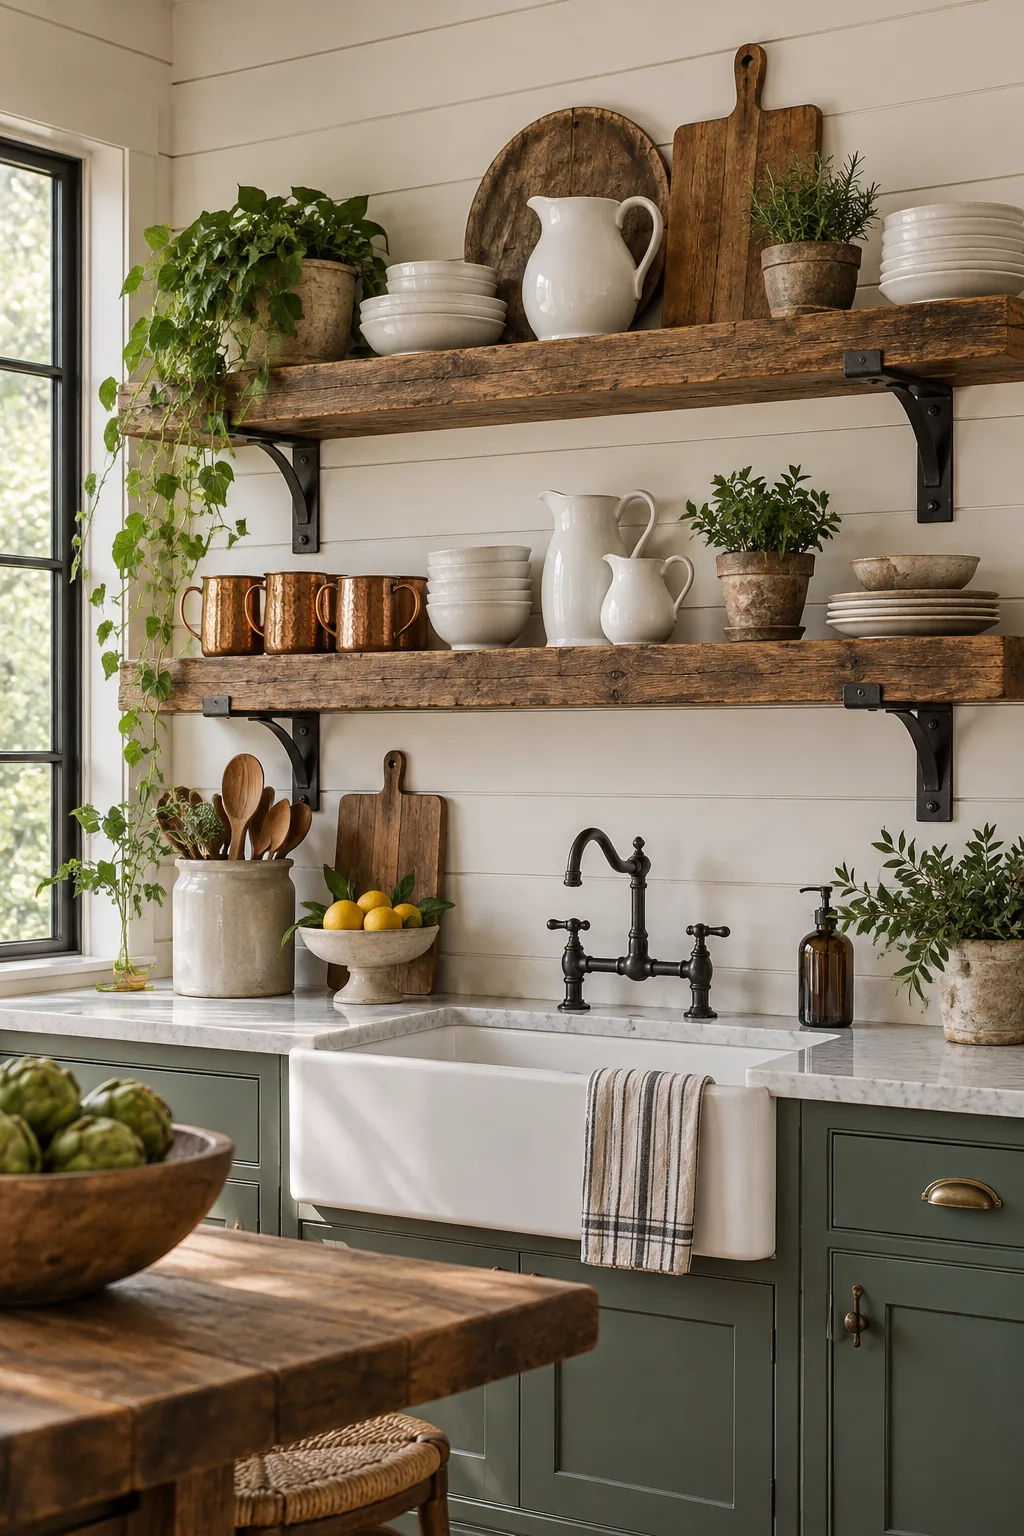
Rustic Farmhouse Kitchen: Reclaimed barn wood pairs perfectly with visible iron brackets and white shiplap for a cozy, lived-in farmhouse aesthetic.
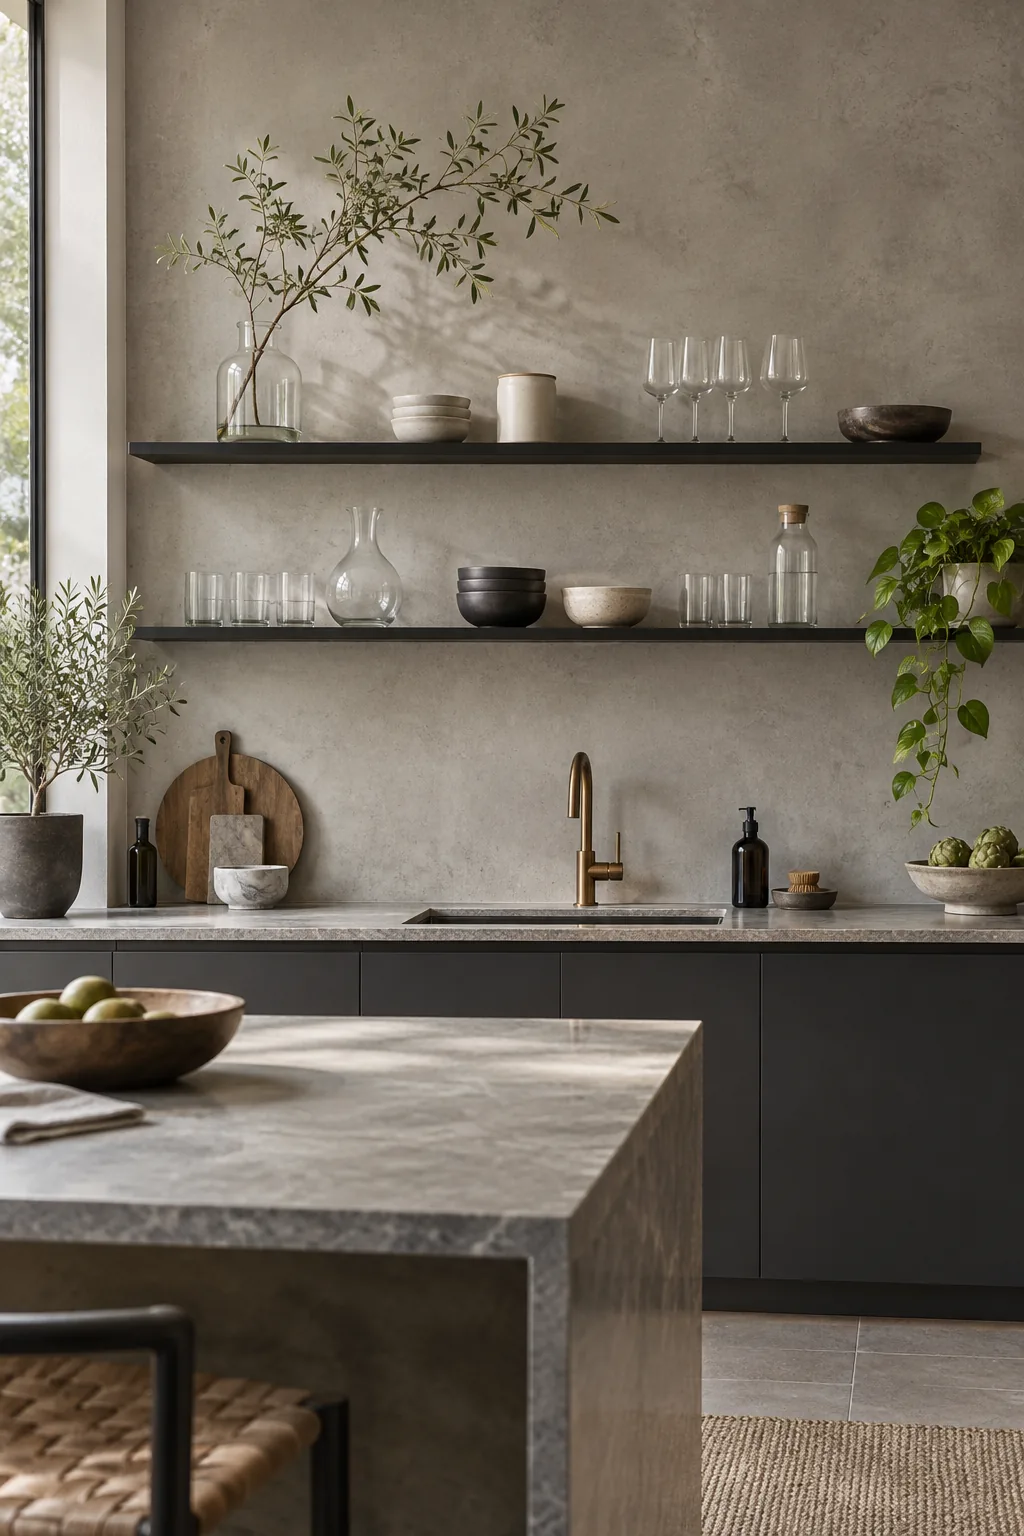
Modern Minimalist Kitchen: Ultra-slim matte black metal shelves against raw concrete create a sleek, industrial edge that highlights minimalist glassware.
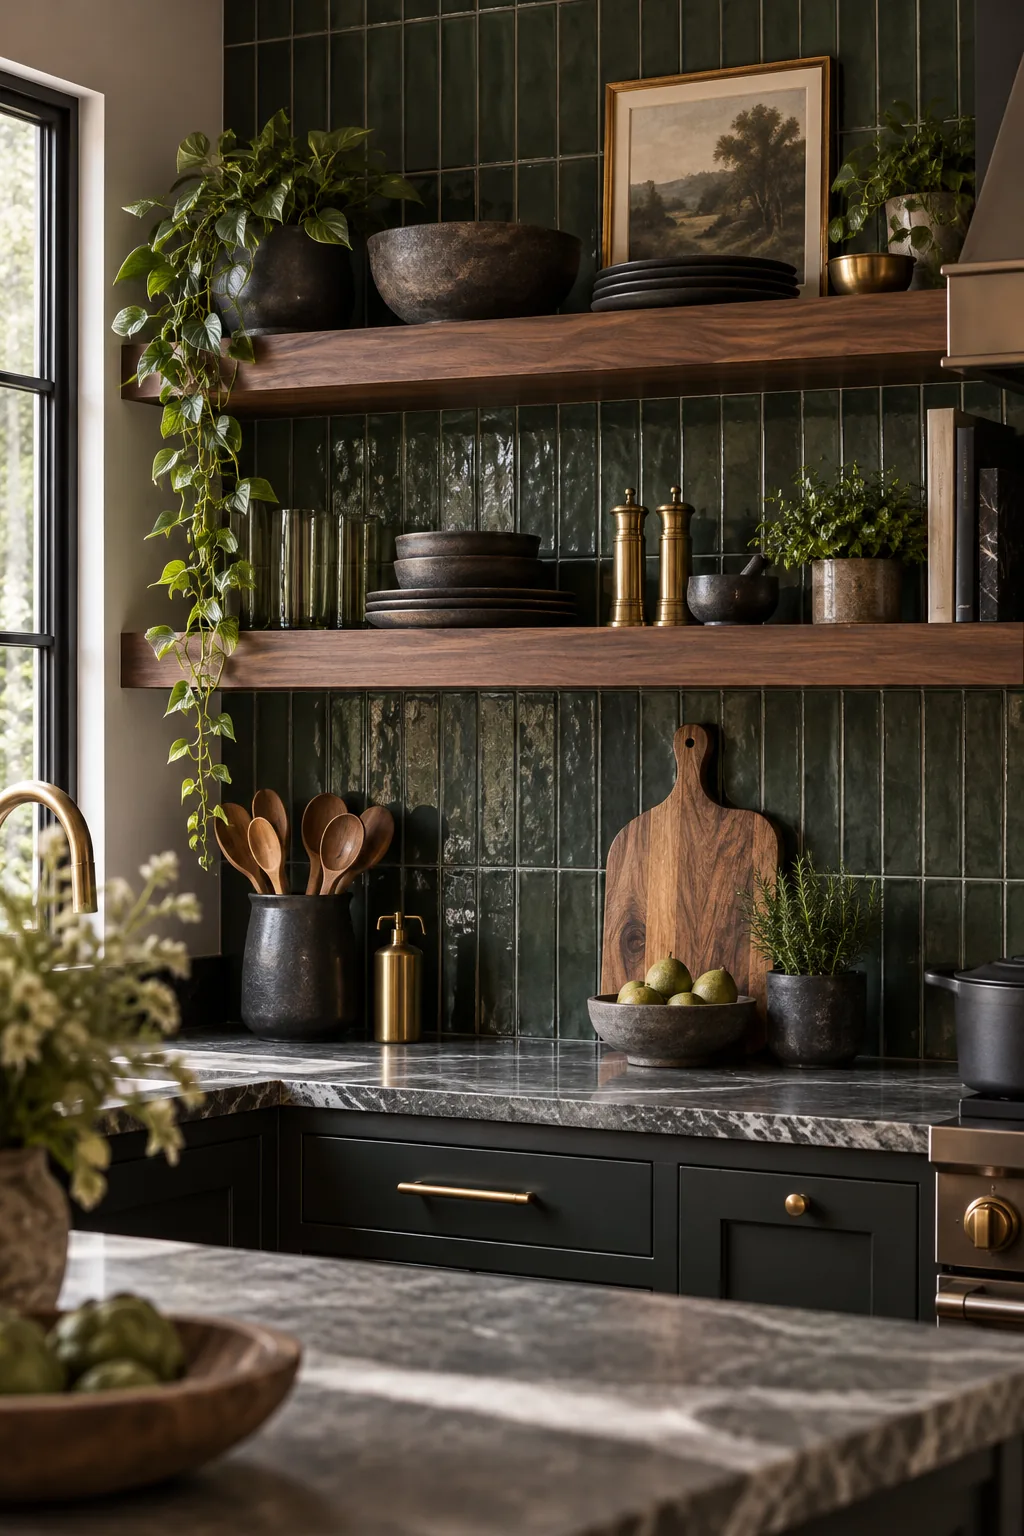
Moody Transitional Kitchen: Rich walnut wood tones pop beautifully against deep green vertical subway tile, elevated by warm brass kitchen accessories.