Small Corner Pond and Waterfall Build Plan (6×8 Footprint)
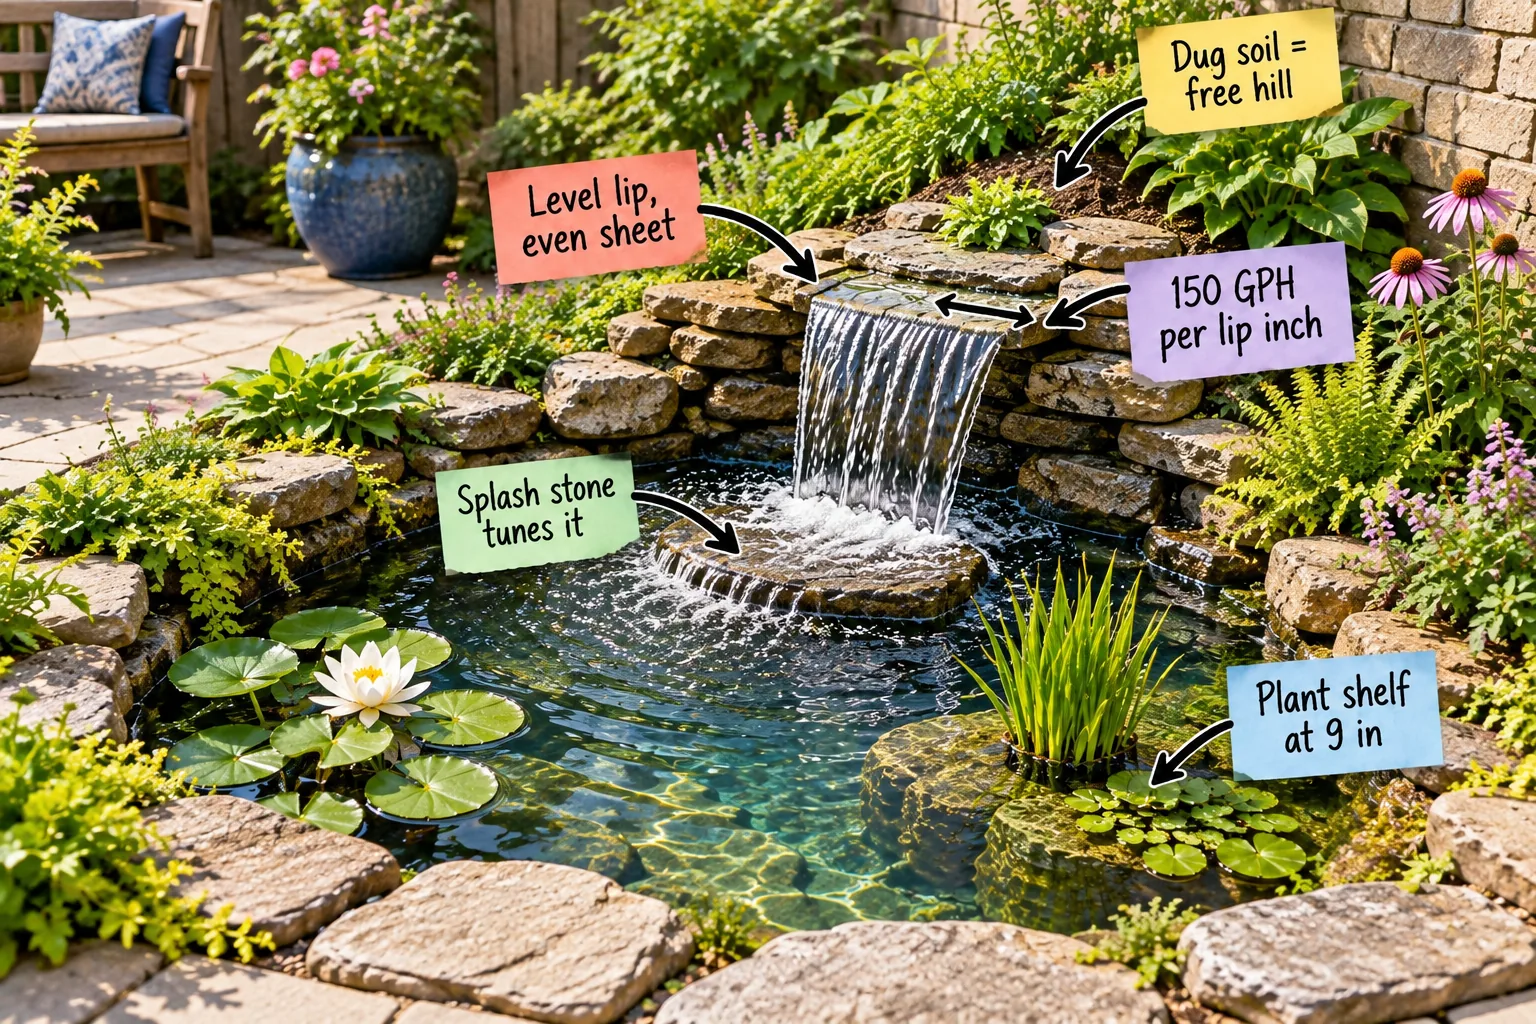
You will be able to map out a 6×8-foot pond footprint, calculate your exact liner and pump size, and stack a natural-sounding waterfall with our complete build sheet. Having the exact dig depths and a reliable stone shopping list means you can start digging this weekend.
Grab the 6×8 Pond Build Sheet
Our one-page build sheet details a maximum depth of 24 inches and uses the universal liner formula of Length + (2 × Depth) + 2 feet. When I built my first corner pond here in Austin, having the exact stone sizes mapped out saved me three trips to the rock yard!
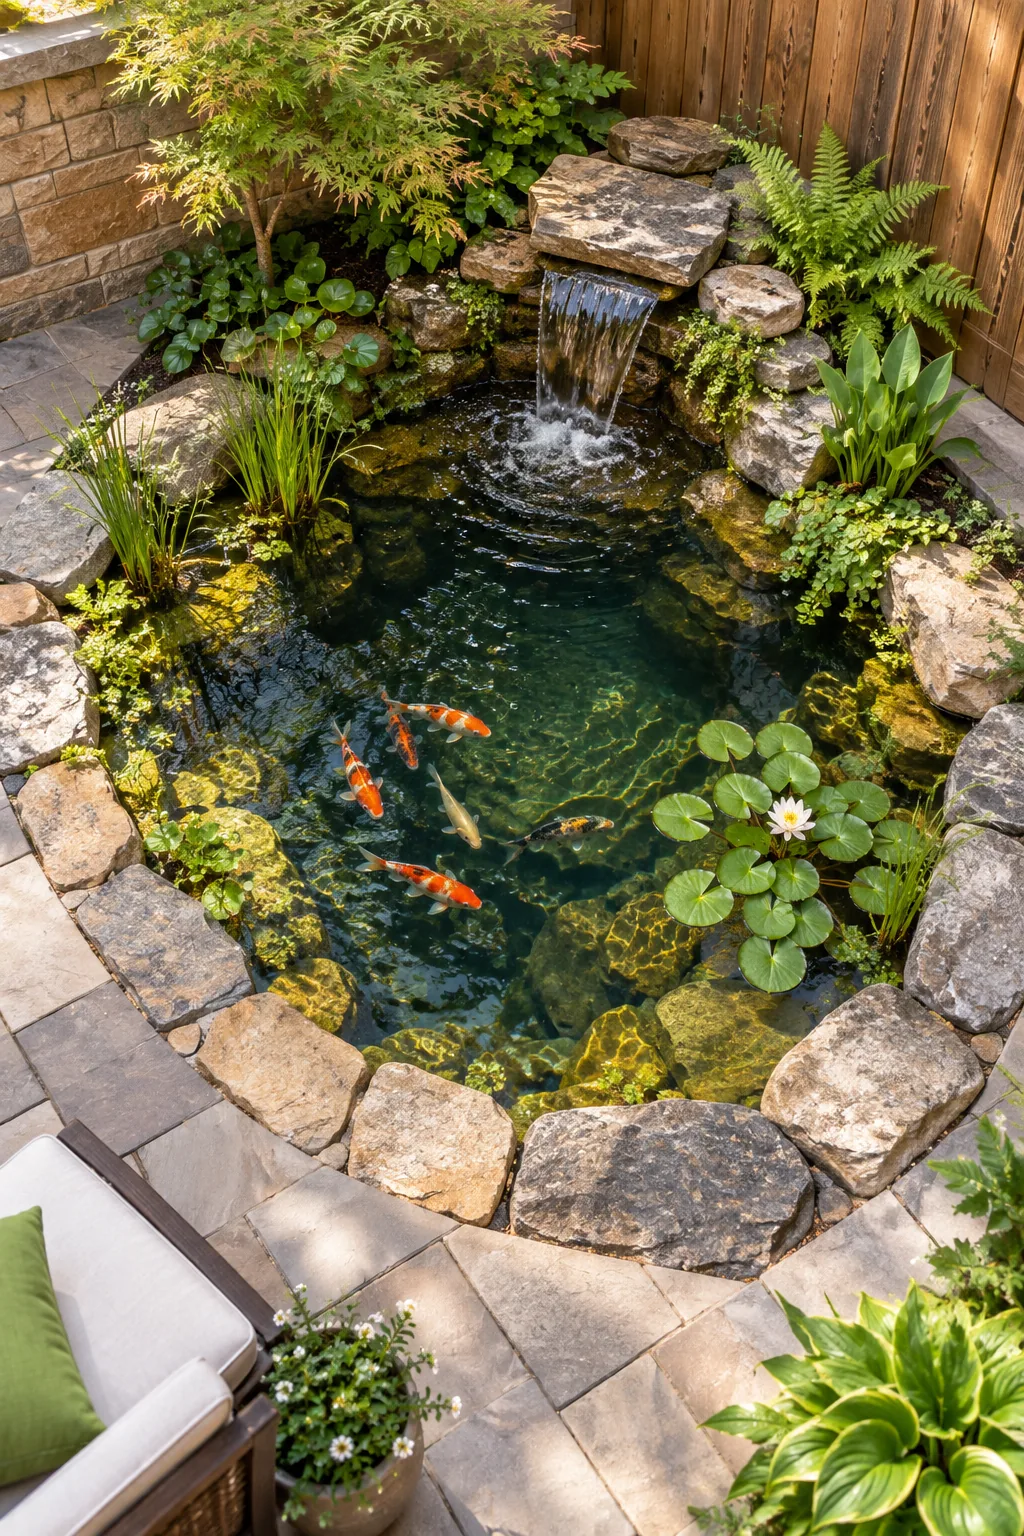
Before breaking ground on your backyard oasis, gather these essential supplies to ensure you can complete the entire excavation and plumbing build in a single weekend.
Mapping Out Your Corner Layout
Marking the exact 6×8-foot footprint with bright landscape paint ensures your curves remain smooth and look completely natural against the existing patio edges, preventing harsh geometric lines.
- Measure outward from the exact corner of your patio or fence line to establish the maximum eight-foot length.
- Sweep a continuous, gentle curve back toward the secondary six-foot boundary edge.
- Step back and adjust the painted line until the kidney shape looks organic.
Removing the Sod and Topsoil
Stripping away the grass and loose topsoil within your painted boundary creates a clean, workable canvas for the deeper excavation phases. Skimming this organic layer first prevents messy root clumps from mixing into the clean soil you will need later for the waterfall mound.
Carving the Basin and Plant Shelf
Digging a properly terraced and tiered basin prevents the surrounding soil walls from collapsing inward under their own massive weight during heavy seasonal rains.
| Pond Zone | Target Depth | Primary Purpose |
|---|---|---|
| Center Basin | 24 inches | Overwintering fish |
| Perimeter Ledge | 9 inches | Marginal plants |
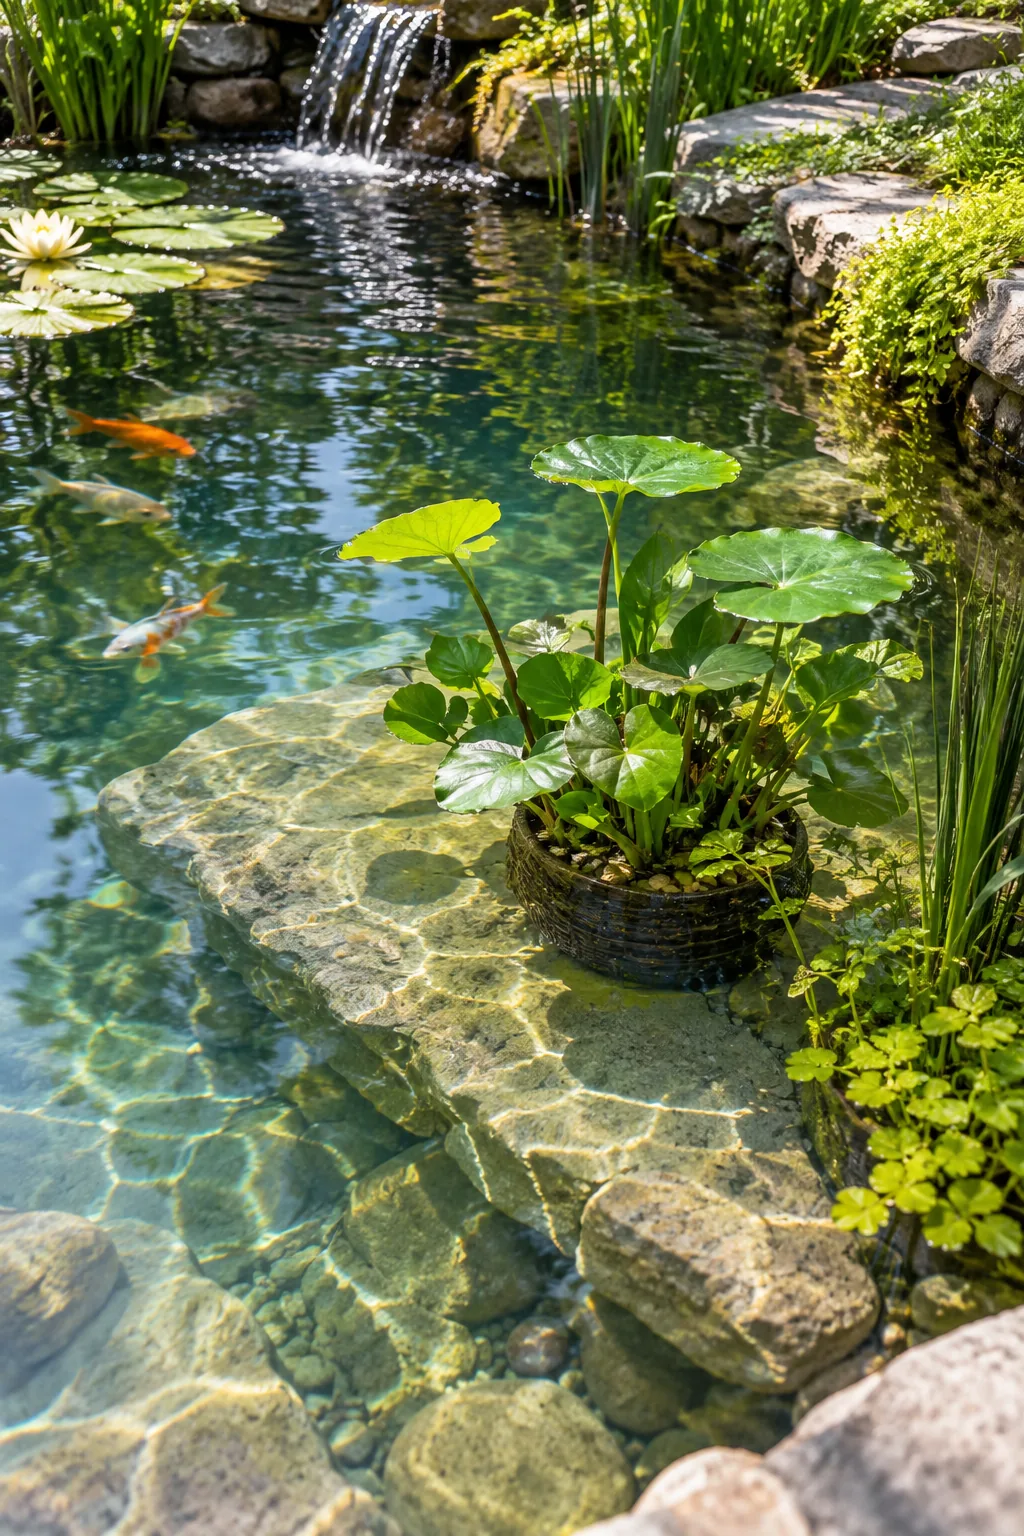
Carving a flat 9-inch deep perimeter ledge specifically holds your potted marginal plants at the perfect submerged height while leaving the deeper center open.
Shaping the Deep Center Zone
Excavating the central section down to a full 24 inches provides a stable temperature zone where your fish can safely overwinter below the freeze line. Sloping the floor slightly toward the pump location makes future cleanouts significantly easier by directing bottom debris to one spot.
Using Dug Soil for the Waterfall Hill
Piling the excavated dirt directly in the back corner eliminates disposal effort and provides a compacted, free structural base for the cascading stones. I used every single bucket of my heavy clay soil to build up the mound, and it settled into an incredibly sturdy foundation.
Shaping this free structural base carefully now dictates exactly how natural your stone cascade will look once the water starts flowing.
Compacting the Dirt Foundation
Tamping the freshly piled soil mound with a heavy hand tool removes hidden air pockets that could cause your waterfall to shift over time. Wetting the dirt slightly as you compress it binds the loose particles together into a rock-solid, permanent retaining structure.
Sizing the EPDM Rubber Liner
Buying the correct liner prevents disastrous leaks, so always rely on the universal sizing formula of Length + (2 × Depth) + 2 feet for both dimensions.
- Add the maximum pond length to double the maximum depth, plus two feet for overhang.
- Repeat the exact same calculation using the maximum pond width.
- Purchase a single, seamless EPDM sheet that meets or exceeds these final dimensions.
Selecting the Best Underlayment
Laying a thick, non-woven geotextile underlayment defends your expensive rubber liner against sharp roots, jagged rocks, and burrowing pests. Skipping this vital protective layer practically guarantees a slow, frustrating puncture leak that will drain your water feature from the bottom up.
Positioning the Liner in the Hole
Draping the heavy EPDM rubber loosely across the excavated basin allows it to stretch and conform naturally to the terraced shelves without tearing. Pressing the material gently into the deepest center zone first prevents the rubber from pulling taut and bridging across the sharp interior corners.
Calculating Your Pump Size
Achieving a glassy, unbroken sheet of water requires following the standard industry rule of allocating exactly 150 gallons per hour (GPH) for every single inch of your chosen spillway width.
Choosing the Right Pump Location
Placing the submersible pump in the deepest part of the basin ensures it remains fully underwater even during periods of heavy summer evaporation. Elevating the pump slightly on a flat brick prevents the intake screen from sucking up settled sludge from the very bottom of the pond.
Plumbing with Kink-Free Tubing
Running corrugated kink-free tubing from the submerged pump up to the top of the waterfall mound prevents the water flow from choking off around tight corners. Burying this flexible black pipe just outside the pond edge completely hides the ugly plumbing from your final landscape view.
Stacking the Waterfall Foundation
Building a stable waterfall requires starting with the largest, heaviest fieldstones at the bottom edge of the soil mound to support the spillway rock above. Angling these foundation boulders slightly backward into the hill forces gravity to hold them securely in place against the rushing water.
Setting a Dead-Level Spillway Lip
Setting the main waterfall stone requires laying a torpedo level across the front edge so the flow spreads evenly across the entire width instead of favoring one side.
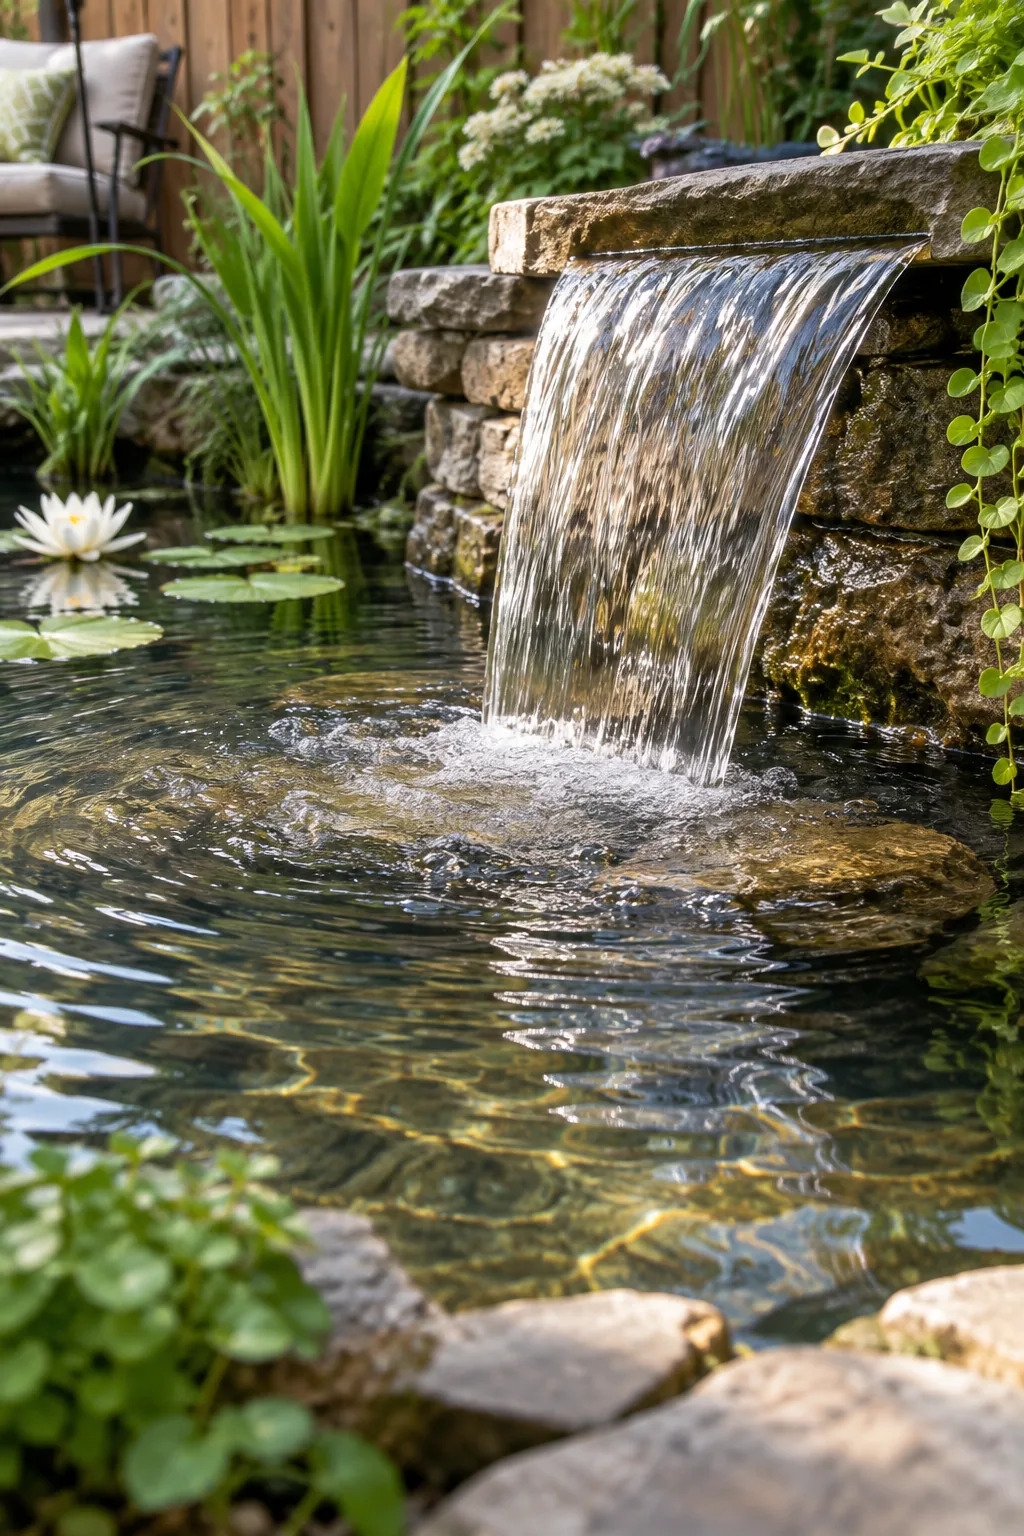
Getting the water to fall in a perfect, unbroken sheet requires absolute precision and patience during this critical stone-setting phase of the build.
Sealing the Waterfall Stones
Filling the hidden gaps between your stacked waterfall boulders with black expanding foam forces the water to flow over the rocks instead of sneaking underneath them. Letting the foam cure completely before turning on the pump ensures the chemical seal bonds tightly to both the stone and the rubber liner.
Tuning the Flow with a Splash Stone
Placing a flat rock just below the water’s surface where the heavy waterfall lands actively tunes the sound from a loud, splashing crash to a gentle, relaxing burble that won’t overwhelm your patio conversations.
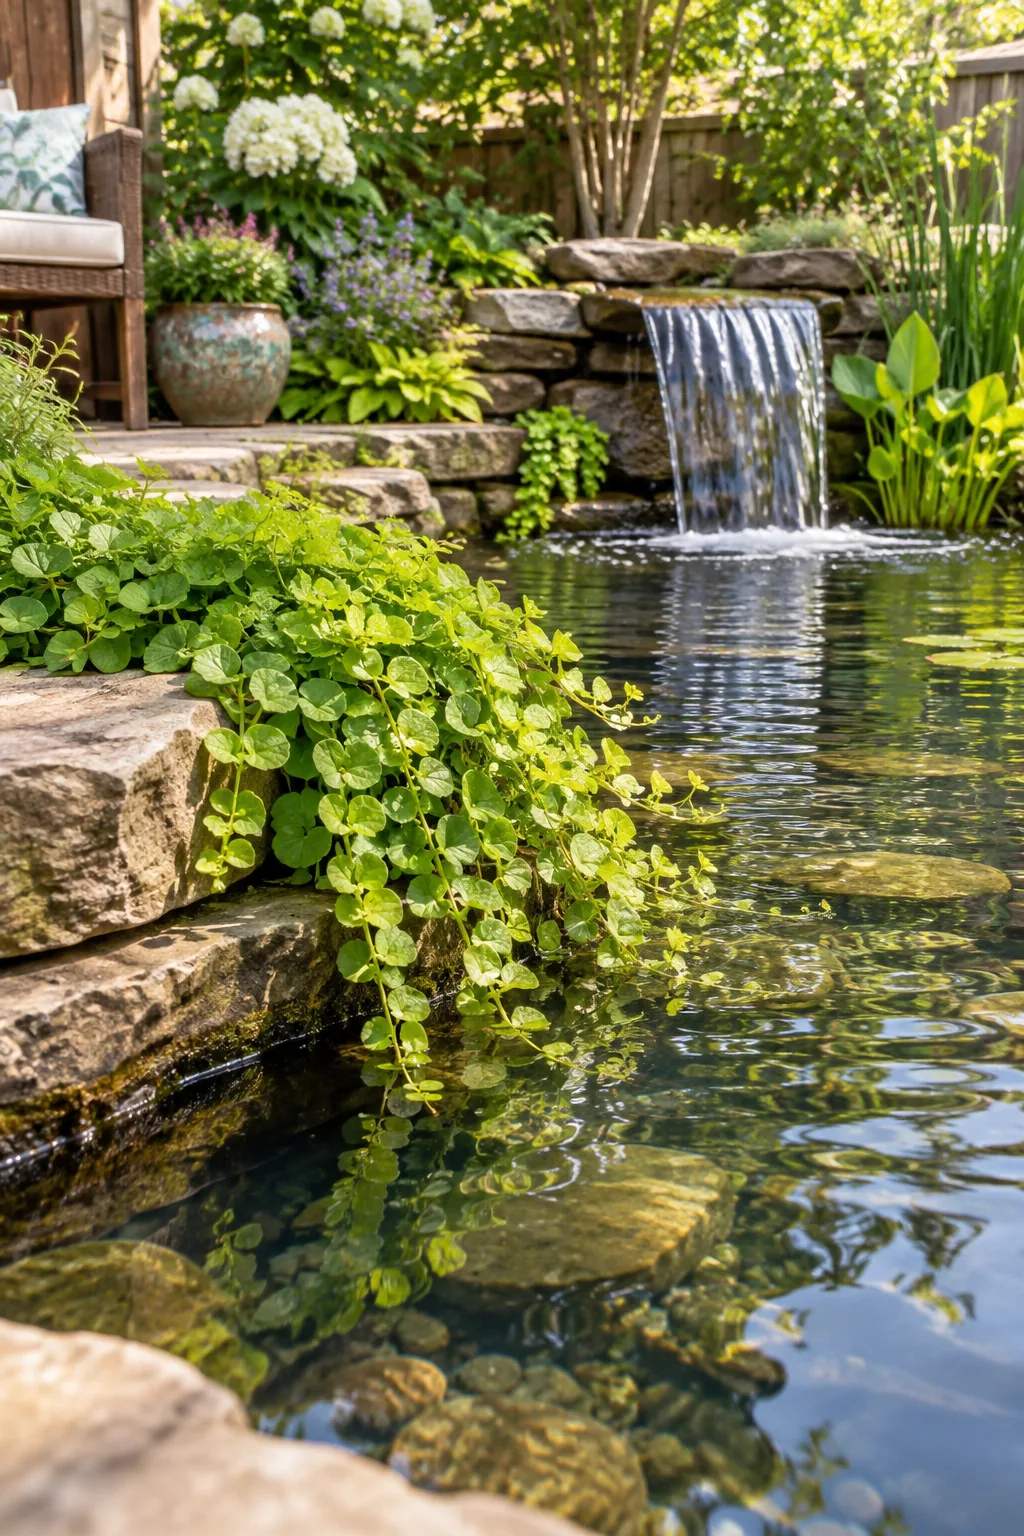
Testing different rock shapes in this landing zone helps you find the exact acoustic splash that fits your backyard vibe.
Hiding the Liner with Edge Stones
Folding the excess EPDM liner neatly behind the first row of perimeter stones creates a highly natural transition into your surrounding patio space. Keeping your final operating water level high completely submerges the rock bases and minimizes the ugly visible black rubber ring around the edges.
Securing the Rock Edging
Filling the empty gaps between your large perimeter boulders with smaller, smooth river rocks hides the remaining liner folds and locks the heavy stones firmly in place. Washing this decorative gravel thoroughly with a hose before placing it in the pond prevents thick mud from clouding your pristine water.
Adding Gravel to the Pond Bottom
Scattering a thin, one-inch layer of washed river gravel across the bottom terraces provides massive surface area for beneficial bacteria to colonize and thrive. Avoiding a deep, heavy rock layer on the floor makes future vacuuming and routine debris removal much easier to manage.
Filling the Basin with Water
Running your garden hose at a slow, steady trickle allows the heavy water to gently stretch the rubber liner into its final, permanent shape. Watching the water level rise gives you a perfect opportunity to pull out any remaining wrinkles on the plant shelves before they get pinned down.
Treating the Tap Water
Adding a liquid water conditioner immediately after filling the basin neutralizes harmful chlorine and heavy metals that come standard in municipal tap water. Waiting at least twenty-four hours after applying the detoxifying treatment ensures the environment is completely safe before introducing any hardy pond fish.
Testing the Waterfall Flow
Plugging in the submersible pump for the first time reveals exactly how the water travels down the rock face and interacts with the splash stone. Making minor adjustments to the smaller accent rocks while the water is running helps you dial in the perfect visual cascade and acoustic splash.
Managing Water Evaporation
Topping off the pond weekly during peak summer heat prevents the water level from dropping below the pump intake and burning out the expensive motor. Installing an automatic fill valve on your dedicated irrigation line offers a hands-off solution for maintaining the perfect operating depth all season long.
Choosing Marginal Pond Plants
Softening the harsh stone edges with creeping Jenny brings the entire feature to life while dwarf water lilies shade the deep center to reduce algae. I tucked bare-root marginals straight into the gravel of my Austin pond, and they thrived beautifully by mid-summer.
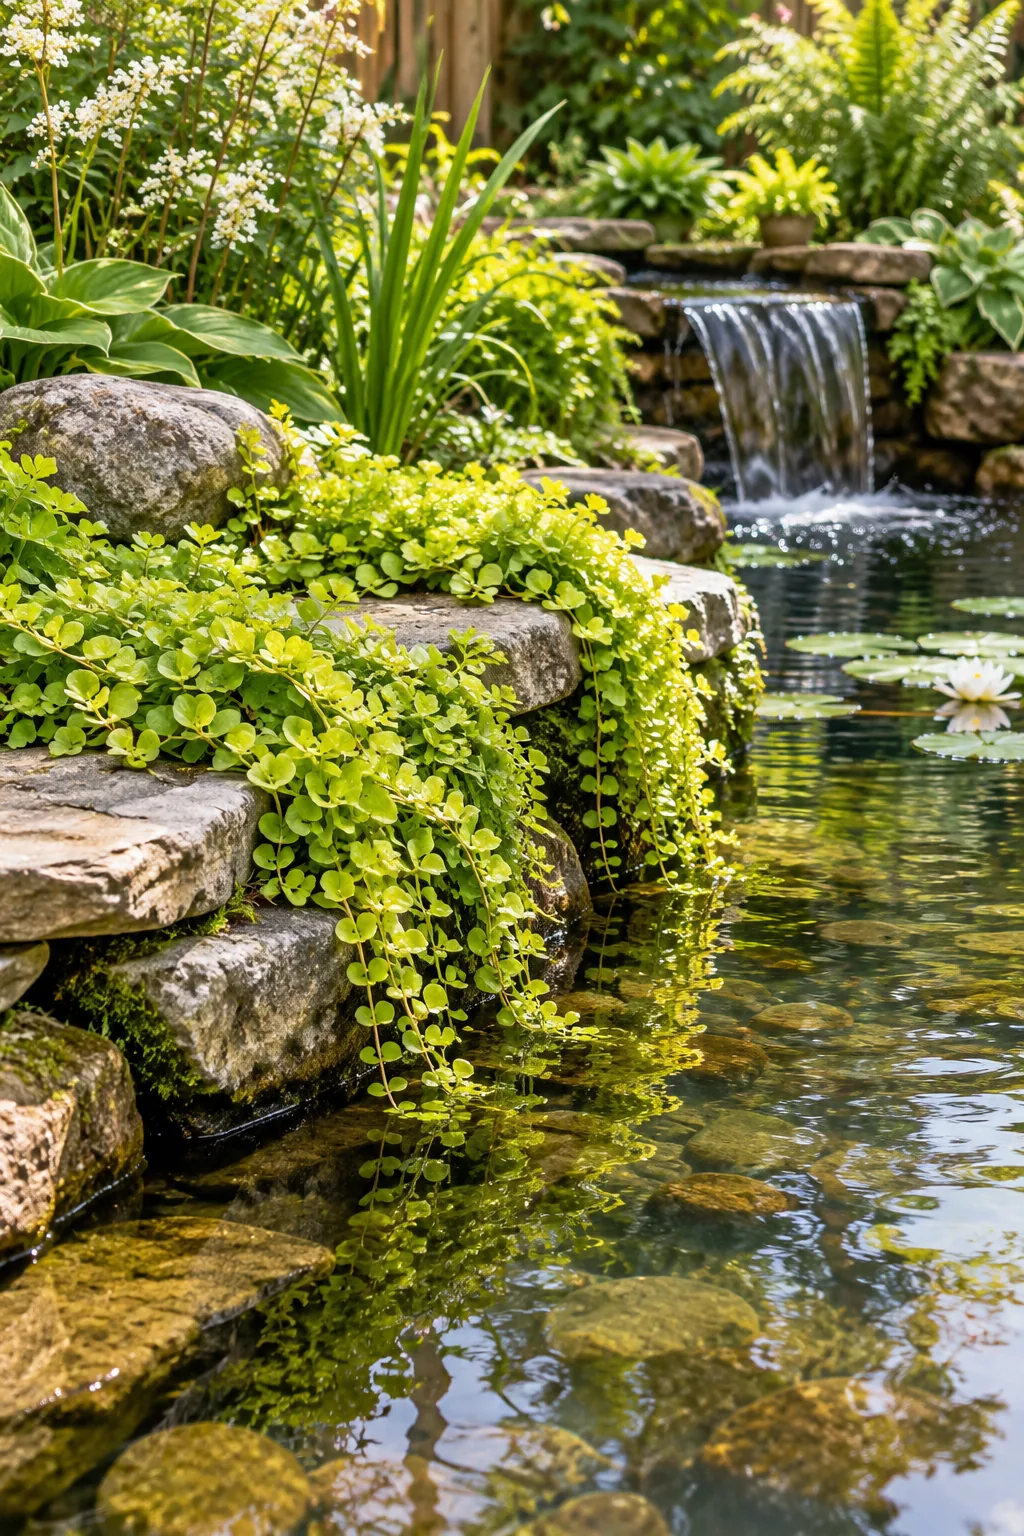
Watching these green runners spread across the wet rocks completely erases the harsh transition between your patio and the water.
3 Ways to Style a Corner Pond
Choose a stone and planting combination that matches your backyard's aesthetic.
Modern Zen Slate Pond: Dark slate slabs and a minimalist bamboo spout create a calming, architectural look. Stick to a monochromatic stone palette for a contemporary feel.
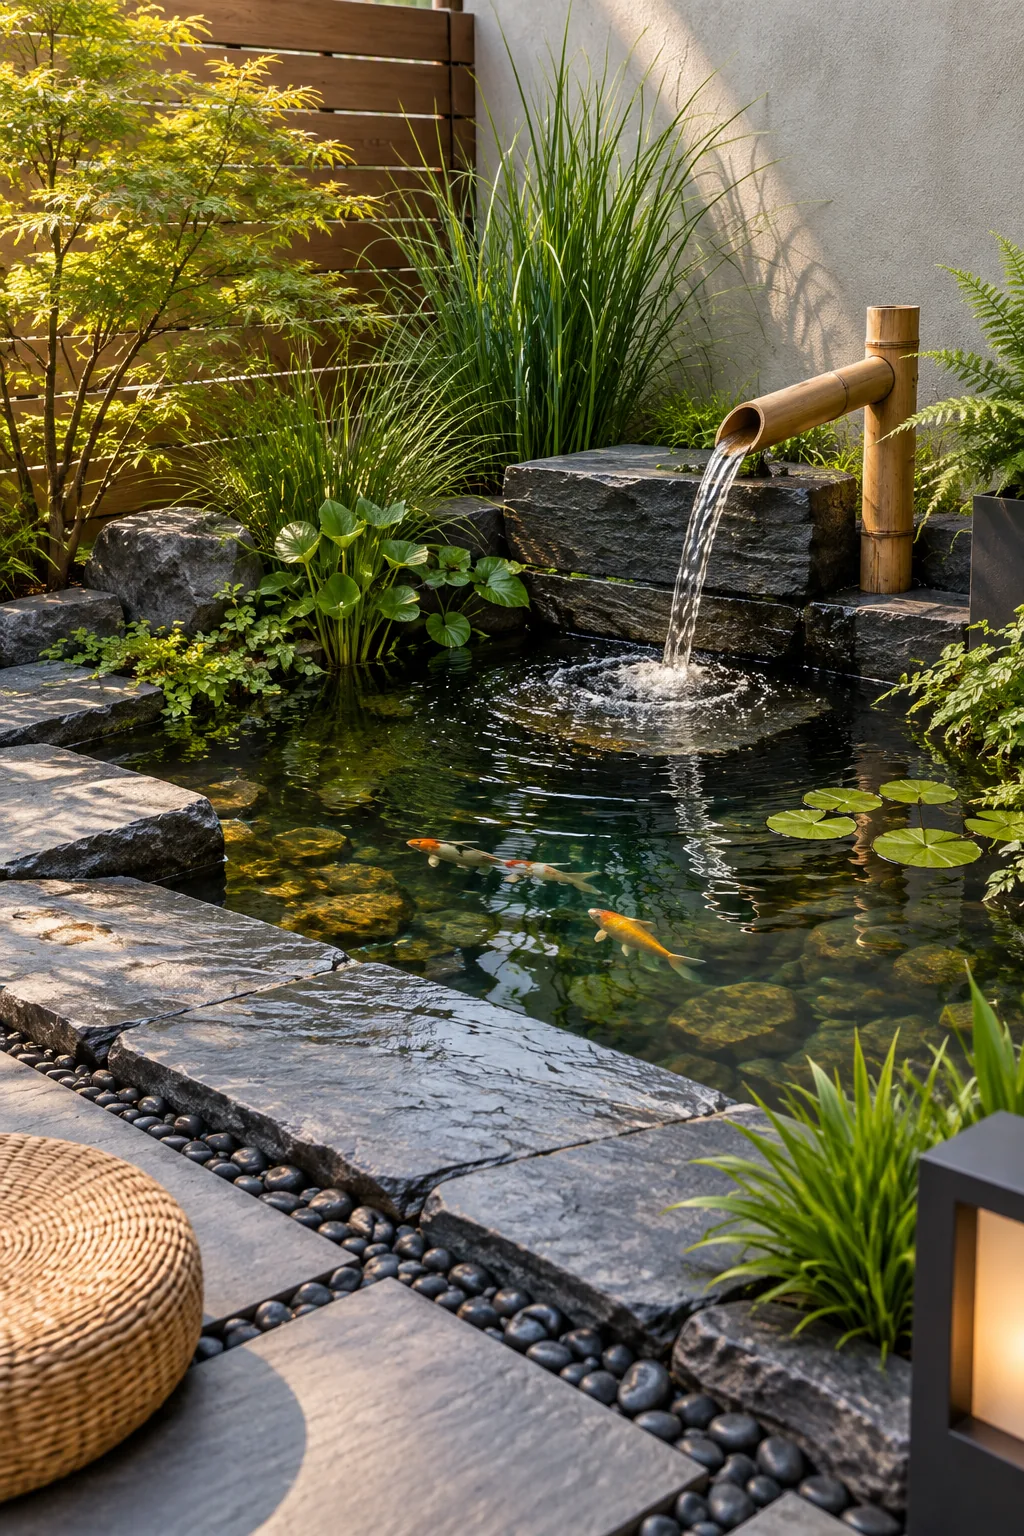
Cottage Garden Limestone Pond: Weathered limestone and an abundance of ferns blend this pond seamlessly into a lush garden. Let creeping groundcovers spill naturally over the edges.
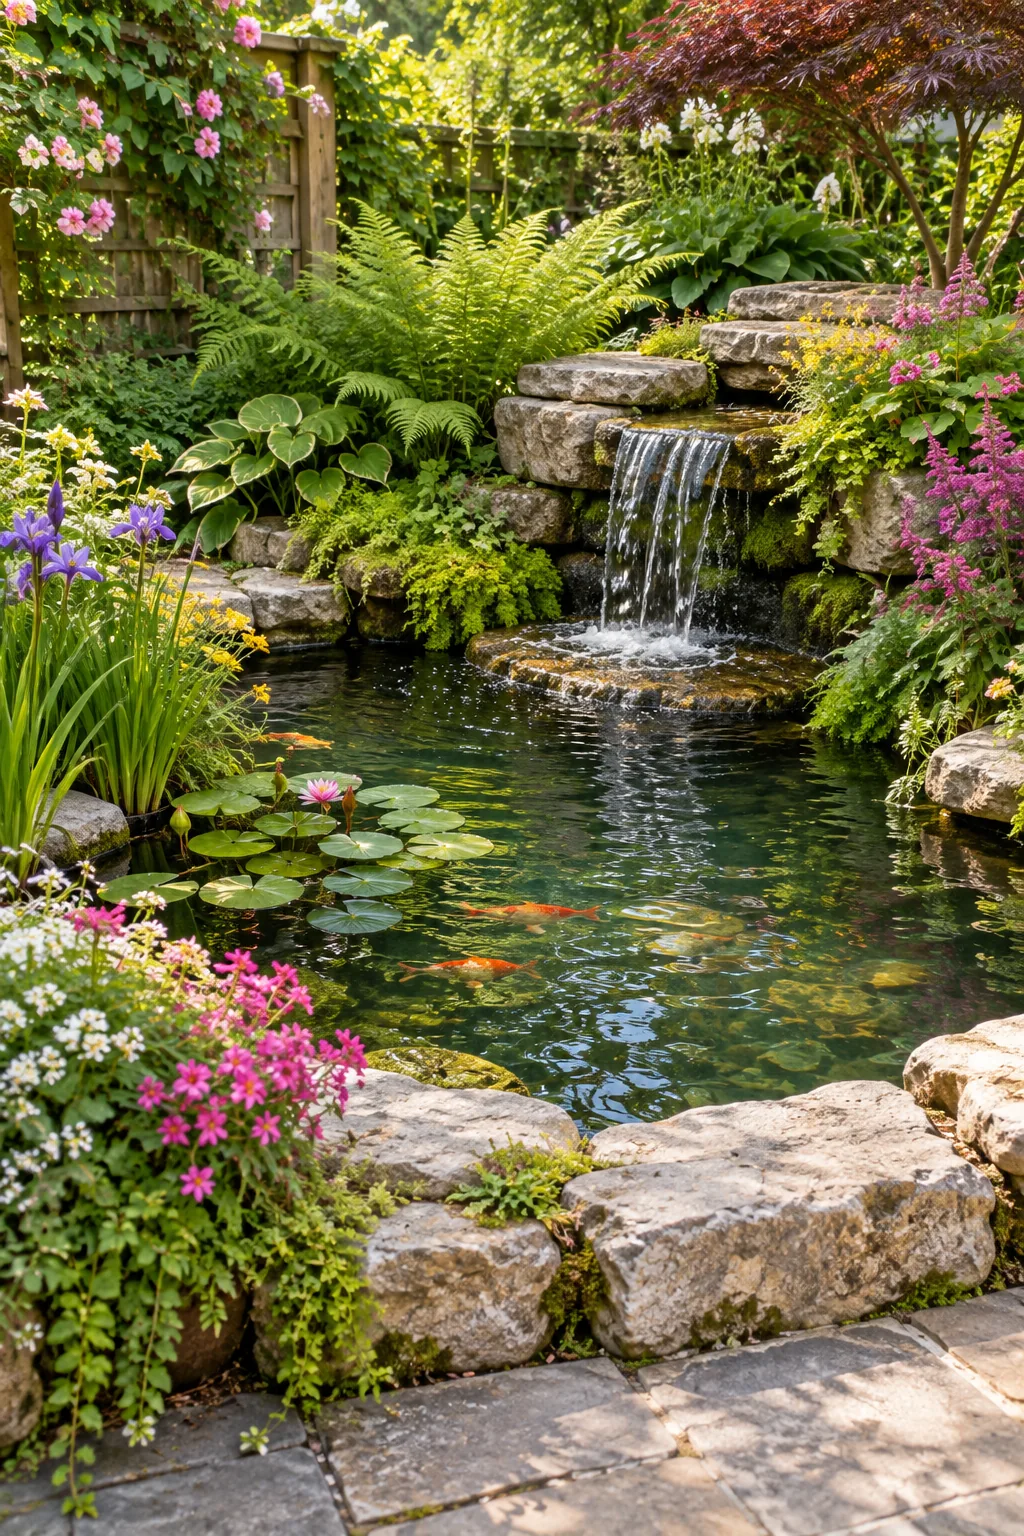
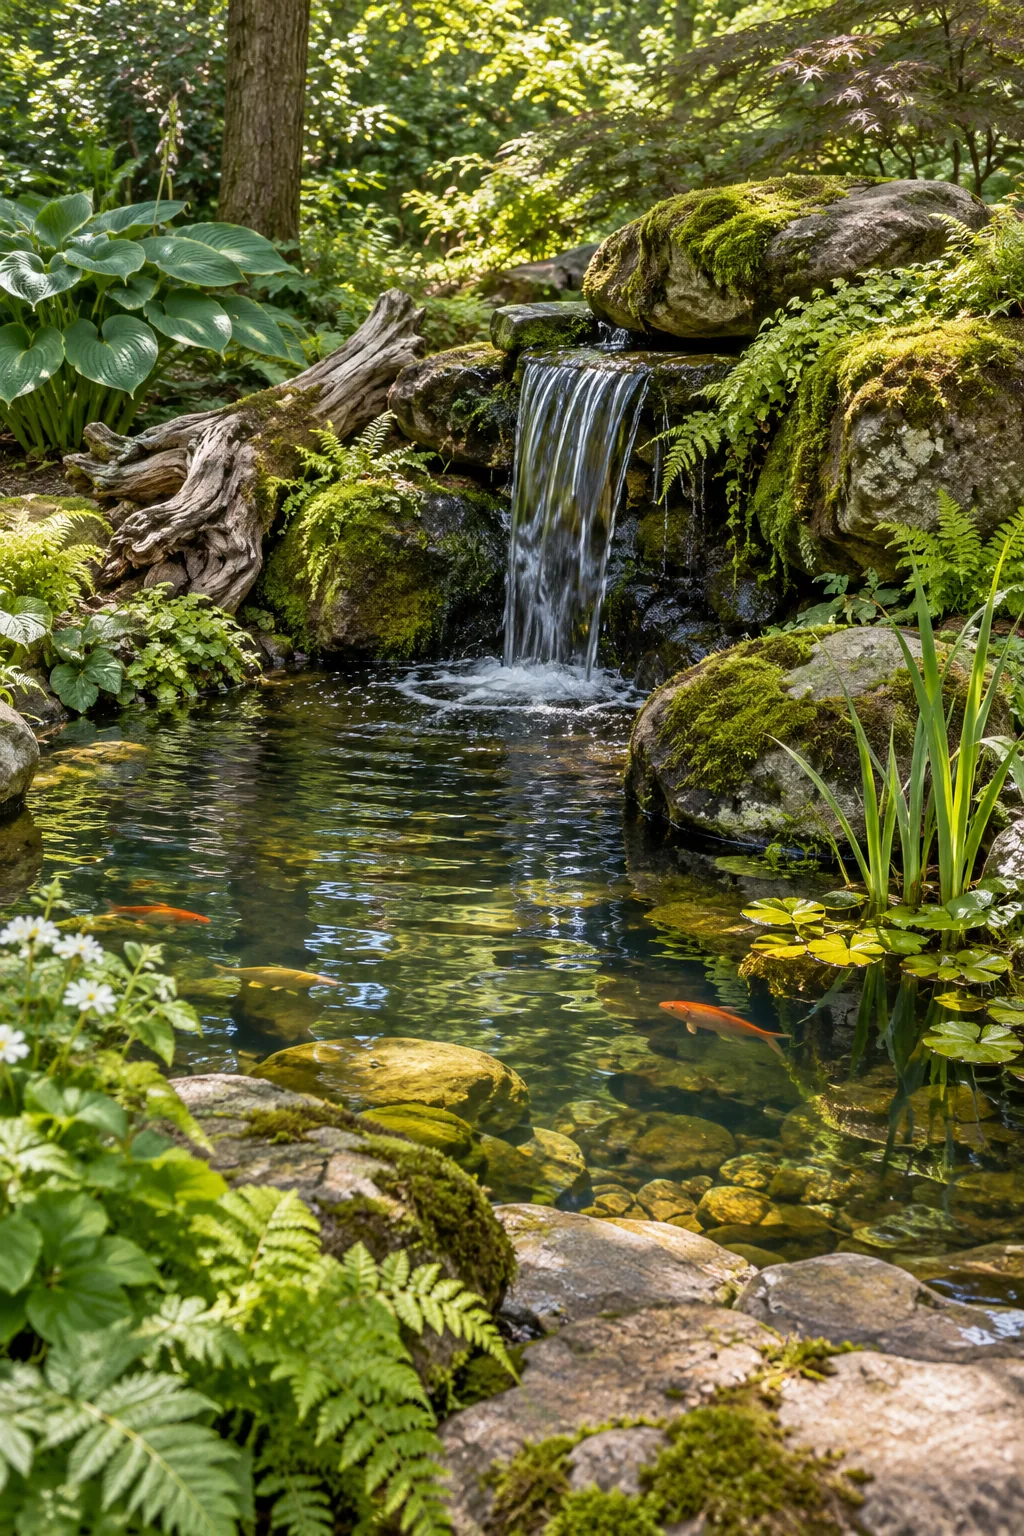
Rustic Woodland Boulder Pond: Chunky, moss-covered boulders and a piece of weathered driftwood give this feature a natural, wild appearance. Perfect for a shaded backyard corner.