
Closet to Wet Bar Conversion: Spacing & Plumbing Checklist
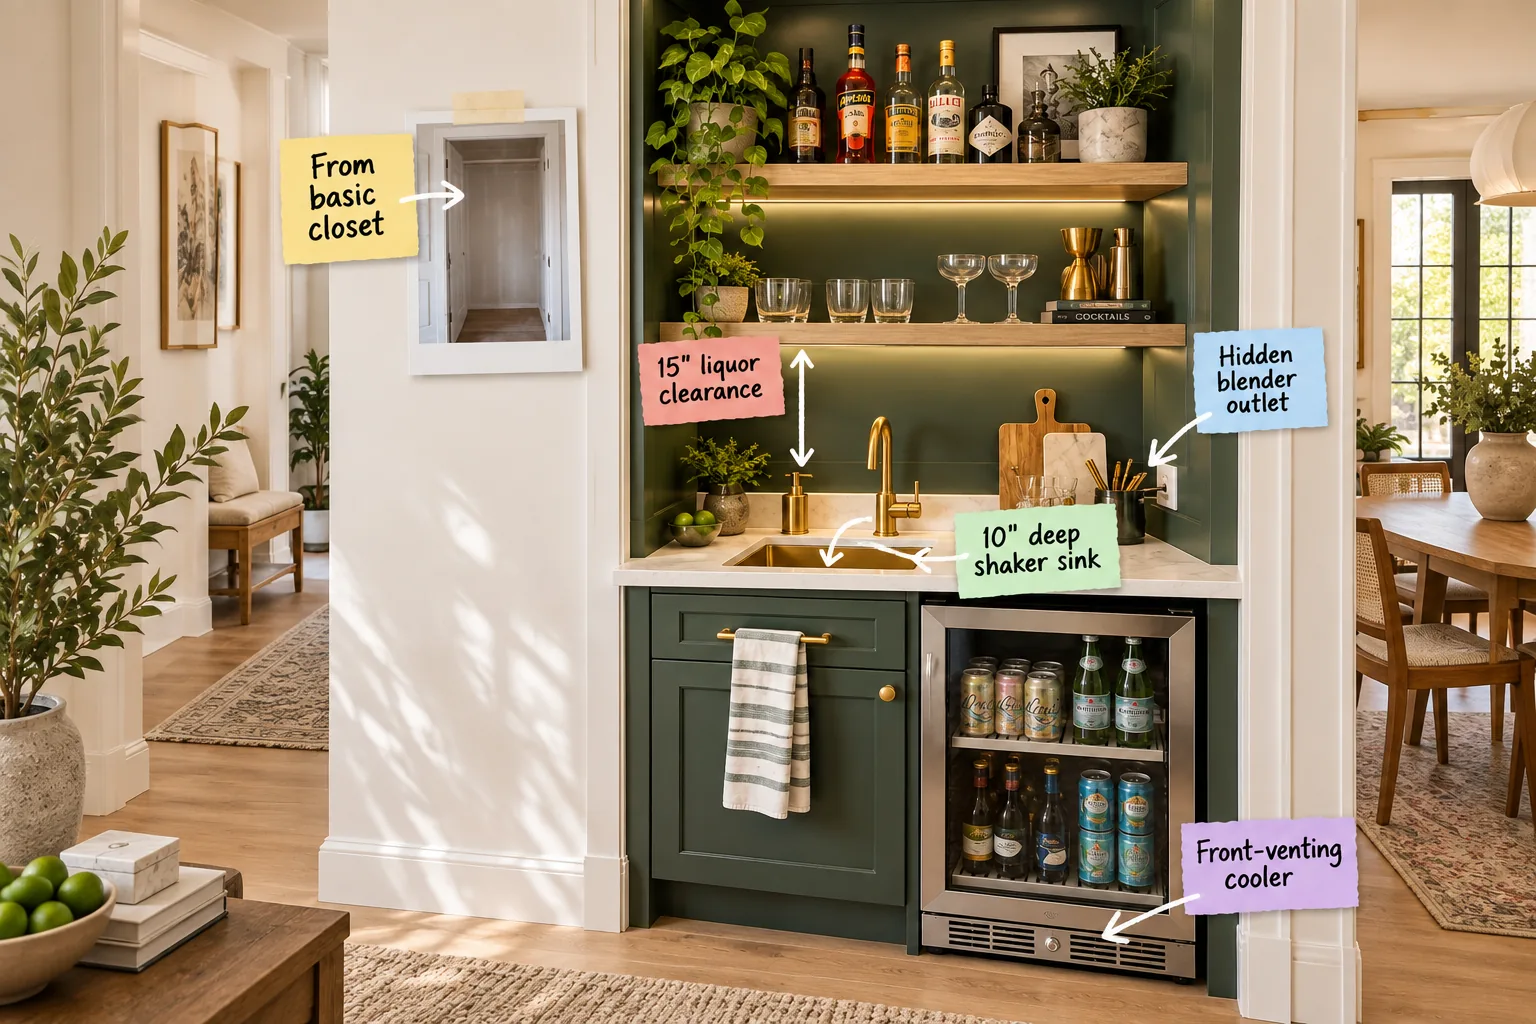
You will be able to map out the exact plumbing, electrical, and cabinet clearances needed to build a functional wet bar inside a standard closet using our complete Closet-to-Bar Spacing & Plumbing Checklist.
Assessing the Closet Footprint
Standard hallway closets are typically 24 inches deep, providing the ideal footprint for a high-end built-in look. This depth keeps the surrounding hallway completely clear of any protruding cabinetry or sharp countertop corners.
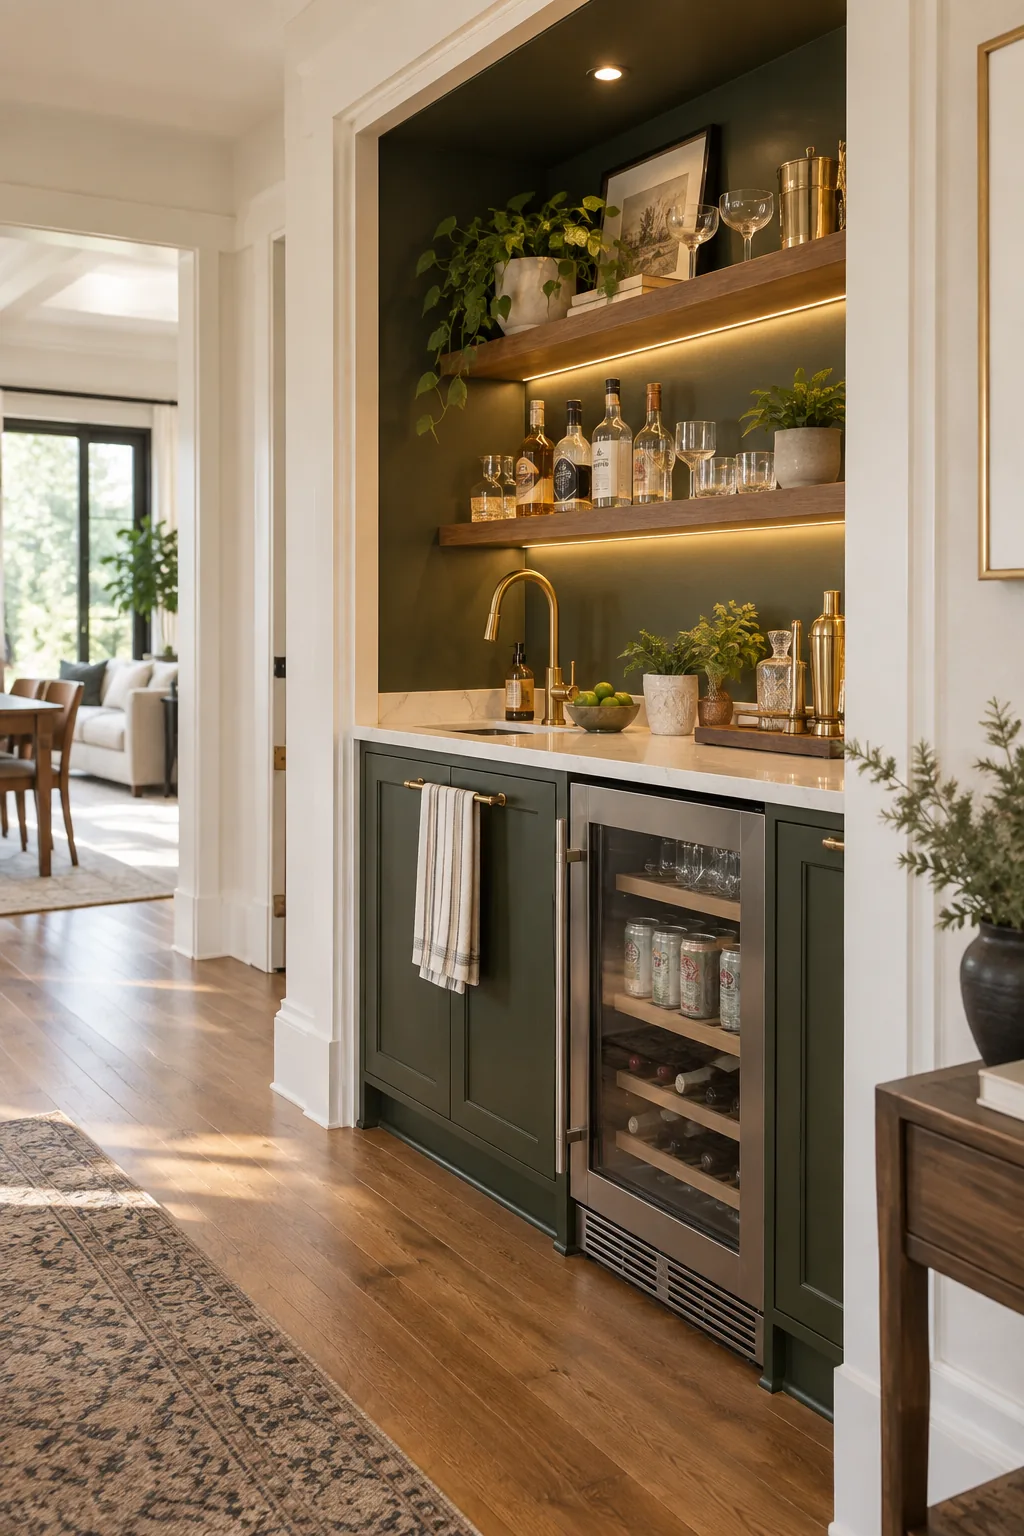
Once you remove the old bifold doors and the floor track, you must finish the raw drywall returns to create a clean, square alcove that perfectly frames your new cocktail station.
Demolition and Drywall Prep
Preparing the rough opening correctly ensures your new cabinets will slide in smoothly without binding against crooked wall studs. Taking the time to square the space prevents frustrating gaps when you eventually template for your solid surface countertops.
- Remove the existing baseboards and scrape away any leftover construction adhesive.
- Check the framing studs with a six-foot level to identify and correct any severe bowing.
- Install metal corner beads and mud the edges to establish a crisp 90-degree transition.
Drywall Moisture Protection
Applying a high-quality mold-resistant primer to the closet walls provides essential insurance against accidental splashes. This simple preparatory step protects the hidden drywall behind your cabinets from developing any costly water damage over time.
Framing the Alcove Returns
If your closet walls are significantly out of plumb, you may need to sister new framing lumber alongside the existing studs. This corrective step guarantees that your floating shelves will sit perfectly flush against the side walls without requiring unsightly caulk lines.
Flooring and Base Integration
Running your hallway flooring seamlessly into the closet footprint makes the bar feel like an intentional architectural feature rather than a hasty afterthought. Plan your material transitions carefully before installing the heavy base cabinets.
| Flooring Type | Transition Strategy | Clearance Needed |
|---|---|---|
| Hardwood | Lace in new boards | 3/4 inch |
| Ceramic Tile | Use a metal Schluter edge | 1/2 inch |
| Luxury Vinyl | Install a flush T-molding | 1/4 inch |
Trimming the Baseboards
Scribing your baseboards to fit perfectly against the new cabinet toe kicks creates a beautifully integrated transition. Using a coping saw for the inside corners guarantees a tight joint that will never separate during seasonal humidity changes.
Routing the Drain Line
A wet bar requires a dedicated drain line pitched at exactly 1/4 inch per foot to successfully tie into your home’s main waste stack. You must verify that your floor joists run in a favorable direction before committing to the final plumbing layout.
Supplying the Water Lines
Bringing hot and cold water to your new bar usually involves tapping into an adjacent bathroom or laundry room supply. I always recommend installing quarter-turn shutoff valves right at the source for immediate emergency access.
Ventilation for the Beverage Cooler
The mechanical necessity of using a zero-clearance, front-venting cooler cannot be overstated, as standard mini-fridges will quickly overheat in a tight enclosure; in my own Denver home, ignoring this rule fried a brand-new fridge in just three months.
Choosing the wrong appliance is the most expensive error you can make in a tight built-in project.
Sourcing the Ice Maker
If you decide to include a dedicated clear ice maker alongside the beverage fridge, you must plan for an independent drain pump. This specialized appliance requires its own dedicated electrical circuit to safely handle the heavy continuous power draw during operation.
Securing the Base Cabinets
Closet floors are rarely level, so you must establish a perfectly horizontal line across the back wall at exactly 34.5 inches above the finished floor. Use durable composite shims under the cabinet boxes to prevent any settling over time.
Selecting the Cabinet Finish
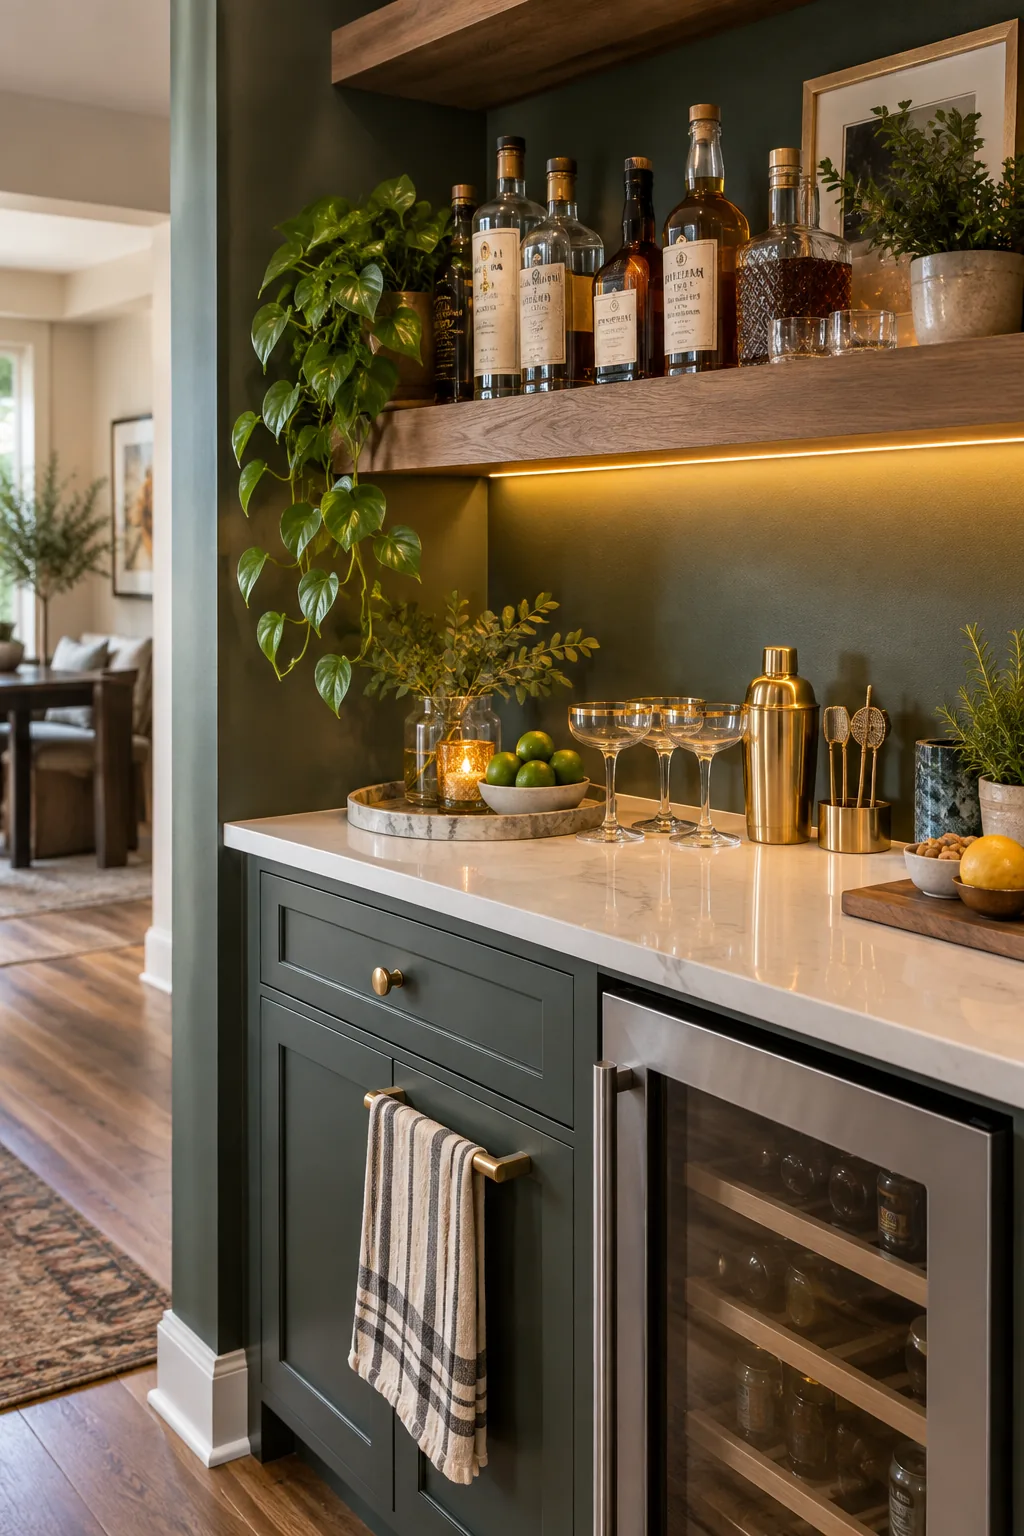
Choosing a deep, saturated paint color like forest green or navy blue instantly elevates the former closet into a sophisticated destination. A durable satin sheen is highly recommended because it wipes clean easily after a messy evening of entertaining.
Sizing the Hardware
Selecting low-profile cabinet pulls prevents your clothes from catching on the hardware as you walk past the alcove. I prefer sleek edge pulls that mount to the top of the doors for a clean, minimalist aesthetic.
Plumbing Access and Sink Depth
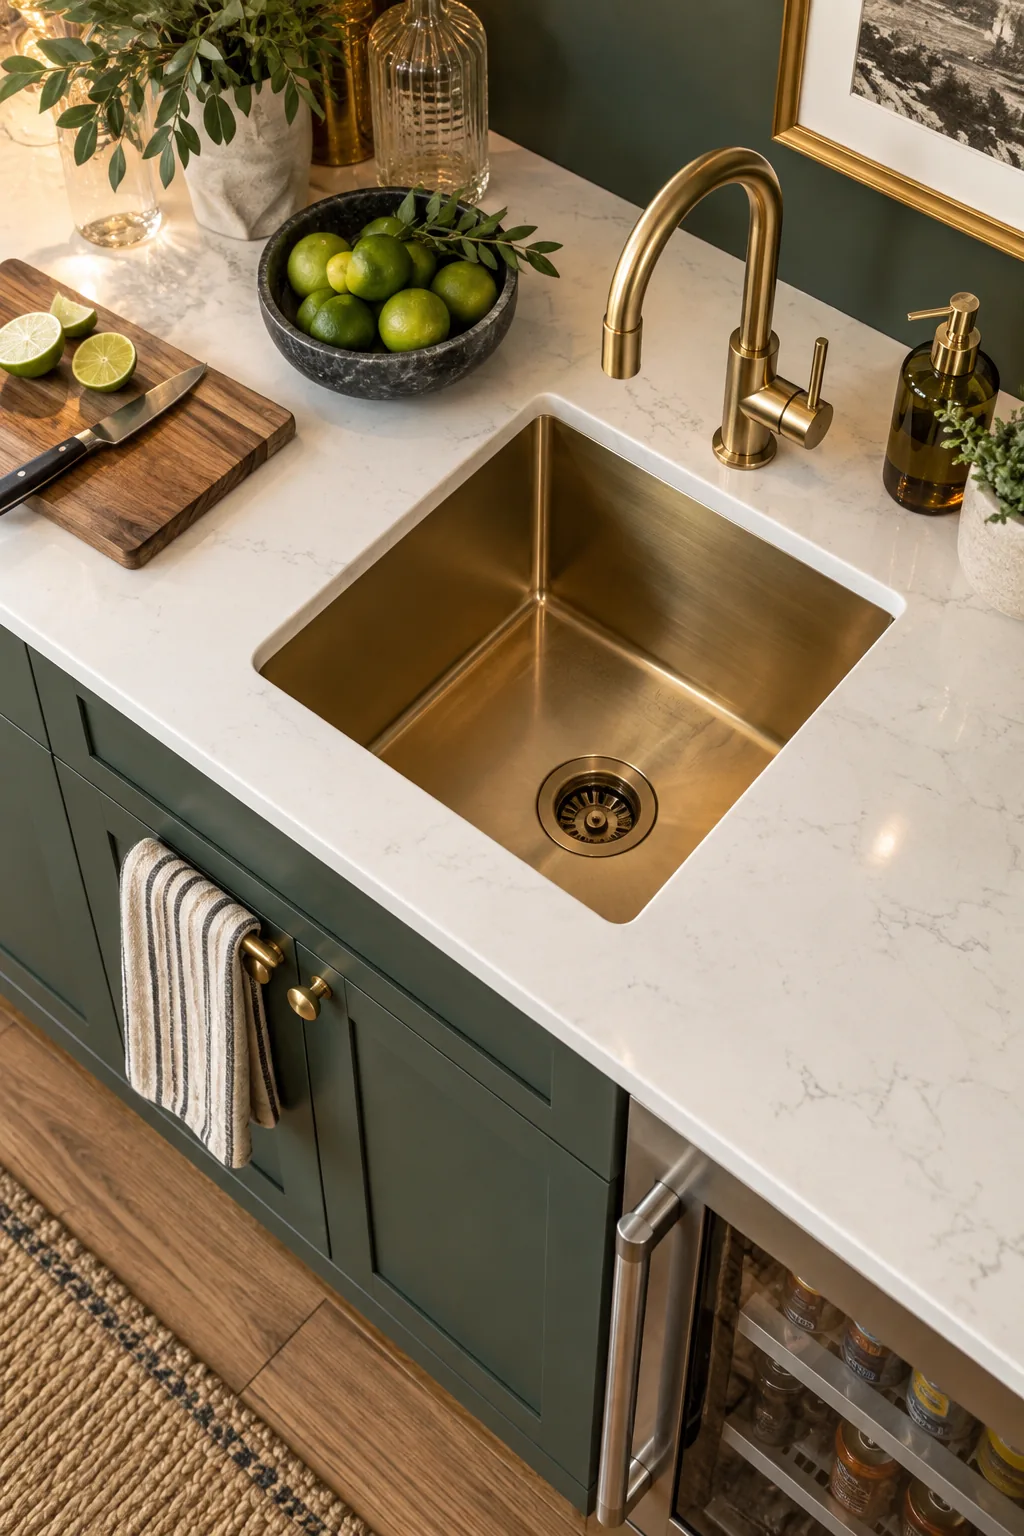
A 10-inch deep sink is critical for washing tall barware without splashing water onto the surrounding compact counter; I learned this the hard way when a shallow basin ruined my client’s fresh grasscloth wallpaper.
Tapping into adjacent water lines requires careful routing through the framing to keep the shutoff valves easily accessible inside the narrow sink base cabinet.
Choosing the Sink Material
A solid brass or hammered copper sink adds incredible warmth and visual interest to the dark cabinetry. These living finishes will naturally patina over time, giving your wet bar a wonderfully layered and authentic historical character.
Planning the Cabinet Layout
Centering your sink base creates a symmetrical focal point, leaving balanced room on either side for the beverage cooler and a narrow drawer bank. This thoughtful arrangement maximizes your usable counter space for prepping garnishes.
Managing the Trash Pull-Out
Sacrificing one narrow base cabinet for a concealed trash pull-out is absolutely essential for managing spent citrus wedges and empty bottles. A soft-close mechanism keeps the disposal process feeling incredibly smooth and completely out of sight.
Hiding the Electrical Outlets
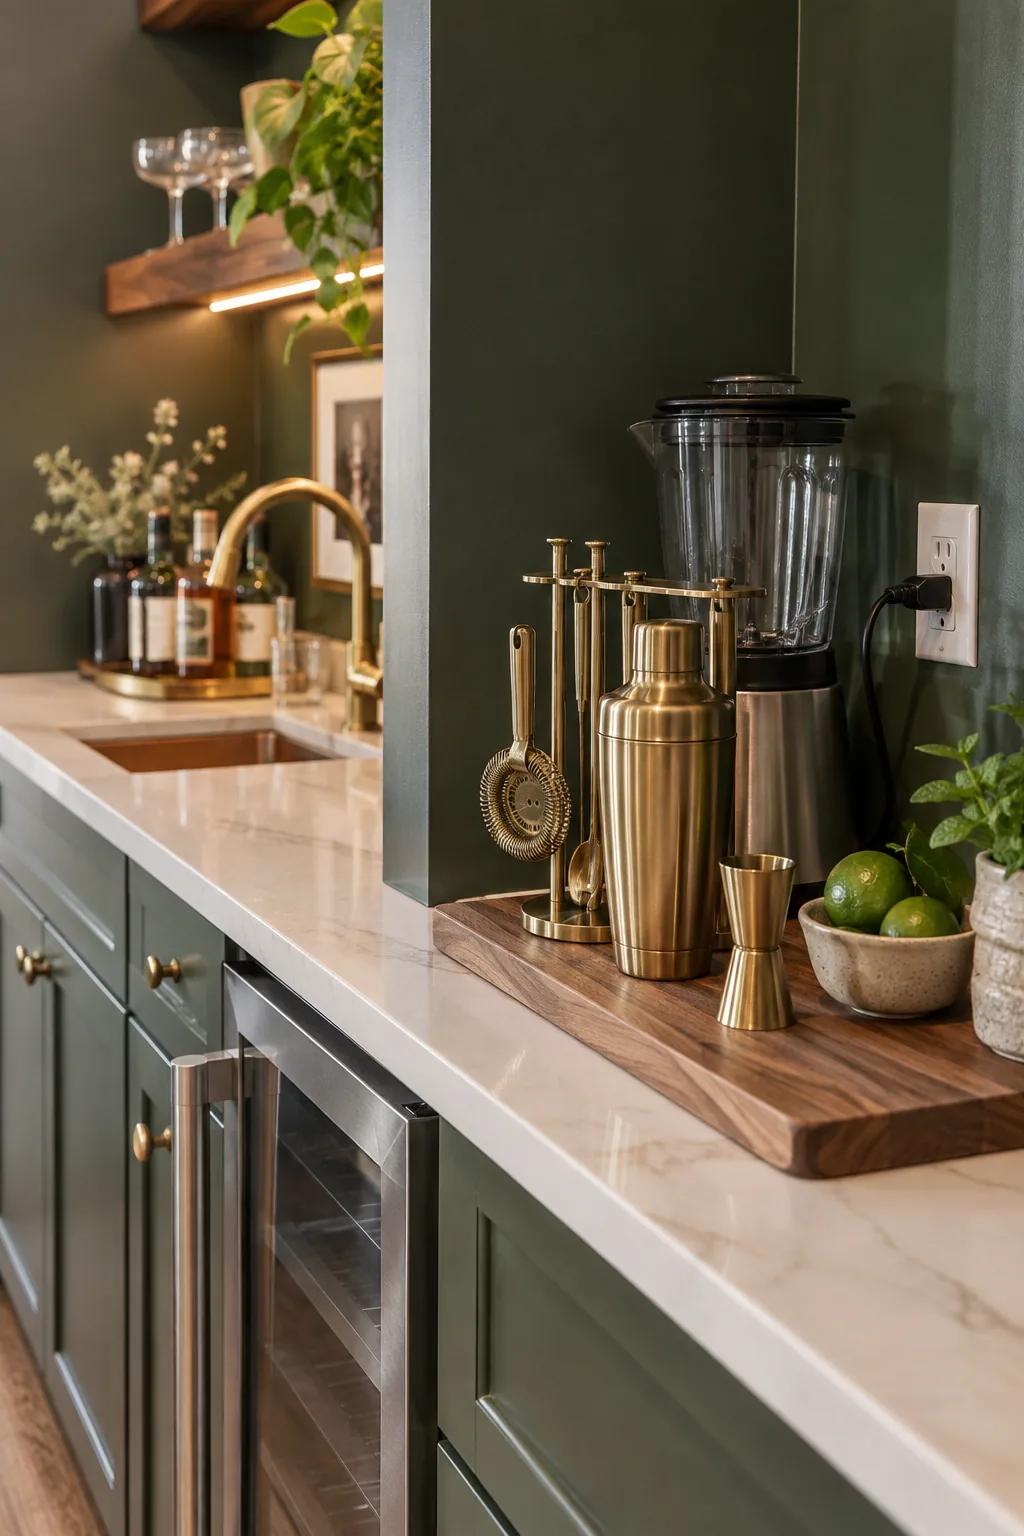
Mounting required electrical outlets sideways on the return walls preserves a seamless, high-end look for your main decorative backsplash. This discreet placement provides power exactly where you need it for blenders and ice makers.
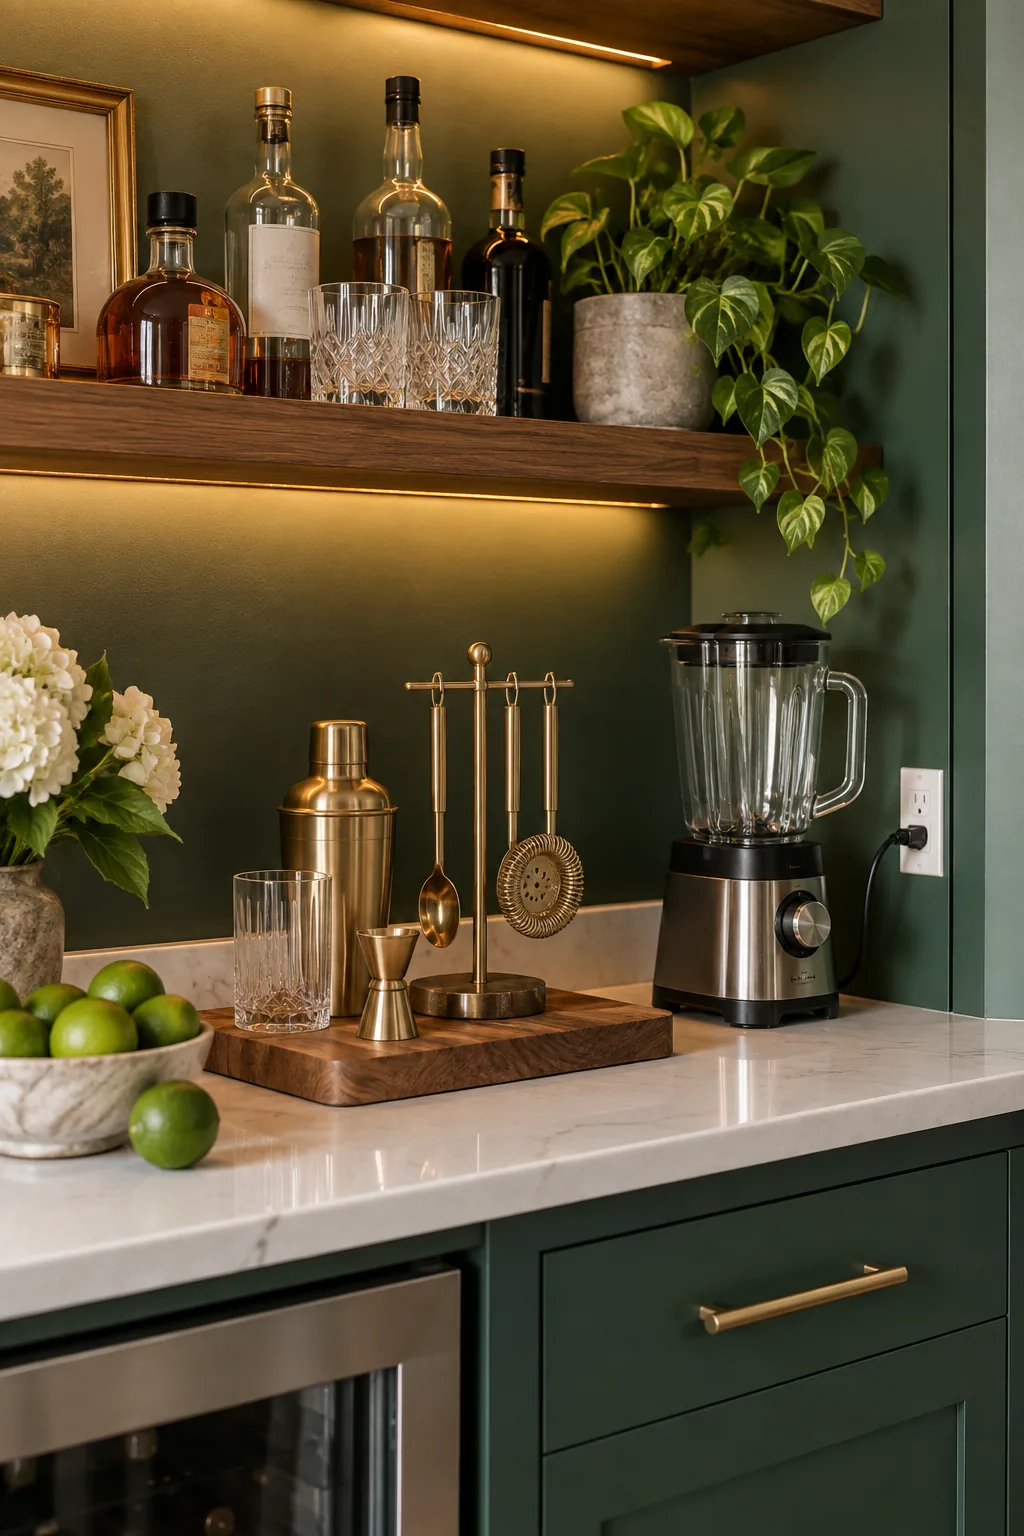
Building codes mandate countertop receptacles, but utilizing the side walls satisfies this safety requirement without interrupting your beautiful tile work.
Sourcing the GFCI Protection
Because the outlets are located near a water source, every receptacle in the bar area must feature dedicated GFCI protection. Installing the reset button on the main circuit breaker keeps the wall plates looking exceptionally clean and modern.
Countertop Selection and Overhangs
Specify a standard 1.5-inch front overhang to protect the cabinet doors from inevitable spills while mixing drinks. Choosing a durable quartz or quartzite surface prevents acidic citrus juices from etching the beautiful finish.
Sealing the Countertop
Natural stone surfaces demand a penetrating sealer to block the acidic compounds found in fresh lemons and limes. Applying this protective barrier immediately after installation keeps your beautiful marble or quartzite looking absolutely pristine for years.
Selecting the Faucet Height
Measure your chosen gooseneck faucet carefully to ensure the spout clears your tallest pitchers while leaving enough room below the lowest shelf. A single-handle design is much easier to operate when your hands are full of glassware.
Backsplash Installation
Running your tile backsplash all the way to the ceiling draws the eye upward and makes the formerly cramped closet feel incredibly spacious. Using a vertical straight-stack pattern amplifies this architectural illusion.
Grouting the Tile
Applying a high-performance epoxy grout prevents red wine splashes from permanently staining the lines behind the sink. This durable material requires no periodic sealing, making your new cocktail station virtually maintenance-free.
Installing the Door Casing
Framing the alcove opening with wide, architectural casing neatly hides the transition between the hallway and the bar interior. Painting this trim to match your baseboards visually anchors the new installation into the home’s existing aesthetic.
Organizing the Drawers
Installing custom wooden dividers in the narrow base drawers keeps your bottle openers, jiggers, and cocktail strainers perfectly organized. A dedicated spot for every tool ensures you can mix drinks efficiently without frantically searching for the right equipment.
Under-Cabinet Lighting Prep
Route your low-voltage lighting wires through the drywall before installing the backsplash tile so you can seamlessly illuminate the work surface later. A dedicated wall switch makes it easy to set the perfect mood lighting.
Securing the Shelf Brackets
Heavy liquor bottles require serious structural support, so you must anchor your steel shelf brackets directly into the wooden wall studs. Using heavy-duty toggle bolts as a backup ensures the shelves will never sag under the weight.
Glassware Spacing Rules
Grouping your heavy rocks glasses on the lower shelves and delicate coupes up high maintains visual balance while keeping your most-used items within easy reach. Storing stemware upside down prevents annoying dust from settling inside the bowls.
Styling the Bar Surface
Grounding your countertop with a beautiful brass or marble tray corrals your bitters, stirrers, and bar tools into one intentional vignette. Adding a small potted plant introduces a necessary touch of organic warmth to the functional space.
More Closet-Turned-Bar Ideas
Find the perfect finishes for your new cocktail alcove.
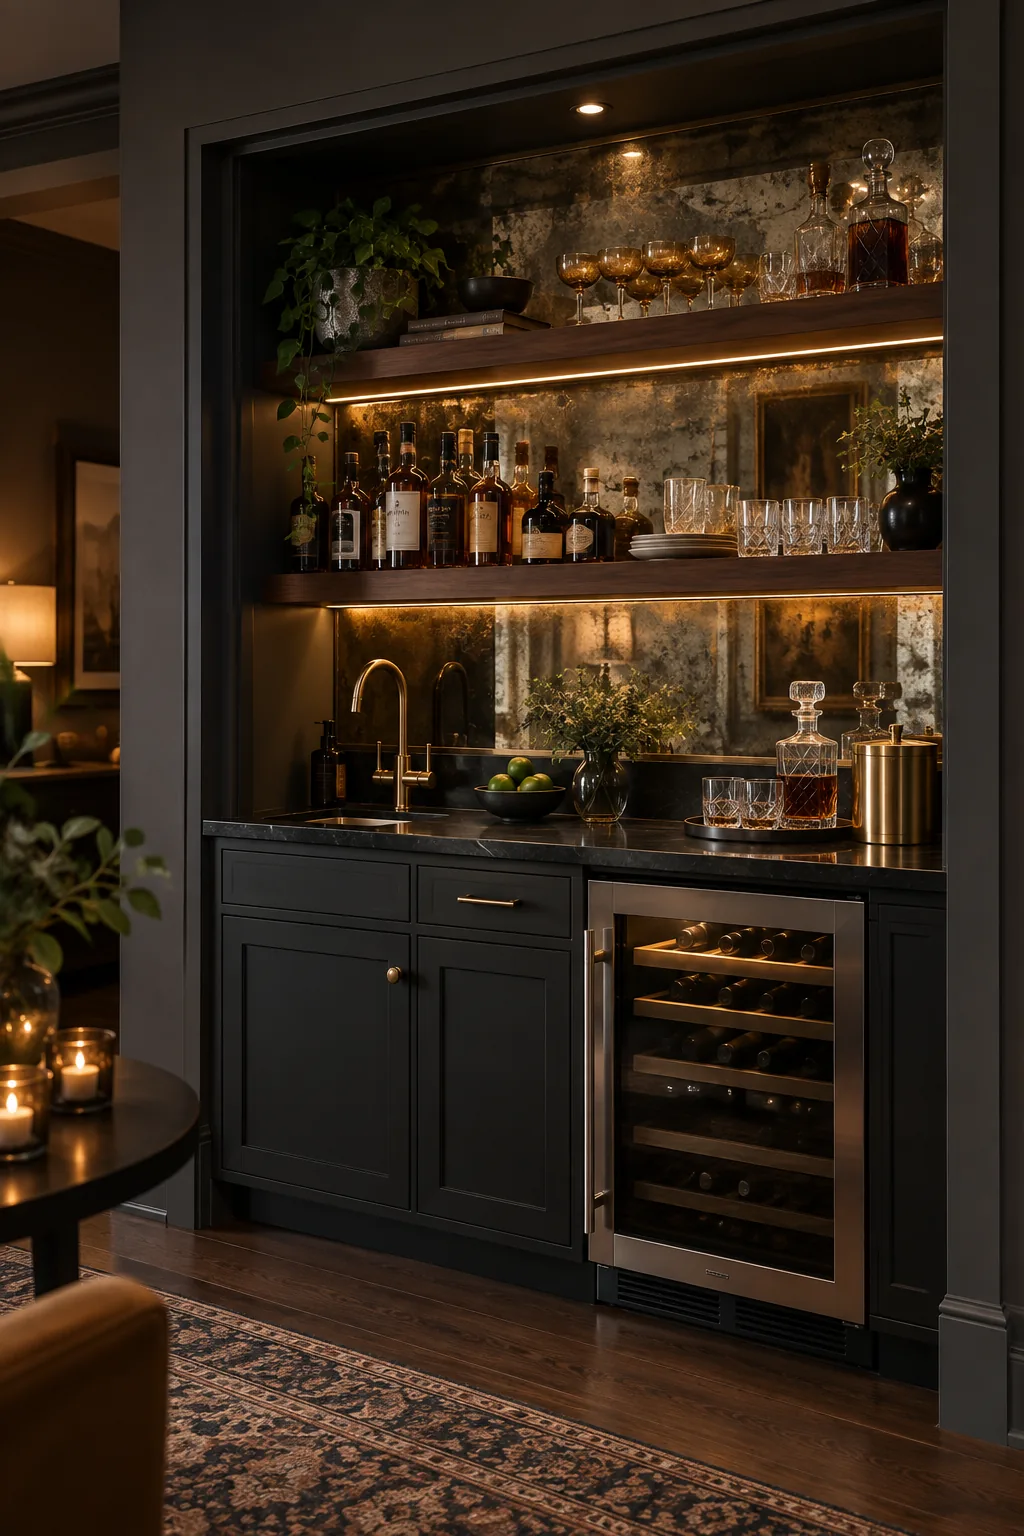
Moody charcoal and walnut: An antique mirrored backsplash doubles the visual depth of a shallow closet space while reflecting warm ambient light.
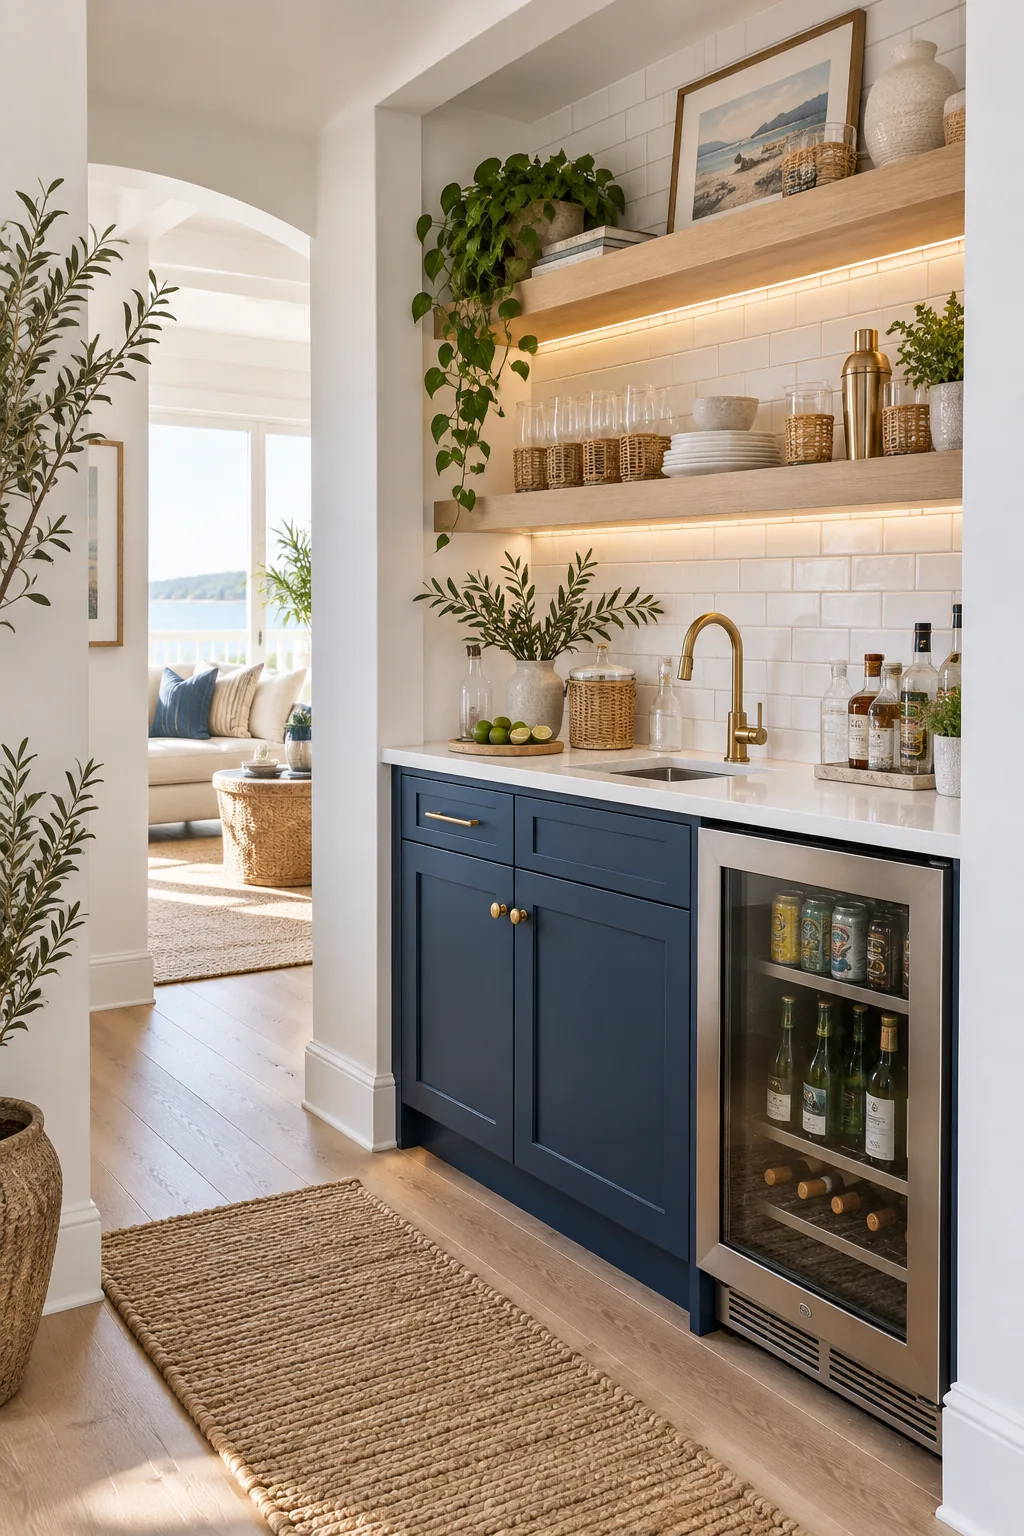
Coastal blue and rattan: Crisp white subway tile and woven rattan accessories bring a breezy, approachable feel to a high-traffic hallway bar.
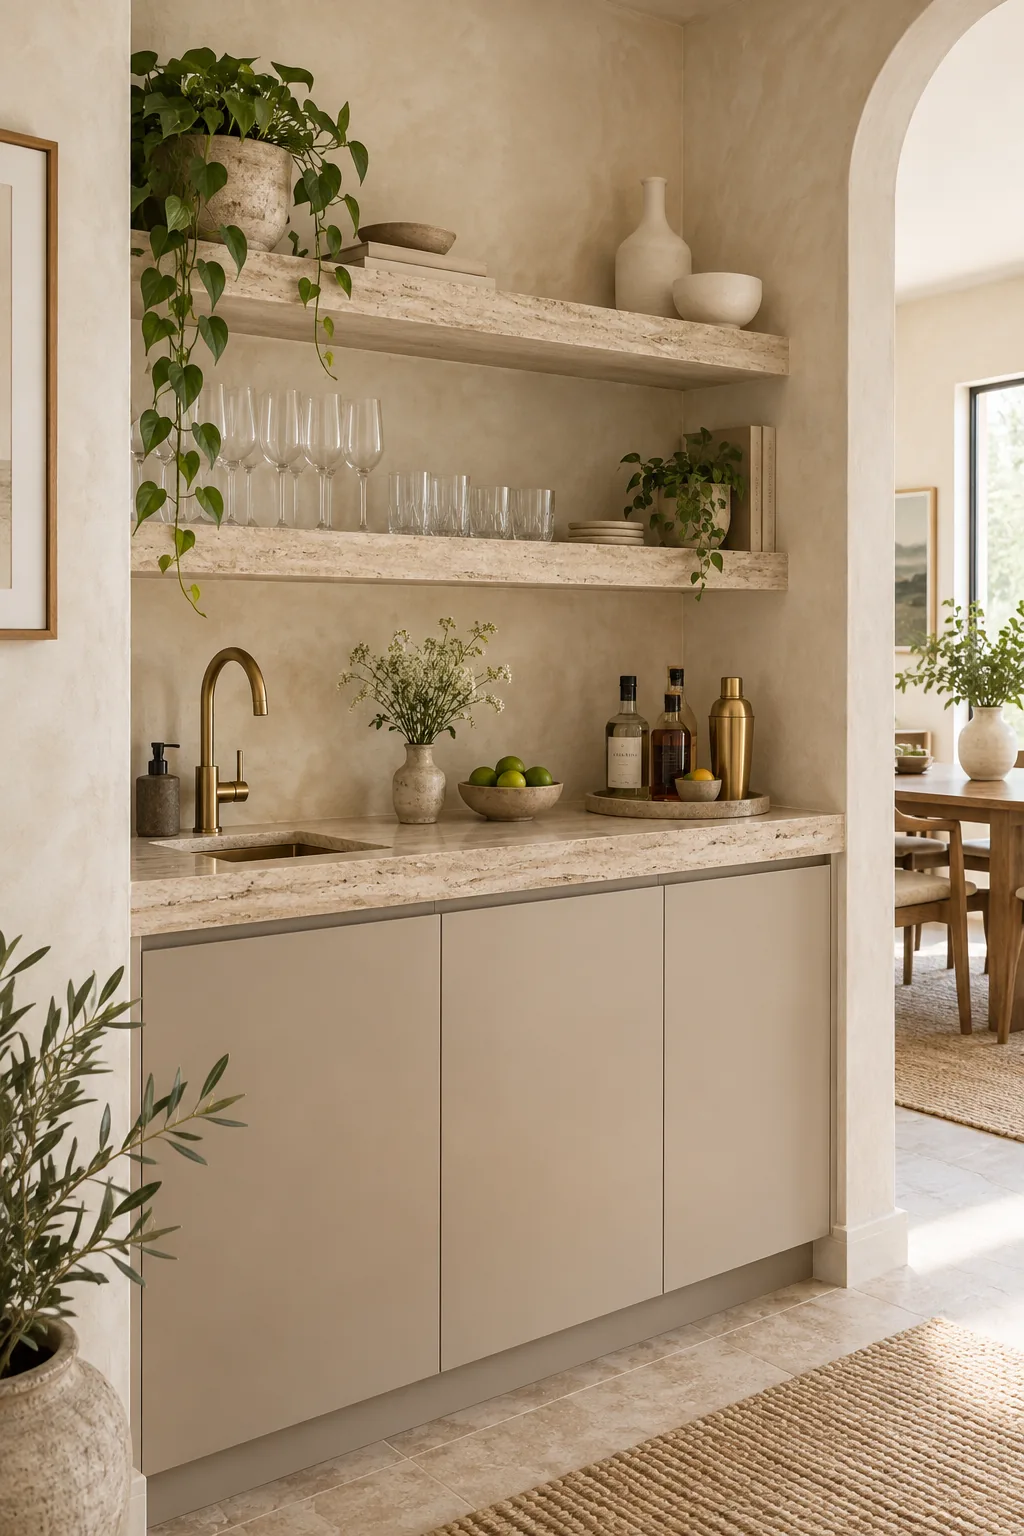
Minimalist plaster and travertine: Skip the tile entirely and wrap the alcove in waterproof Roman clay for a seamless, textured architectural finish.
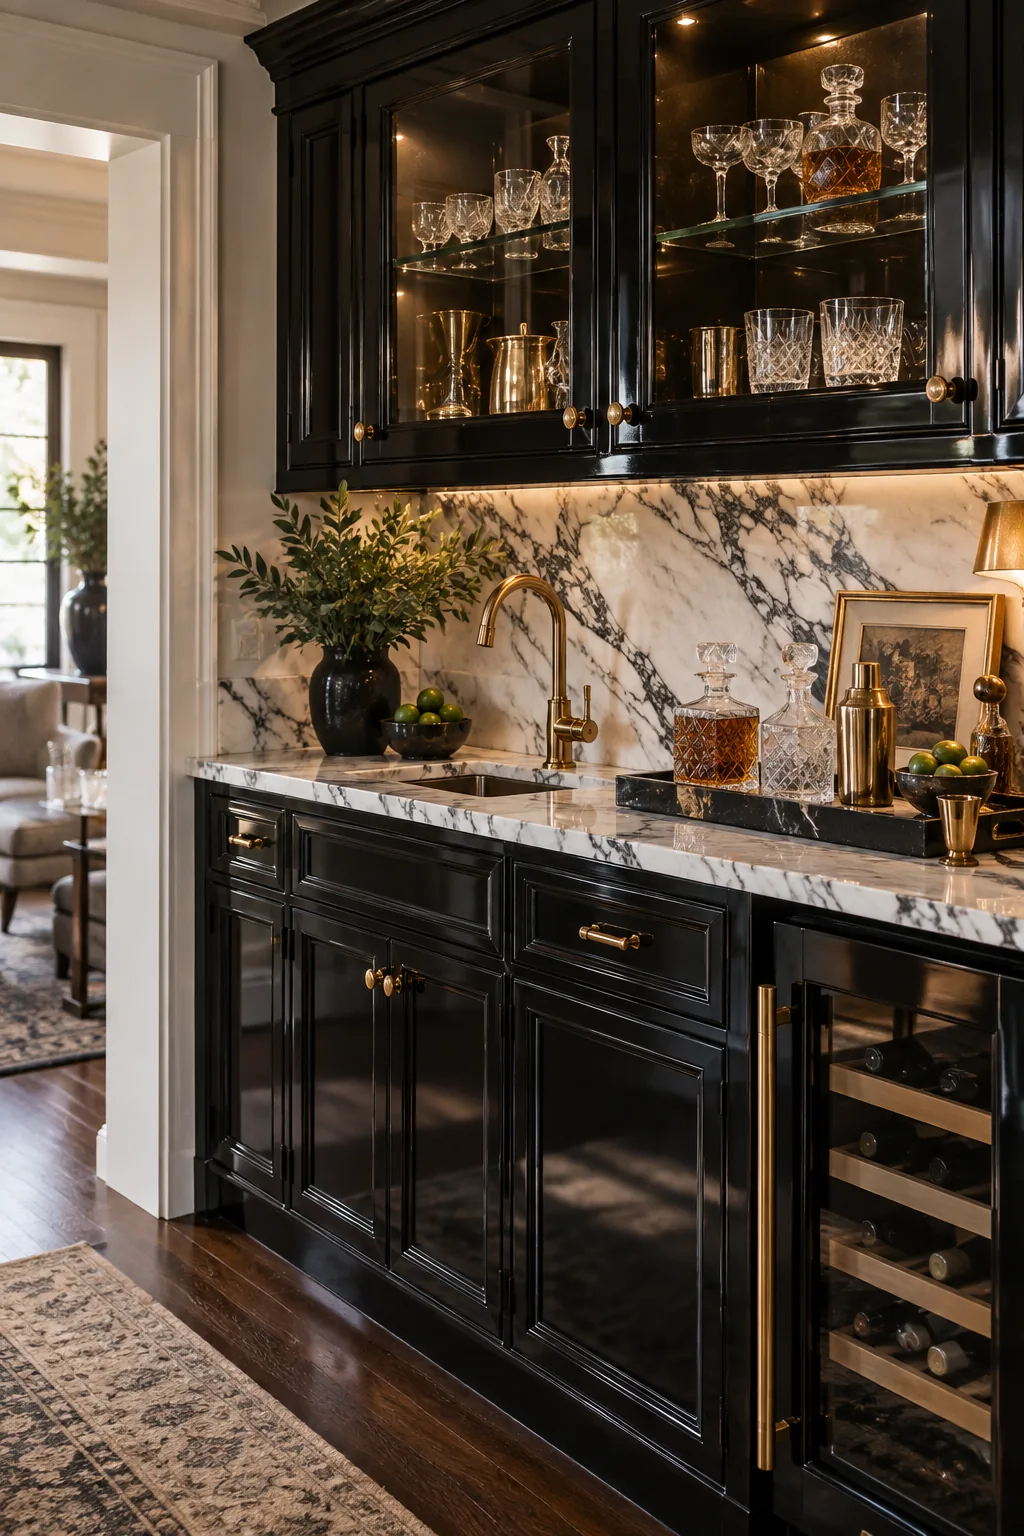
Classic black and marble: Running a heavily veined marble slab up the entire back wall creates an instantly luxurious focal point.
Floating Shelves & The Spacing Cheat Sheet
You must leave exactly 15 inches of vertical clearance below the first shelf to comfortably accommodate standard liquor bottles and tall cocktail shakers. This precise measurement prevents your favorite spirits from scraping against the wood.
Keep this master spacing checklist handy when marking your wall studs and placing your rough-ins.