
Home Bar Backsplash Ideas: The Tile & Spacing Cheat Sheet
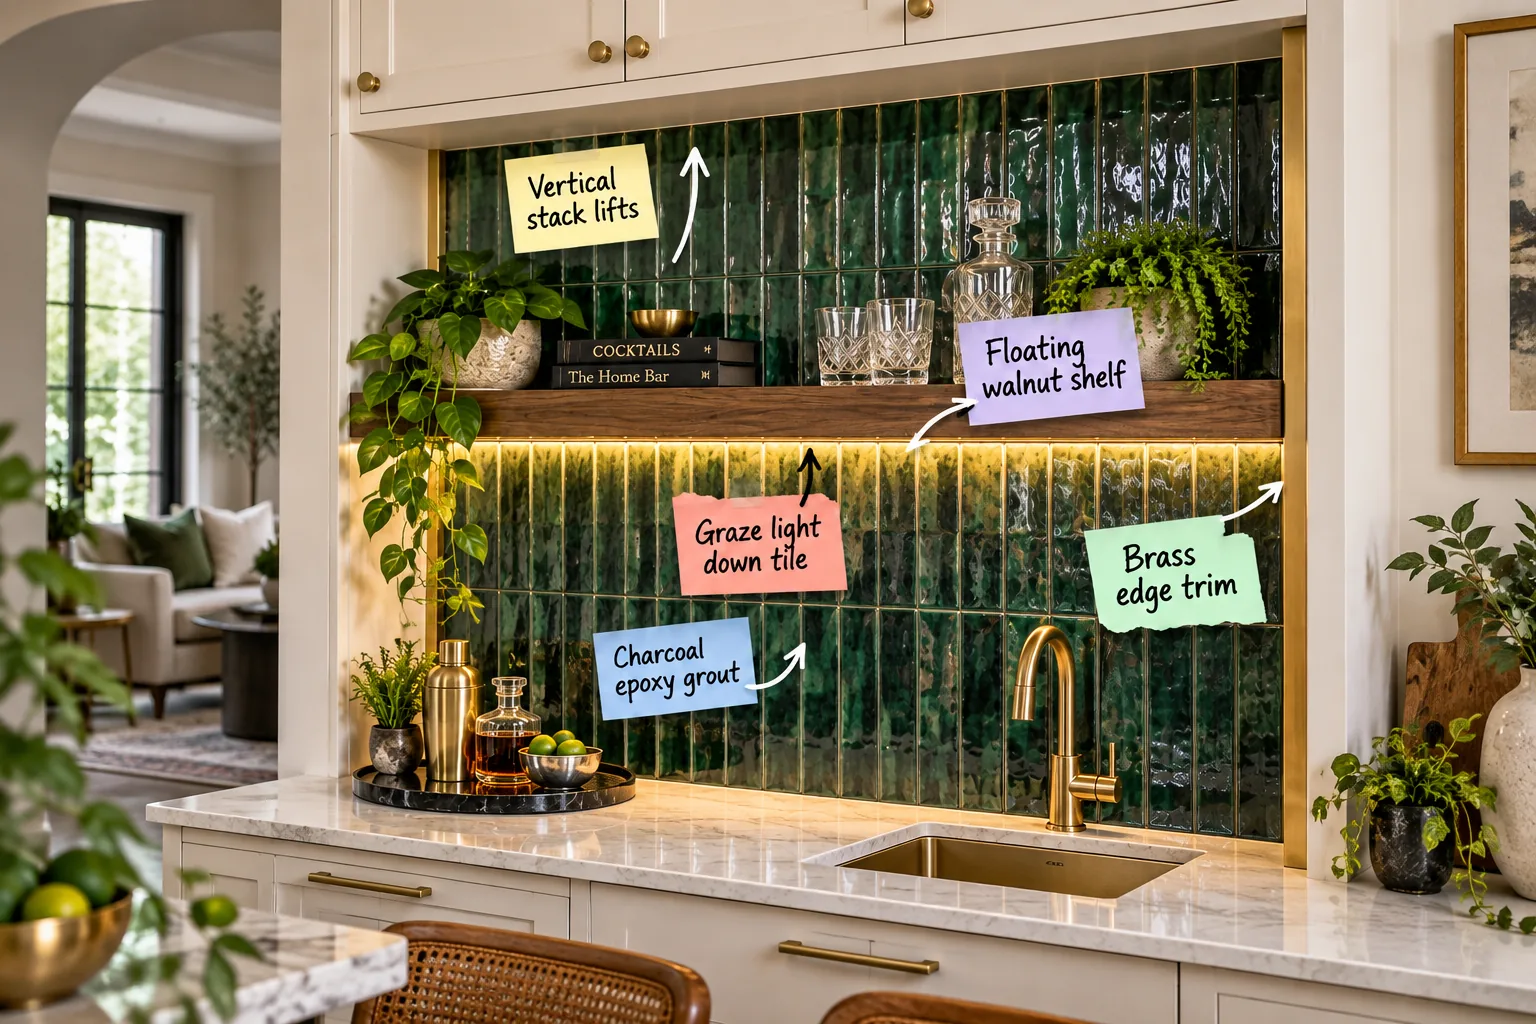
Design a flawless wet bar with this complete guide to tile layout, shelf placement, and exact spacing measurements. By the end of this walkthrough, you will have the complete bar tile and spacing cheat sheet needed to install a professional-looking home bar backsplash.
Elevating the Alcove with a Vertical Stack
In tight bar alcoves, laying tiles in a vertical straight-set pattern draws the eye upward to make the ceiling feel significantly taller. This layout immediately transforms a cramped under-cabinet zone into a deliberate, architectural niche that feels expansive.
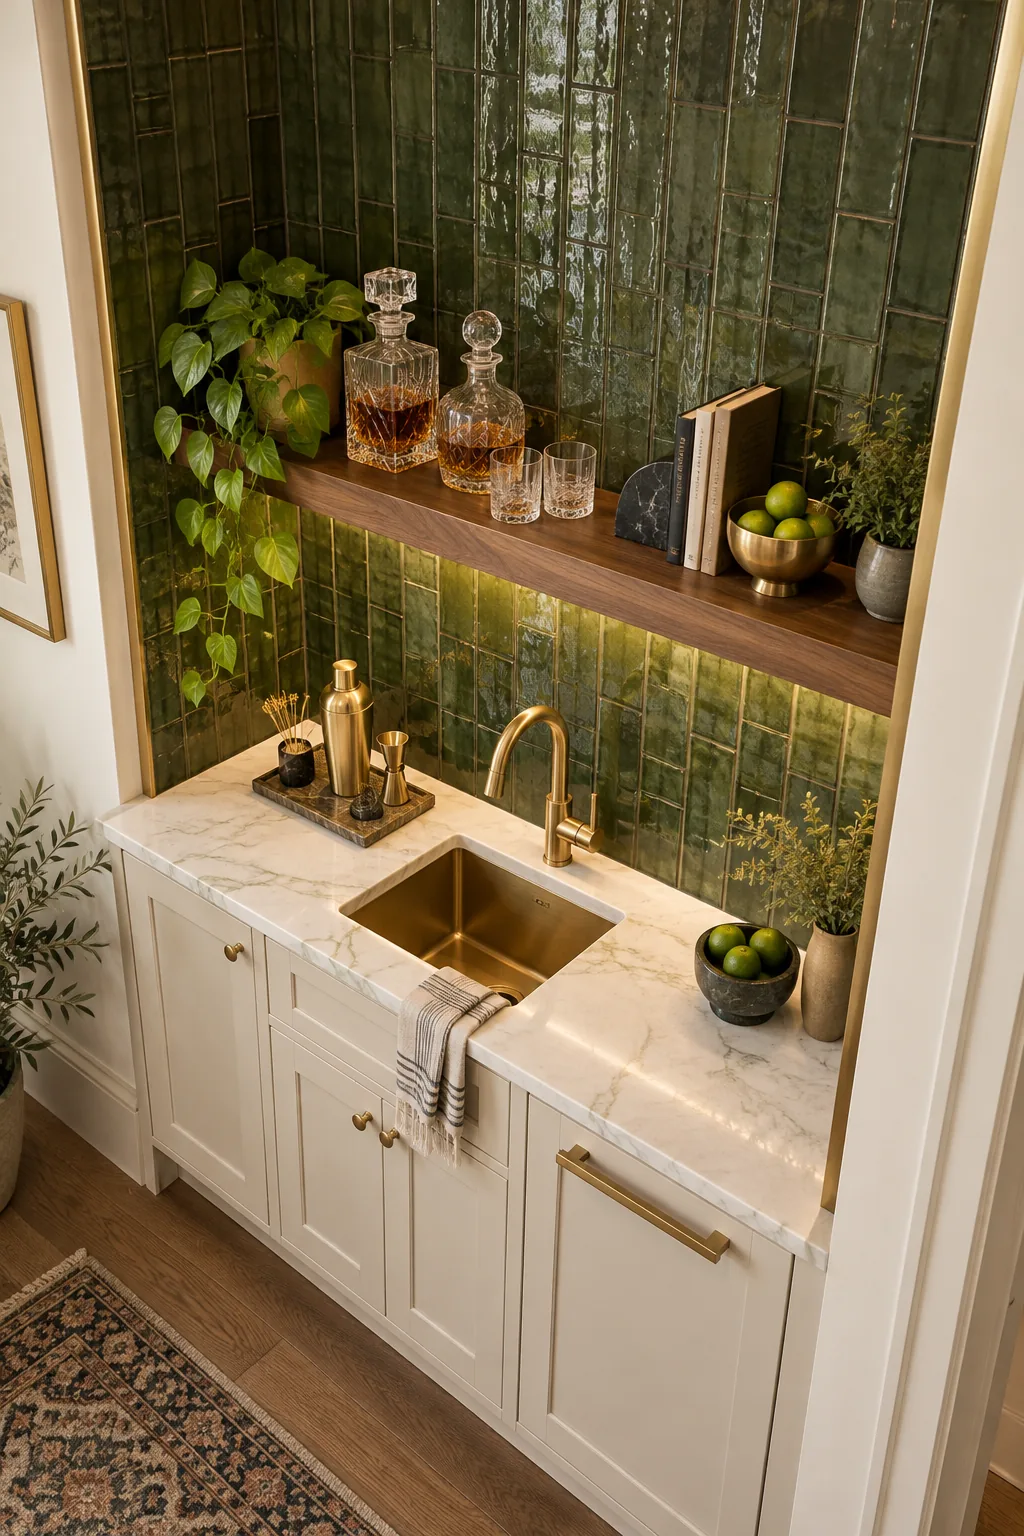
To get the best height-to-width ratio without overwhelming the space, I recommend using standard 2×8 or 2×10 inch subway tiles. These slender proportions visually lift the alcove much more effectively than traditional brick-set squares ever could.
Calculating the Tile Yield for Tight Spaces
Ordering the correct amount of material prevents dye-lot mismatches if you run short mid-project. Because vertical straight-set patterns require precise cuts around the countertop and upper cabinets, I always calculate a 15 percent overage for wet bar installations.
| Tile Size | Coverage Per Box | Recommended Overage | Ideal For |
|---|---|---|---|
| 2×8 inch | 5.5 sq ft | 15 percent | Low ceilings |
| 2×10 inch | 6.2 sq ft | 15 percent | Standard niches |
| 3×12 inch | 10.0 sq ft | 20 percent | Wide backsplashes |
| 4×4 inch | 11.0 sq ft | 10 percent | Historic styling |
Measuring your total square footage and consulting this coverage breakdown ensures you secure enough matching tiles from a single manufacturing batch. This preparation guarantees your backsplash maintains a perfectly uniform color and glaze consistency from counter to ceiling.
Pre-Sealing Porous Ceramic Glazes
Before you even mix your adhesive, applying a penetrating sealer to crackle-glazed or handmade ceramic tiles protects them from installation damage. This invisible barrier stops dark grout pigments from bleeding into the delicate clay body and permanently staining the face.
Sealing the Look with Charcoal Epoxy Grout
Wet bars demand high-performance materials, making a waterproof epoxy grout essential to resist inevitable stains from red wine and dark spirits. Unlike traditional cement grout, epoxy cures into an impermeable plastic-like surface that never requires secondary sealing.
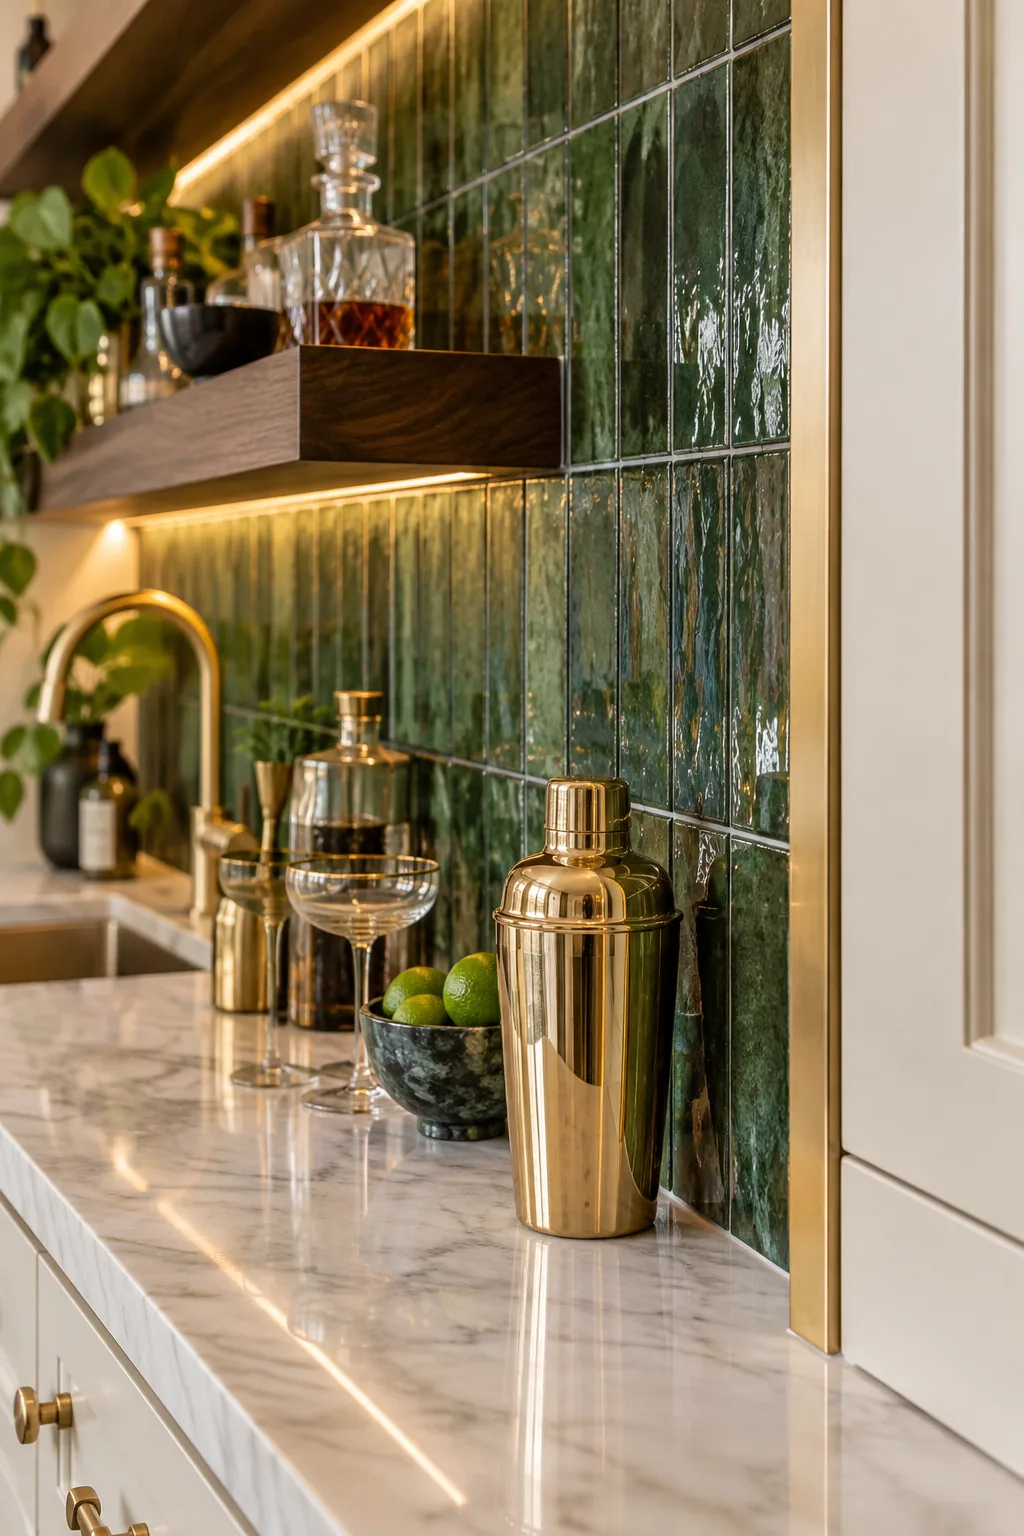
For a crisp, modern aesthetic, specify a tight 1/16-inch grout line in a rich charcoal color. This dark perimeter creates a striking visual contrast that outlines the green tile perfectly while effortlessly hiding coffee and cocktail splashes.
Mastering the Epoxy Wash Process
Working with epoxy requires a strategic approach because the catalyzed resins harden rapidly within the bucket. Dividing the backsplash into small, manageable sections prevents the material from curing onto the tile face before you can properly wash it.
- Mix only half of the epoxy resin and hardener at a time to double your workable application window.
- Use a specialized hard rubber float to force the dense material deep into the narrow joints without scratching the glaze.
- Keep two buckets of warm water and white nylon scrub pads nearby to emulsify and remove the sticky residue immediately.
Executing this rigorous cleanup routine leaves the joints perfectly flush and the tile surface brilliantly clean. Skipping these steps usually results in a hazy, permanent film that dulls the glossy finish of your beautiful backsplash.
Framing the Niche with Brass Edge Trim
Leaving exposed ceramic tile edges looks unfinished and leaves the fragile glaze vulnerable to accidental chipping. Finishing the outer perimeter with a sleek metal profile ensures a clean, durable boundary that contains the backsplash beautifully within the alcove.
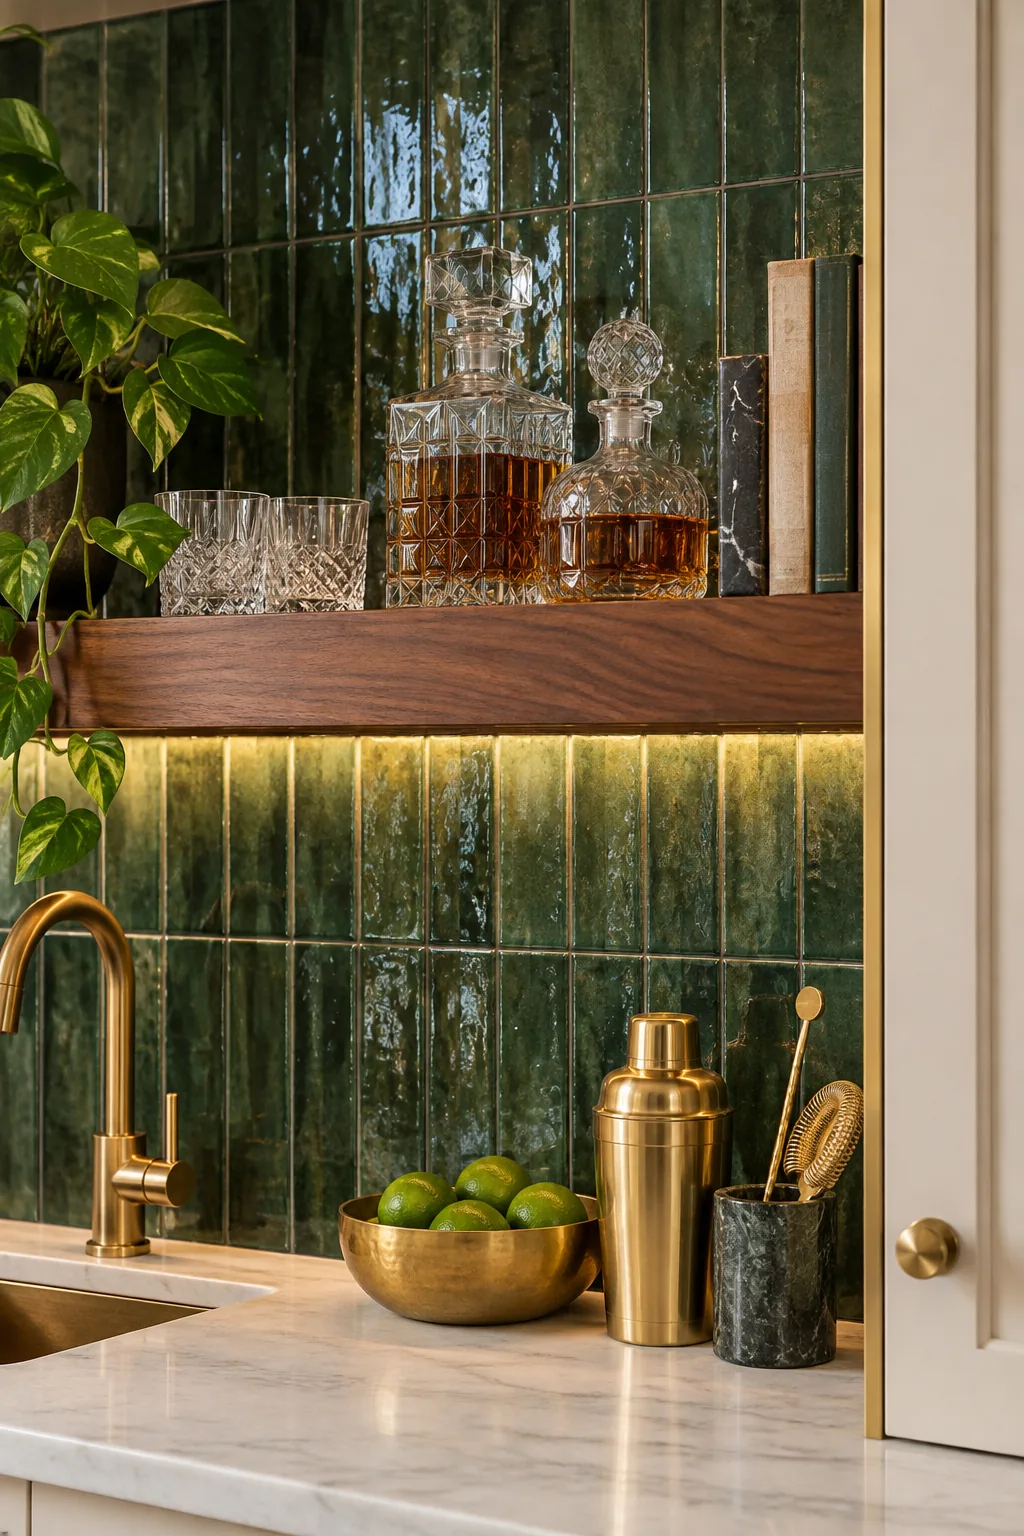
I always use a 3/8-inch brass transition strip to cap the tile edges seamlessly against the drywall. This warm metallic detail protects the installation while visually tying the backsplash directly to your cabinet hardware and sink faucet.
Aligning Metal Profiles with Cabinetry
Securing the brass trim directly into the wet thinset behind the final row of tiles creates a permanent mechanical bond. Using a laser level guarantees this metal edge remains perfectly plumb and aligns flawlessly with the upper cabinet doors.
Anchoring the Space with a Floating Walnut Shelf
Mounting a solid wood shelf directly over tile provides a warm, organic contrast to the glossy backsplash. In my own Denver home, centering a thick walnut slab against the green tile completely grounded the entire entertaining zone.
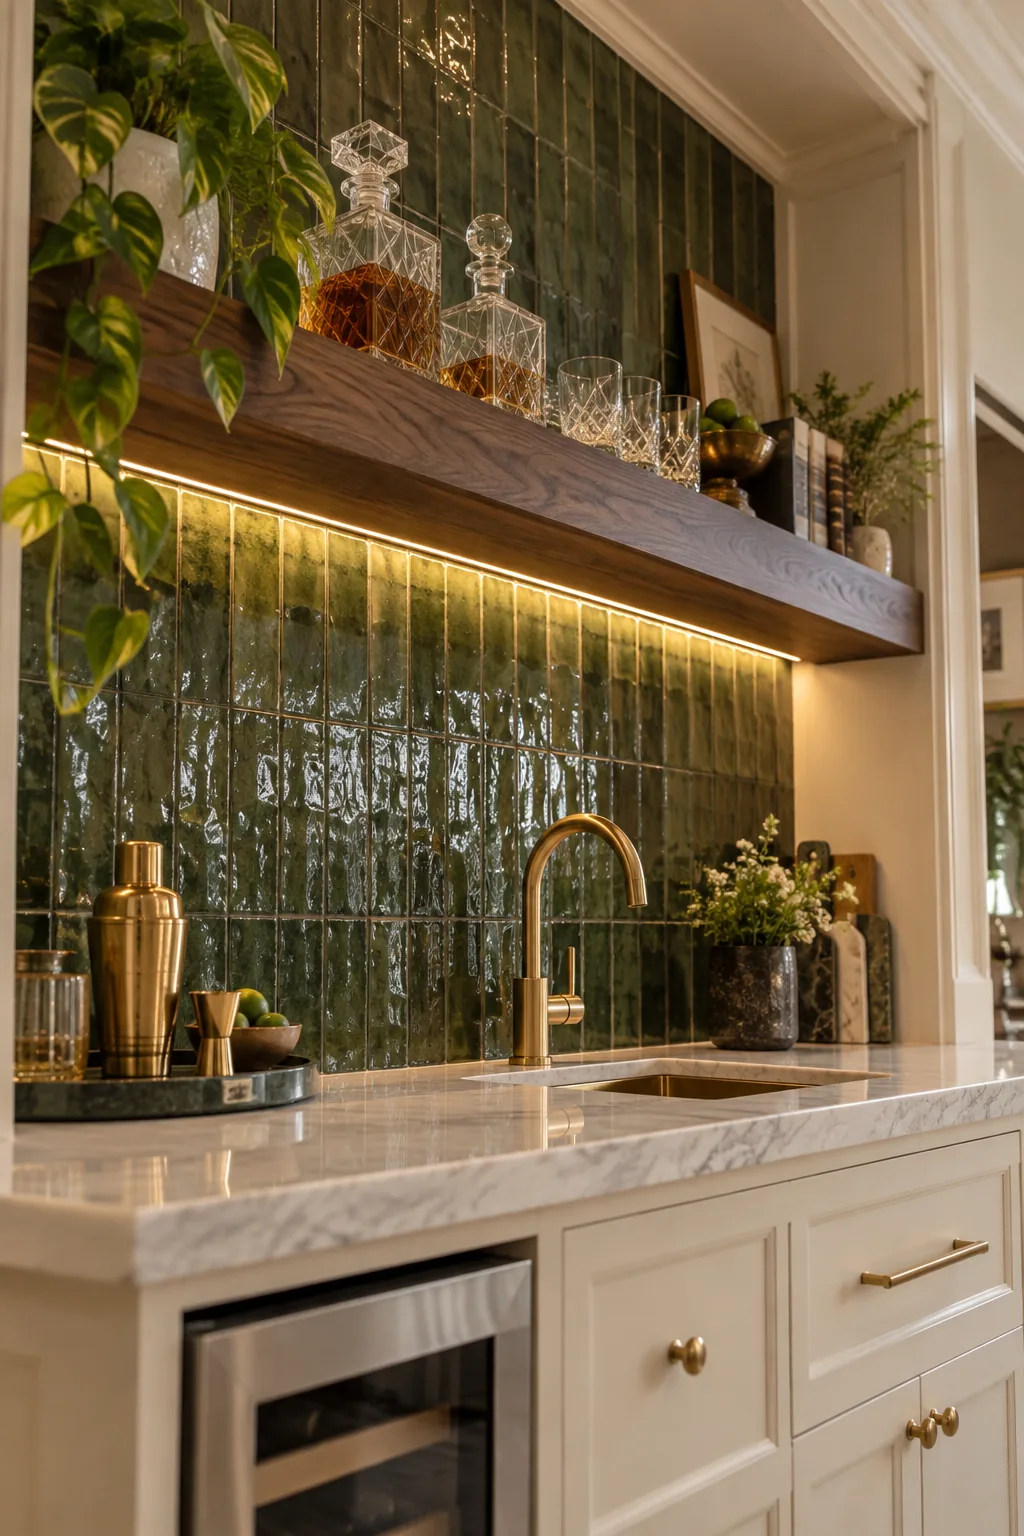
Getting a heavy wooden shelf to float seamlessly against a tiled wall requires planning long before the first tile is ever set.
Selecting the Optimal Shelf Thickness
Proportion dictates that a floating shelf must carry enough visual weight to balance the heavy cabinetry below it. Specifying a custom 2-inch thick solid wood slab prevents the shelf from looking flimsy against the highly textured tile wall.
Grazing the Tile with Hidden Under-Shelf Lighting
A beautifully tiled backsplash falls flat if it sits in the dark shadow of a deep wooden shelf. To prevent this, route a recessed aluminum channel directly into the bottom of the floating shelf to house a hidden LED strip.
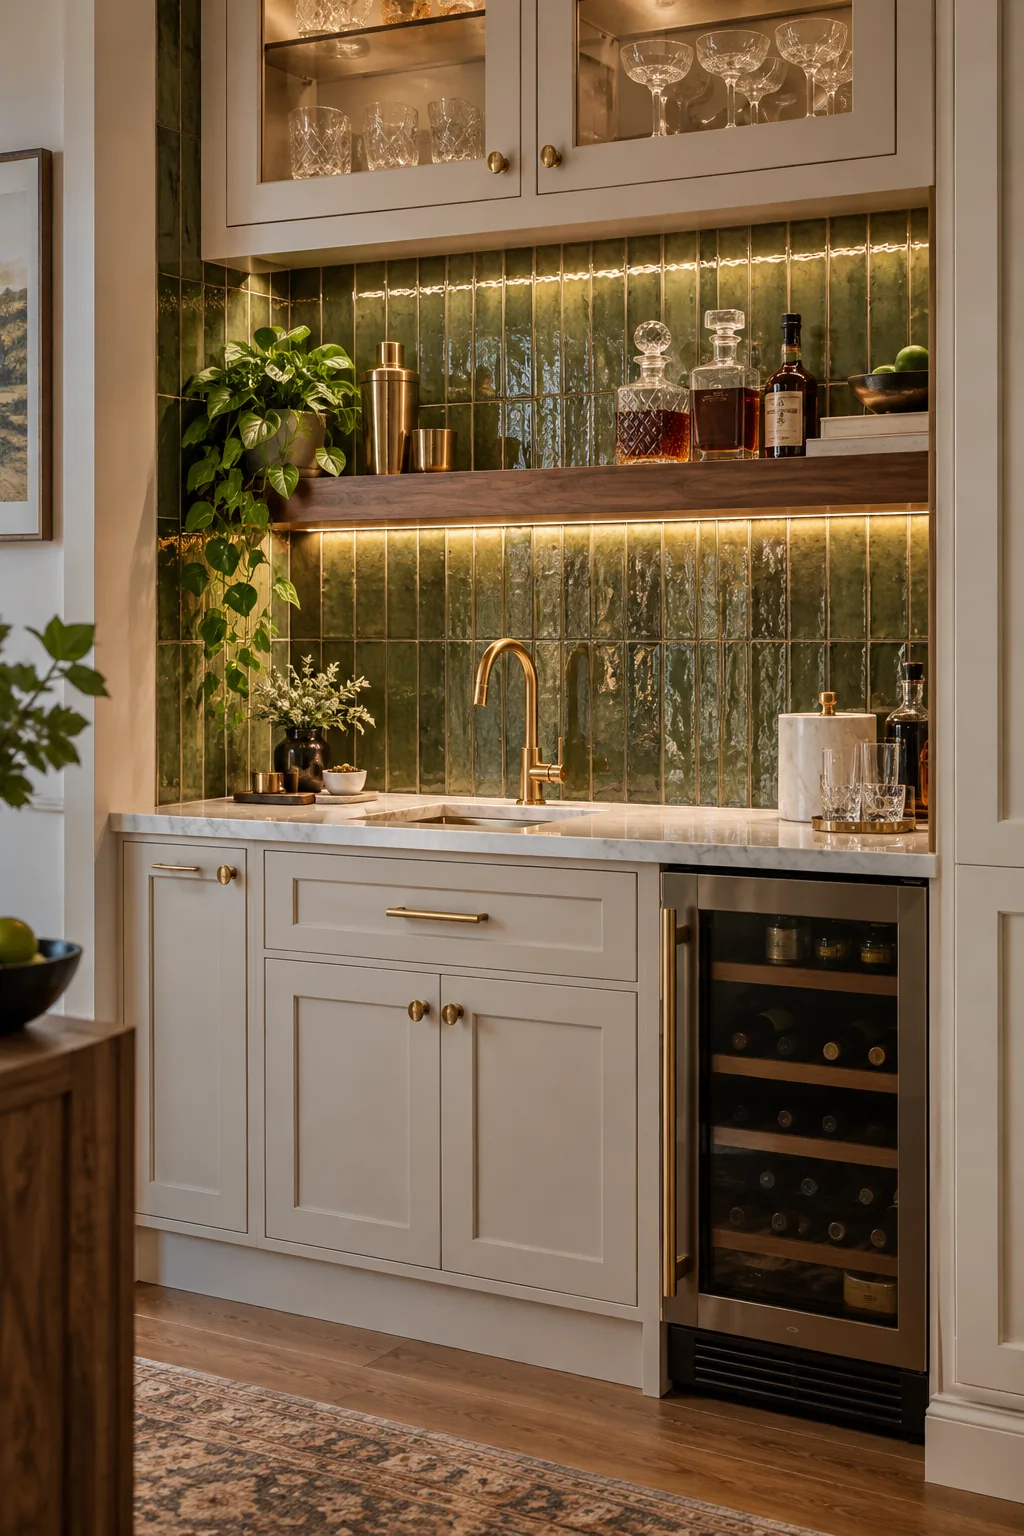
Specify a 2700K warm white LED tape light to graze the textured tile gently from above. This grazing technique highlights the natural, handmade imperfections in the ceramic rather than flattening them with harsh, direct overhead ceiling spots.
Routing the Aluminum Channel for LEDs
Milling a precise groove into the underside of your walnut shelf keeps the lighting hardware completely invisible at eye level. Sinking the aluminum track flush with the wood surface also dissipates excess heat, significantly extending the lifespan of your diodes.
Running the low-voltage wiring through a hollowed-out section of the steel mounting bracket conceals the electrical connections completely. This hidden routing guarantees your floating shelf maintains its minimalist aesthetic without any visible cords dangling over the backsplash.
The Ultimate Bar Tile and Spacing Cheat Sheet
Achieving a professional look requires locking in your exact spatial relationships before mixing any thinset. Start with a 36-inch standard counter height and plan for an 8 to 10-inch shelf depth to hold standard glassware comfortably.
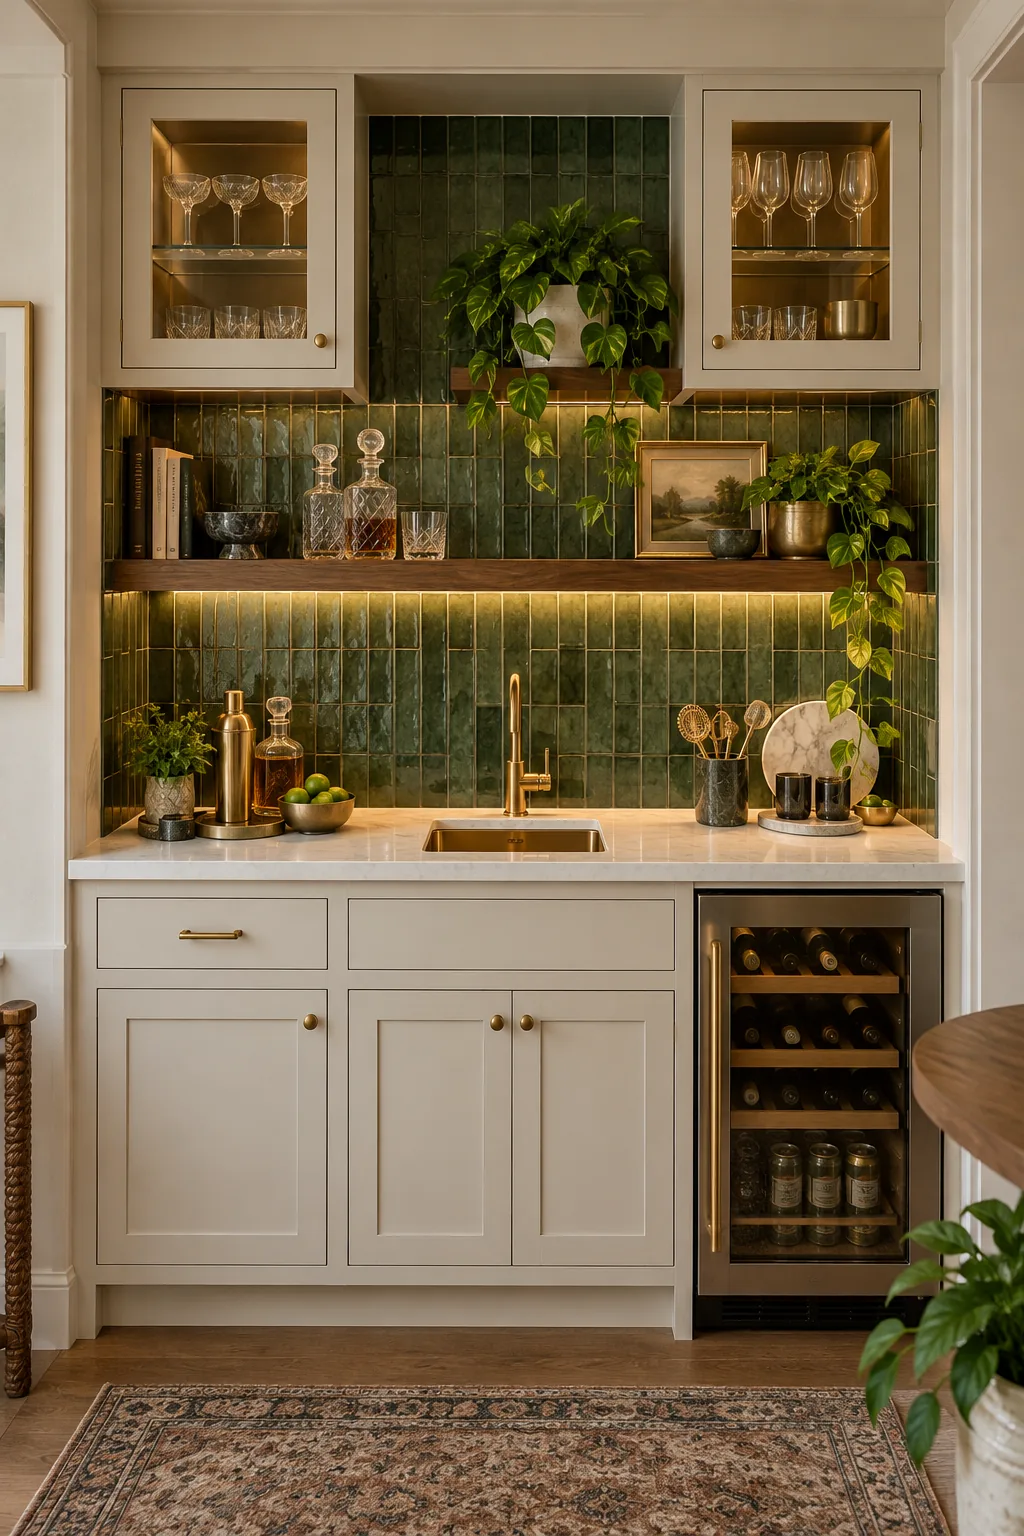
Before mixing any thinset, verify these exact spatial clearances to ensure your bar functions as beautifully as it looks.
Managing the Countertop Transition
The critical joint where your bottom row of tile meets the marble counter experiences constant micro-movements as the lower cabinets settle. Filling this right angle with standard rigid epoxy grout will inevitably lead to unsightly hairline fractures.
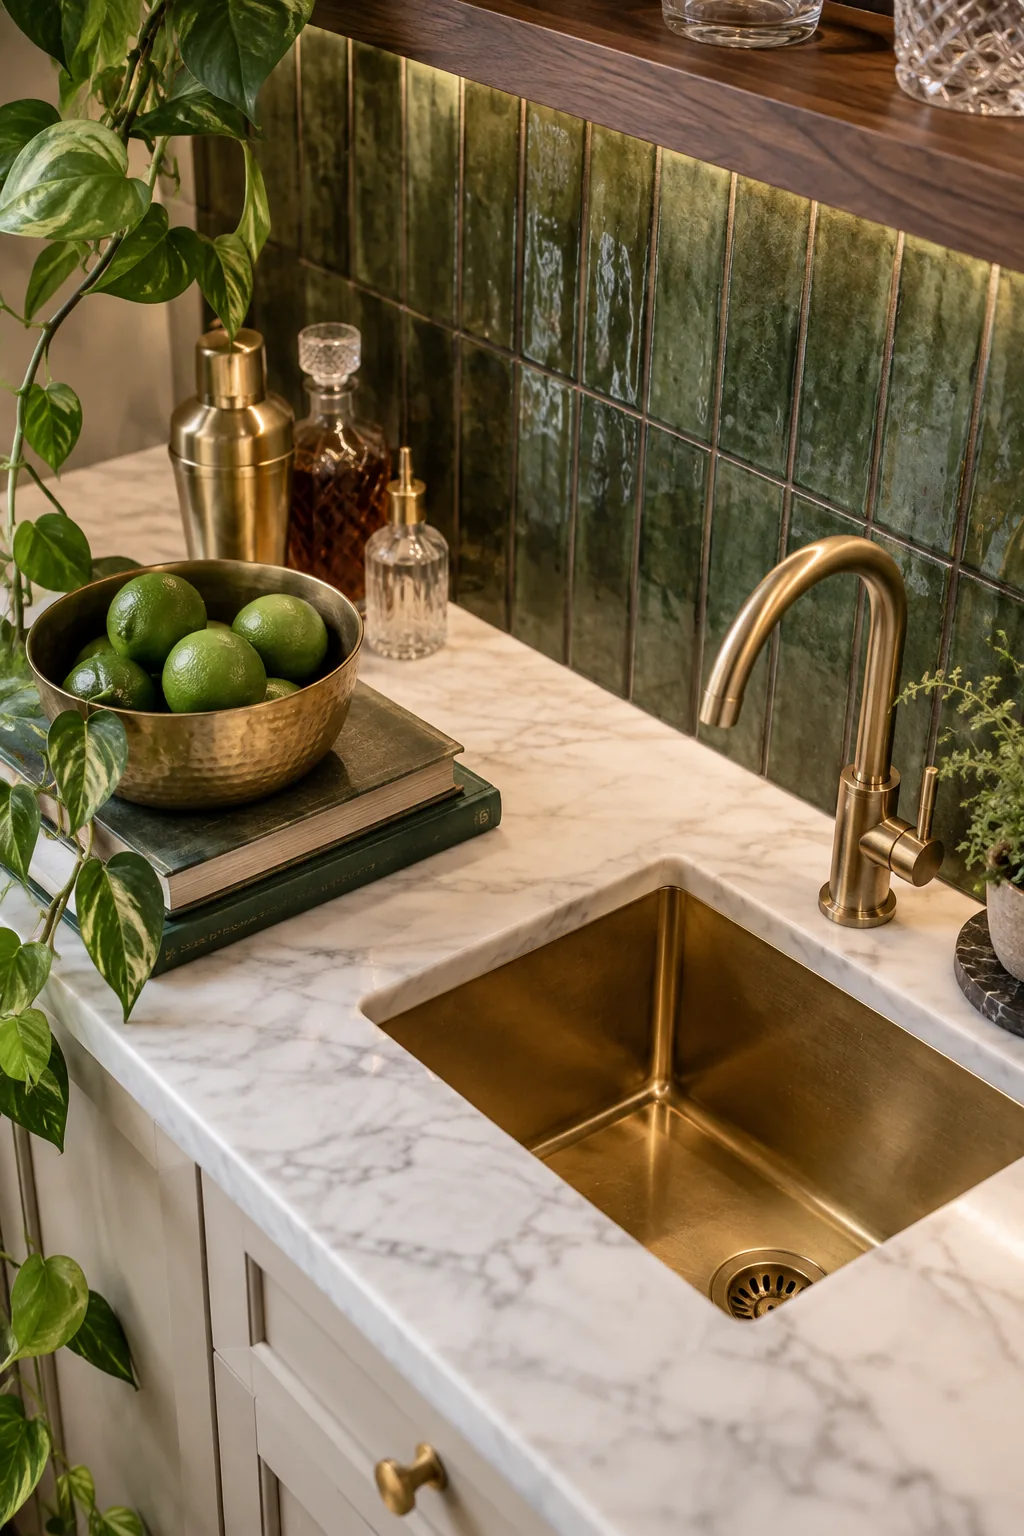
Instead, leave a deliberate 1/8-inch expansion gap at the base of the tile along the entire counter. Fill this space entirely with a color-matched silicone caulk, which remains flexible enough to absorb structural shifts while keeping moisture out.
Tooling the Silicone Joint for a Seamless Finish
Applying painter’s tape to both the marble counter and the bottom tile row guarantees a perfectly crisp caulk line. Spraying the fresh silicone bead with a mild soap solution before tooling it prevents the sticky material from smearing across the stone.
More Brilliant Bar Backsplash Looks
Find the perfect material and color palette for your home's entertaining style.
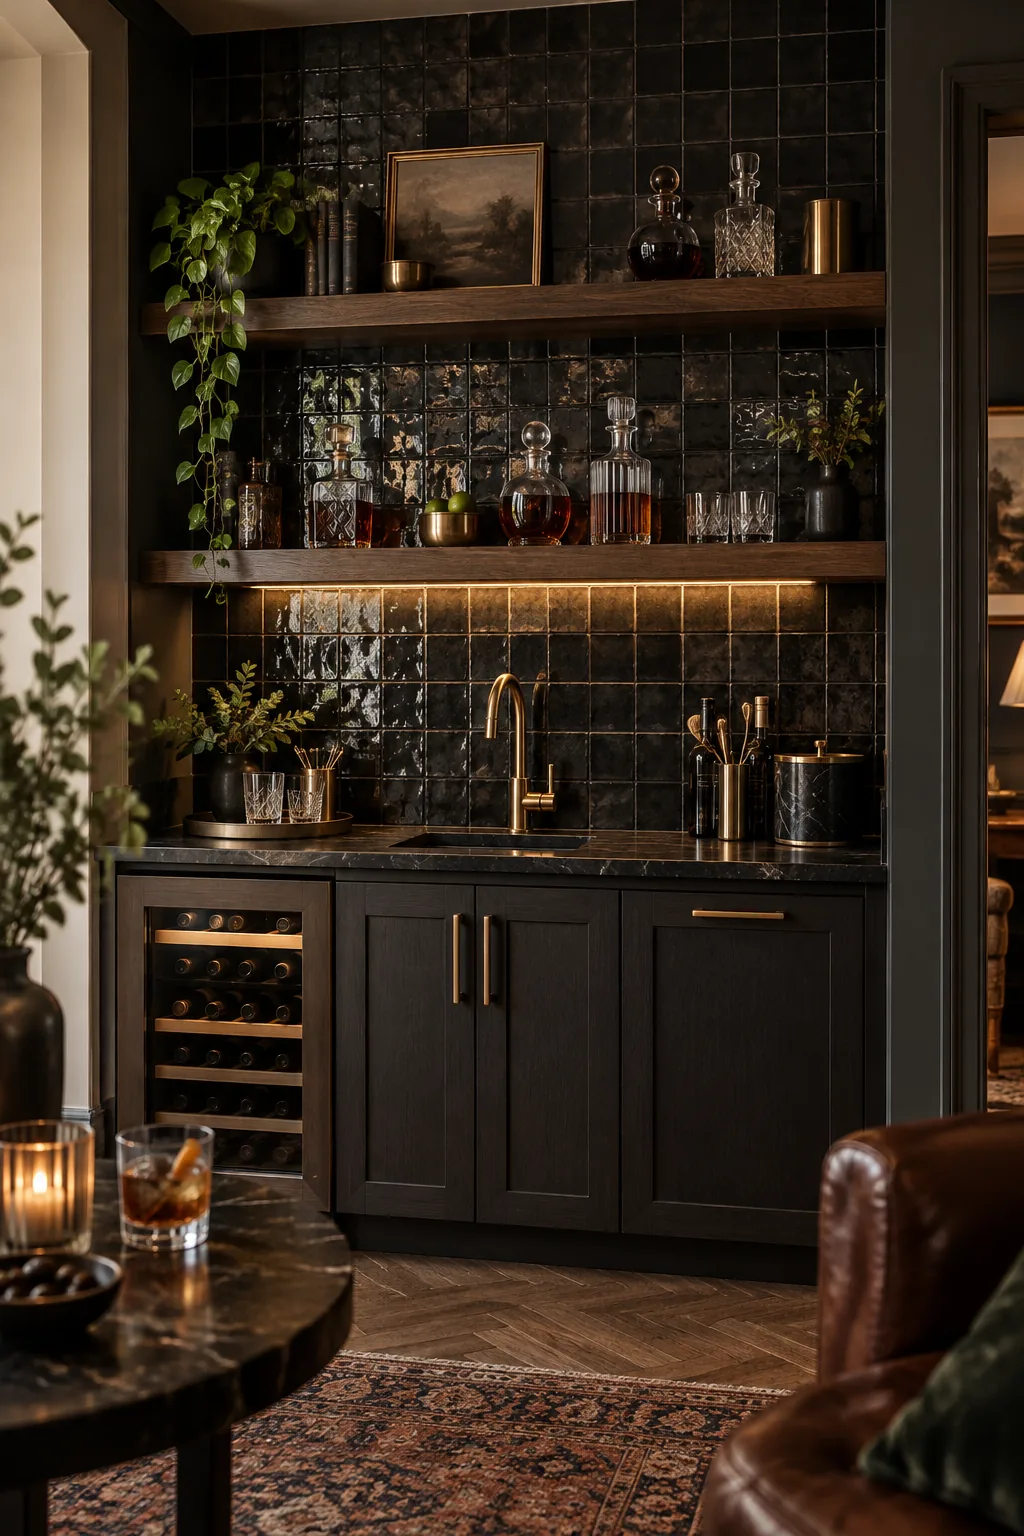
Moody speakeasy with black zellige: Dark, uneven zellige tiles absorb light beautifully, creating an intimate, late-night atmosphere when paired with rich oak.
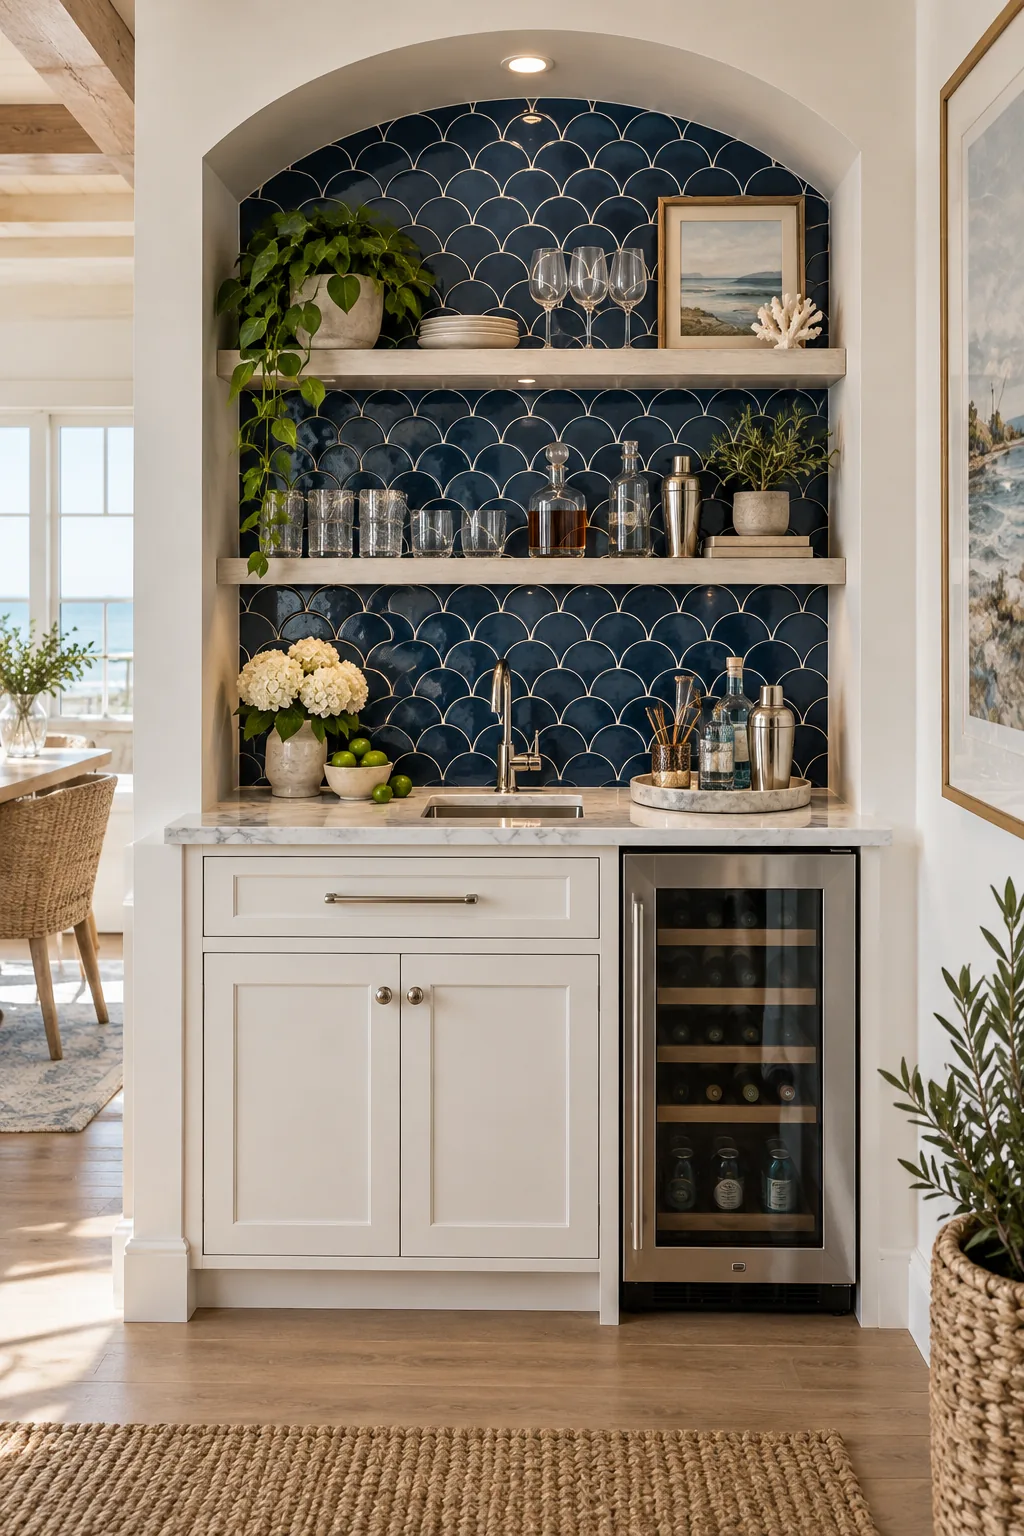
Coastal prep with navy scallops: Scallop tiles introduce a subtle nautical rhythm that feels fresh and classic alongside crisp white marble.
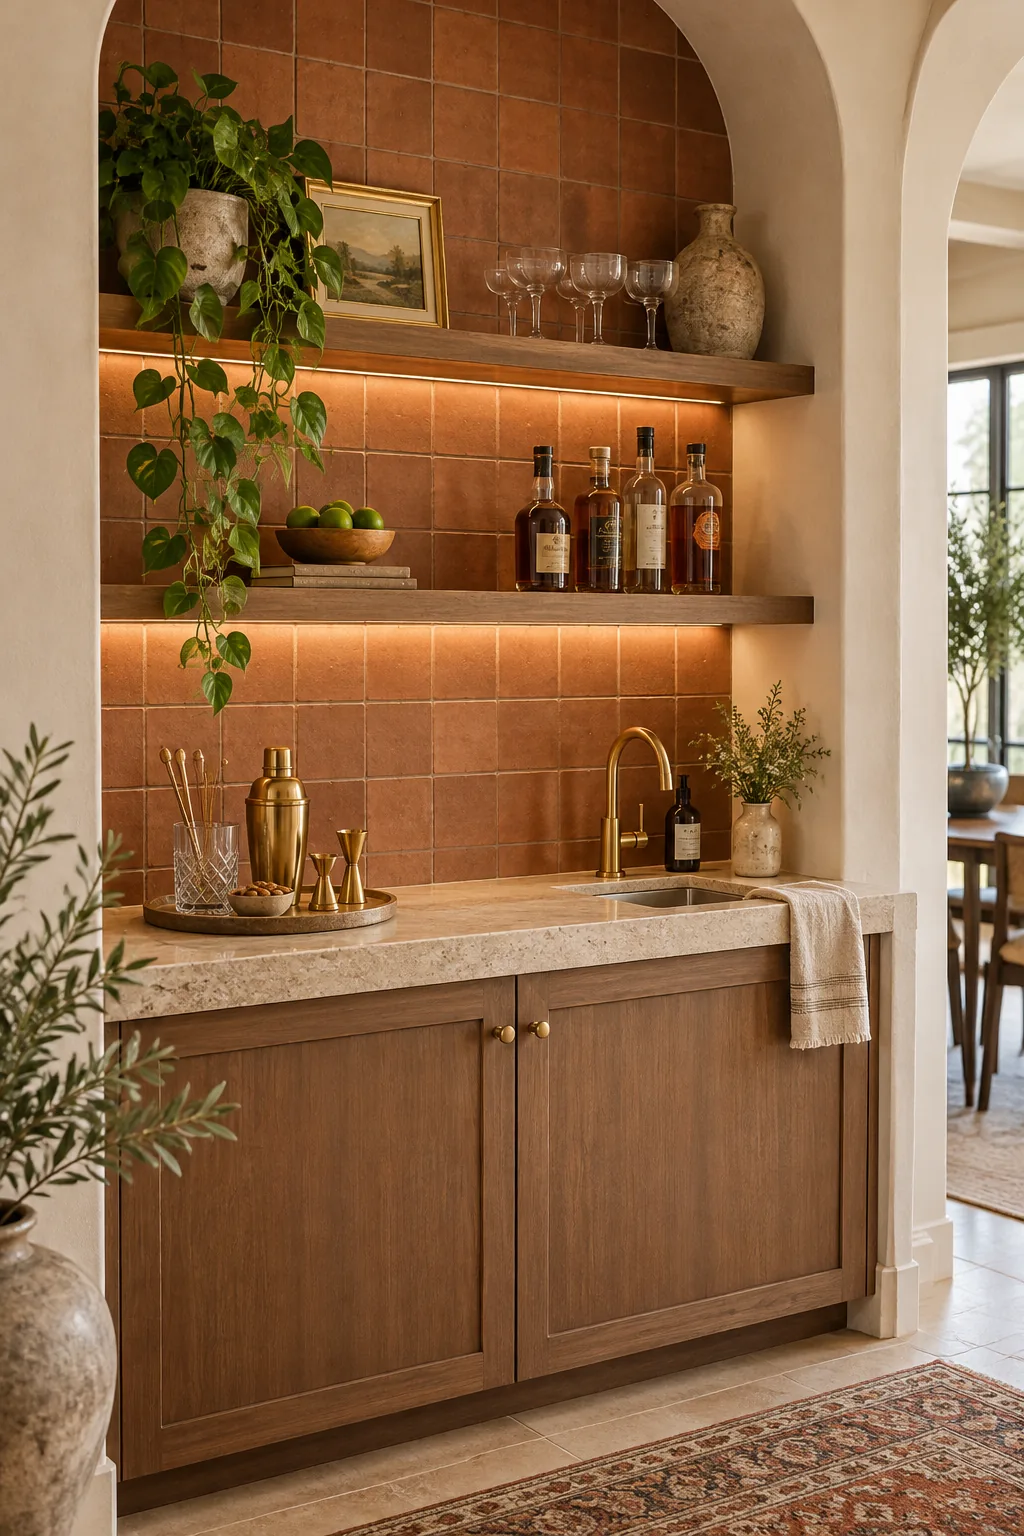
Warm minimalist with matte terracotta: Earthy matte finishes and raw metals give this bar a grounded, organic feel that ages gracefully over time.
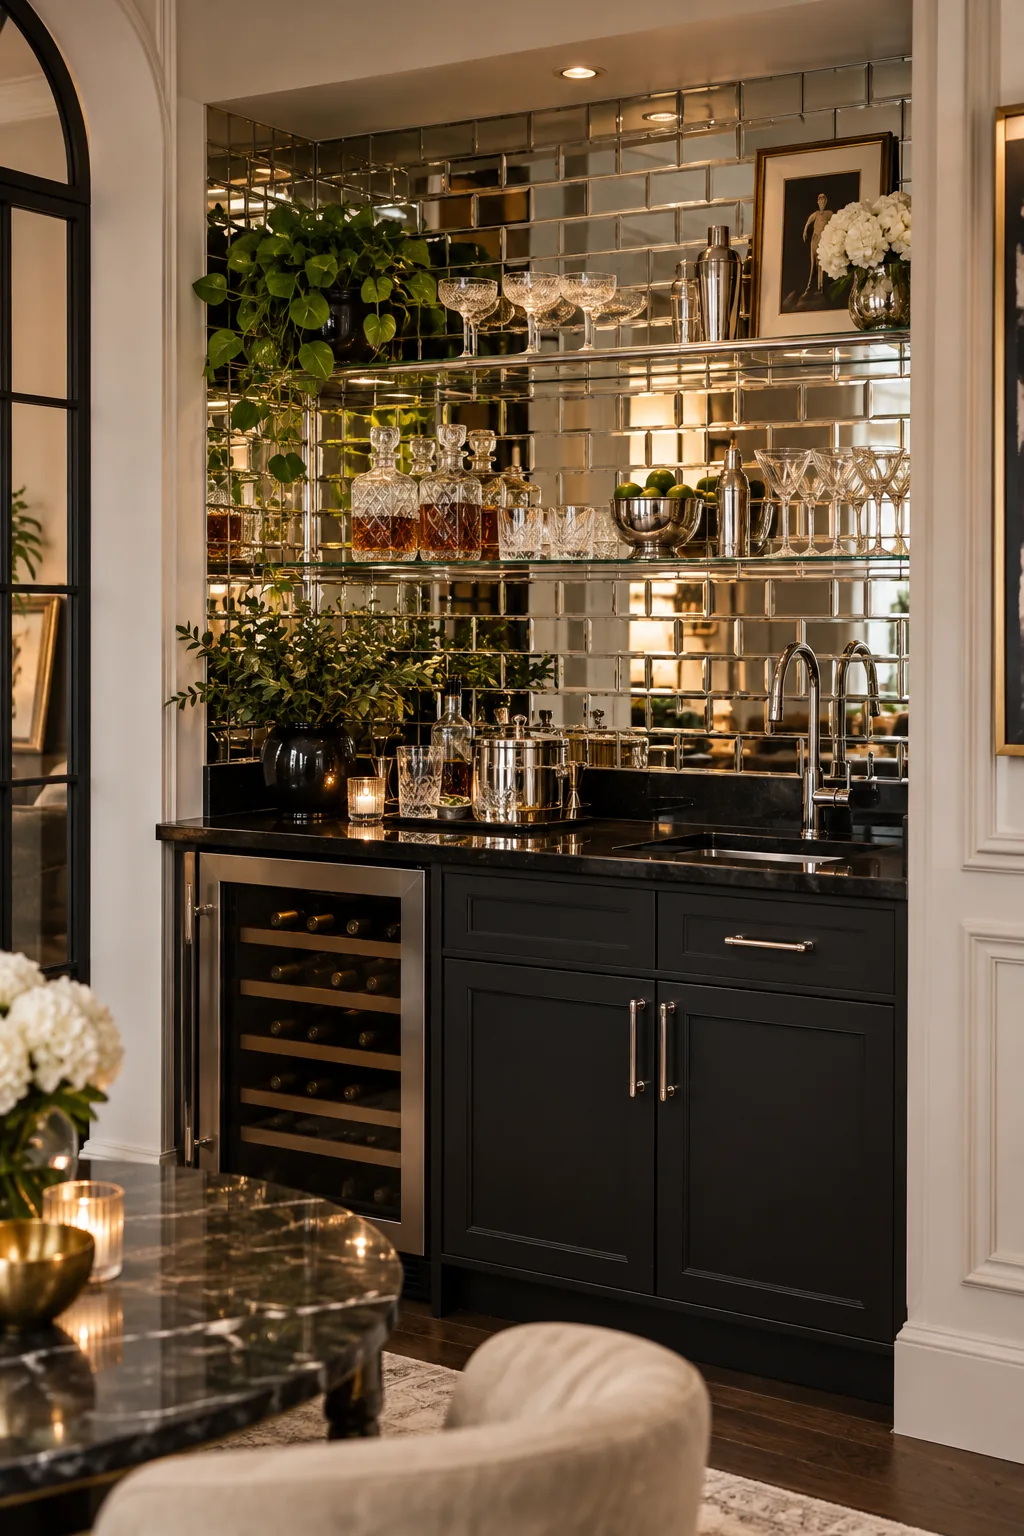
Glamorous deco with mirrored tile: Mirrored tiles instantly double the visual space of a tiny alcove while bouncing light across the room.
Styling Against a High-Gloss Backdrop
Decorating the finished bar requires a delicate balance so you highlight the architecture without hiding the stunning tile work. I recently styled a client’s wet bar entirely with polished brass and silver barware to bounce the ambient under-shelf lighting around the alcove.
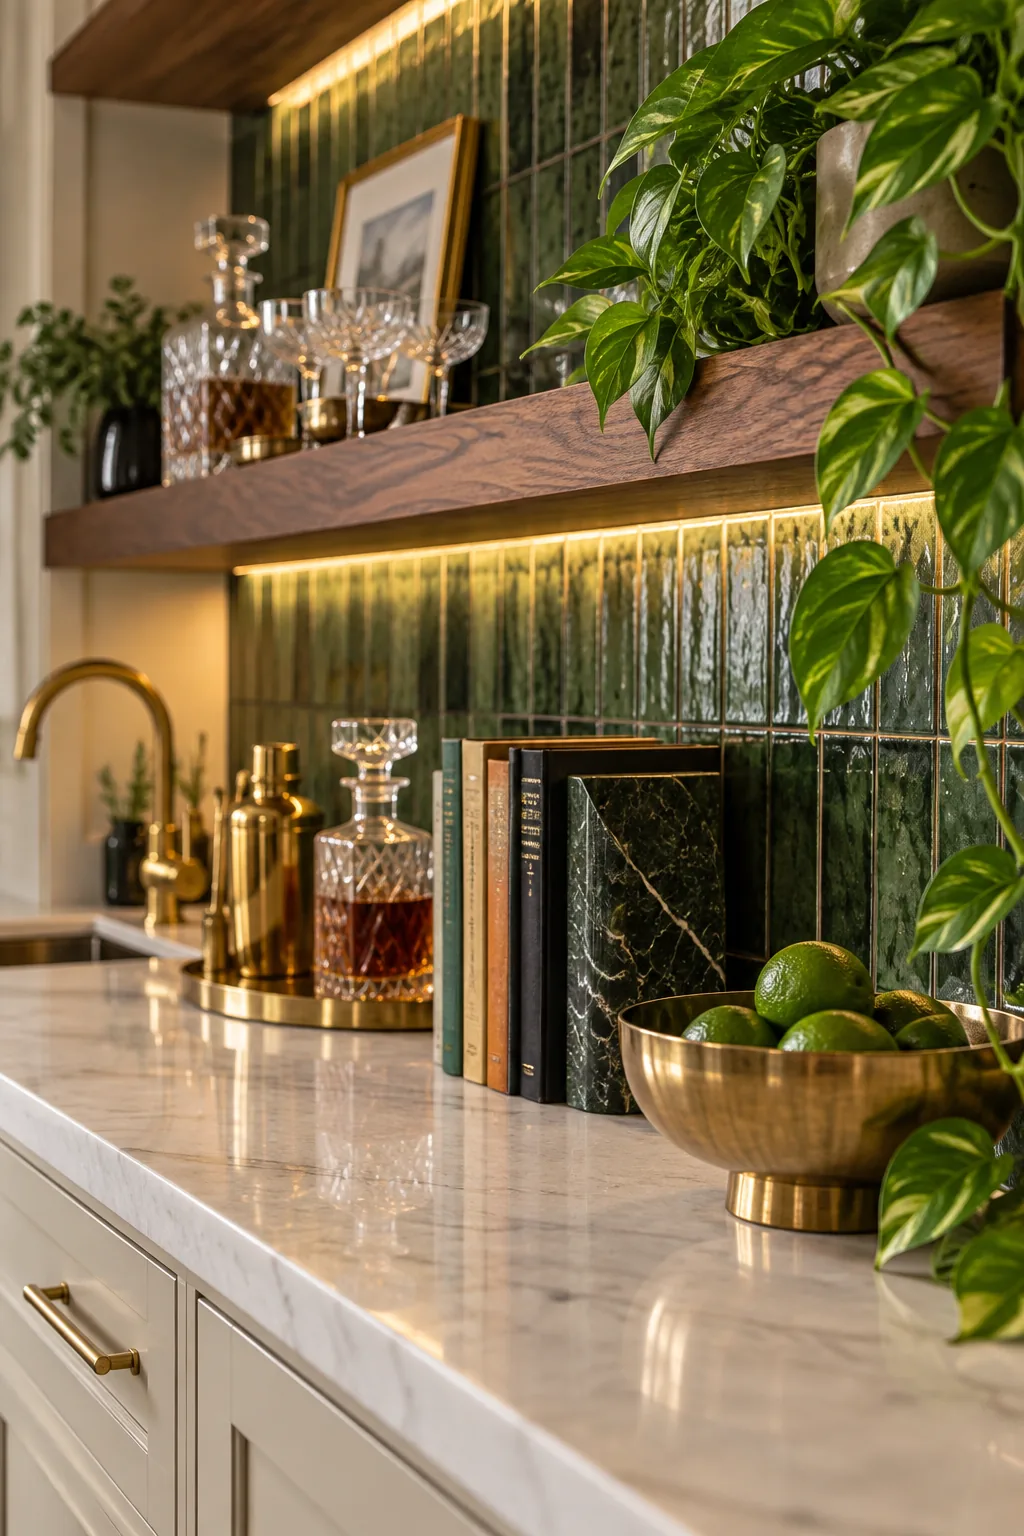
Opt for clear crystal glassware and decanters rather than opaque ceramics for your everyday display. Transparent styling elements allow the rich, glossy green tile color to push right through, maintaining the illusion of depth in a shallow niche.