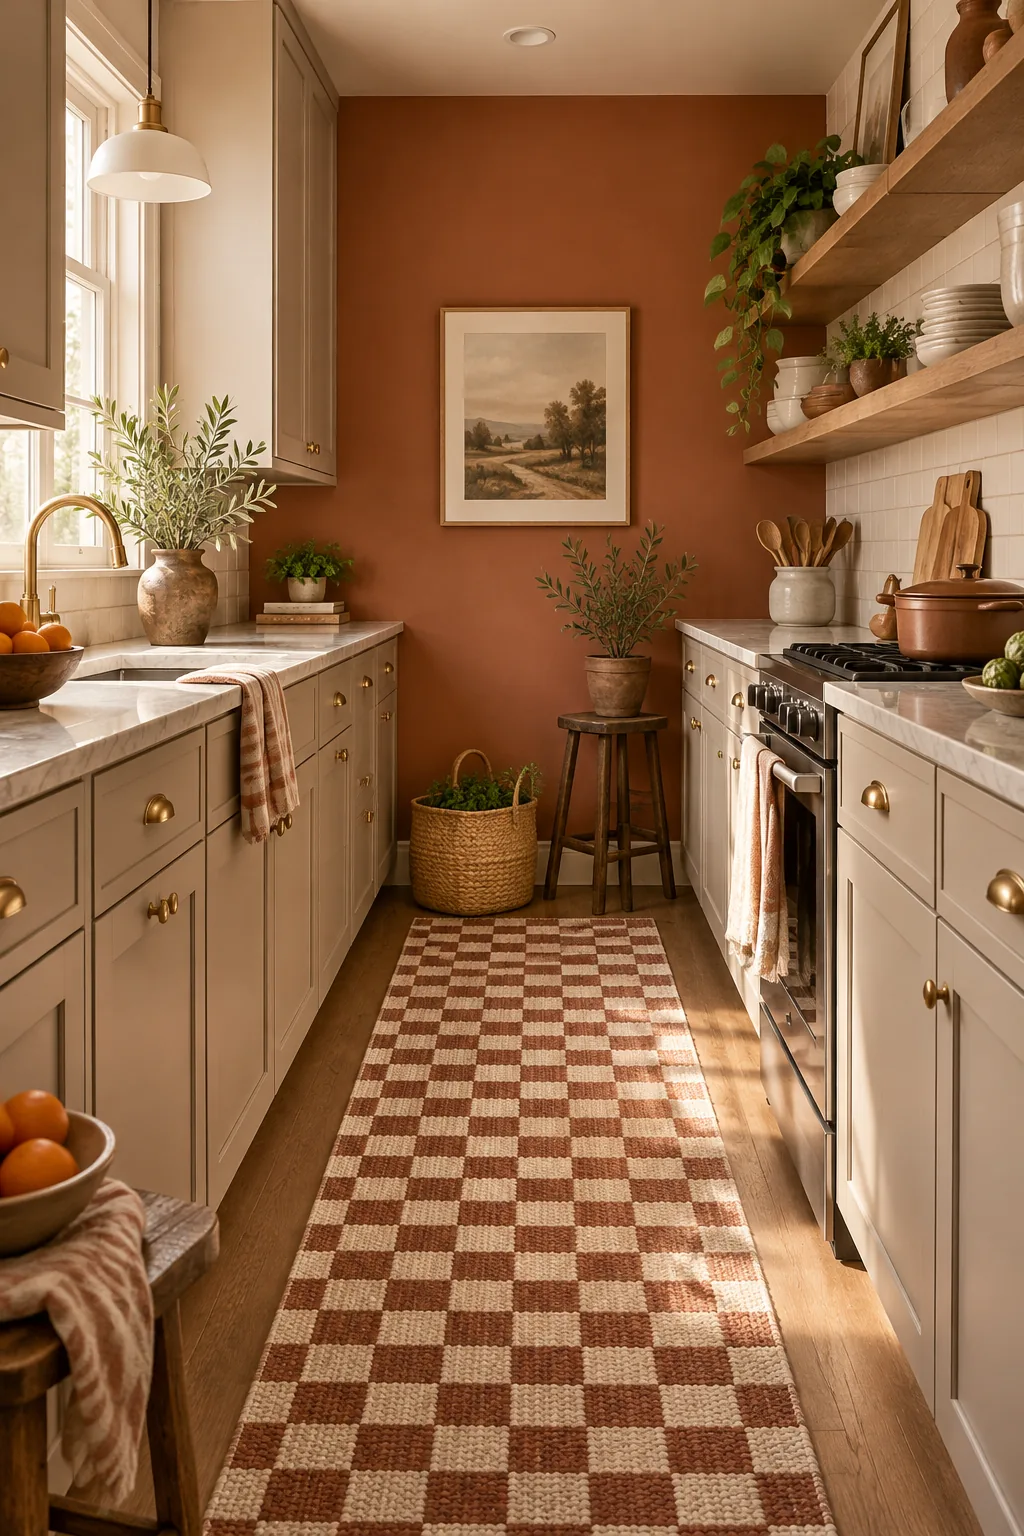
Budget Small Galley Kitchen: Cheaper Swaps for a Wider Look
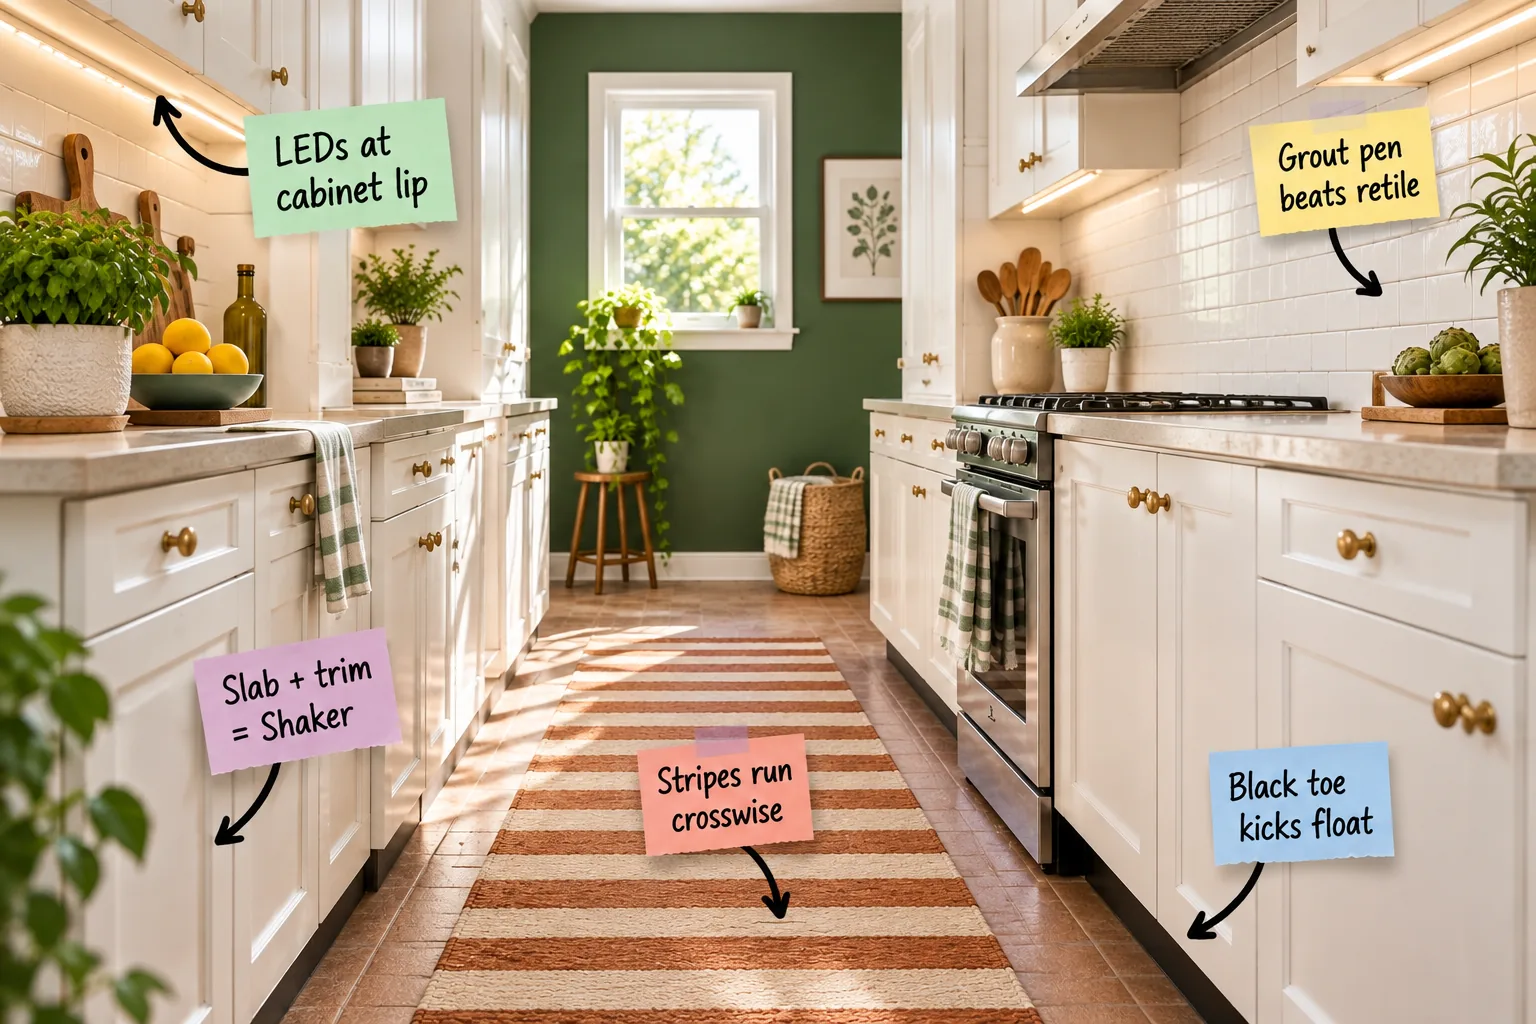
Transforming a cramped galley kitchen doesn’t require a total gut job when you can recreate these exact budget-friendly upgrades using our free printable two-page Galley Swap Shopping List. You will be able to execute five high-impact, low-cost kitchen swaps in the exact right order to get a wider, custom look for less.
Wash the Counters with Lip-Mounted LEDs
The secret to expensive-looking lighting on a budget is tucking slim LED strips exactly 2 inches behind the front lip of your upper cabinets.
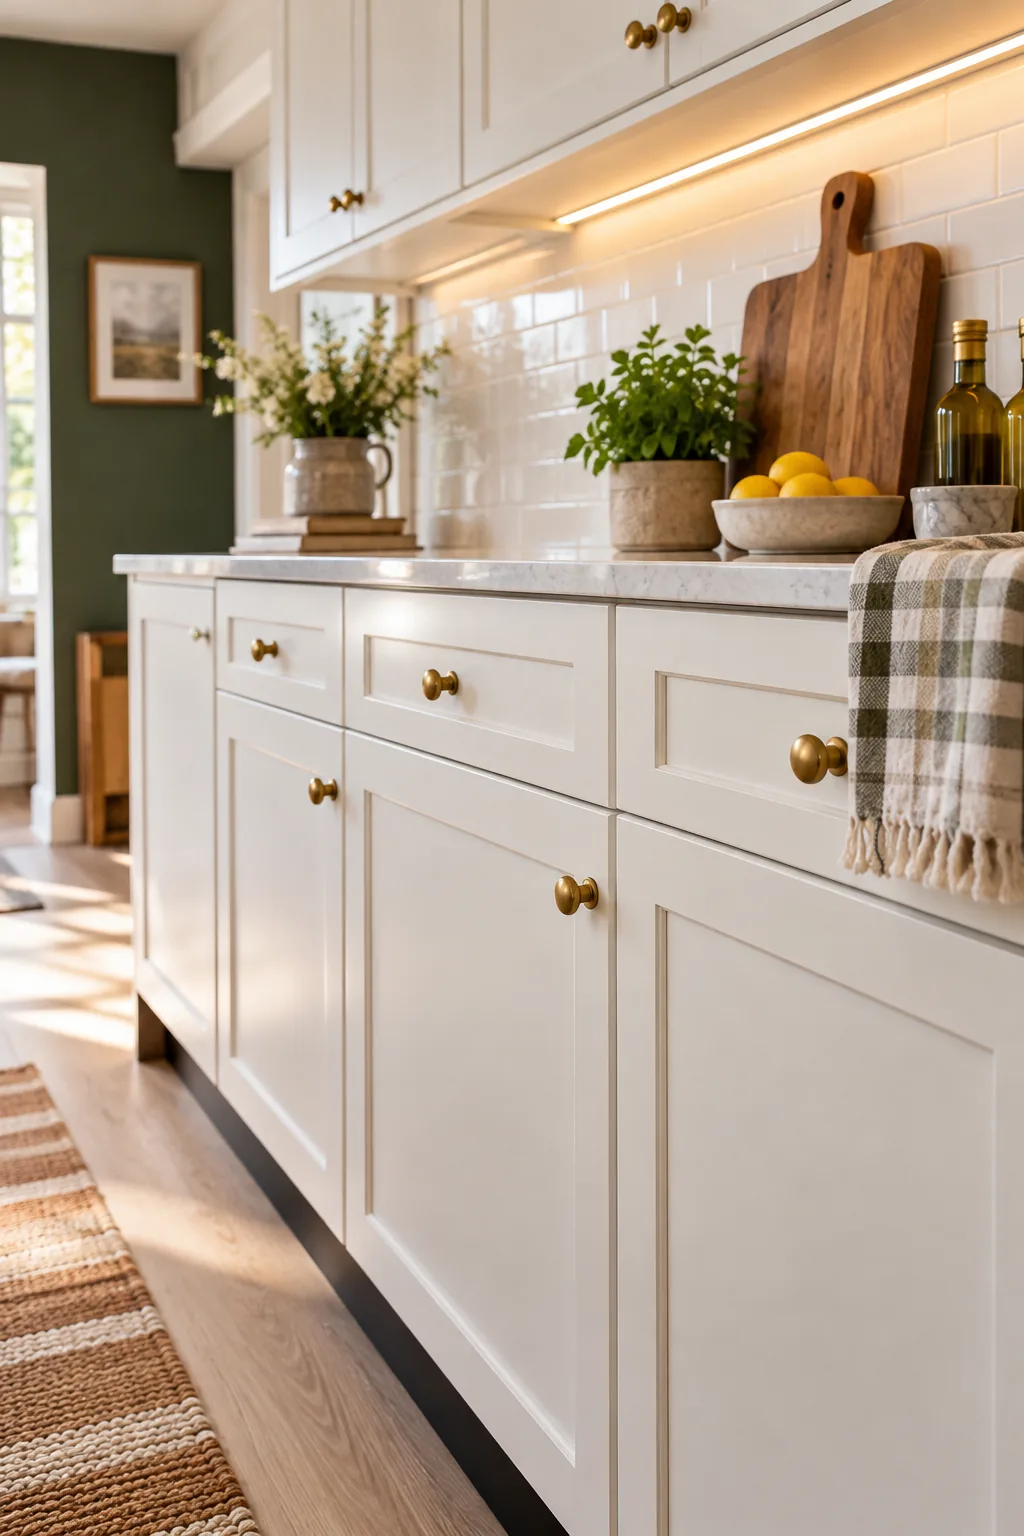
This specific setback washes your work surface with bright, usable light instead of glaring against the wall and highlighting every tiny backsplash flaw.
Refresh the Backsplash with a Bright White Grout Pen
Instead of ripping out dated subway tile, you can completely transform the zone in about 2 hours for a standard 15-square-foot backsplash using a bright white grout pen.
| Upgrade Type | Material Cost | Time Required | Skill Level |
|---|---|---|---|
| Grout Pen Swap | Under $20 | 2 hours | Beginner |
| Full Retile | $300 to $600 | 2 to 3 days | Advanced |
| Peel-and-Stick | $75 to $150 | 4 hours | Intermediate |
| Painted Tile | $50 | 1 day | Intermediate |
A grout pen is incredibly forgiving and much cheaper than new tile, but a little prep prevents the fresh paint from peeling near the stove.
Build Shaker Doors from Plain Slabs
You can easily upgrade basic builder-grade fronts by gluing 1/4-inch thick flat trim strips directly onto the existing slab doors.
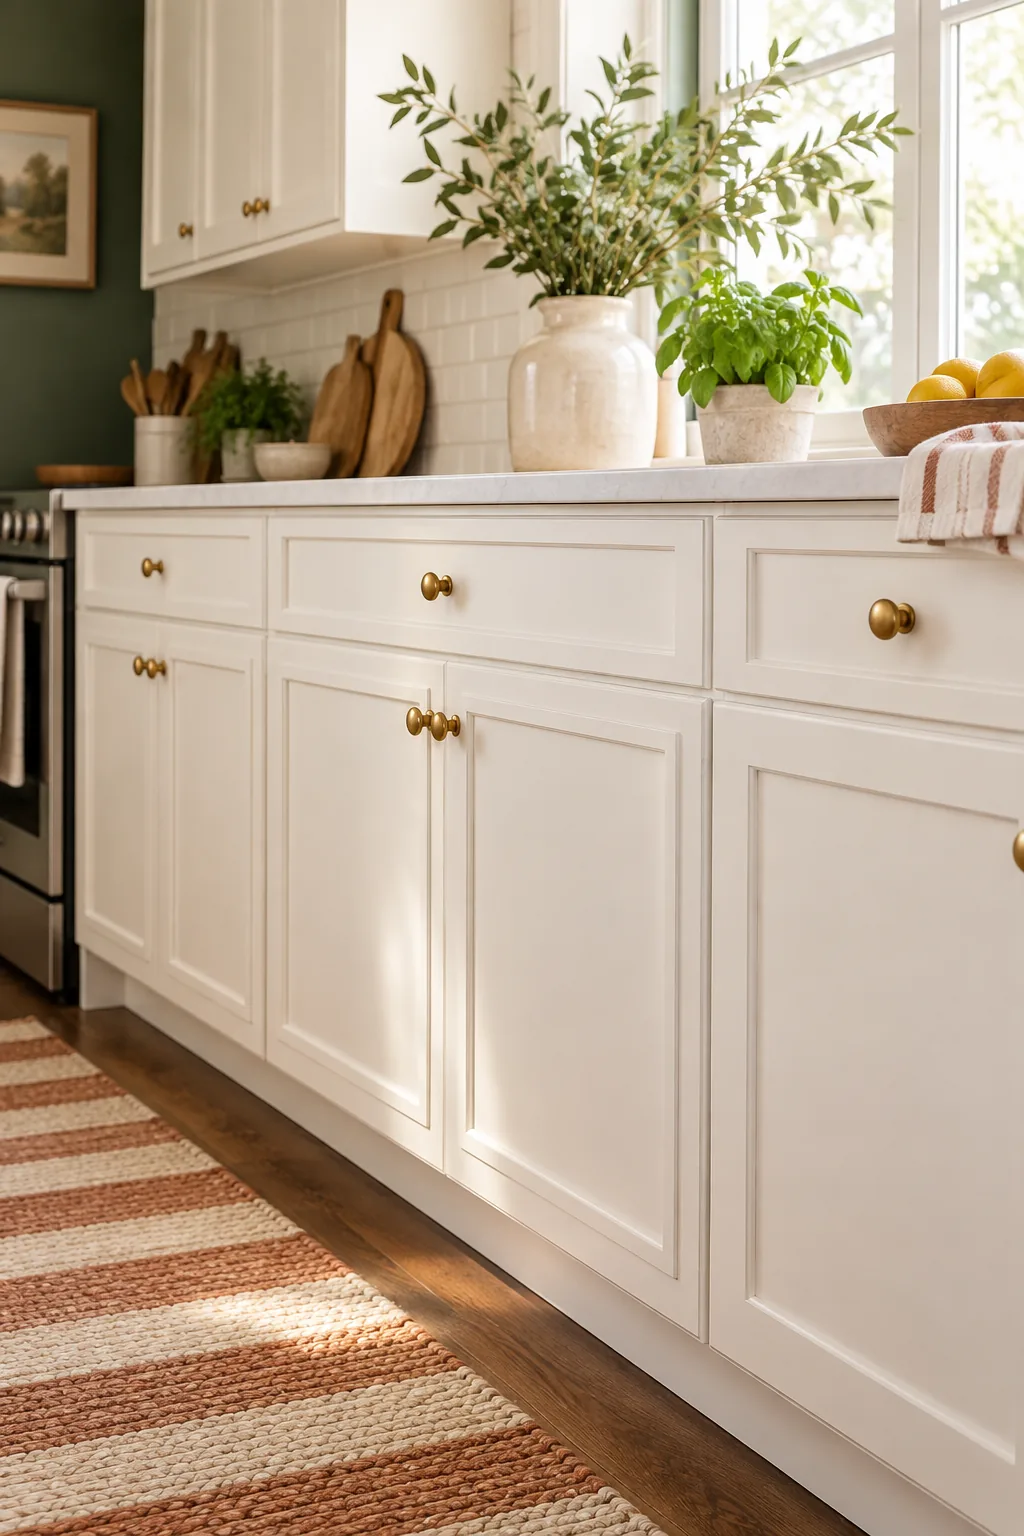
This exact thickness perfectly mimics custom Shaker doors without adding enough weight to require buying and installing heavy new hinges.
Paint Toe Kicks Black to Float the Cabinets
To trick the eye and make a narrow walkway feel instantly roomier, paint your recessed toe kicks a flat matte black to create an optical illusion.
- Vacuum the recess thoroughly to remove years of hidden floor dust and pet hair.
- Scrub the toe kick boards with a strong degreaser to ensure the paint adheres.
- Tape off the bottom edge of the cabinet boxes to guarantee a crisp line.
- Apply two thin coats of matte black paint to create a deep, convincing shadow.
Widen the Aisle with Crosswise Stripes
A flat-weave runner featuring horizontal stripes tricks the eye into seeing a wider floor plan by drawing your gaze across the narrow aisle.
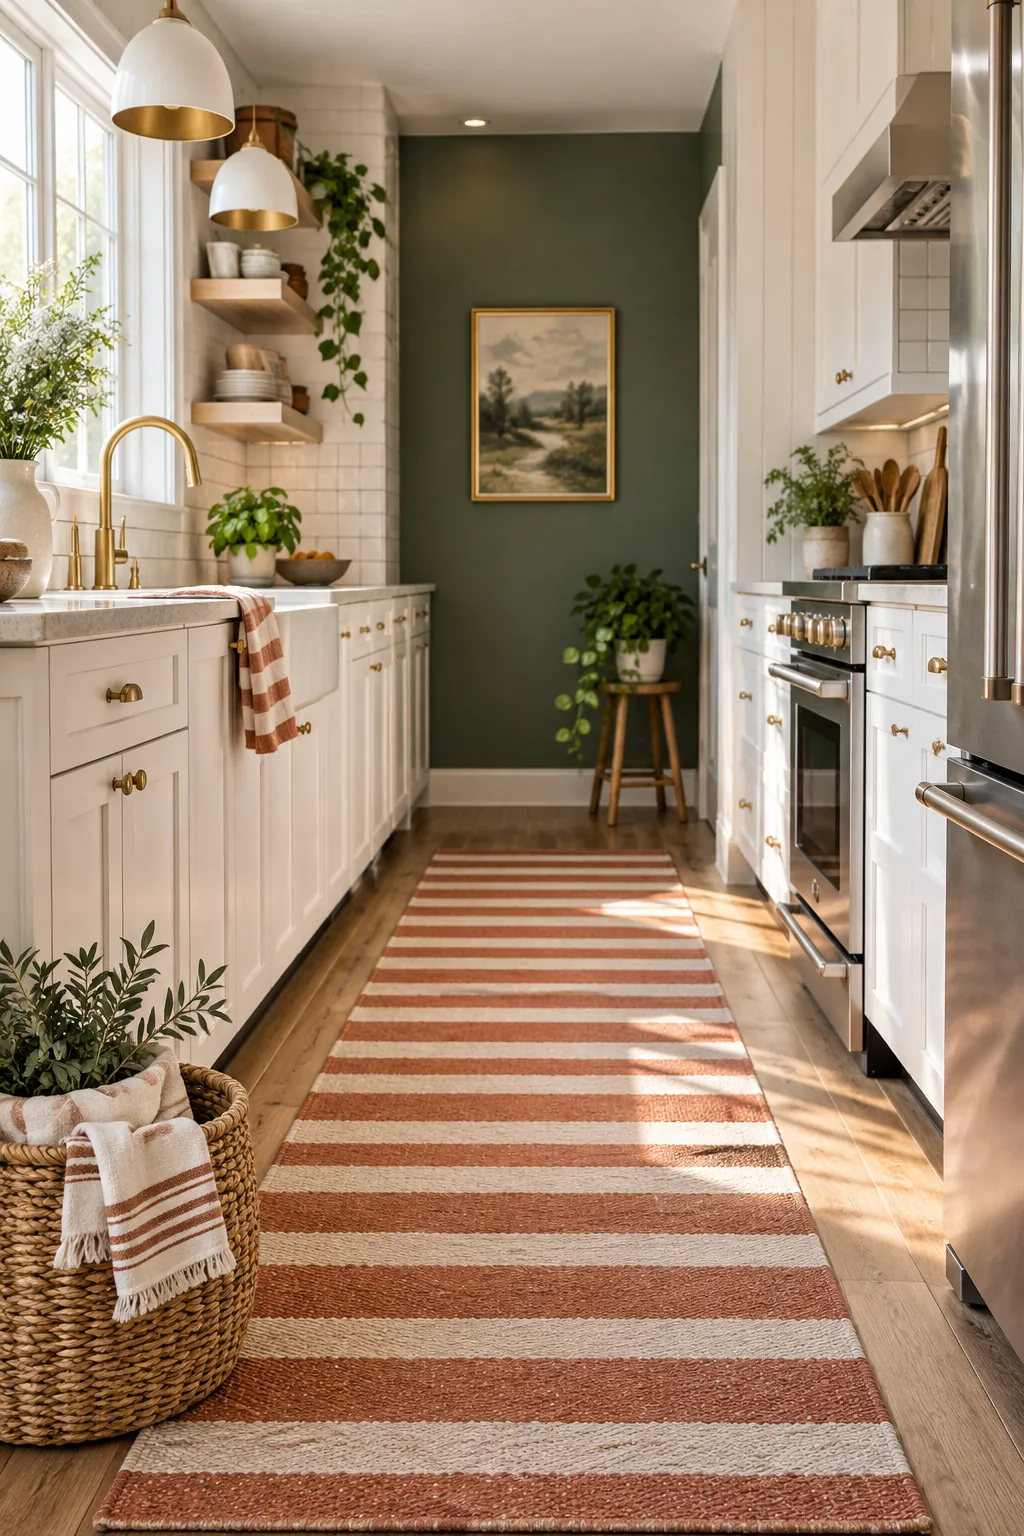
Try measuring for a standard 2.5-by-7-foot runner so you leave a comfortable, intentional border of exposed flooring on all sides of the rug.
Anchor the Far Wall with Deep Color
Painting the end wall a rich, dark green draws the eye all the way forward, which is exactly what I did to fix the tunnel-like feel in my own Austin galley kitchen.
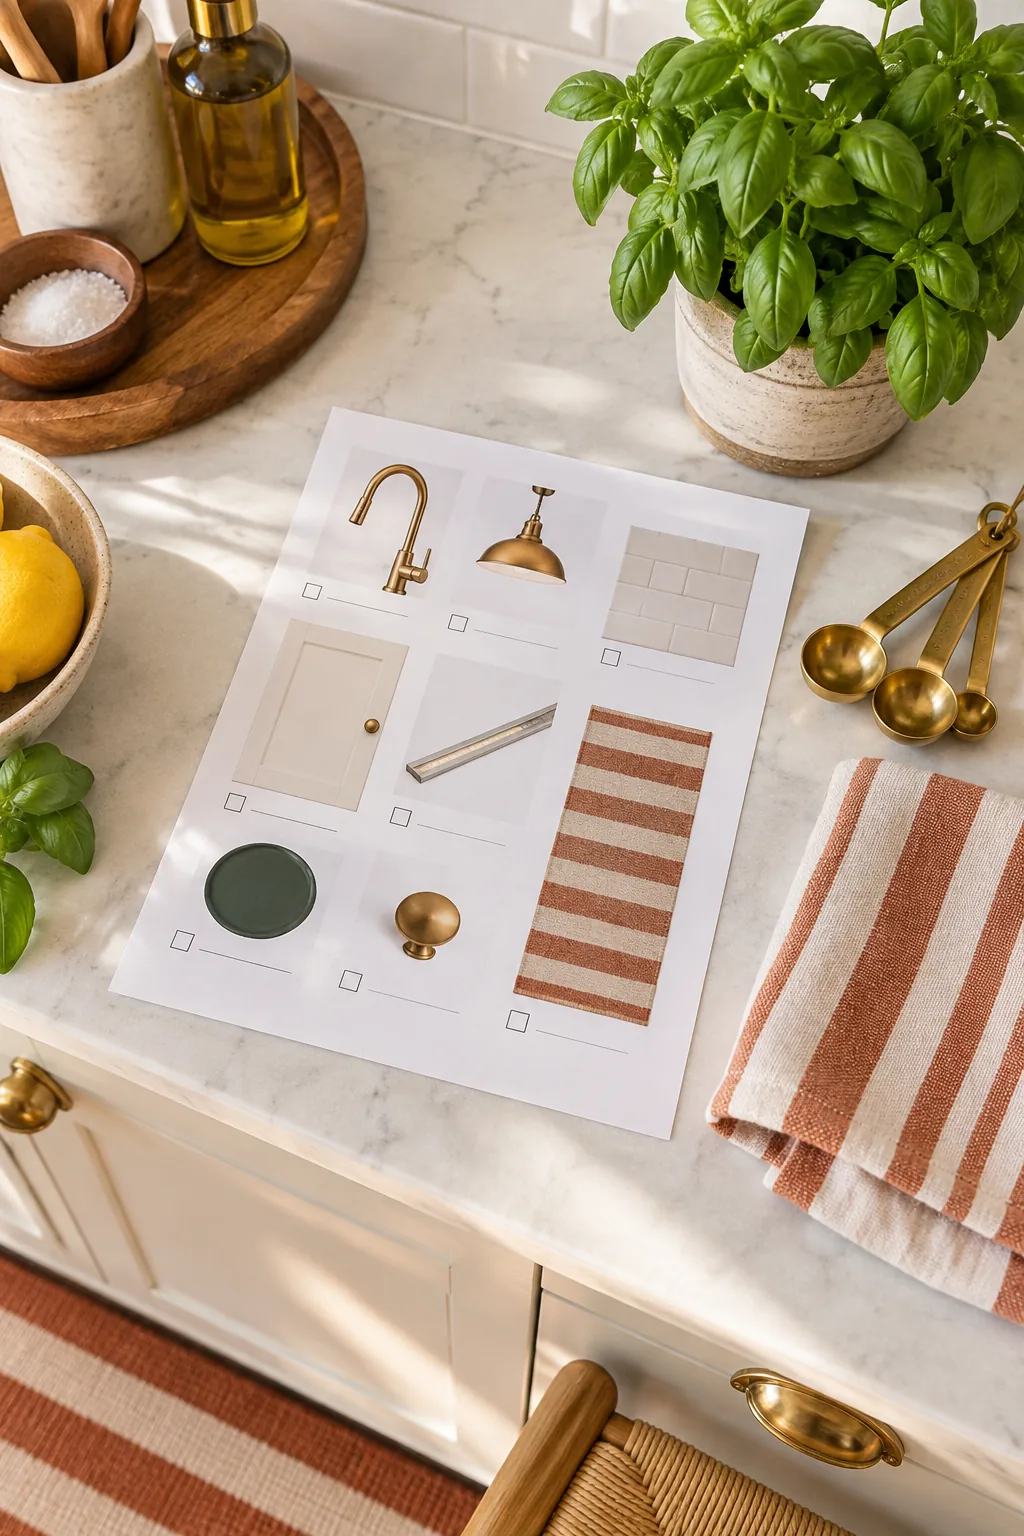
Using a durable satin finish reflects just enough natural window light to keep that far wall from feeling like a dark cave.
Plan the Perfect Order of Operations
I learned the hard way that working out of order means redoing things, so to avoid ruining your fresh white grout with black toe-kick paint, always follow this strict four-phase order.
Get Your Galley Swap Shopping List
I keep this exact two-page Galley Swap Shopping List printed on my fridge whenever I’m planning a budget kitchen refresh so I never buy the wrong trim size.
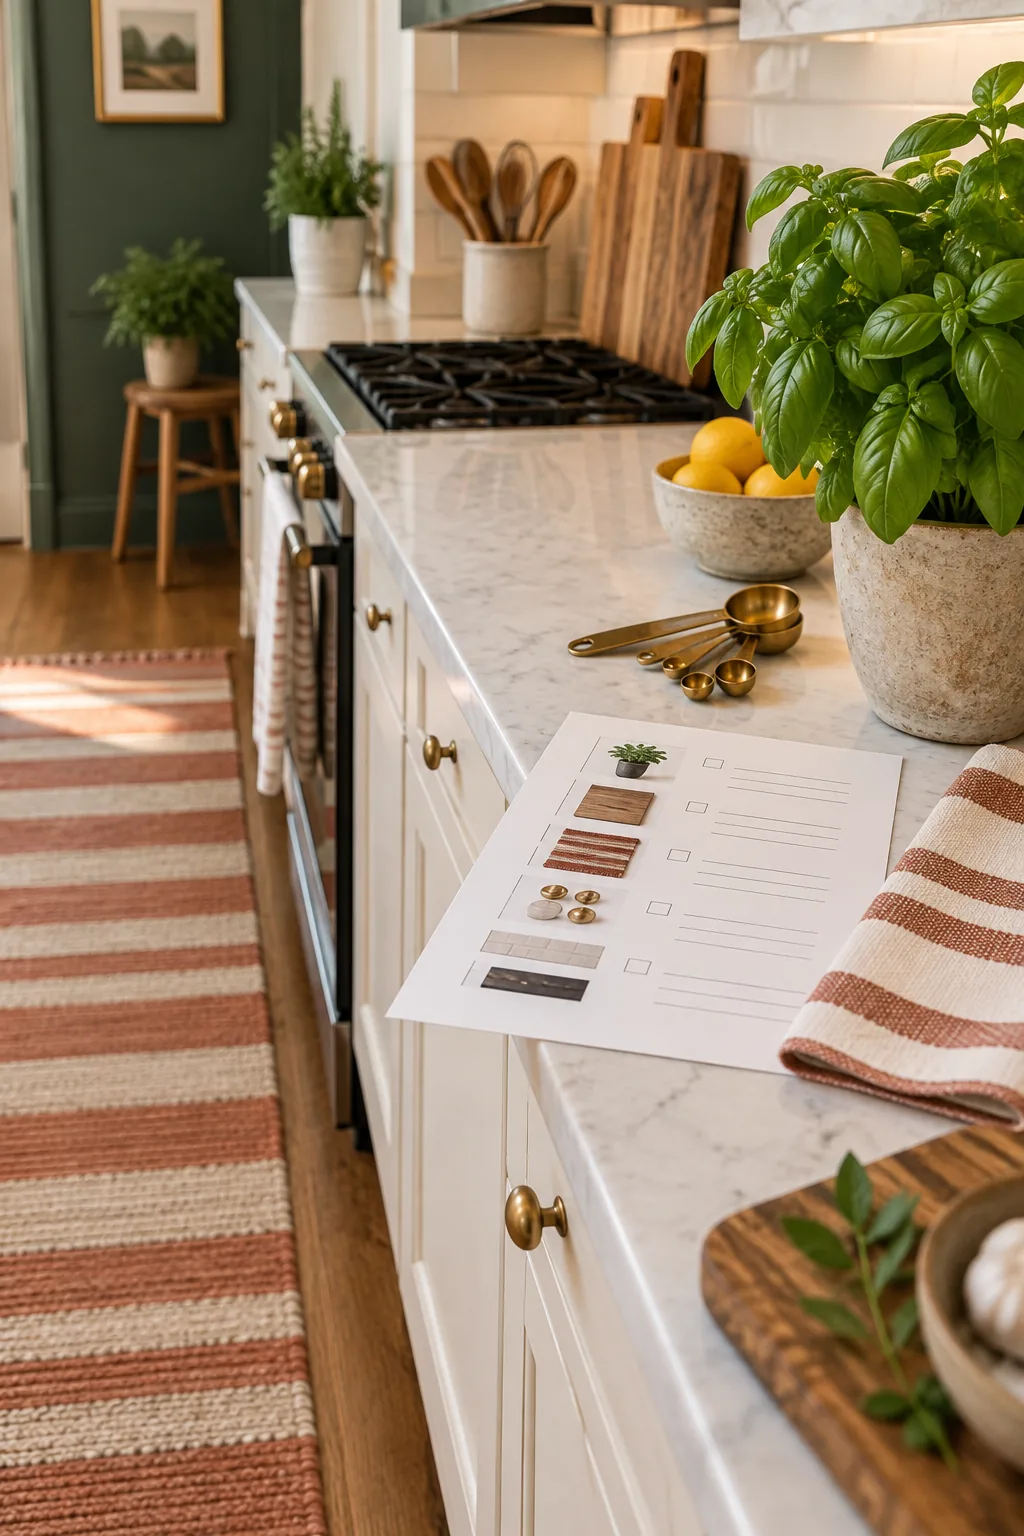
It pairs every affordable swap with the pricier upgrade it replaces, lists the exact supplies you need, and walks you through the step-by-step installation order.
More Galley Looks to Steal
Take these same budget principles and apply them to one of these distinct aesthetics.
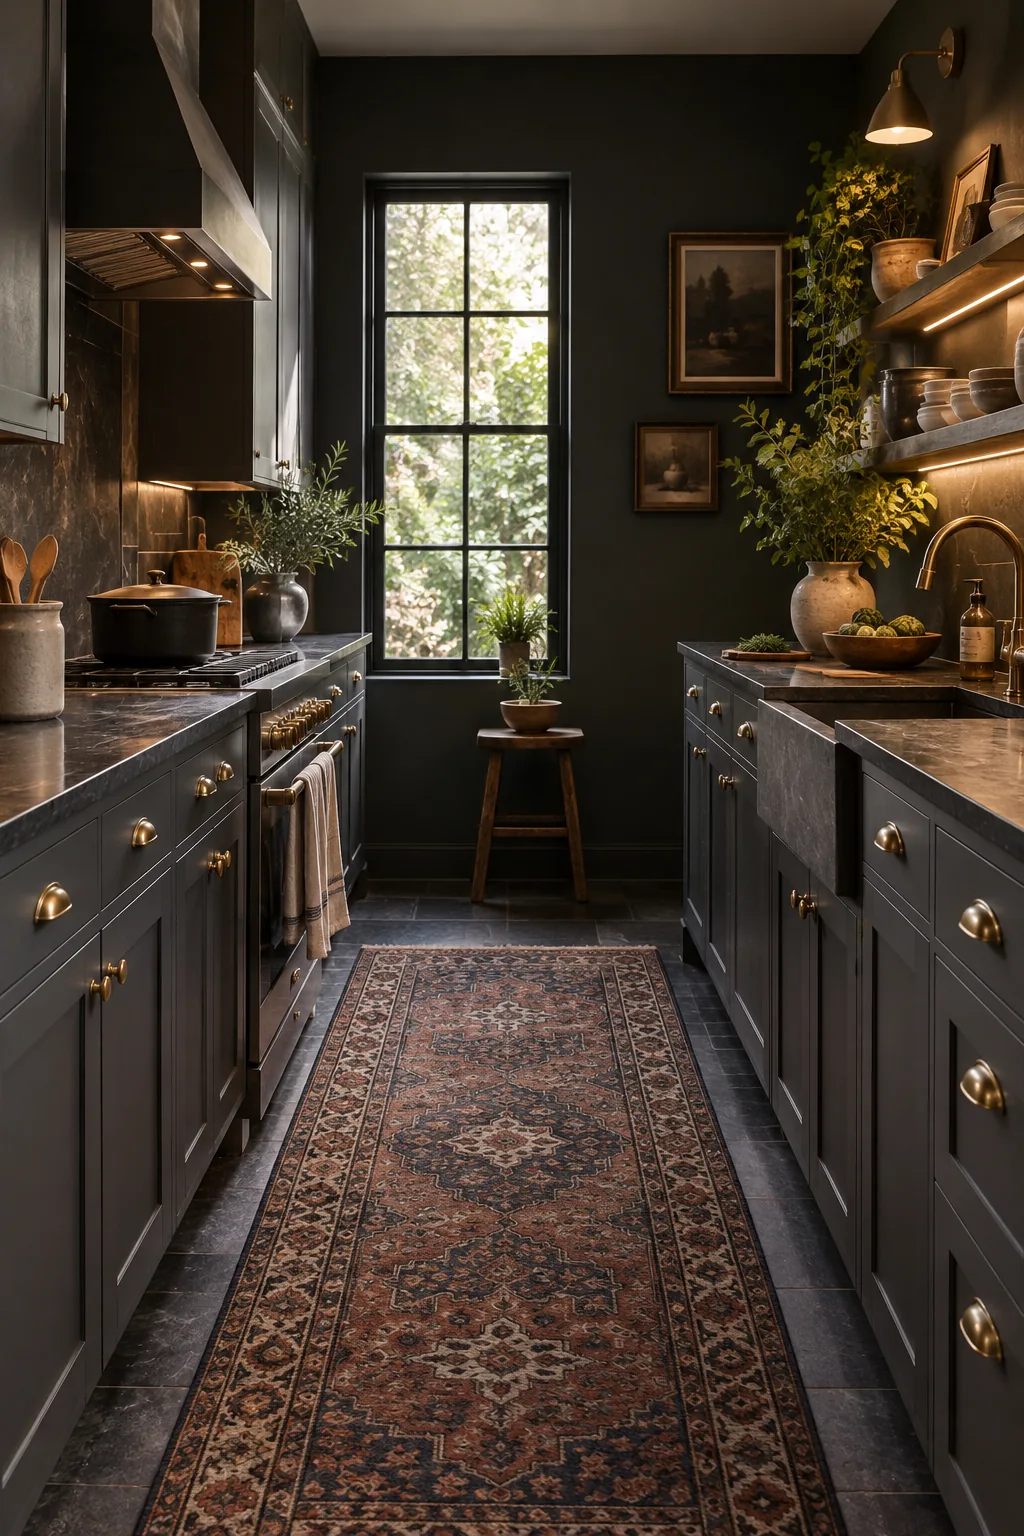
Moody Slate Galley: Charcoal cabinets and a vintage Persian runner give this narrow space a moody, historic feel you can easily copy by swapping in unlacquered brass hardware.
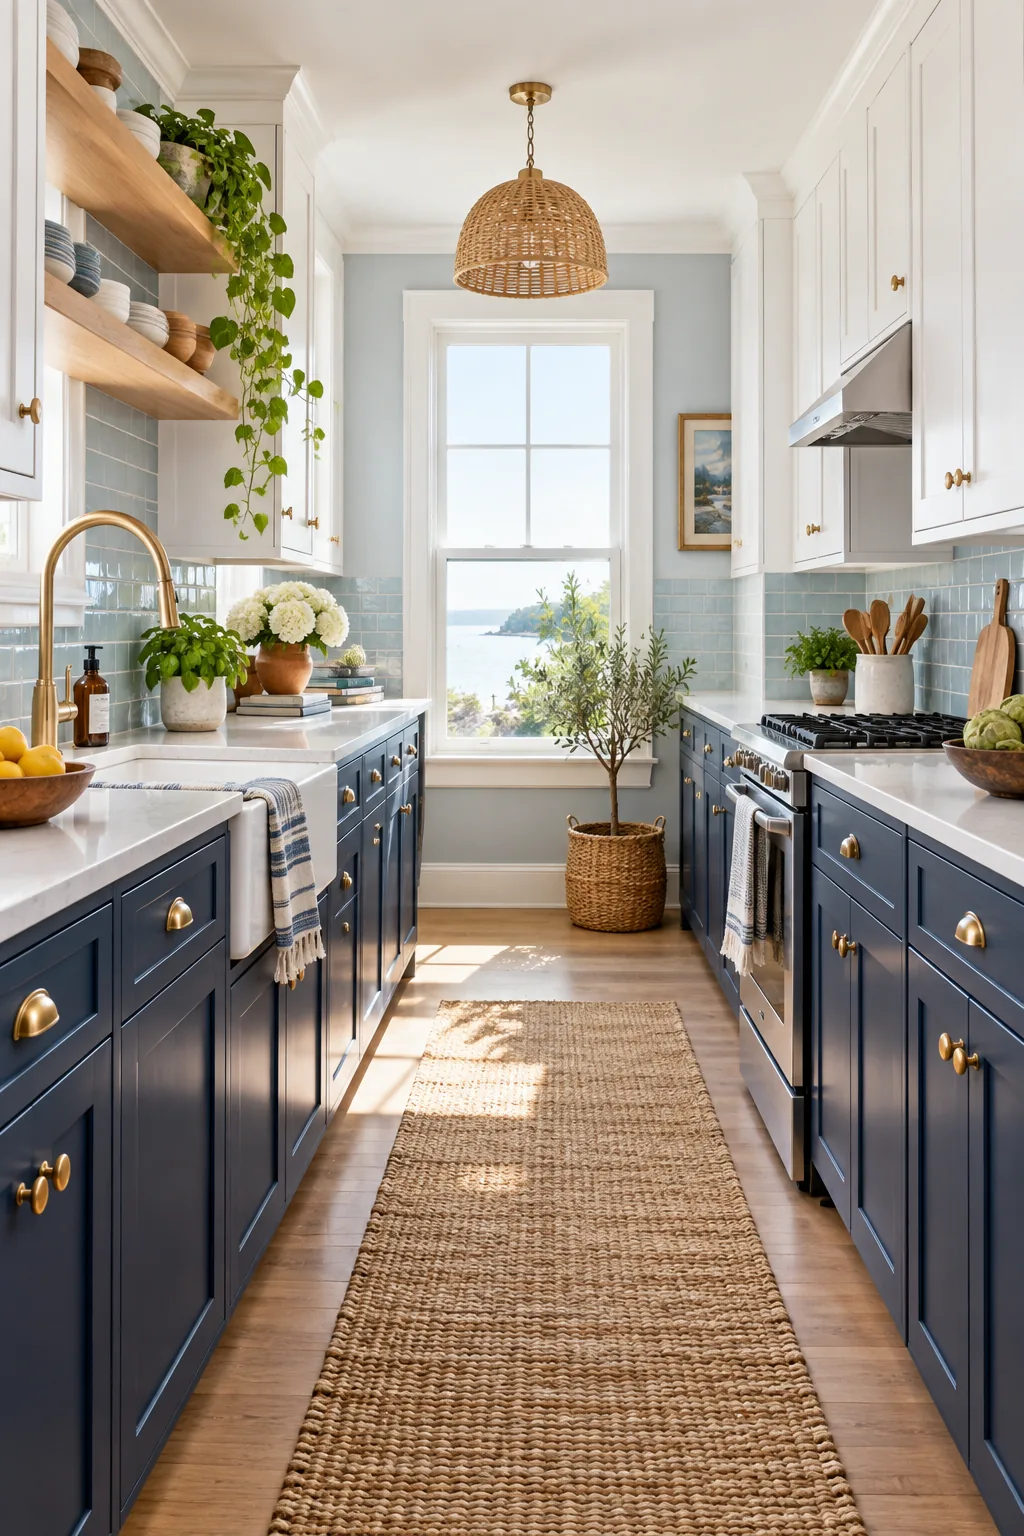
Coastal Blue Galley: Navy blue lower bases ground this airy coastal design, while a textured jute runner adds warmth you can replicate over any cold tile floor.
Warm Clay Galley: A terracotta painted end wall warms up mushroom-colored cabinets, creating an earthy aesthetic completed by styling open wood shelving with everyday ceramic dishware.