Luxury Master Bath Layout: The Spatial Clearance & Lighting Guide
Planning a seamless daily spa retreat requires exact measurements, which is why this complete Luxury Bath Clearance & Lighting Guide delivers the precise spatial rules you need to map out your final floor plan. You will confidently arrange your freestanding tub, custom vanities, and curbless showers using professional clearances.
Layering the Ambient Cove Light
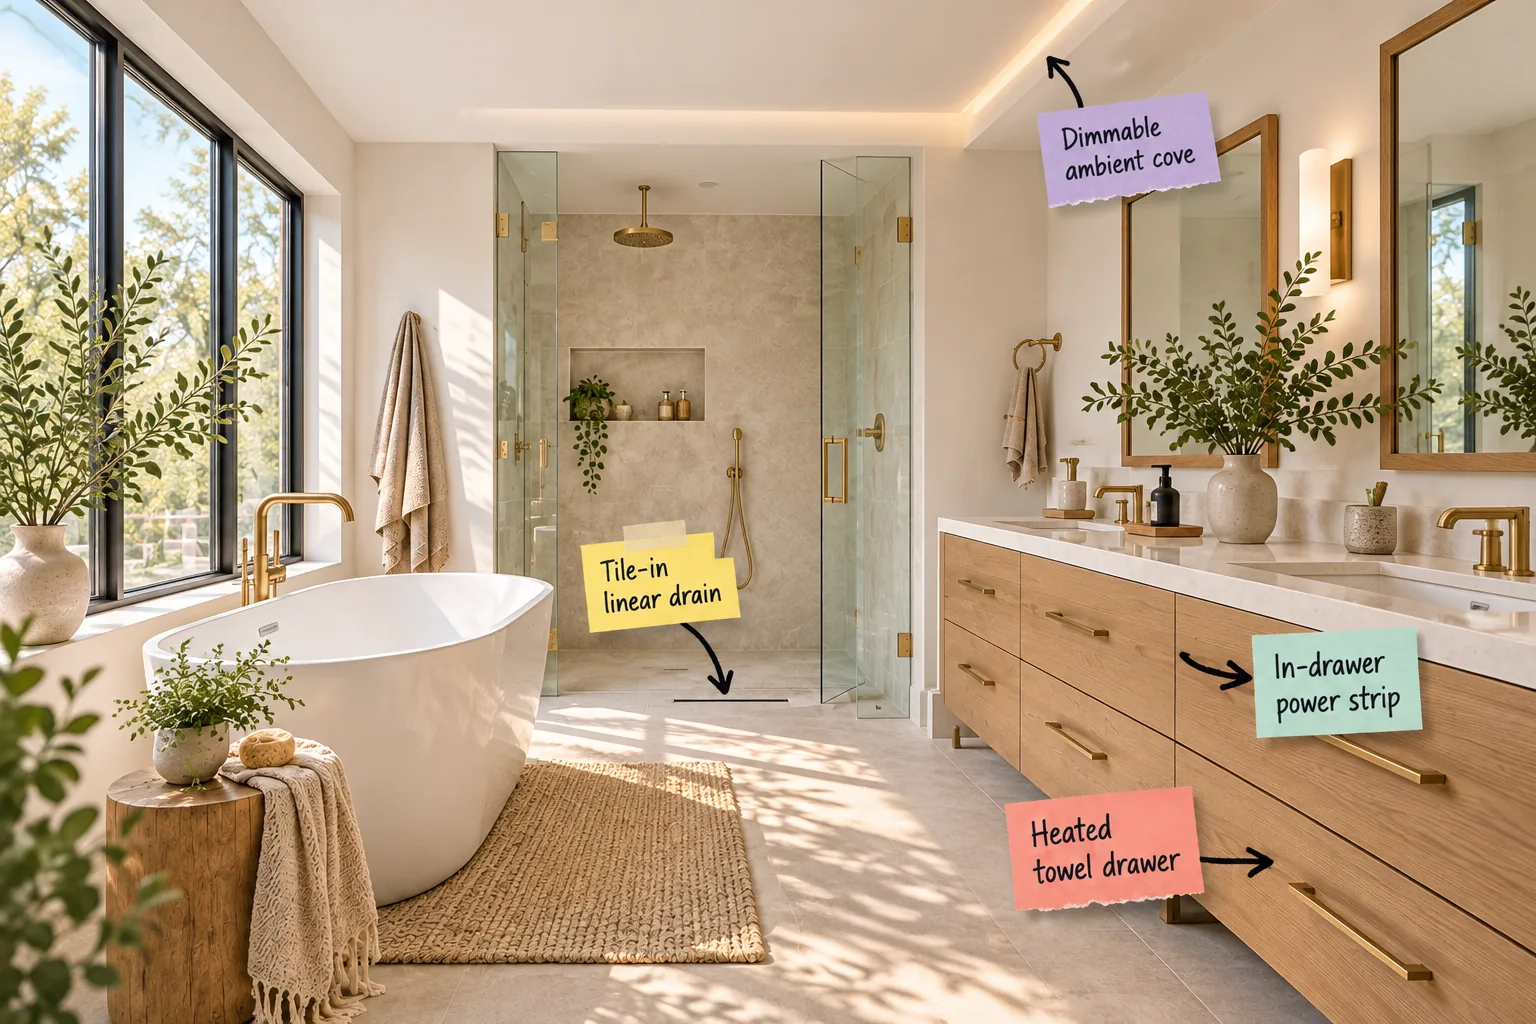
A true spa atmosphere relies on soft, indirect illumination rather than harsh overhead glare, a foundational lesson I learned while designing my own Denver master suite. I always plan for a 6-inch ceiling drop to seamlessly conceal the dimmable ambient cove lighting.
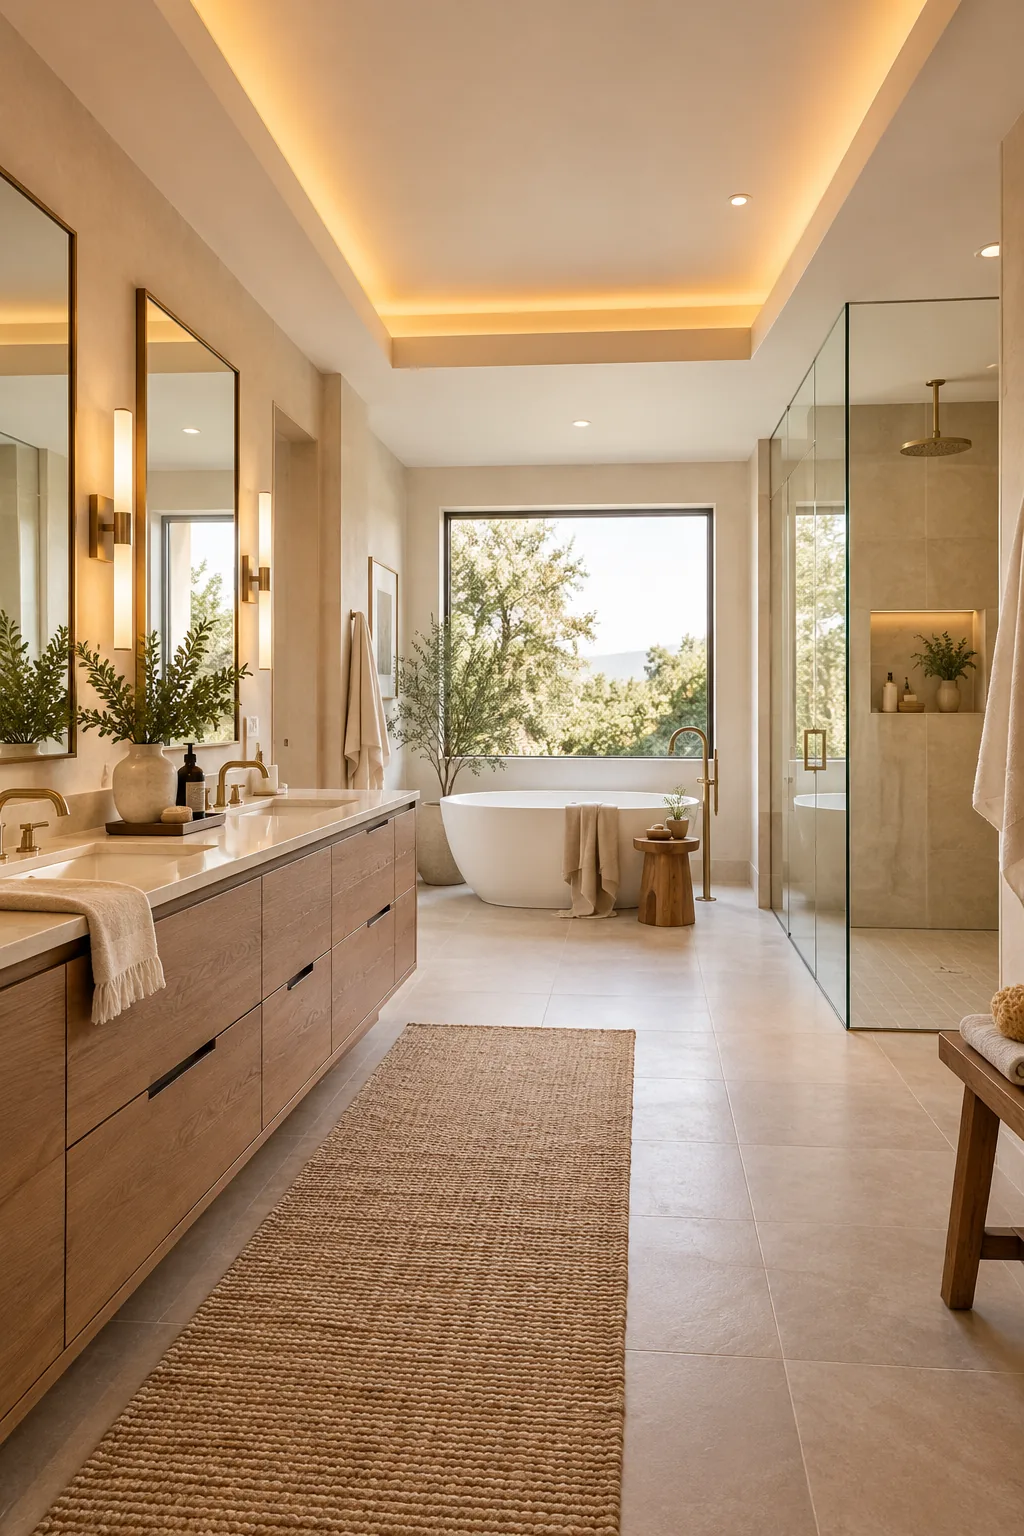
This recessed architectural detail casts a warm, flattering glow across the room during early morning or late evening routines. Indirect ambient lighting visually lifts the ceiling while ensuring you never stare directly into a bright bulb while relaxing in the tub.
Selecting the Perfect LED Color Temperature
To achieve that signature luxury hotel warmth, specify 2700K LED tape lights for your ceiling coves rather than sterile daylight bulbs. This specific color temperature beautifully mimics natural candlelight, instantly softening the hard edges of your mirror wall, glass enclosures, and porcelain tile surfaces.
Eliminating Harsh Overhead Glare
Recessed ceiling fixtures should strictly function as targeted task lighting over specific zones, never as your primary ambient source. By shifting the main illumination to the perimeter cove, you create a shadow-free environment that completely transforms your daily makeup and preparation experience.
Grounding the Space with a Custom Oak Vanity
A double vanity anchors the room’s layout and introduces essential natural texture, exactly like the custom white oak cabinet I installed in my recent Cherry Creek project. Even with a beautiful vanity, poor illumination can ruin the daily prep experience, so avoid these common lighting errors when planning your mirror wall.
Sizing the Floating Vanity Clearances
Always opt for a wall-mounted floating cabinet design to make the bathroom floor plan feel significantly more expansive. You must leave at least 8 inches of clearance beneath the cabinet base to allow comfortable foot room and provide easy access for daily floor cleaning.
Protecting the Warm White Oak Grain
The warm white oak grain beautifully softens the rigid, cold surfaces of the surrounding tile and glass shower enclosures. Always seal natural wood vanities with a marine-grade matte polyurethane to prevent long-term moisture damage from daily steam cycles and accidental countertop splashes.
Hiding Clutter with In-Drawer Power
Keep your beautiful quartz countertops completely clear by integrating an in-drawer power strip directly into the cabinetry. Specify a dedicated 15-amp outlet inside the top drawer of the vanity during the initial electrical rough-in phase to ensure the wiring is perfectly placed.
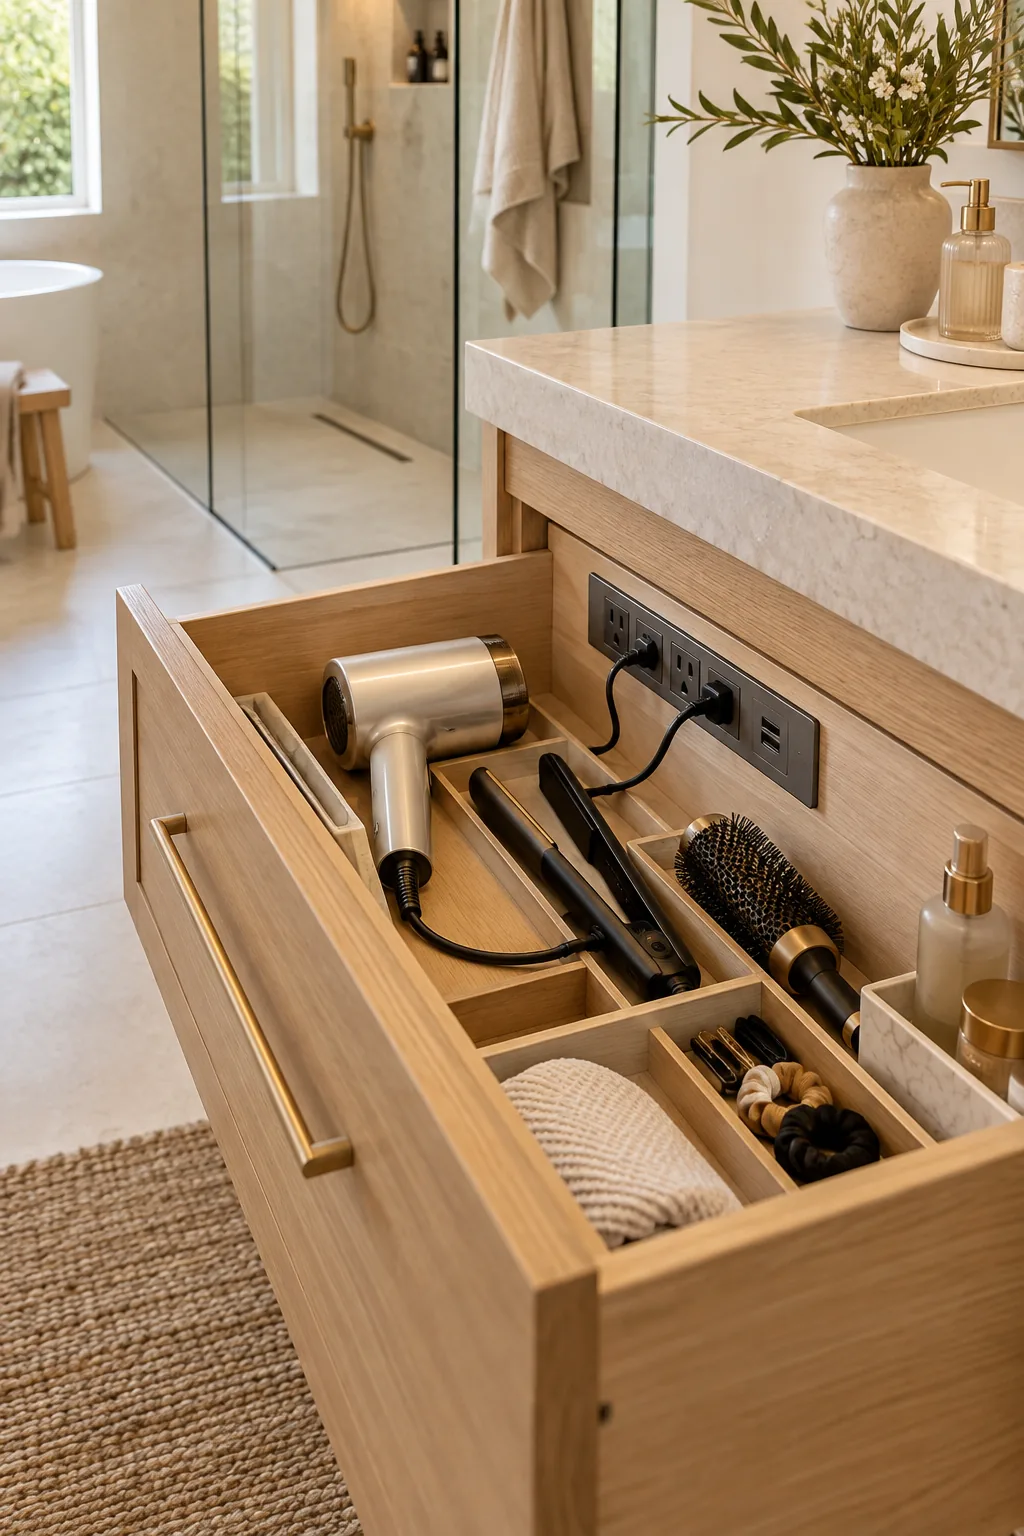
This clever trade detail allows bulky hair dryers and electric razors to remain plugged in and ready to use, yet entirely hidden from view. Concealed appliance storage is the ultimate secret to maintaining a minimalist, clutter-free sanctuary that feels effortlessly organized.
Specifying the Electrical Rough-In
Coordinate with your electrician early to ensure the internal wiring correctly routes through an articulated cable management arm behind the drawers. This crucial detail prevents the power cord from binding or snapping when you repeatedly open and close the heavy oak cabinet doors.
Managing Heat Inside Closed Cabinetry
Hot styling tools require special safety considerations before being stored away in enclosed wooden compartments. Install a metal-lined canister insert within the drawer to safely absorb residual heat from curling irons, ultimately protecting your custom oak vanity from dangerous scorching or fire hazards.
Upgrading to a Heated Towel Drawer
For the ultimate daily luxury, repurpose the deep bottom drawer of the vanity into a concealed heated towel drawer. Unlike bulky wall-mounted racks, this hidden warming unit keeps fresh towels perfectly toasty while maintaining the bathroom’s sleek, uninterrupted architectural aesthetic.
- Verify the internal cabinet dimensions early to ensure the warming unit fits entirely flush within the drawer box.
- Route a dedicated wiring path behind the vanity base before the final drywall goes up.
- Install the integrated thermostat control directly on the inner drawer lip for easy, hidden access.
Wiring the Dedicated Warming Circuit
Heated bathroom hardware draws significant continuous power, meaning it cannot safely share a circuit with your high-wattage hair dryer outlet. Planning a separate 120V circuit guarantees your towels stay warm without constantly tripping the bathroom breaker during your rushed morning preparation routine.
Engineering the Curbless Shower Transition
A seamless glass shower makes the entire bathroom feel significantly larger, a spatial trick I use in almost every compact Denver bungalow remodel. To achieve this, a tile-in linear drain placed against the back wall handles the water flow effortlessly while remaining virtually invisible.
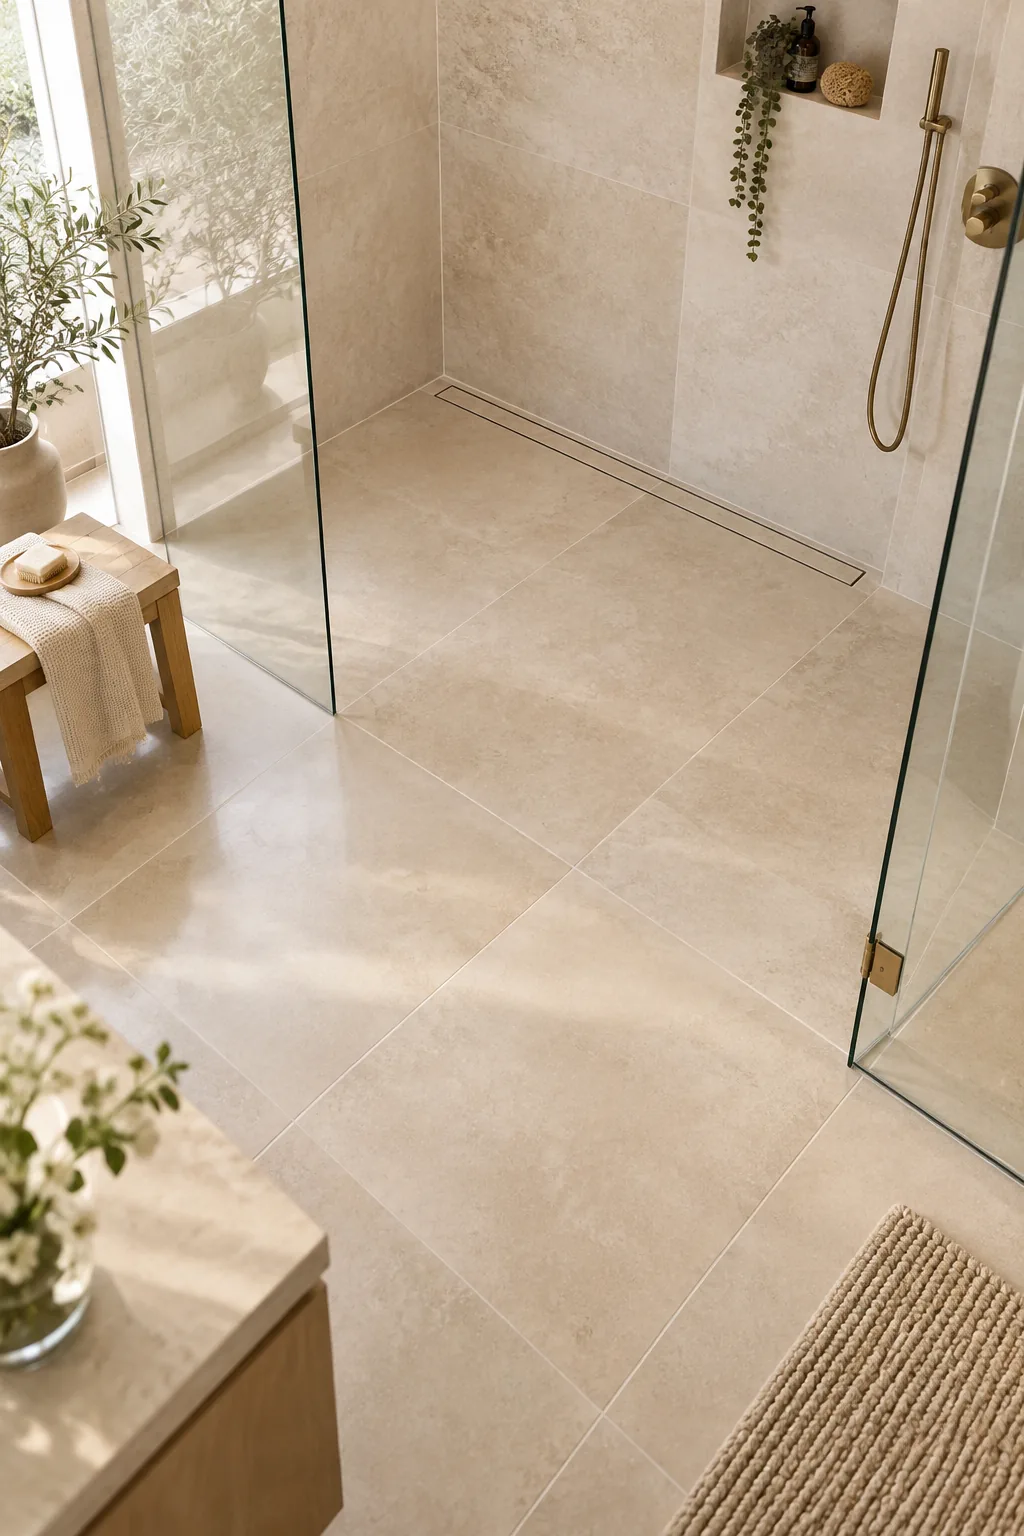
This flush transition allows large-format floor tiles to run continuously from the vanity straight into the wet zone without interruption. A curbless entry completely eliminates tripping hazards and creates an unbroken visual plane that defines modern, accessible luxury in the master bath.
Pitching the Subfloor for Drainage
You cannot simply build a perfectly flat floor and expect shower water to flow correctly toward the drain. The subfloor must be dropped roughly 2 inches to accommodate the necessary 1/4-inch per foot slope required for the linear drain to function without pooling.
Waterproofing the Continuous Floor
A seamless shower demands rigorous moisture protection that extends well beyond the immediate glass enclosure. Apply a liquid waterproofing membrane across the entire bathroom footprint to safeguard the structural subfloor against inevitable splashes, heavy steam condensation, and minor plumbing leaks.
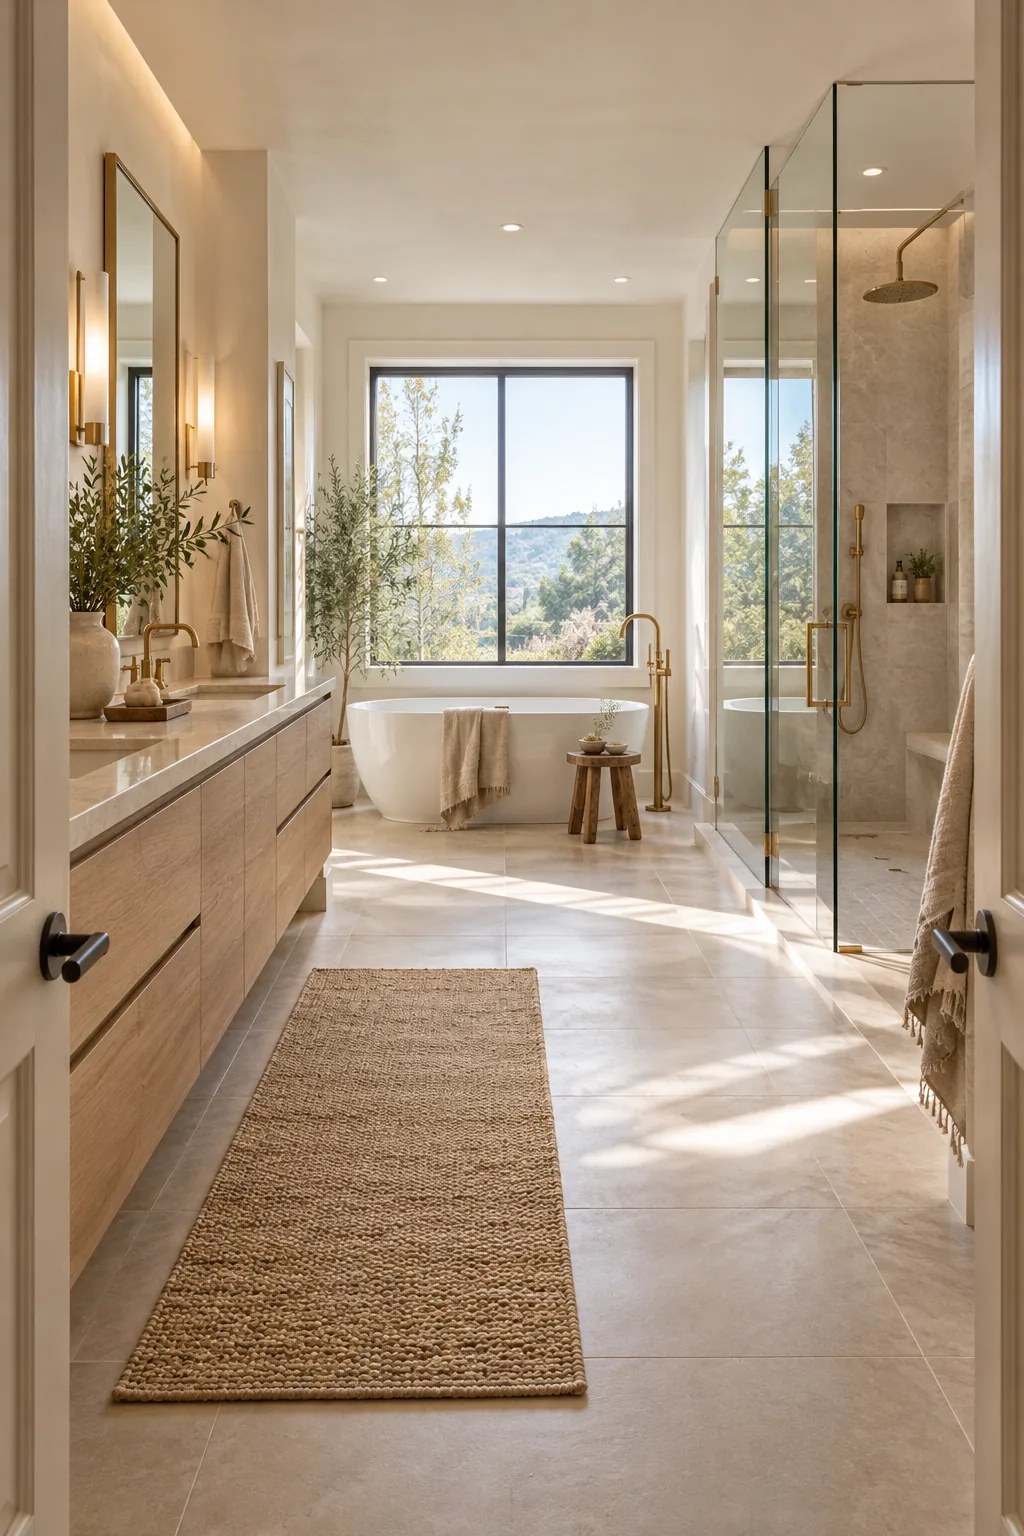
Choosing Cohesive Brass Hardware
Unifying the plumbing fixtures, cabinet pulls, and lighting finishes creates a deliberate, high-end look that I always prioritize when designing my own homes. If you prefer a pristine shine that never ages, specify a PVD brushed gold finish instead of traditional plating.
| Finish Type | Aging Process | Maintenance Level | Best Application |
|---|---|---|---|
| Unlacquered Brass | Develops rich patina | High (polishing optional) | Traditional luxury |
| PVD Brushed Gold | Remains pristine | Low (wipe clean) | Modern minimalist |
| Lacquered Brass | Maintains factory shine | Medium (avoid abrasives) | High-traffic baths |
Maintaining Living Hardware Finishes
Unlacquered brass offers a beautiful living finish that develops a gorgeous, organic patina over time in a humid bathroom environment. To encourage an even aging process, occasionally rub the fixtures with a light coat of mineral oil to protect the raw metal surfaces.
Positioning the Freestanding Soaking Tub
A freestanding tub acts as the sculptural focal point of a luxury bath, but it desperately requires aesthetic breathing room to look its best. Position the floor-mounted tub filler carefully to ensure the spout fully clears the tub’s rolled rim without splashing.
Cramming a beautiful fixture into a tight corner ruins its visual impact and creates a daily maintenance nightmare. Leave a minimum of 12 inches between the tub base and any adjacent walls to allow for easy mop access and comfortable cleaning.
Aligning the Floor-Mounted Tub Filler
The precise location of the floor filler must be permanently locked in before pouring the concrete or closing the subfloor. Always measure the exact spout reach against your specific tub model’s slope to prevent water from splashing onto the surrounding floor tiles.
Securing the Heavy Glass Enclosure
Frameless glass panels require heavy-duty structural backing inside the walls to support the massive weight of the brass hinges. Install solid wood blocking between the studs during the initial framing phase to prevent the heavy shower door from sagging or shifting over time.
The Luxury Bath Spatial Clearance Guide
A beautiful bathroom completely fails if it feels cramped, which is why adhering to strict spatial rules is non-negotiable. Maintain a minimum of 30 inches of clear floor space in front of the toilet and 21 inches in front of the vanity.
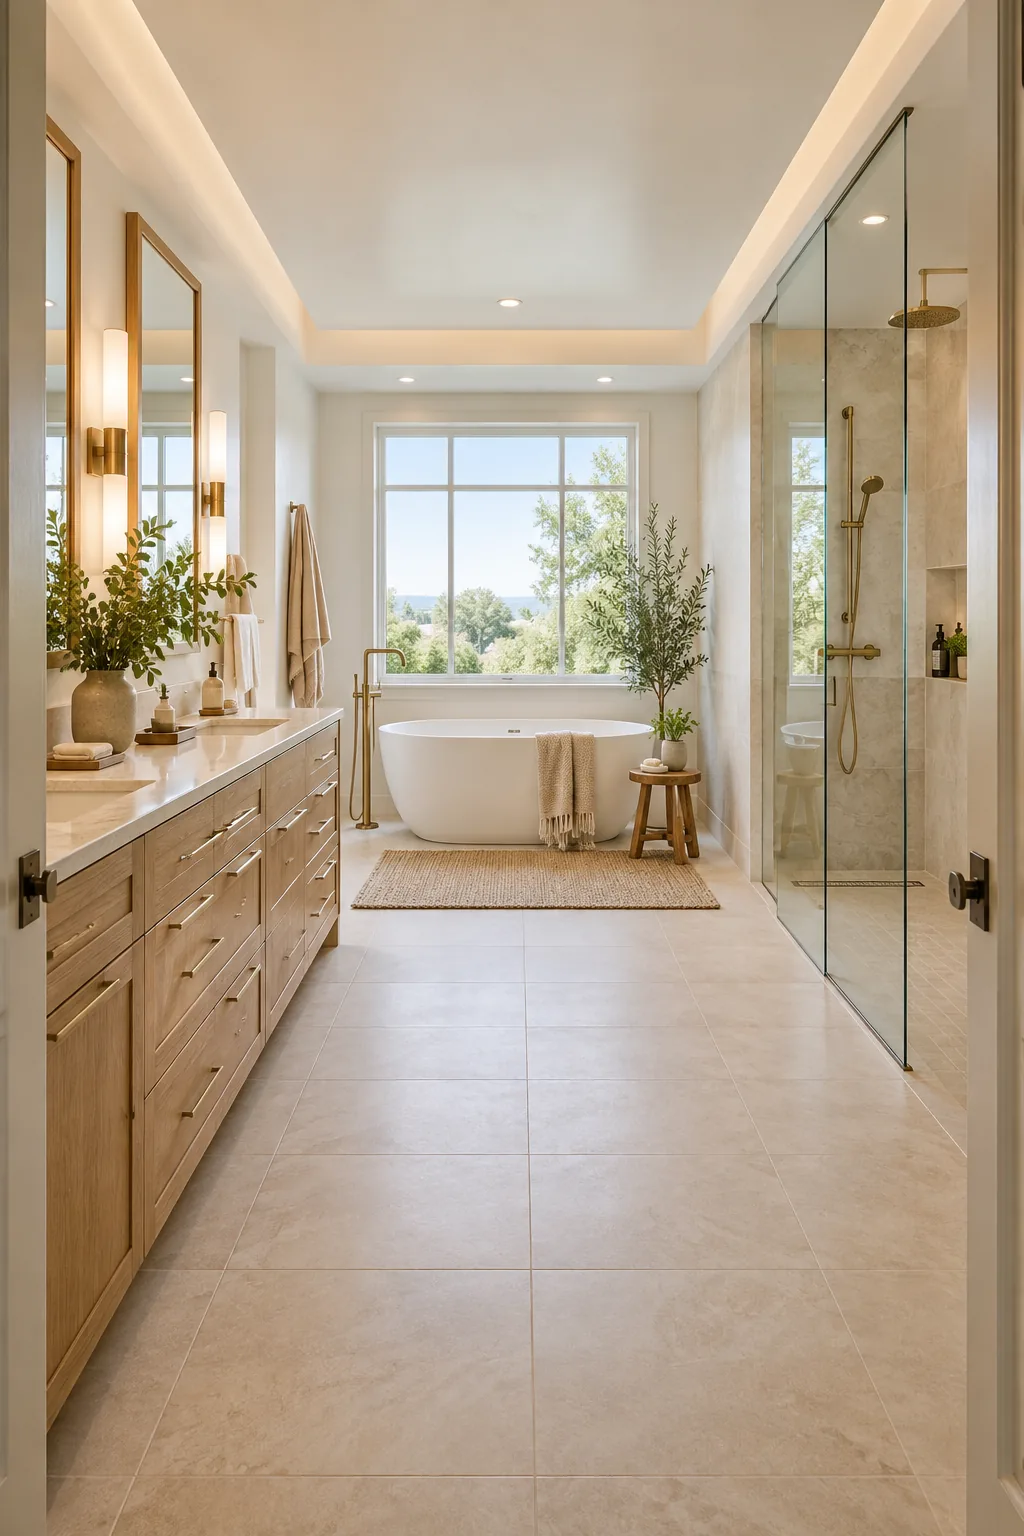
Before signing off on the final blueprints, walk through the space mentally and verify these critical spatial relationships to ensure everyday comfort and safety.
5 Ways to Style a Spa-Like Master Bath
Explore how different palettes and materials can completely transform the mood of your daily retreat.
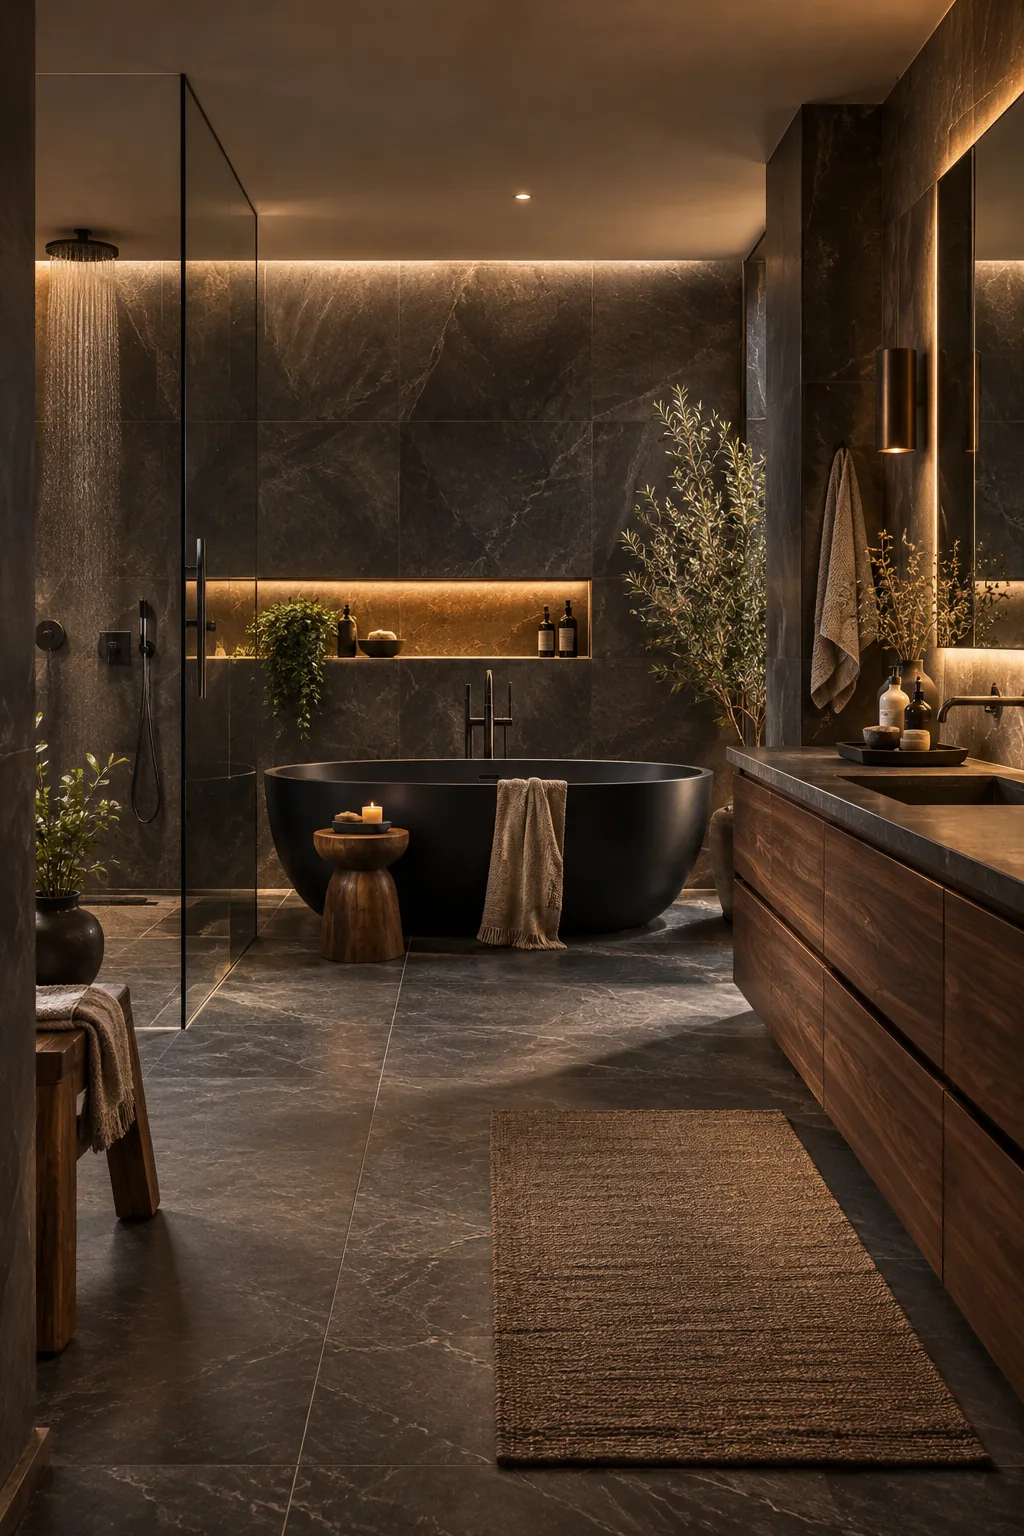
Moody Slate and Walnut: Dark large-format tiles create a dramatic, cave-like atmosphere. Pair this moody base with matte black fixtures for a striking, masculine edge.
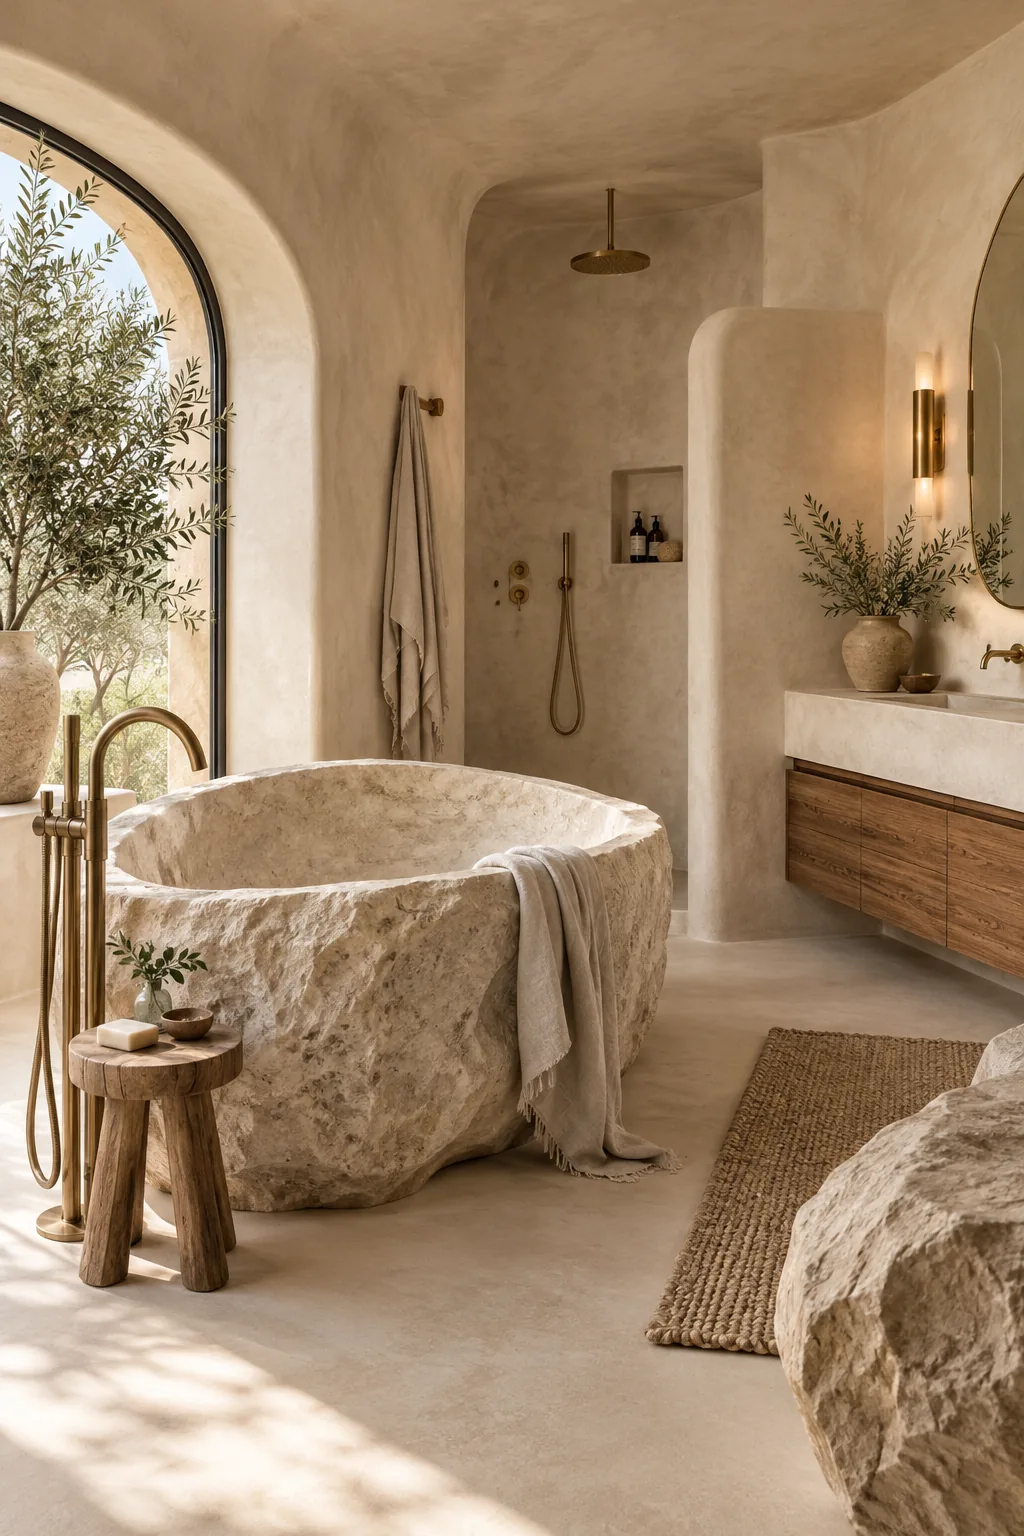
Organic Tadelakt Plaster: Seamless waterproof plaster eliminates grout lines entirely. Embrace the calming wabi-sabi aesthetic by anchoring the room with a raw, asymmetrical stone basin.
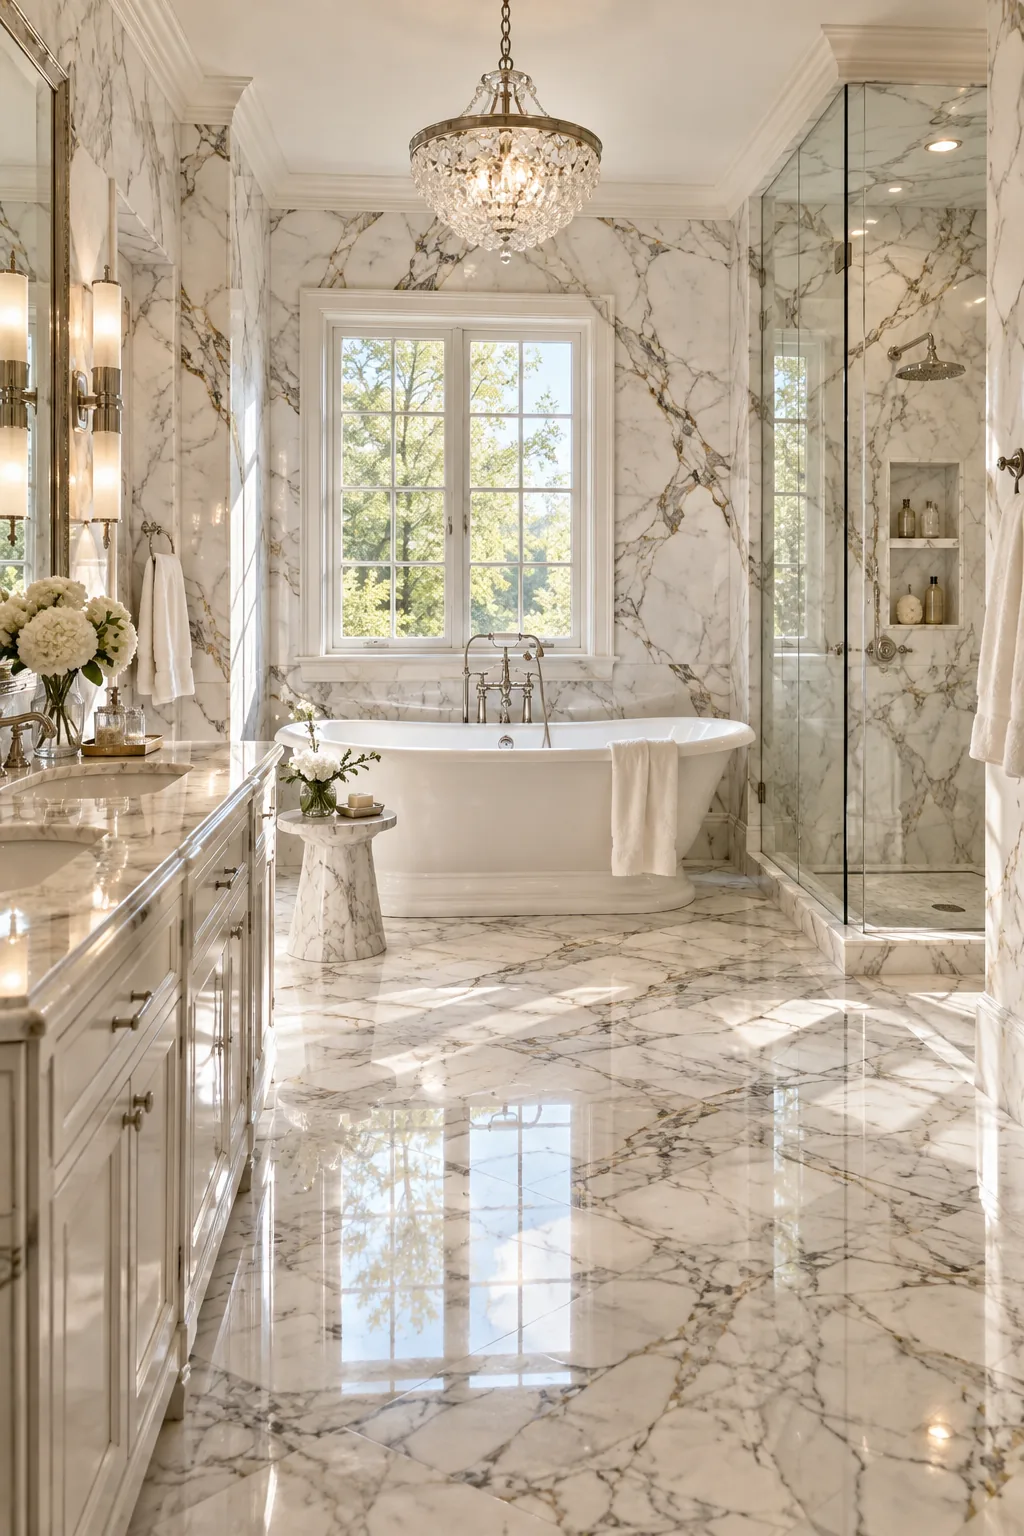
Classic Calacatta Marble: Heavily veined marble offers a sense of timeless luxury that never dates. Use polished nickel hardware to beautifully reflect light around the room.
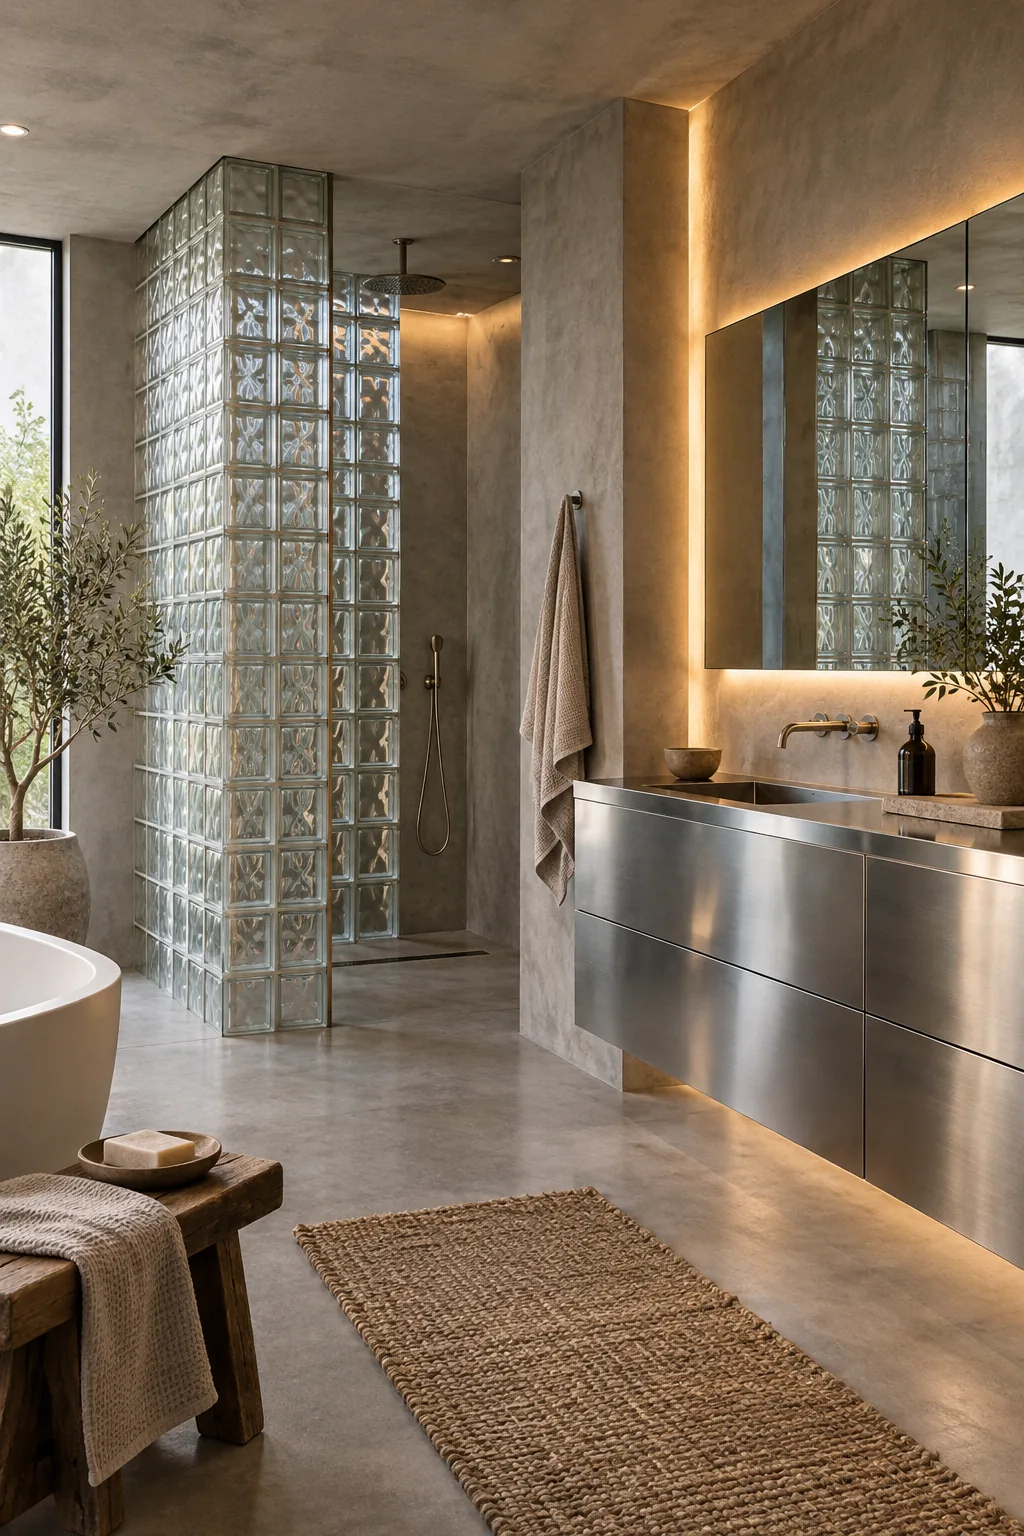
Minimalist Poured Concrete: Continuous concrete floors make the space feel expansive and industrial. Soften the stark, minimalist architecture by incorporating warm, hidden LED backlighting.
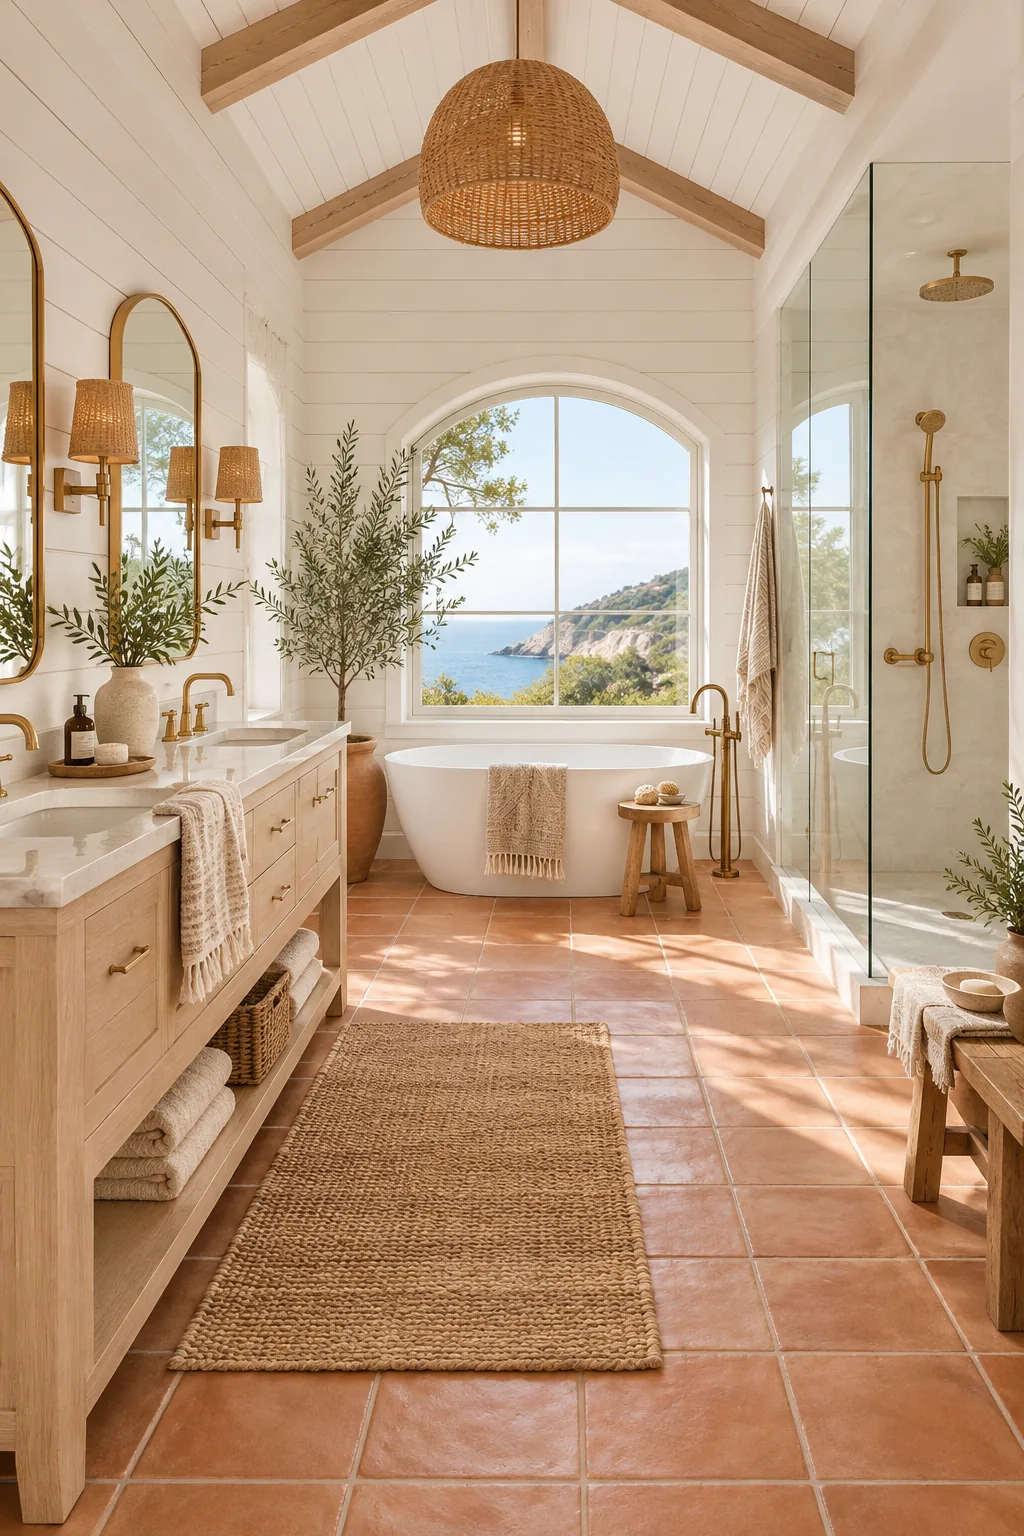
Coastal Terracotta Warmth: Handmade clay tiles bring a relaxed, sun-baked Mediterranean warmth to the space. Keep the surrounding walls crisp white to perfectly balance the earthy floors.