
Driveway Extension Guide: Per-Square-Metre Materials Chart
Planning a block-paved driveway extension is much easier when you use our complete per-square-metre materials chart to calculate your sub-base, sand, and paving blocks exactly. You will be able to order the precise quantities needed for your new footprint without overspending.
Marking Out the New Footprint
Defining the new boundary determines your total material volume, and a standard single-car extension requires an additional 2.4 to 3 meters of width. When I widened my own Austin driveway, marking the exact footprint first saved me from ordering way too much stone.
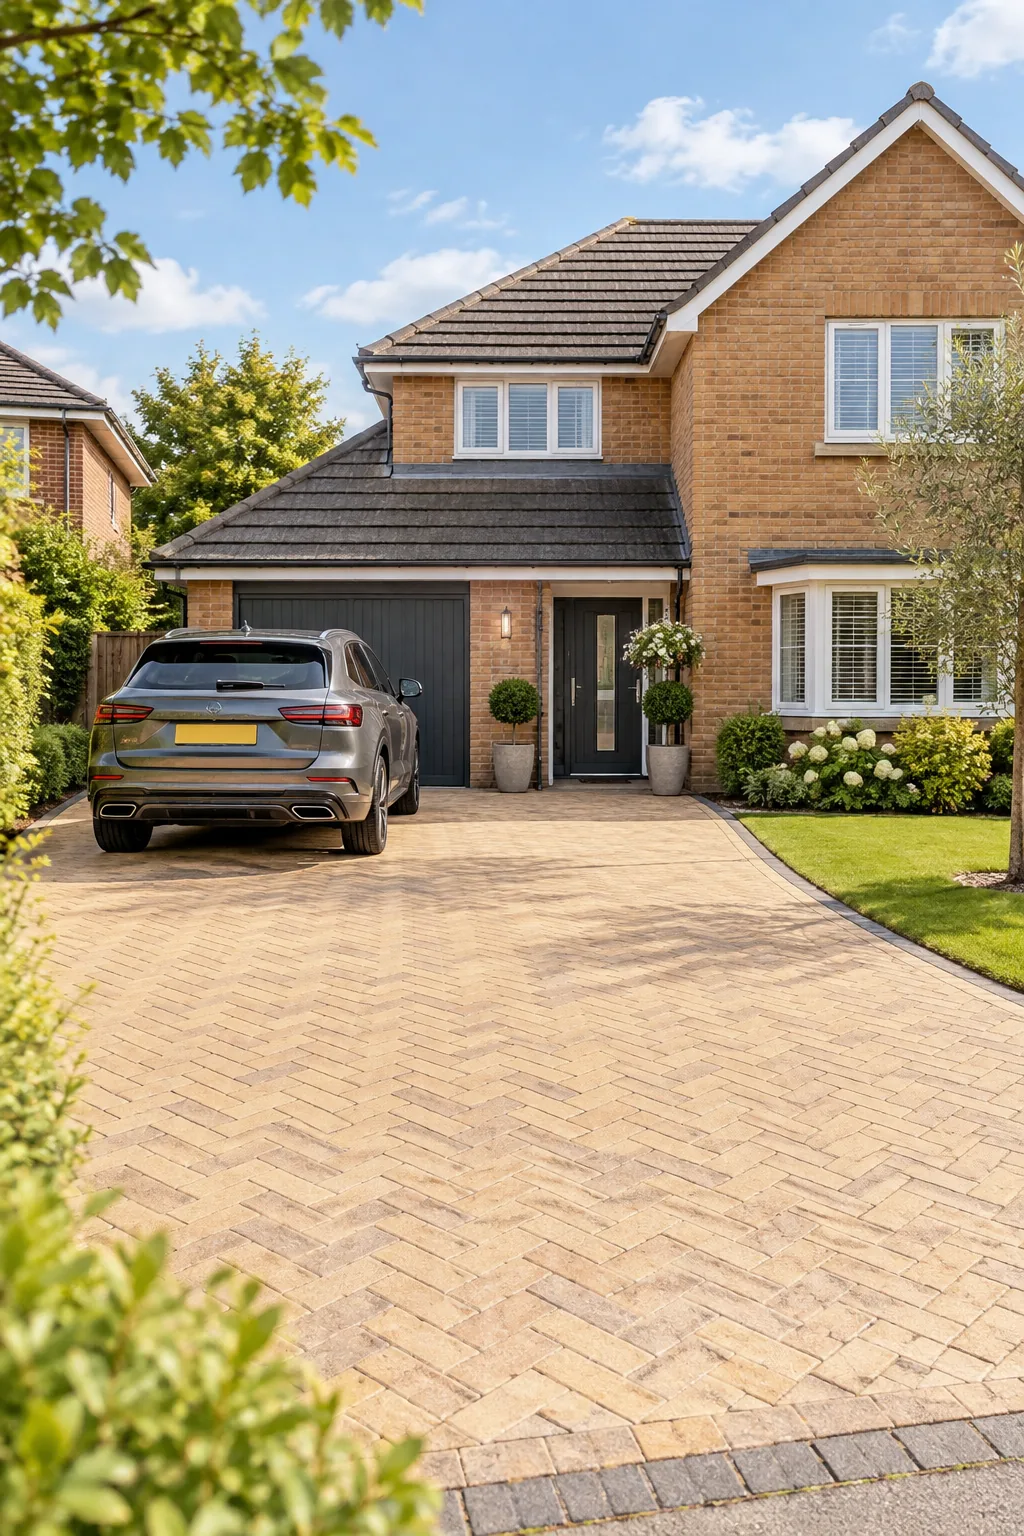
Before you remove the first square of turf, you need to verify that your planned footprint will not cause legal or structural headaches down the line.
Calculating Your Total Excavation Area
Multiplying your new width by the total length gives you the exact square meterage required for the materials chart. Always use a long tape measure and builder’s string lines to ensure your new perimeter stays perfectly square with the existing driveway structure.
Protecting Your Lawn During Excavation
Heavy wheelbarrows and muddy boots will quickly destroy the adjacent grass while you are moving tons of heavy material. Laying down thick plywood sheets creates a temporary walkway that protects your lawn from deep ruts and severe compaction during the digging phase.
Disposing of the Excavated Soil
Digging out a sizable extension generates an astonishing volume of loose dirt that expands significantly once removed from the ground. Hiring a large skip or arranging a local grab lorry collection in advance prevents massive soil piles from blocking your street access.
Checking Local Front Garden Regulations
Many municipalities now require planning permission if you are laying non-permeable paving over a certain size in a front garden. Directing your surface water into a dedicated permeable border or natural lawn usually bypasses these strict local drainage regulations entirely.
Laying the 150mm Type 1 Sub-Base
The longevity of your extension relies entirely on the hidden foundation, which means digging down approximately 230-250mm to allow room for the stone. I learned the hard way that skimping on the sub-base depth guarantees a sunken driveway after just one heavy rainstorm.
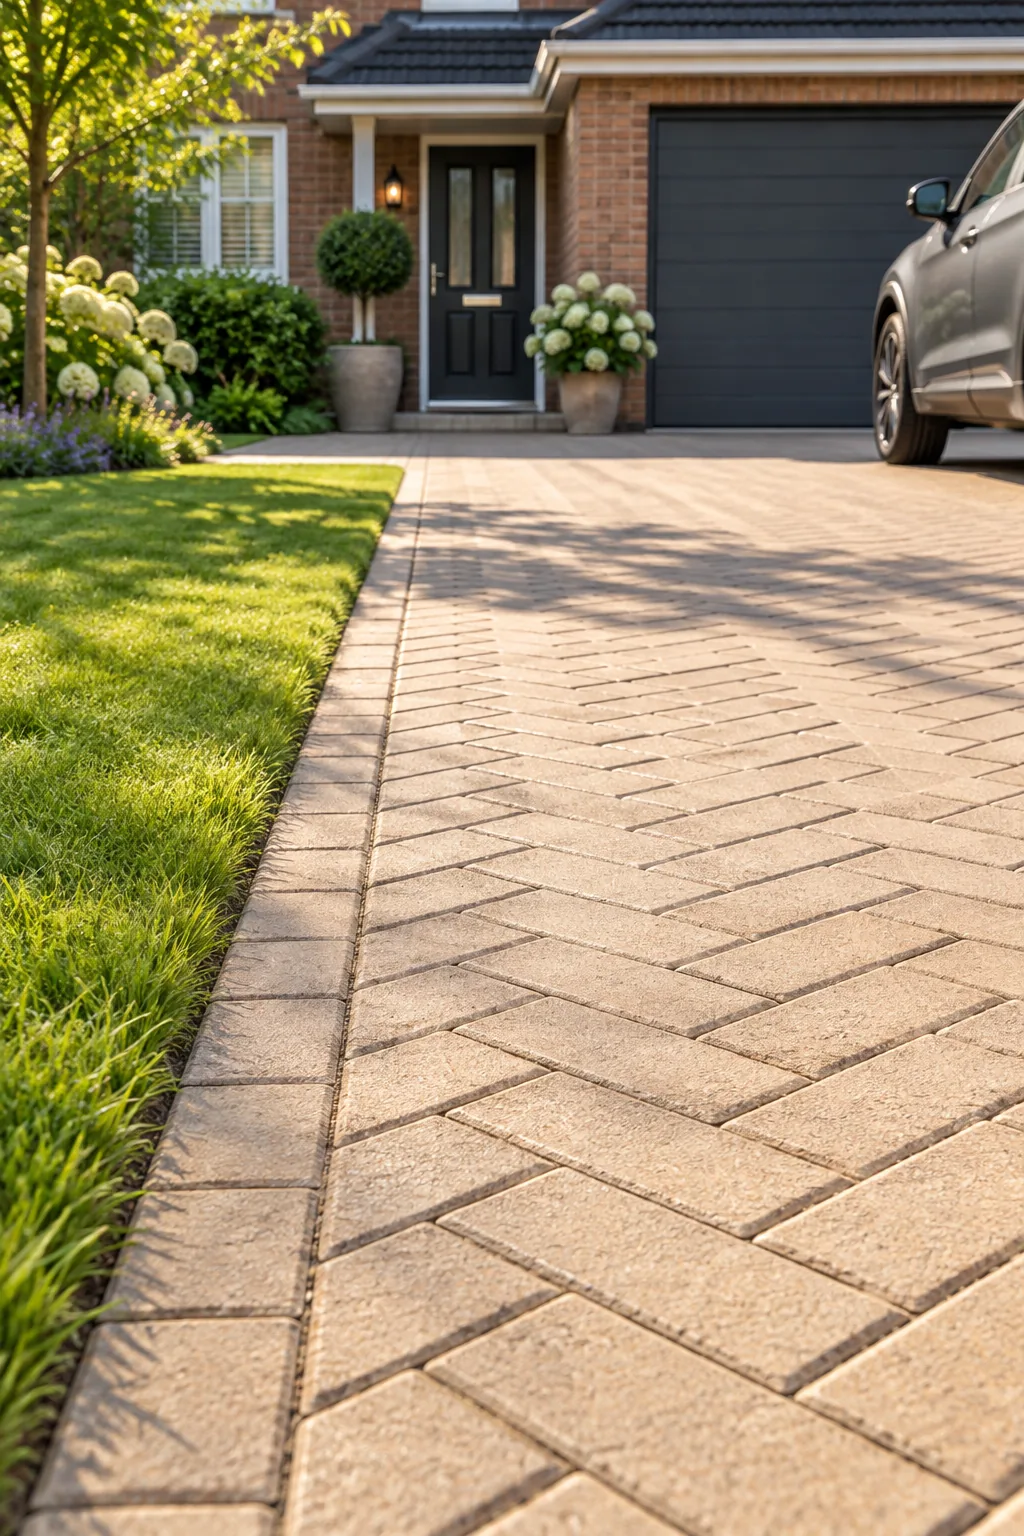
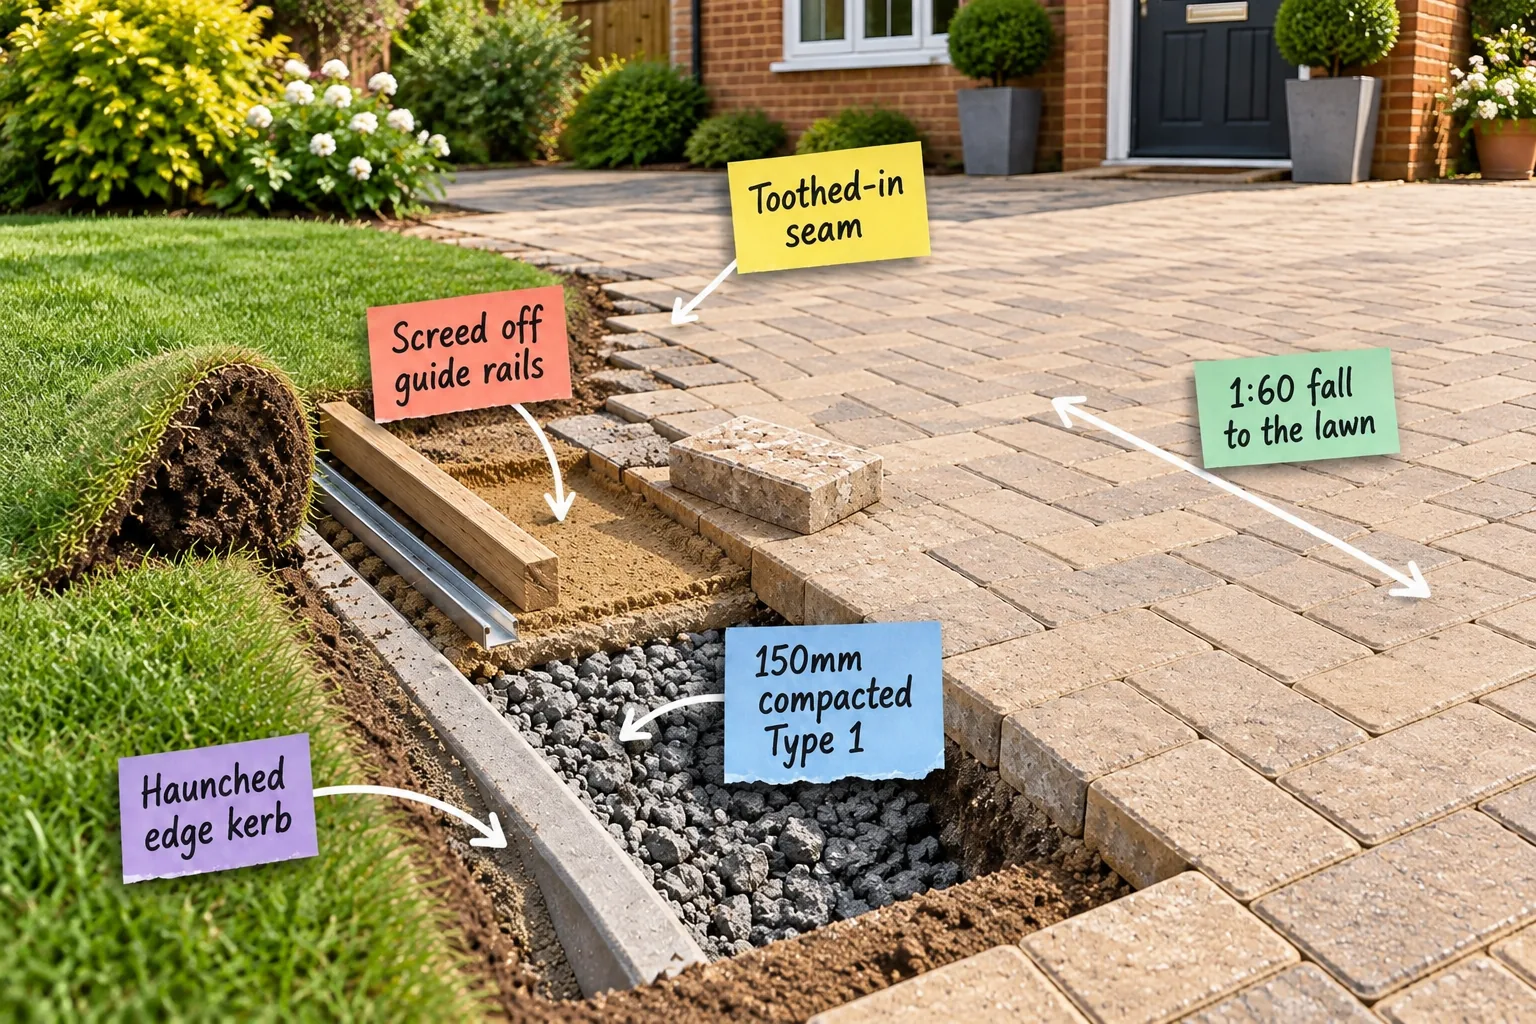
You must fill the excavated trench with a 150mm compacted Type 1 crushed stone foundation. Compacting this structural layer with a vibrating plate ensures the jagged stones lock together tightly to prevent any future sinking under immense vehicle weight.
Hiring the Right Compaction Equipment
A manual tamper will never achieve the necessary density for a driveway foundation designed to carry heavy vehicles every single day. Renting a heavy-duty vibrating plate compactor for the weekend is absolutely non-negotiable if you want a professional, long-lasting structural result.
Applying a Heavy-Duty Weed Membrane
Laying a permeable geotextile membrane directly underneath your crushed stone sub-base prevents the expensive structural stone from sinking into the soft soil below. This vital separation layer also stops deep-rooted perennial weeds from pushing their way up through your finished driveway surface.
Checking the Sub-Base Level
Before moving on to the sand layer, you must ensure your compacted stone foundation roughly mirrors the final intended slope. Stretching a string line across the trench helps you verify that the crushed stone sub-base sits at a consistent depth throughout.
Locking the Perimeter with Haunched Kerbs
Without a solid border, the immense weight of a turning car will push the outer blocks outward into the soft lawn. Bedding the new edging kerbs properly locks the entire paving structure firmly in place so it cannot spread over time.
- Dig a perimeter trench: Excavate slightly deeper along the outer edge to accommodate the taller kerb.
- Bed on concrete: Lay the kerb blocks onto a thick, wet concrete mix for a solid base.
- Add a haunched edge kerb: Pack a heavy wedge of concrete behind the kerb to lock it.
Mixing the Ideal Haunching Concrete
The concrete wedge packed behind your edging kerbs needs to be incredibly strong to resist the lateral pressure of heavy tires. Mixing six parts sharp sand and gravel to one part cement creates the perfect dense ballast mix for this critical structural barrier.
Managing Deliveries and Material Storage
Coordinating bulk deliveries requires careful planning so massive bags of sand and stone do not block your own vehicles or the public pavement. Asking the driver to crane the heavy bulk bags directly onto your lawn or existing driveway keeps the immediate workspace clear.
Screeding the Sharp Sand Bedding
A 30-50mm layer of sharp sand provides the flexible, supportive bed that your paving blocks will ultimately sit on. You should never use soft building sand, as it traps moisture and washes away easily under the constant pressure of heavy traffic.
Using rigid steel or timber guide rails and a straight-edge allows you to strike off the sand to a perfectly flat finish. You must always screed off guide rails to leave the bed perfectly smooth and uncompacted before laying any paving blocks.
Setting Your Steel Guide Rails
Burying lengths of 20mm steel conduit pipe directly into the sand gives your straight-edge a rigid, perfectly level track to glide across.
Protecting the Sand Bed from Rain
A sudden downpour will completely ruin a perfectly screeded sharp sand bed by washing away the smooth surface and creating deep puddles. Keeping a large waterproof tarp handy allows you to quickly cover the uncompacted sand if dark clouds roll in unexpectedly.
Weaving the Toothed-In Seam
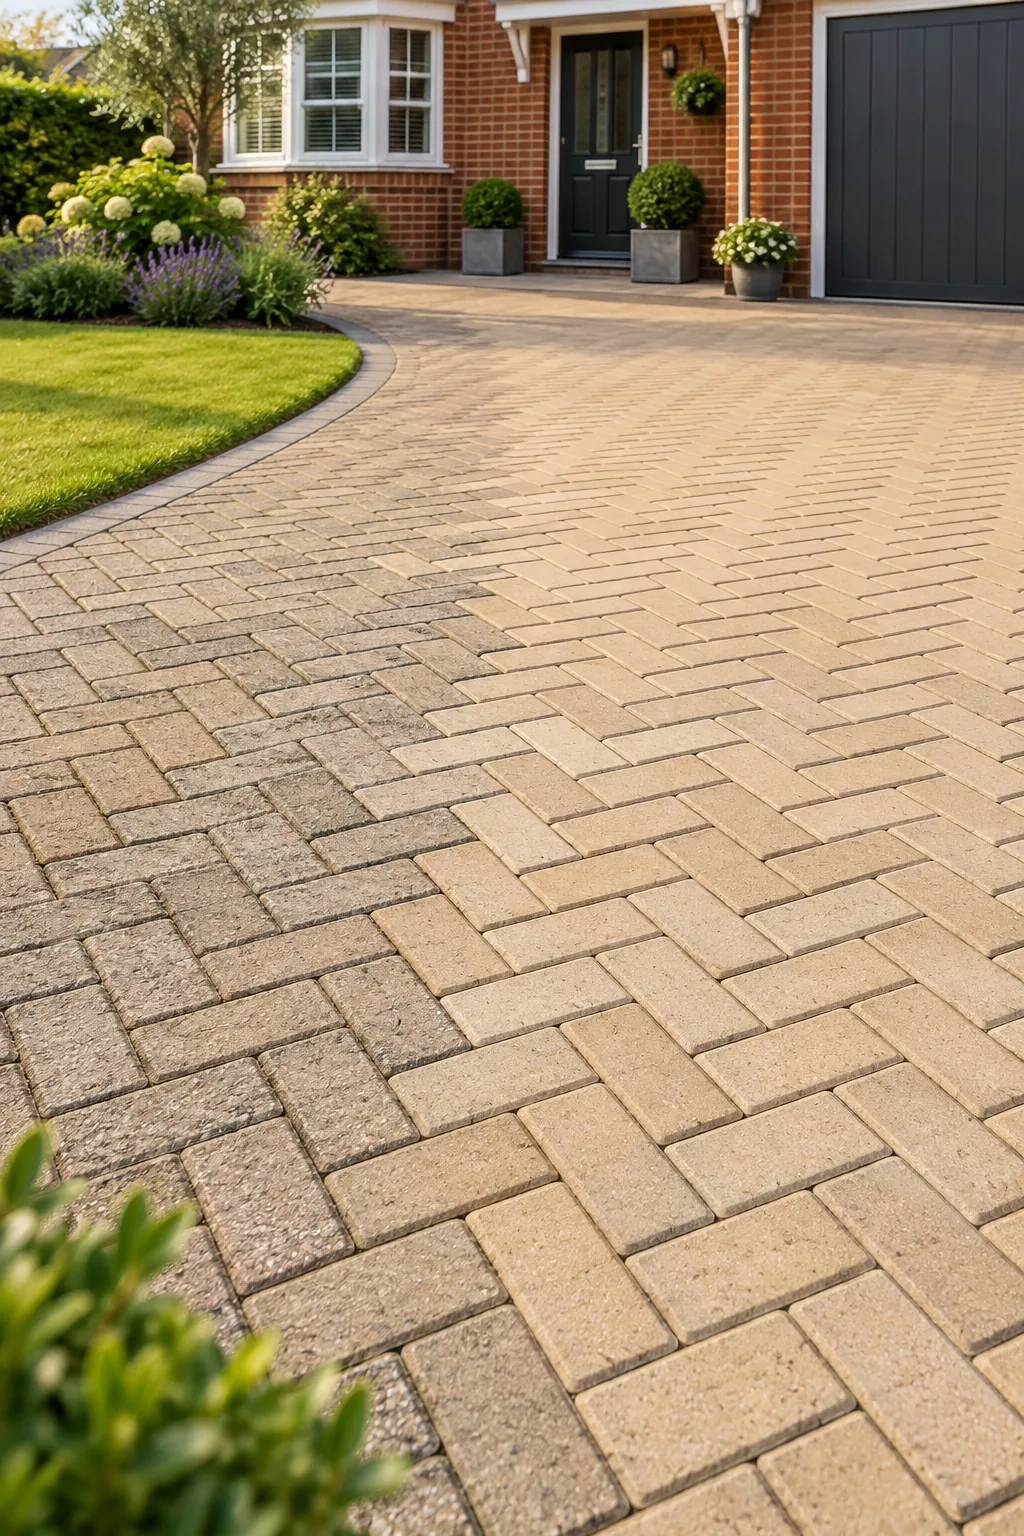
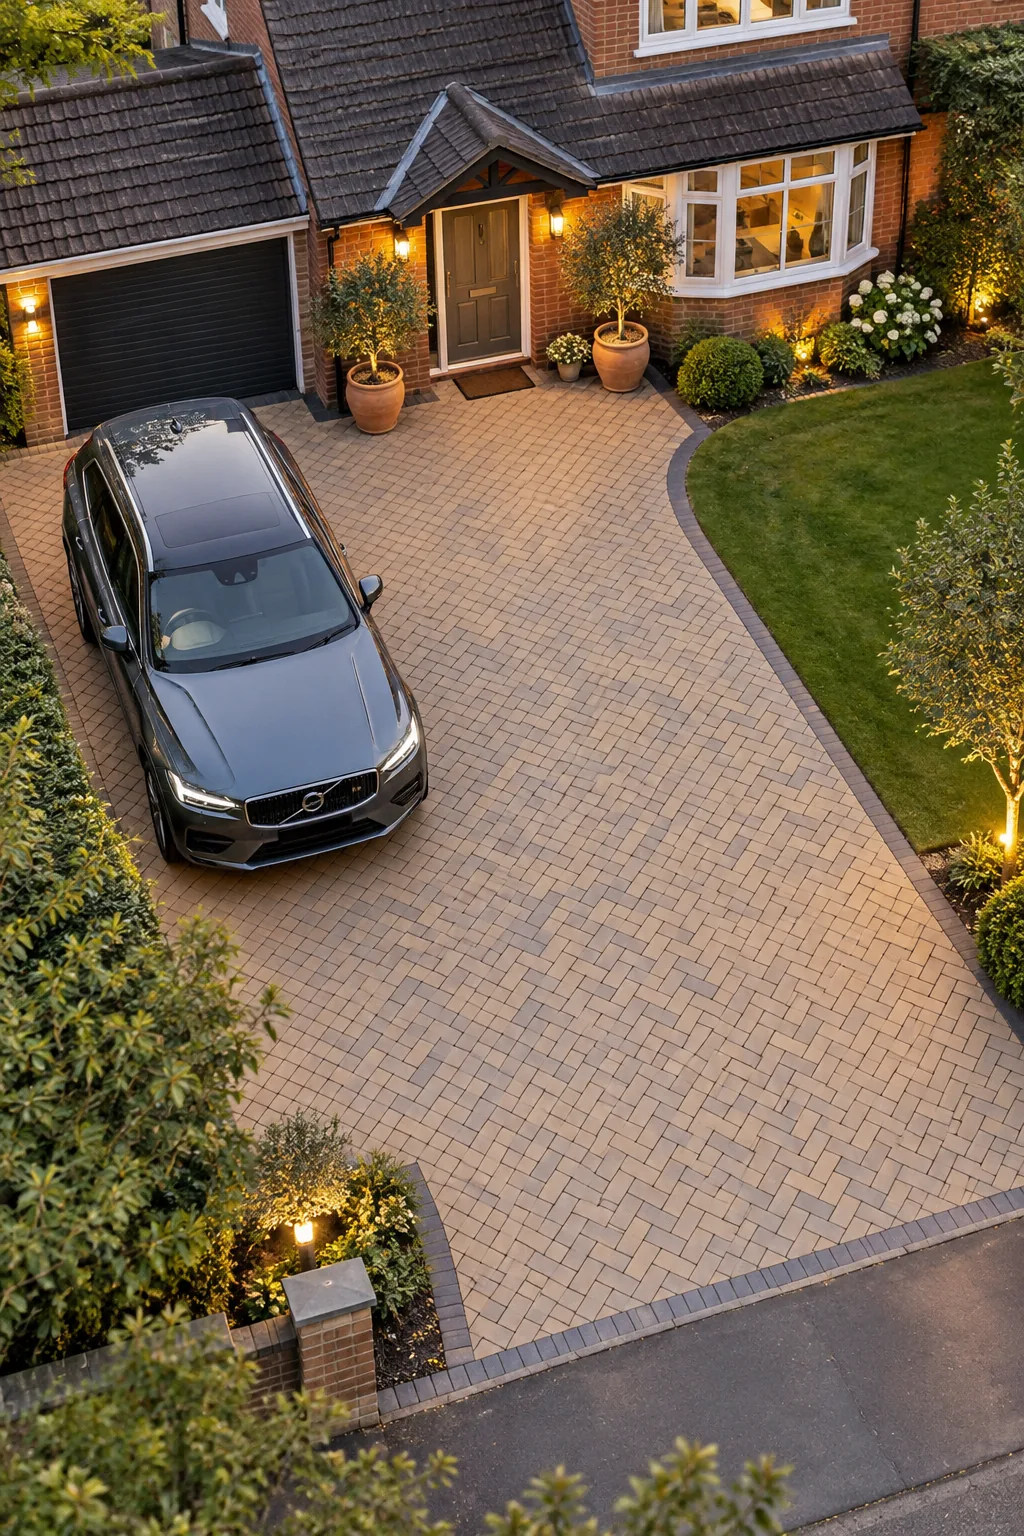
Cutting a straight line down the old driveway creates a weak, highly visible joint that highlights the new addition instantly. Instead, removing alternating edge blocks from the existing paving creates a toothed-in seam that weaves the new section directly into the old herringbone pattern.
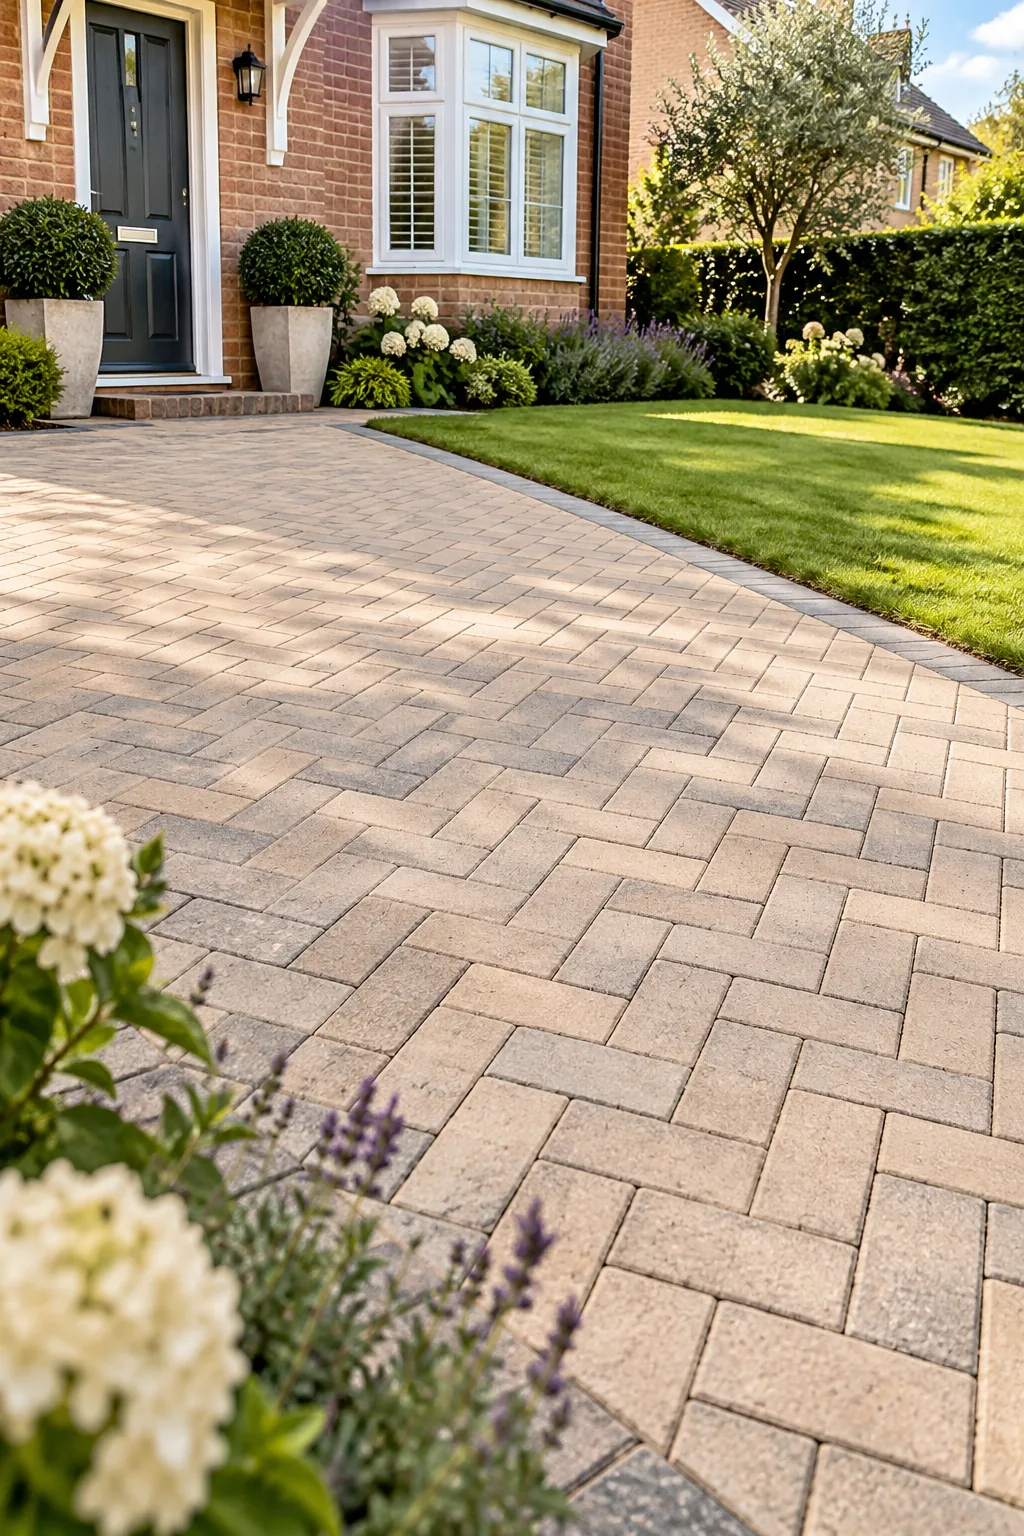
Integrating the new blocks seamlessly requires a bit of preparation on the existing surface to avoid a stark, glaring color contrast when the two sections finally meet.
Power-Washing the Existing Blocks
Older driveways accumulate years of embedded dirt, slippery algae, and dark tire marks that significantly alter the original block color. Thoroughly power-washing the existing driveway before weaving the seam ensures the old and new sections blend together cleanly without a harsh dividing line.
Choosing the Right Paving Block Thickness
Standard residential driveways typically require blocks that are 50mm thick to handle the daily stress of family cars and delivery vans. If you plan to park a heavy motorhome or commercial vehicle, upgrading to a 60mm thick block provides essential extra durability.
Grading a 1:60 Fall for Drainage
Surface water must shed away from your house foundation to prevent serious damp issues from penetrating inside the masonry walls. Setting your screed rails to create a subtle 1:60 fall to the lawn—a drop of roughly 16mm per meter—guides rainwater naturally away.
Installing a Dedicated Drainage Channel
If your driveway slopes inevitably toward the street or a garage door, you cannot simply let the water run off unmanaged. Bedding a linear channel drain flush with the paving blocks catches the heavy runoff and directs it safely into your underground stormwater system.
Staggering the Block Pattern
Laying the blocks in a 45-degree or 90-degree herringbone pattern provides the strongest possible interlocking surface for a busy driveway. This specific staggered arrangement distributes the heavy rotational forces of turning tires evenly across multiple blocks, preventing individual bricks from twisting loose.
Cutting Paving Blocks to Fit
You will inevitably need to cut partial blocks to fill the narrow gaps along your solid edging kerbs and drainage channels. Using a manual block splitter is much faster and creates far less hazardous dust than running a motorized diamond saw for every single edge piece.
Locking the Blocks with Jointing Sand
Before sweeping in the sand, check that your screed rails successfully created a 1:60 fall to the lawn that sheds surface water naturally. When I finished my driveway, verifying this slope meant heavy rain never pooled near my house foundation.
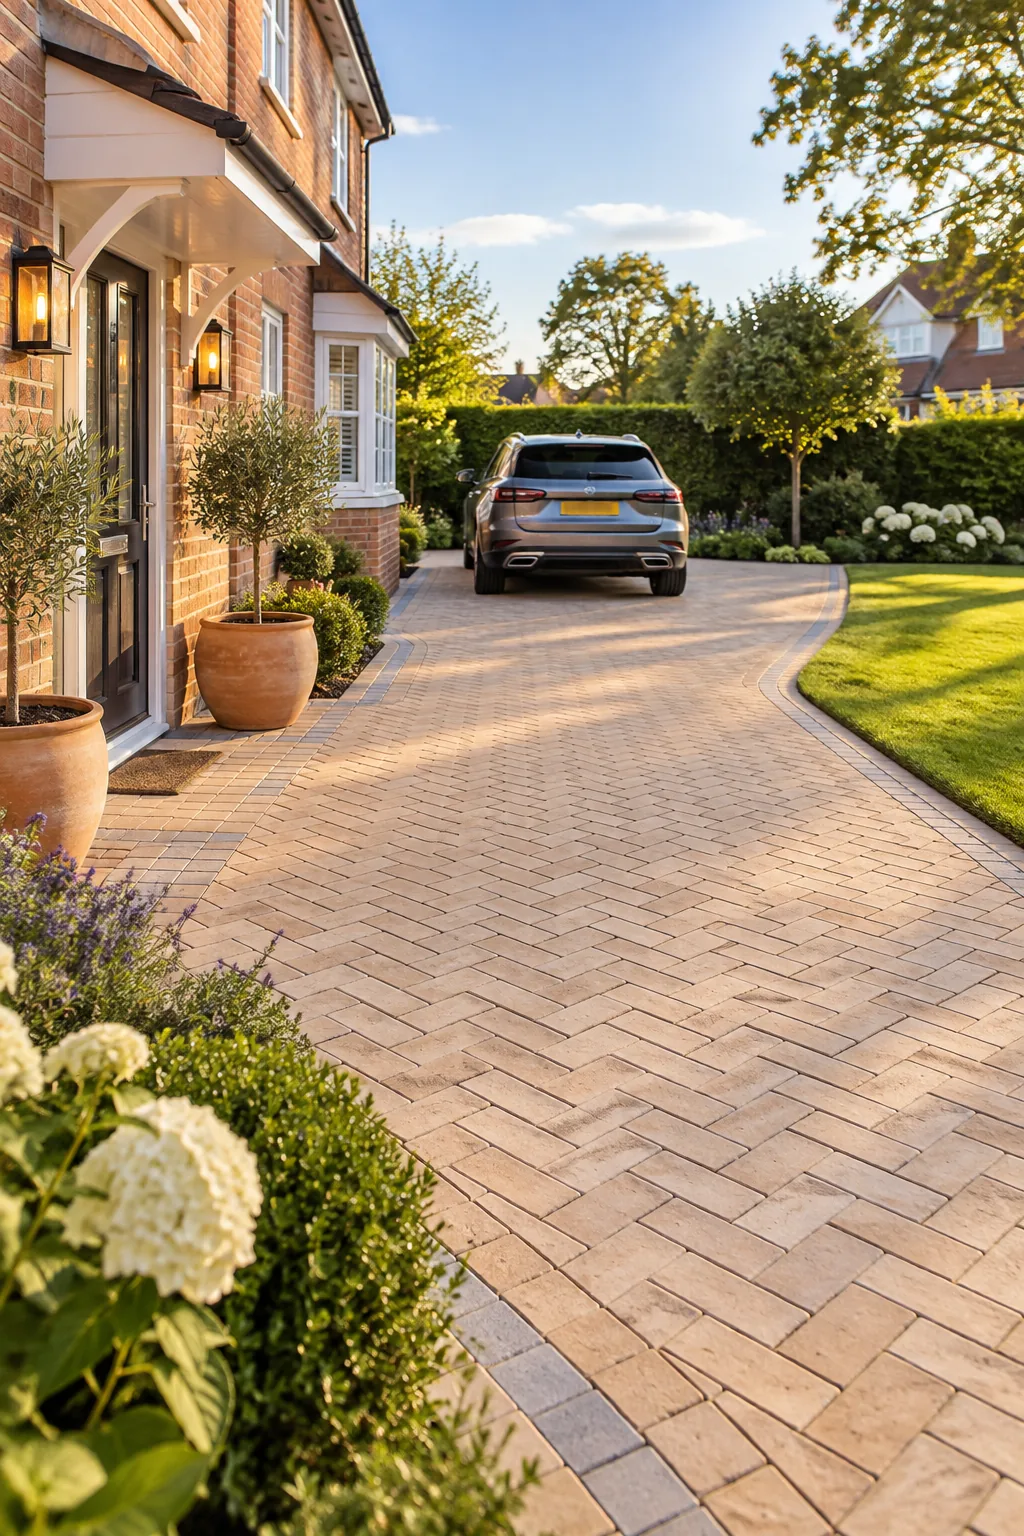
Once every block is laid and cut to fit, sweeping fine kiln-dried sand into the tight joints creates crucial friction. Running a plate compactor over the finished surface settles the blocks firmly and locks the entire herringbone pattern solid so it cannot shift.
Topping Up the Joints Over Time
Heavy rain and wind will naturally wash away a small amount of jointing sand during the first few months of use. Keeping a spare bag in the garage allows you to easily sweep fresh sand into any settling joints before stubborn weeds can take root.
Sealing the Finished Driveway
Applying a high-quality breathable sealant over the entire surface protects your new driveway extension from accidental oil spills and fading UV rays. You should always wait at least three months before sealing to allow any natural mineral efflorescence to wash out of the fresh concrete blocks.
Driveway Paving Styles to Consider
Explore these finished looks to find the perfect paving style for your home's exterior.
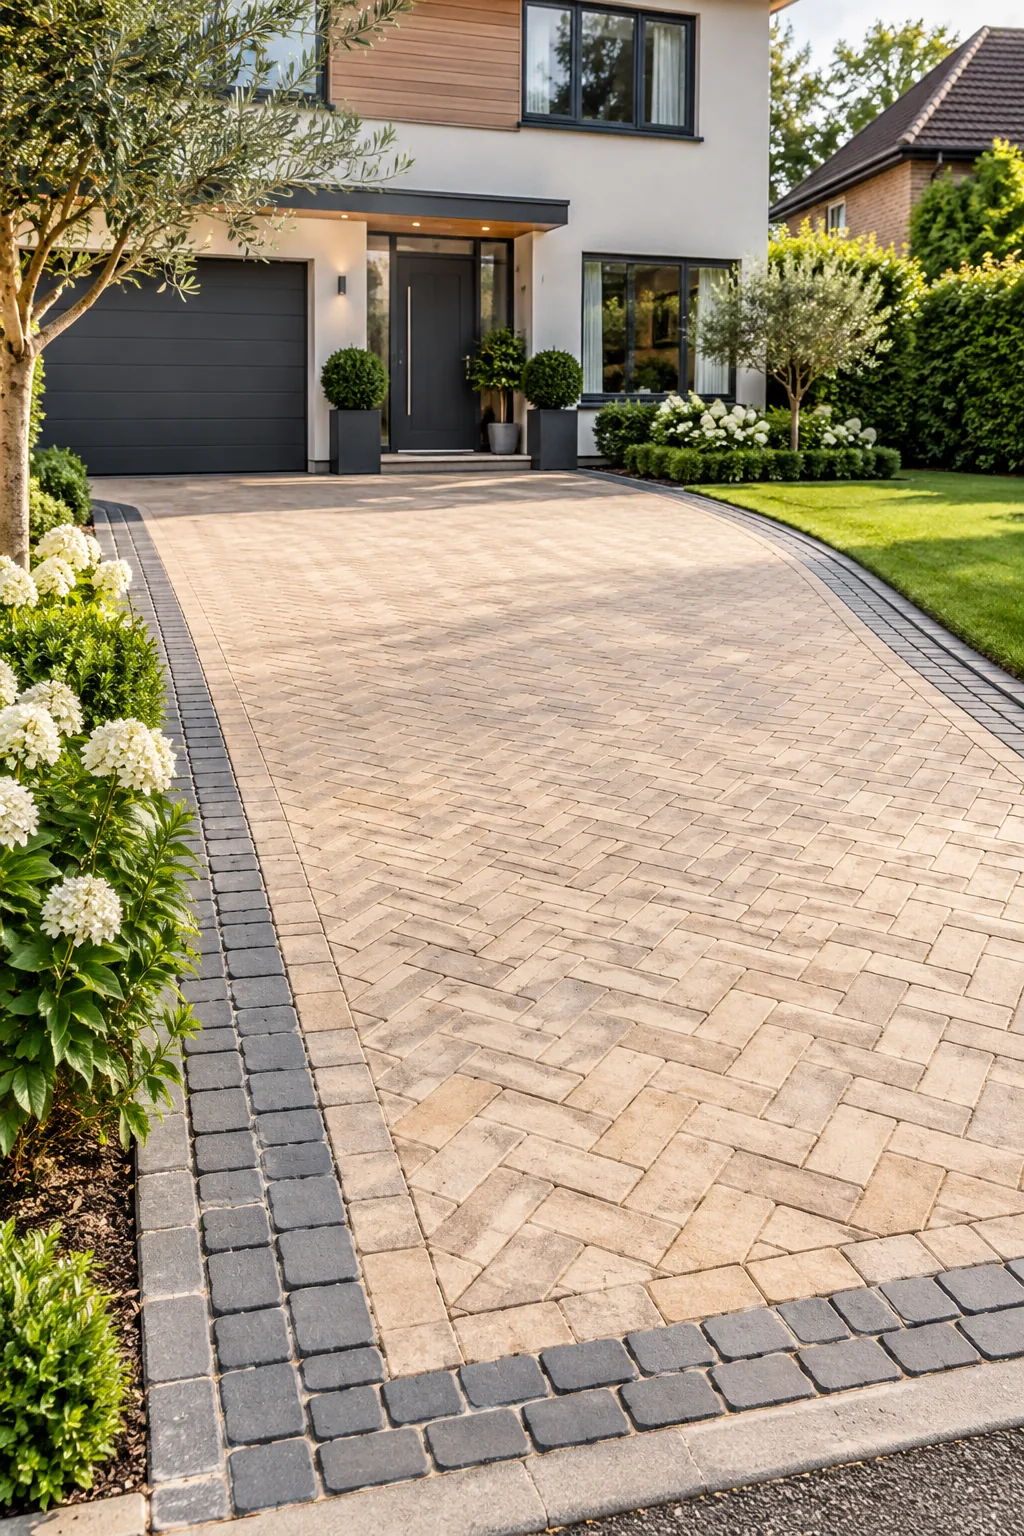
Charcoal Cobble Border: A dark contrasting border frames the lighter paving, giving the extension a crisp, contemporary edge.
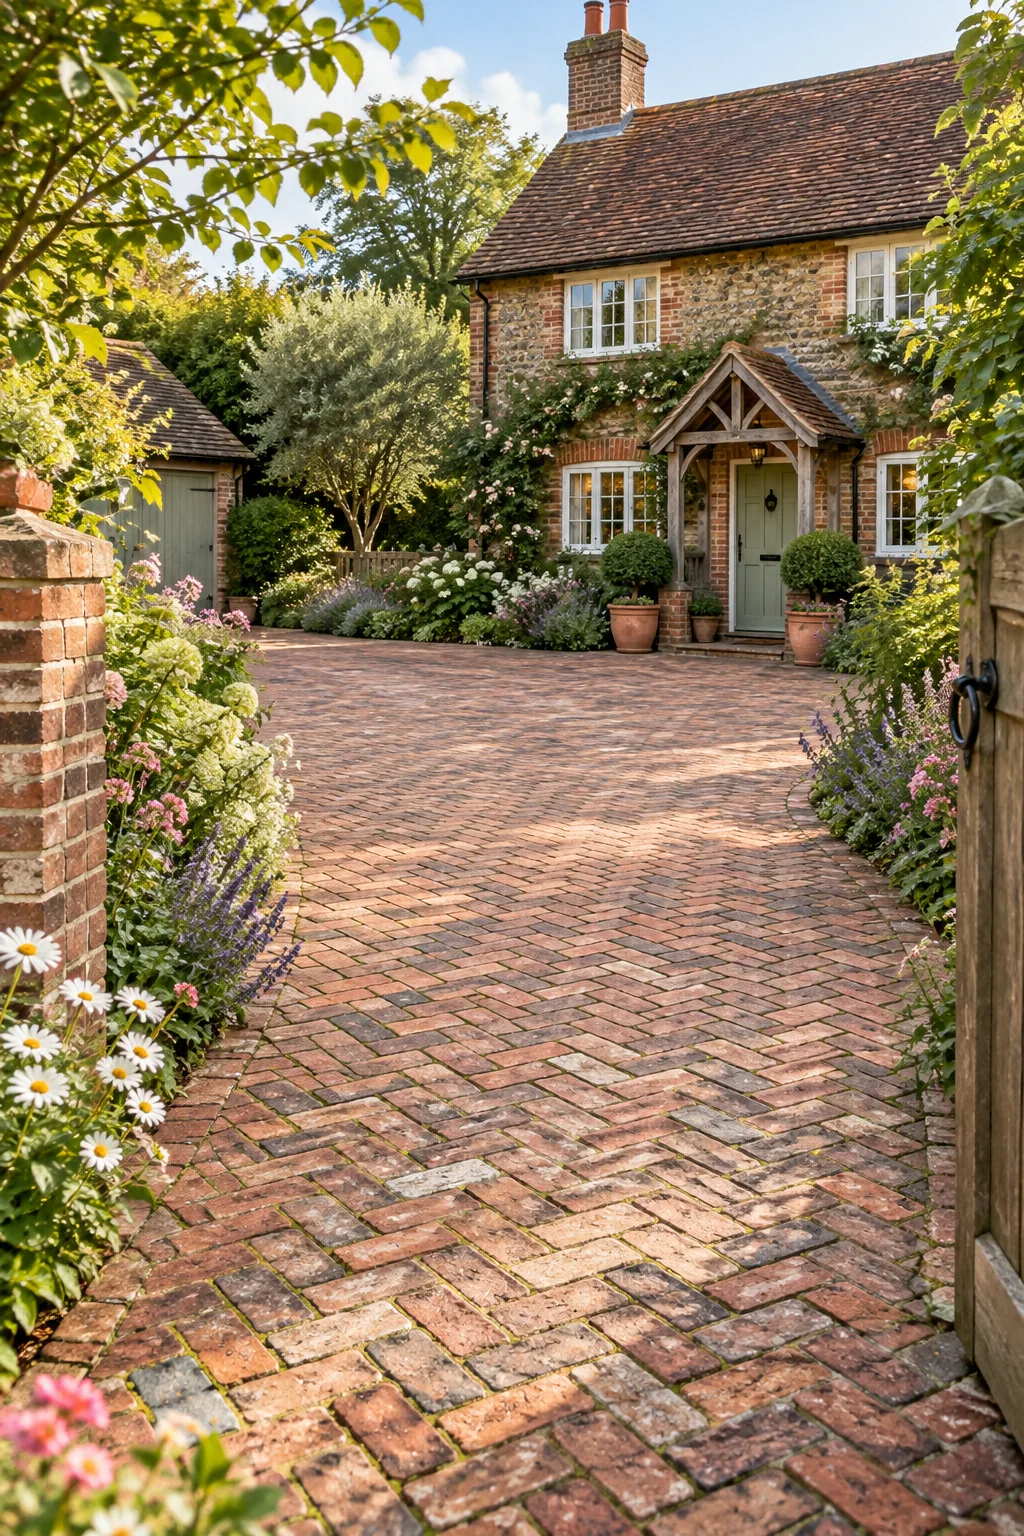
Reclaimed Brick Herringbone: Weathered red tones mimic historic brickwork, perfect for adding instant character to a period property.
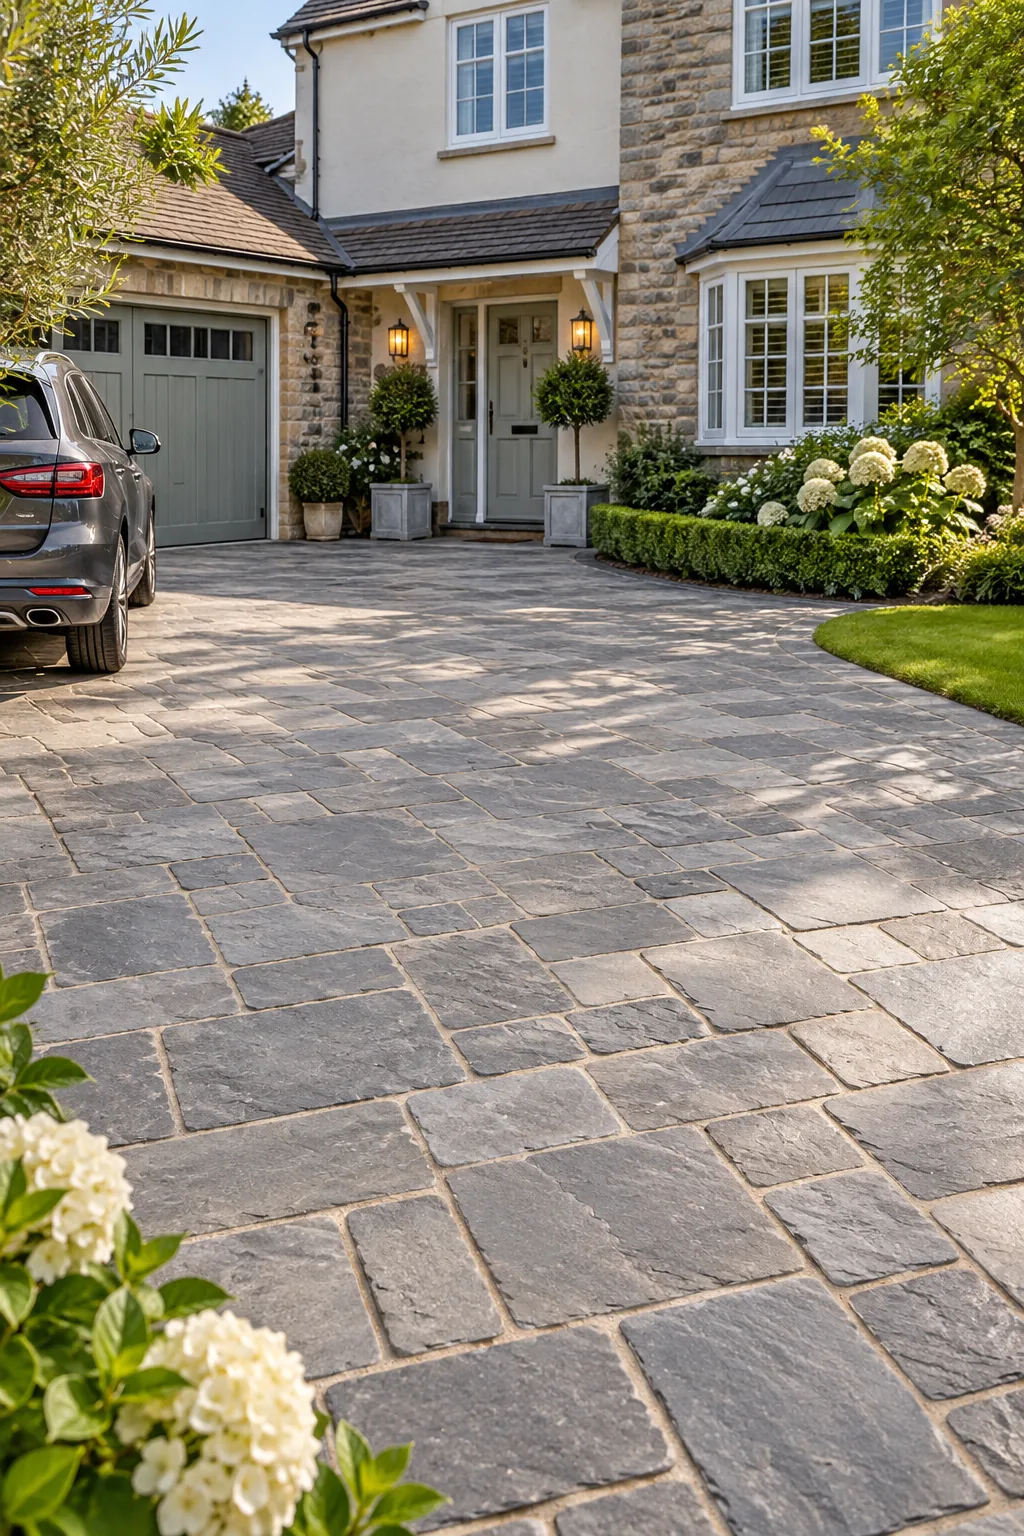
Mixed-Size Slate Paving: Using three different block sizes breaks up the uniform grid, creating a relaxed and traditional aesthetic.
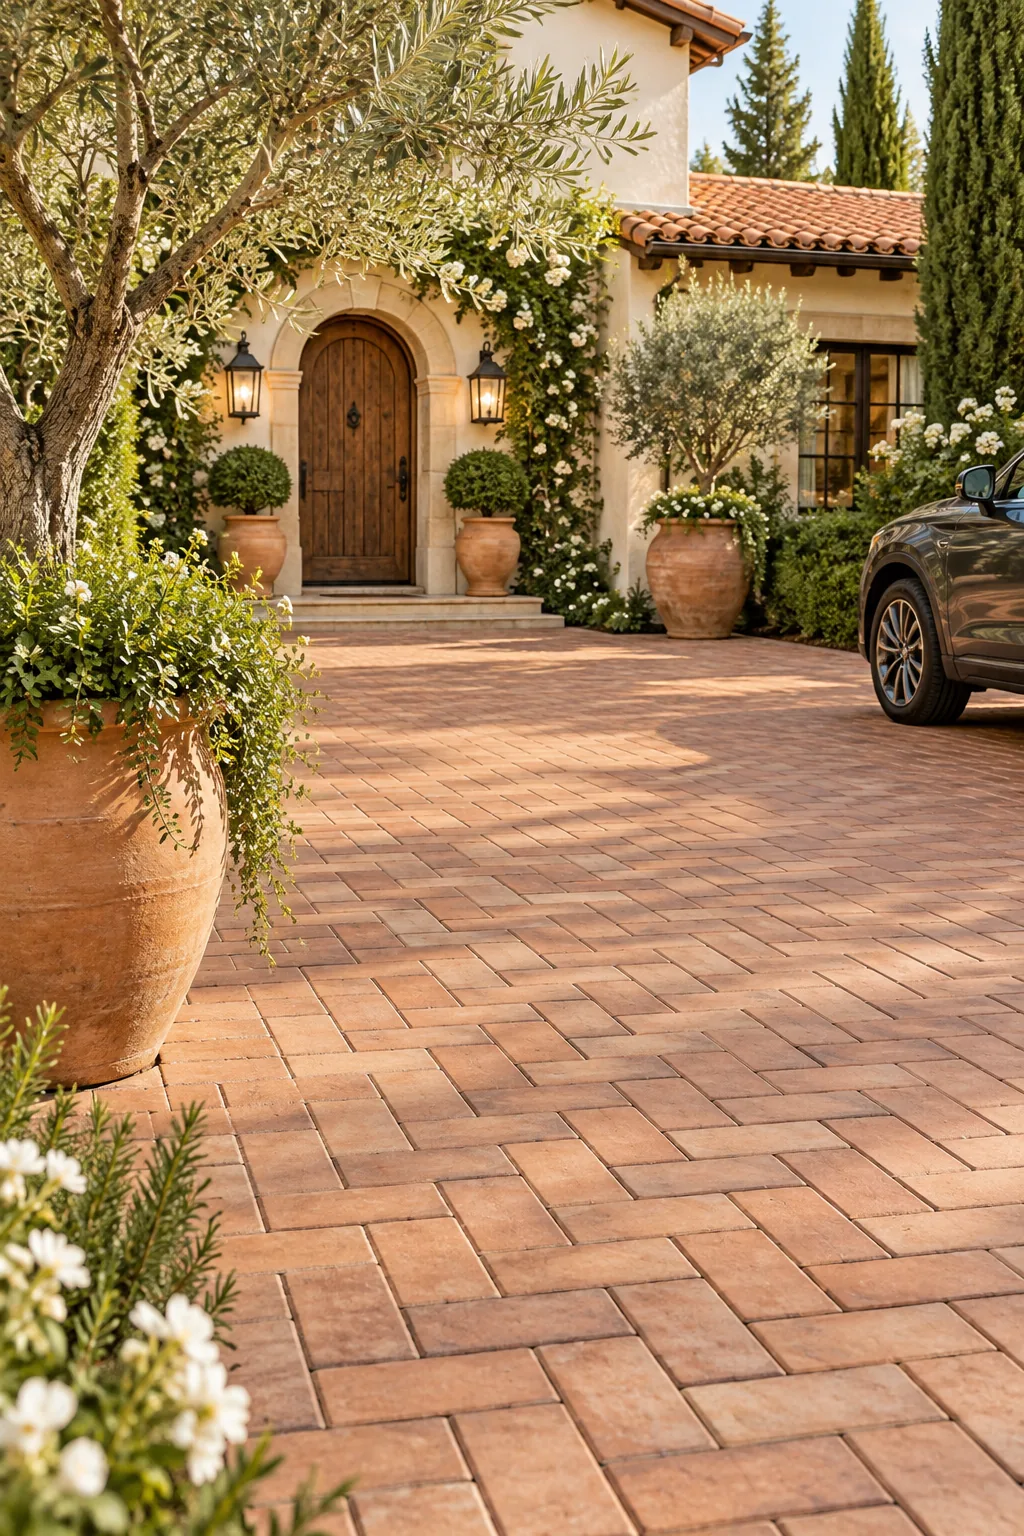
Warm Terracotta Basketweave: This simple geometric lay pattern paired with warm clay tones brings a sunny, Mediterranean feel to the entrance.
Your Per-Square-Metre Materials Chart
Use this exact baseline chart to order your bulk supplies accurately. Every single square metre of your new extension requires these specific quantities to build a structurally sound, long-lasting paved surface.
| Dig Depth | 230-250mm total excavation |
| MOT Type 1 | 0.33 tonnes per m² |
| Sharp Sand | 0.08 tonnes per m² |
| Paving Blocks | 50 standard 200x100mm blocks per m² |
| Jointing Sand | 1 bag per 10m² |
Always order a ten percent materials buffer on your paving blocks and sand to easily cover cutting waste and accidental breakages during the project.
Having these precise per-square-metre numbers mapped out makes calling the builders’ merchant completely stress-free and keeps your renovation budget firmly on track.