Custom Wall Trim Proportions: The Spacing Cheat Sheet
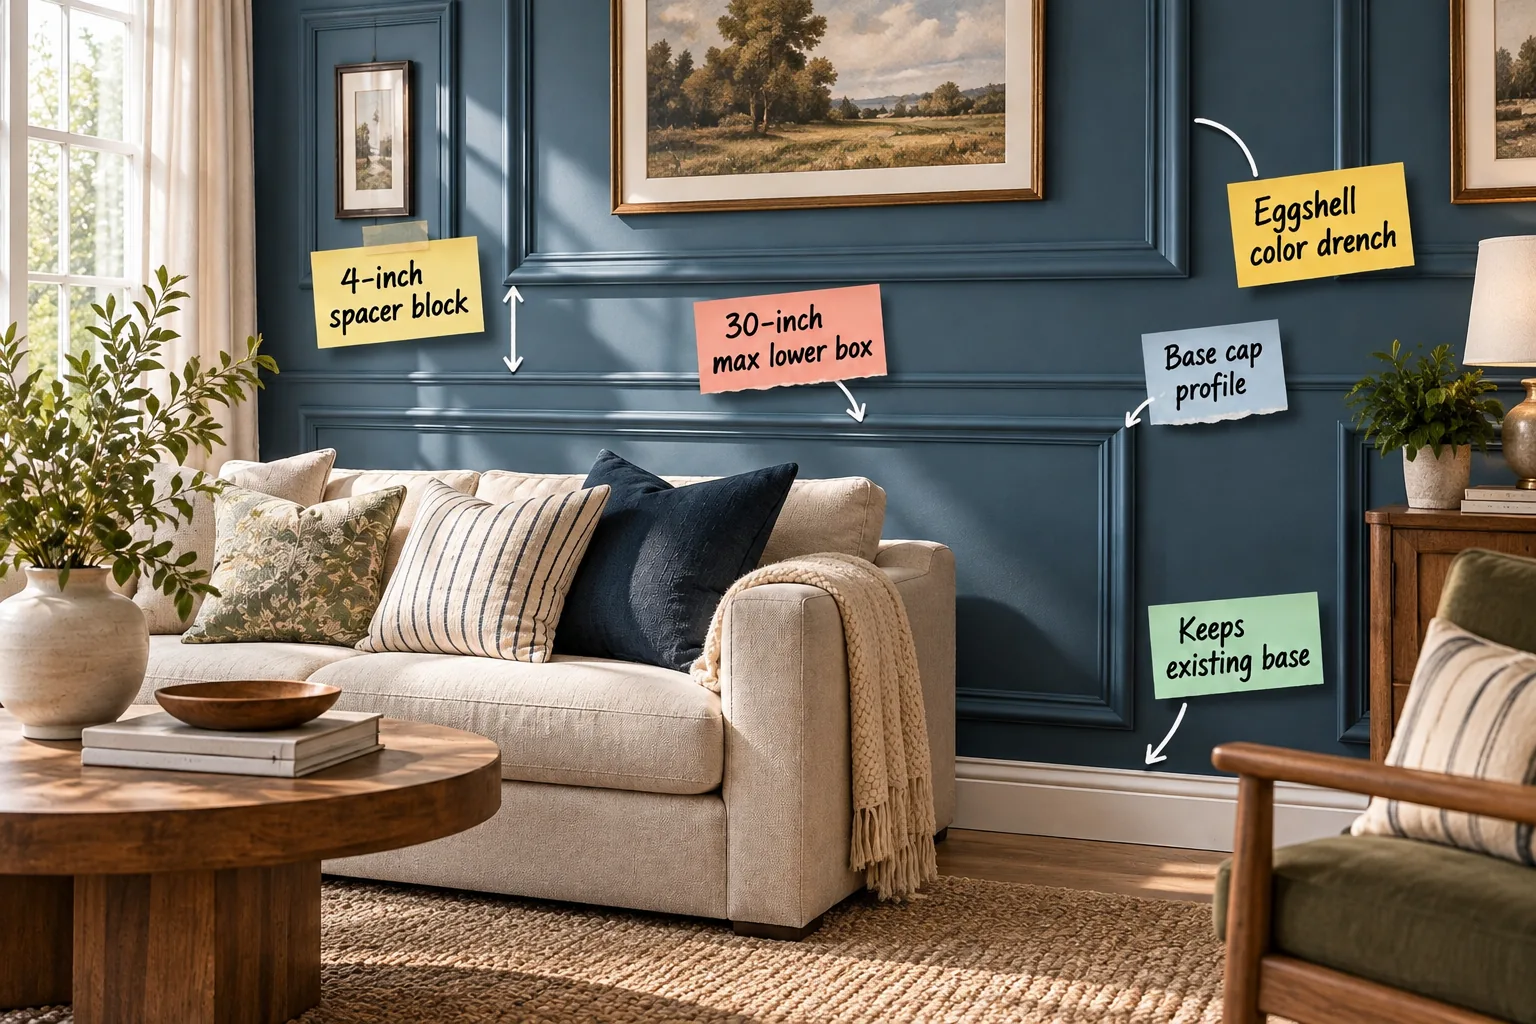
You can mark out perfectly proportioned picture molding on your walls right now using this exact room-by-room trim spacing cheat sheet. Getting these specific measurements right means your standard ceilings will instantly feel taller and your entire home will look professionally customized.
Integrating Your Existing Baseboards
Leaving your standard baseboards in place saves significant time and money on your project while preserving your home’s original footprint. You simply start the new lower molding boxes with a consistent flat gap right above the existing floor trim.
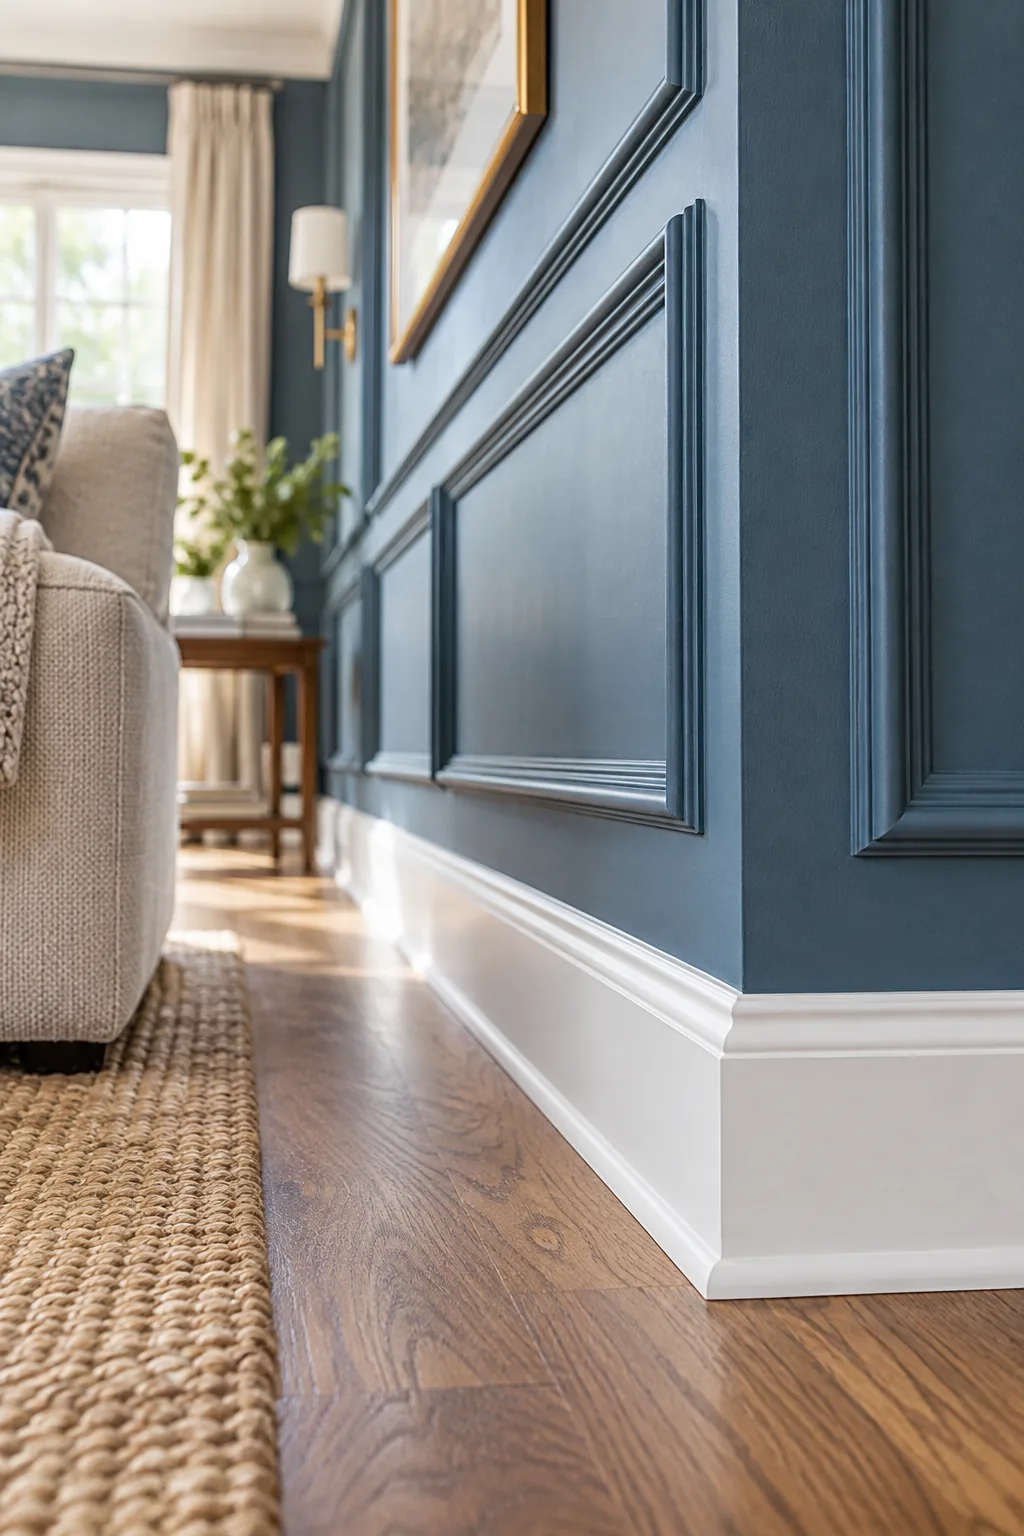
Maintaining a uniform 4-inch gap above that existing baseboard creates a deliberate, professional foundation for the rest of your wall treatment. This approach means you never have to pry off old boards, risk damaging your drywall, or replace expensive shoe molding.
Handling Uneven Floor Lines
Older homes rarely feature perfectly level floors, which can make your crisp new molding lines appear crooked if you simply measure up from the baseboard. Establishing a level horizontal datum line around the entire perimeter guarantees your upper boxes remain perfectly aligned.
| Room Element | Measurement Strategy | Tolerance |
|---|---|---|
| Sloping Baseboards | Measure up from highest floor point | 1/4 inch |
| Door Casings | Align lower box rails with hinges | 1/8 inch |
| Window Sills | Drop lower box 2 inches below apron | Exact |
| Crown Molding | Measure down from ceiling joint | 1/2 inch |
Using a self-leveling laser ensures your critical horizontal rails stay true even when your existing floors or ceilings slope dramatically. You can easily absorb minor height variations in the flat vertical gaps between the boxes rather than inside the boxes themselves.
Capping the Lower Box Height
Setting a strict 30-inch maximum height for the lower box prevents the room from feeling vertically cramped under standard eight-foot ceilings. When I first tried this in my Austin living room, keeping that lower rail low made my walls feel surprisingly airy.
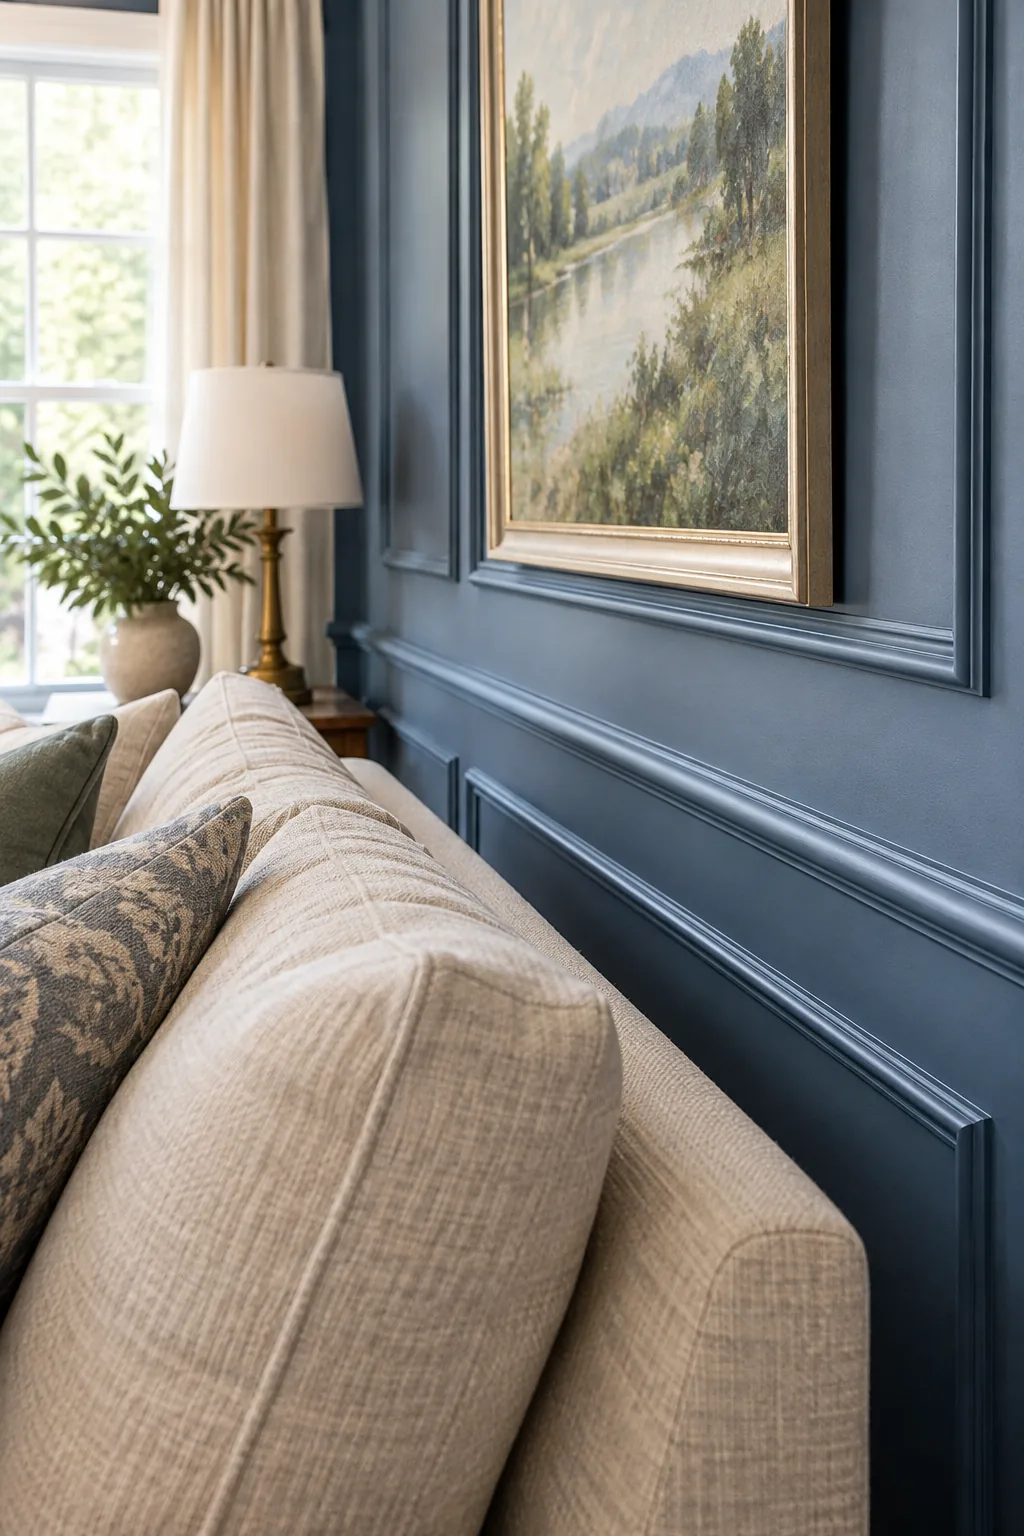
This specific proportion grounds your furniture perfectly, ensuring standard sofa backs overlap the molding gap rather than awkwardly cutting across a decorative box. You always want the visual weight anchored low so the upper walls can draw the eye toward the ceiling.
Calculating the Golden Ratio
Designing custom trim often relies on the golden ratio, meaning your lower box should occupy roughly one-third of the total wall height. This classic mathematical approach guarantees your standard ceilings will feel naturally balanced and architecturally sound without overwhelming the space.
Balancing Window Casings
When your molding layout meets a window casing, always maintain a minimum 3-inch boundary gap to prevent the wall from looking cluttered. Stopping your trim boxes well before they crash into existing window aprons preserves the architectural integrity of both elements.
Creating the Chair Rail Gap
Replacing a traditional protruding chair rail with a flat painted gap gives your walls a cleaner, distinctly modern aesthetic. You can achieve this perfectly parallel spacing without measuring twice by relying on a simple physical guide block during your installation process.
- Cut a straight piece of scrap wood to exactly 4 inches tall.
- Rest the block directly on the top rail of your lower box.
- Place your upper trim piece flush against the block before nailing.
Selecting a Classic Base Cap Profile
A curved base cap profile provides enough shadow play to look custom without feeling overly heavy for standard residential rooms. Using a physical 4-inch spacer block maintains a perfect, level gap between these detailed boxes as you work around the room.
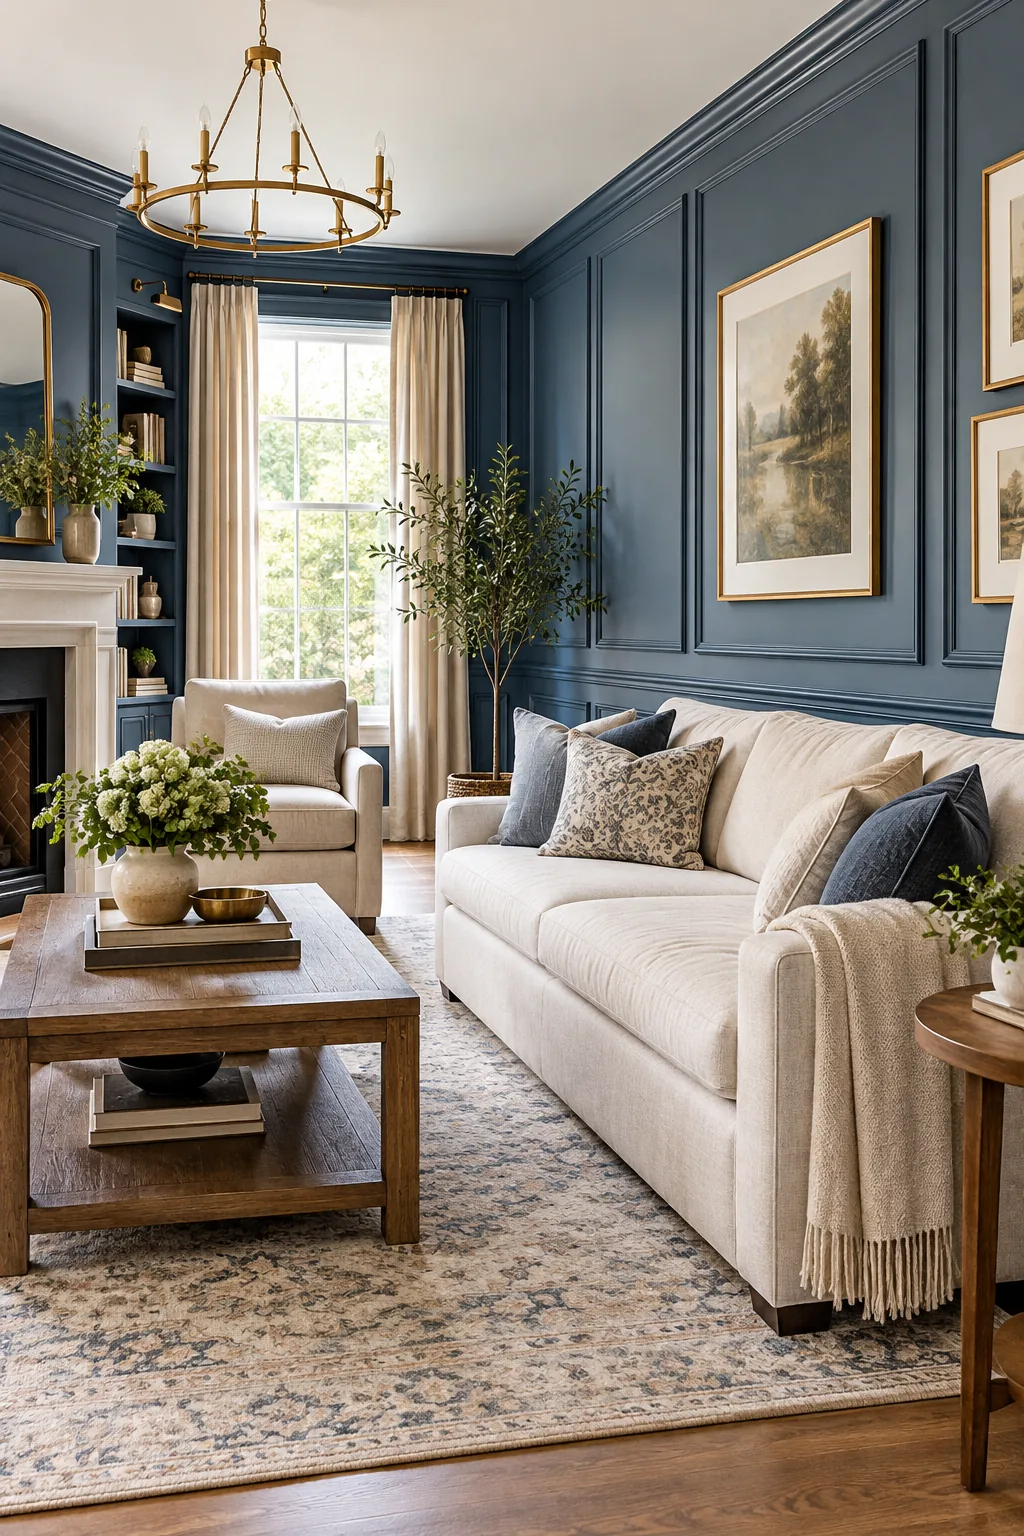
I always keep a scrap block in my apron pocket so I never have to fumble with a tape measure while balancing precariously on a ladder. Choosing the right material for your molding profile makes the entire installation phase much smoother.
Choosing the Right Fasteners
Securing delicate base cap molding requires 18-gauge brad nails measuring exactly 1.5 inches long to penetrate the drywall and grip the studs. Shooting nails at alternating slight angles creates a locking effect that holds the trim tight against wavy wall surfaces.
Priming Your Cut Edges
Applying a high-quality primer to every mitered cut before installation seals the raw wood fibers and prevents moisture absorption over time. This crucial prep step ensures your tight corner joints will not shrink, crack, or separate when the seasons change and indoor humidity fluctuates.
Sizing the Upper Molding Boxes
Leaving a matching 4-inch gap at the ceiling allows the upper box to stretch vertically and fill the remaining wall space naturally. This symmetrical spacing on the top and bottom frames the room beautifully while emphasizing the maximum possible vertical height.
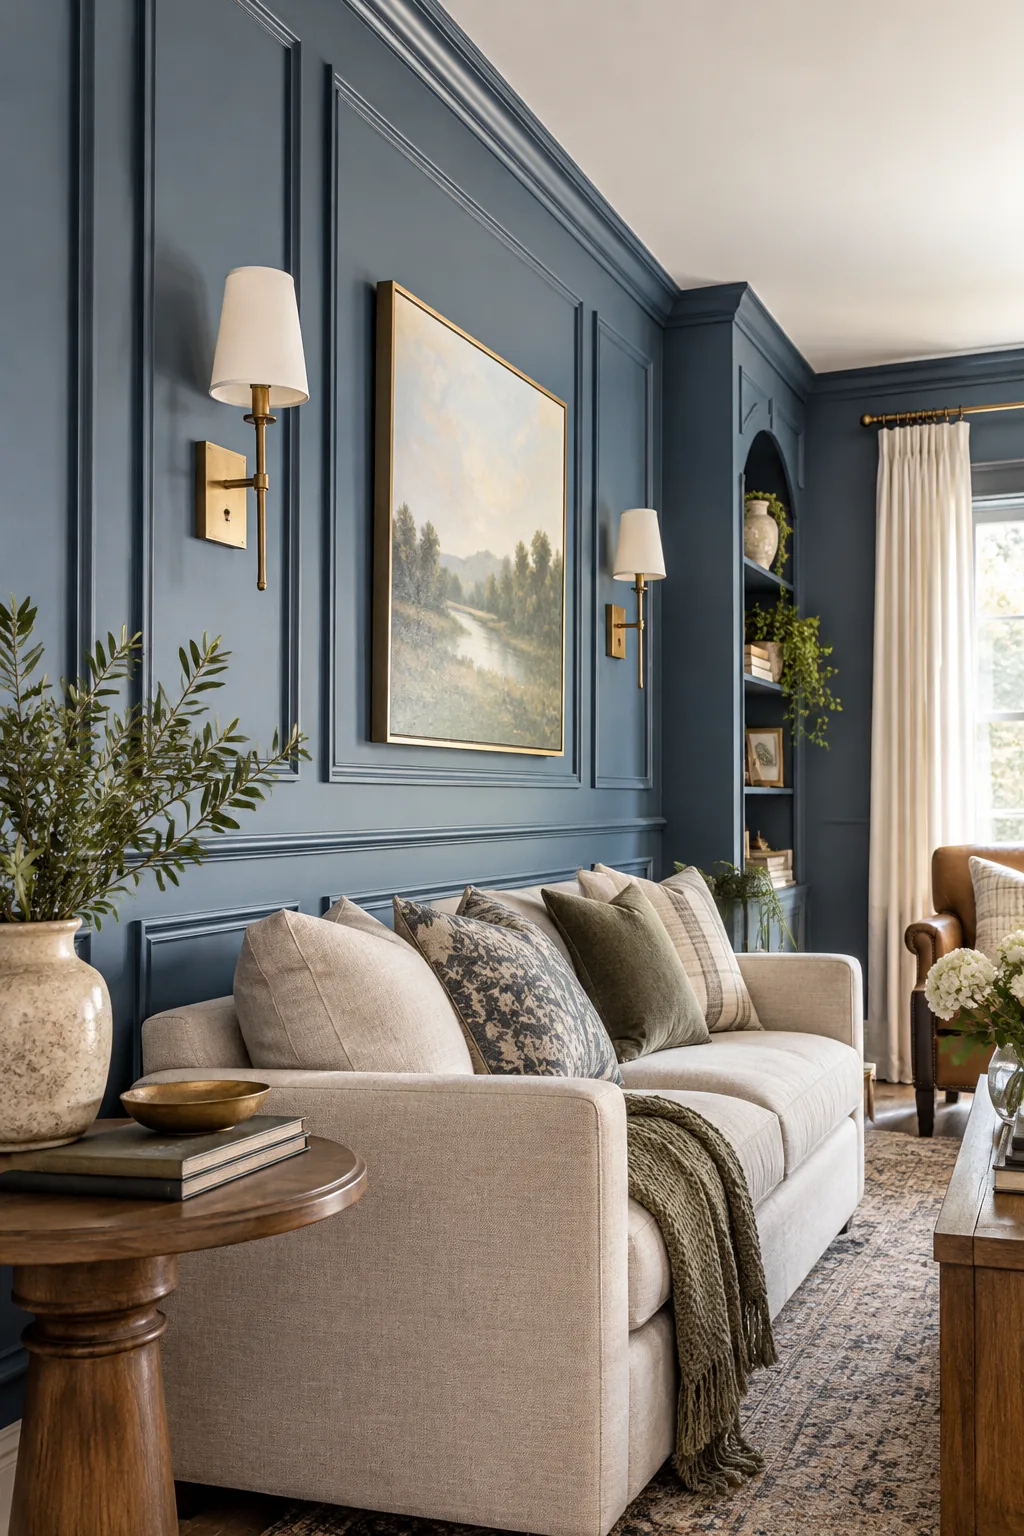
Letting that upper box carry the visual weight upward is the absolute secret to making standard rooms feel grand and intentionally designed. You simply subtract your lower box, your gaps, and your ceiling margin to find this upper dimension.
Adapting for Crown Molding
If your room already features heavy crown molding, measure your 4-inch ceiling gap starting from the bottom edge of the crown rather than the drywall seam. This ensures the decorative elements do not compete for visual dominance or cast overlapping shadows.
Spacing Around Wall Sconces
Centering decorative wall sconces directly inside your upper molding boxes creates a stunning, high-end hotel aesthetic for surprisingly little effort. You must finalize your exact lighting placement before taping your trim boxes to ensure the fixture backplates sit perfectly centered within the wooden frames.
The Eggshell Color Drench Finish
Painting the drywall, trim, and baseboards all the same rich color creates a seamless, custom look that elevates inexpensive materials. An eggshell color drench finish is highly recommended because it balances a soft, modern matte aesthetic with essential practical durability.
- Hides minor caulking imperfections along the delicate trim edges.
- Provides a fully wipeable surface for high-traffic hallways and entries.
- Reflects just enough ambient light to highlight the curved molding profile.
Prepping the Drywall Surface
Before applying your color drench, you must sand the flat drywall sections inside the boxes to a perfectly smooth finish. Any existing drywall texture will become glaringly obvious once framed by crisp trim and painted in a light-catching eggshell sheen.
Caulking for a Seamless Finish
Running a thin bead of paintable acrylic caulk along every single edge where the molding meets the drywall is absolutely non-negotiable. Smoothing this caulk line with a damp fingertip erases the dark shadow lines and makes the trim look like it grew directly out of the wall.
Selecting the Right Paint Roller
Applying your eggshell color drench requires a microfiber paint roller with a precise 3/8-inch nap to maintain a flawless, factory-like finish. This specific roller thickness holds enough paint to cover the drywall while rolling smoothly over the raised molding without leaving heavy, dripping edges.
Navigating Outlets and Switches
An eggshell color drench finish across the drywall and trim creates a seamless look that helps camouflage areas where you adjusted box widths. Shifting your vertical stiles by 1 to 2 inches is always better than attempting complicated, messy cuts around a switch plate.
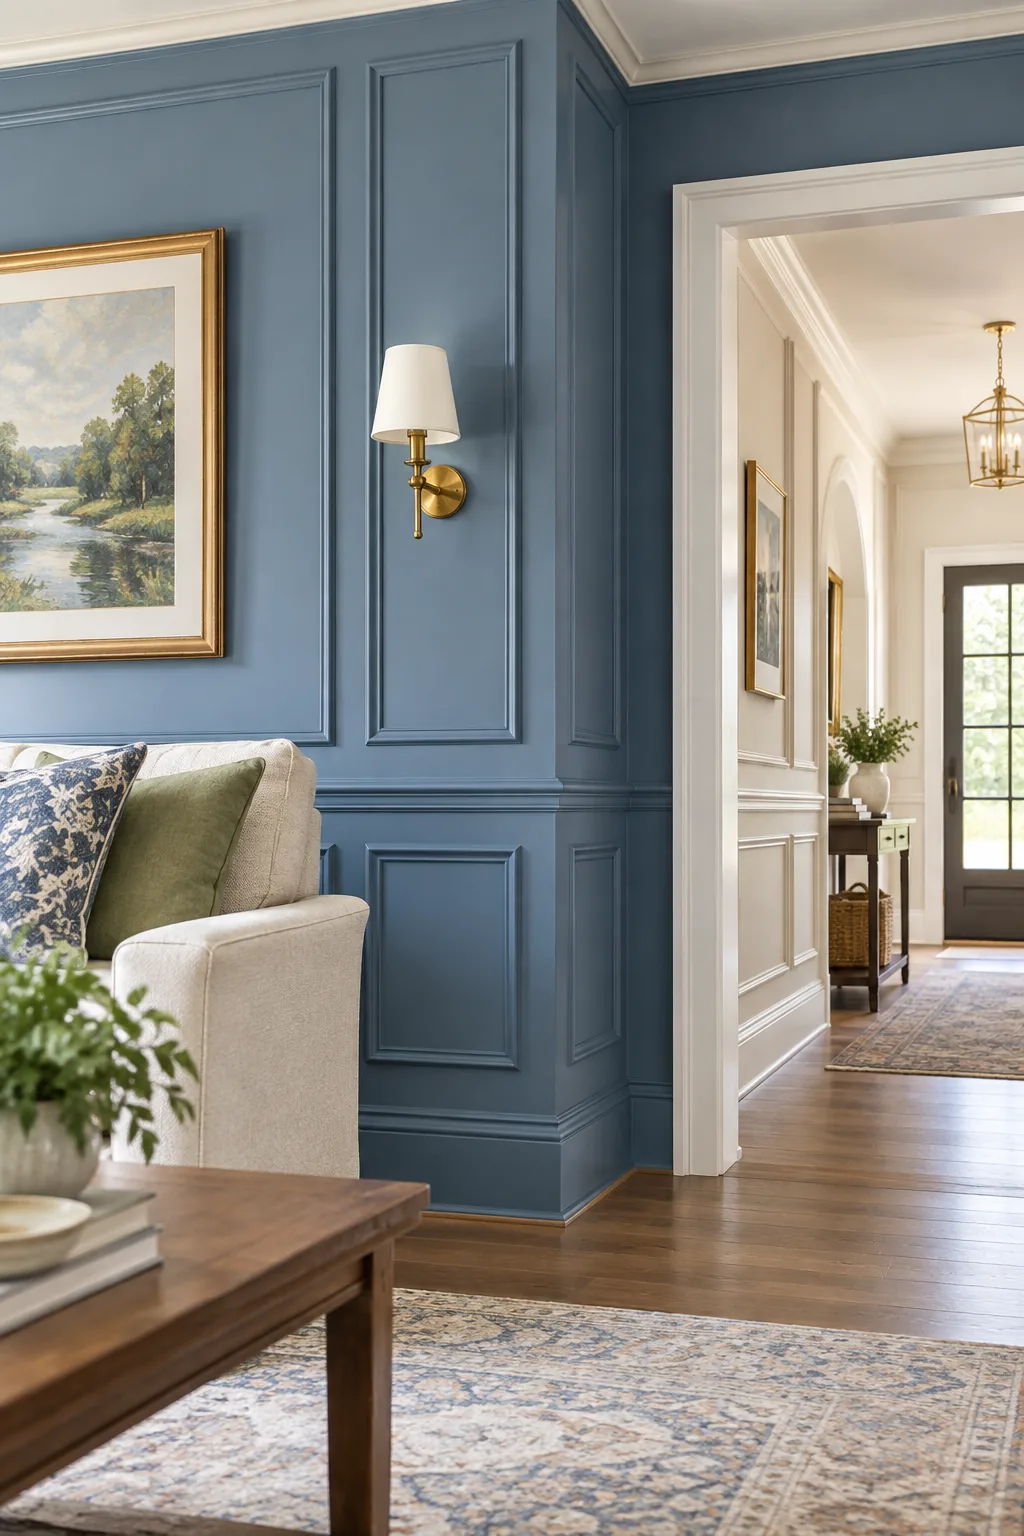
Planning these slight width adjustments before you make a single cut ensures your final layout looks completely intentional and avoids serious electrical hazards. You want the eye to notice the beautiful proportions, not an awkward notch carved out for a plug.
Adjusting for Air Vents
HVAC returns located low on the wall require the same clearance strategy as outlets, but often demand wider horizontal adjustments. Framing a symmetrical box completely around the vent cover looks infinitely better than terminating a trim line directly into the metal grate.
Your Room-by-Room Spacing Cheat Sheet
Different rooms require specific spacing adjustments to look their best, like using narrower 3-inch gaps for tight hallways or taller bases in dining rooms. When I tackled my dining room, raising that lower box to 36 inches saved my drywall from constant chair back dents.
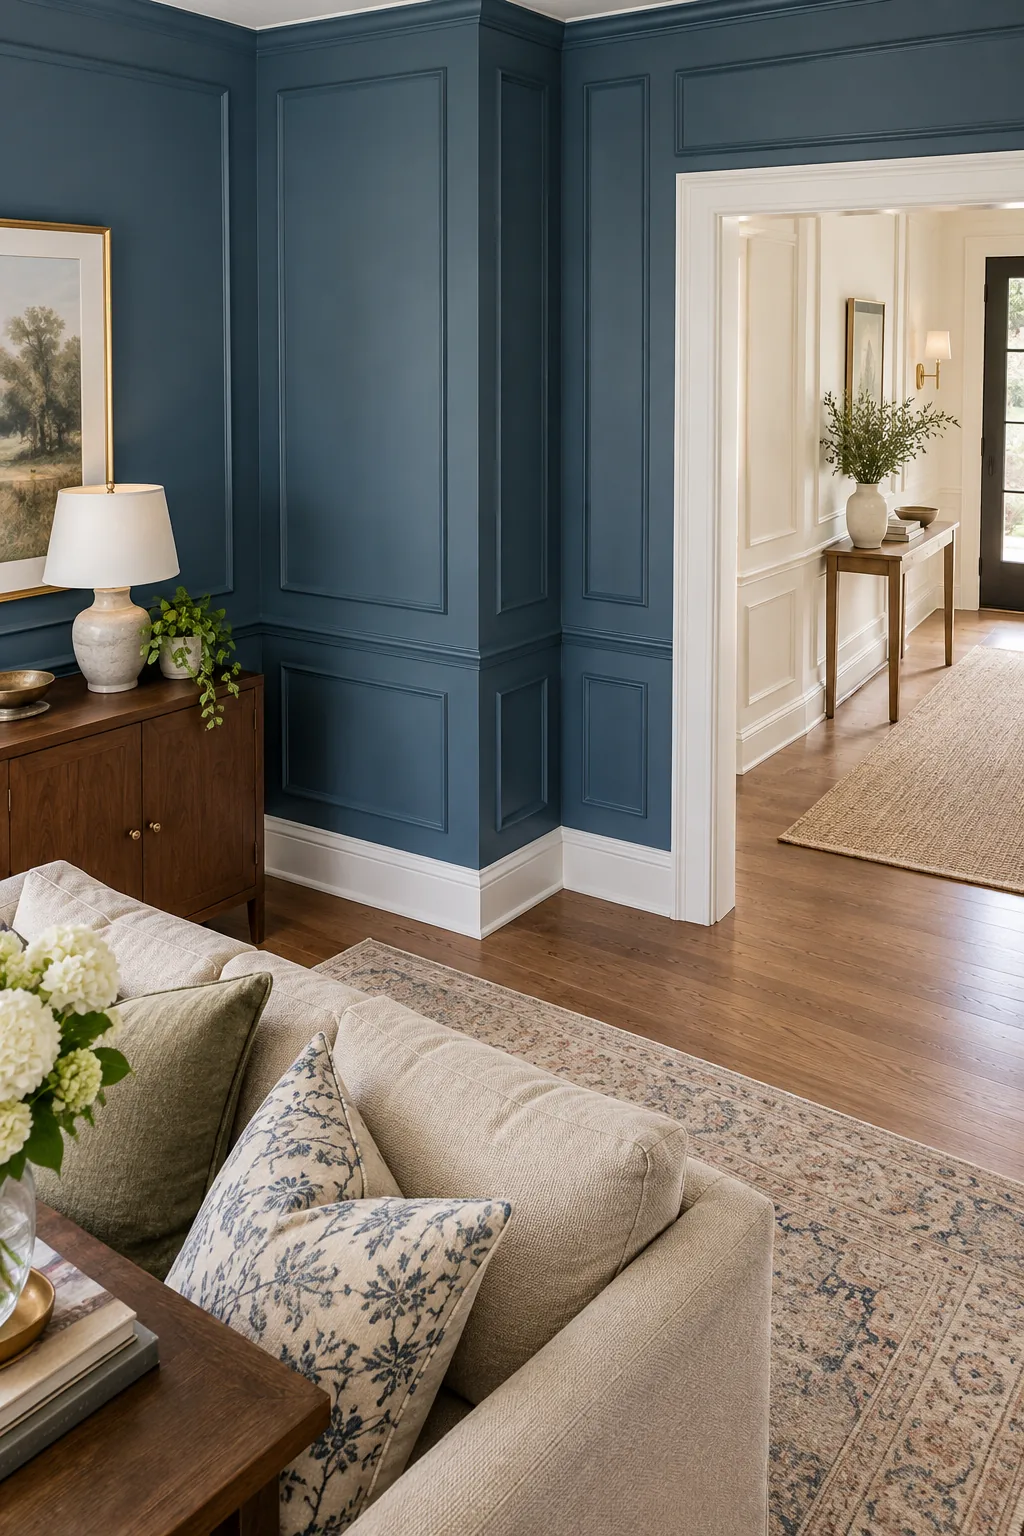
Adapting these baseline measurements to suit the distinct function of each space ensures your custom trim works harmoniously with your daily life. Before firing the first brad nail, run through these essential layout checks to avoid costly, frustrating rework.
More Custom Trim Looks to Try
Explore how different paint colors and room settings can completely change the mood of classic picture molding.
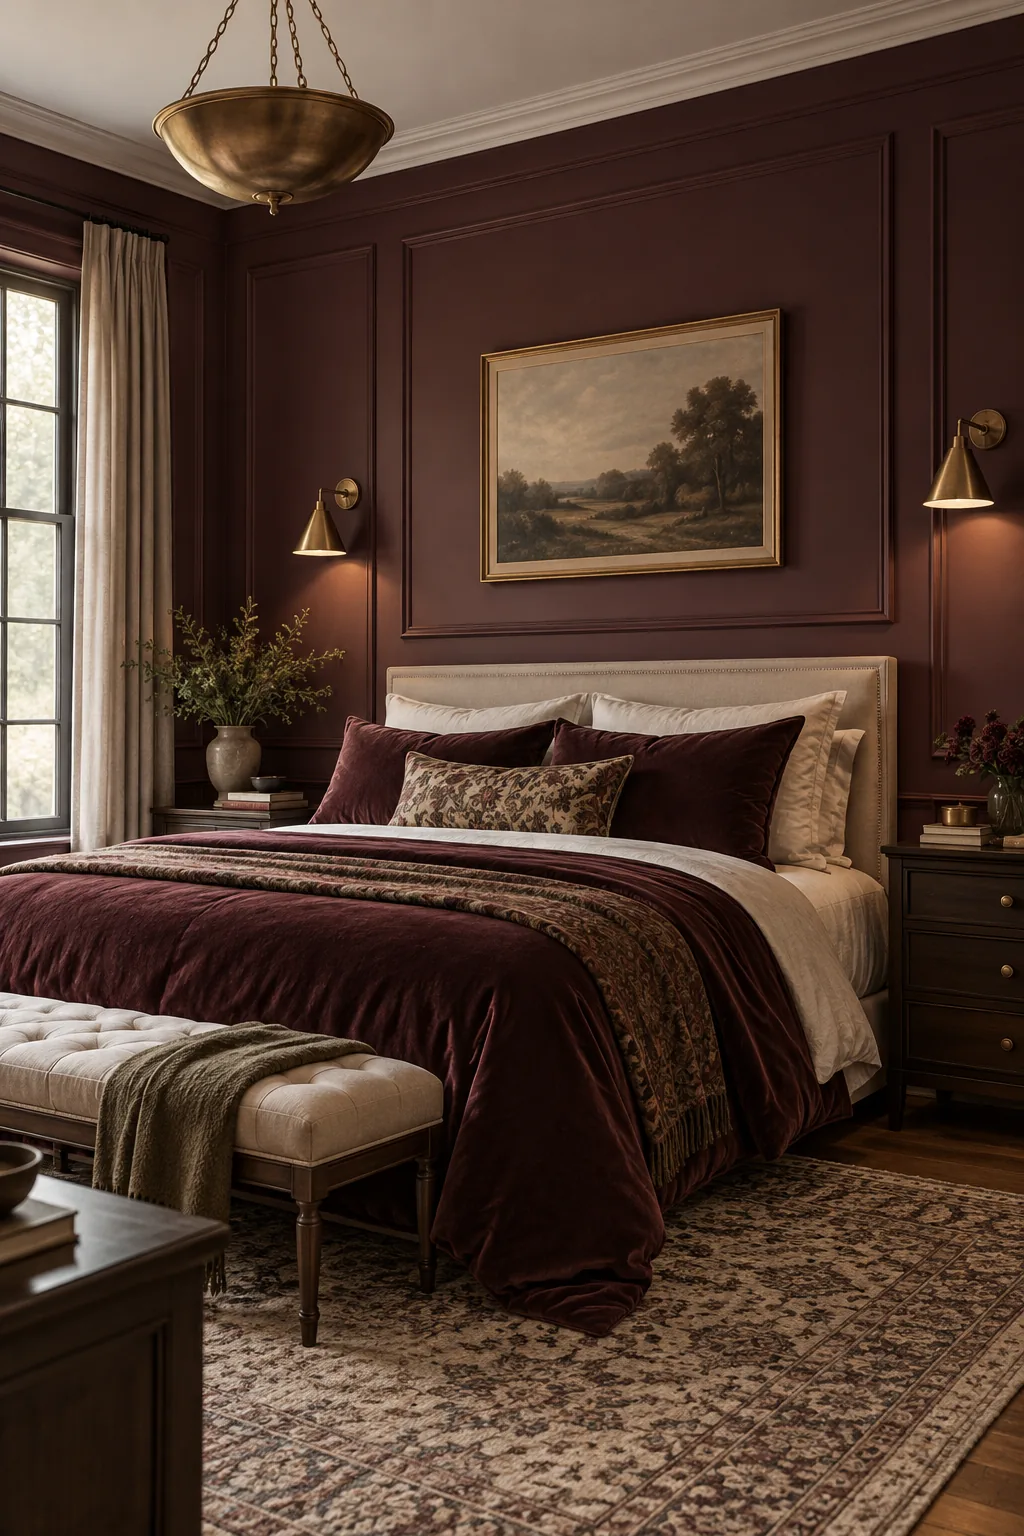
Moody plum bedroom wainscoting: Deep burgundy tones give traditional molding a dramatic, cozy feel perfect for a primary bedroom.
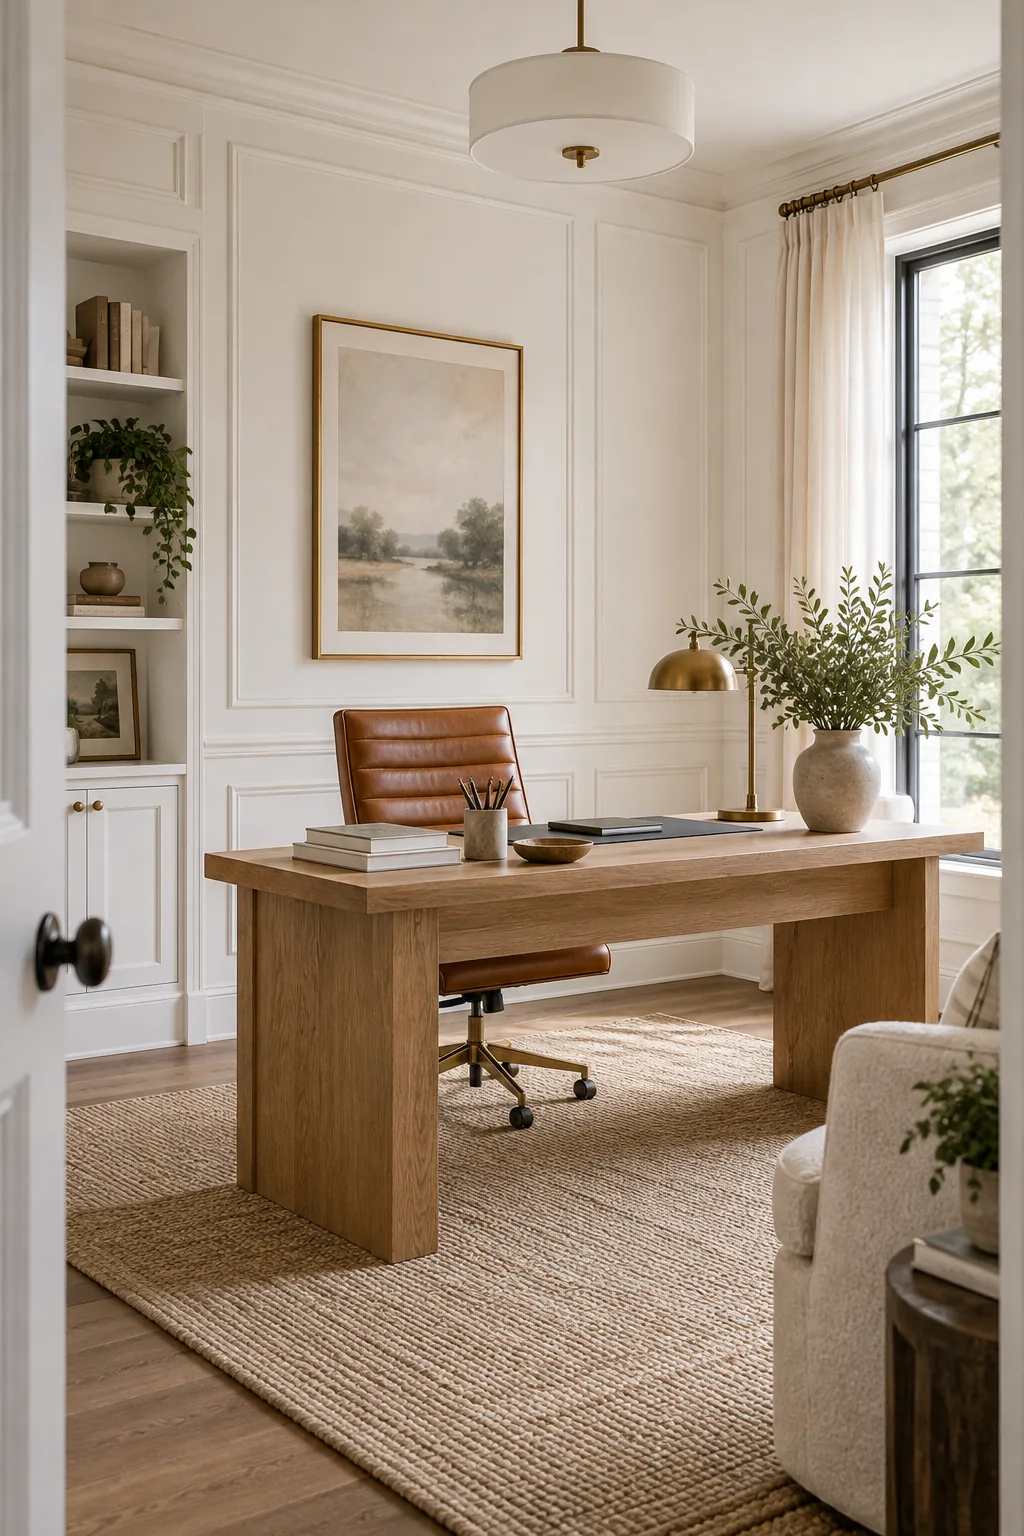
Crisp white office molding: Warm white paint highlights the subtle shadows of the trim, adding architectural interest without visual clutter.
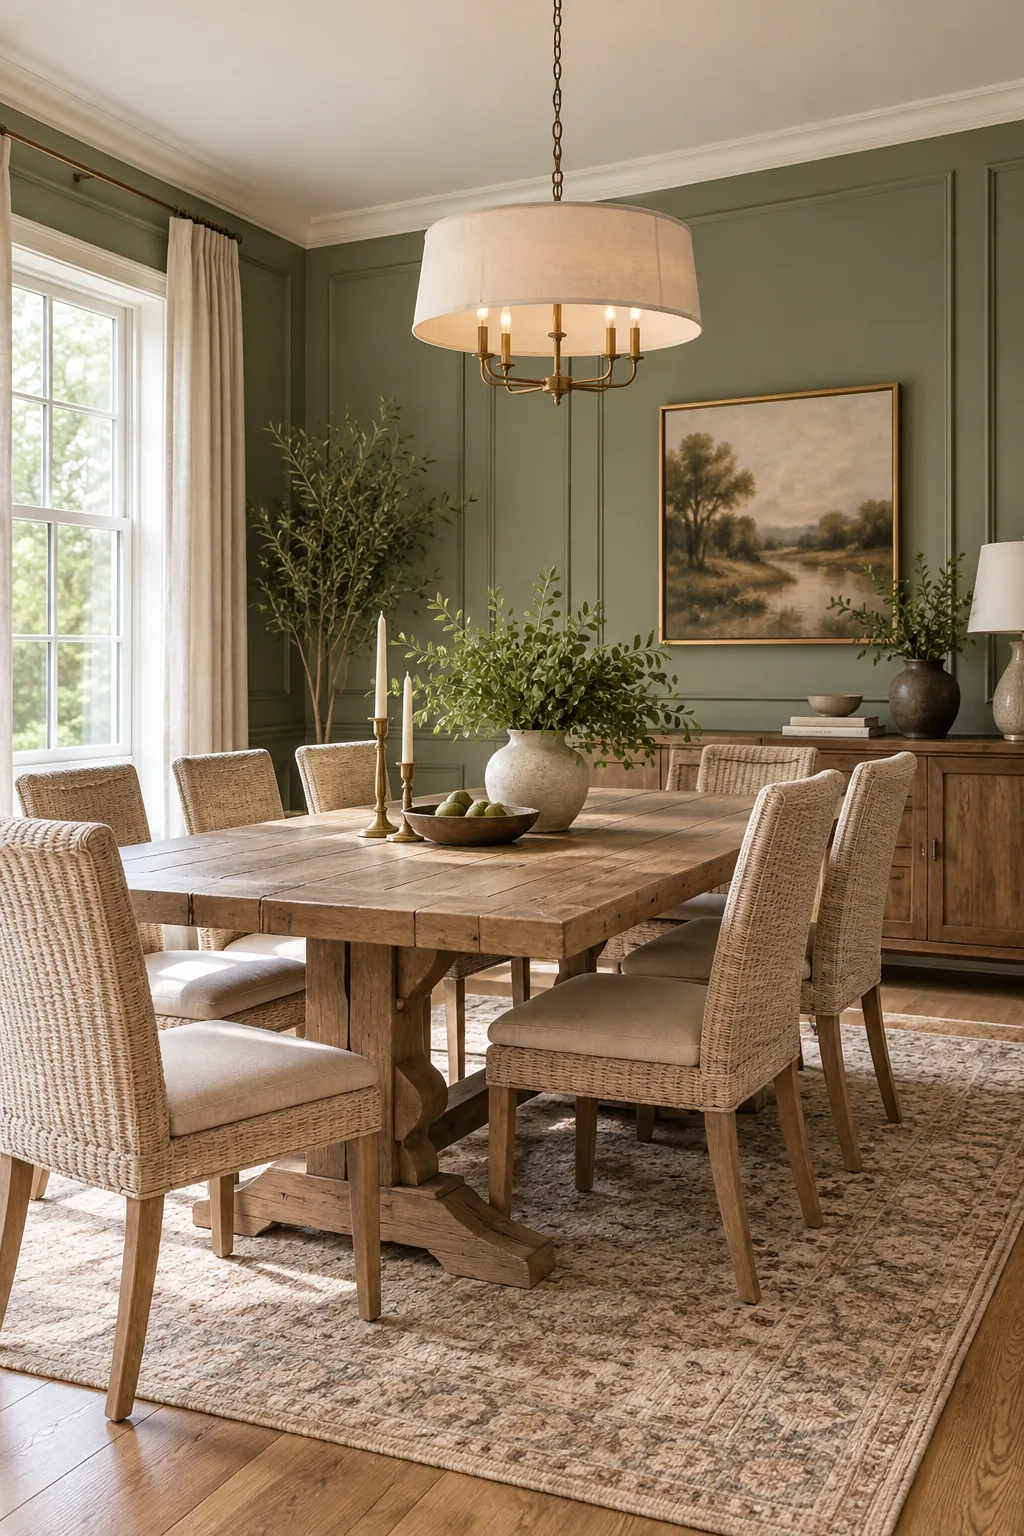
Earthy sage dining room trim: Soft green color drenching pairs beautifully with natural wood and woven textures for an organic, grounded dining space.