DIY No-Dig Front Yard Landscaping: The Two-Weekend Plan
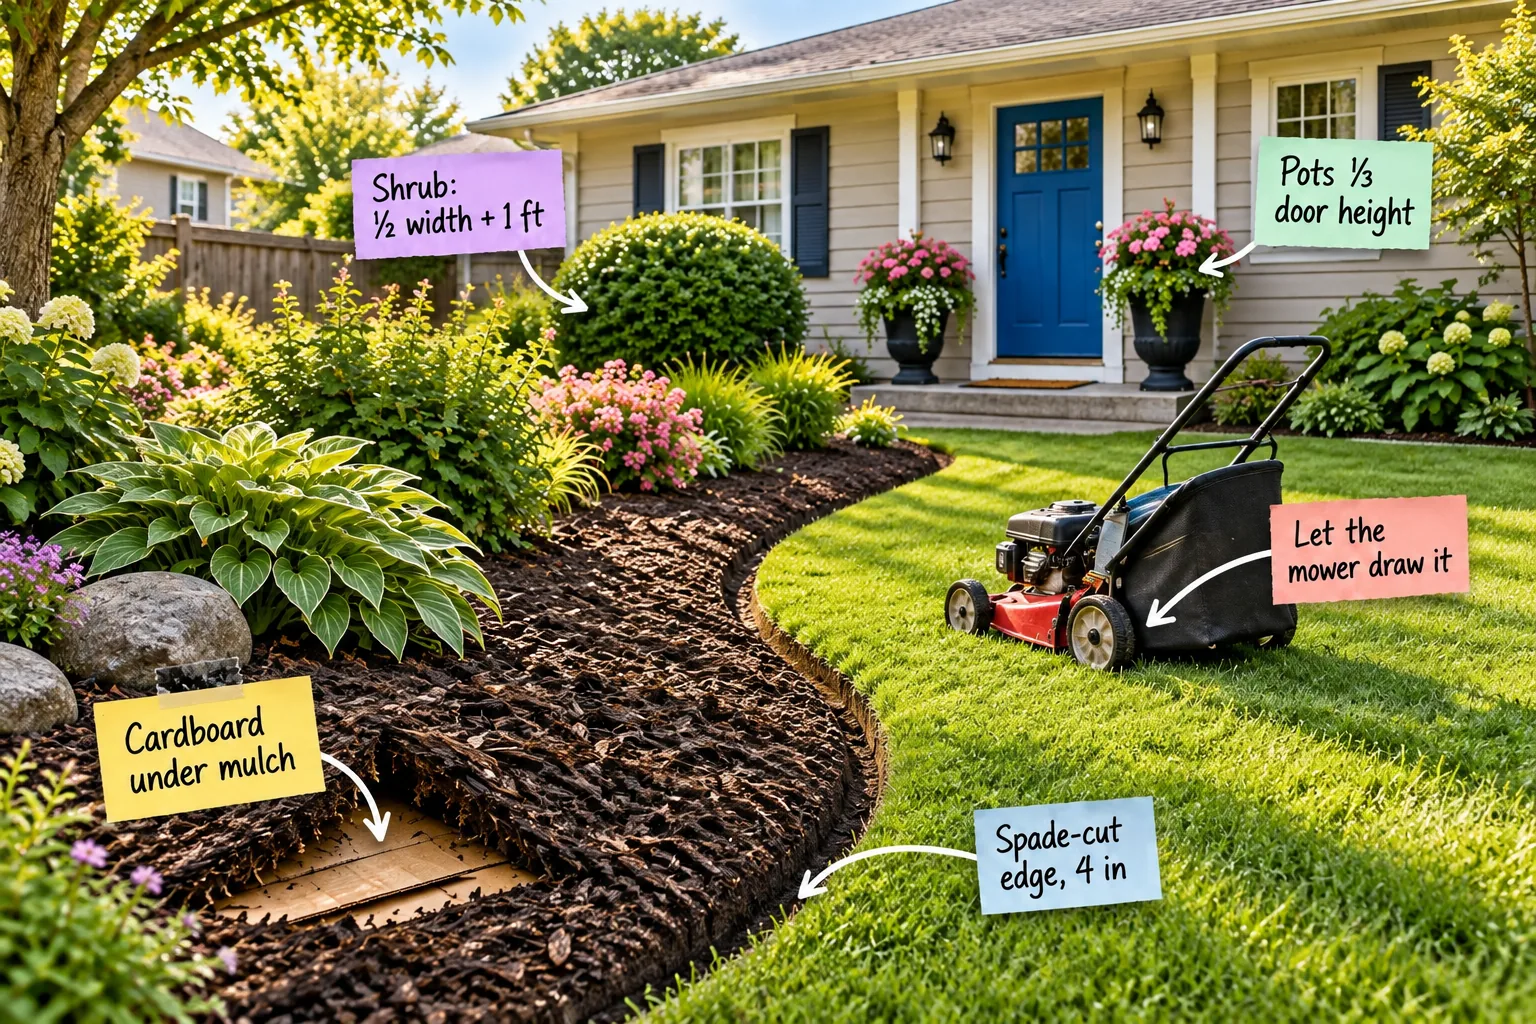
You will be able to map out, edge, plant and mulch a stunning new front yard landscape bed over two weekends without removing the existing lawn by grabbing our Two-Weekend Front Yard Install Plan, complete with a printable step sequence and shopping list.
Drawing the Perfect Curve with Your Mower
To establish a smooth, natural bed line without specialized tools, push a lawnmower in a sweeping curve across the yard, using the distinct wheel track left in the grass as the exact cutting guide for the new edge.
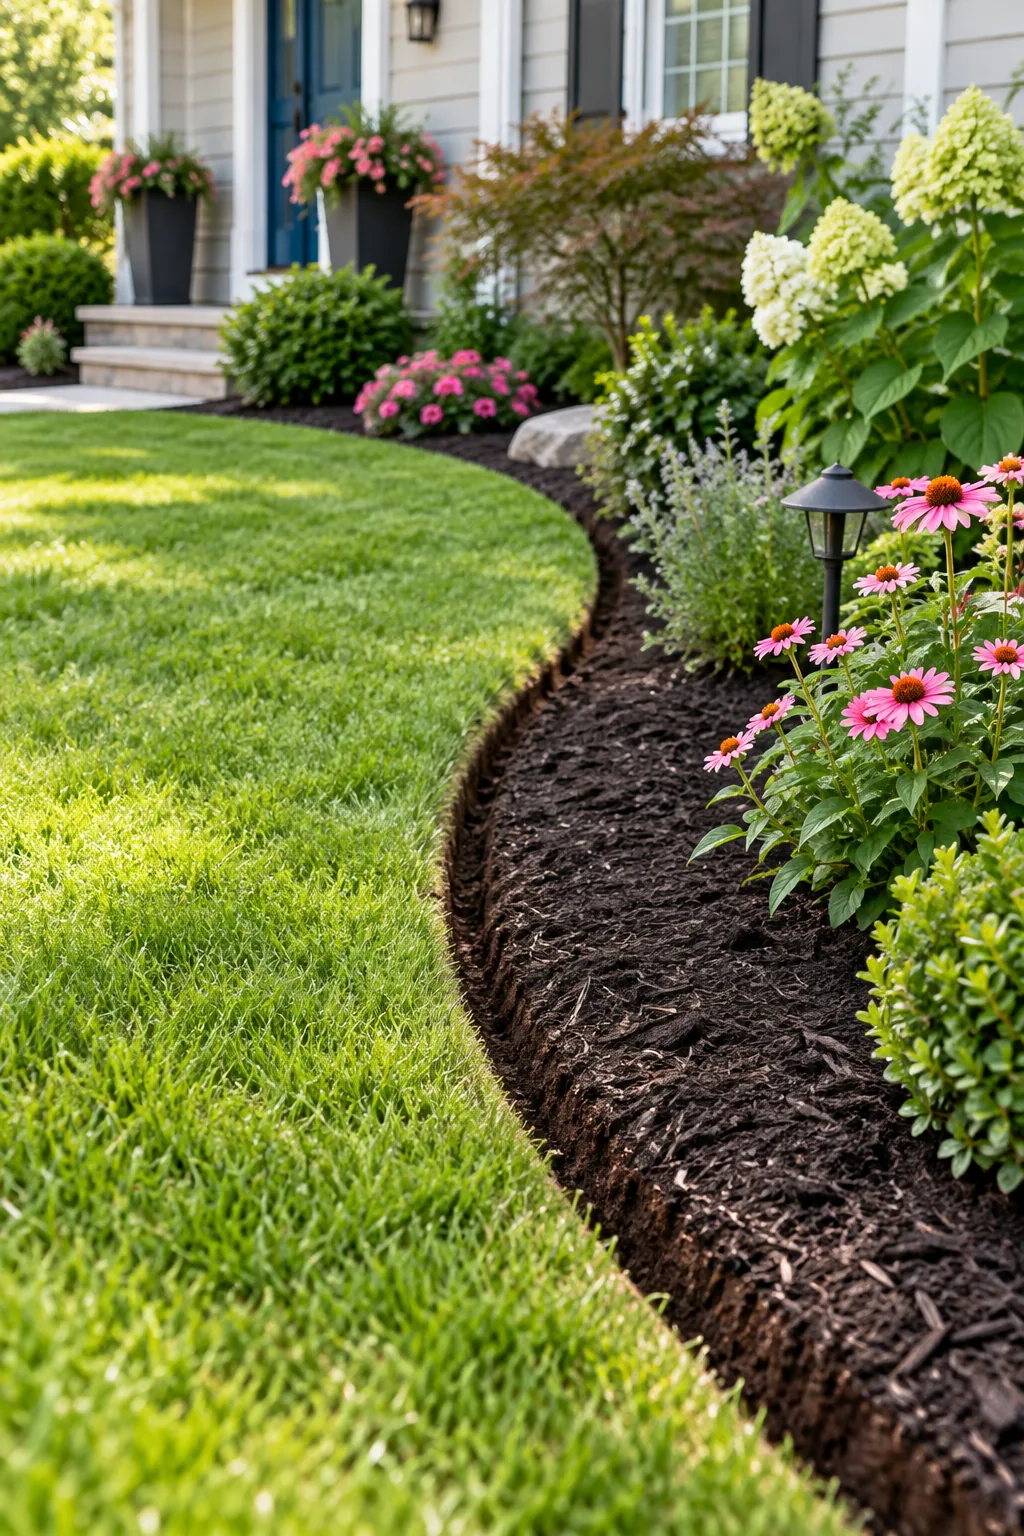
This simple trick ensures your bed flows organically with the landscape, completely avoiding the jagged, artificial look that often comes from freehanding a layout with a garden hose or string. You get a professional sweep on the very first try.
Preparing the Old Lawn Surface
Mow the existing grass inside your newly marked bed line on the absolute lowest setting, bagging the clippings to ensure the upcoming cardboard layer lays perfectly flat against the bare soil.
The No-Dig Cardboard Base Layer
Laying flat, plain brown cardboard directly over the existing lawn creates a dark barrier to smother the grass, completely eliminating the backbreaking need to dig up or haul away heavy sod.
| Method | Labor Required | Soil Impact | Timeline |
|---|---|---|---|
| Cardboard No-Dig | Minimal lifting | Preserves topsoil | Fast installation |
| Manual Sod Removal | Heavy hauling | Disrupts microbes | Slow and tedious |
To ensure the grass actually dies off and decomposes rapidly into the soil, the cardboard barrier must remain continuous and highly permeable across the entire bed.
Sourcing and Prepping Your Cardboard
Appliance stores and local bike shops are absolute goldmines for massive, thick boxes that cover large areas of your yard quickly, minimizing the overlapping seams where weeds might sneak through.
Creating the 4-Inch Spade-Cut Edge
Use a half-moon edger or sharp garden spade to cut a crisp, 4-inch deep vertical trench exactly along the mower track you just created.
This exact depth strictly stops aggressive grass runners from crossing over into your new bed and provides a sturdy vertical wall to hold the thick mulch layer perfectly in place.
Managing Soil Removal From the Trench
Toss the excavated sod chunks and loose soil directly into the center of your new bed area, placing them grass-side down so they compost securely under the upcoming cardboard layer.
Spacing Shrubs Off the House Siding
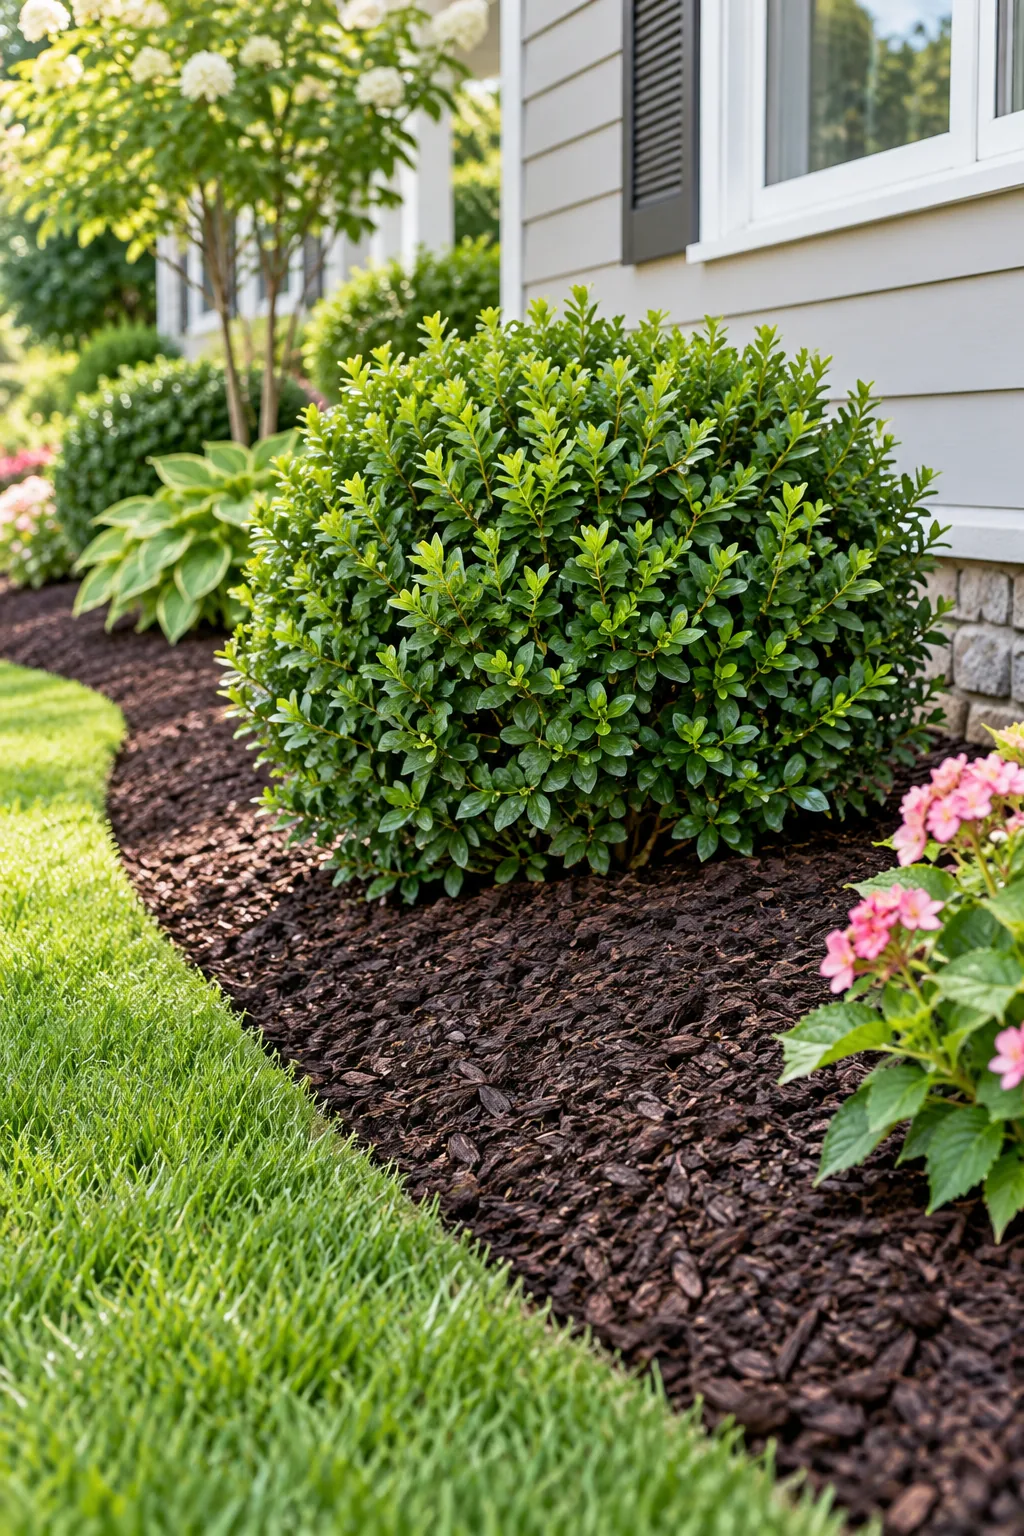
Foundation plants need substantial breathing room to prevent moisture damage to your siding and carefully avoid severe overcrowding as they reach their full mature size.
- Check the plant tag to find the specific mature width for your chosen shrub variety.
- Divide that mature width measurement exactly in half to find the plant’s true radius.
- Add one full foot to that radius to ensure a healthy air gap against the house.
- Measure that total distance outward from your siding to mark the precise center of your planting hole.
Selecting the Right Foundation Shrubs
Choose evergreen varieties for your foundational layer to ensure your front yard maintains its vibrant structure and rich color throughout the stark, dormant winter months.
Planting Through the Cardboard Barrier
Add your new plants to the no-dig bed by cutting a simple X through the cardboard layer and digging directly into the soil below. When I first tried this in my own Austin front yard, I was amazed at how securely the plants sat once nestled through the smothered grass.
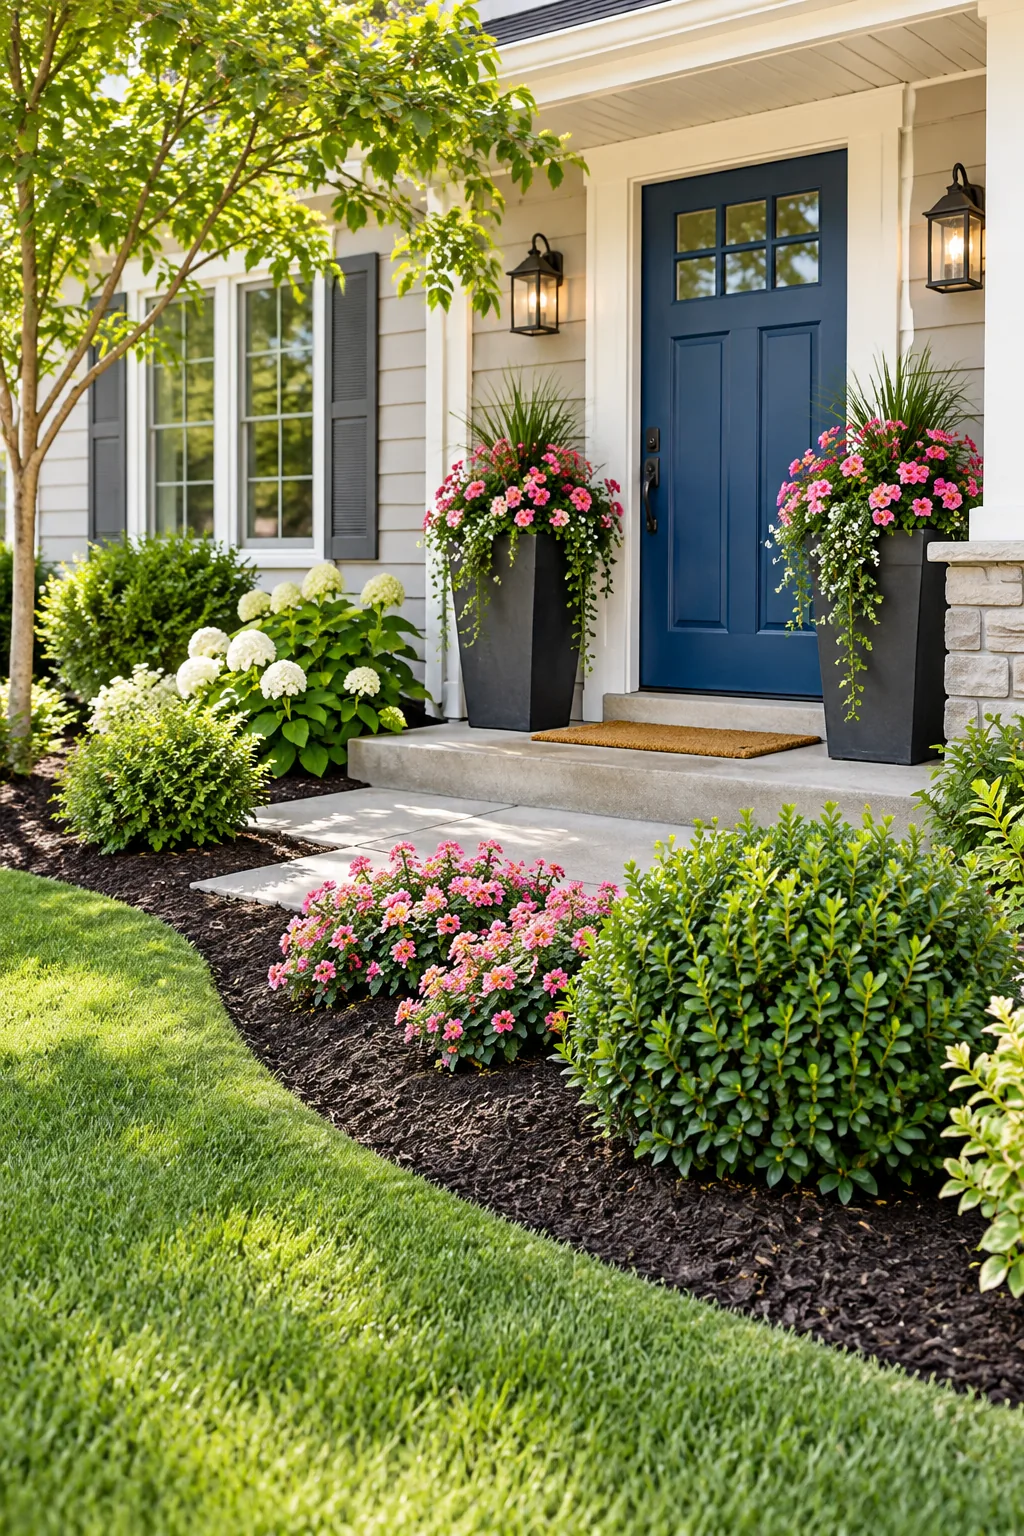
Once the root ball is firmly in the ground, simply fold the cardboard flaps back around the base of the plant to maintain the strict weed barrier before adding mulch.
Watering in the New Root Systems
Drench the base of each newly installed shrub immediately after planting to collapse any hidden air pockets in the soil and give the roots vital hydration before covering them.
Choosing the Best Organic Mulch
Hardwood bark mulch breaks down slowly to feed the soil over several seasons, making it an incredibly ideal top layer for a cardboard no-dig landscape bed.
Adding the Thick Mulch Layer
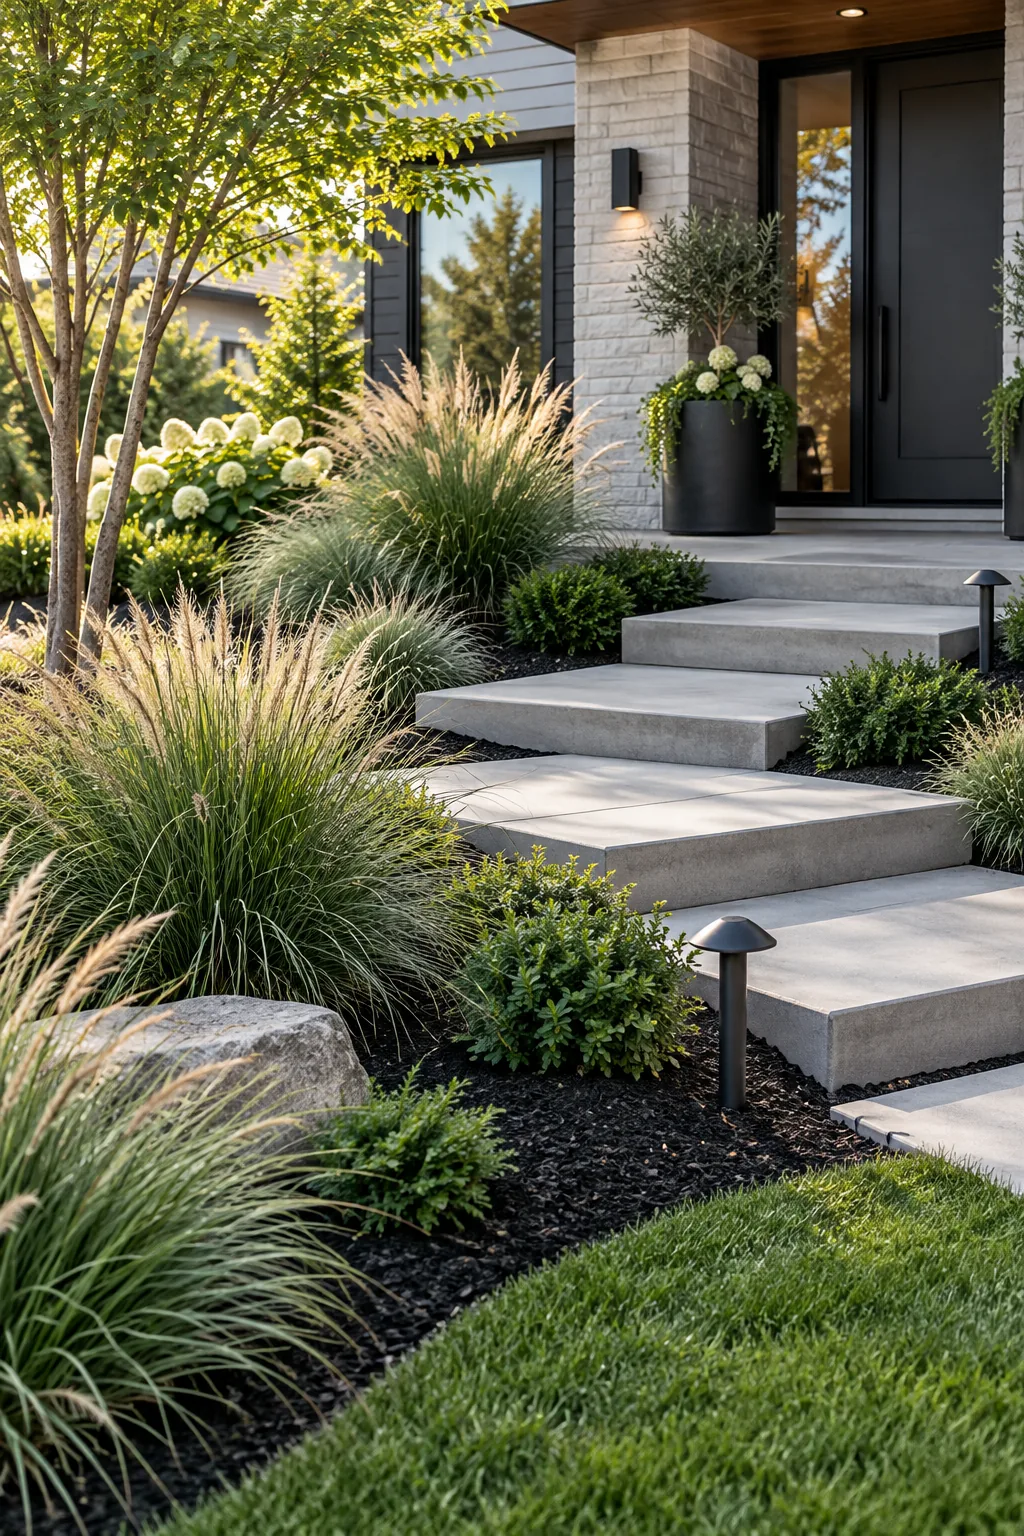
As you finalize the new beds, anchor the entry with tall planters that scale correctly with the height of the door to visually connect the ground-level landscape to the home’s architecture.
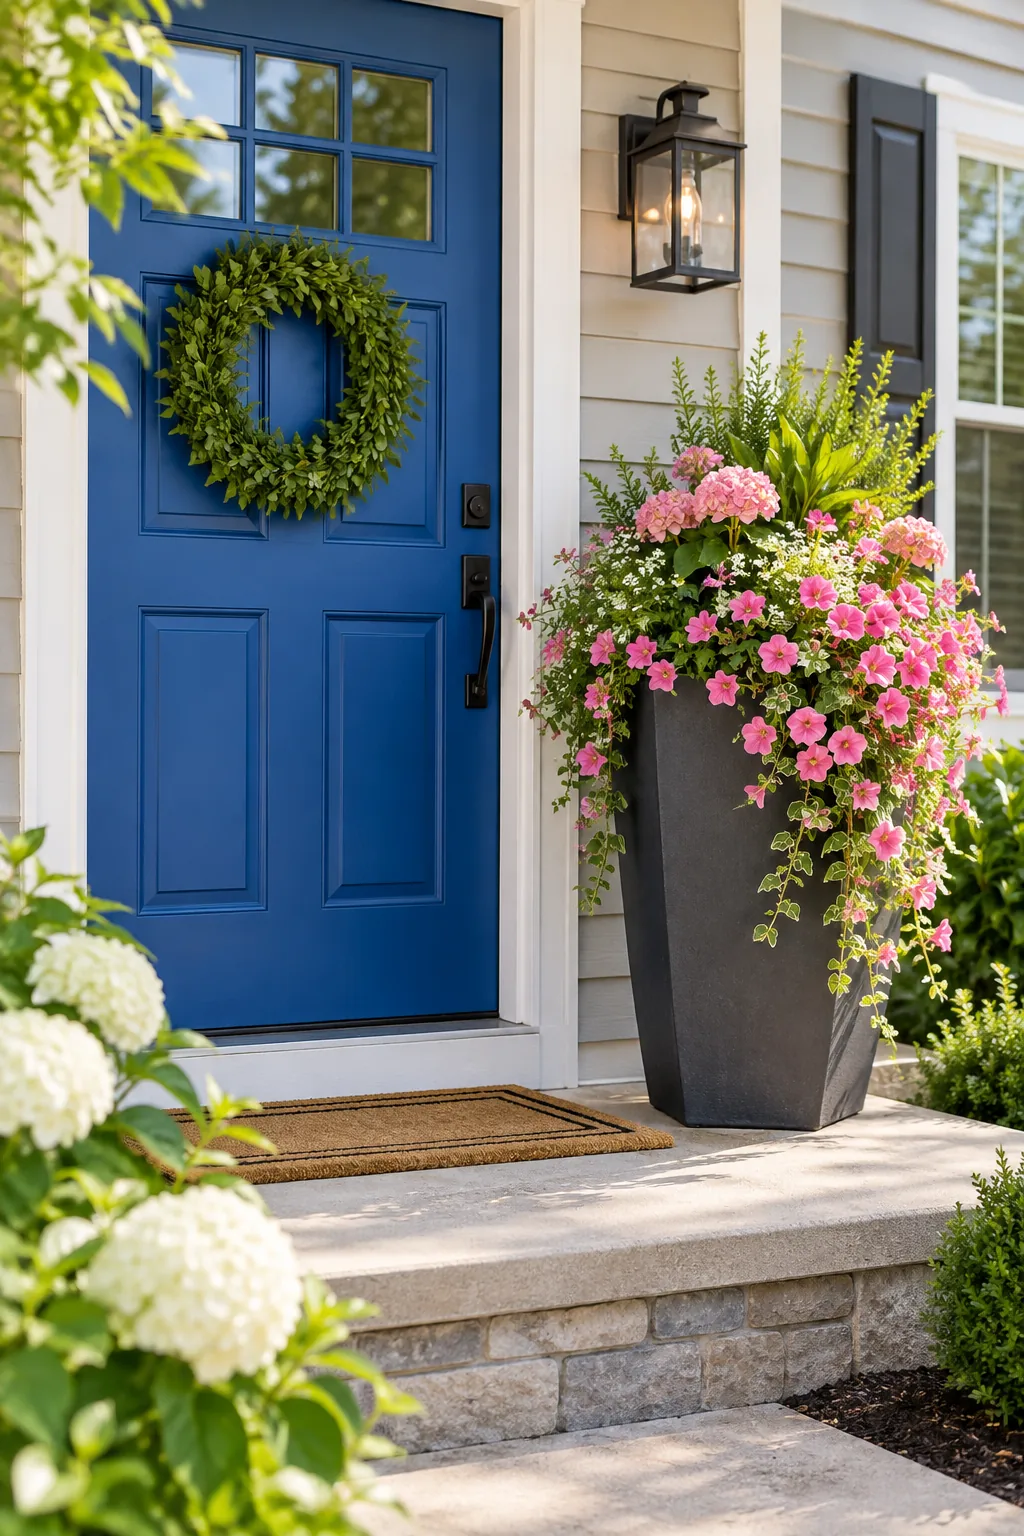
Cover the entire cardboard base with 3 to 4 inches of organic mulch to hide the barrier and retain crucial soil moisture. While a thick layer is essential for smothering weeds, it can trap too much moisture against your new plants.
Sizing Planters for the Front Door
Properly scaled porch decor perfectly anchors the newly landscaped yard. I used to buy tiny pots that disappeared from the street, but upgrading to larger vessels completely changed my Austin home’s curb appeal.
- Select tall, substantial planters that measure roughly one-third the height of your front door so they remain highly visible from the sidewalk.
- Ensure every pot has multiple large drainage holes drilled into the bottom to prevent root rot during heavy spring rainstorms.
- Match the planter’s color palette to your home’s exterior trim or the front door to create a cohesive, professionally designed entry.
Calculating Your Material Quantities
Measure your new bed’s total square footage to accurately order bulk mulch deliveries and determine exactly how many foundation plants you need per 100 square feet of space.
The Two-Weekend Front Yard Install Plan
Our printable Two-Weekend Front Yard Install Plan divides the project perfectly, tackling marking, edging, and cardboard on weekend one, followed by planting and mulching on weekend two.
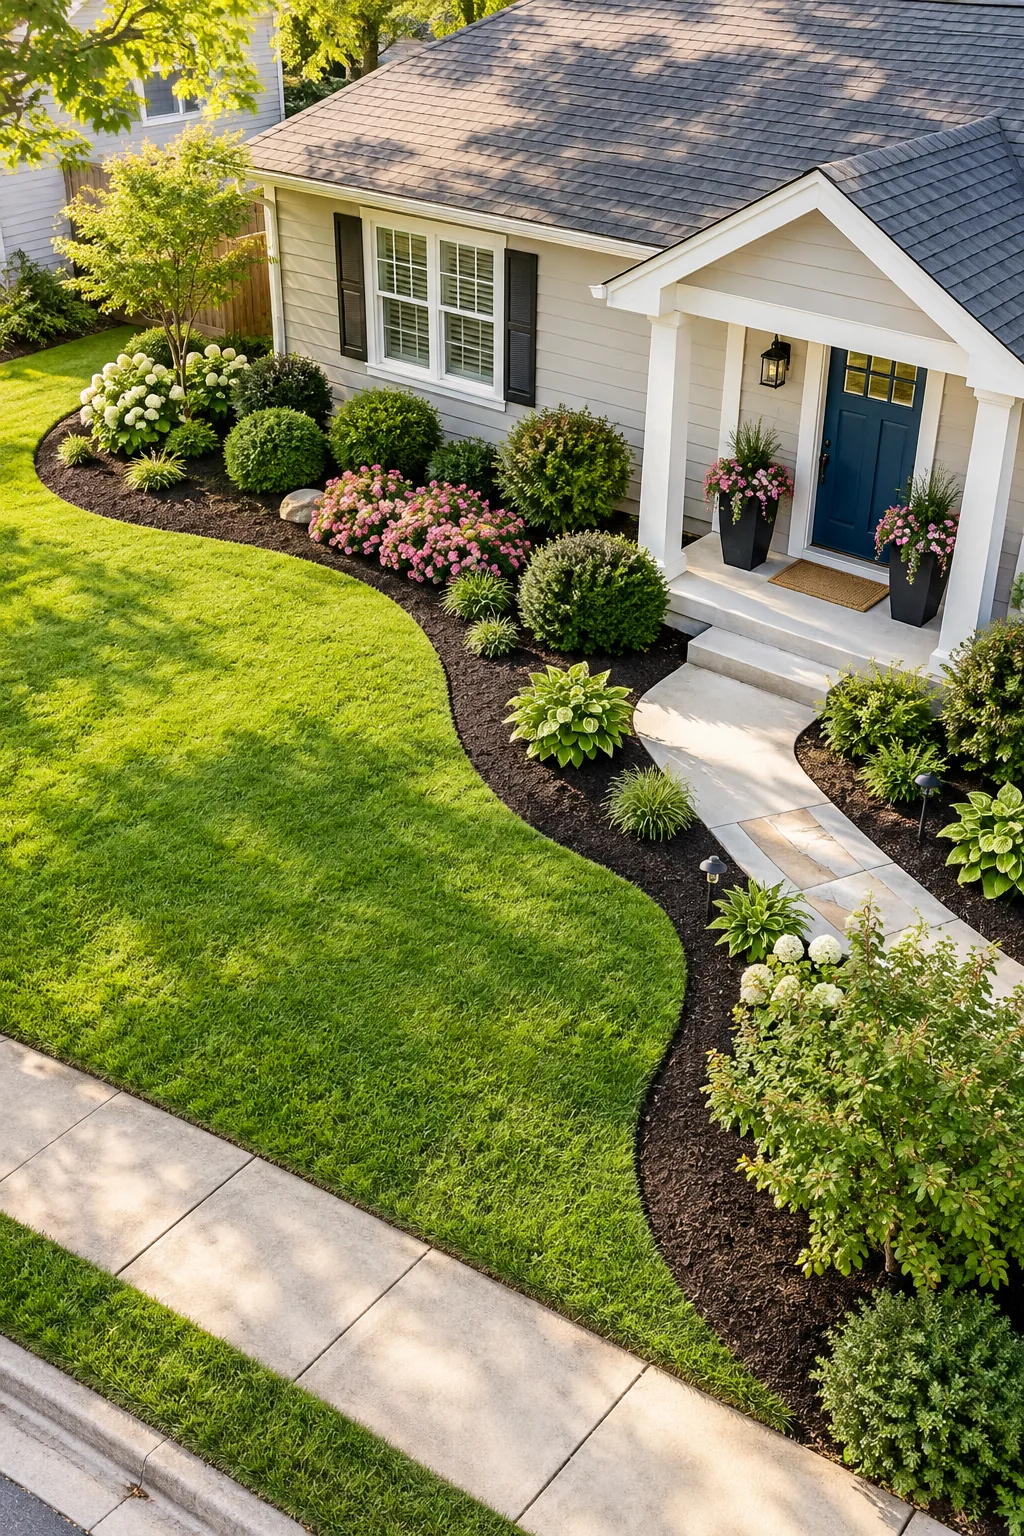
Before you print the sequence and start marking your lawn, make sure you have the heavy materials staged and ready to go.
Front Yard Landscape Styles to Copy
Once you know the no-dig method, you can adapt the finished look to perfectly match your home's architecture.
Romantic Cottage Garden Style: Layer soft pastel perennials tightly together to create an abundant, overflowing look that softens hard pathways.
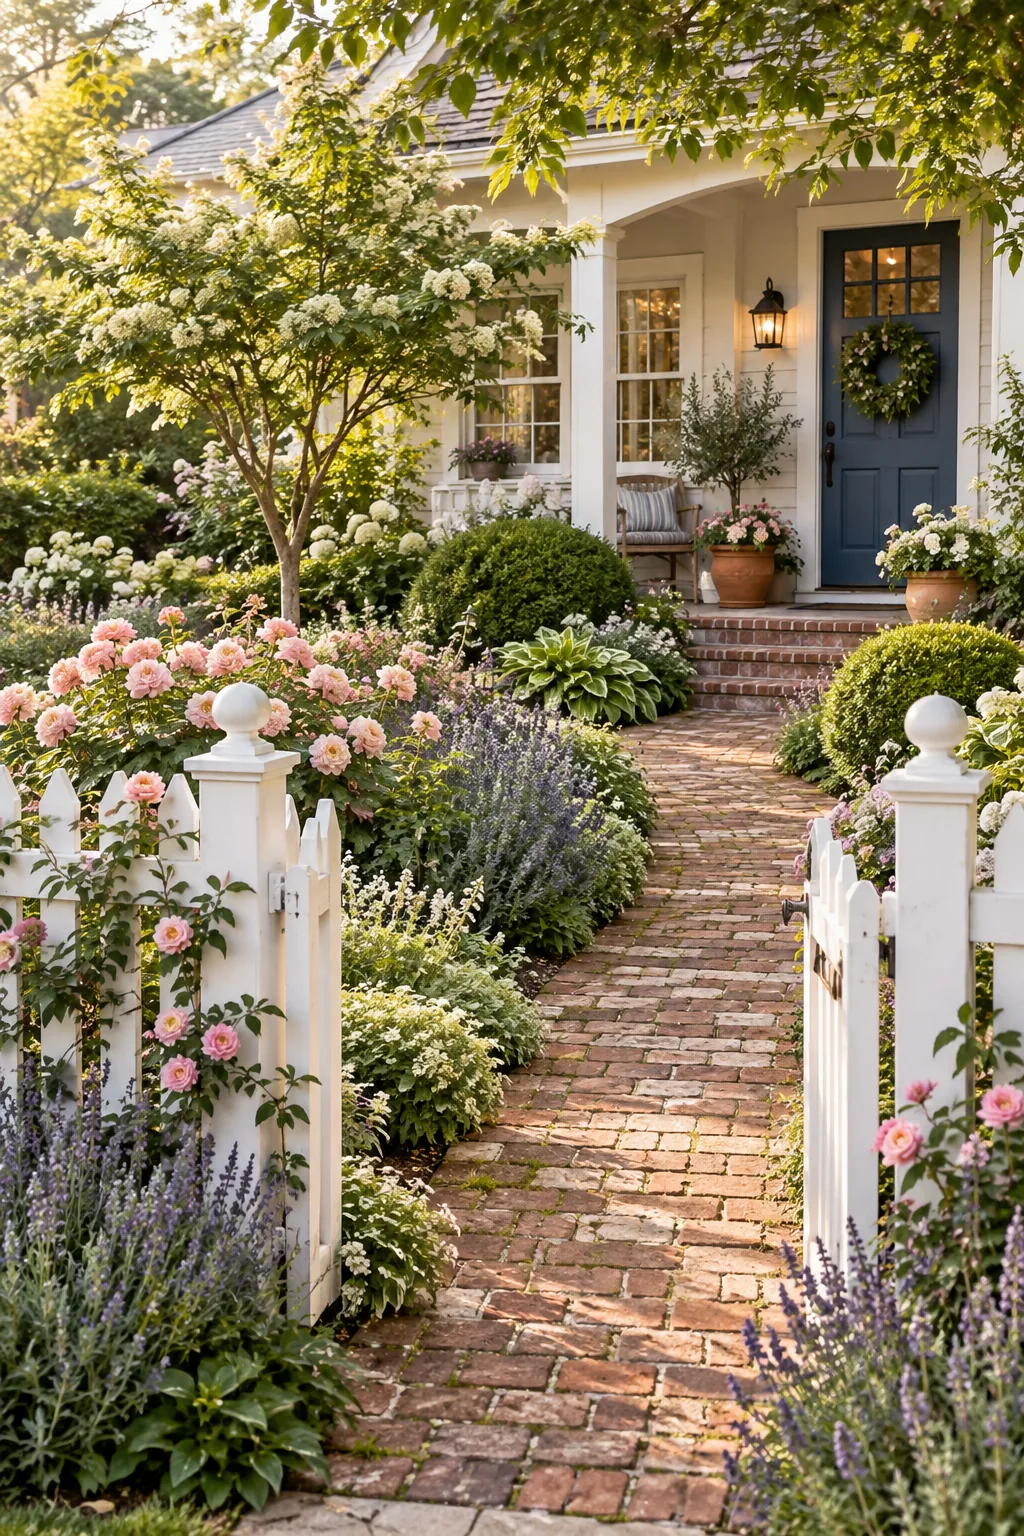
Modern Minimalist Grass Landscape: Use black mulch to create high contrast against bright green ornamental grasses and sleek concrete hardscaping.
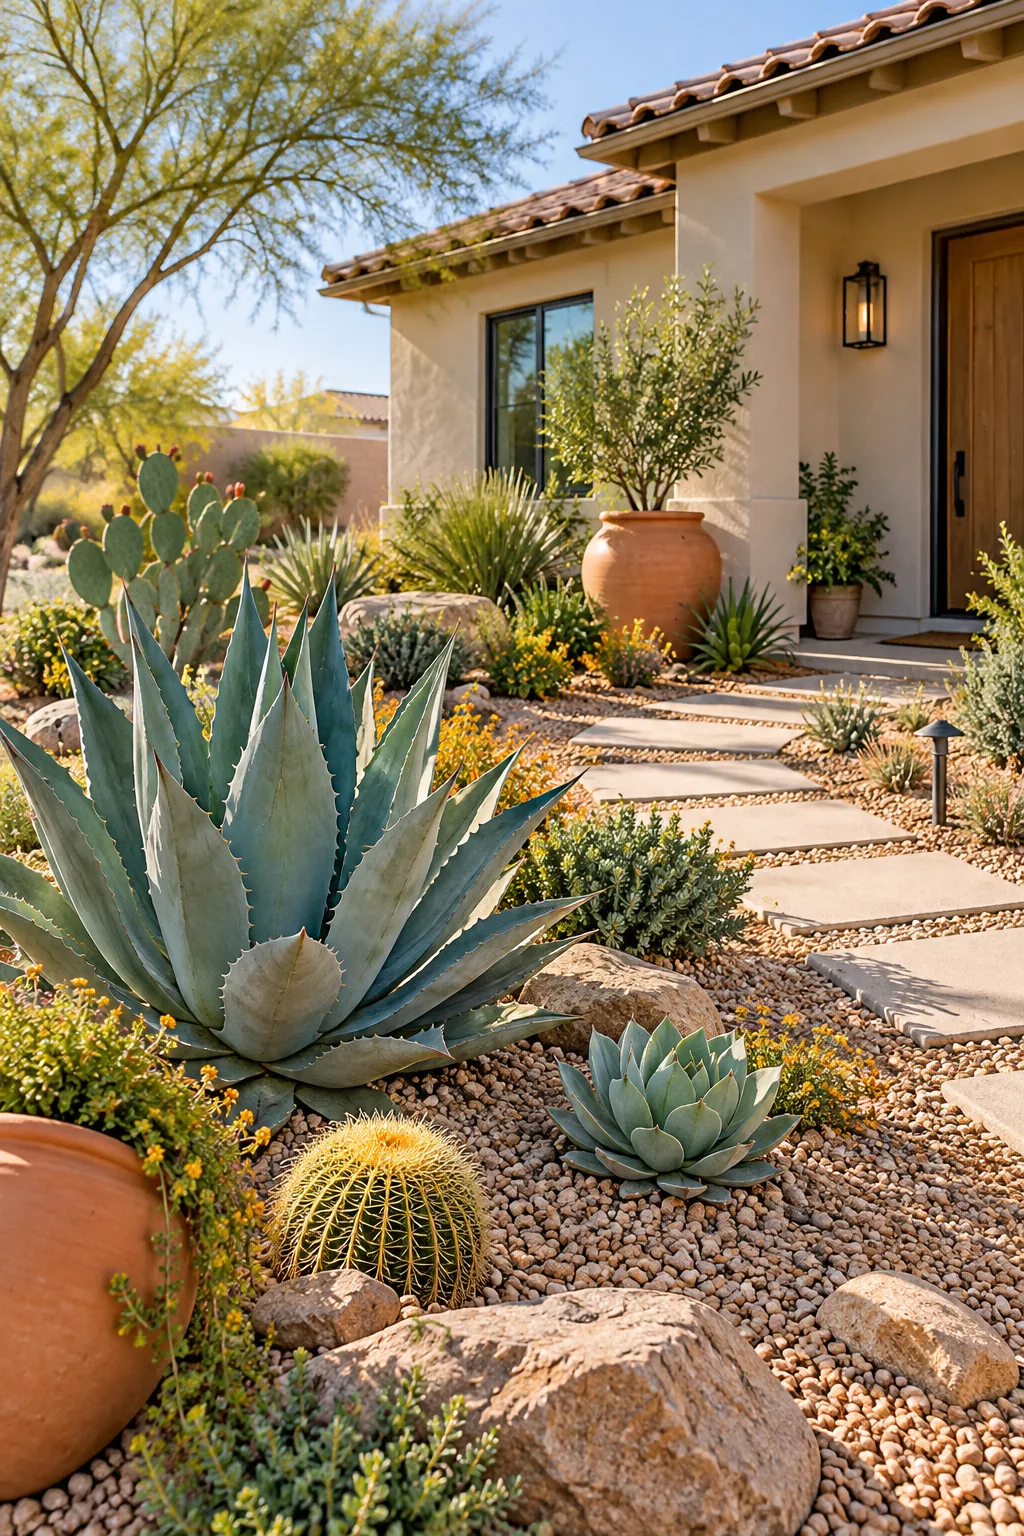
Drought-Tolerant Desert Oasis: Swap traditional wood mulch for warm gravel to keep succulent crowns dry and reflect light into the bed.