
The $500 Weekend Front Yard Landscaping Plan
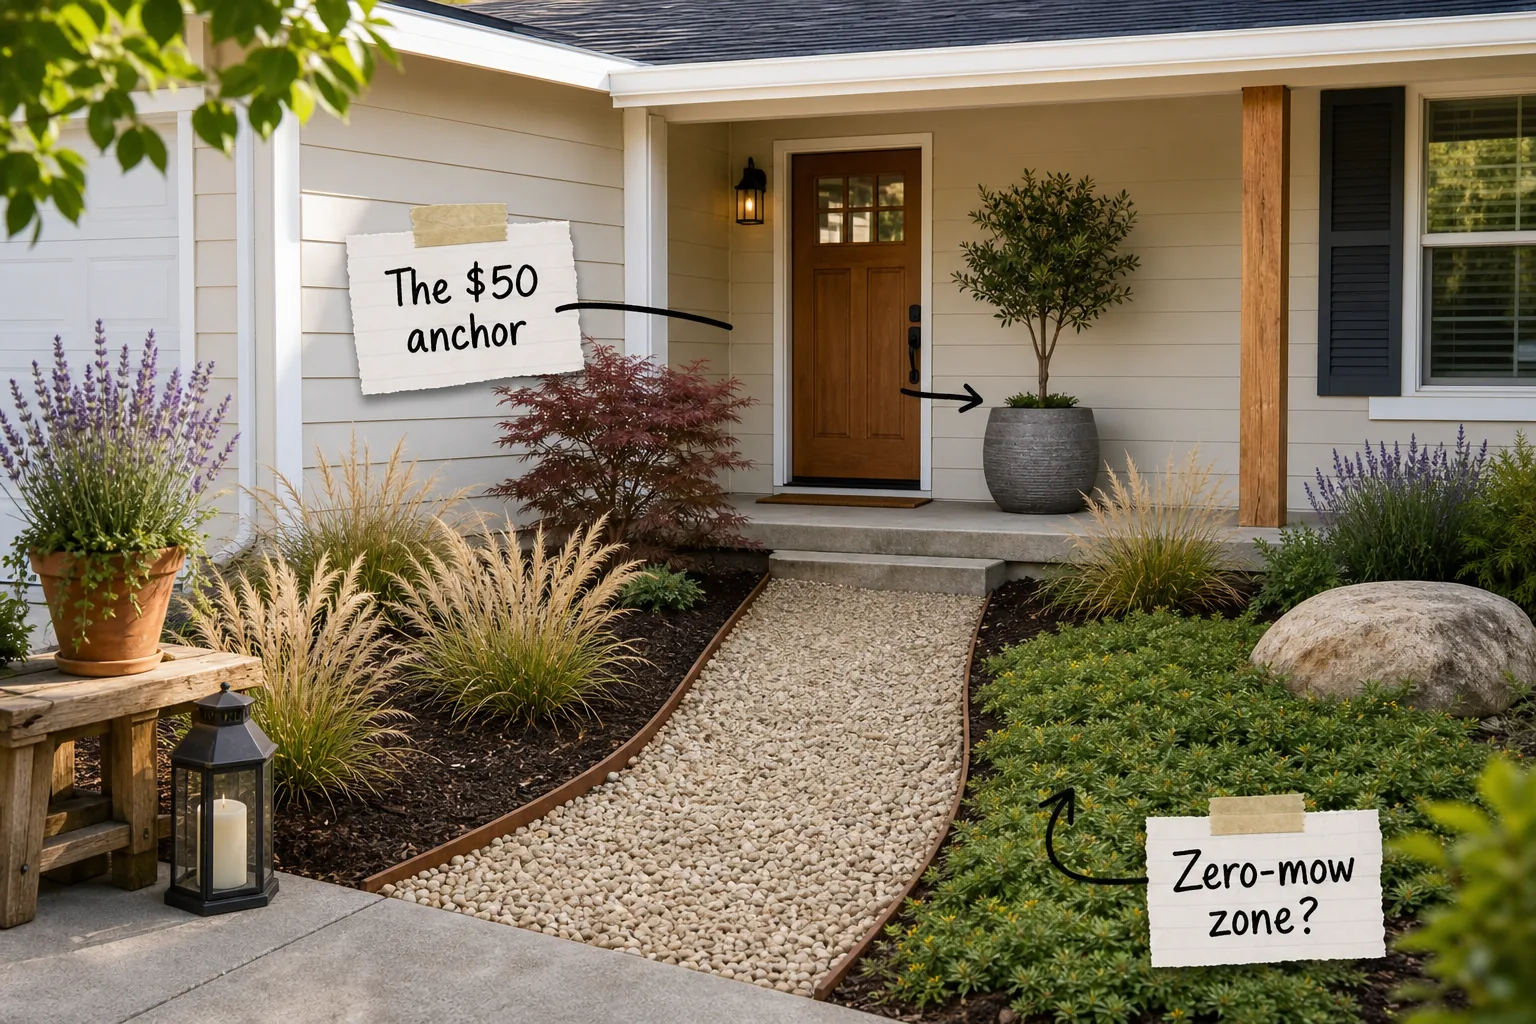
You will easily map out, budget, and install a low-maintenance, high-impact front yard over a single weekend with this complete $500 weekend yard plan. This comprehensive guide provides the exact budget breakdown, plant list, and step-by-step layout you need to transform your curb appeal.
The $500 Weekend Yard Plan
Start with a strict budget allocation to prevent accidentally overspending at the local garden center, carefully dividing your total funds into four distinct categories specifically designated for hardscaping materials, organic soil amendments, resilient nursery plants, and your final welcoming porch decorations.
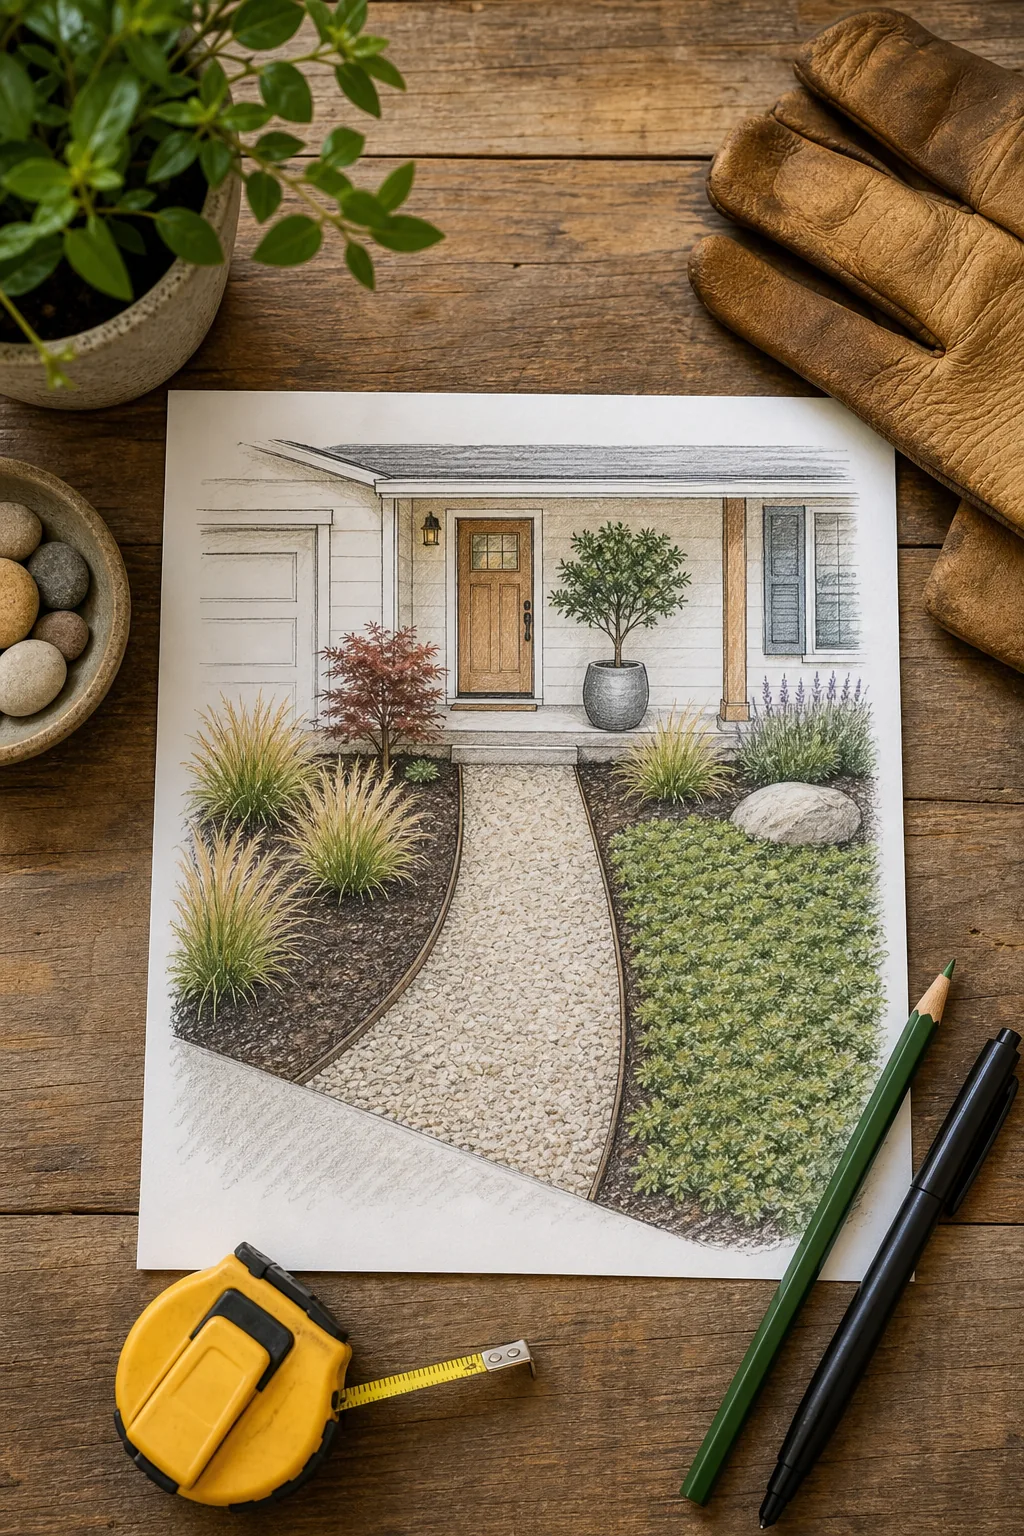
Before you start digging into the compacted soil, ensure your residential property is completely ready for a fast, uninterrupted weekend installation by completing a few essential administrative and preparatory site tasks on Thursday afternoon.
Allocating Your Landscaping Budget
This simple grid layout divides the $500 budget strictly, ensuring you can accurately map these specific functional zones on paper and complete the entire front yard transformation without unexpected mid-project expenses completely derailing your landscaping progress.
- Hardscaping materials: Reserve exactly $150 for commercial-grade landscape fabric, pea gravel, and rigid steel edging.
- Soil and mulch: Dedicate $150 to bulk undyed hardwood mulch and basic compost amendments.
- Nursery plants: Spend $150 on drought-tolerant ornamental grasses and creeping groundcover plugs.
- Porch decor: Allocate your final $50 for a weather-resistant planter and an evergreen topiary.
Sticking strictly to these four monetary limits guarantees you have enough available capital to completely finish every single zone, preventing half-finished garden beds and bare dirt patches from lingering awkwardly in your front yard for several months.
Laying the Pea Gravel Path
A clearly defined pea gravel path establishes the underlying architectural structure of the yard, directing daily foot traffic seamlessly from the public sidewalk straight to your welcoming front door while minimizing the amount of grass you actually have to maintain.
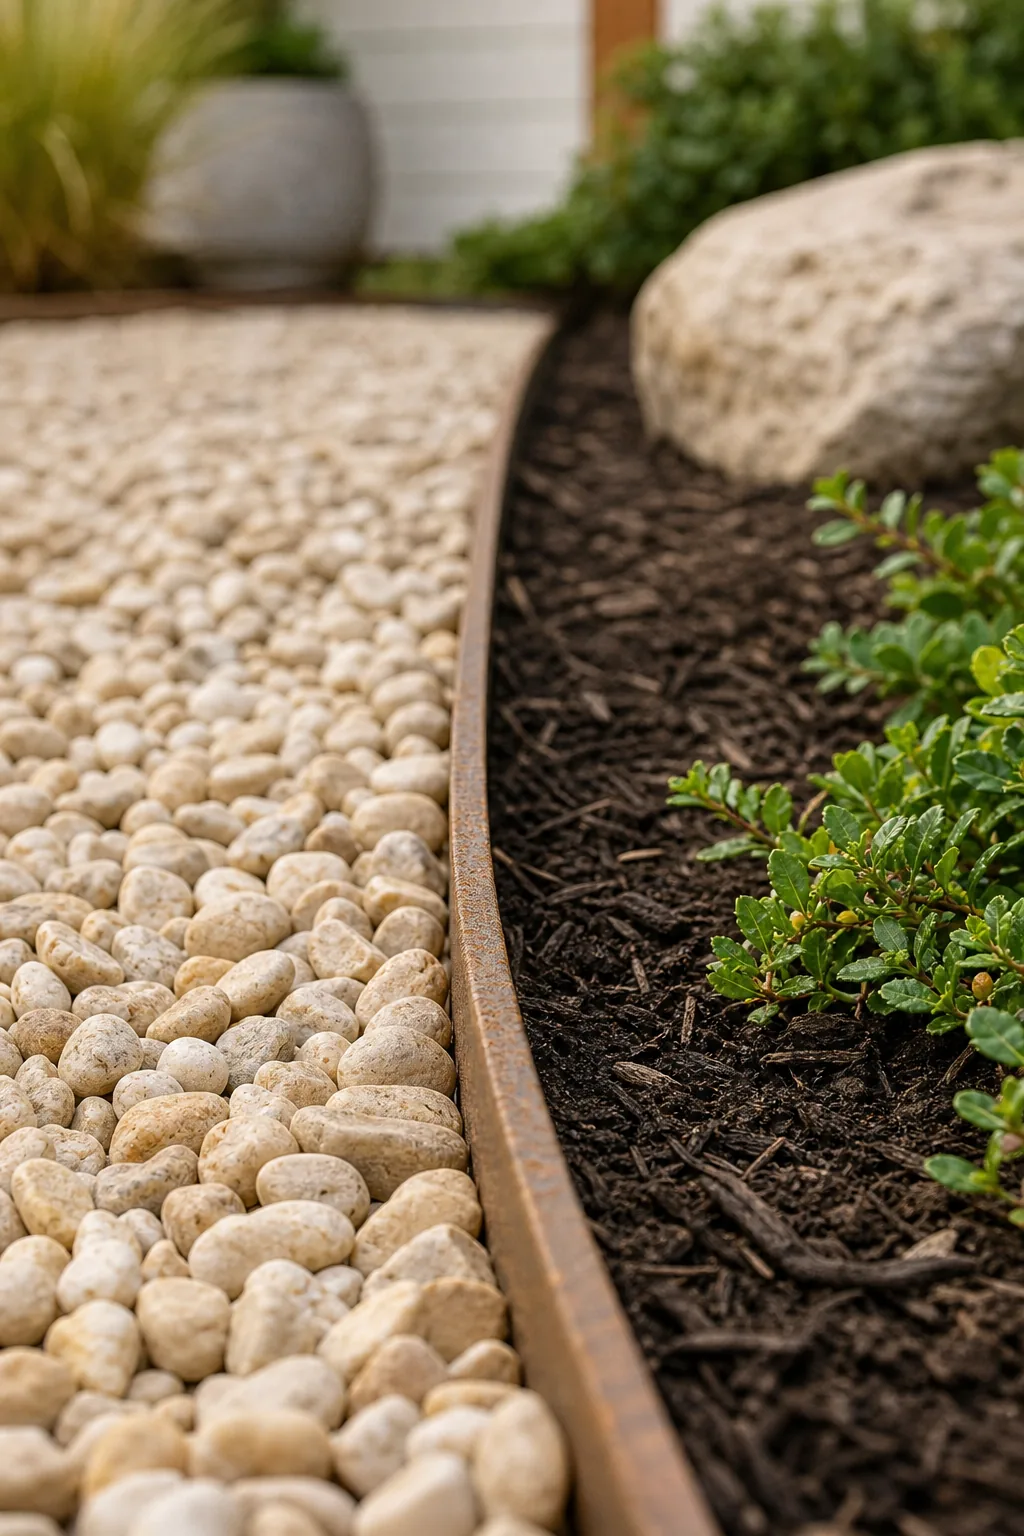
Fill the excavated trench entirely with washed pea gravel, tamping the small stones down lightly with a hand tamper so they sit exactly one half-inch below the top of the rigid metal edge to prevent messy spilling into the lawn.
Securing the Walkway Edging
Excavate the designated path area to a consistent depth of 3 inches and lay commercial-grade landscape fabric across the exposed dirt to block aggressive perennial weeds from emerging through your brand new stone walkway during the spring.
| Path Material | Trench Depth | Fabric Required | Edge Type |
|---|---|---|---|
| Pea Gravel | 3 inches | Heavy-duty woven | Rigid steel |
| Decomposed Granite | 4 inches | Non-woven permeable | Flexible plastic |
| River Rock | 5 inches | Heavy-duty woven | Concrete block |
| Crushed Limestone | 3 inches | Non-woven permeable | Rigid steel |
Install rigid steel edging along both sides of this fabric-lined trench, hammering the metal stakes deep into the compacted subsoil to maintain perfectly straight, permanent borders year after year despite heavy rainstorms or shifting winter ground freezes.
Creating a Zero-Mow Zone
Replace struggling turf with a low-water creeping groundcover to drastically reduce weekly maintenance chores and establish a lush, drought-tolerant zero-mow zone across your entire front yard that stays brilliantly green without requiring constant irrigation or fertilizing.
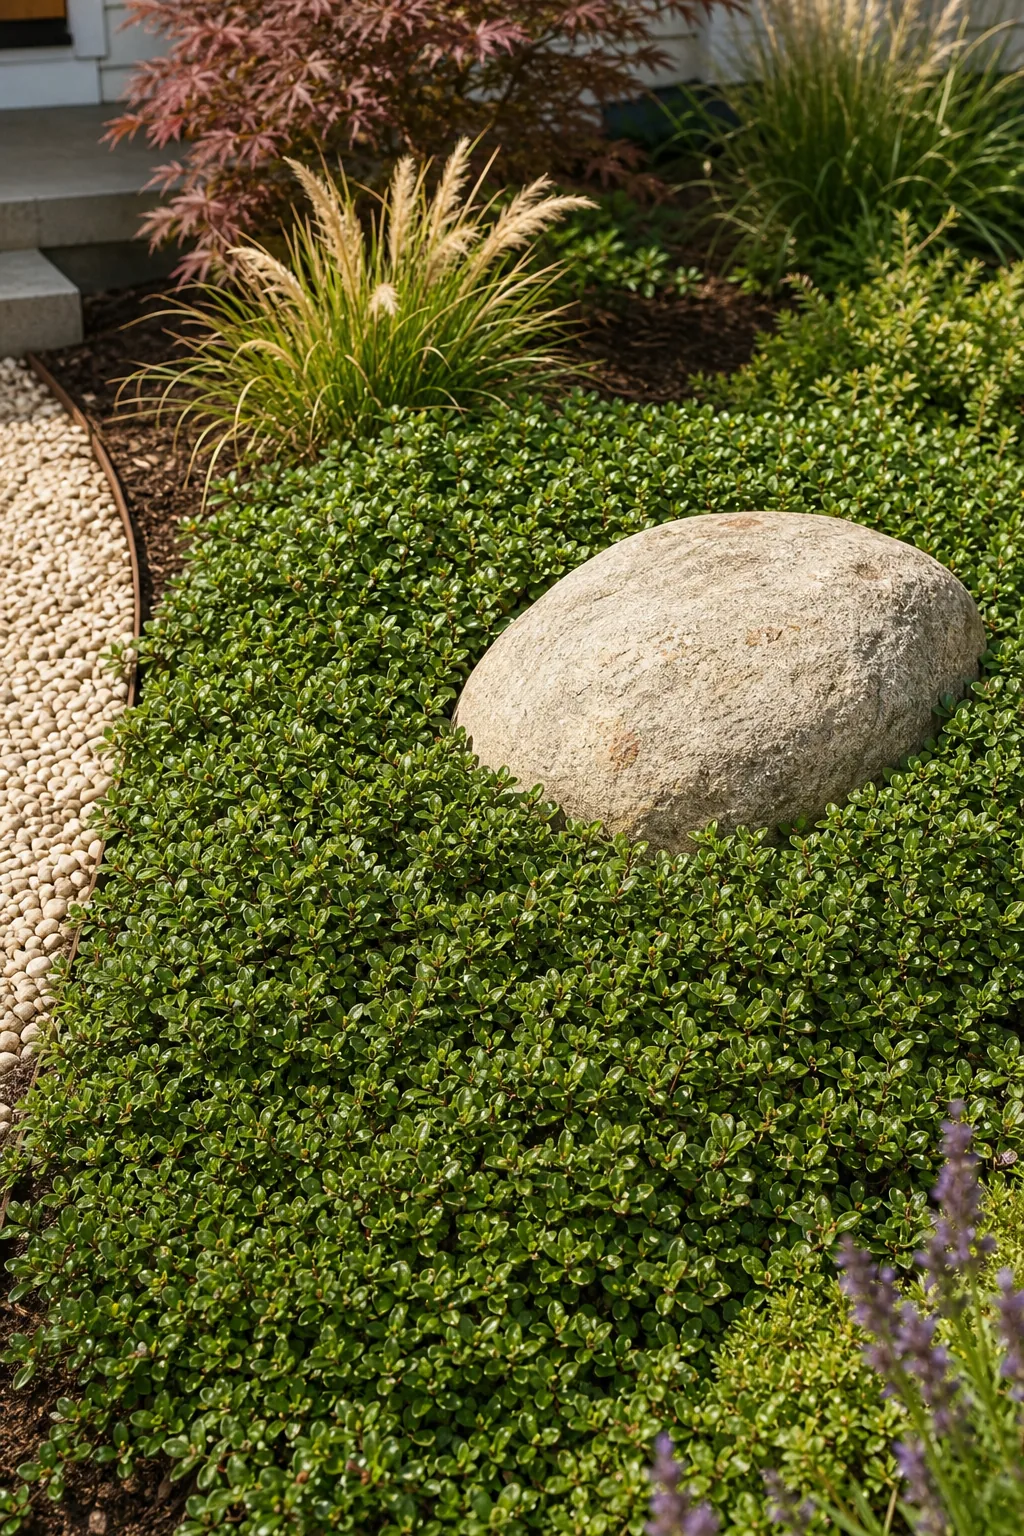
Getting your chosen groundcover to fill in quickly requires highly strategic placement across the bare soil during the initial weekend planting phase to ensure perfectly even root establishment and prevent unsightly bald patches.
Preparing Soil for Groundcover Plugs
Plant creeping thyme or low-growing junipers spaced exactly 12 inches apart across the designated area, adding a single medium-sized landscape boulder to anchor the space visually while the young plugs slowly fill in to form a dense, weed-suppressing mat.
The Bulk Mulch Trick
Buying bagged mulch for a whole front yard quickly consumes a budget, making the bulk mulch trick absolutely essential for executing affordable, large-scale residential landscaping projects without compromising on the quality of your garden bed materials.
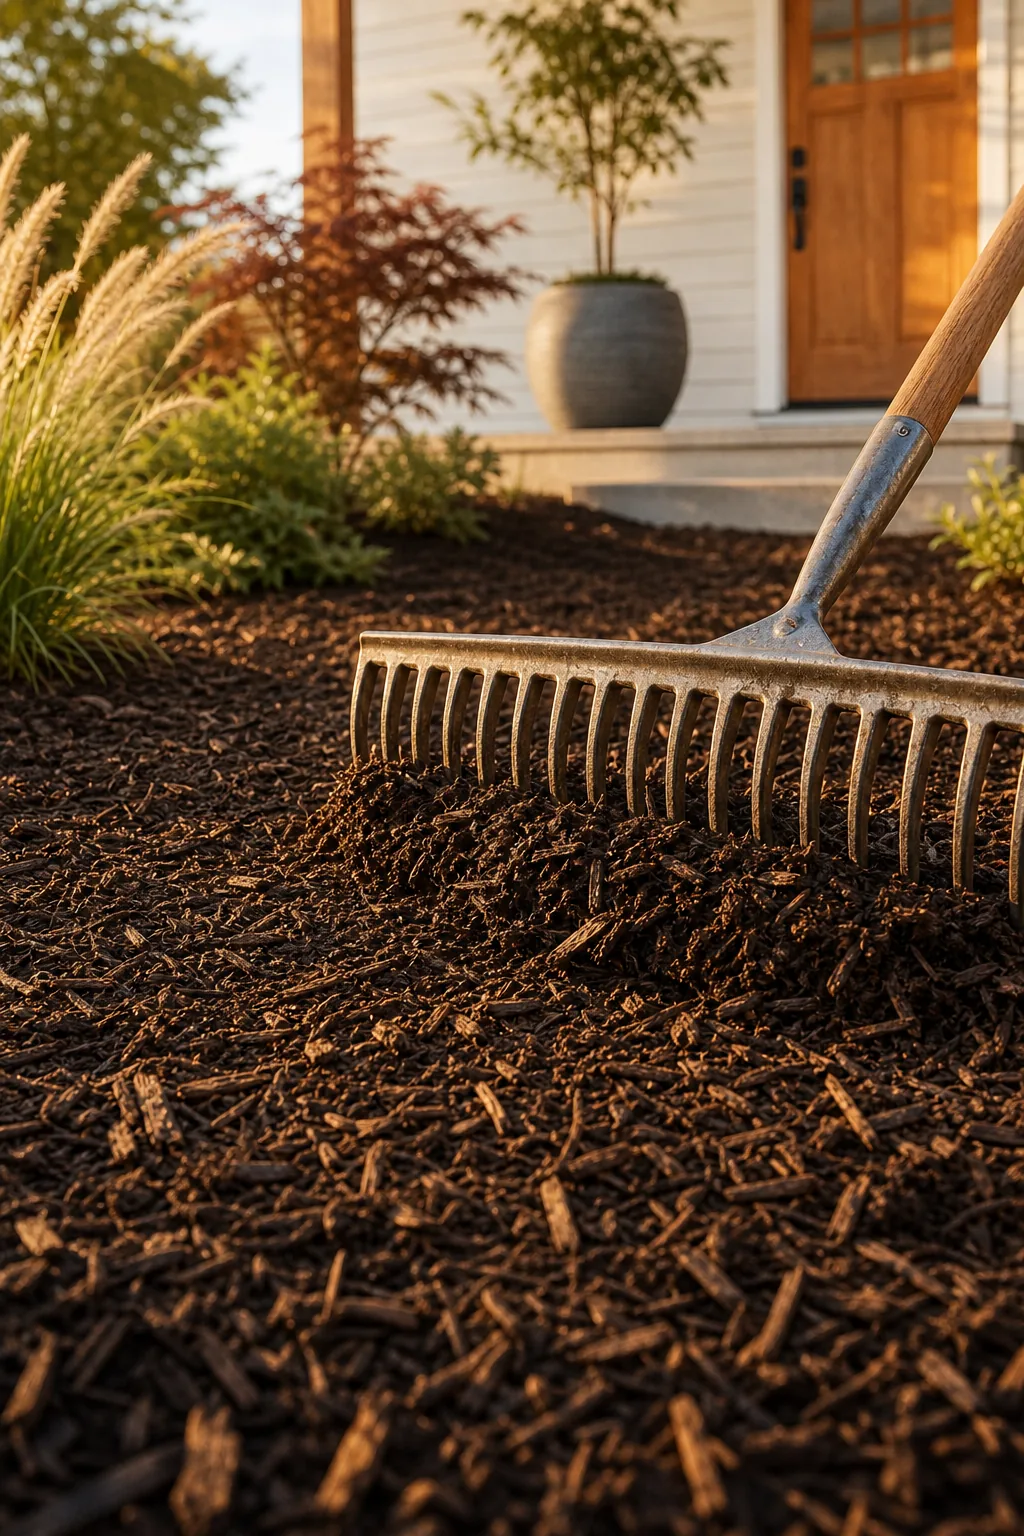
This savvy strategy saves hundreds of dollars by ordering undyed hardwood mulch directly by the cubic yard from a local landscape supplier rather than purchasing individual plastic bags from a big box hardware store at a massive premium.
Spreading Mulch for Maximum Weed Control
Apply a consistent 3-inch layer of this bulk hardwood mulch across all planting beds to suppress weeds, retain vital soil moisture, and instantly unify the yard’s overall appearance with a clean, professionally finished aesthetic.
Maintaining this precise three-inch depth creates a clean, dark background that makes the vibrant green foliage of your new drought-tolerant plants pop brilliantly from the street, instantly boosting your home’s exterior curb appeal.
Planting a High-Impact Border
Line the outer edge of the freshly mulched bed with resilient ornamental grasses to create a striking high-impact border that beautifully frames the straight gravel walkway and guides the eye directly toward your front porch.
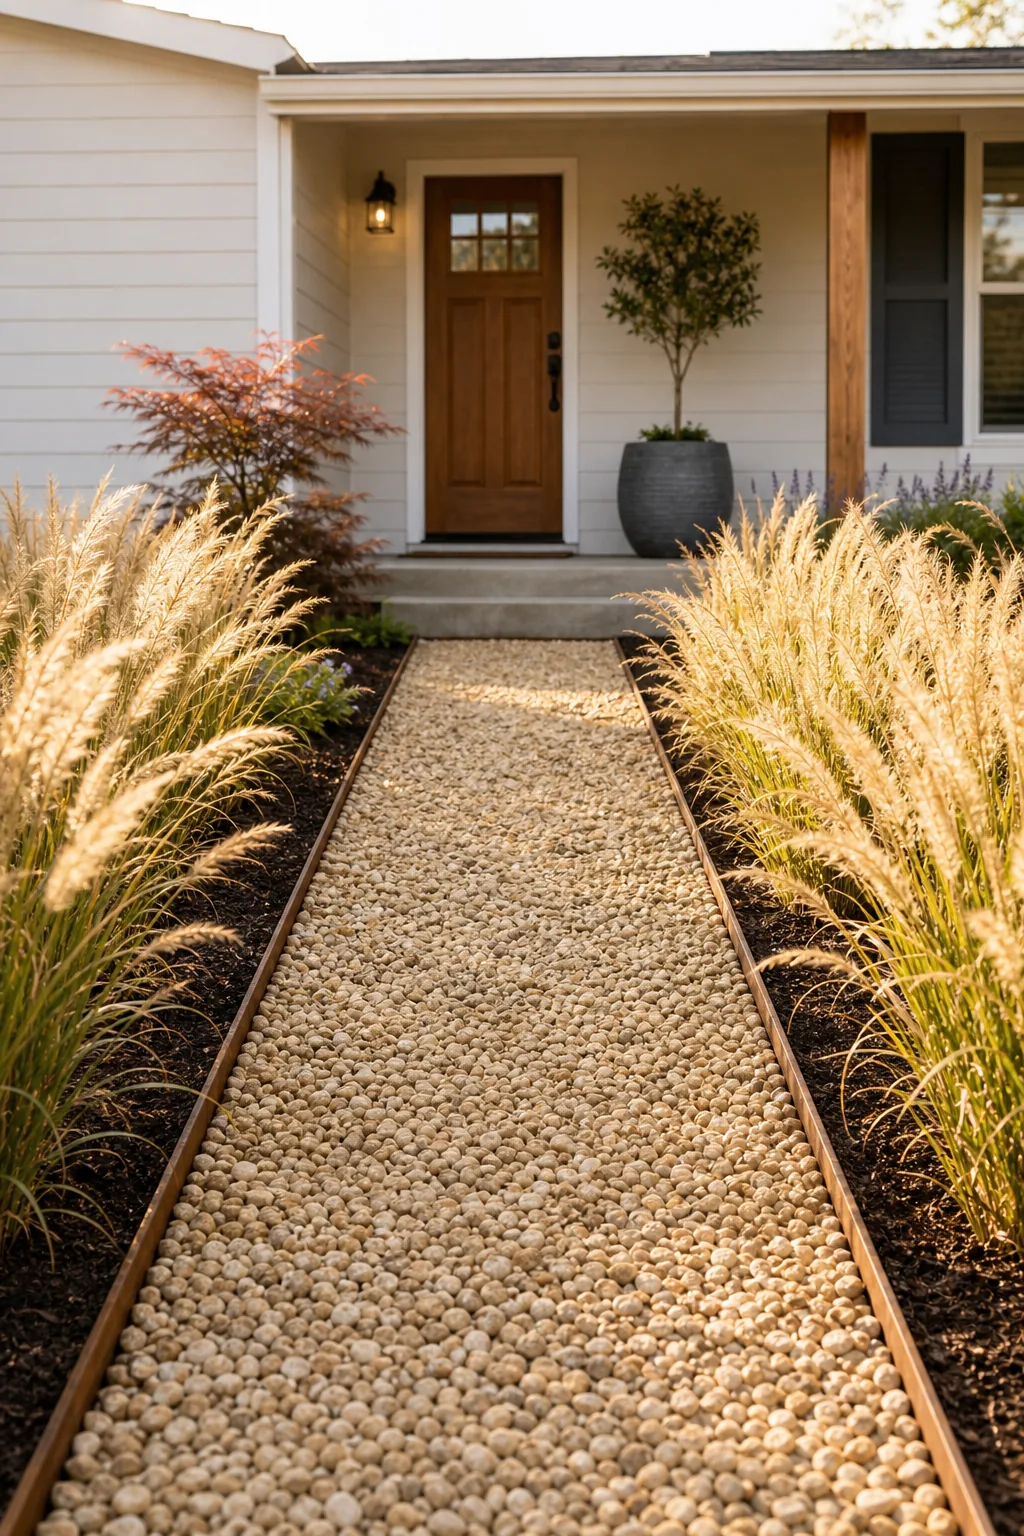
These fast-growing perennials provide immediate vertical height, soft texture, and graceful movement in the breeze, creating a clear visual boundary that looks professionally designed but costs very little to install and maintain over time.
Spacing Ornamental Grasses Correctly
Space popular grass varieties like Karl Foerster or dwarf fountain grass strictly 24 to 36 inches apart to ensure adequate airflow, prevent fungal diseases, and provide ample room for mature root expansion during their second active growing season.
Adding Low-Maintenance Shrubs
Directly behind the ornamental grasses, add one or two larger focal plants to build structural depth and break up the continuous green textures with unexpected pops of vibrant foliage that change beautifully throughout the shifting seasons.
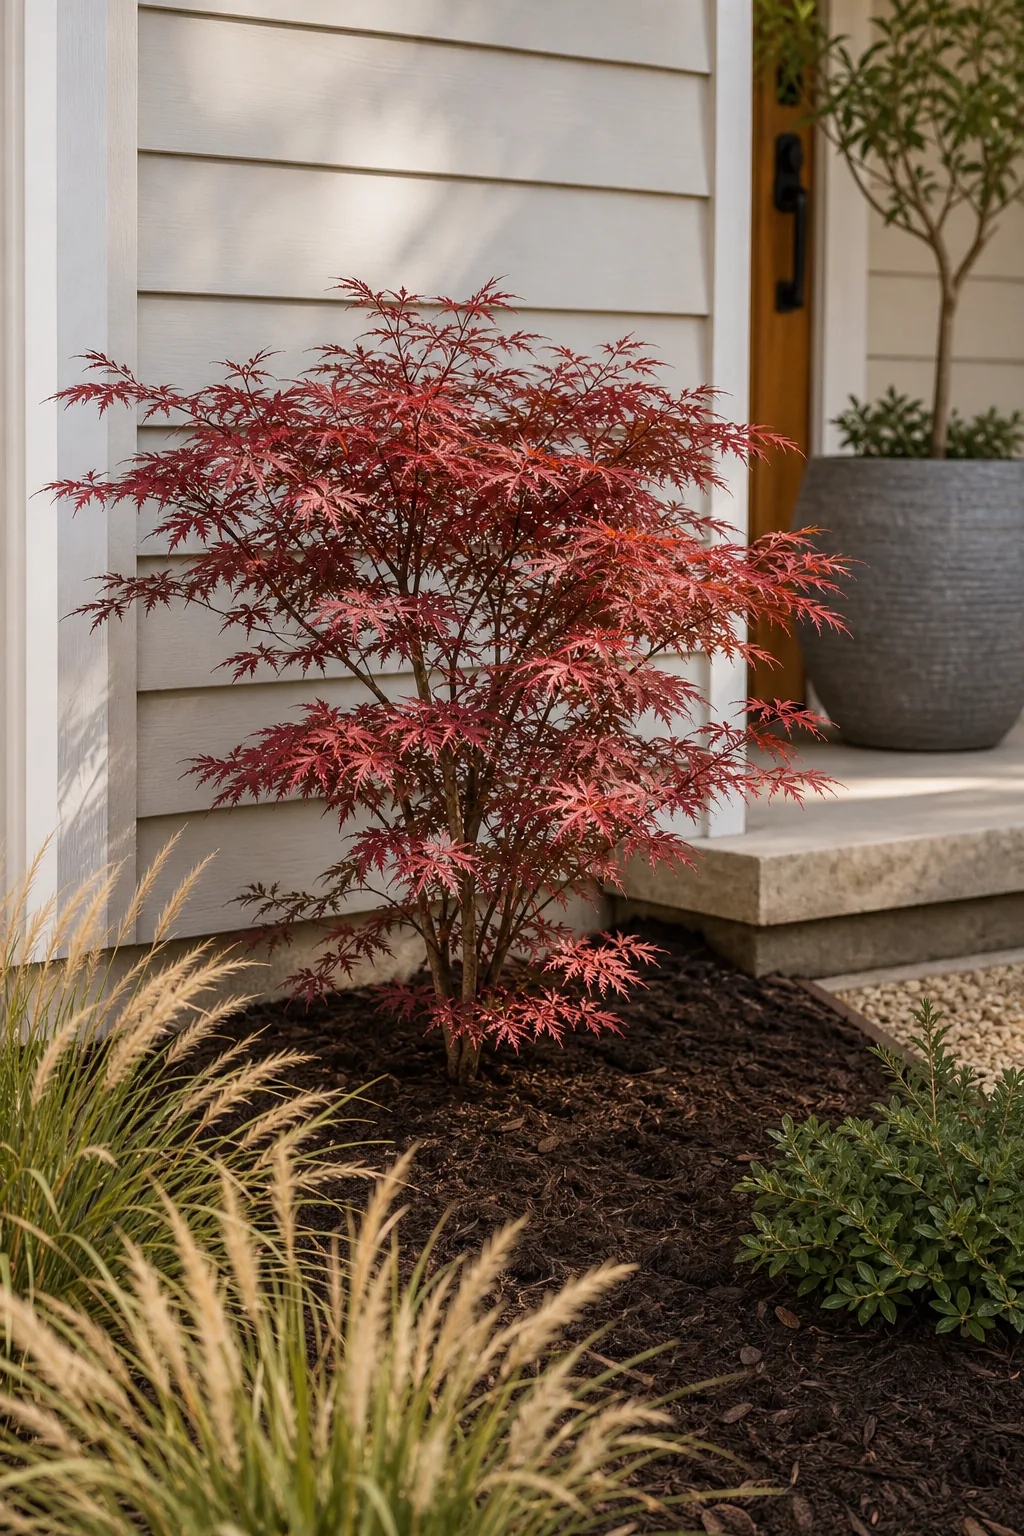
A dwarf Japanese maple or a similar small ornamental tree provides brilliant seasonal color contrast against neutral house siding without requiring demanding weekly pruning, complicated deadheading, or excessive supplemental watering routines.
Positioning the Focal Point Tree
Position this vibrant focal point slightly off-center within the main planting bed to create an asymmetrical, modern layout that naturally draws the eye toward the front entrance, establishing a clear visual hierarchy that effectively anchors the entire landscaping scheme.
Styling the $50 Anchor
Finish the sidewalk approach by placing a large, textured planter on the porch near the front door, serving as the $50 anchor for the entire exterior design and bridging the gap between the garden and the architecture.
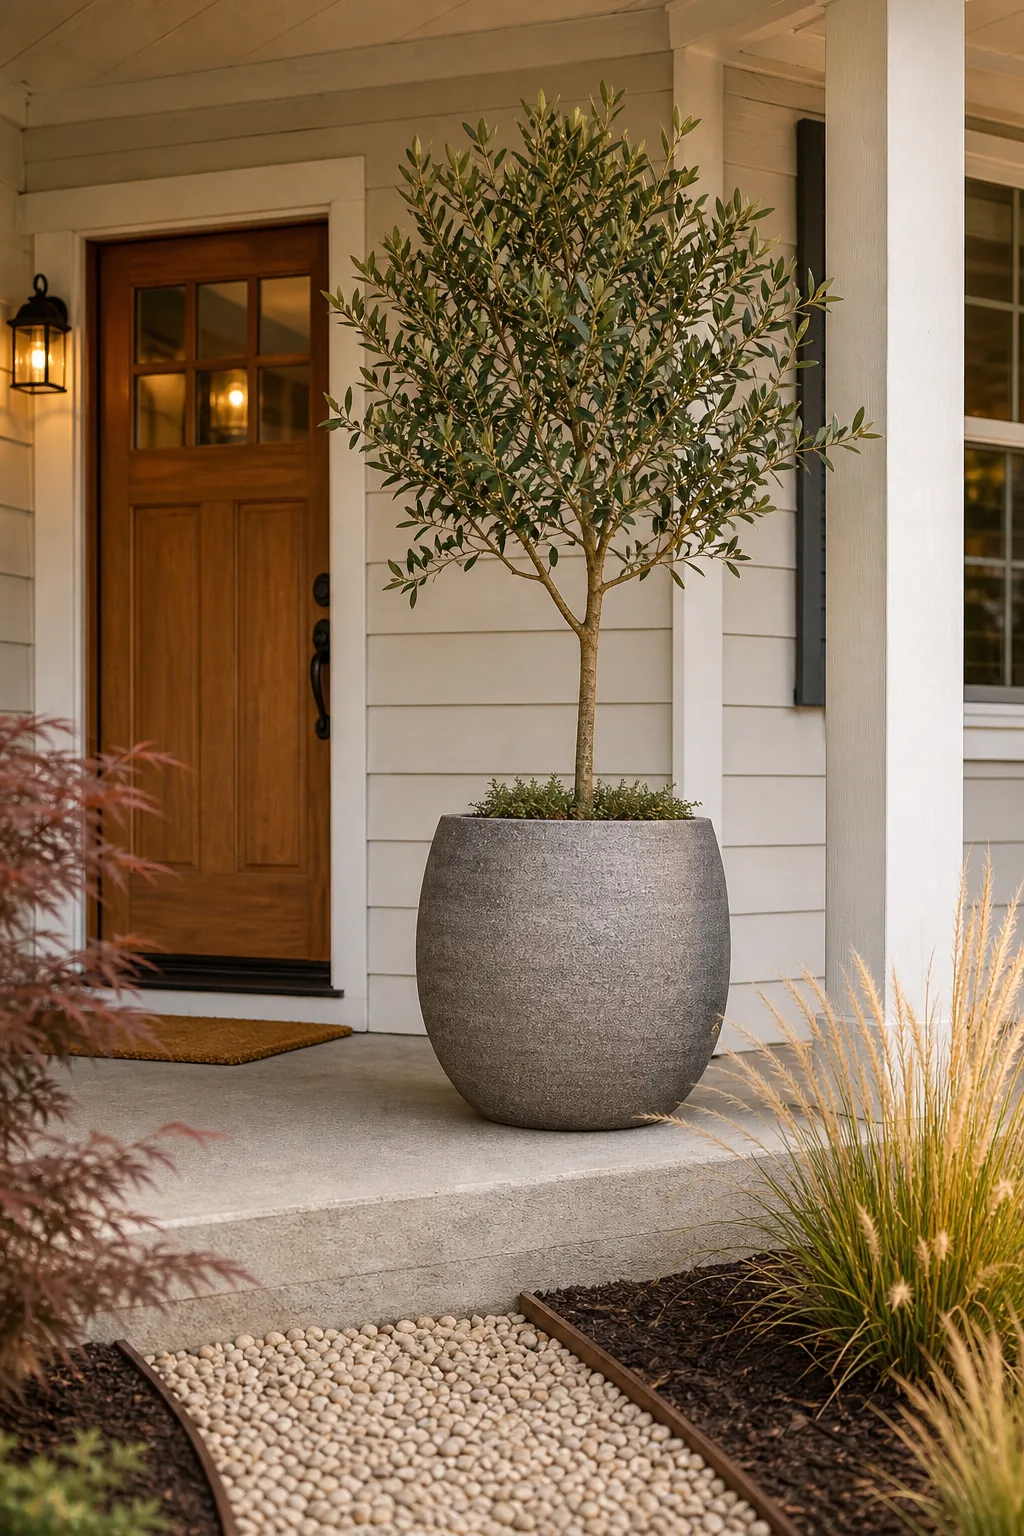
This single elevated element grounds the landscape layout, making the front entry feel highly intentional, completely finished, and incredibly welcoming for a minimal financial investment that perfectly caps off your weekend project.
Selecting a Weather-Resistant Planter
Look for a lightweight composite pot that convincingly mimics heavy concrete or natural stone, and plant a simple evergreen topiary or resilient olive bush inside to ensure the display survives unpredictable seasonal temperature swings without cracking or fading.
Weekend Installation Timeline
Long-term success relies heavily on pacing the physical labor, dedicating your entire Saturday exclusively to heavy demolition, digging the main path trench, and firmly installing the rigid steel edging and base gravel.
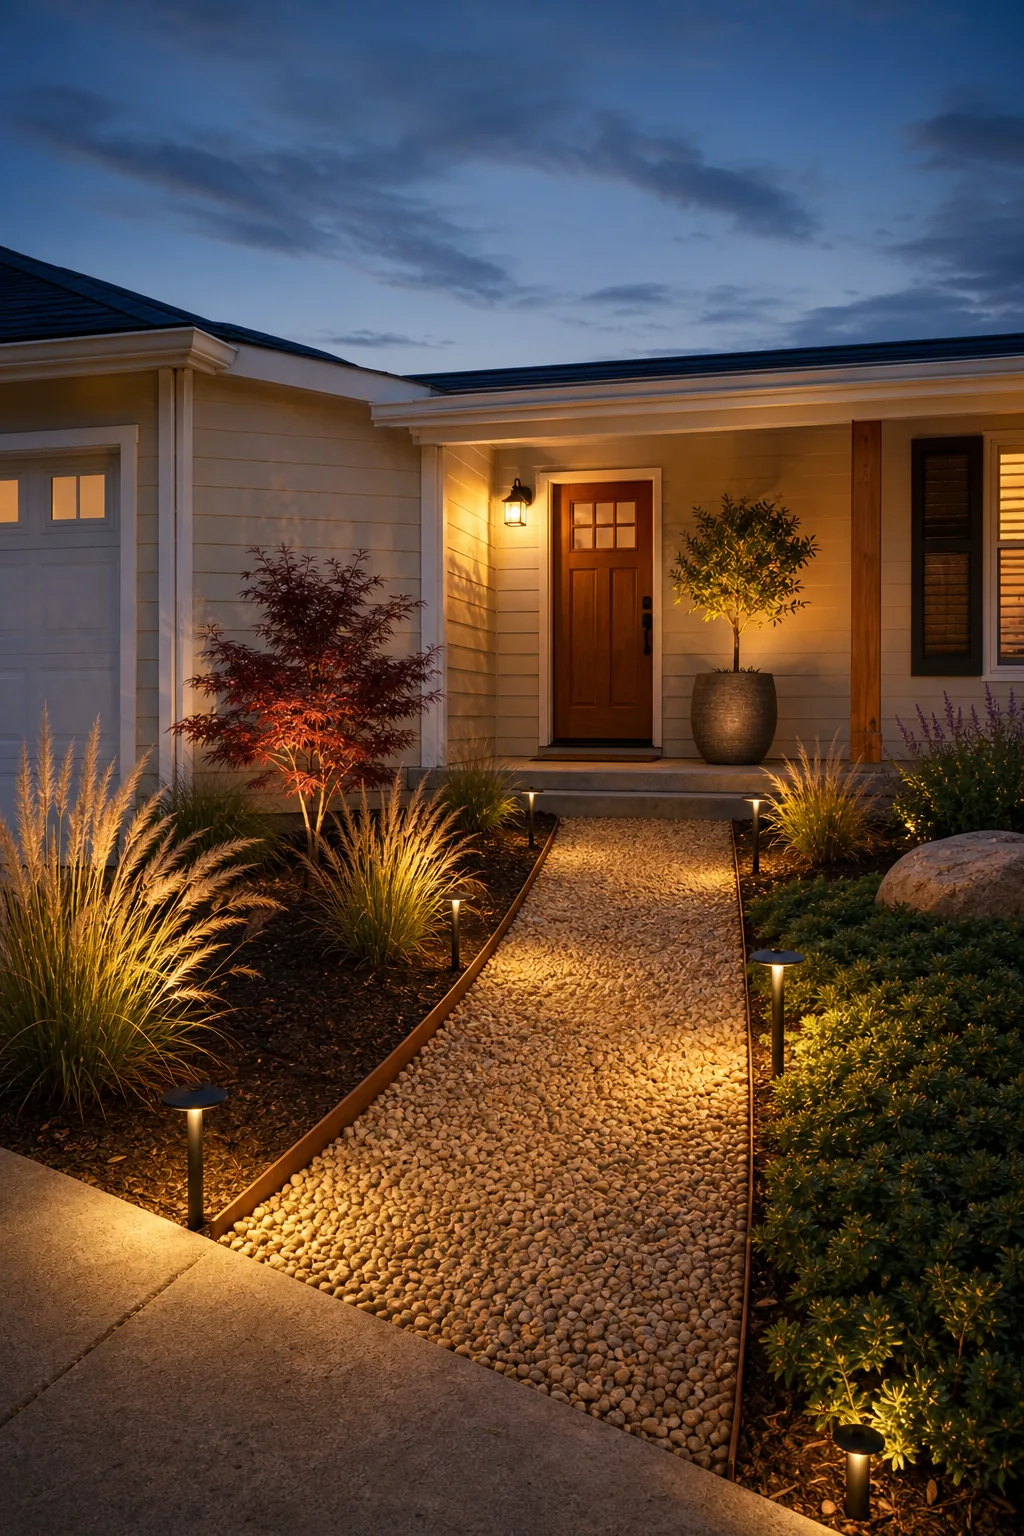
Use Sunday morning for planting the ornamental grasses and spreading the bulk mulch, finishing by placing the final porch anchor pot just in time to wash off the driveway before sunset and admire your transformed property.