
Backyard Corner Fence Landscaping: Printable Bed Layout
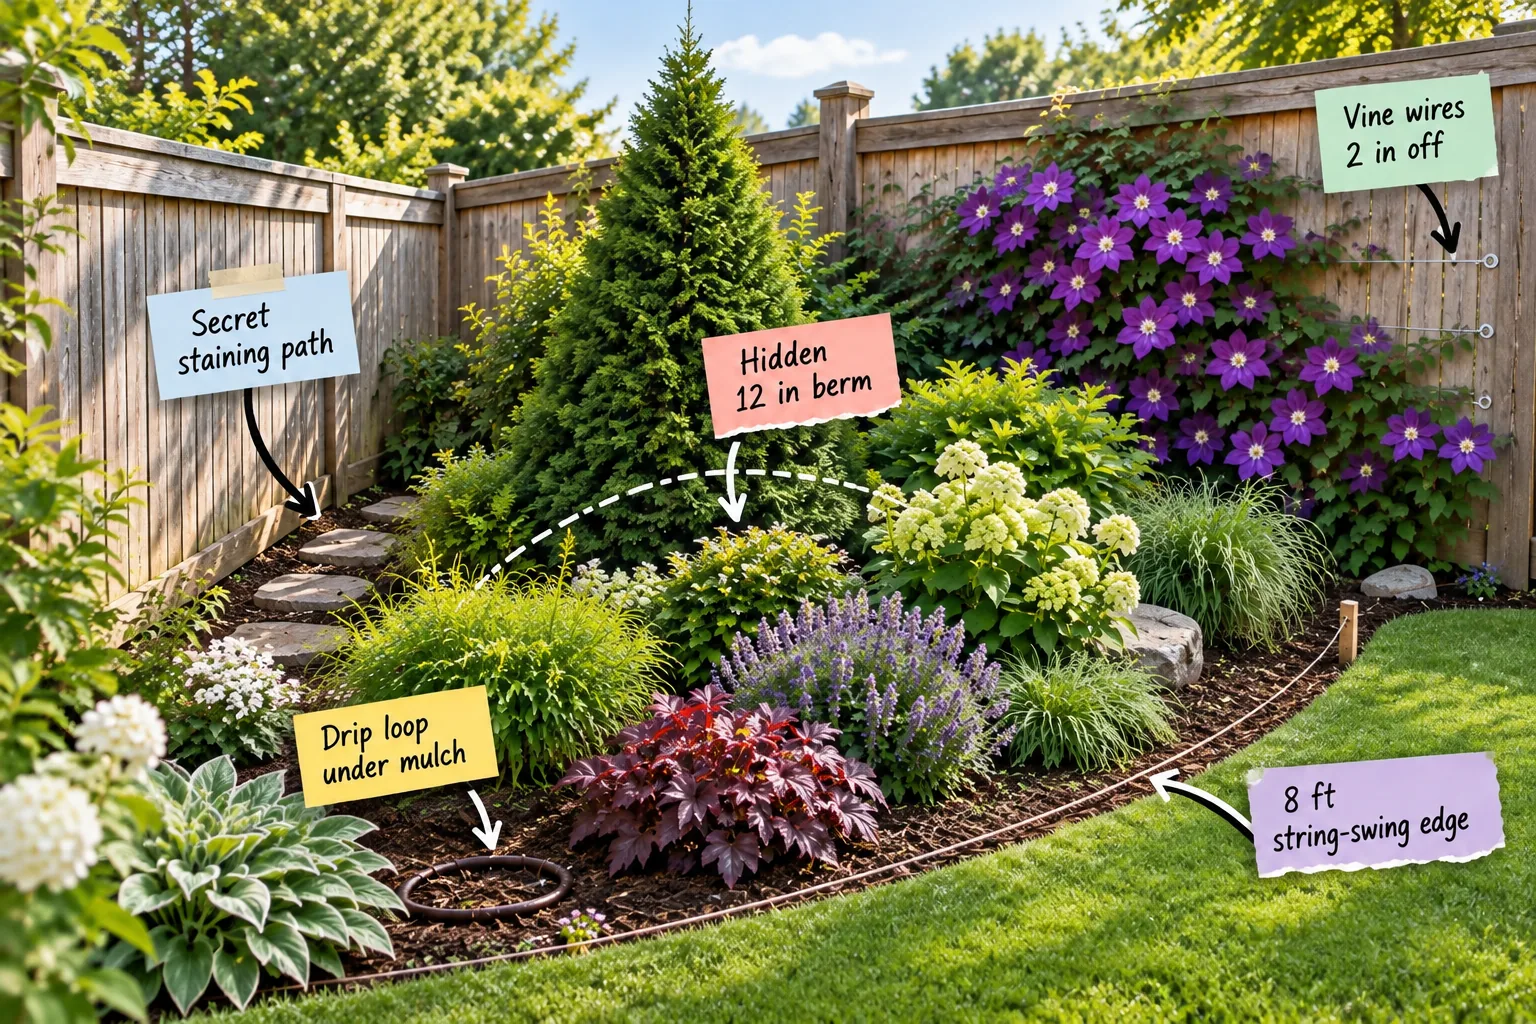
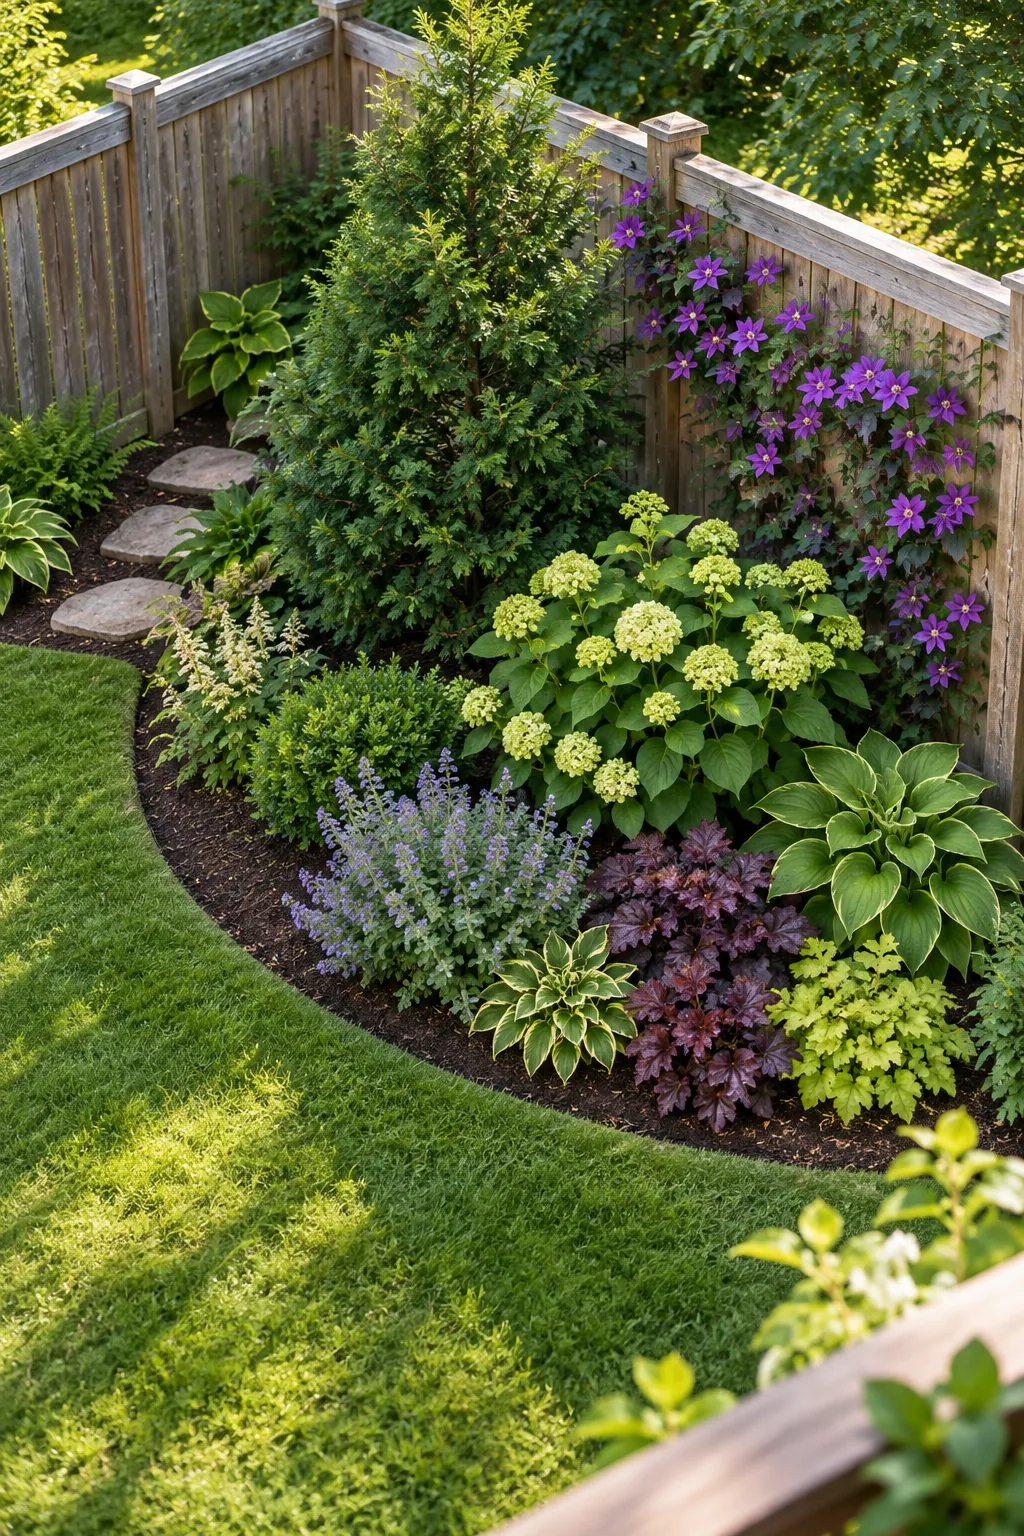
Transforming an empty yard boundary is so much easier when you can map out the exact curved bed, build the hidden berm, and plant the layered shrubs using our printable layout sheet. Grab the printable corner-bed layout and plant list below to mark your perfect 8-foot corner arc and leave room for fence maintenance.
Tracing the 8-Foot String-Swing Edge
To start, you will stake a string at the corner post and swing an 8-foot radius to mark a flawless quarter-circle edge. I used this exact string-swing method in my own Austin backyard to fix a wonky, free-handed bed line.
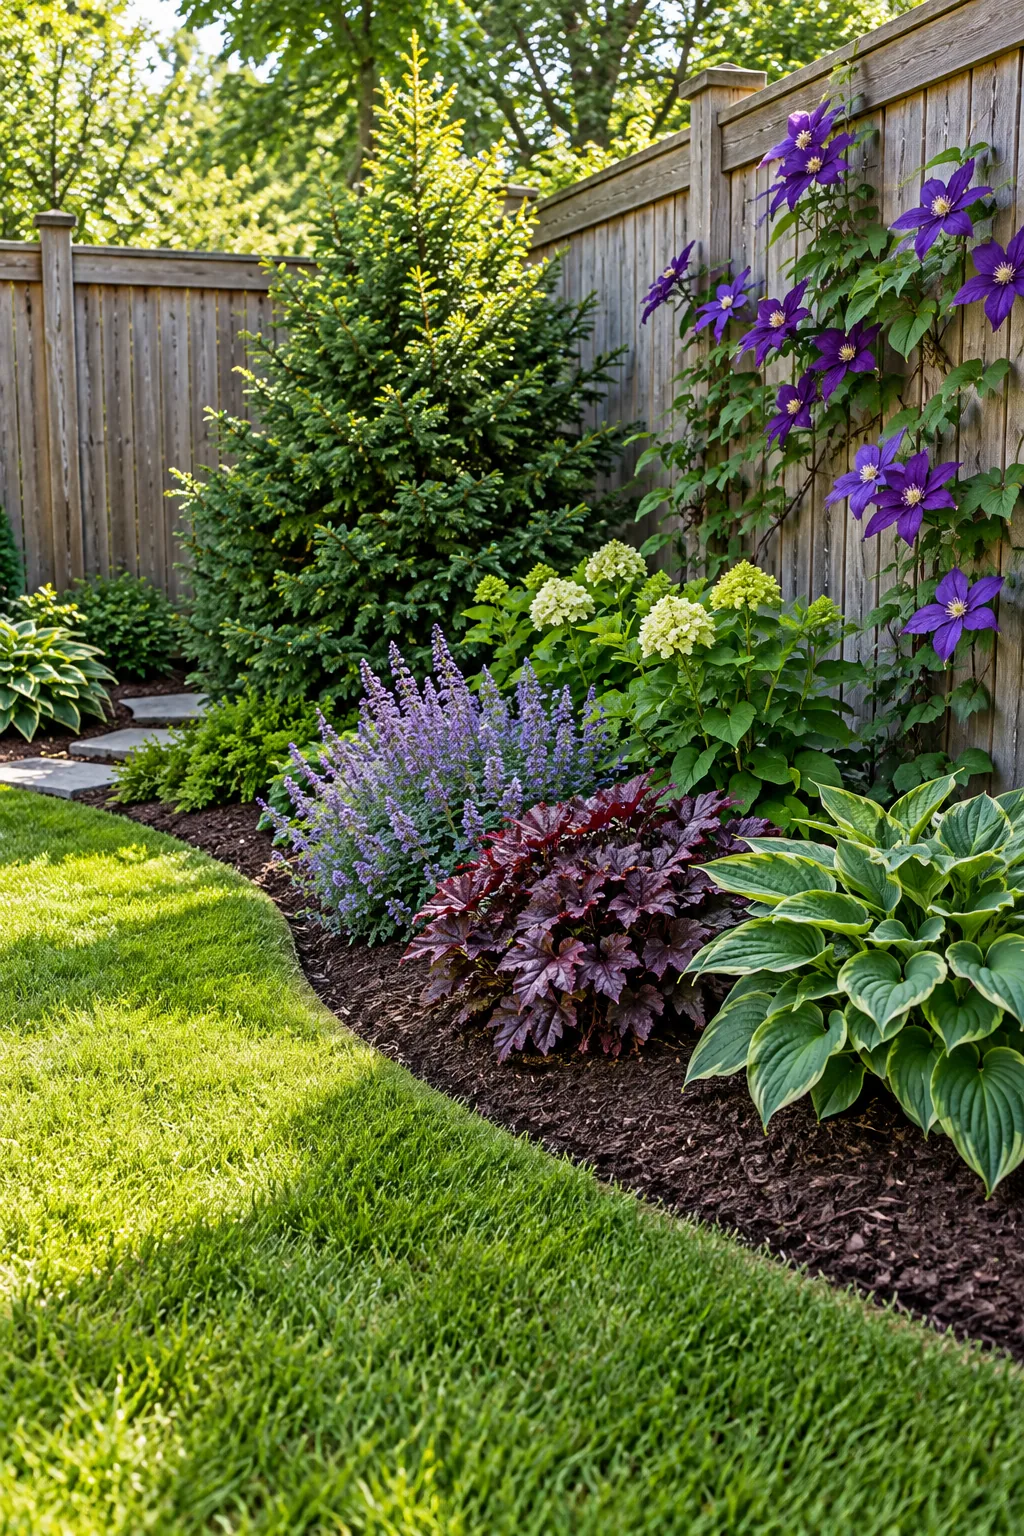
Getting a smooth, professional-looking curve is nearly impossible by eye, but a simple pivot technique guarantees flawless geometry.
Leaving the 2-Foot Secret Staining Path
Behind your plantings, you must leave a 2-foot secret staining path between the back fence boards and your tallest shrubs. This hidden gap ensures you can easily reach the wood for future fence staining and repairs.
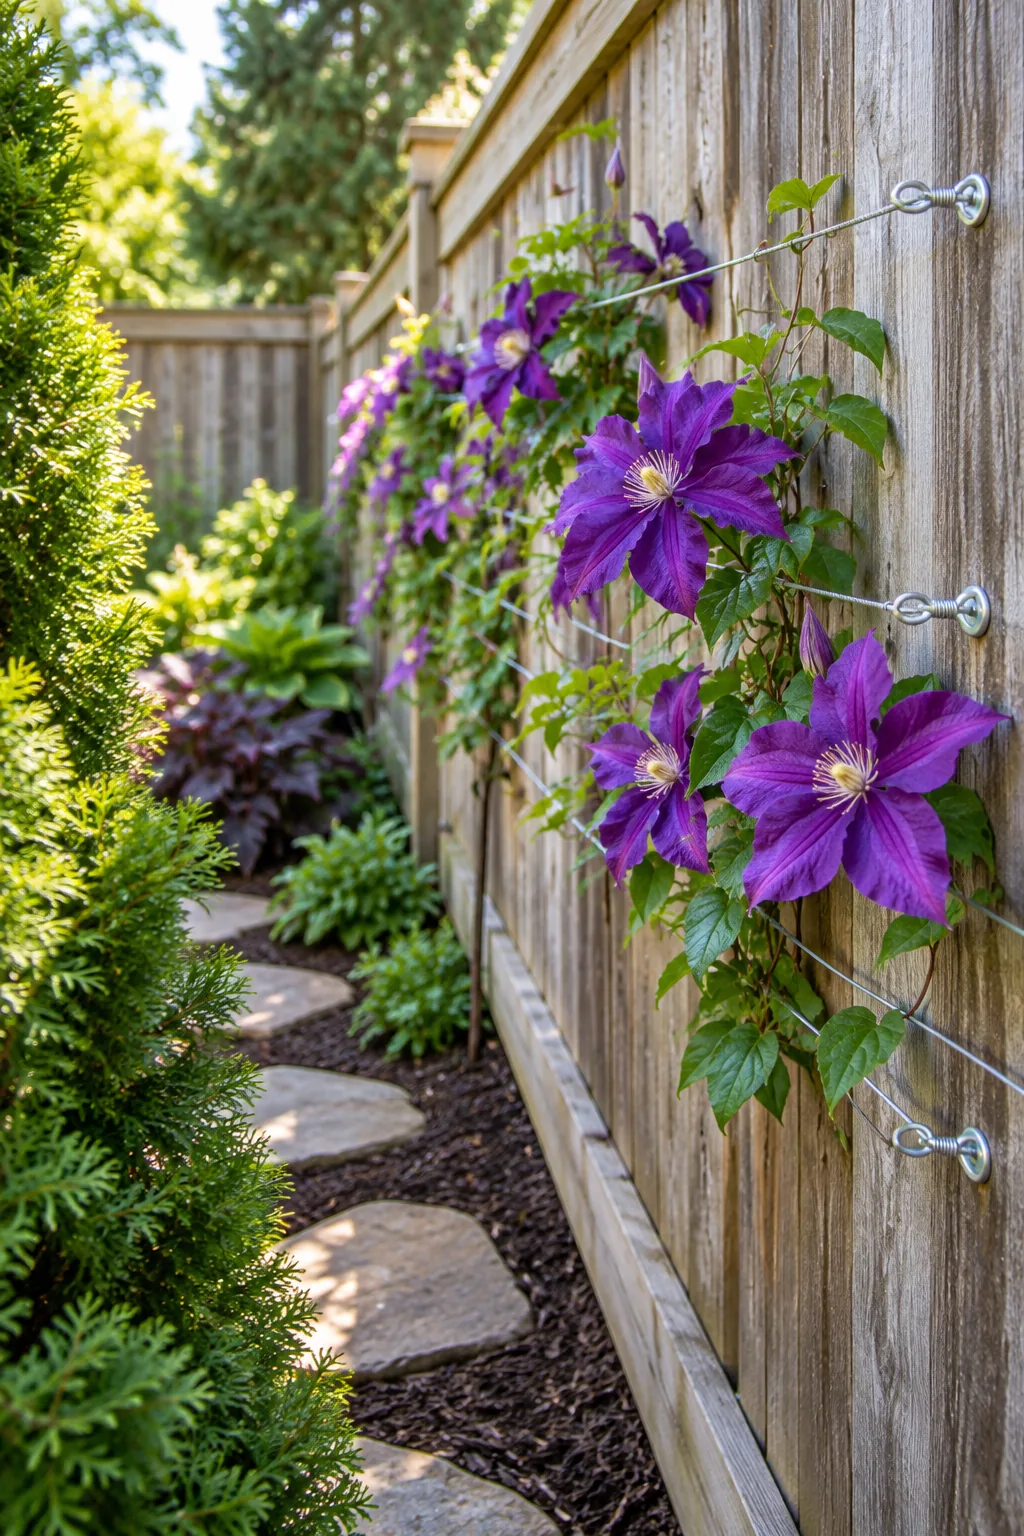
Keeping this pathway clear also prevents trapped moisture from causing rot on your expensive cedar boards.
Mounting Vine Wires 2 Inches Off the Fence
If you are adding climbers, install horizontal galvanized wires on eye screws to keep your clematis exactly 2 inches away from the wood. I learned this spacing rule the hard way after a creeping vine completely destroyed my old fence pickets.
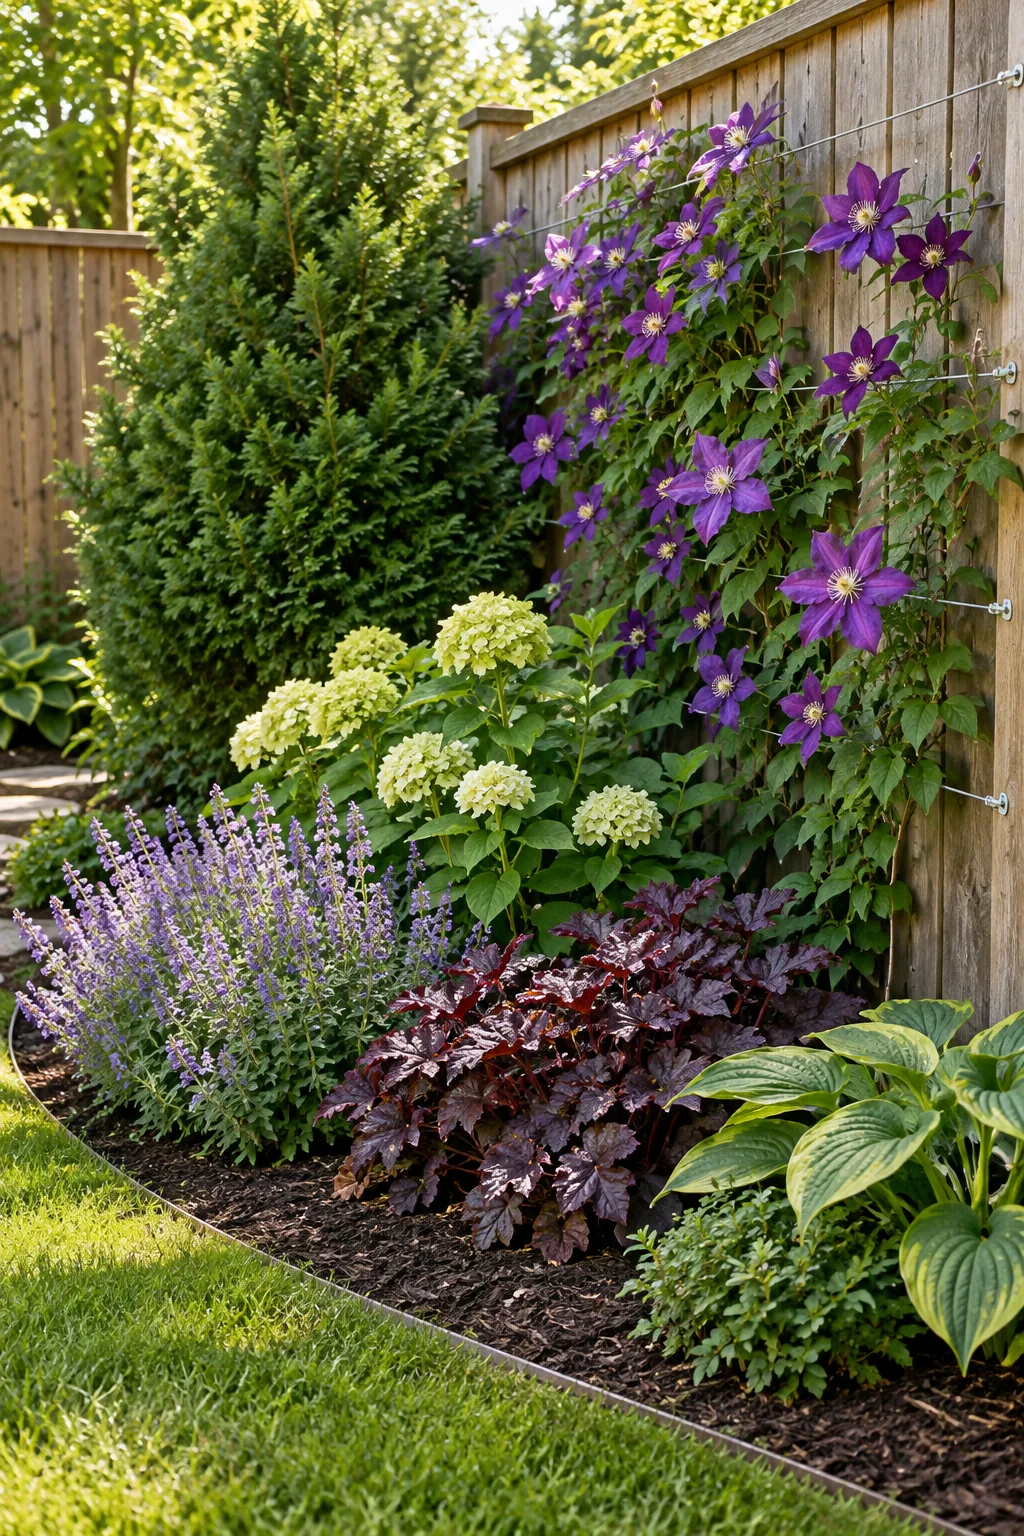
This specific 2-inch measurement ensures the climbing vine has plenty of room to wrap while keeping the fence dry and well-ventilated.
Building the Hidden 12-Inch Berm
To give young shrubs instant visual height, mound your topsoil into a hidden 12-inch berm at the very back of the bed. This elevated contour dramatically improves drainage for your main evergreen anchor.
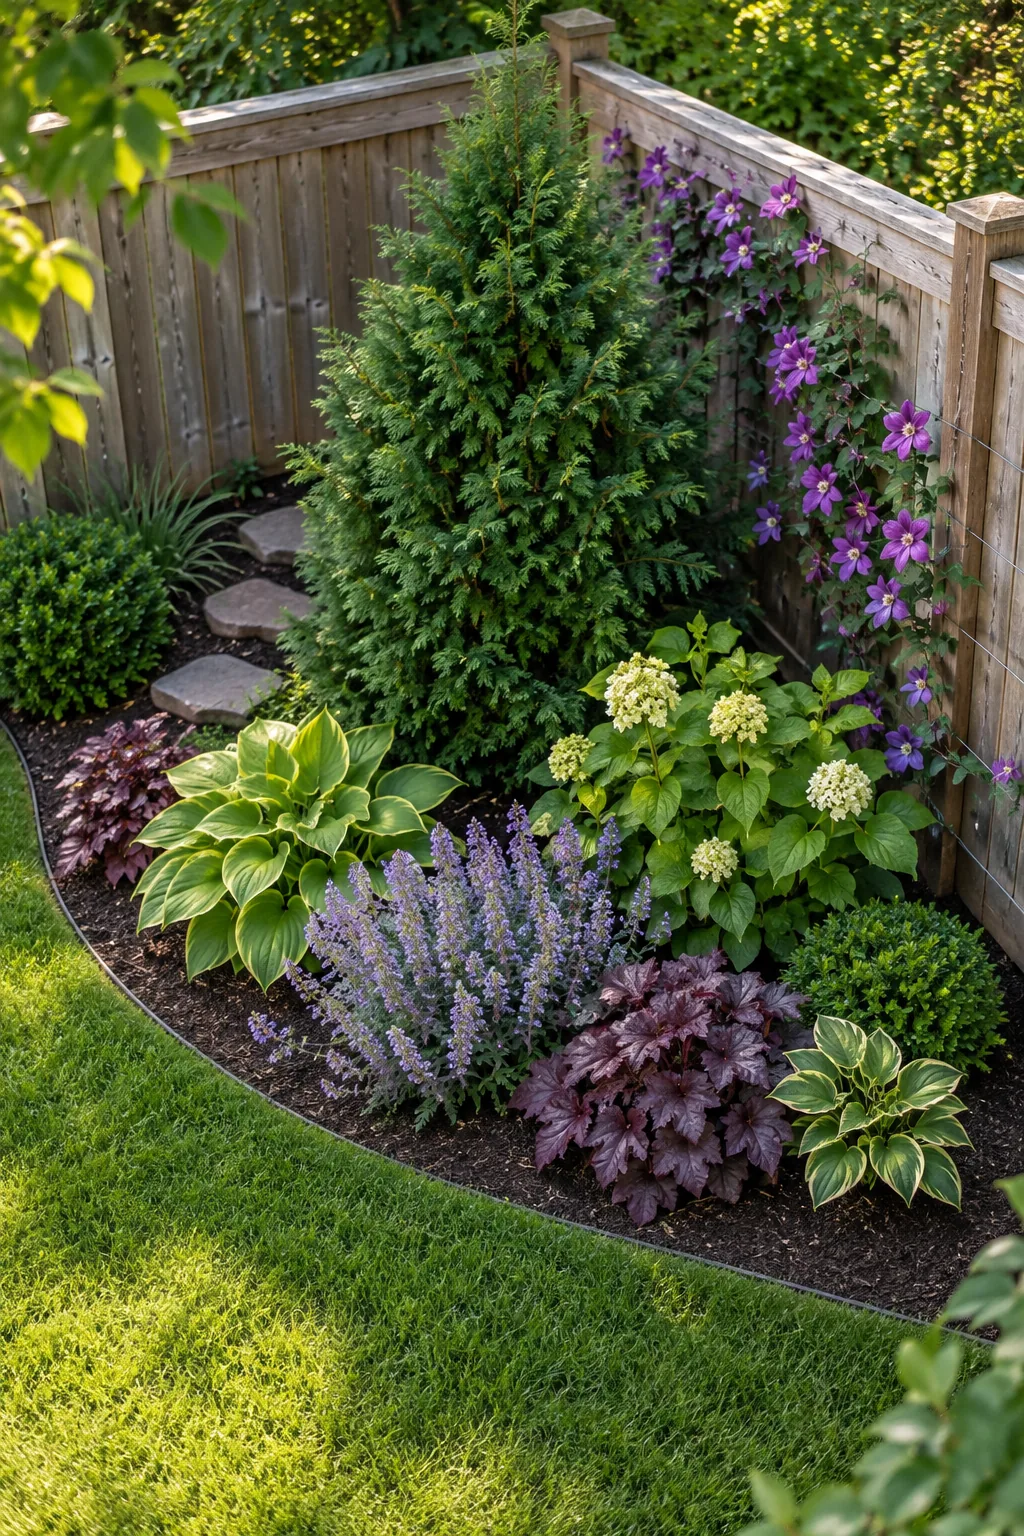
Elevating the back of the bed creates a beautiful tiered effect, but placing that soil carelessly can cause expensive structural damage.
Setting Post-Footing Offsets for the Anchor
When planting that main evergreen anchor, you must space its heavy root ball safely away from the concrete fence post footings. Use a long soil probe to find the underground concrete edge before you start digging.
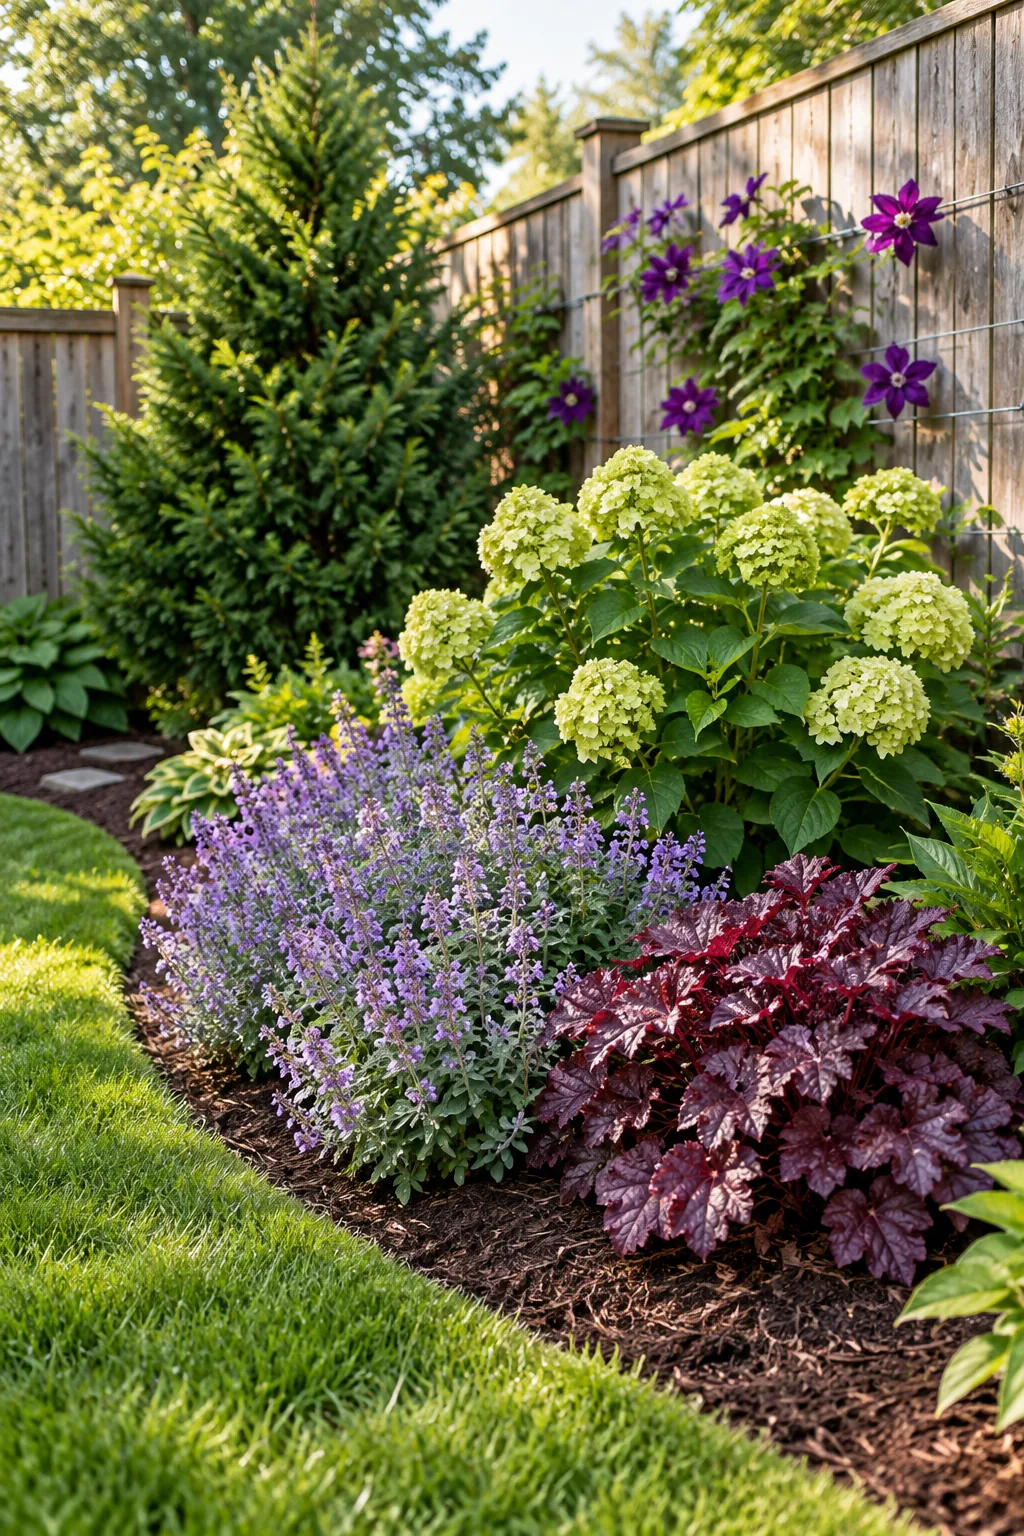
Keeping the root zone clear of these concrete footings ensures your anchor plant will not girdle or suffer from winter frost heave.
Layering the Perennials by Height
Next, space out your middle tier, like hydrangeas, and your front border plants, like heuchera, according to their mature width. Staggering foliage heights is my absolute favorite trick for getting that lush, full look I love in my own garden.
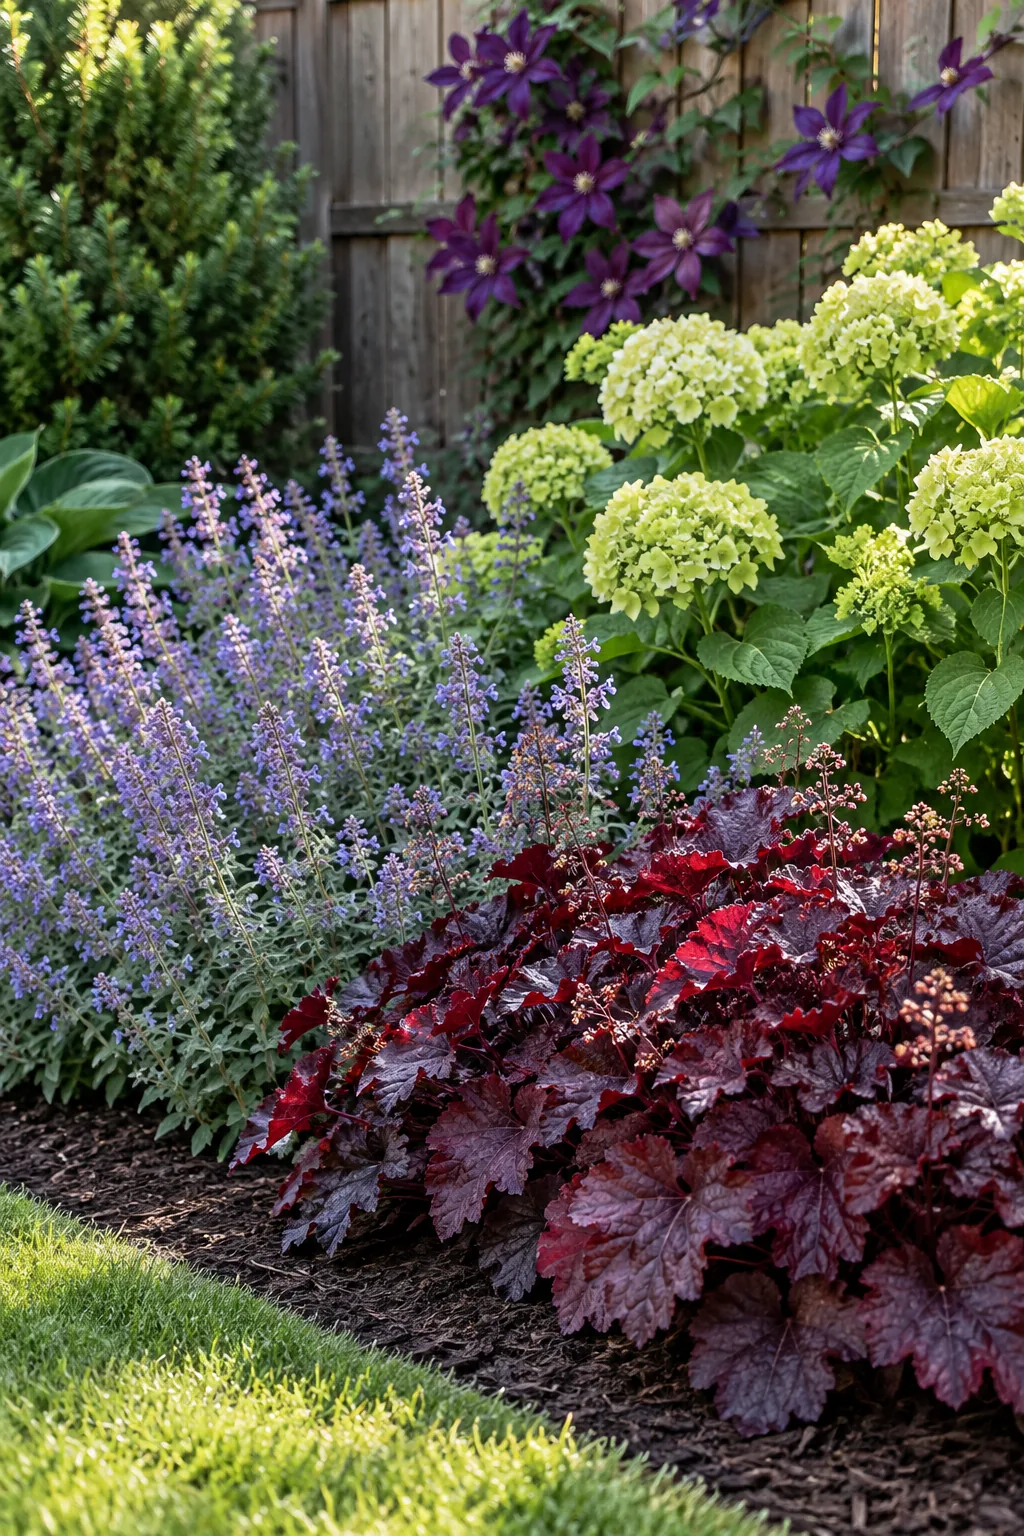
Step the plant heights down gradually toward the lawn so every colorful layer receives adequate sunlight without overcrowding its neighbors.
Running the Drip Loop Under the Mulch
To keep everything hydrated, circle brown 1/4-inch drip tubing around the root zone of each major plant. Burying this drip loop under mulch targets water precisely where it is needed and prevents wasteful evaporation.
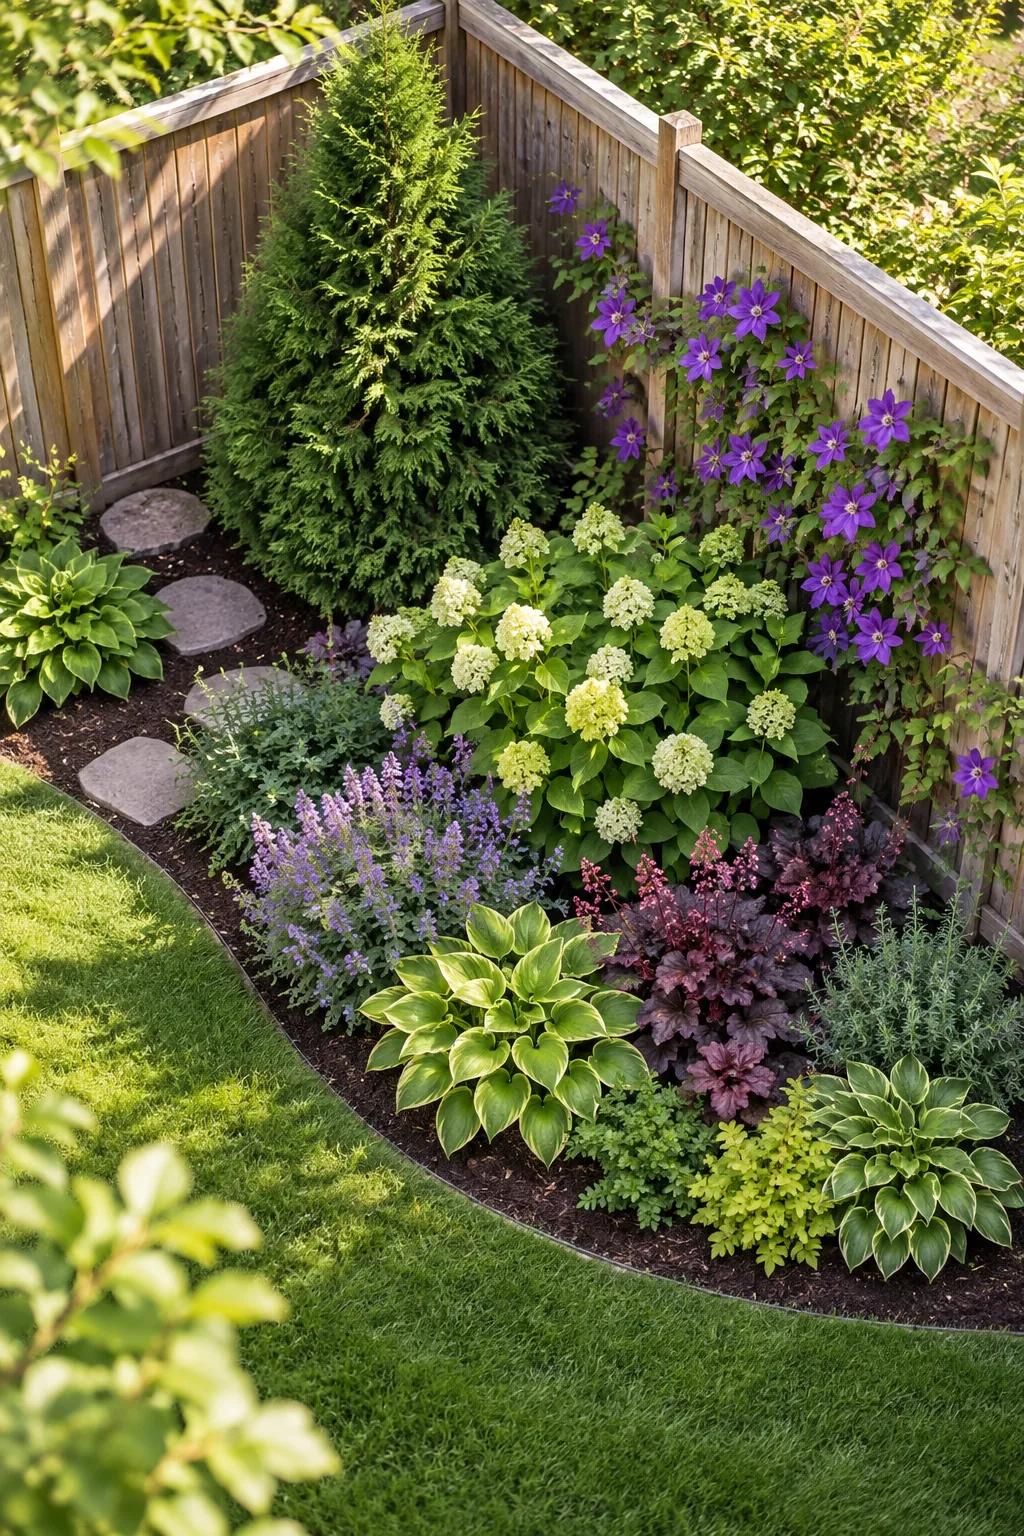
Make sure to cover the tubing with a solid 2-inch layer of mulch to completely hide the plumbing from view.
More Corner Fence Landscaping Ideas
Explore these different planting styles to find the perfect mood for your backyard corner.
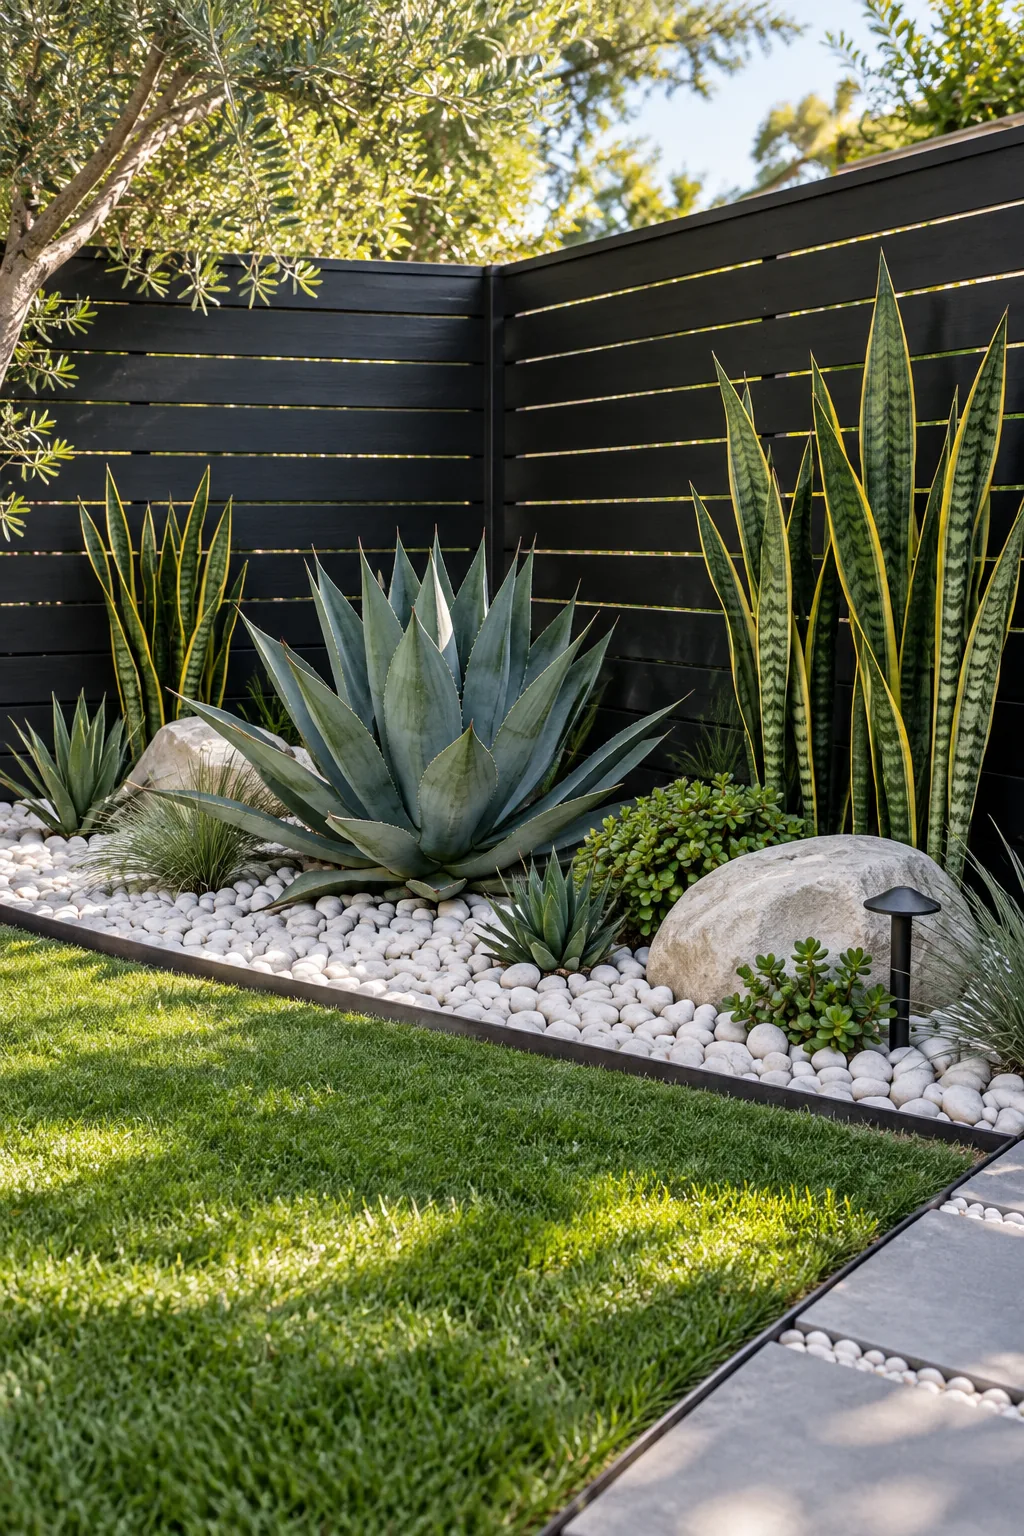
Modern Minimalist Desert Corner: Swap traditional mulch for white river rock and pair it with architectural agave against a sleek black slat fence.
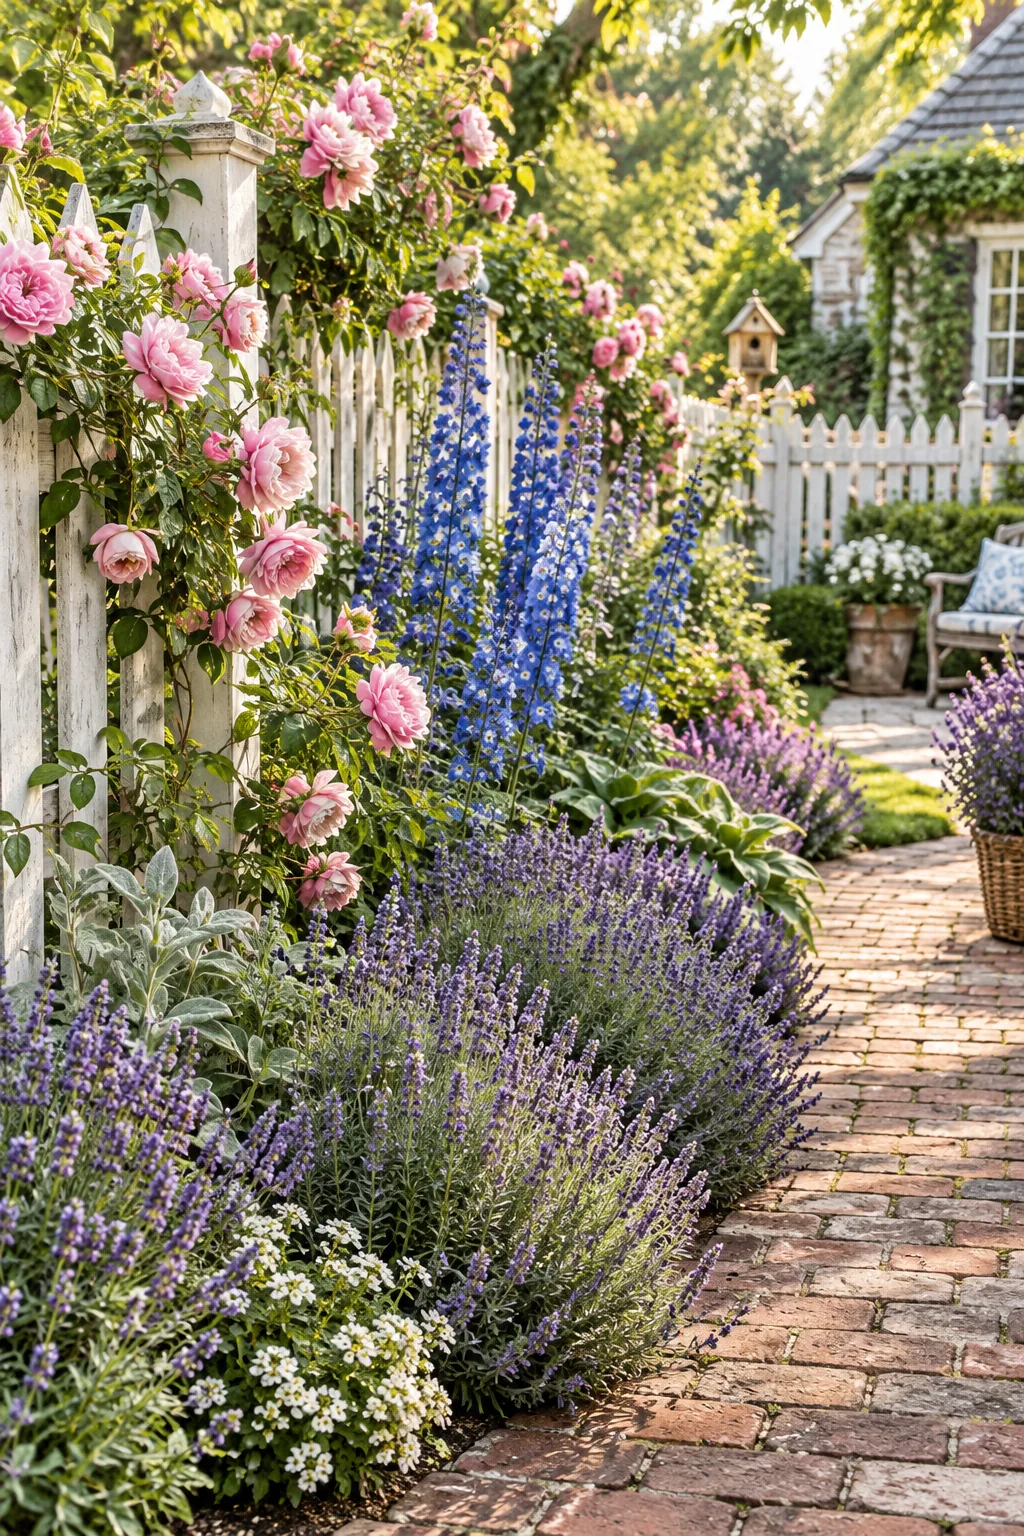
Lush English Cottage Border: Let climbing pink roses and dense blue delphiniums spill naturally over a weathered white picket fence for romantic charm.
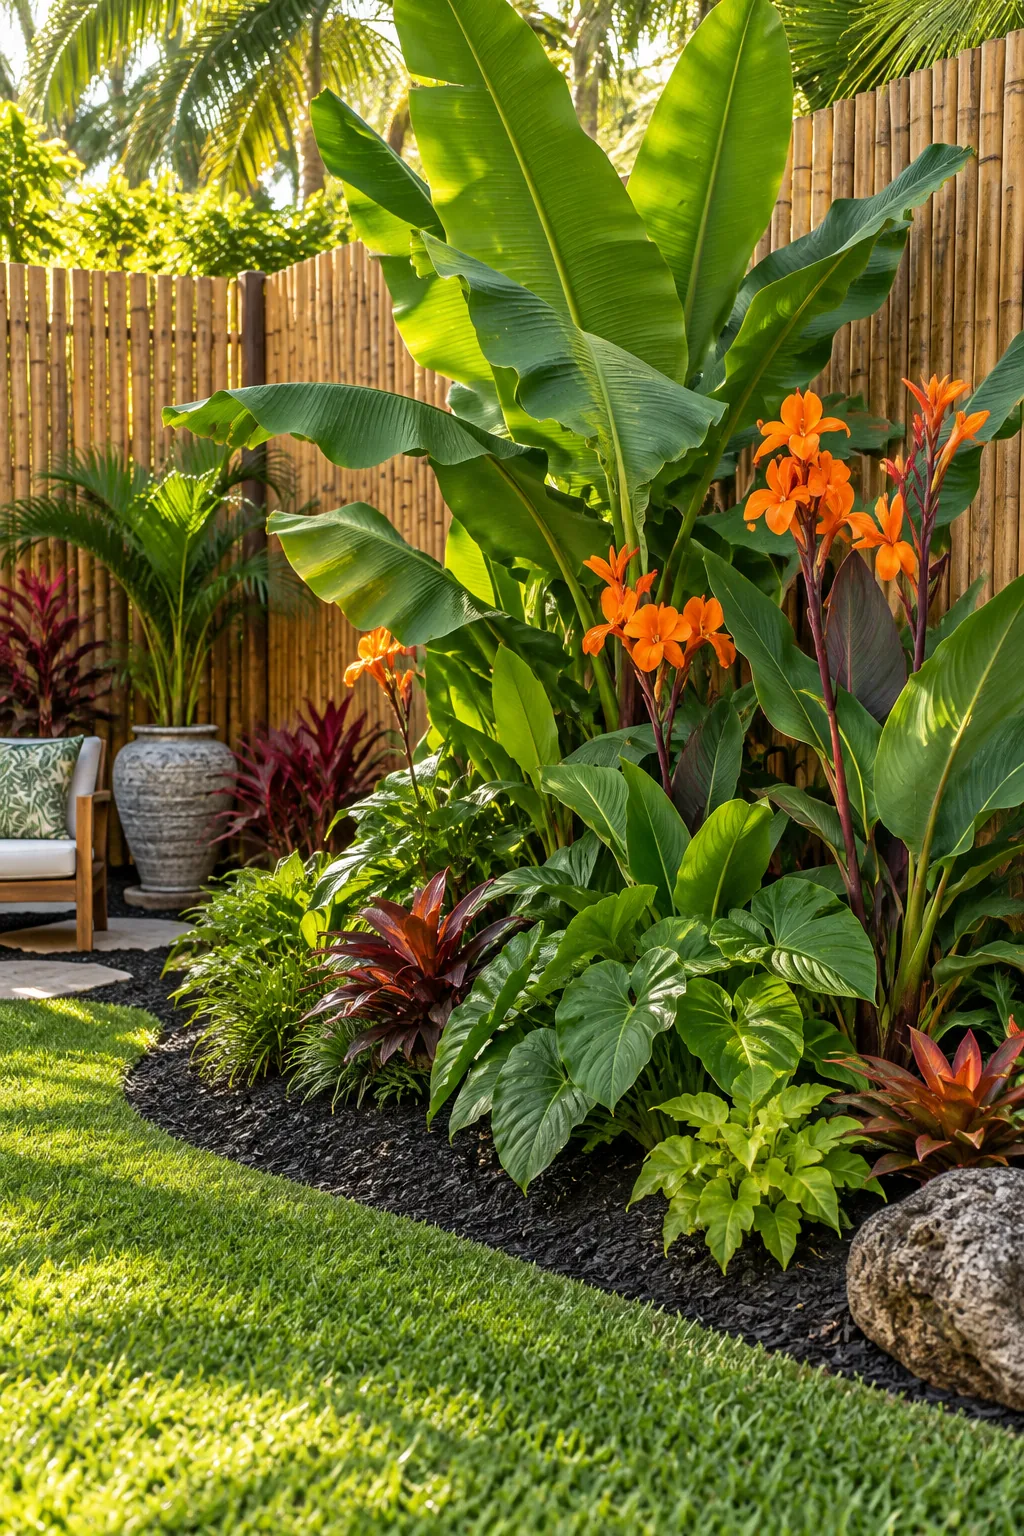
Vibrant Tropical Backyard Oasis: Use rolled bamboo fencing as a backdrop for massive banana leaves and bright orange canna lilies to create a jungle feel.
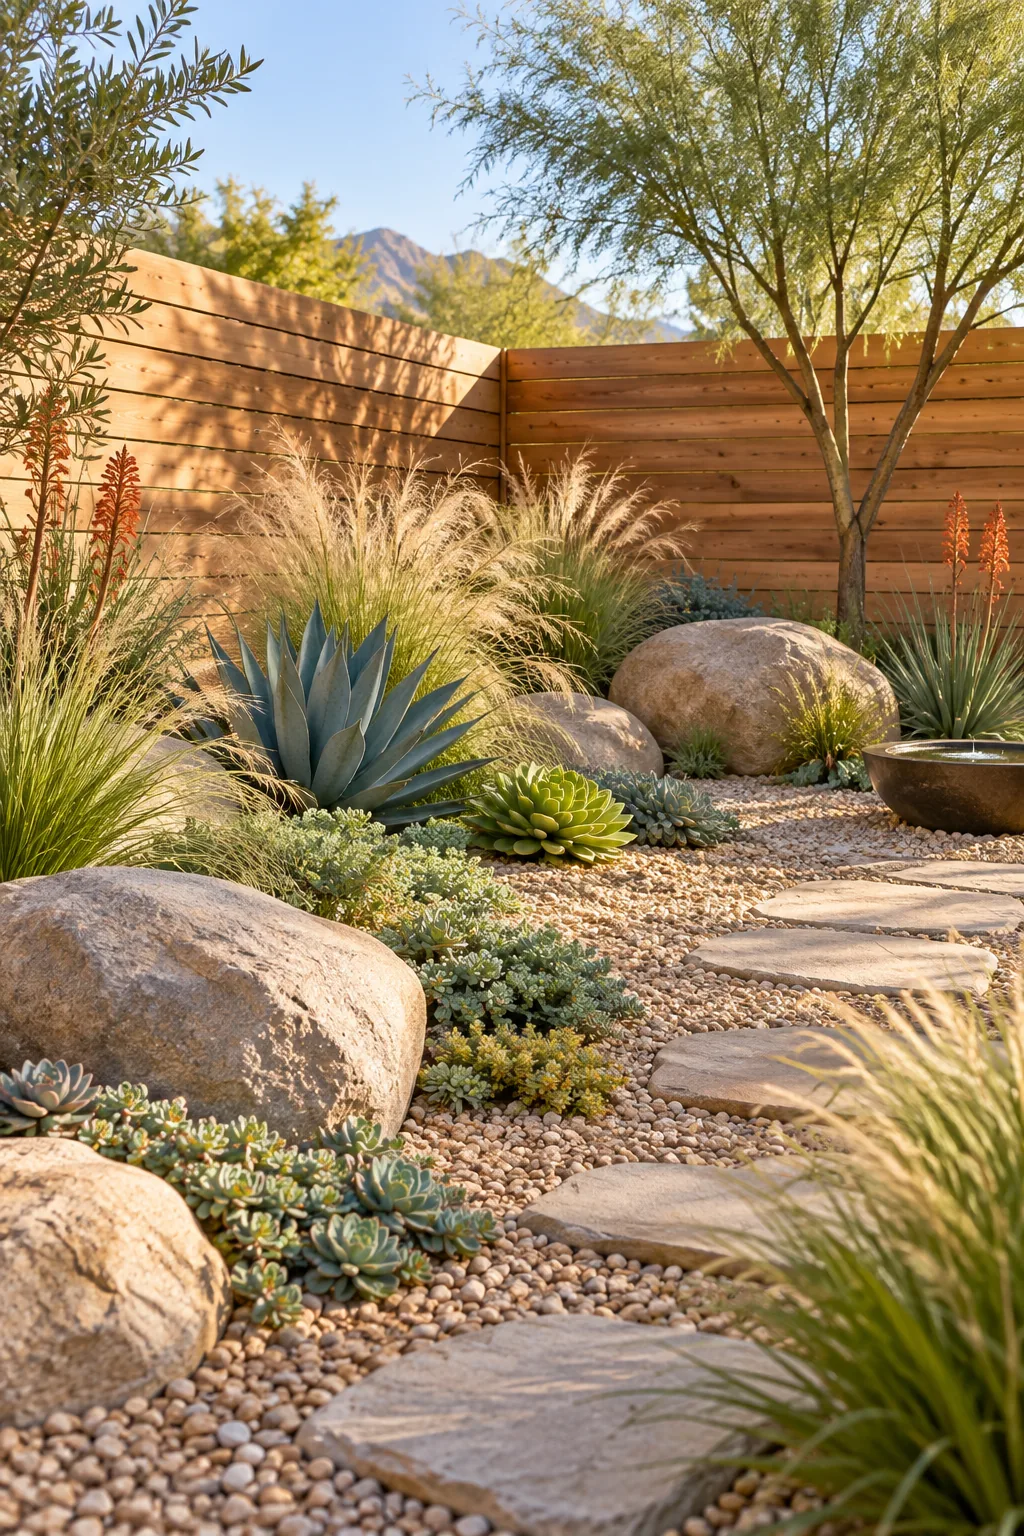
Calming Desert Zen Garden: Anchor the corner with large smooth boulders and surround them with wispy ornamental grasses for a low-water, high-texture retreat.
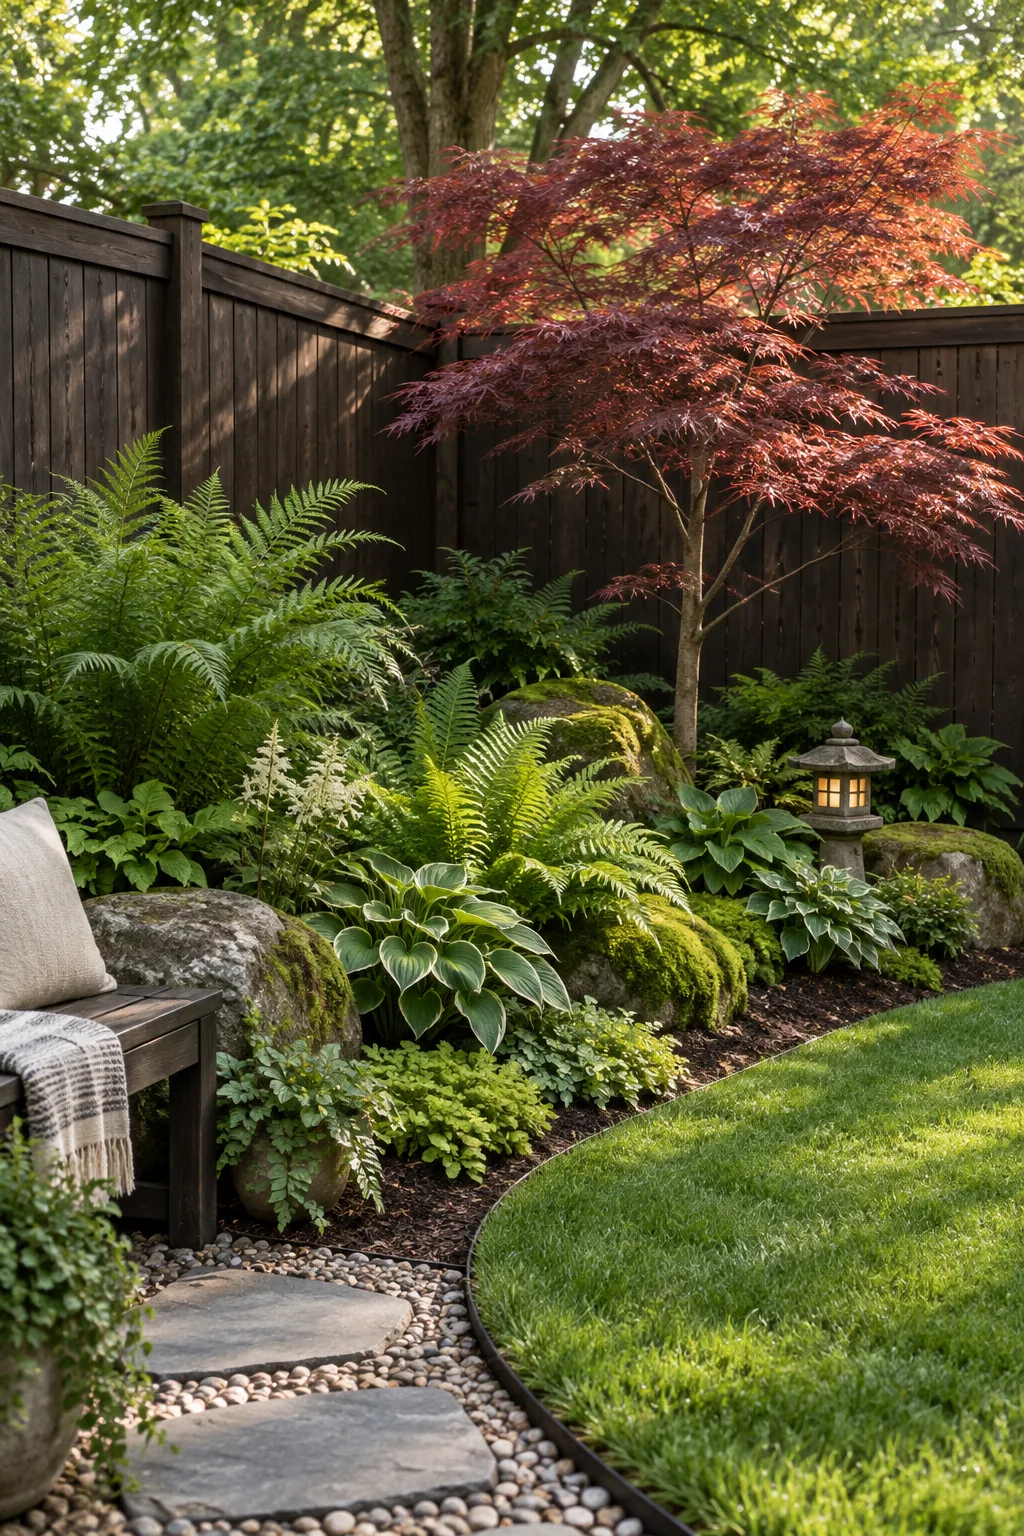
Deep Woodland Shade Retreat: Embrace a shady corner by planting lush ferns and a delicate red Japanese maple against a dark espresso privacy fence.
Your Printable Corner-Bed Layout and Plant List
Now that you know the zones, download the PDF layout sheet containing the exact 8-foot arc measurements, the 2-foot back path dimensions, and the post-footing offsets. Having a printed matching shopping list saves me from impulse buying every time I visit the nursery.
This layout guide includes everything you need to map the space perfectly and space your plants by layer.
- Print the 8-foot arc and 2-foot path layout map.
- Review the post-footing offset guide for your anchor tree.
- Take the matching plant list to your local nursery.