Townhouse Backyard Design: The Narrow Yard Layout Guide
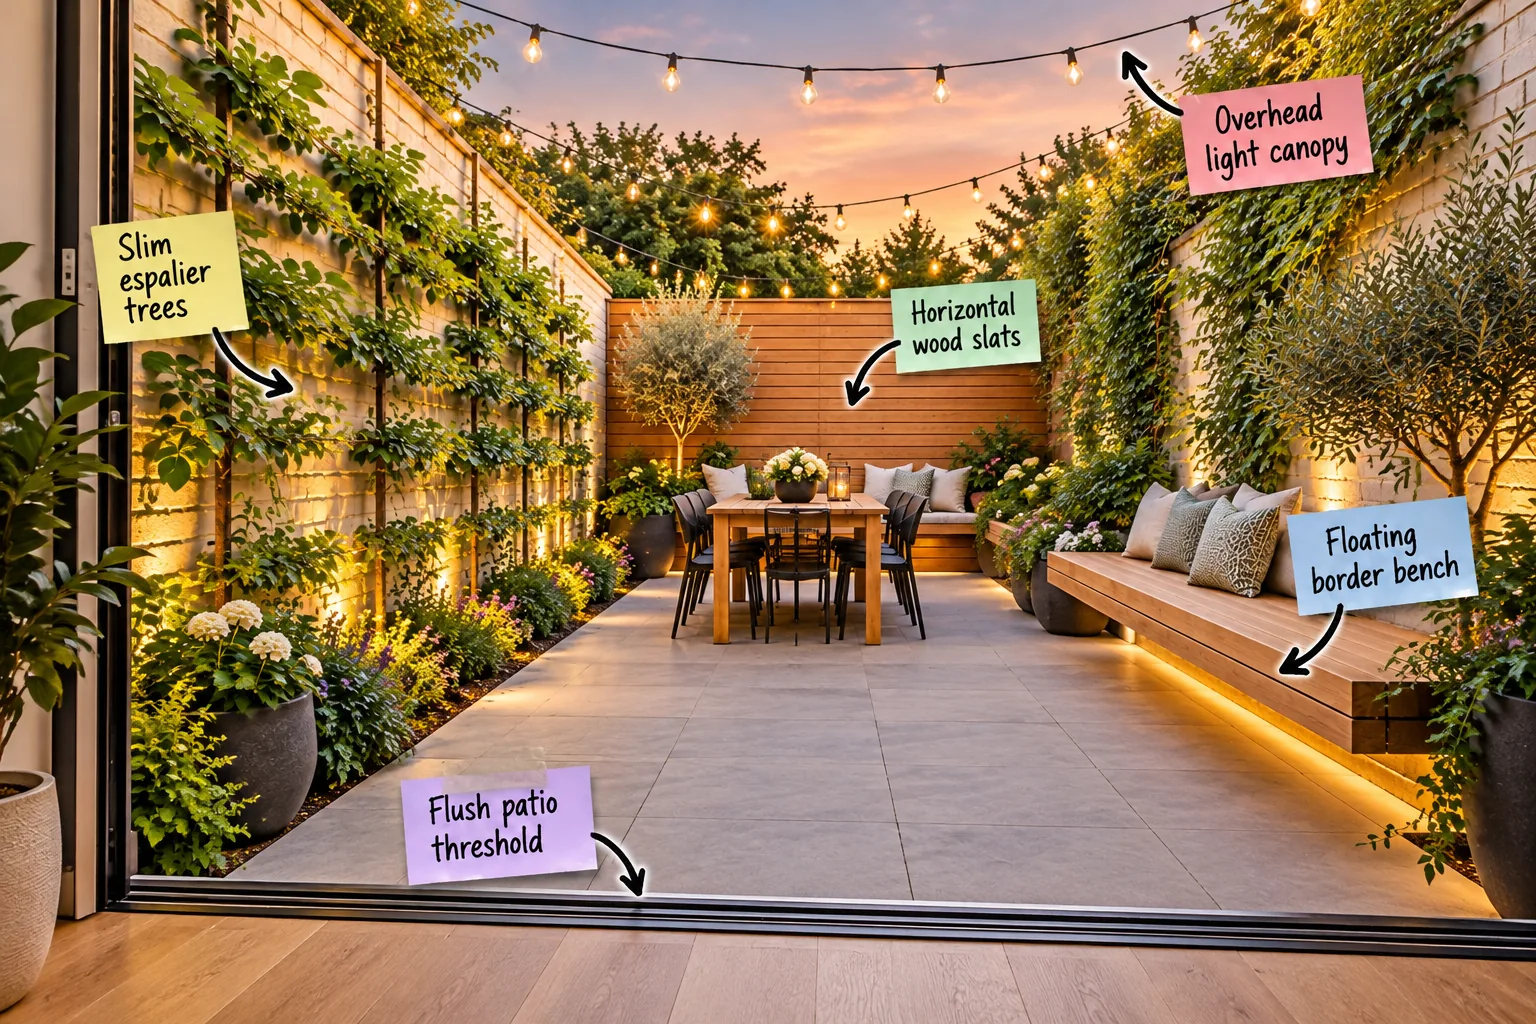
You can completely transform your cramped outdoor space into an inviting room by using this narrow yard layout guide. By mapping out smart seating, boundary treatments, and lighting, you will unlock a narrow plot and build a seamless indoor-outdoor transition.
The Narrow Yard Layout Guide
Dividing a 15-to-20-foot wide yard into distinct functional zones prevents your outdoor space from suffering the dreaded bowling alley effect. Establishing a clear visual hierarchy organizes a narrow footprint into a series of deliberate, welcoming outdoor rooms rather than a single long corridor.
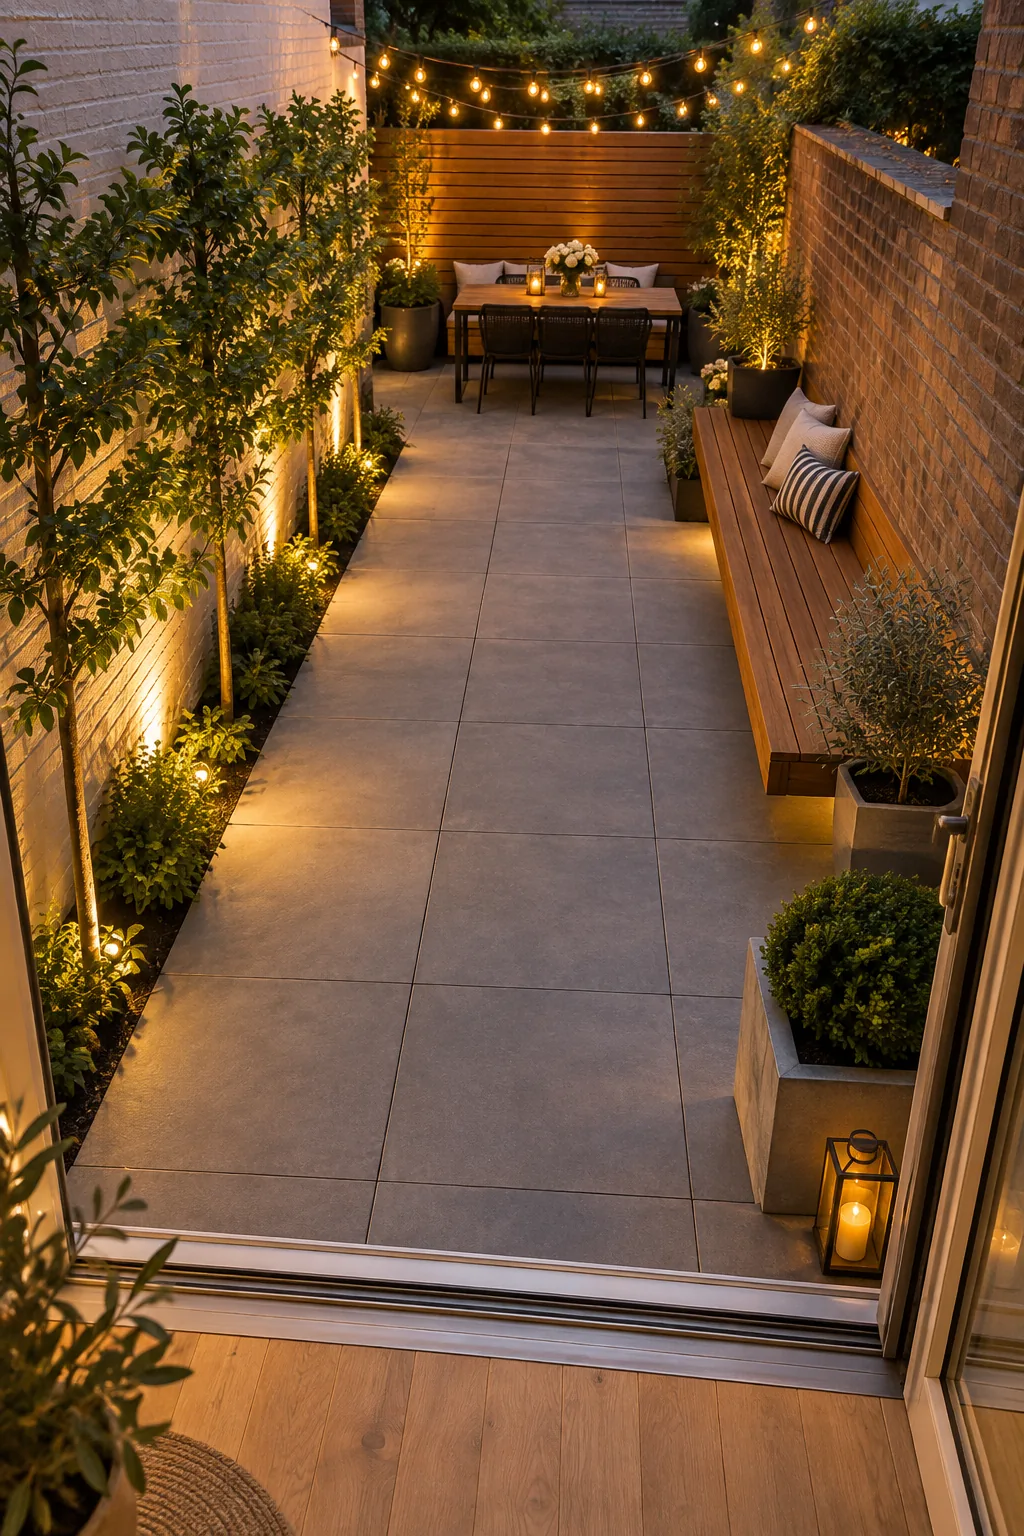
Before buying any furniture or hardscaping materials, finalize your spatial plan using these three foundational layout checks.
Mapping the Zones
Assigning a specific purpose to every square foot ensures that no part of your narrow yard becomes wasted dead space. By deliberately separating the lounging area from the dining space, you create distinct destinations that encourage people to move naturally throughout the entire environment.
Establishing the Sightlines
Keeping your central line of sight completely clear from the back door to the rear boundary is essential for maximizing perceived depth. If you block this central axis with tall planters, the yard will instantly feel chopped in half and uncomfortably claustrophobic.
Defining the Primary Walkway
A successful layout requires a dedicated circulation route that pushes foot traffic to one side rather than splitting the yard down the middle. Keeping this path unobstructed guarantees that moving from your kitchen out to the rear fence feels natural, deliberate, and entirely effortless.
Choosing Pathway Materials
While the main patio utilizes large formats, edging your primary walkway with a contrasting material helps subconsciously guide foot traffic. A border of dark basalt cobblestones clearly defines the walking route, safely keeping guests off your delicate groundcover or garden beds.
Flush Patio Threshold
Matching the indoor floor height to your outdoor paving creates a seamless visual extension that instantly makes your interior feel larger. Utilizing a recessed sliding door track dissolves the traditional physical barrier, uniting the two spaces into a single, cohesive living area.
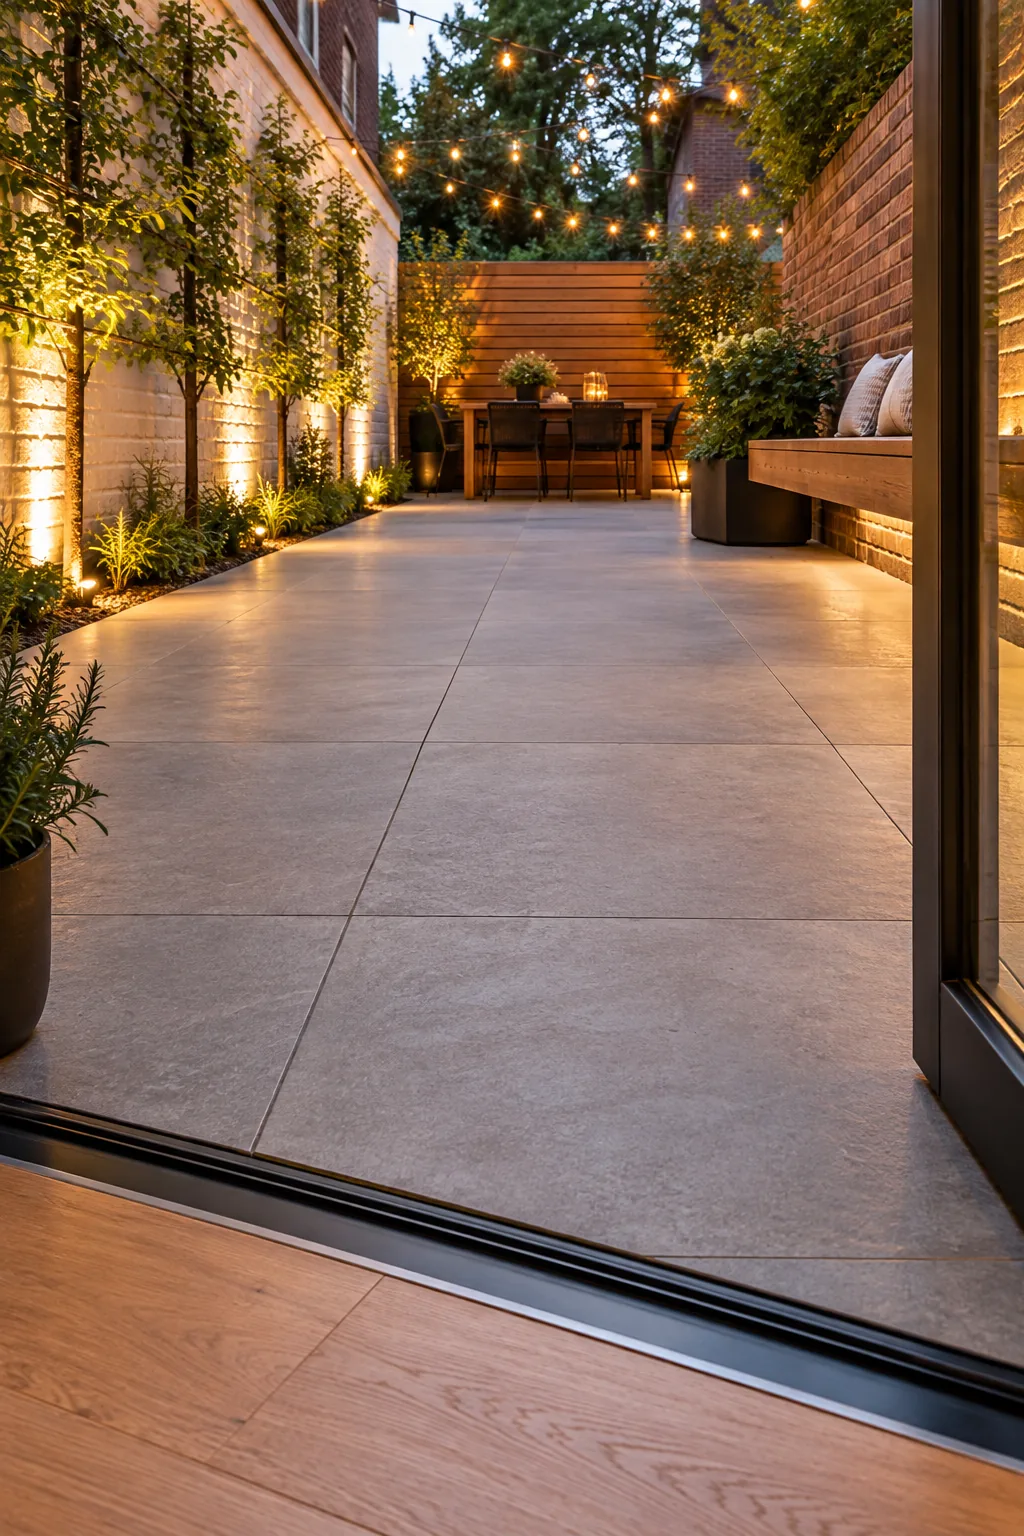
When we renovated our Denver townhouse, dropping a standard 1/4-inch drainage gap at the recessed sliding track made the patio feel exactly like our living room’s natural extension.
Weatherproofing the Transition
Proper drainage is absolutely critical when aligning interior and exterior floor elevations to prevent water ingress during heavy rain. Installing a linear drain channel directly parallel to the door track captures surface runoff before it can ever breach your home’s interior threshold.
| Drainage Type | Placement | Minimum Width | Best For |
|---|---|---|---|
| Slot Drain | Against track | 1/2 inch | Minimalist patios |
| Trench Drain | 12 inches out | 4 inches | Heavy rainfall |
| Permeable Joint | Between pavers | 1/4 inch | Covered spaces |
Always ensure the patio surface slopes away from the threshold at a minimum drop of 1/4 inch per foot to direct runoff safely toward the garden beds.
Installing the Track Drain
Integrating a slim slot drain immediately alongside your recessed door requires a precise sequence to ensure the system actually captures runoff.
- Set the interior hardwood elevation first to establish your absolute baseline height.
- Mount the sliding door track completely flush with that finished interior floor.
- Install the exterior slot drain exactly 1/4 inch below the track edge.
This hidden channel must sit perfectly level to maintain the illusion of a continuous floor while preventing any water from breaching the threshold.
Large-Format Pavers
Using oversized pavers, such as 24×24 or 24×48 inches, drastically reduces visual clutter on the ground by minimizing intersecting grout lines. Fewer grid lines create a calm, unified surface that prevents a tight footprint from feeling busy or overwhelming to the eye.
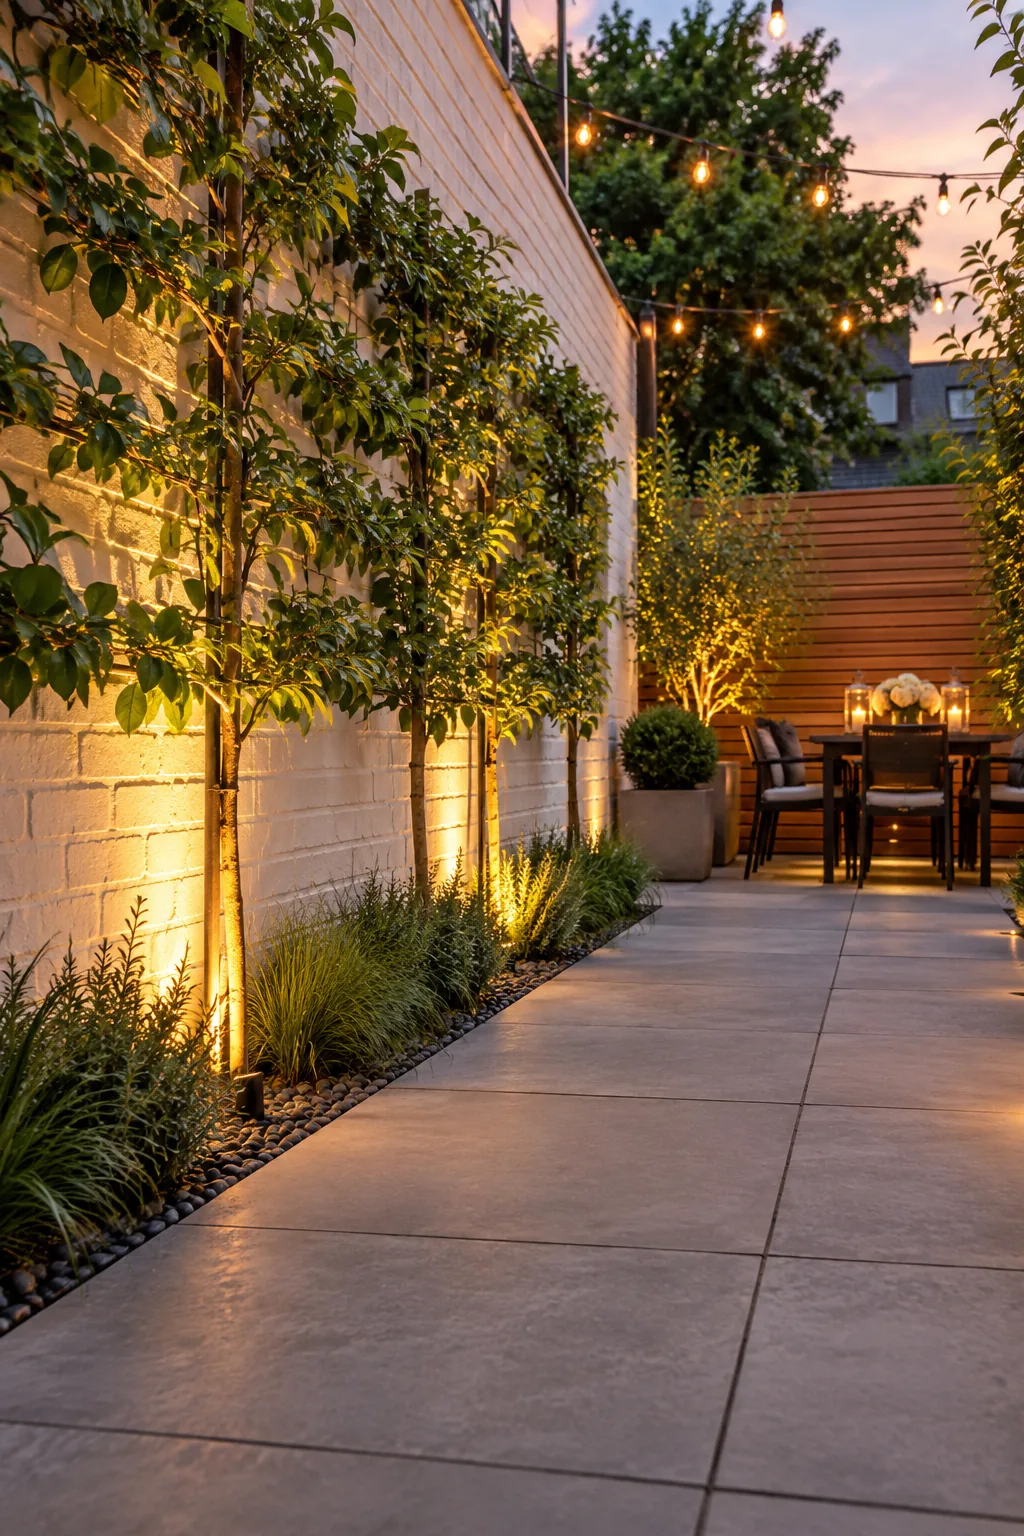
Running their longest edge horizontally across the yard tricks the eye into perceiving a wider, much more balanced footprint.
Selecting the Right Stone
I always recommend matching the color temperature of your exterior pavers to your interior hardwood or tile floors. This subtle color harmony reinforces the illusion that the patio is simply another room of the house, drawing the eye smoothly outward without any jarring interruption.
Managing the Grout Lines
When working with large-format stones in a tight space, the color and width of your grout lines dramatically impact the final look. Specifying a narrow 1/8-inch joint filled with a color-matched polymeric sand minimizes the grid pattern entirely.
Slim Espalier Trees
Training trees flat against the boundary wall adds essential mature greenery without eating into your highly valuable, usable square footage. This historic pruning technique provides lush vertical volume and crucial privacy while maintaining a strict, disciplined profile that stays well under two feet deep.
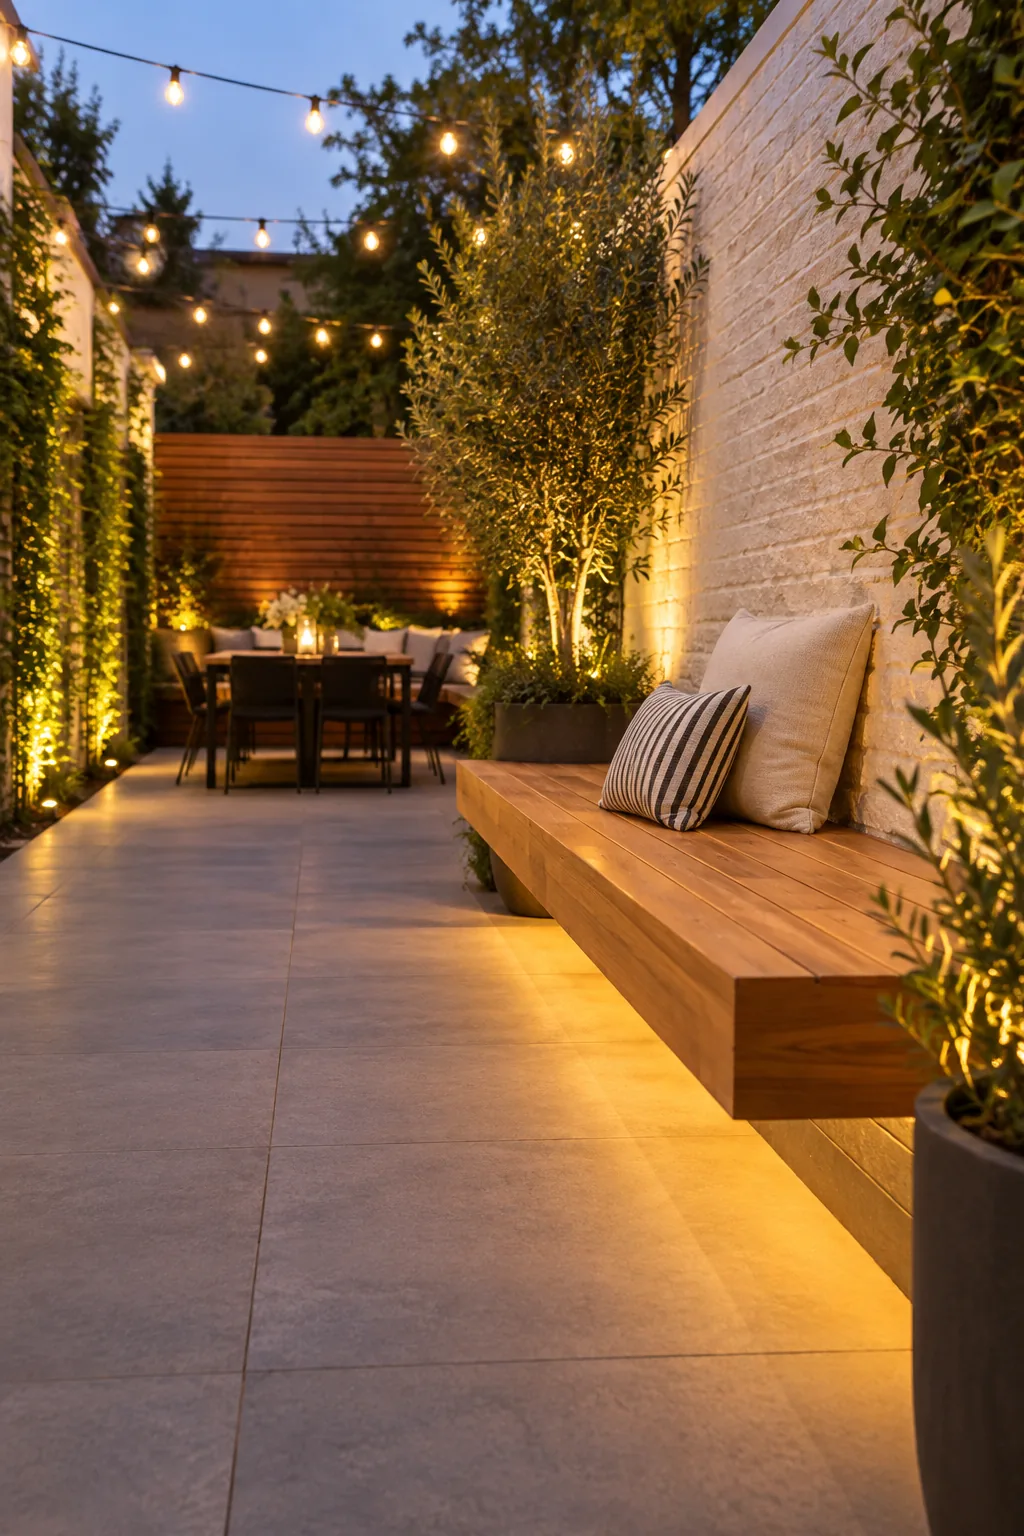
Not all greenery takes kindly to being trained flat against masonry, so you must choose species that naturally adapt to this structured growth habit.
Maintaining Wall Clearances
Planting your espalier specimens exactly 12 to 18 inches from the masonry wall allows healthy root growth and adequate air circulation. This precise spacing prevents trapped moisture against the brick while keeping the canopy tight enough to preserve your narrow yard’s open center.
Pruning for Flat Growth
Maintaining the strict geometric shape of an espalier requires deliberate, seasonal pruning to remove any branches reaching outward toward the patio. Trimming the aggressive front-facing shoots every summer forces the plant’s energy into the lateral branches, keeping the green wall perfectly flat.
Floating Border Bench
A cantilevered cedar bench provides mass seating for entertaining without requiring heavy wooden legs that visually chop up the floor space. Keeping the ground plane entirely visible beneath the seating makes the patio feel significantly larger and vastly simplifies routine sweeping.
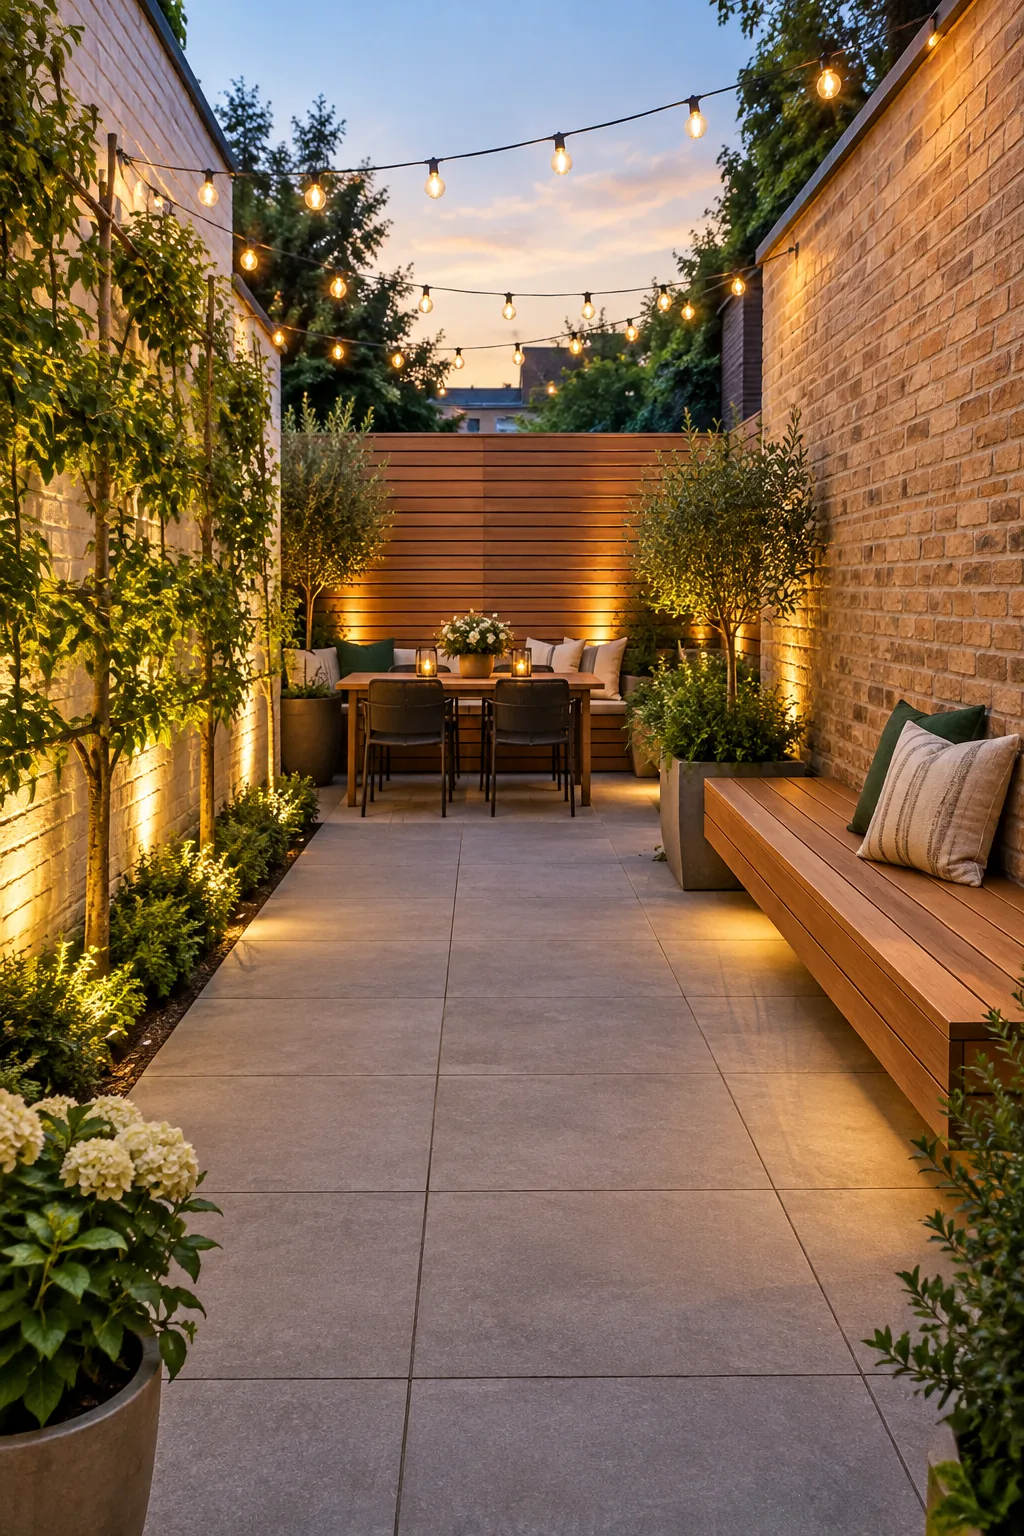
Mount the bench seat at a standard 18-inch height and leave at least 6 inches of clearance underneath for a true floating effect.
Concealing the Supports
To achieve that magical hovering illusion, secure heavy-duty steel L-brackets directly into the masonry wall studs before cladding the bench framework. Painting these structural supports a flat matte black makes them recede entirely into the shadow line, ensuring the cedar remains the sole focus.
Finishing the Cedar Seat
Sanding the edges of your cantilevered bench with a fine-grit paper prevents splinters and softens the harsh right angles of the wood. Applying a clear, matte sealant protects the cedar from food spills while allowing the natural grain to shine through beautifully.
Horizontal Wood Slats
Horizontal lines inherently draw the eye outward, creating a modern rear boundary that feels expansive rather than tightly enclosing the yard. This simple optical illusion stretches the perceived width of the back fence, effectively counteracting the pinched feeling typical of urban townhouse plots.
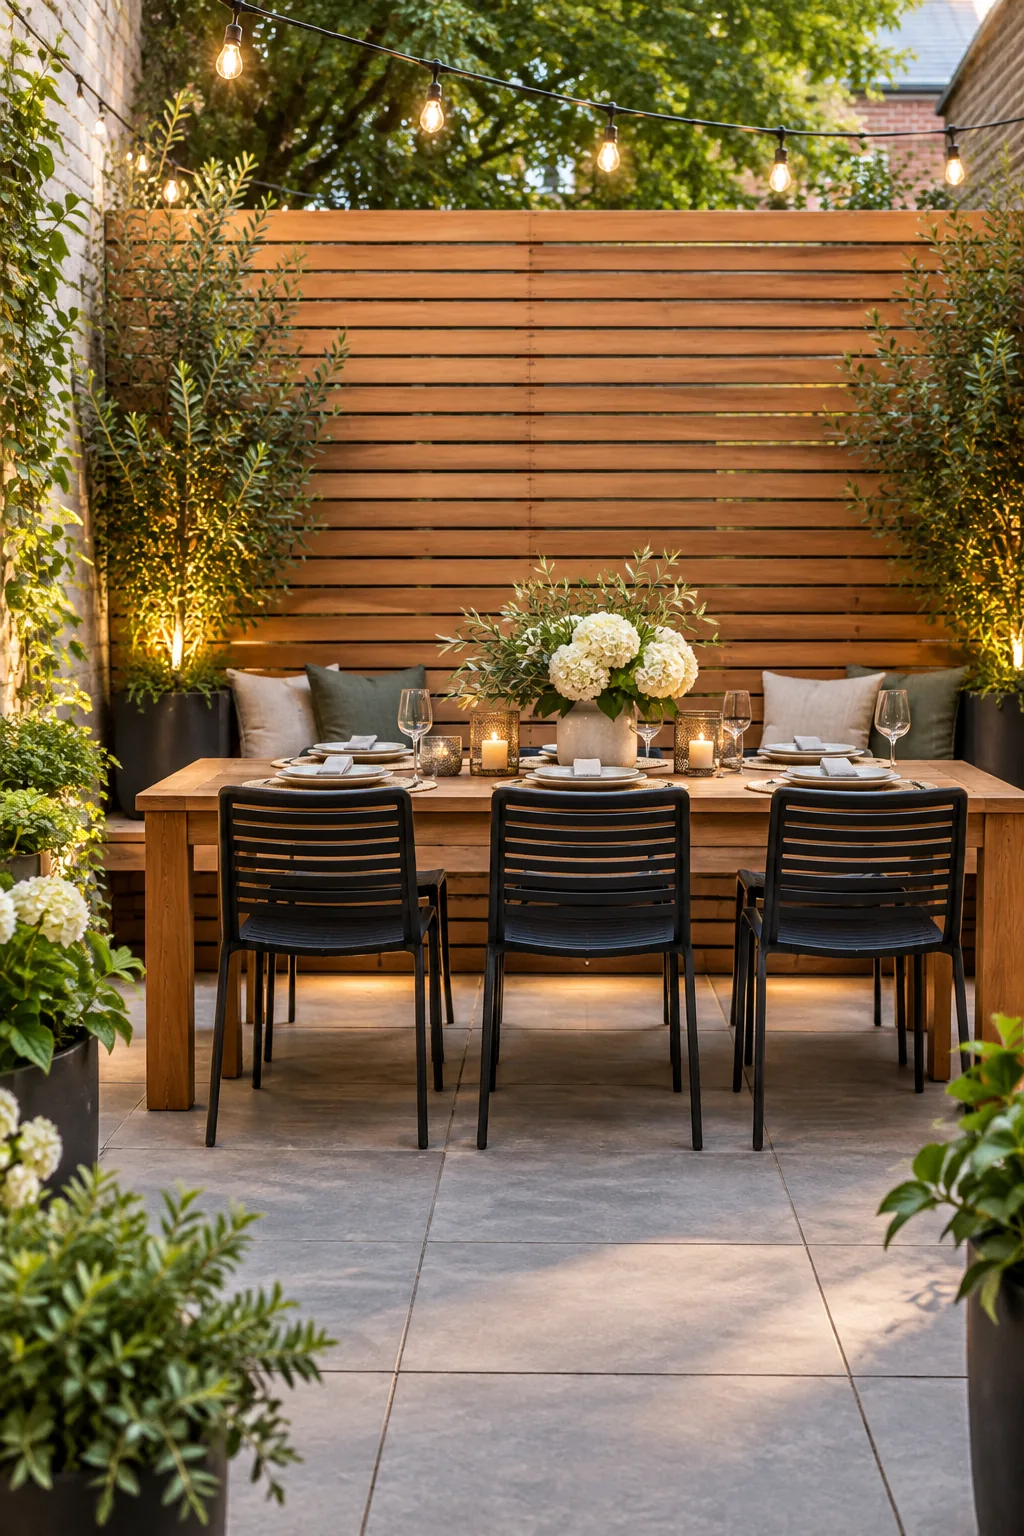
I used 1×4 cedar boards with a consistent half-inch gap in my own yard, and it instantly transformed the rear boundary into a wide, architectural feature.
Treating the Cedar Boundary
Protecting your slatted fence with a high-quality UV-blocking penetrating oil prevents the wood from weathering to an uneven, patchy gray. Applying this protective finish every two years maintains the warm, rich tones of the cedar, which beautifully offsets the cool gray patio pavers.
Aligning the Slat Seams
When constructing a horizontal fence, staggering the vertical seams where two boards meet prevents a noticeable, distracting line down your boundary. Hiding these joints directly behind the vertical support posts ensures the horizontal lines remain visually continuous, maximizing the optical illusion of width.
Rear Dining Anchor
Placing your heaviest furniture, like a solid teak dining table, at the very back of the plot intentionally pulls visitors through the entire yard. This strategic layout forces you to utilize the full depth of the property, making the overall space feel significantly longer.
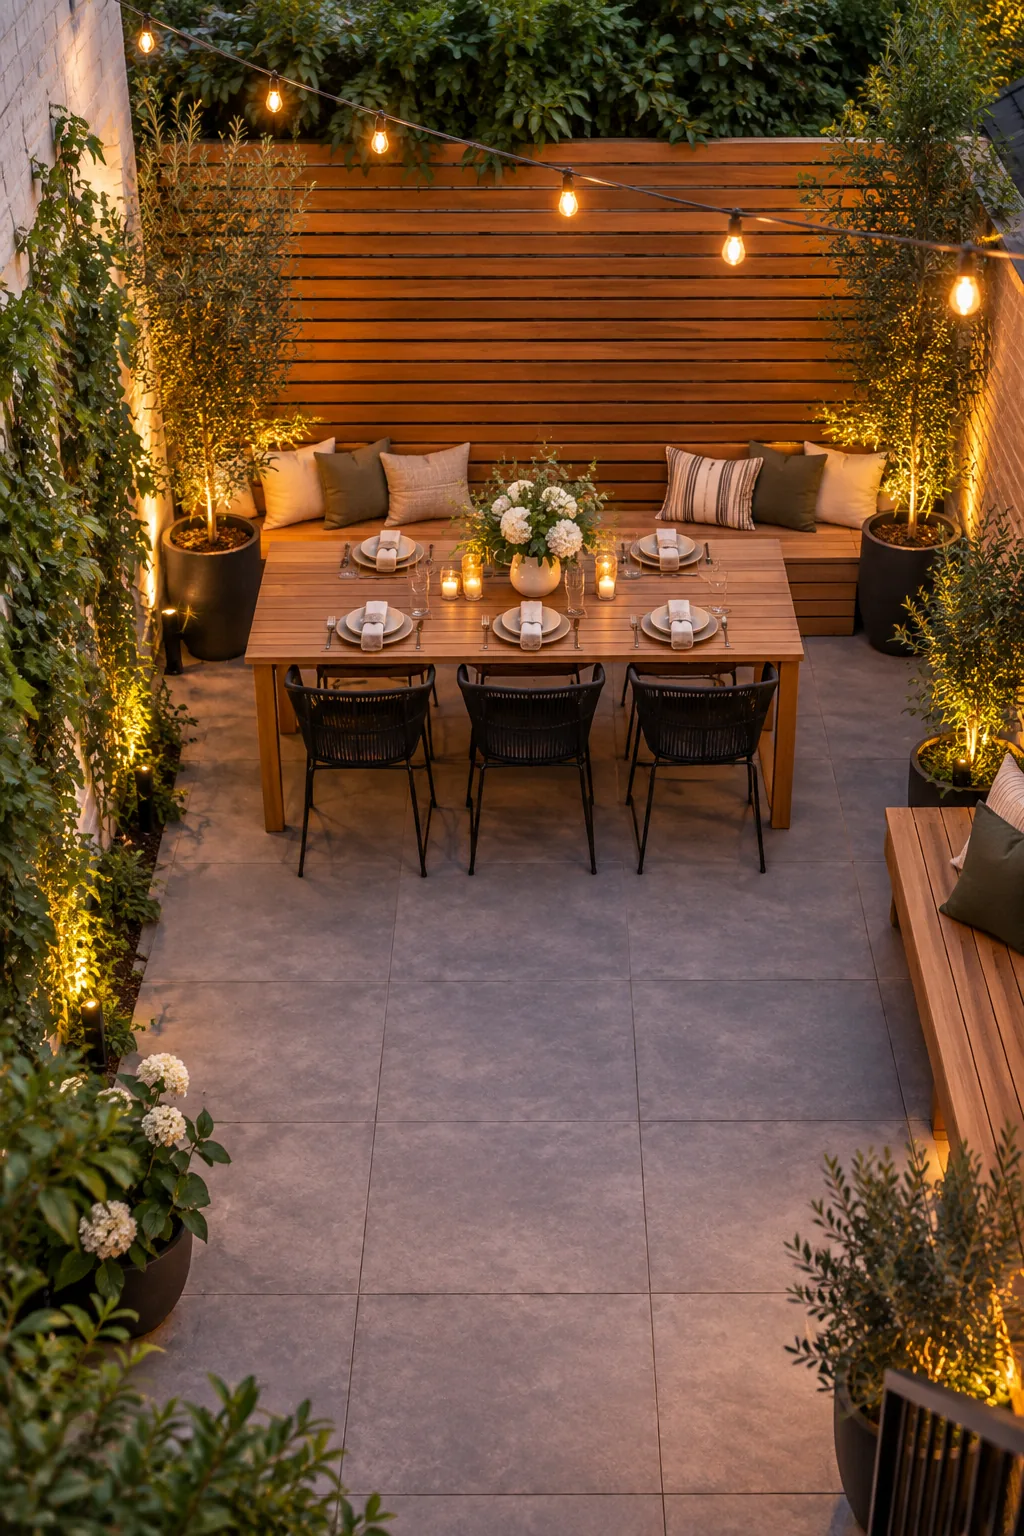
In my previous home, anchoring the dining zone directly against the rear fence naturally turned the boundary wall into a highly efficient, cozy banquette backrest.
Balancing the Weight
When you place the heaviest visual mass at the rear, you must keep the center of the yard relatively light and flexible. Utilizing low-profile lounge chairs or movable stools in the middle zone ensures the sightline to the back dining area remains completely open.
Selecting Slim Furniture Profiles
Heavy, overstuffed patio furniture will quickly overwhelm a narrow layout and block your carefully planned circulation paths. Opting for dining chairs with open wireframes or slender teak legs allows light and air to pass through the pieces, keeping the visual weight incredibly light.
Choosing the Right Bulbs
The color temperature of your overhead string lights dictates the entire mood of your outdoor room once the sun goes down. Selecting shatterproof LED bulbs with a warm 2700K color temperature mimics the cozy, inviting glow of candlelight rather than a harsh streetlamp.
Powering the Overhead Grid
Running an outdoor-rated extension cable along the top edge of your boundary fence keeps the power source completely hidden from view. Plugging the lights into a smart, weather-resistant outdoor dimmer switch allows you to easily adjust the canopy’s brightness from your phone.
Overhead Light Canopy
Zigzagging string lights creates a warm, glowing false ceiling that makes the outdoor room feel incredibly intimate and grounded after sunset. This overhead layer visually lowers the dark sky, wrapping the narrow footprint in a comforting, festive canopy that invites guests to linger.
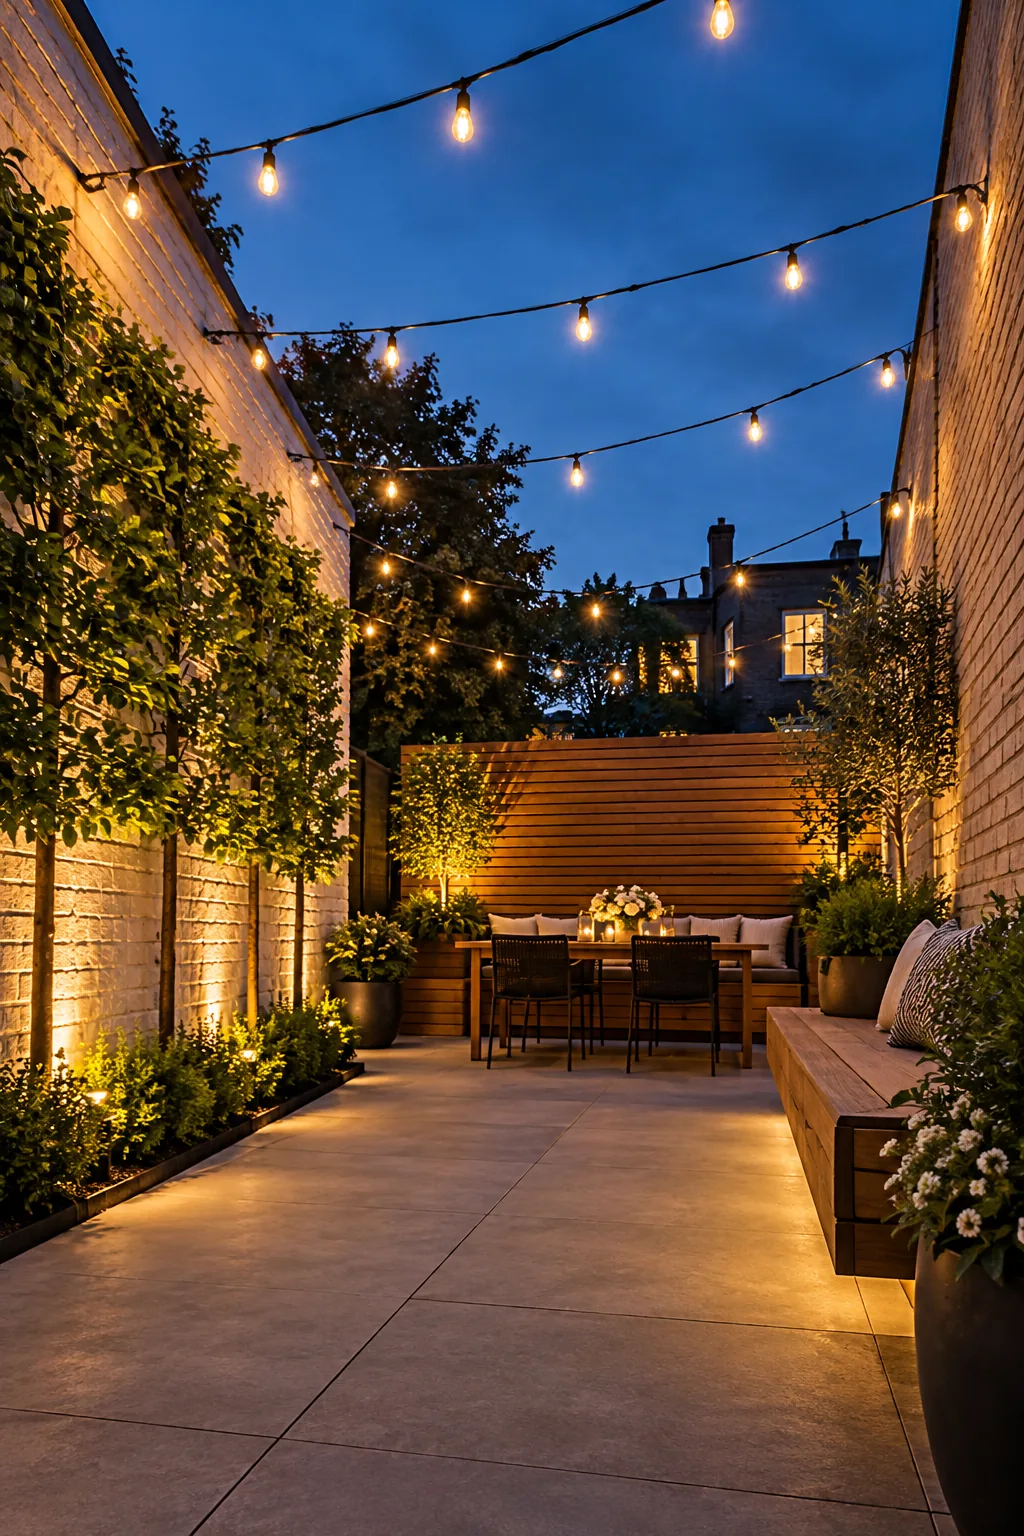
Space your anchor hooks exactly 4 to 6 feet apart along the side walls to ensure an even, gentle drape without excessive sagging.
5 Ways to Style a Narrow Townhouse Yard
Explore these distinct design aesthetics to find the perfect atmosphere for your own outdoor retreat.
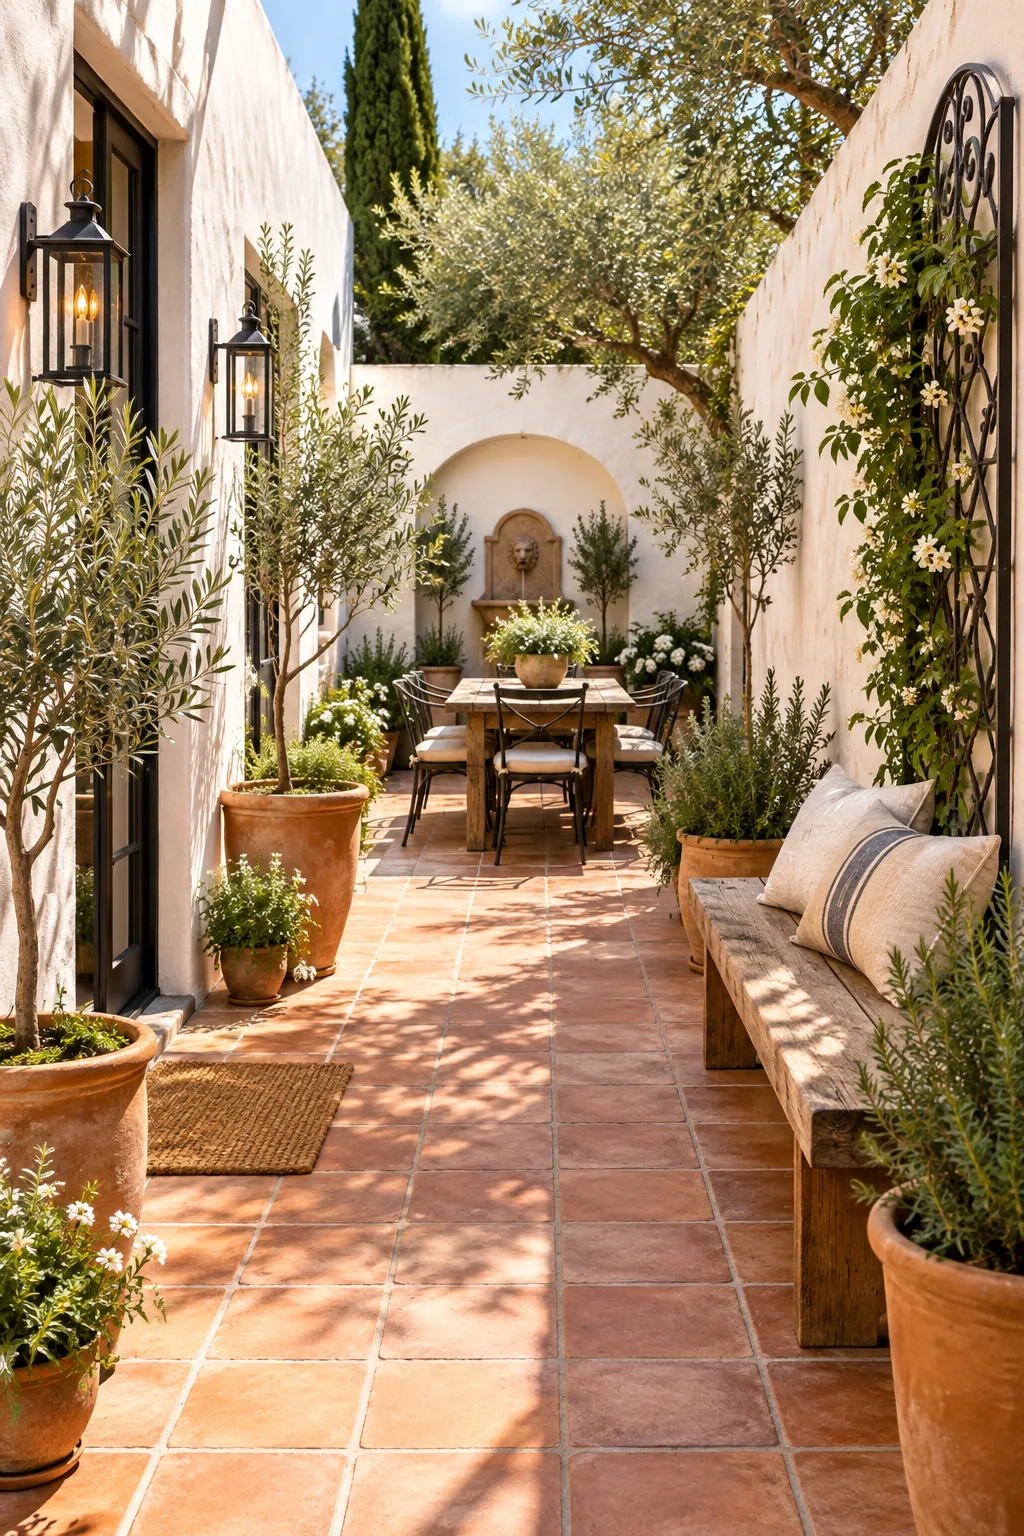
Mediterranean Courtyard: Warm terracotta tiles and white stucco walls define this Mediterranean look, featuring drought-tolerant olive trees you can easily maintain in large planters.
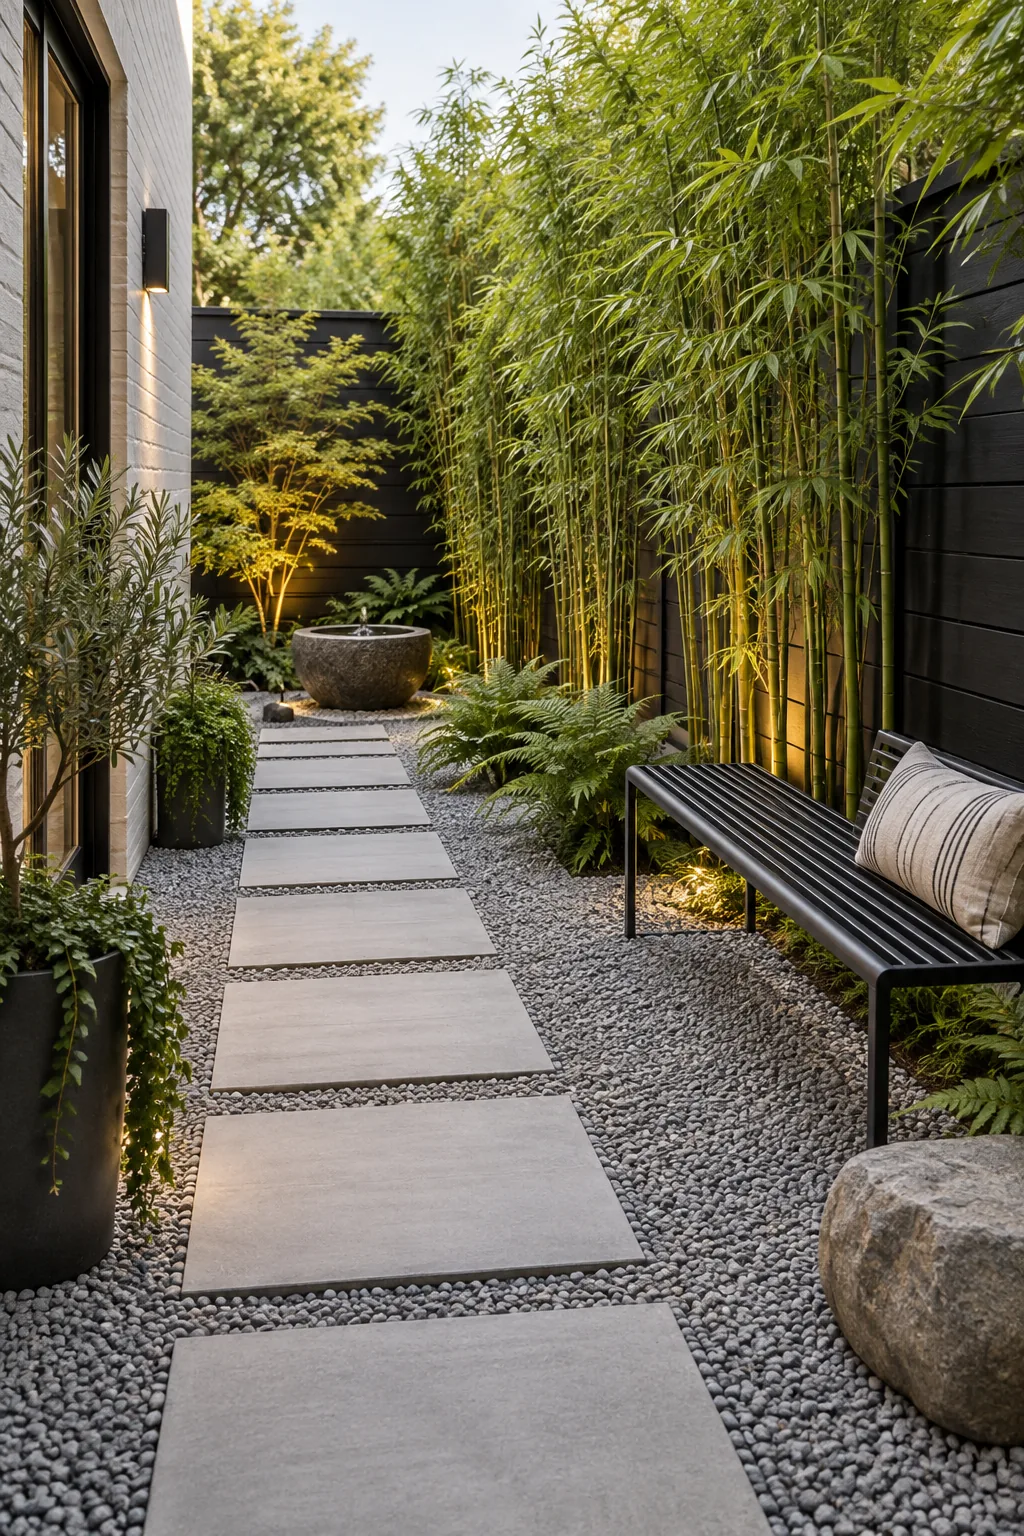
Minimalist Zen: Raked gravel and smooth concrete stepping stones create a calming Zen atmosphere, anchored by tall bamboo that provides excellent privacy against a black fence.
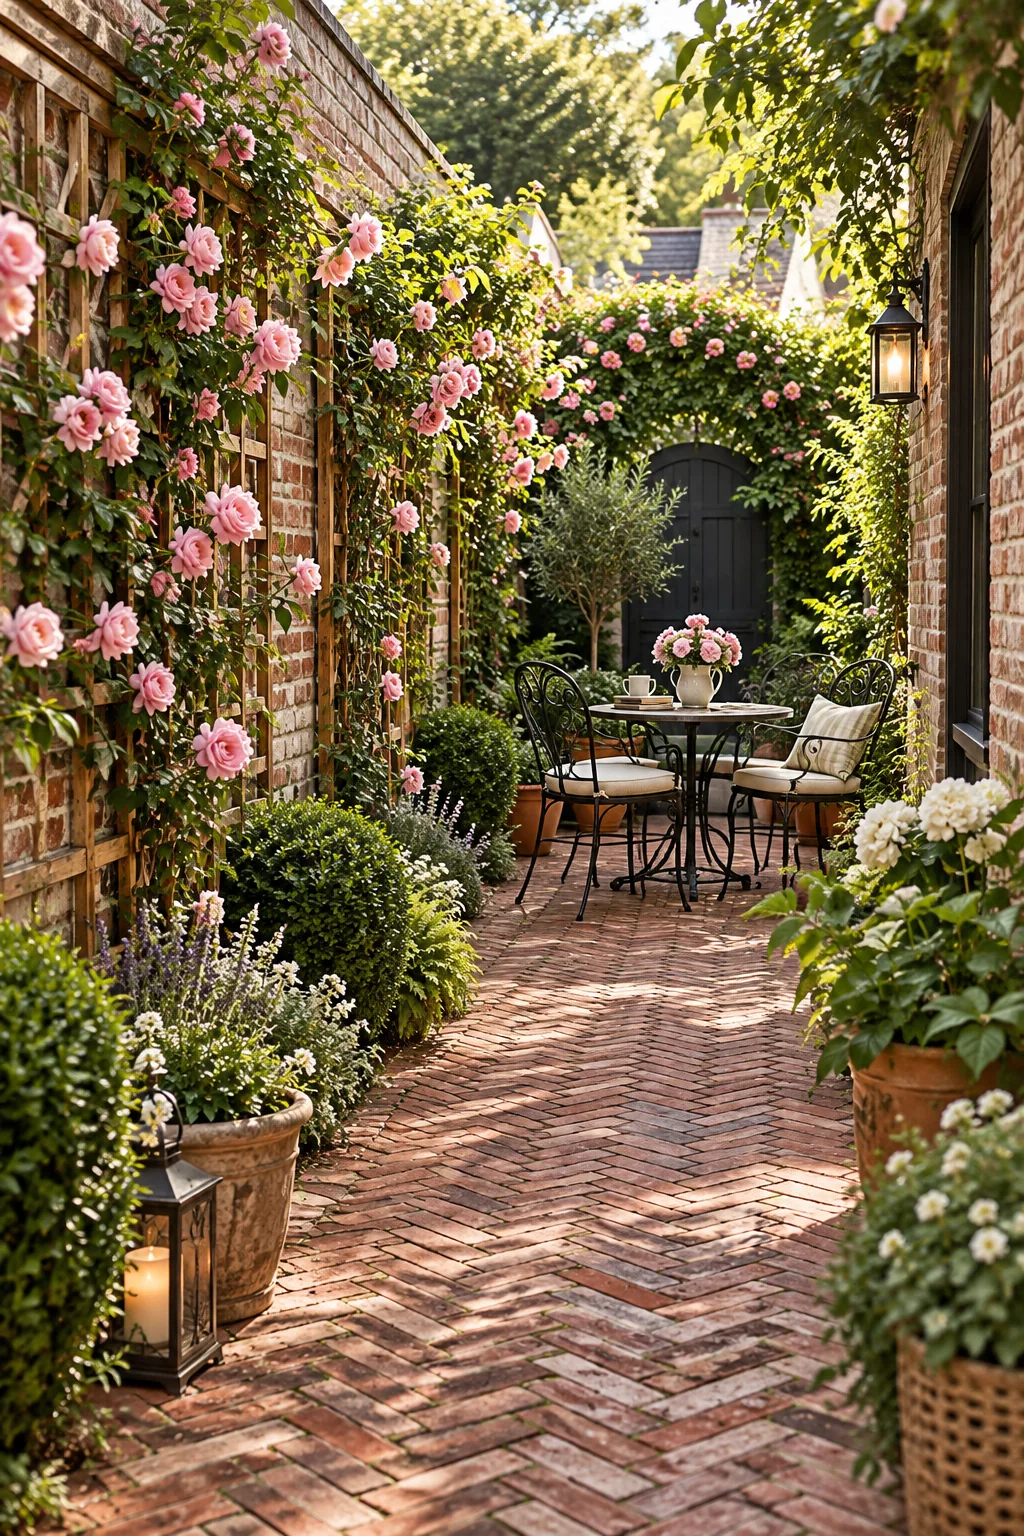
English Cottage: Reclaimed brick laid in a classic herringbone pattern brings historic charm to this cottage layout, perfectly complemented by climbing pink roses and vintage iron seating.
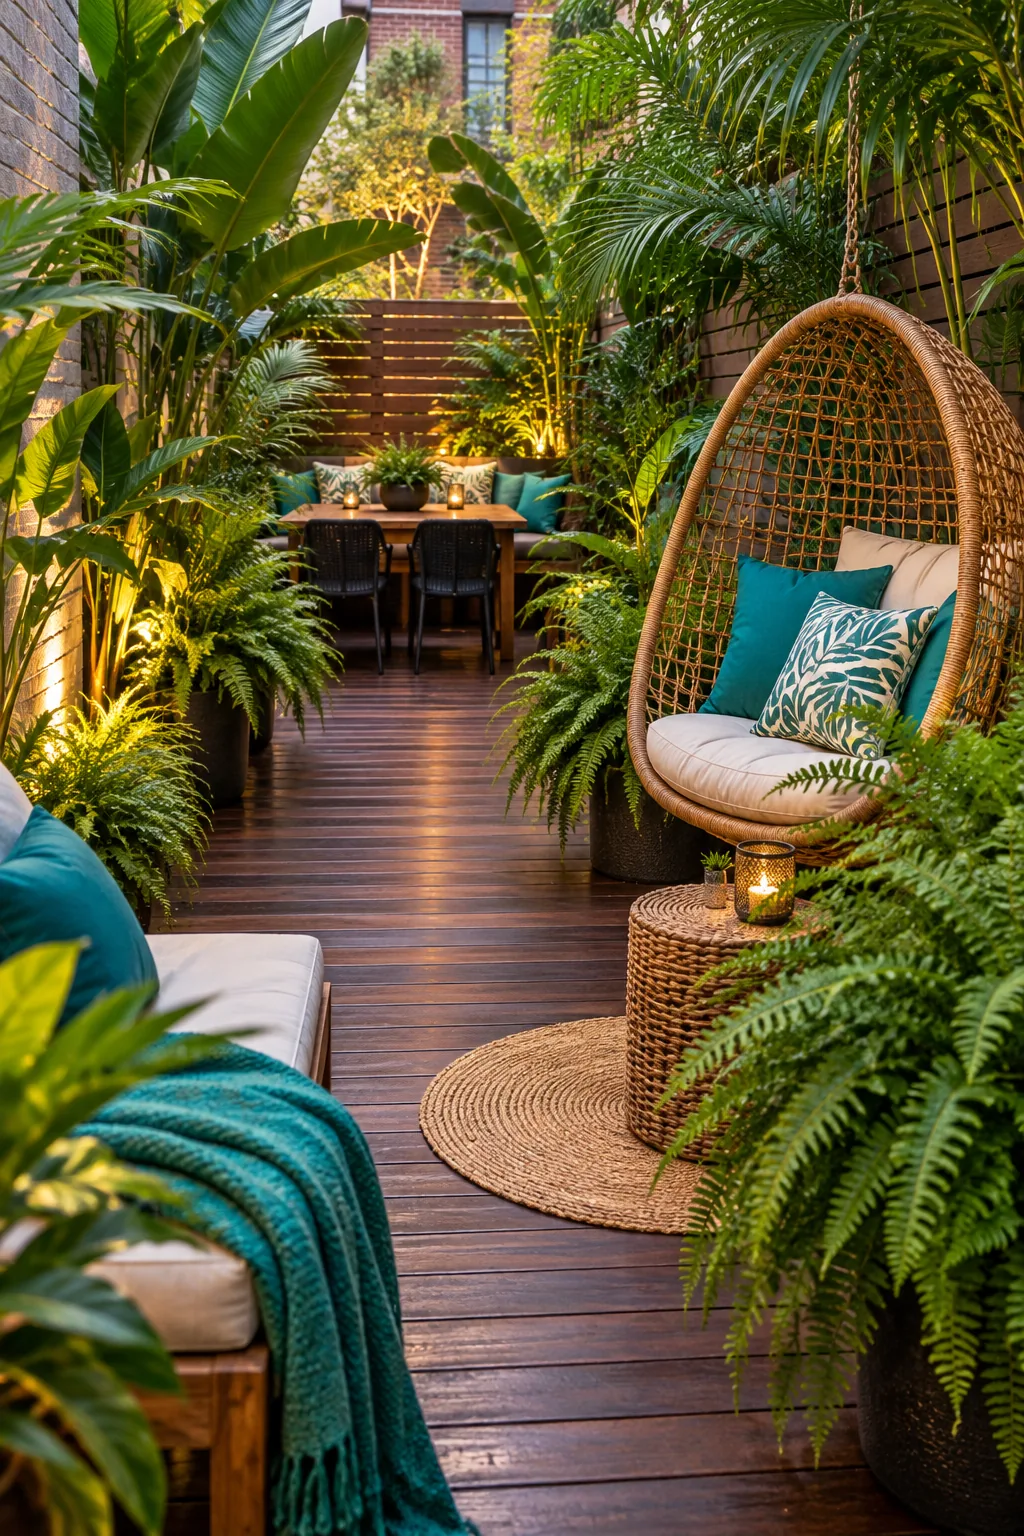
Tropical Oasis: Dark stained decking and oversized ferns turn a shaded urban plot into a tropical escape, complete with a space-saving hanging rattan chair.
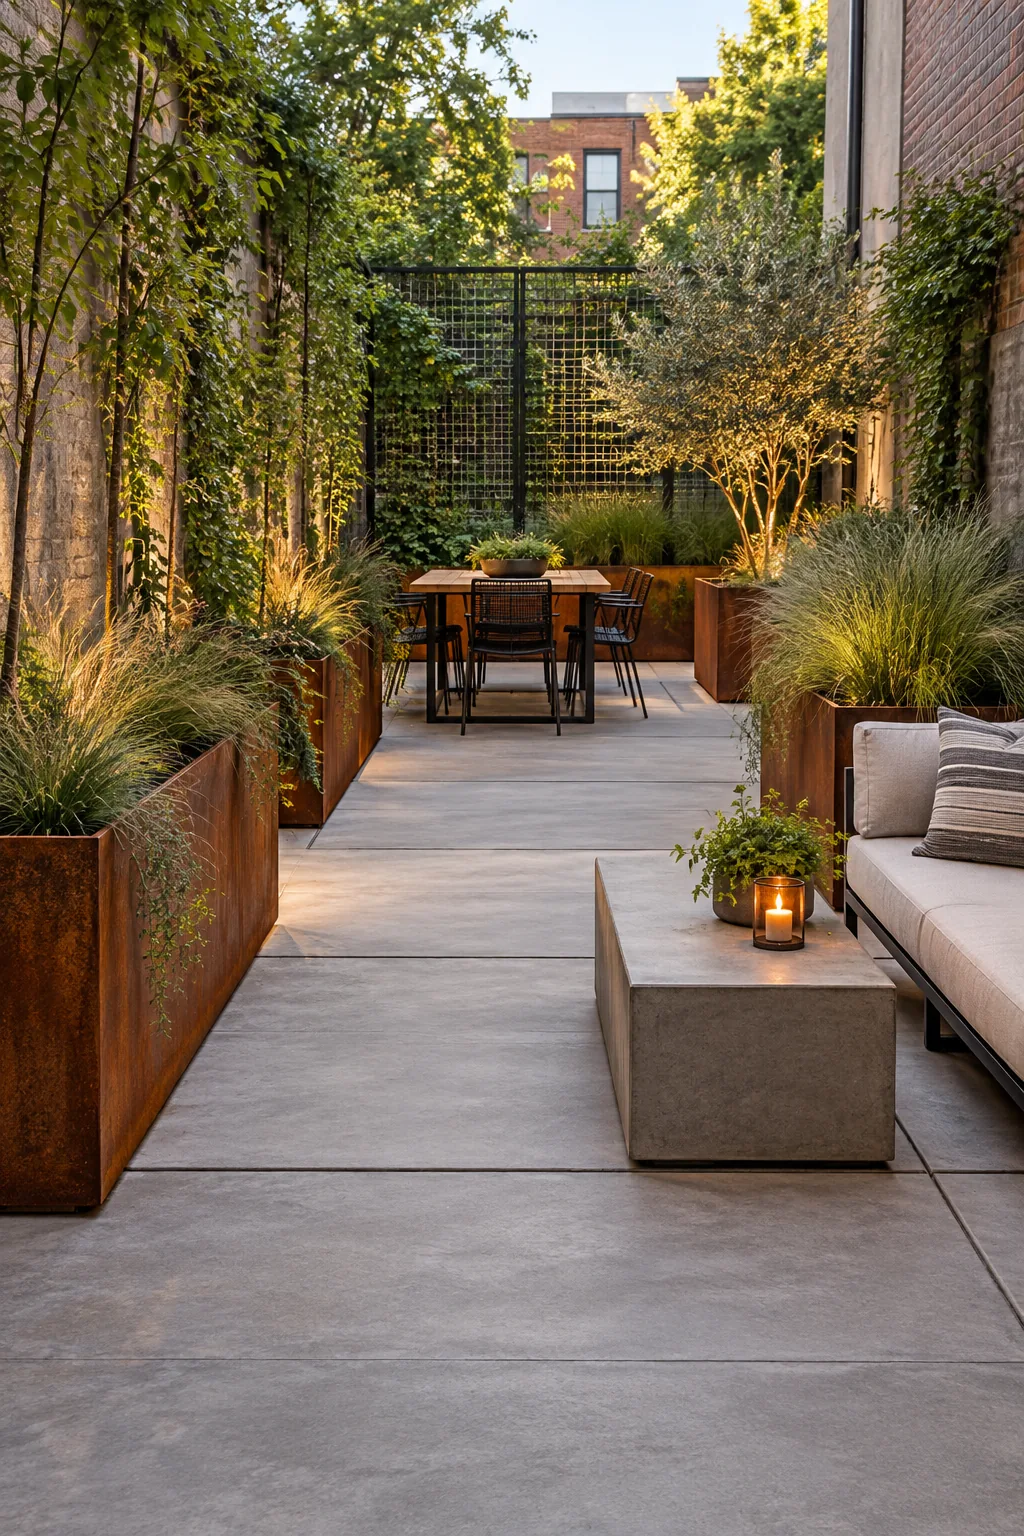
Urban Industrial: Poured concrete slabs and rusted corten steel planters give this yard a modern industrial edge, utilizing architectural grasses for low-maintenance texture.