
Room Divider Rules: The Complete Spacing and Light Guide
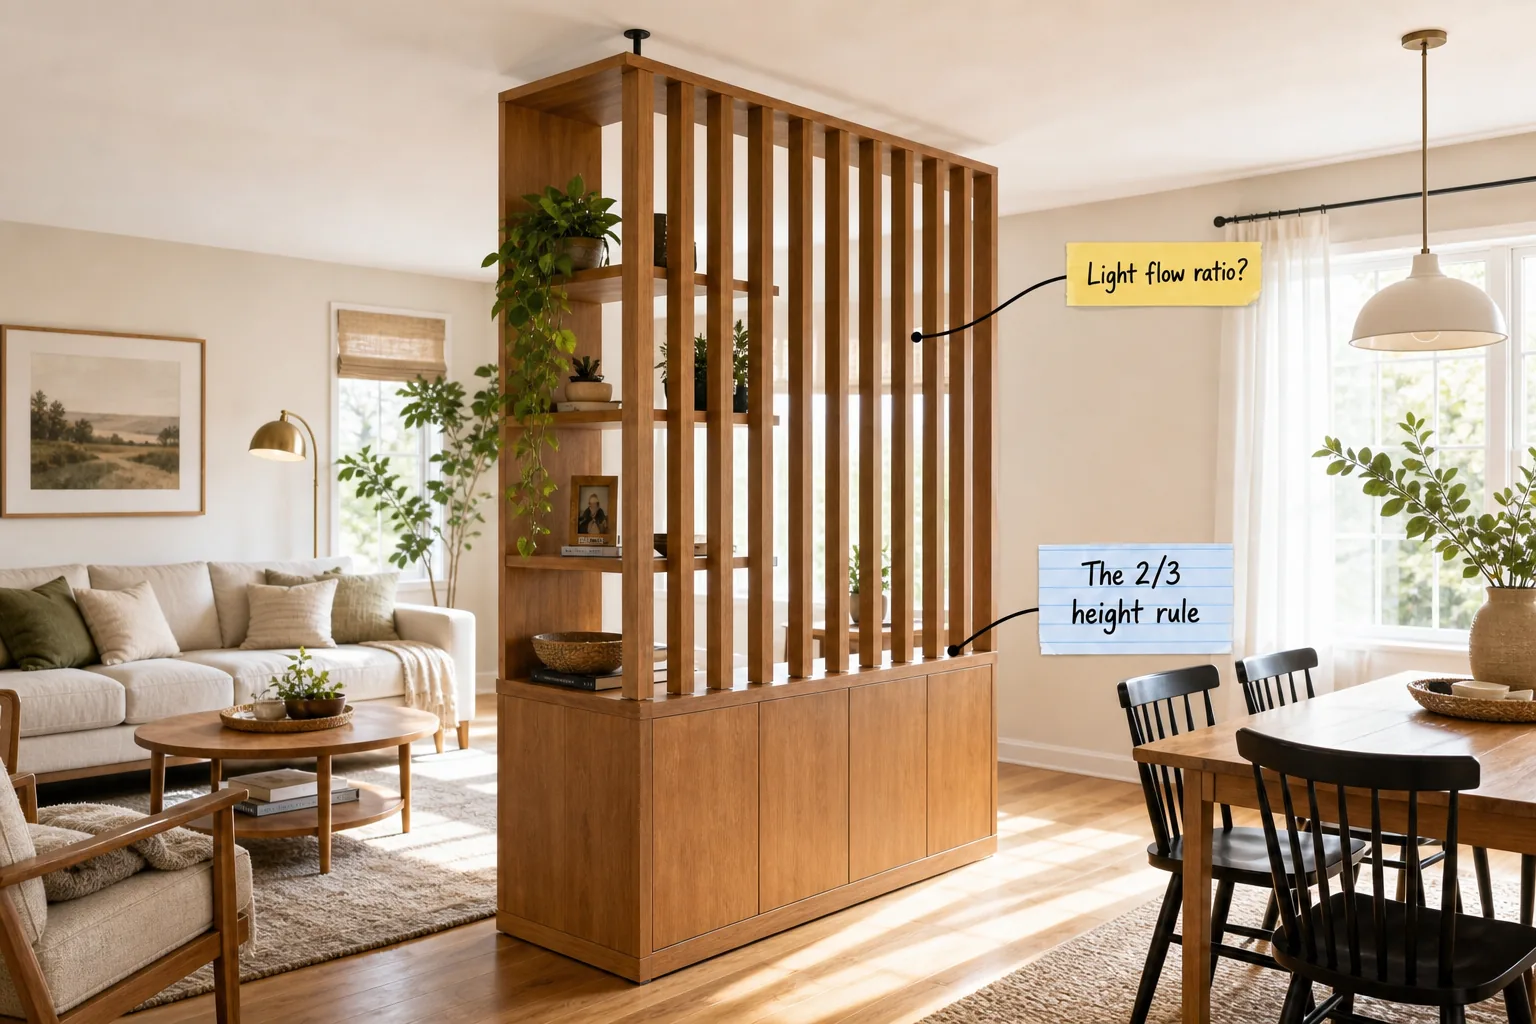
Master your open floor plan by implementing the exact 3-point spatial planning and light flow guide promised to perfectly separate your living zones. You will be able to correctly place, measure, and style a slatted room divider without losing a single ray of natural sunlight.
Planning the Base Footprint
Define the exact depth and width of the divider directly on the floor before ordering any materials. For a freestanding unit that includes enclosed lower cabinet storage, plan for a minimum depth of 15 inches to ensure structural stability without encroaching on walkways.
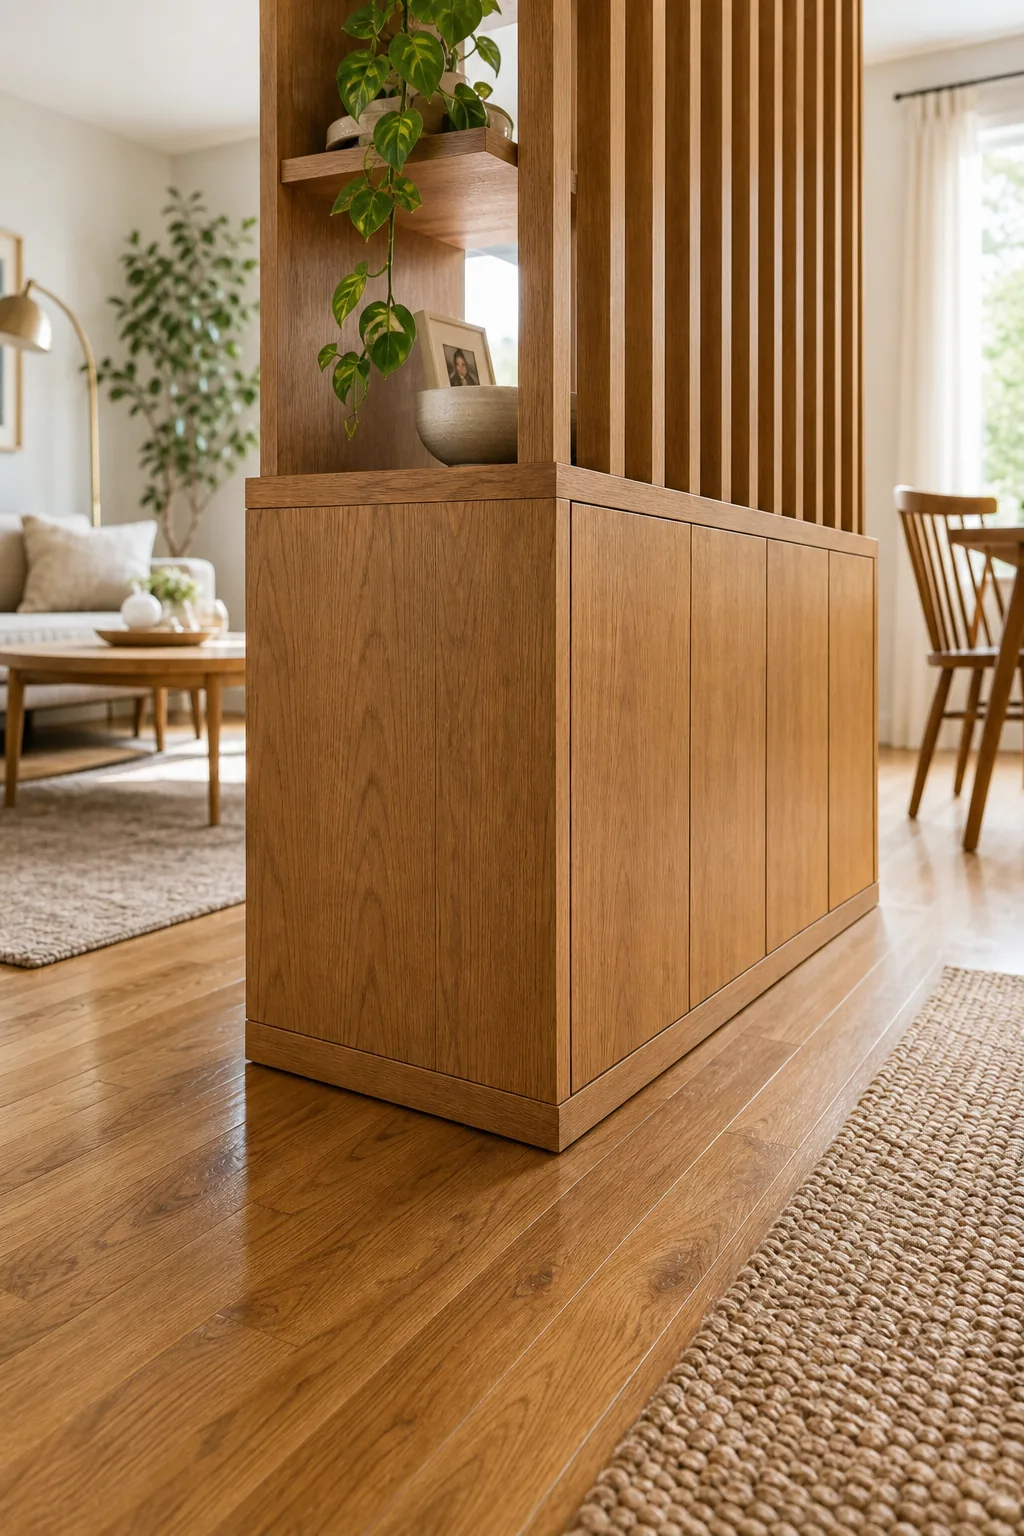
Maintaining this specific base footprint guarantees that the solid wood cabinet safely supports the tall vertical slats towering above it. Always measure from the widest point of the base molding to verify it cleanly clears your daily walking path without creating a tripping hazard.
Choosing the Right Base Core
The internal core material of your base cabinet dictates exactly how well it handles the top-heavy weight of the slat wall. Select high-density plywood over standard particleboard to prevent the ceiling mounting screws from slowly stripping out of the soft composite wood over time.
| Floor Type | Protection Method | Stability Impact | Weight Limit |
|---|---|---|---|
| Solid Hardwood | Thick felt adhesive pads | Minimal shifting | High capacity |
| Ceramic Tile | Textured rubber grip tape | High friction hold | Maximum load |
| Plush Carpet | Metal carpet spikes | Requires wall anchor | Medium capacity |
| Vinyl Plank | Silicone base mats | Prevents sliding | Standard load |
| Laminate | Silicone base mats | Prevents sliding | Standard load |
| Engineered Wood | Felt adhesive pads | Minimal shifting | High capacity |
Distribute the structural weight evenly across these protective layers to protect your expensive flooring warranty from permanent compression damage. A perfectly balanced base prevents the entire slatted structure from leaning forward into the primary living area when heavy decorative items are stored inside.
Applying the 2/3 Height Rule
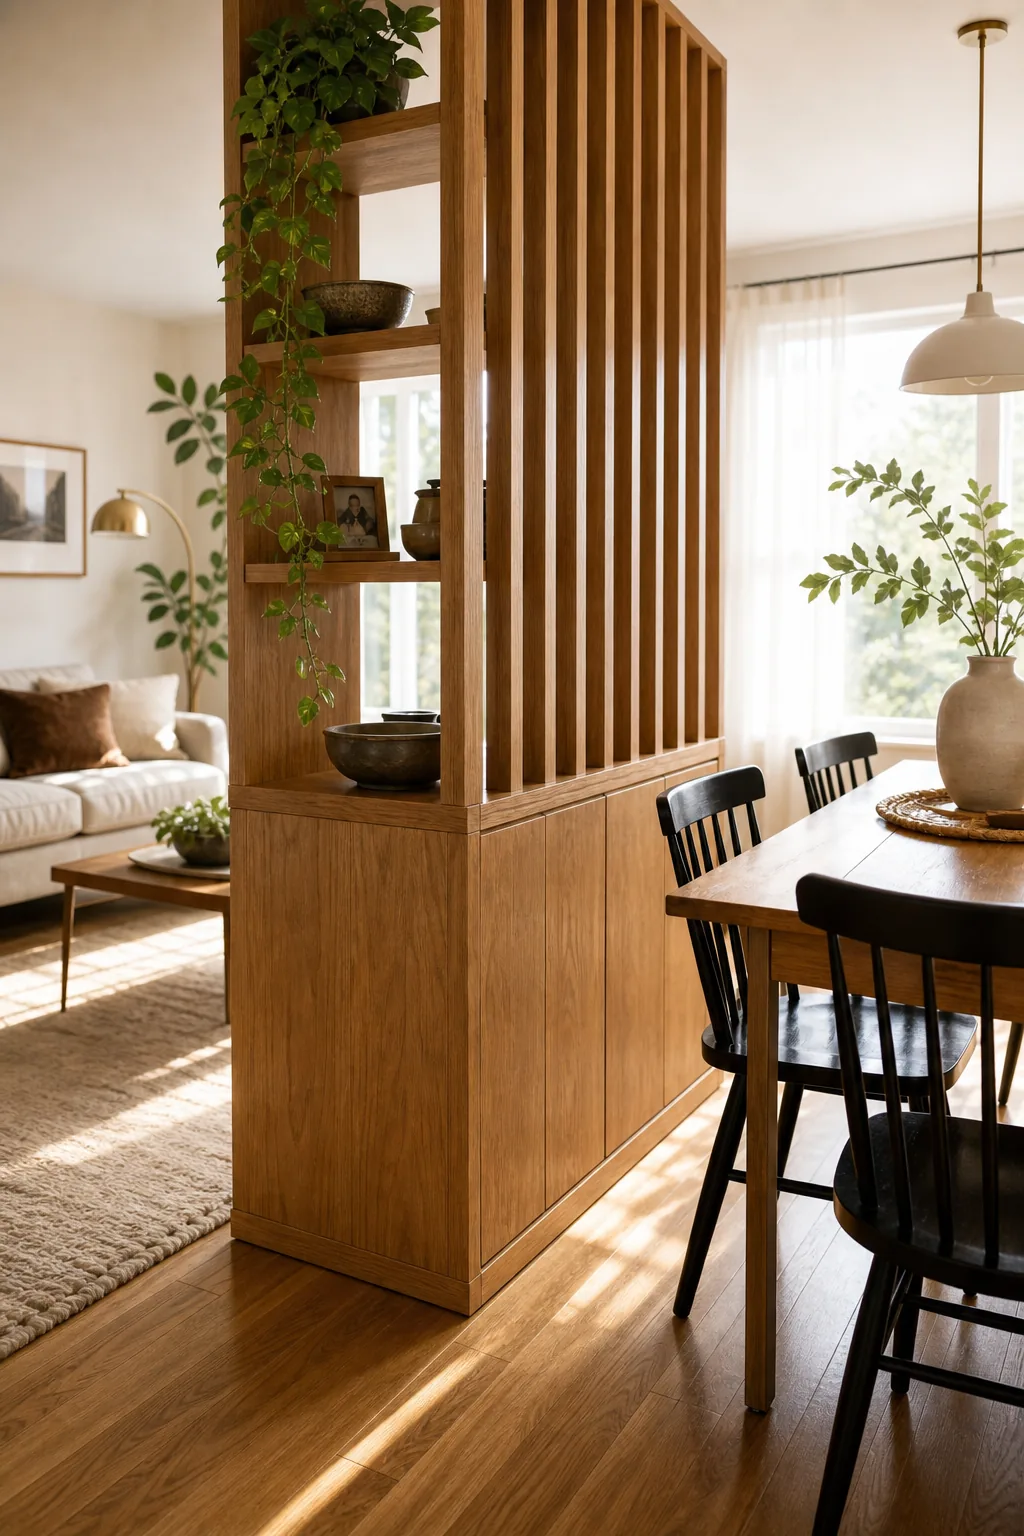
Balance enclosed storage and visual openness by strictly dividing the unit’s vertical space before final assembly. The solid lower cabinet must occupy exactly one-third of the total ceiling height to keep heavy visual mass grounded securely near the floor rather than looming overhead.
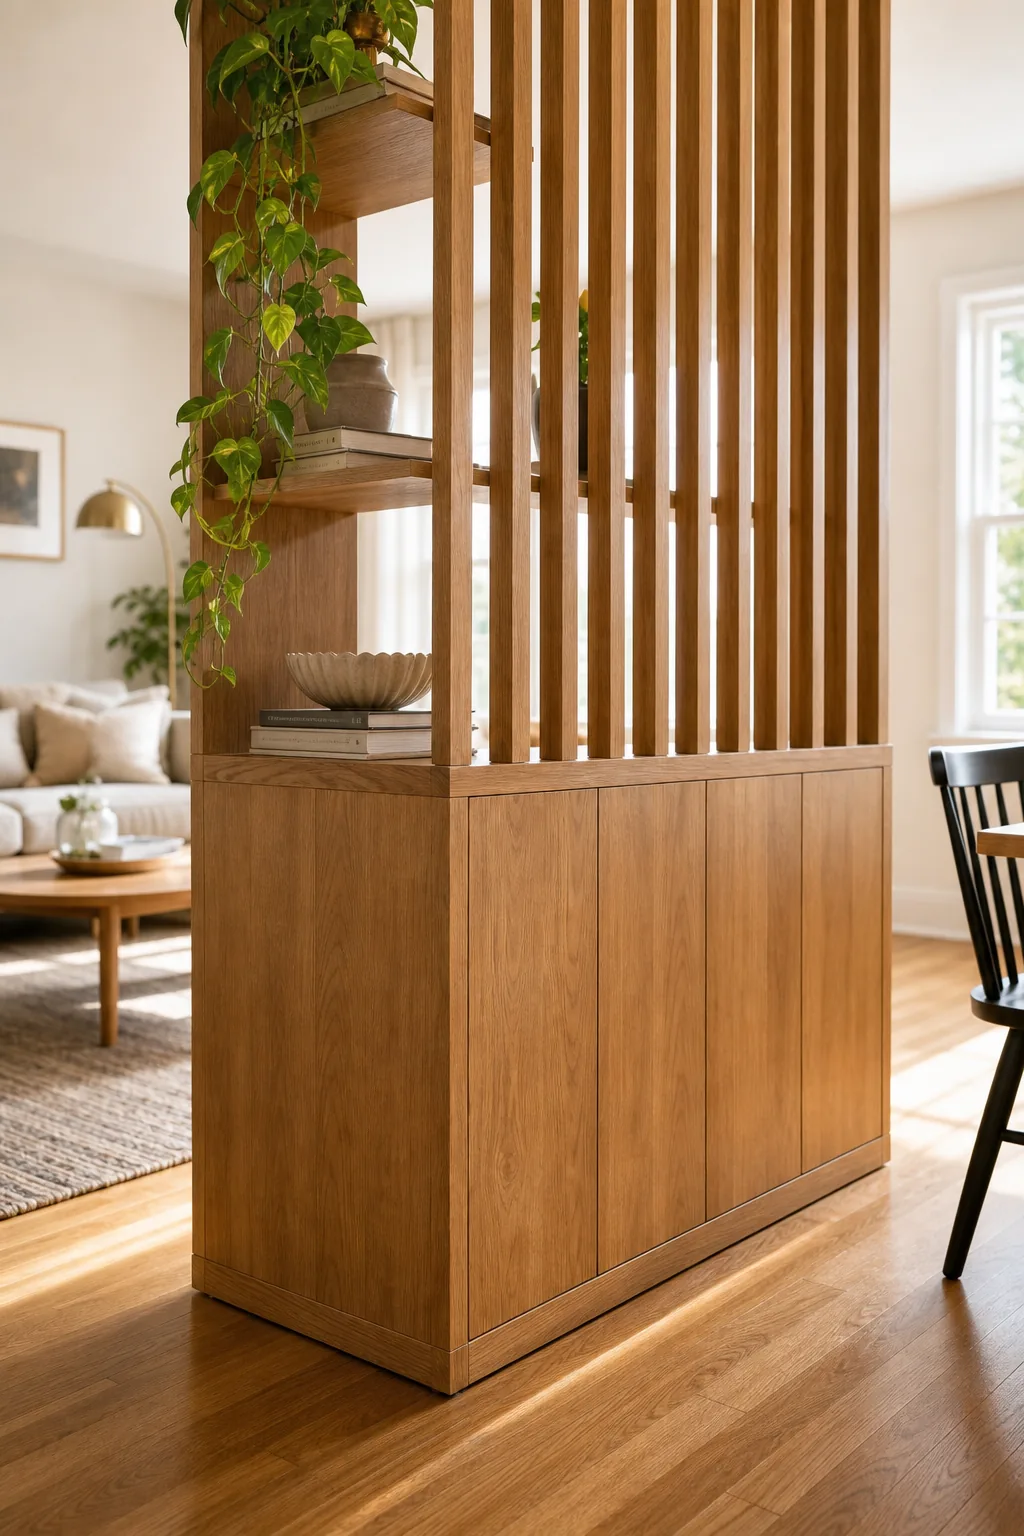
This strict application of the 2/3 height rule leaves the upper two-thirds completely dedicated to open slats and optimal light penetration. Keeping the solid sections below human eye level prevents the room divider from feeling like an oppressive, room-shrinking wall in smaller spaces.
Maximizing Lower Cabinet Utility
Design the interior of the solid one-third section to completely hide unsightly electronics, tangled cables, and bulky seasonal decor. Include adjustable internal shelving at two-inch increments to accommodate oversized items that would otherwise clutter your beautifully streamlined open floor plan and ruin the aesthetic.
Calculating the Light Flow Ratio
Determine the ideal negative space between the vertical wood slats to keep the separated room bright and welcoming. Use a strict 1:2 ratio, where the empty gap between each slat is exactly twice the physical width of the wooden slat itself for maximum daylight.
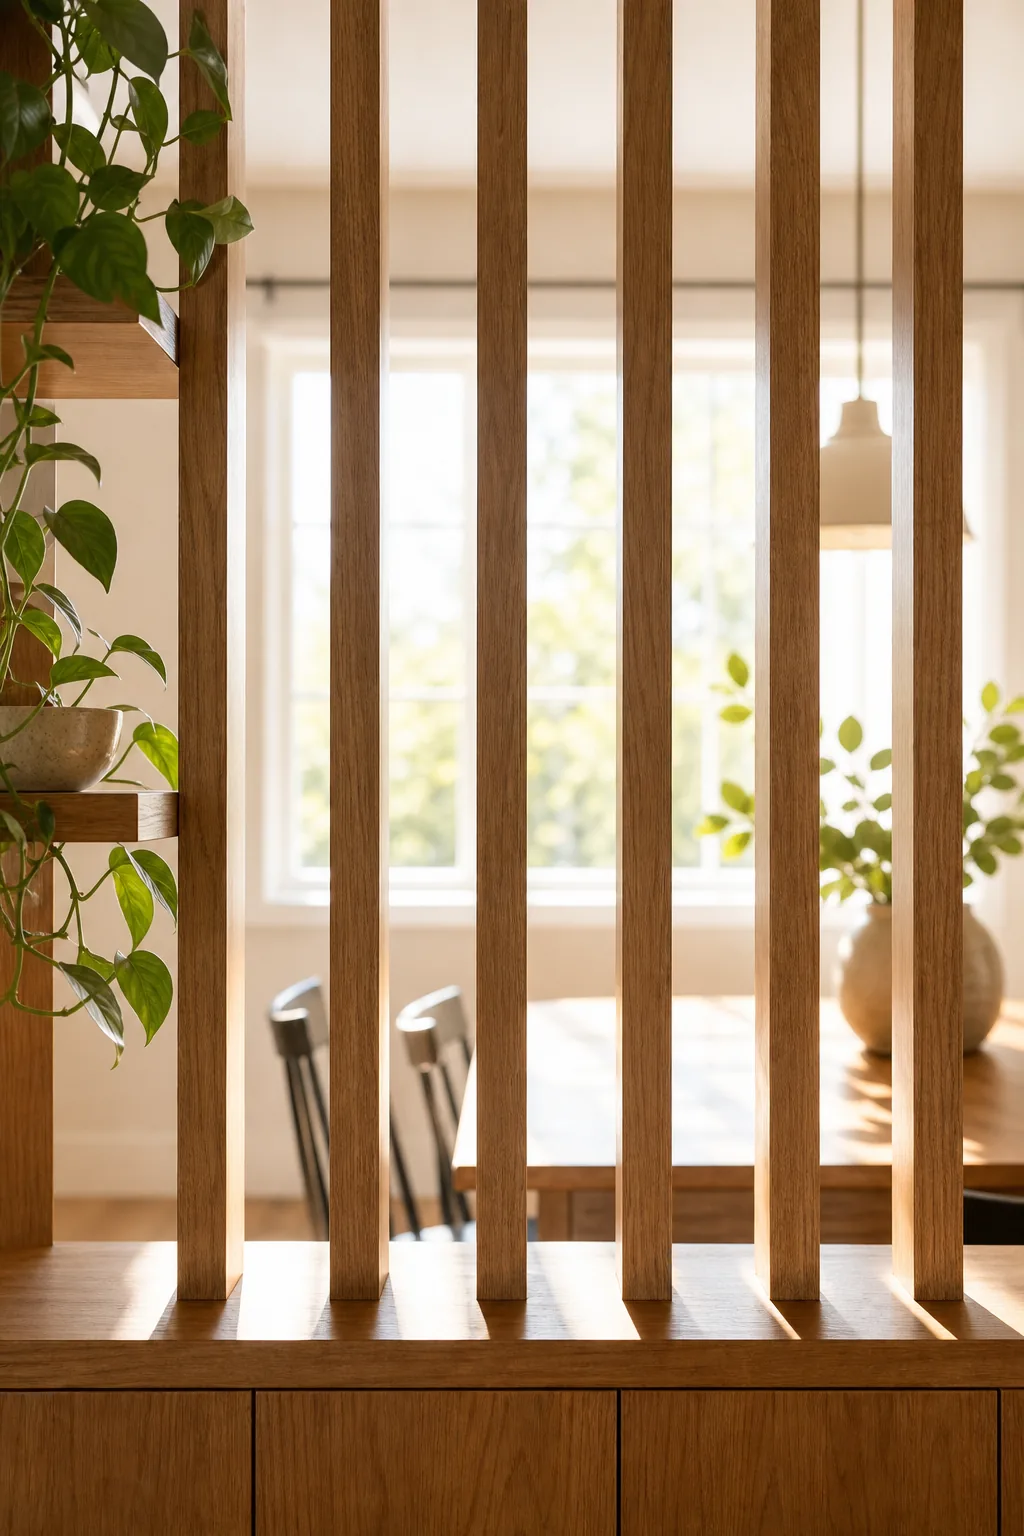
If you are custom-building your divider, you can easily mock up the visual density before committing to a final slat count. This testing phase reveals exactly how your light flow ratio? question is answered in real-time under your specific ceiling lights and window exposures.
Gathering Installation Tools
Assemble your specialized hardware and measuring equipment before lifting any heavy wooden components into vertical placement. Having the right tools staged nearby prevents you from dropping a heavy slat while blindly reaching backward for a vital metal fastener during the critical alignment phase.
- A 48-inch spirit level for checking vertical plumb
- An electronic stud finder to locate solid ceiling joists
- Low-tack painter’s tape to mark the floor footprint
- A rubber mallet to gently tap tight slats into place
- A step stool to safely reach the ceiling hardware
Keep these essential items within arm’s reach on a sturdy step stool during the entire installation process. Proper preparation ensures you can lock the tension hardware into place smoothly, quickly, and safely without accidentally damaging the fragile wood veneer or scratching the painted ceiling.
Perfecting Pass-Through Styling
Decorate the integrated open shelves without obstructing the newly calculated light flow you just meticulously established. Stick to low-profile objects and trailing plants that draw the eye vertically while leaving the crucial horizontal sightlines completely clear for cross-room conversation and unobstructed television viewing.
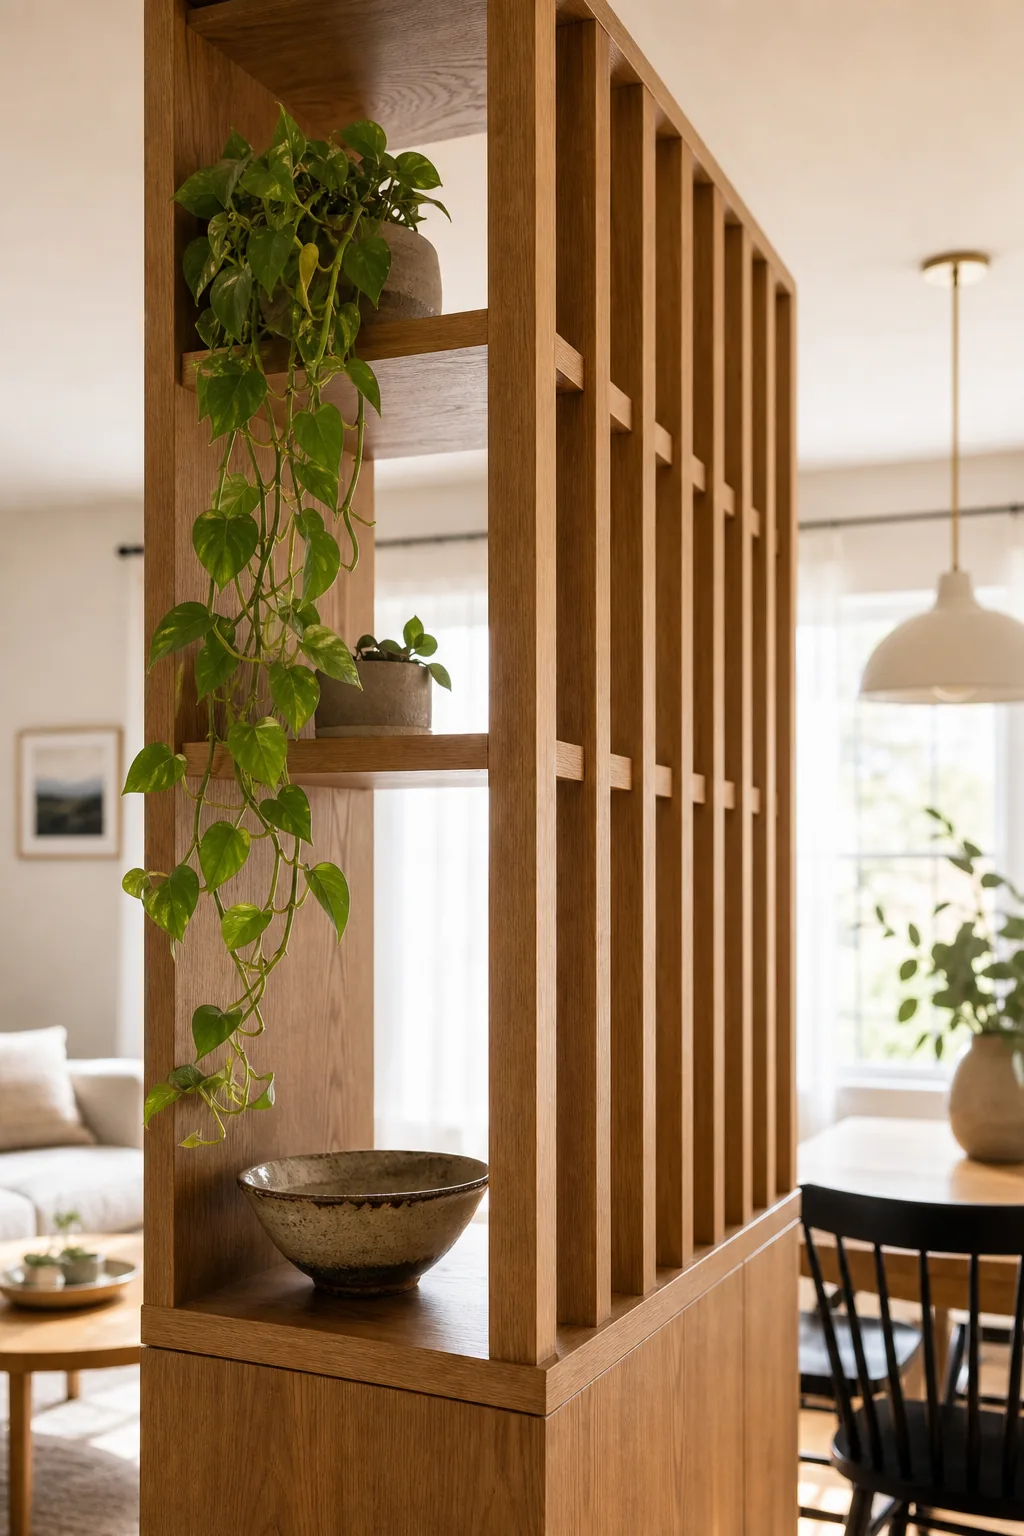
Mastering this specific pass-through styling ensures the divider remains a highly functional piece of architecture rather than becoming a cluttered bookshelf. Limit each exposed shelf to one or two curated pieces to maintain a clean, minimalist aesthetic throughout the entire open concept space.
Selecting Optimal Plant Species
Incorporate vibrant greenery that thrives in the specific filtered light conditions created by your slatted wood gaps. Fast-growing vining plants naturally soften the rigid vertical lines of the woodwork without severely blocking the essential daylight from reaching the interior dining space or hallway.
Securing the Tension Anchor
Keep the tall divider safely upright without permanently damaging your smooth drywall or expensive ceiling texture. Use adjustable ceiling mounts at the top corners to lock the unit firmly between the solid floor and the overhead structural framing for a completely drill-free installation process.
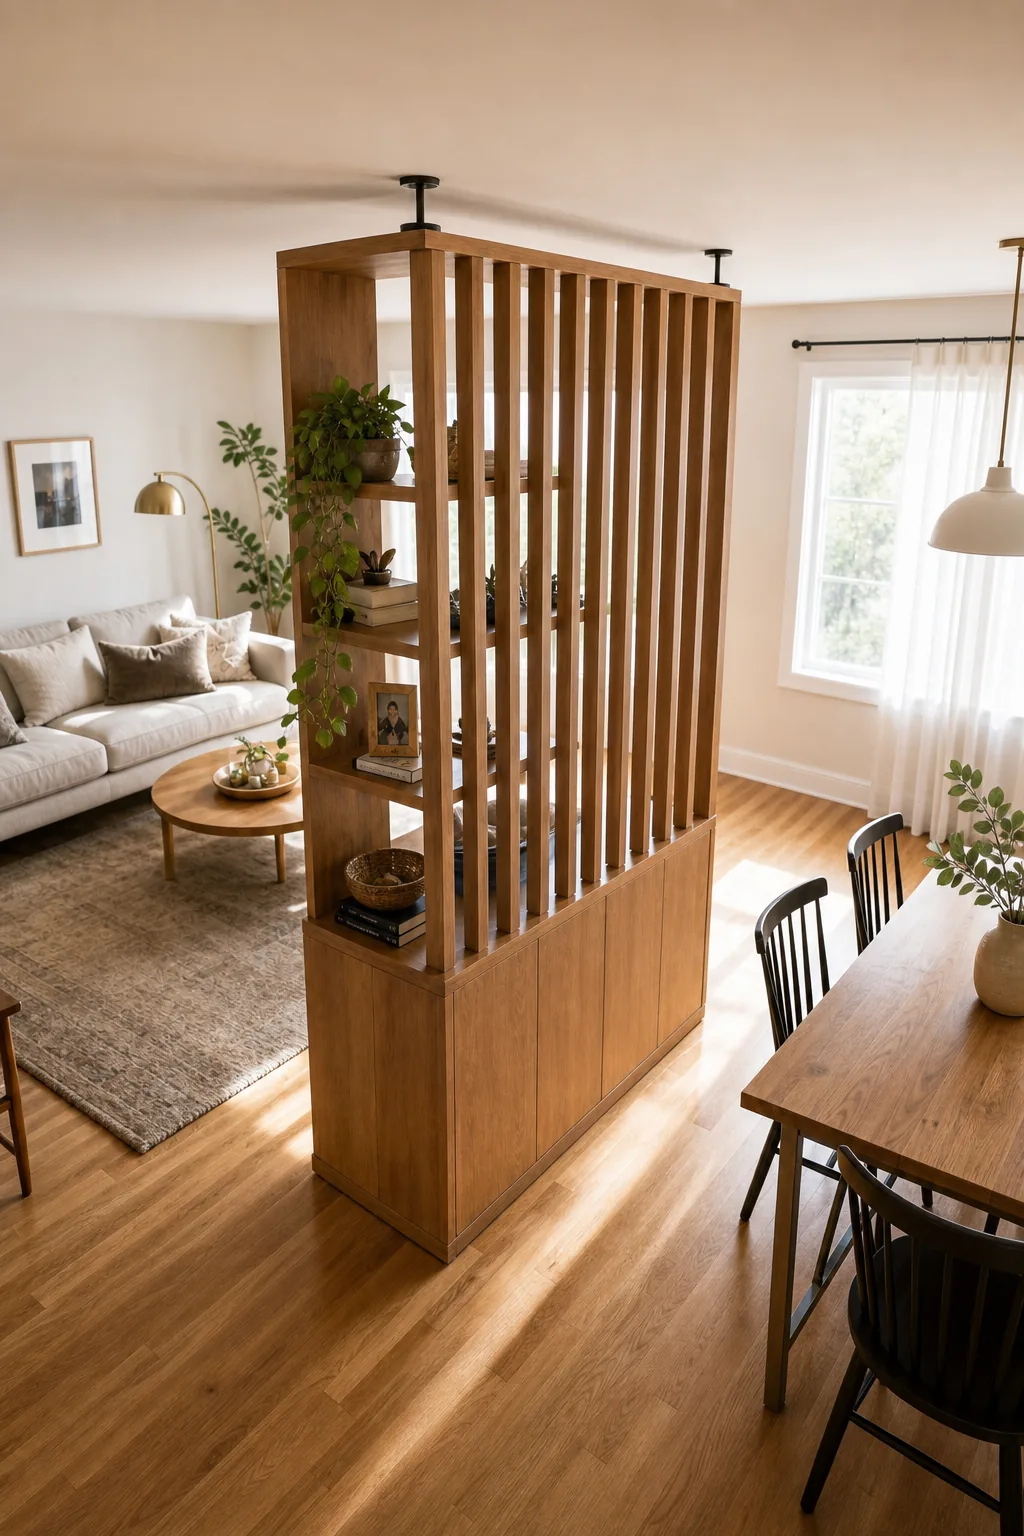
Twisting the tension anchor expands the hardware upward, bracing it tightly against the hidden ceiling joists. Never anchor these heavy room dividers directly into unsupported drywall, as the lateral weight will easily tear through the fragile sheetrock during a minor accidental bump or earthquake.
Protecting the Ceiling Finish
Insert thick rubber friction pads between the metal tension hardware and your freshly painted ceiling to prevent deep circular indentations. This invisible layer of protection provides extra grip for the mounts while ensuring you easily retain your full apartment security deposit when moving out.
The 3-Point Spatial Planning Guide
Execute the core spatial planning strategy for open concepts to confidently finalize your room’s layout. This exact framework ensures your new divider enhances the natural architecture rather than accidentally creating an awkward, restrictive bottleneck in your daily routine or blocking essential heating vents.
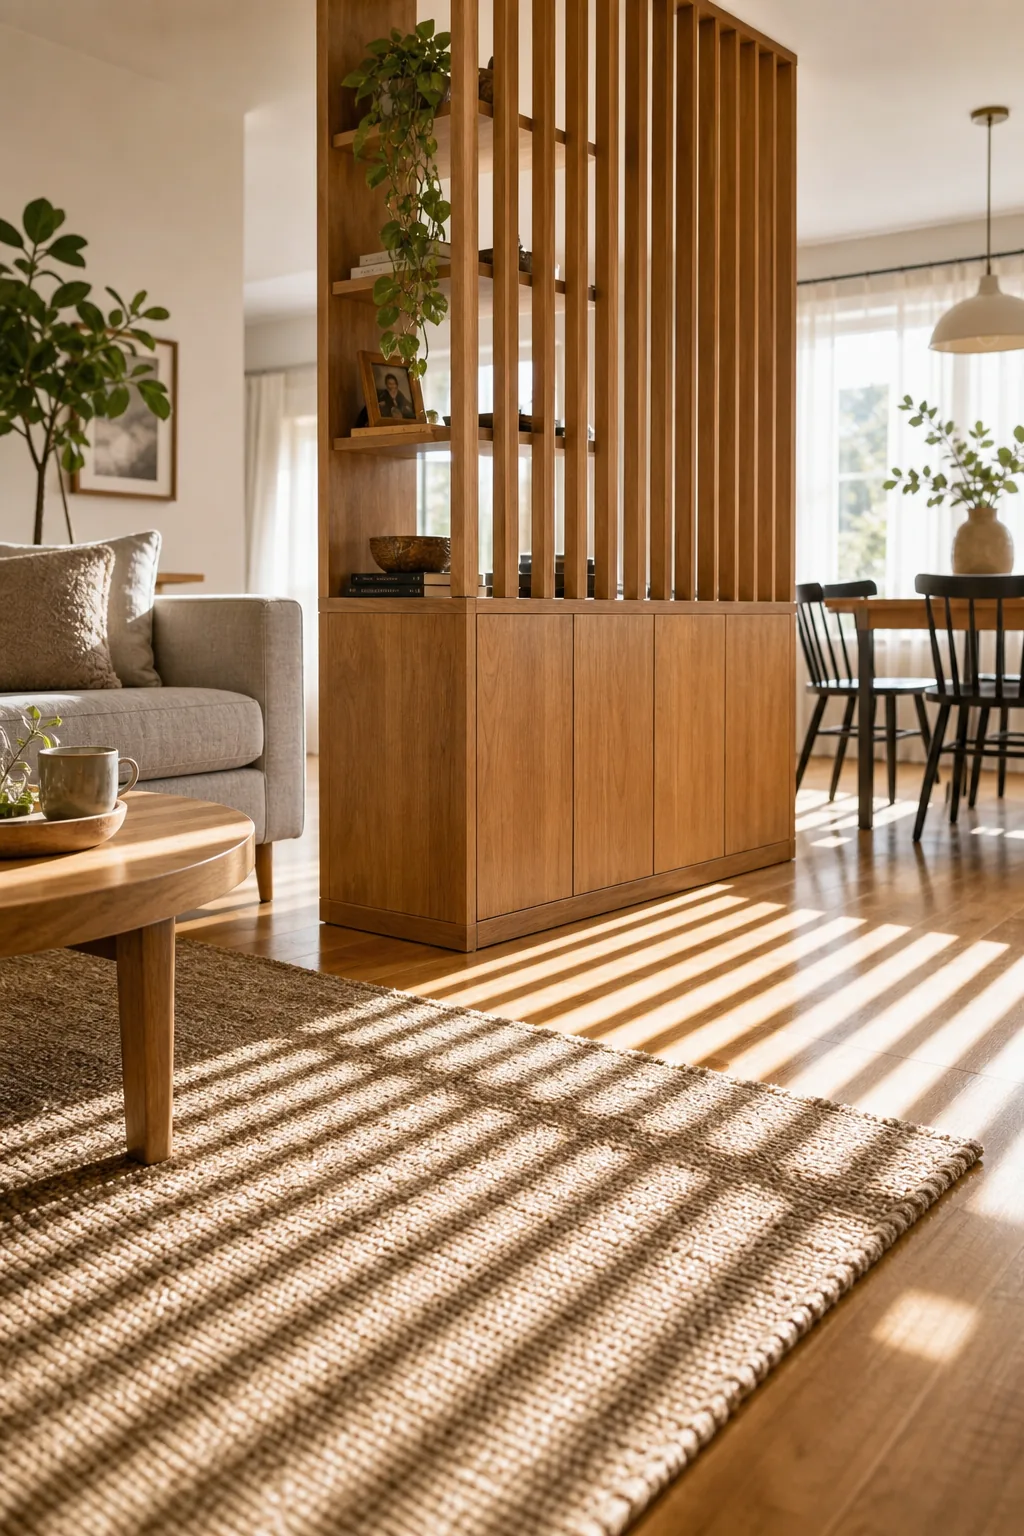
Follow these three definitive rules to properly place your slatted wall and completely resolve your open floor plan layout challenges on the very first try without needing to reposition the heavy furniture later.
- Align the divider’s edge with an existing architectural seam, such as a window frame or rug border, to create a natural transition.
- Position the slats so the primary natural light source remains completely unblocked during the darkest hours of the morning.
- Maintain a strict 36-inch minimum circulation path around the outer edge for comfortable walking and moving furniture.
Establishing Traffic Zones
Map out your daily walking routes by laying down bright painter’s tape exactly where the 36-inch circulation path falls. This physical boundary proves whether your chosen placement allows family members to comfortably carry wide laundry baskets or heavy groceries past the unit without turning sideways.
Managing Shadows and Glare
Orient the divider to actively control how harsh sunlight moves across the room during peak afternoon hours. Placing the slats perpendicular to your largest southern or western window casts elongated, architectural shadows rather than creating a dark, solid wall of shade that shrinks the room.
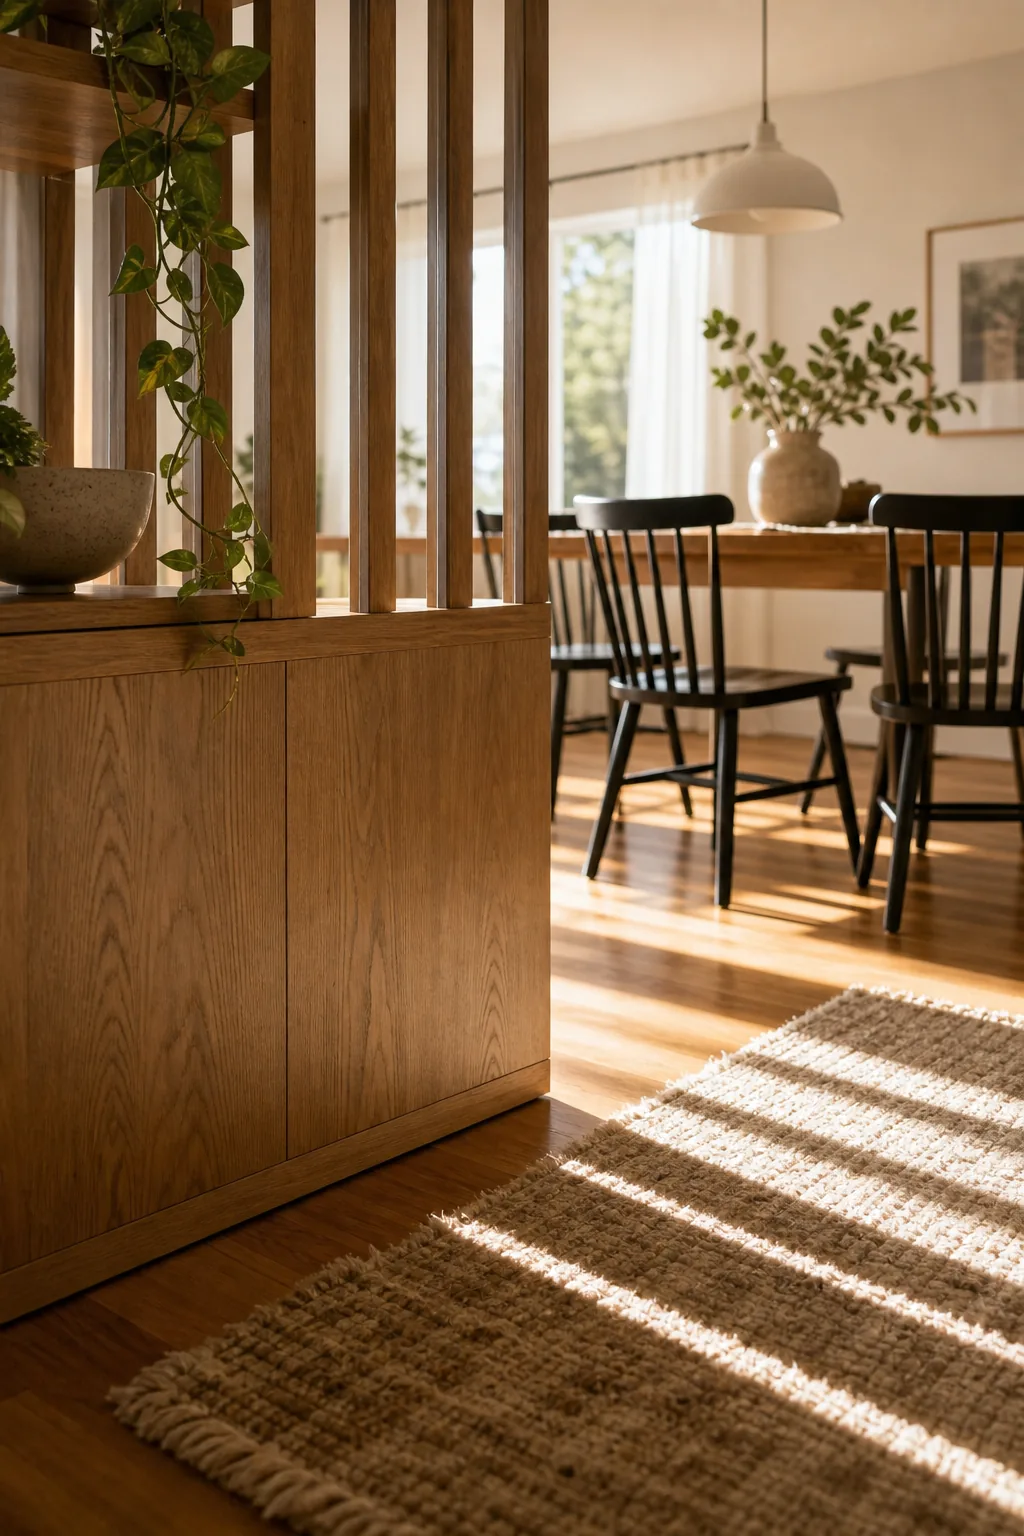
These dynamic, striped shadows add incredible visual texture to your hardwood floors as the sun slowly sets. Angling the entire unit just ten degrees can completely eliminate annoying screen glare on your living room television while preserving the bright atmosphere you worked hard to create.
Adjusting for Seasonal Sun Angles
Remember that the winter sun sits much lower in the sky, pushing direct light much deeper into your home. A perpendicularly placed divider beautifully captures this low-angle light, warming the interior space naturally during colder months without requiring extra artificial lighting or heating during daytime.
Final Placement Checks
Review the entire installation meticulously before fully loading the shelves with heavy decor or tightening the top anchors to their maximum torque. Confirm that the base sits perfectly level on the flooring to prevent a dangerous forward lean over time as the house naturally settles.
Run through this quick verification sequence before you apply final tension to the ceiling mounts and consider the room divider project officially complete and ready for everyday use.