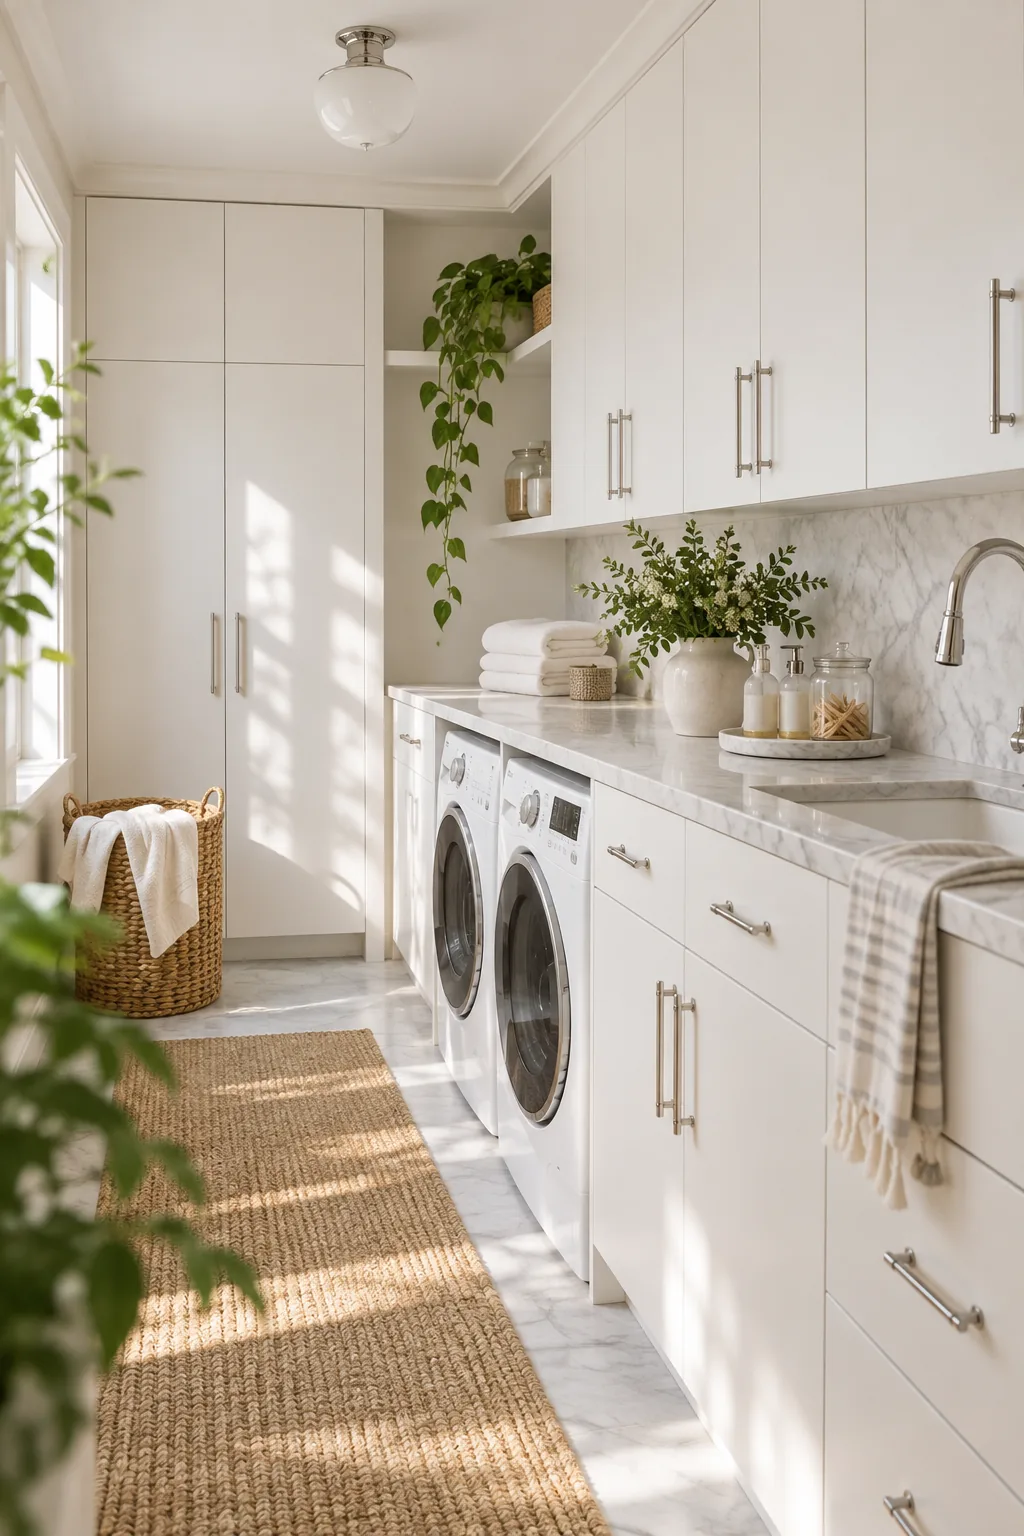
Laundry Room Storage: Hidden Pull-Outs & Cabinet Dimensions
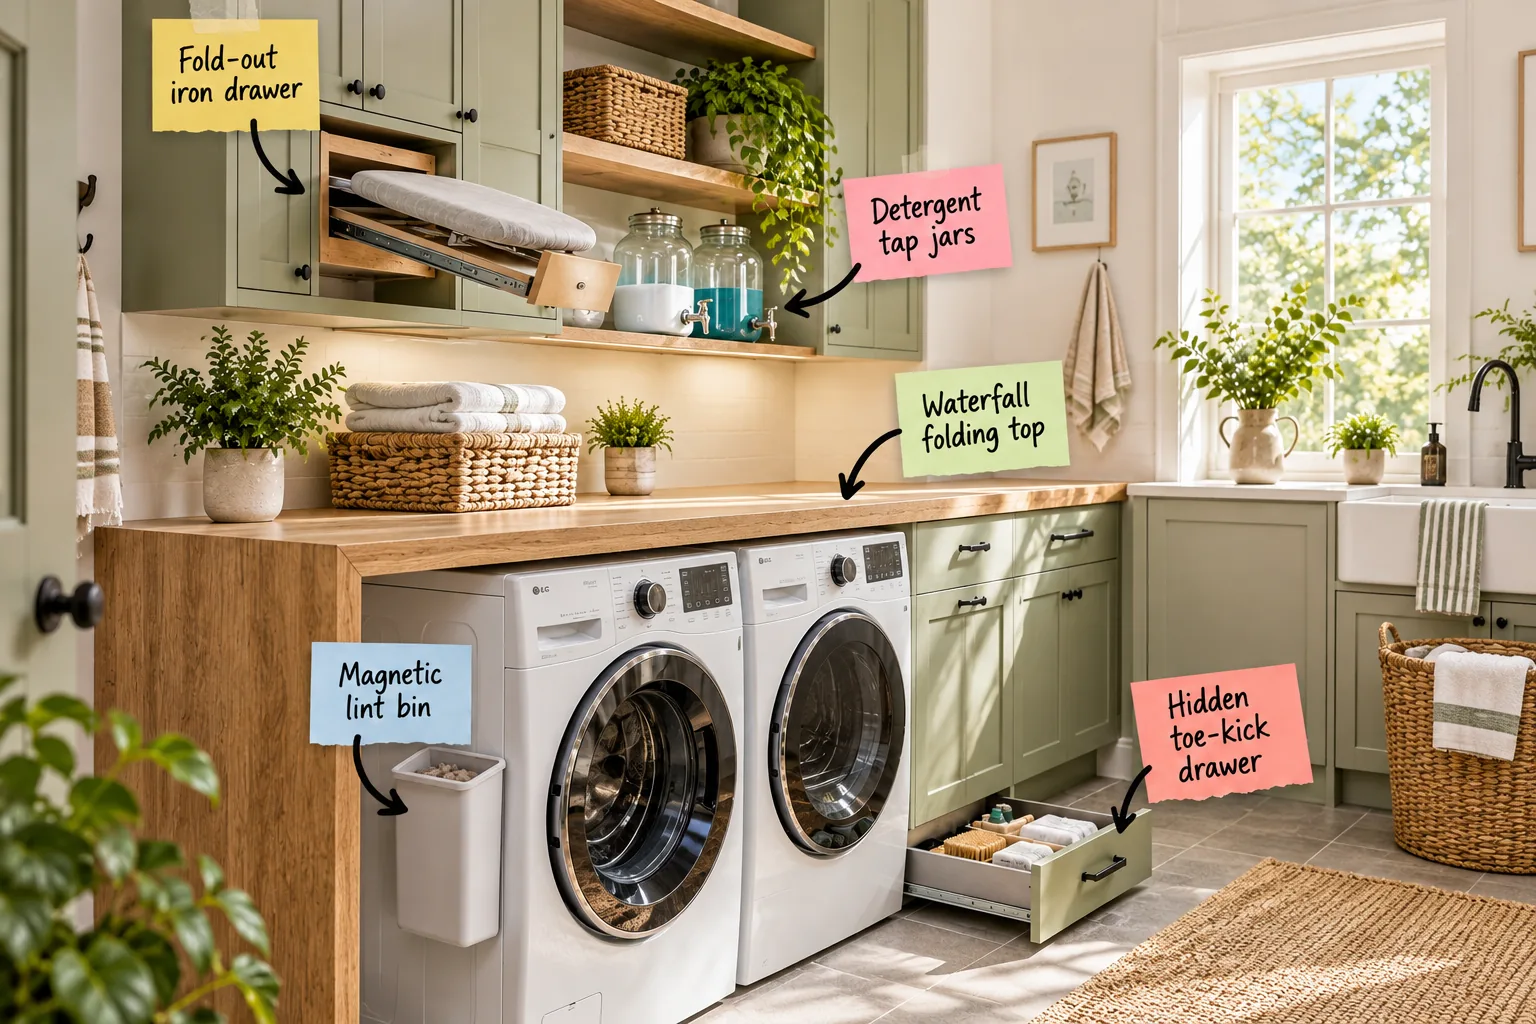
Transform your utility space with clever concealed storage, and use our complete laundry cabinet dimensions guide to map out your own clutter-free built-ins. You will be able to integrate hidden pull-outs and plan custom cabinetry using standard measurements.
The Fold-Out Iron Drawer
In my own Denver laundry room, converting a standard upper drawer into a concealed ironing station finally cleared my floor space and streamlined my morning routine. You need a minimum drawer width of 18 inches and a depth of 14 inches to house standard fold-out hardware.
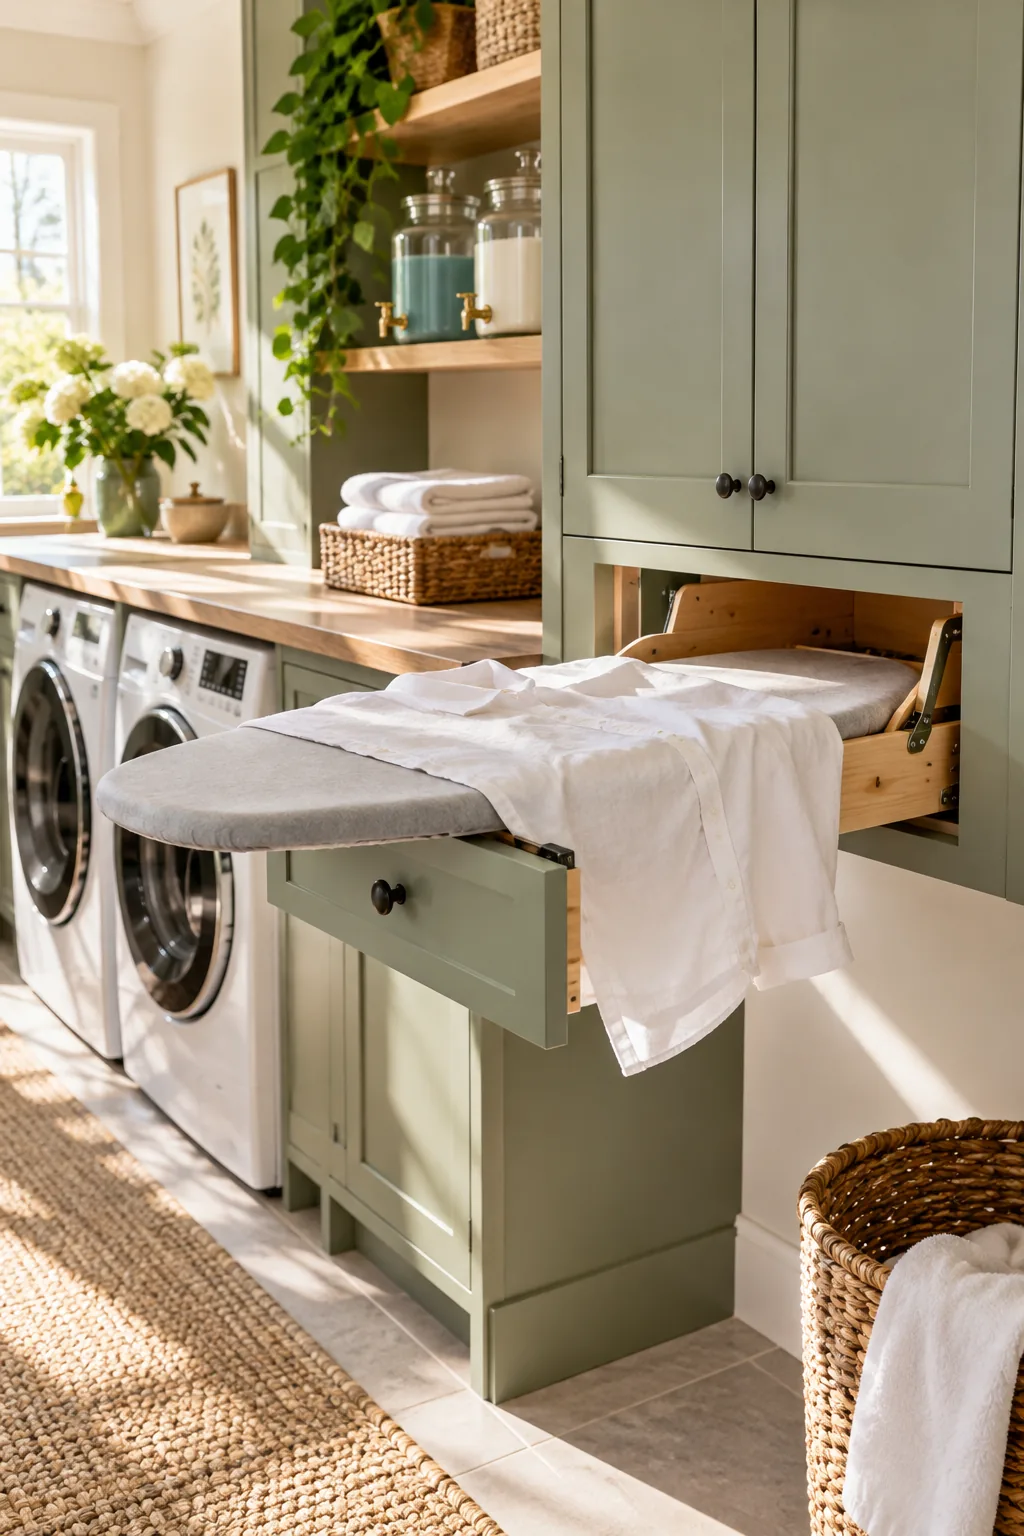
Tucking this heavy mechanism into the upper cabinet zone keeps the board at a comfortable working height while maintaining visual balance across your cabinetry. Heavy-duty drawer slides are absolutely essential here to prevent sagging when you apply downward pressure to press thick fabrics.
Choosing Moisture-Resistant Core Materials
Constructing your upper laundry cabinetry from exterior-grade plywood rather than standard particleboard prevents structural swelling from inevitable plumbing leaks and high ambient humidity. This upgraded core material holds screws tightly, ensuring your heavy fold-out ironing hardware remains securely anchored for decades of daily use.
Integrating Pull-Out Drying Racks
Installing shallow pull-out drying racks directly below your upper cabinets provides the perfect, breathable spot to lay delicate wool sweaters completely flat. These mesh-lined wooden frames slide silently out of sight when not in use, preserving your clean, symmetrical cabinet faces and open workspace.
Detergent Tap Jars on Open Shelving
Transitioning bulky plastic detergent bottles into sleek glass beverage dispensers creates a calmer, more symmetrical mid-upper shelving zone that feels intentionally designed. Ensure your open shelf provides at least 12 inches of vertical clearance to accommodate a standard 1-gallon dispenser and its tap mechanism.
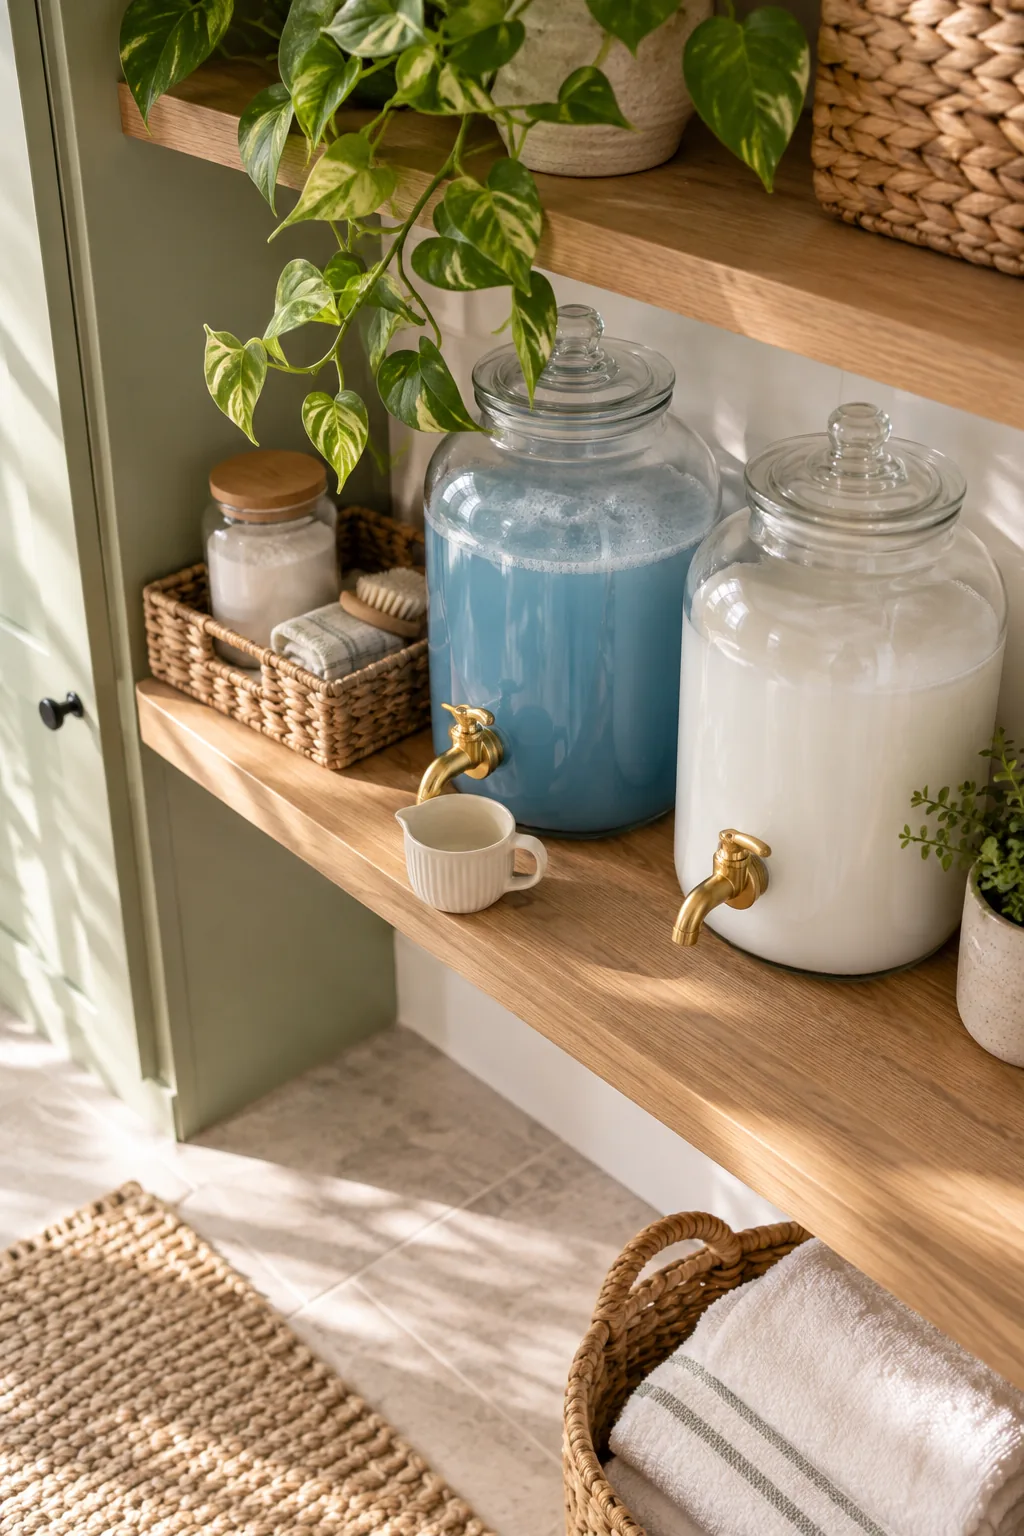
Positioning the taps slightly over the shelf edge allows measuring cups to slide underneath without tipping, preventing messy detergent spills on the wood. This simple visual swap eliminates chaotic branding clutter while keeping your daily cleaning supplies within immediate, ergonomic reach.
- Choose dispensers with solid stainless steel spigots rather than plastic to prevent long-term dripping and corrosive buildup.
- Label the back of each glass jar with a white grease pencil to discreetly track expiration dates and specific washing instructions.
- Place a narrow silicone drip tray directly beneath the taps to catch any stray drops before they can permanently stain the shelving.
- Keep a small stack of reusable bamboo cloths nearby to quickly wipe down the glass surfaces and maintain their pristine clarity.
Selecting Durable Shelf Brackets
Supporting heavy glass detergent dispensers requires heavy-duty steel brackets anchored directly into the wooden wall studs. A full one-gallon glass jar weighs over ten pounds, meaning standard drywall anchors will eventually fail under the constant downward pressure and cause a dangerous, messy collapse.
Strategic Task Lighting Placement
Installing bright LED tape lighting underneath the lowest upper cabinets eliminates dark shadows across your continuous folding counter. This focused task lighting ensures you can easily spot small, stubborn stains and properly measure concentrated liquid detergents without constantly straining your eyes during evening routines.
The Waterfall Folding Top
A continuous wood counter spanning the washer and dryer adds immense architectural warmth, but a standard 1.5-inch thick butcher block requires a minimum 1-inch air gap above the appliances. This essential breathing room allows for proper heat dissipation and prevents severe vibration transfer.
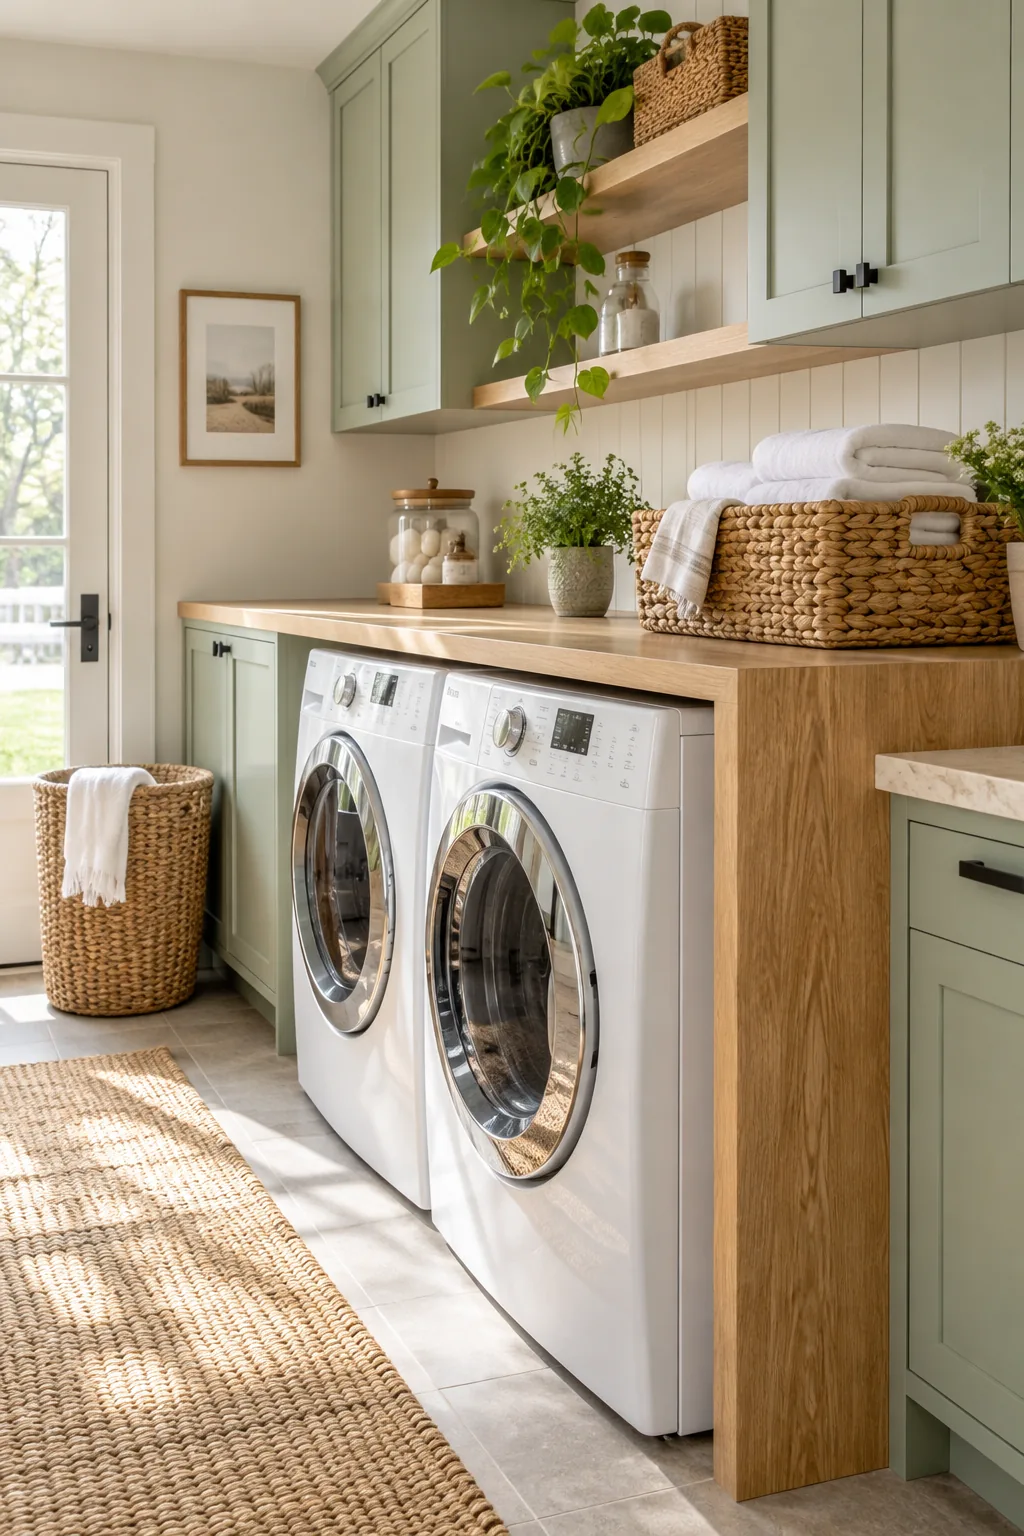
Building a continuous counter over violently vibrating appliances requires careful structural planning to prevent long-term damage to both the wood and the expensive machines.
Dedicated Stain Treatment Zones
Carving out a small, waterproofed section of your continuous wooden counter specifically for stain treatment keeps harsh chemical sprays completely isolated. Storing a dedicated scrubbing brush and concentrated pretreatment spray in a shallow, accessible drawer directly below this zone significantly streamlines your laundry prep.
Magnetic Lint Bin
I used to leave a messy trash can on the floor until I discovered the brilliant efficiency of a slim magnetic bin attached directly to the dryer side. This clever accessory keeps the countertop beautifully clear and requires only a 4-inch gap between the appliance and the wall.
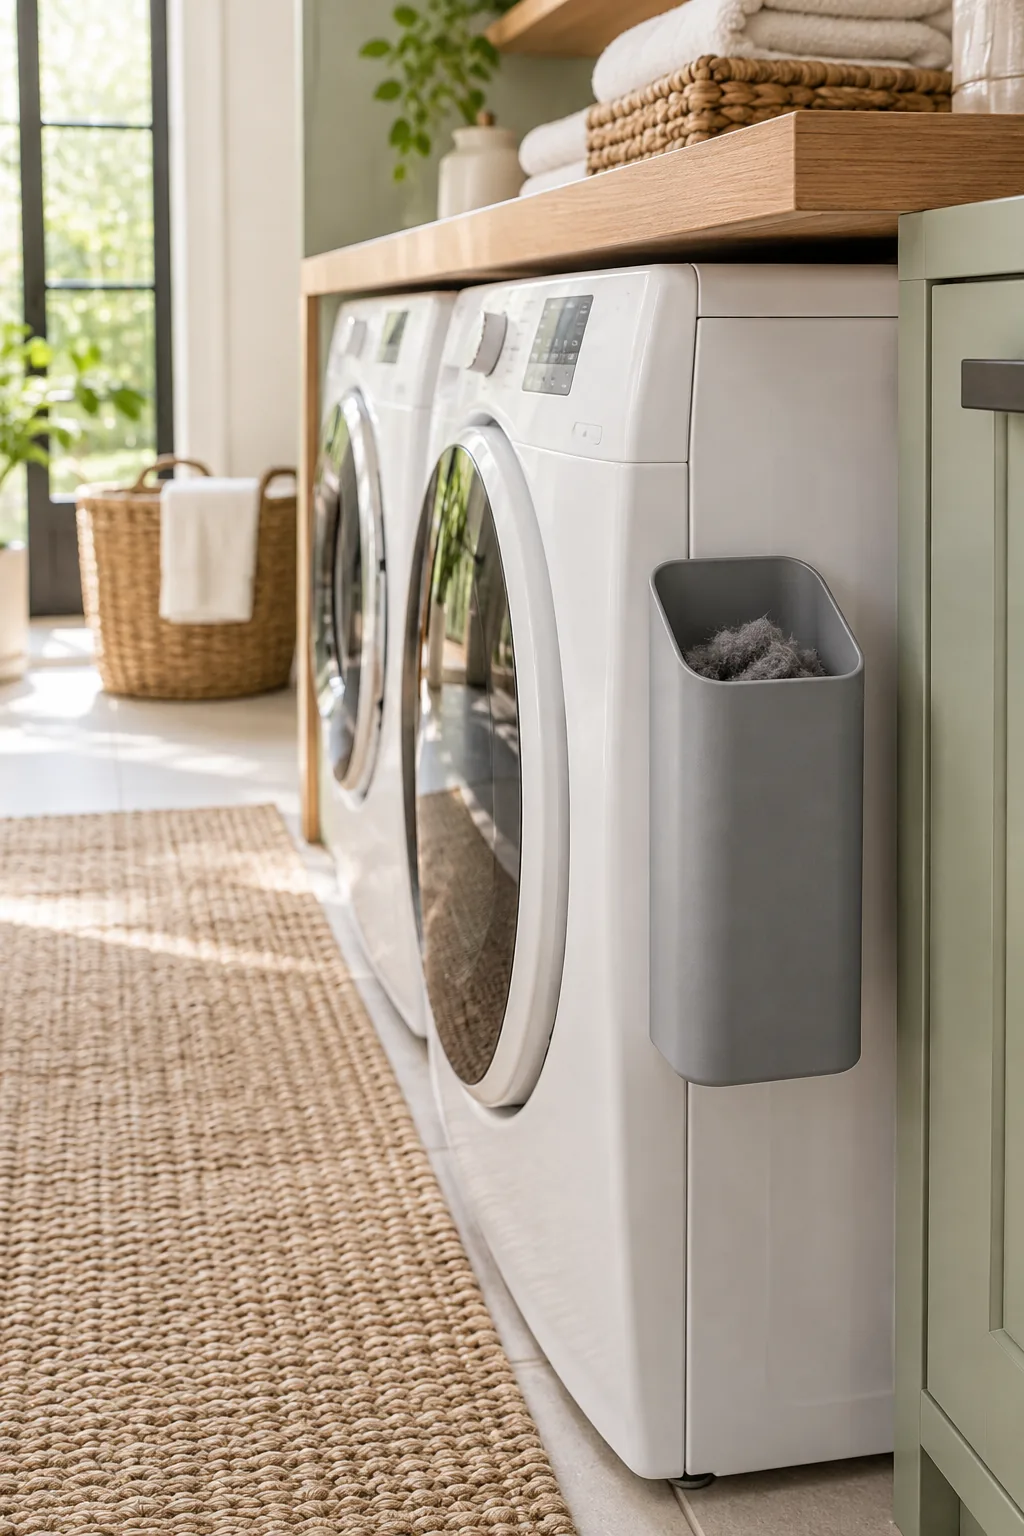
Emptying this hidden bin weekly maintains optimal dryer airflow while maximizing the narrow, often-wasted appliance side zone for a much cleaner aesthetic. It is a perfect example of Eastern spatial efficiency applied to Western utility rooms, prioritizing hidden, seamless function over visible clutter.
Soundproofing the Appliance Cavity
Lining the interior side walls of your custom appliance cavity with dense acoustic foam panels significantly dampens the mechanical noise of high-speed spin cycles. This hidden soundproofing layer is especially valuable if your active utility room shares a thin wall with a quiet home office.
Managing Hose and Cable Clutter
Routing thick braided water hoses and heavy power cables requires dedicated vertical channels behind your lower cabinetry framing. Keeping these essential utility lines neatly strapped to the back drywall prevents them from violently vibrating against the wood and generating excessive noise during operation.
Hidden Toe-Kick Drawer
The unused, dusty space beneath your lower cabinets offers prime real estate for utility items you rarely need but must keep handy. Standard toe-kicks are 4.5 inches high, which perfectly accommodates a 3.5-inch deep hidden drawer for stiff scrub brushes and spare microfiber rags.
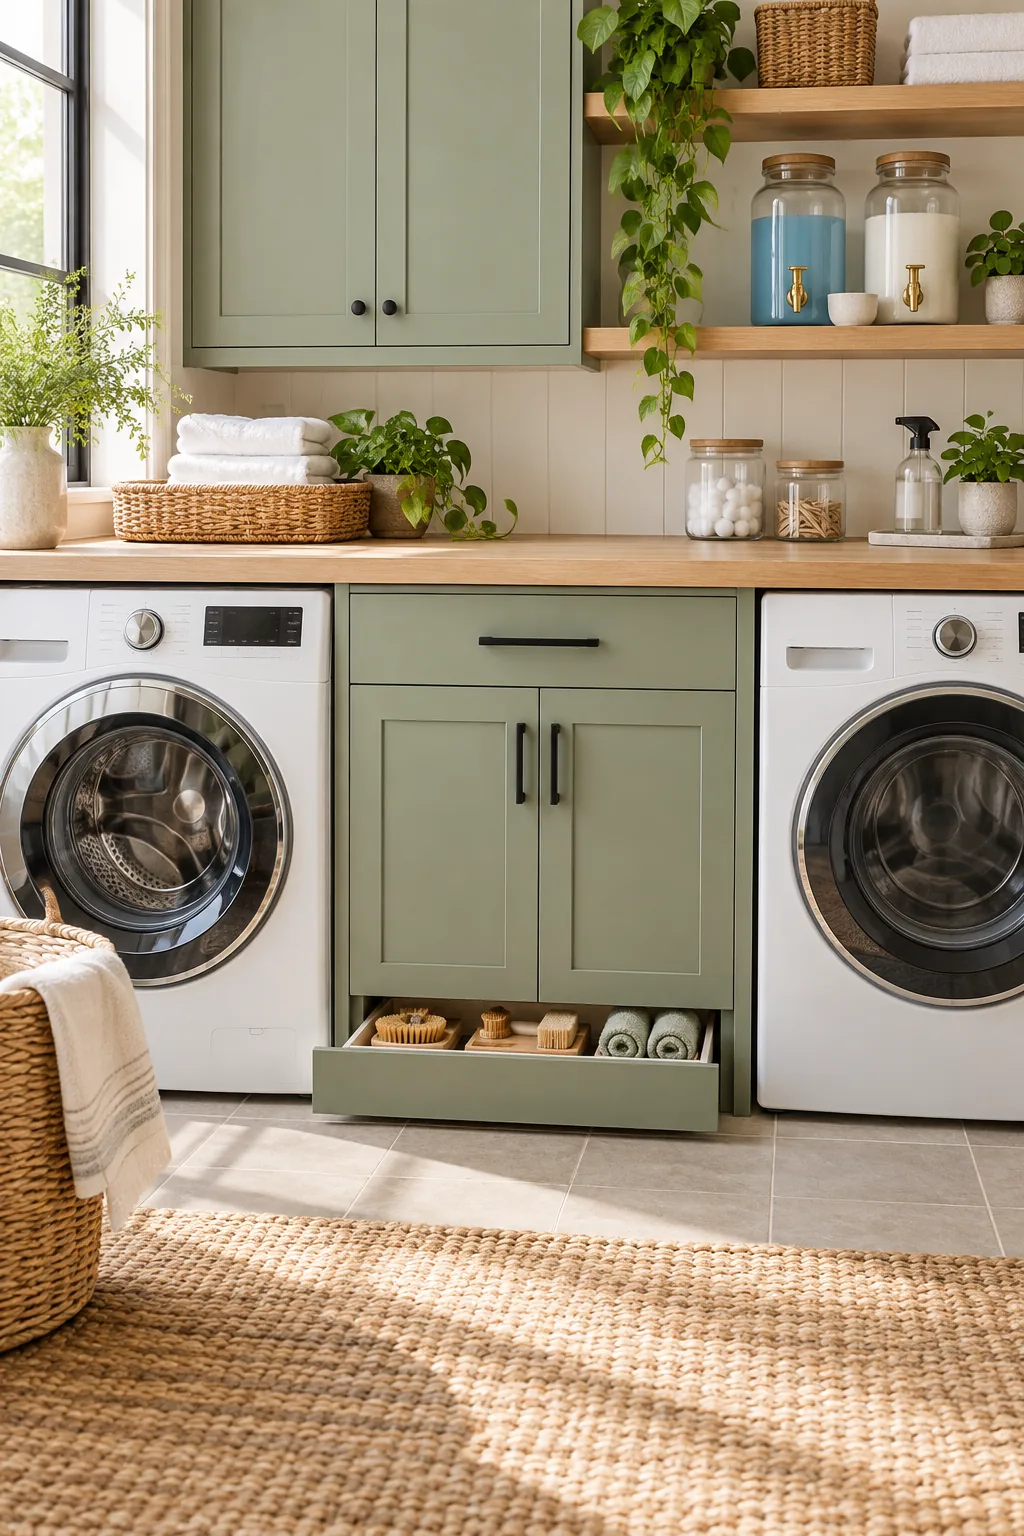
Using mechanical push-to-open hardware on these baseboard drawers eliminates the need for visible exterior handles, keeping the lower sightlines completely clean and modern. This seamless integration ensures your utility zone remains highly functional without looking strictly utilitarian or visually overwhelming from the doorway.
Floor Leveling and Vibration Control
A perfectly level concrete or tile floor is absolutely critical before installing customized baseboard drawers or heavy wooden cabinetry. Placing thick, anti-vibration rubber pads under the adjustable machine feet prevents the powerful appliances from walking across the room and destroying your hidden pull-outs.
Appliance Clearances
Before building any surrounding cabinets, I always tape out the necessary breathing room around washers and dryers to prevent dangerous overheating. Front-loaders typically need 6 inches of clearance behind them for thick hoses and rigid venting, plus 1 inch on the sides.
Laundry Cabinet Dimensions Guide
Mapping out your custom laundry cabinetry requires strictly adhering to standard depth and height dimensions for a seamless, ergonomic workflow that reduces physical strain. Plan for a lower cabinet depth of 24 inches, an upper depth of 12 inches, and a comfortable countertop height of 39 to 40 inches.
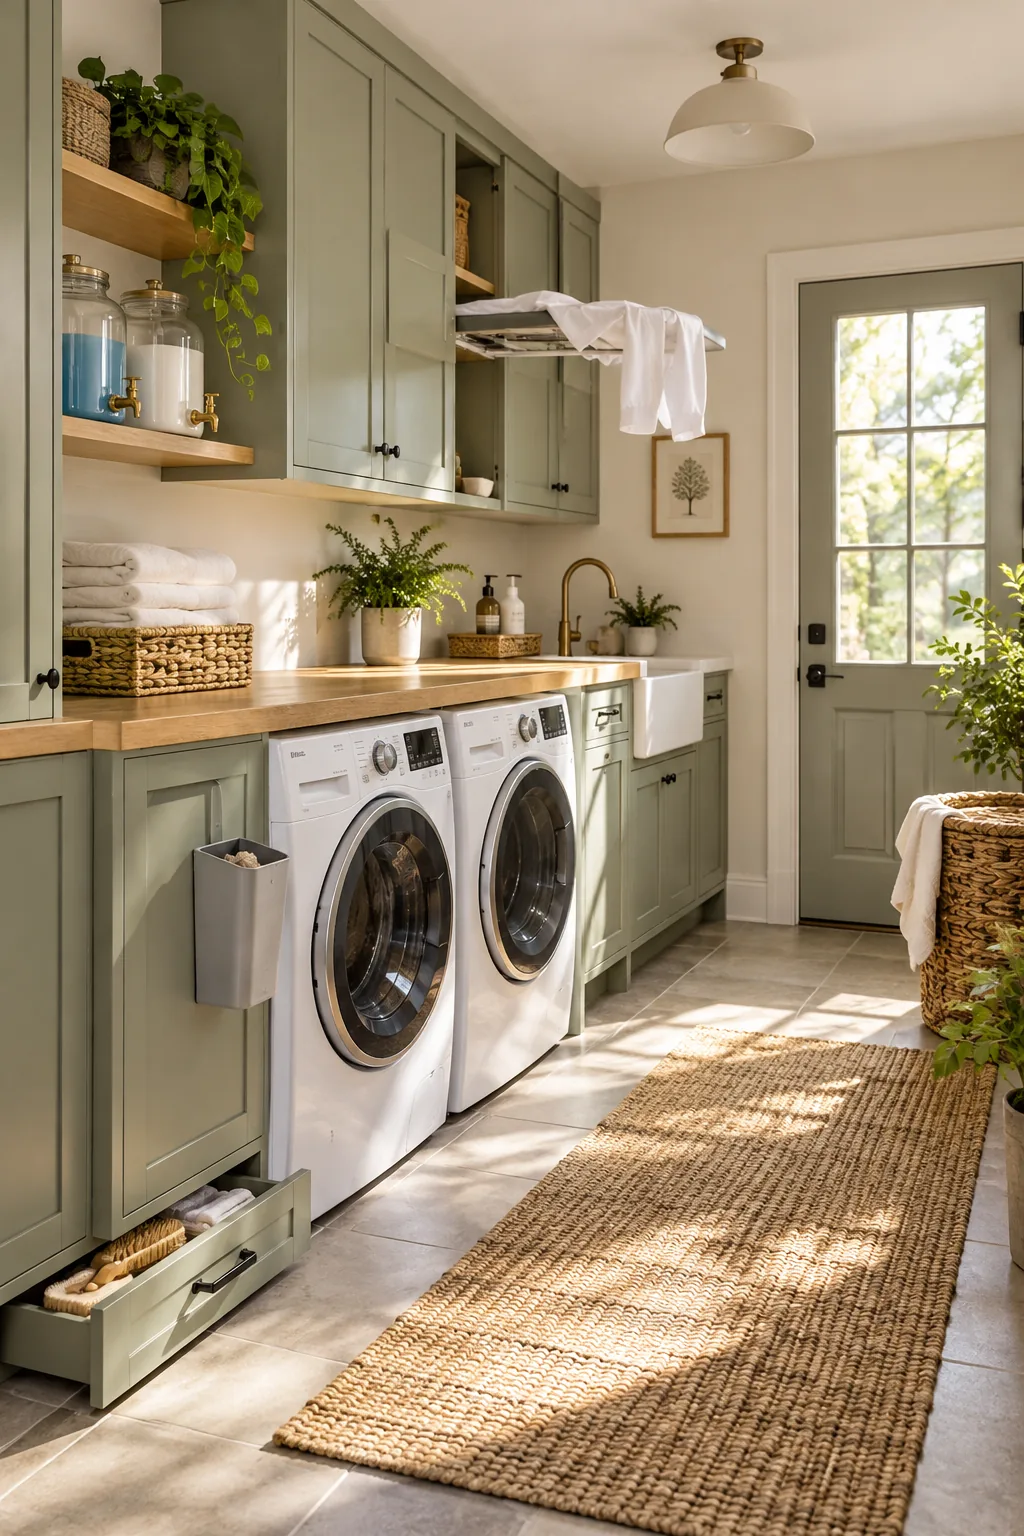
Standardizing these foundational frame depths keeps your appliance faces perfectly flush with the cabinet doors, creating a highly customized, built-in architectural look.
| Cabinet Component | Standard Depth Required | Standard Height Measurement | Clearance Needed |
|---|---|---|---|
| Lower Base Cabinets | 24 inches deep | 36 inches (without counter) | 36 inches aisle space |
| Upper Wall Cabinets | 12 to 14 inches deep | 18 inches above the counter | Ceiling height dependent |
| Continuous Folding Counter | 25.5 inches deep | 39 to 40 inches high | 1 inch above machines |
| Recessed Toe-Kick | Recessed 3 inches back | 4.5 inches high | Floor level dependent |
| Tall Utility Pantry | 24 inches deep | 84 to 90 inches high | Door swing clearance |
| Open Floating Shelves | 10 to 12 inches deep | Aligned with upper cabinets | 12 inches vertical gap |
Final Spatial Verification
Before cutting any expensive wood or ordering custom painted doors, run through this final spatial verification to ensure your heavy appliances will actually fit inside the finished enclosure.
Hardware and Ventilation
The final finishing touches in a busy utility space must prioritize breathable materials and snag-free movement to protect your delicate garments. I highly recommend low-profile matte black pulls that sit close to the cabinet face so they will not catch on passing laundry baskets.
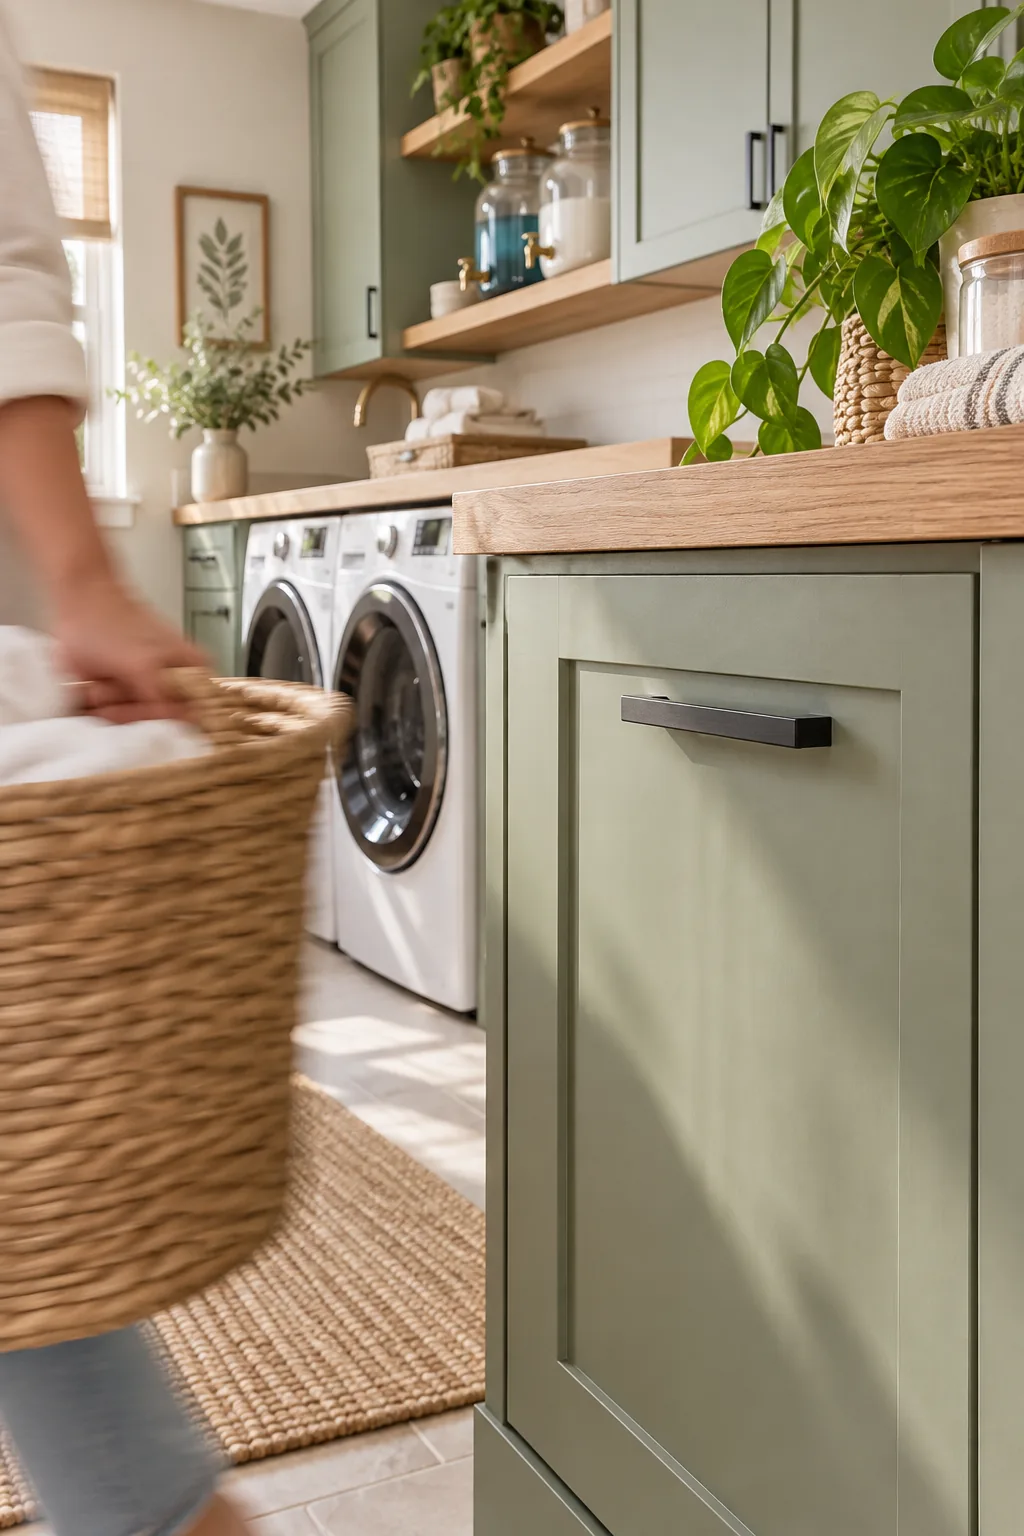
Using a high-quality, moisture-resistant cabinet paint protects your custom investment from the constant humidity generated by active, daily laundry cycles. Smooth hardware and durable, washable finishes ensure your beautifully planned storage system remains pristine and highly functional for years to come.
More Laundry Room Looks
Explore how different cabinet styles and palettes can transform your utility space.
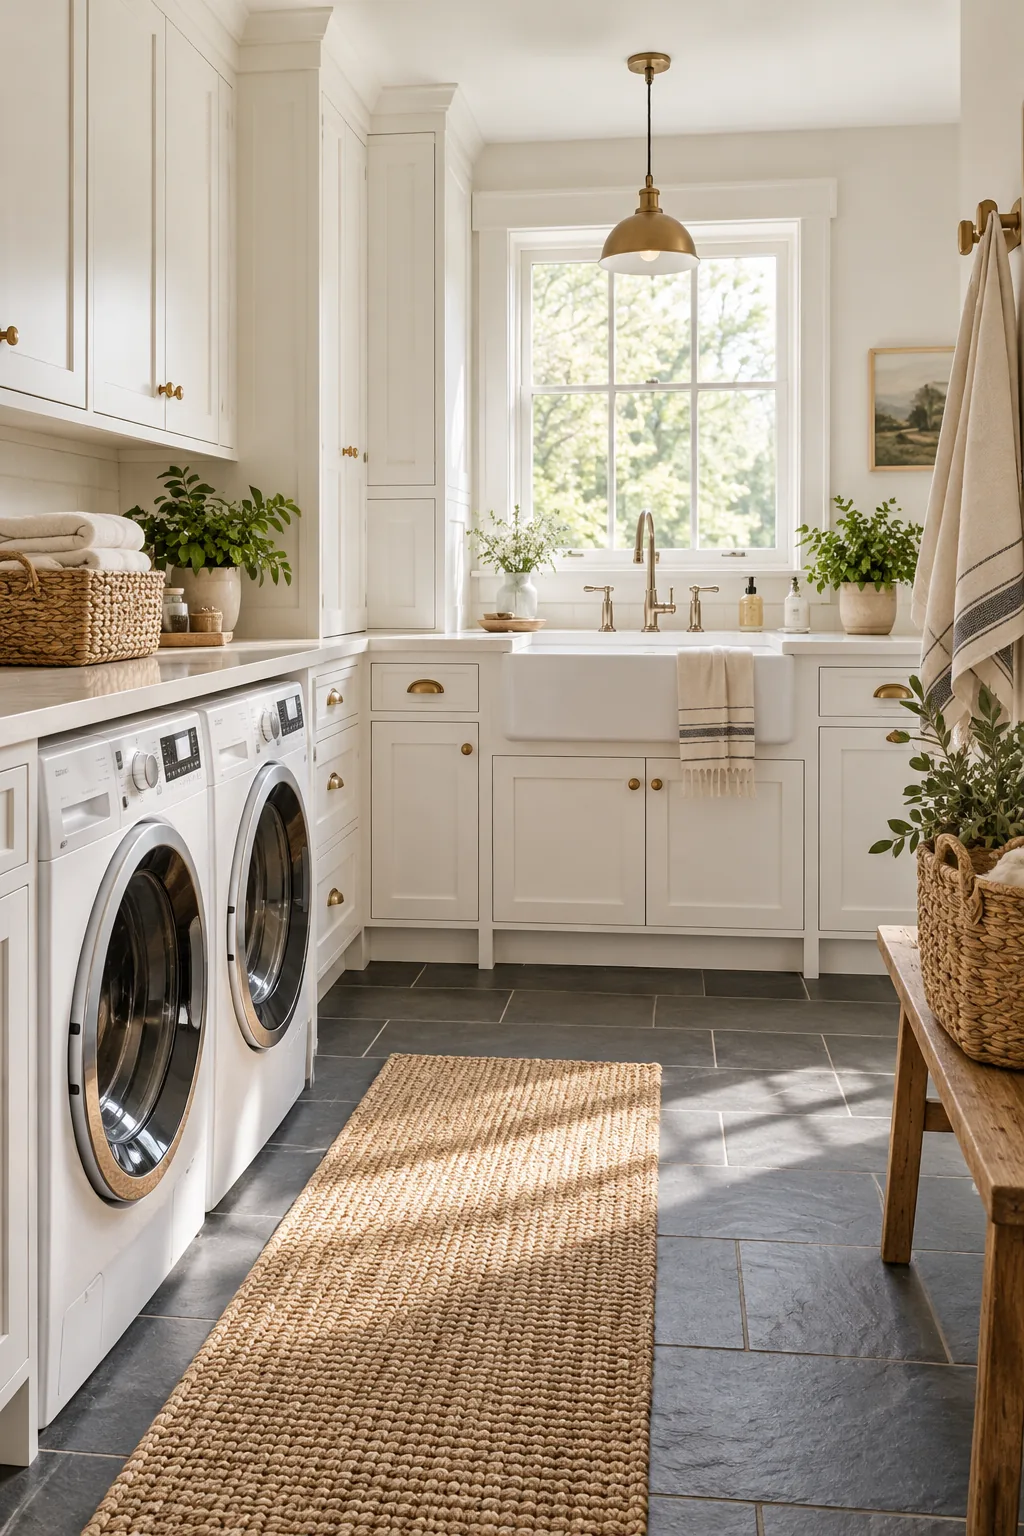
Modern Farmhouse Utility: Crisp white shaker profiles and dark slate floors create a timeless, high-contrast utility space.
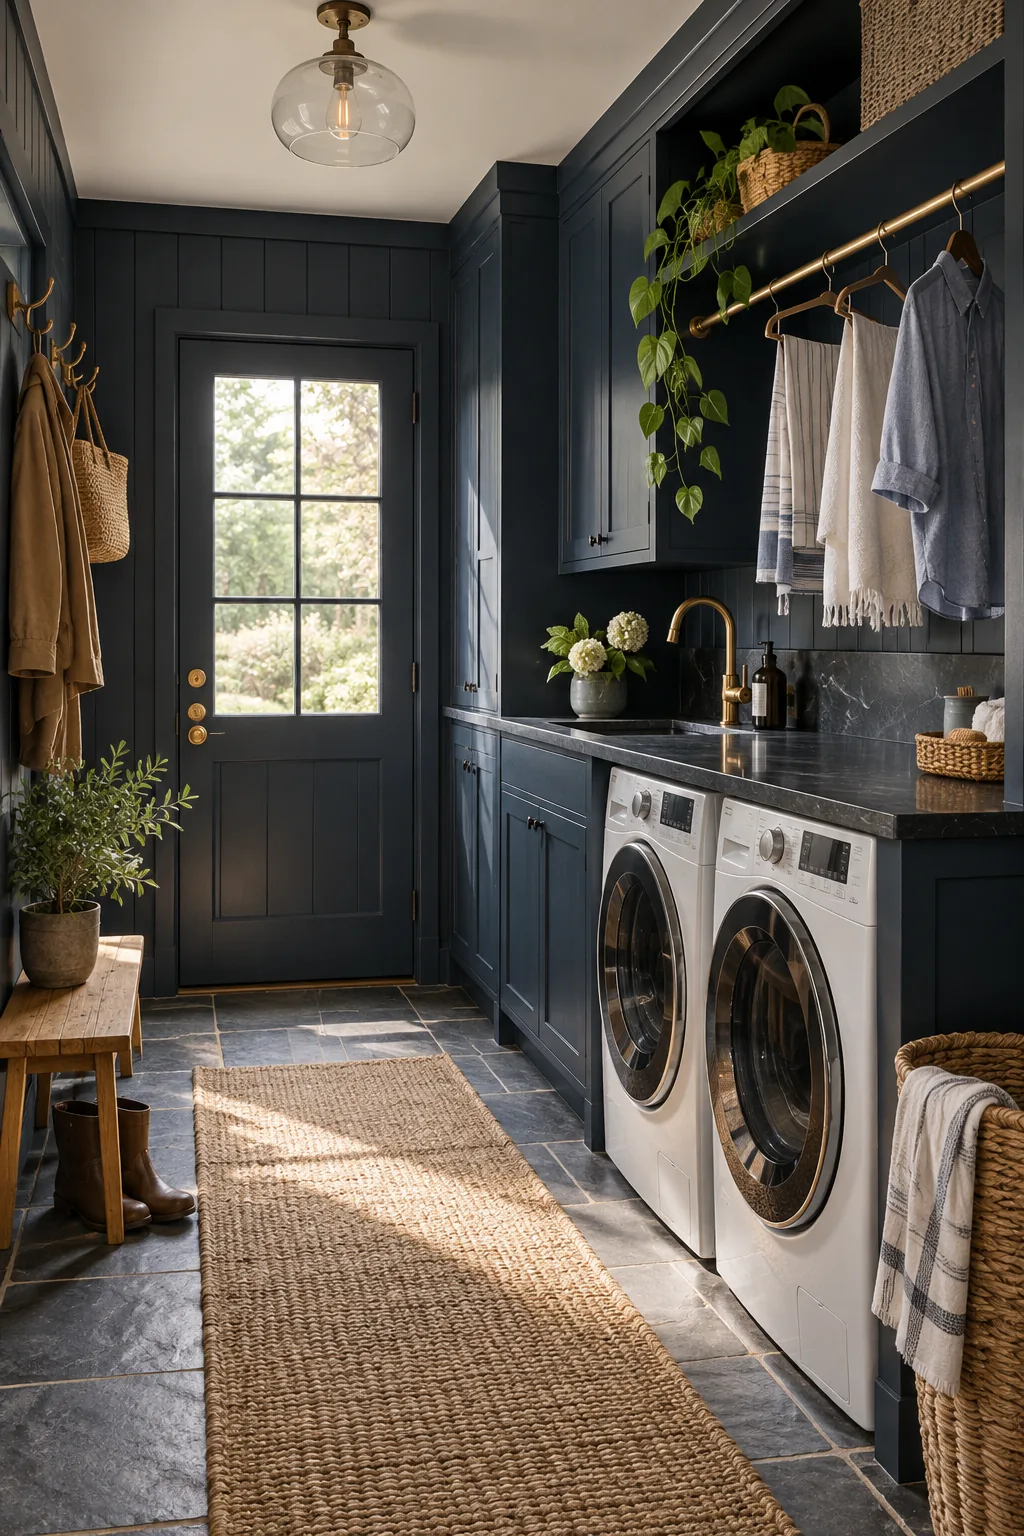
Moody Blue Mudroom: Deep navy cabinetry paired with a soapstone counter hides scuffs while adding dramatic elegance.
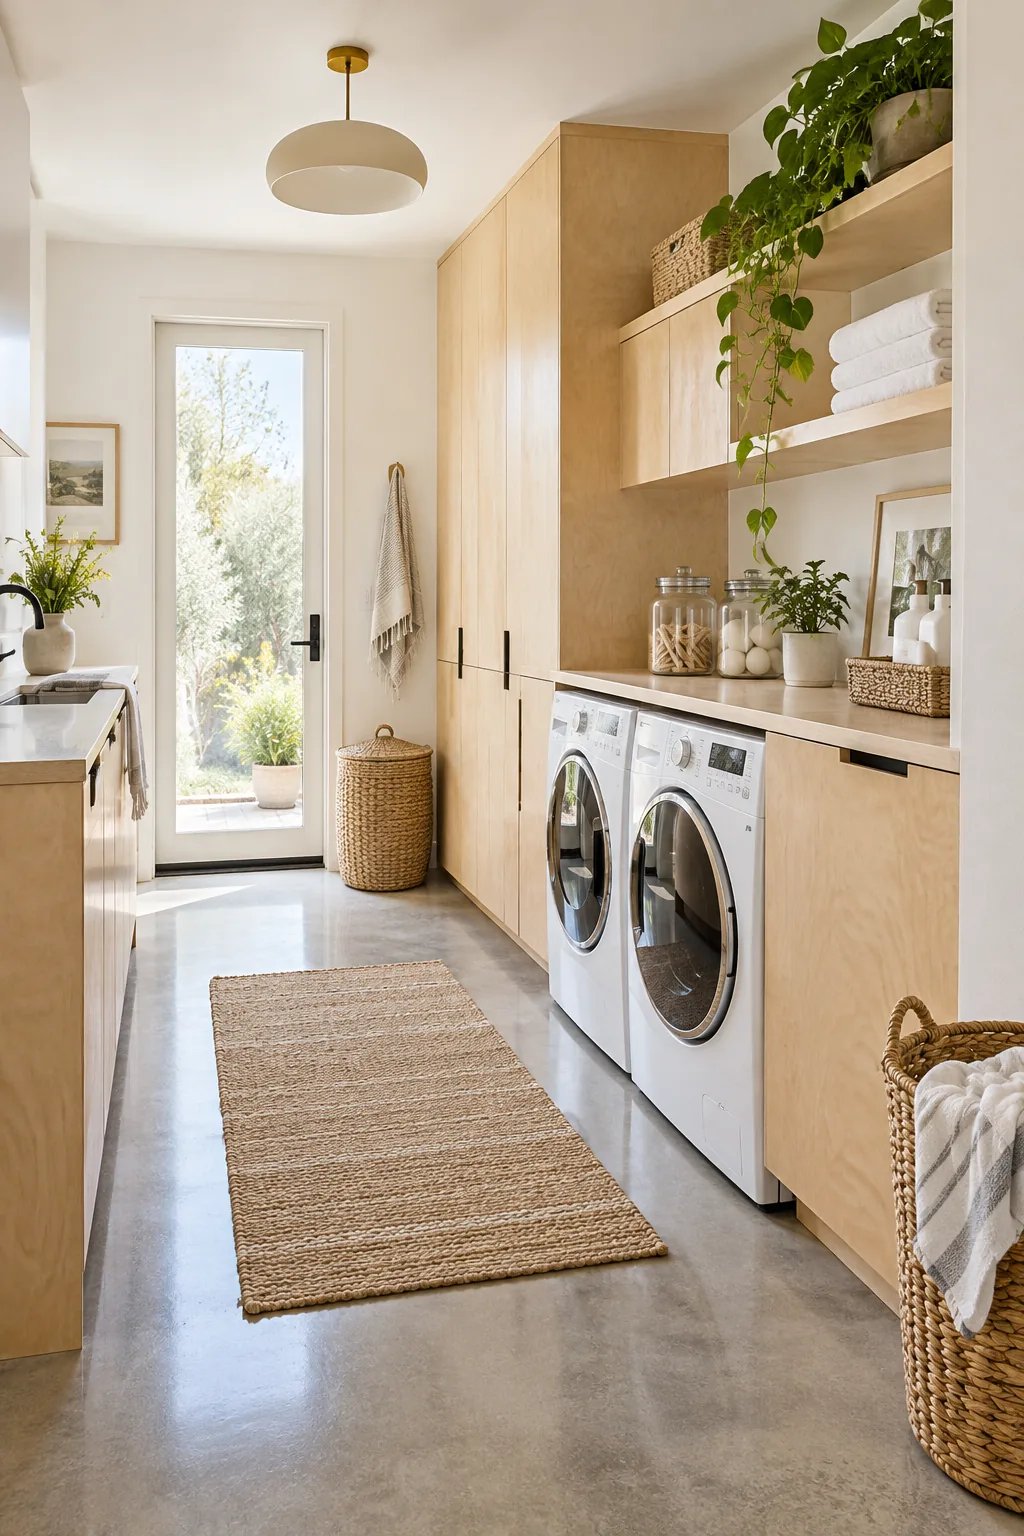
Minimalist Plywood: Exposed birch plywood edges and polished concrete floors deliver a clean, Scandinavian-inspired aesthetic.
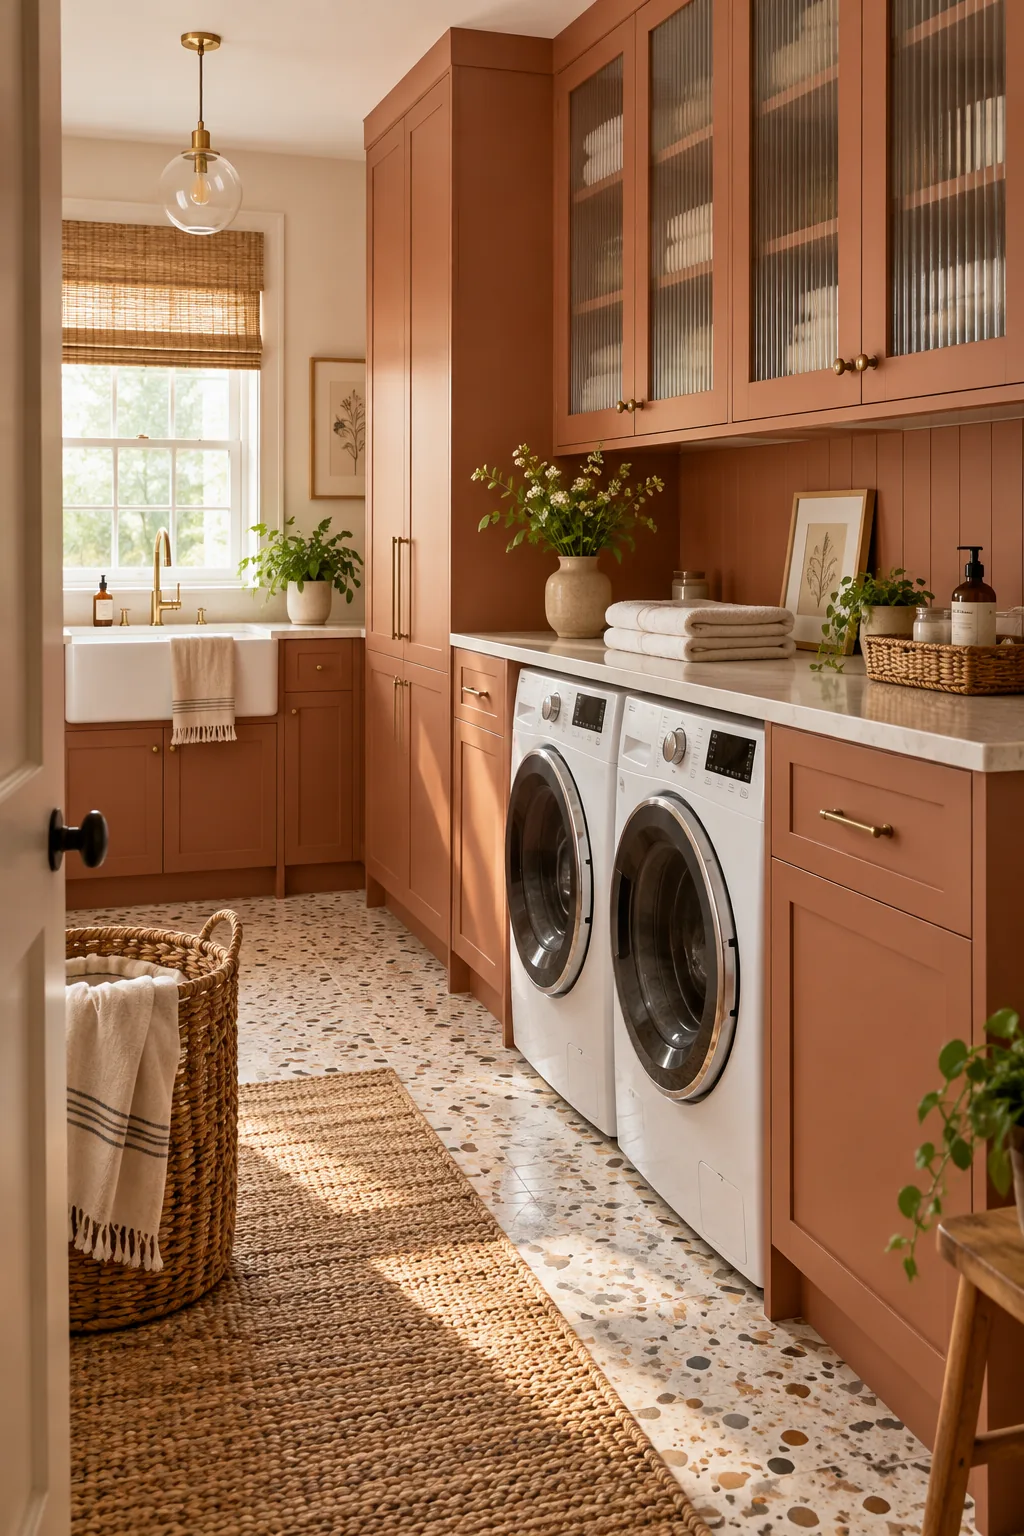
Warm Terracotta: Earthy clay tones and playful terrazzo flooring bring warmth and personality to chore day.
Classic Monotone: Seamless white slab doors and a subtle marble counter make a small room feel expansive.