
The 5-Step at-Home Date Night Itinerary
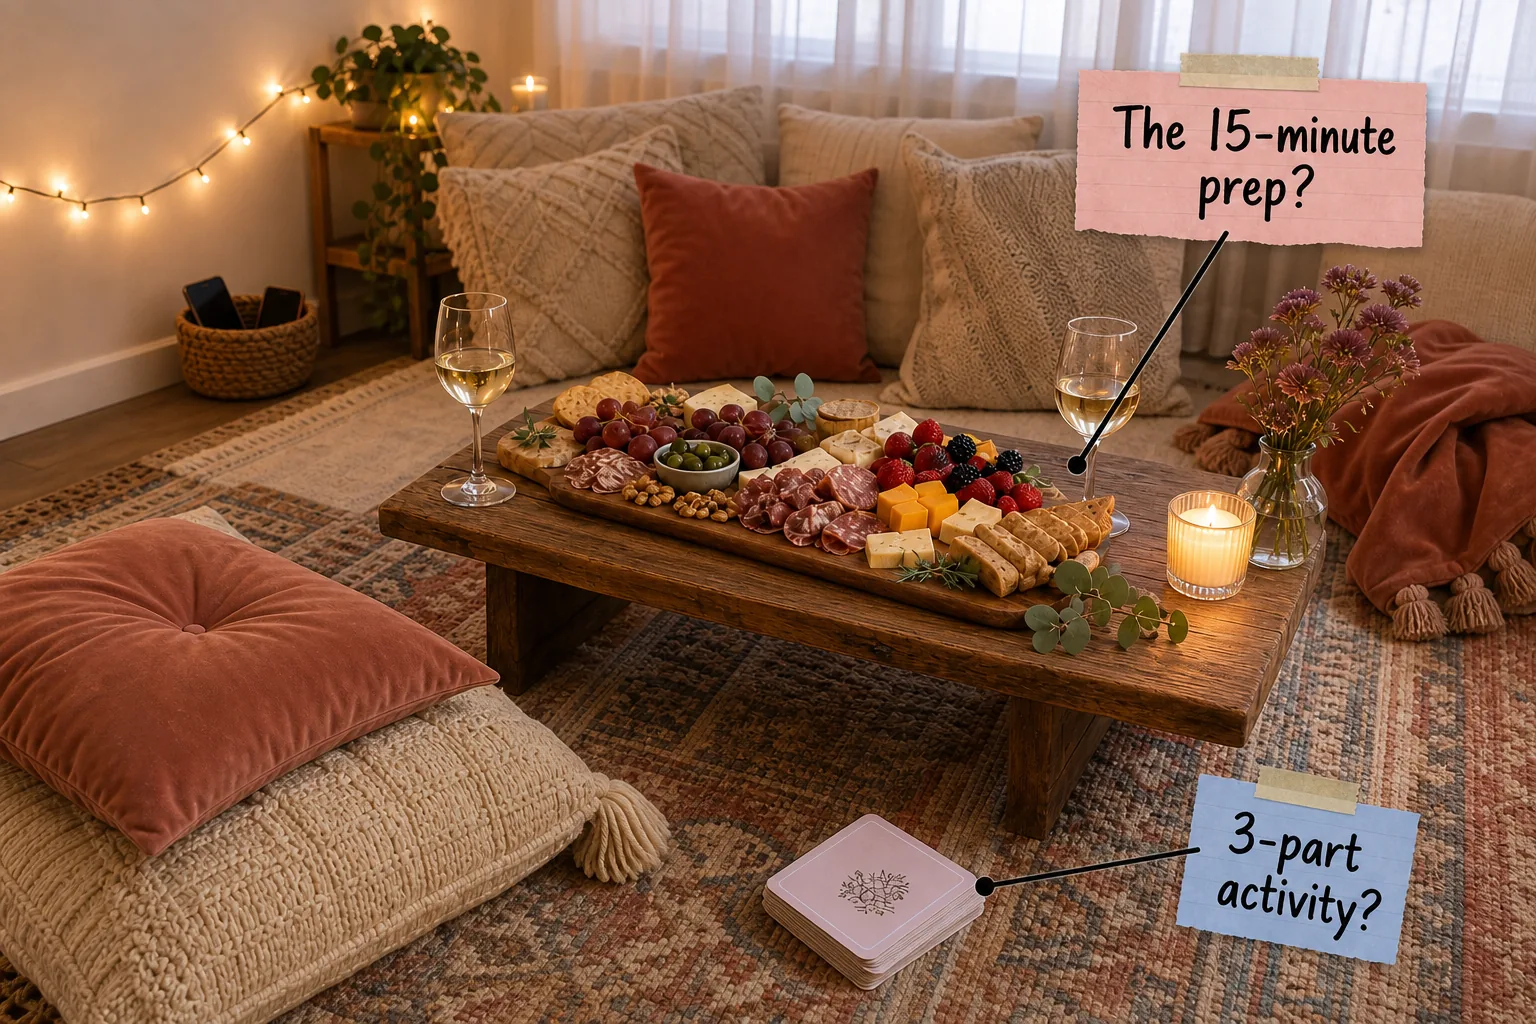
You will be able to set up, prep, and host a complete indoor floor picnic using this simple 5-step date night itinerary. Transform your everyday living room into a deeply comfortable, distraction-free venue that guarantees a genuinely connected, relaxing evening without ever leaving your house.
The Full 5-Step Date Night Itinerary
Structuring the timeline correctly prevents you from rushing back and forth to the kitchen. By front-loading the physical arrangement and food preparation, you create a seamless transition into the actual itinerary without any stressful, mood-breaking interruptions that ruin the romantic atmosphere.
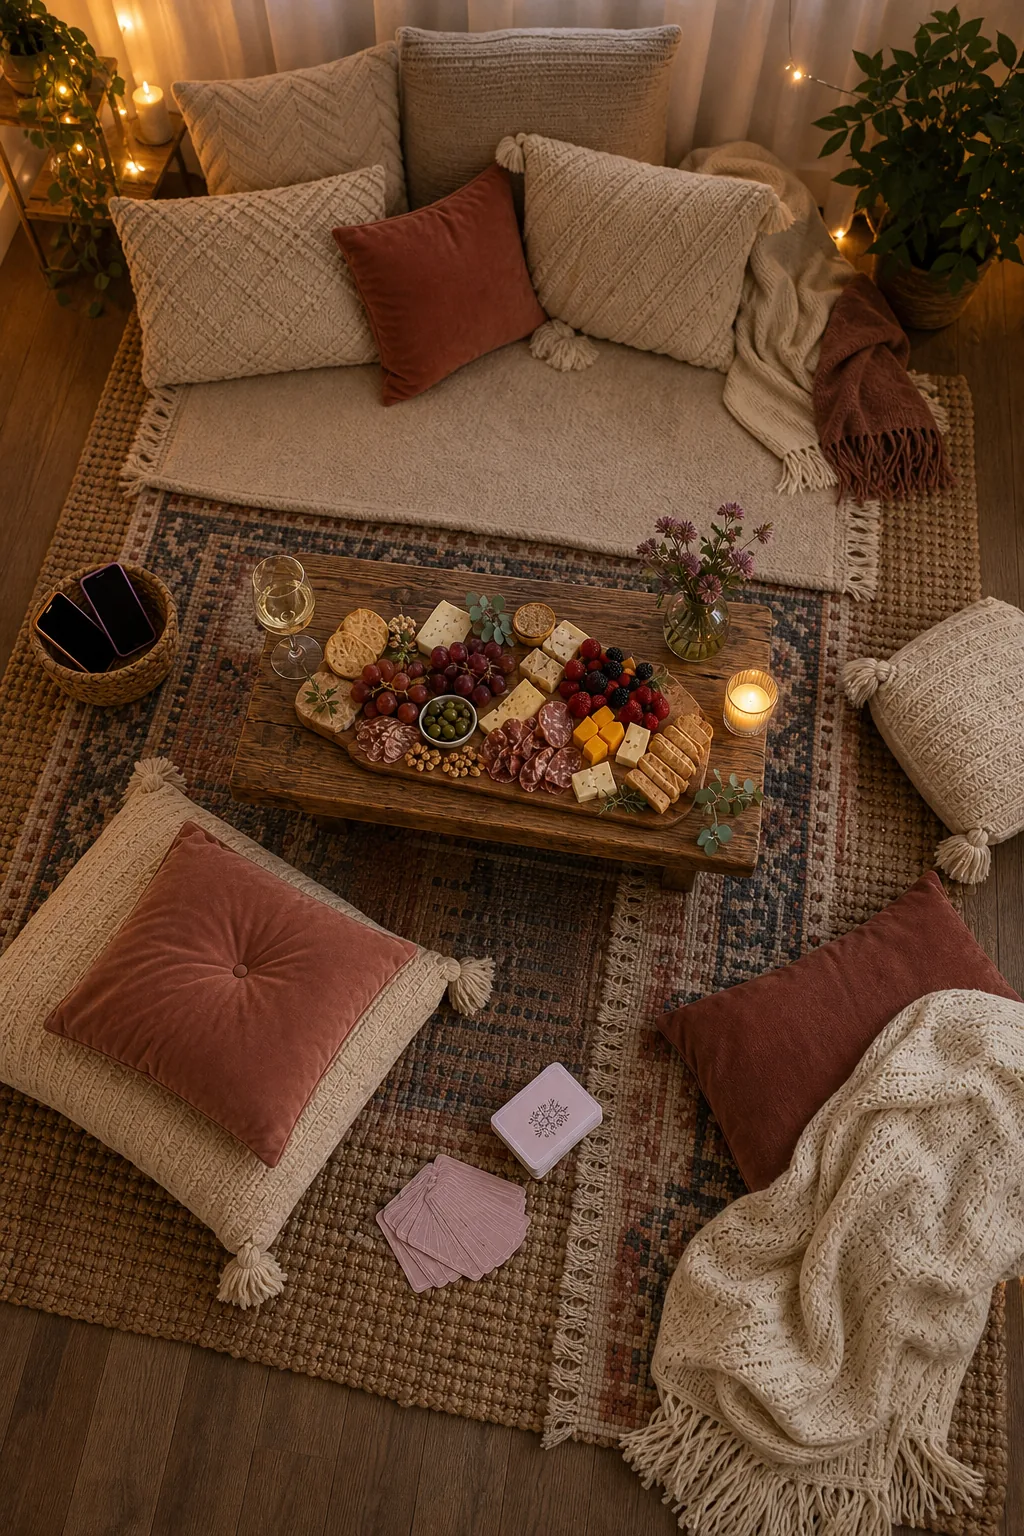
Executing these specific steps in exact chronological order ensures your environment is fully primed before your partner even sits down. Follow this precise progression to systematically build intimacy, eliminate digital distractions, and pace your shared activities perfectly throughout the entire night.
- Step 1: Establish the low-light zone to instantly shift the room’s atmosphere away from daytime utility and signal a clear transition into evening relaxation.
- Step 2: Build the cozy anchor using carefully layered floor cushions to guarantee long-term physical comfort and completely prevent lower back strain.
- Step 3: Enforce the no-phone basket to create a strict physical boundary against mindless scrolling, social media habits, and outside work demands.
- Step 4: Master the 15-minute prep by assembling a high-impact, zero-cook grazing board immediately before sitting down to enjoy the meal.
- Step 5: Guide the 3-part activity using structured conversation prompts to keep engagement consistently high and prevent the evening from fizzling out early.
Step 1: Establish the Low-Light Zone
Transitioning your living space requires turning off all harsh overhead fixtures to establish a dedicated low-light zone. Rely entirely on a strict rule of three for ambient lighting, distributing warm, low-level illumination sources evenly around your designated indoor picnic perimeter.
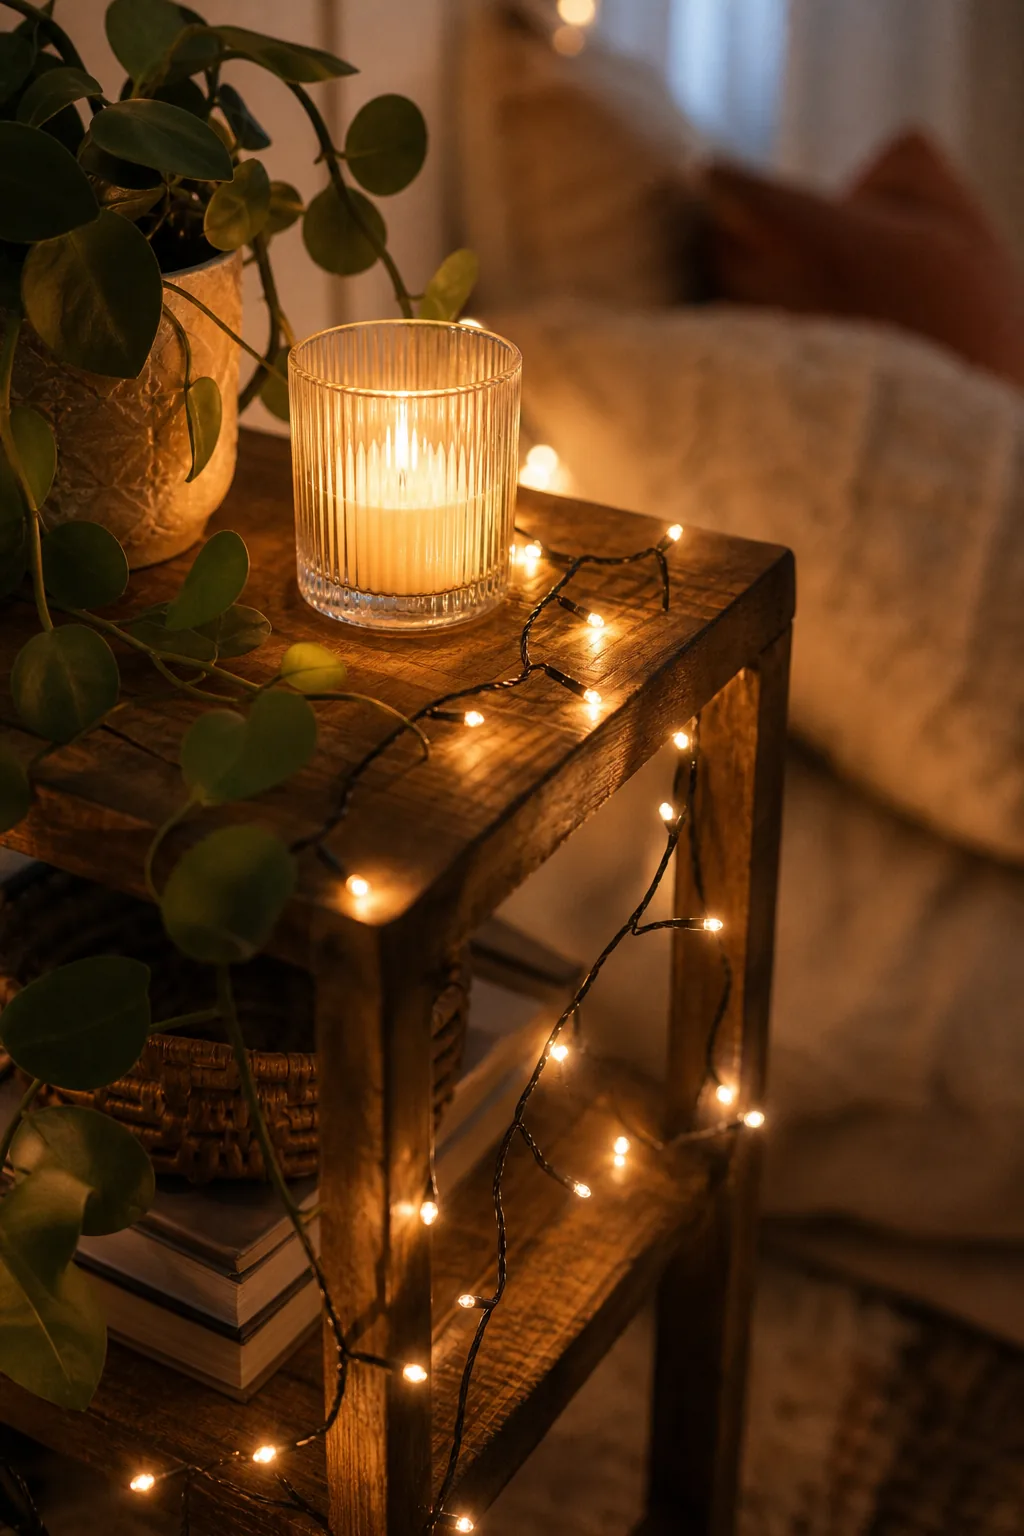
Keeping all active light sources strictly below eye level fundamentally alters the room’s perceived scale, forcing your visual focus inward. You can easily achieve this intimate atmosphere by combining different types of soft, glowing fixtures that cast flattering, multidirectional shadows across the floor.
| Light Source | Ideal Placement | Primary Function | Spacing Rule |
|---|---|---|---|
| String lights | Draped behind seating | Creates a warm, diffused background glow that softens harsh architectural lines. | Keep 3 feet from pillows |
| Pillar candles | Clustered on a side table | Provides dynamic, flickering focal points that naturally draw the eye inward. | Group in sets of three |
| Small table lamp | In a far corner | Prevents the room from feeling too dark while maintaining an intimate mood. | Place 8 feet away minimum |
| LED tea lights | Scattered on the serving tray | Illuminates the food spread clearly without casting a harsh, unromantic glare. | Space 6 inches apart |
Step 2: Build the Cozy Anchor
Constructing your cozy anchor requires stacking at least two distinct cushion layers to prevent inevitable lower back pain after ten minutes. You must pair a highly structured, firm base cushion with a generously stuffed, soft throw pillow for yielding, comfortable back support.
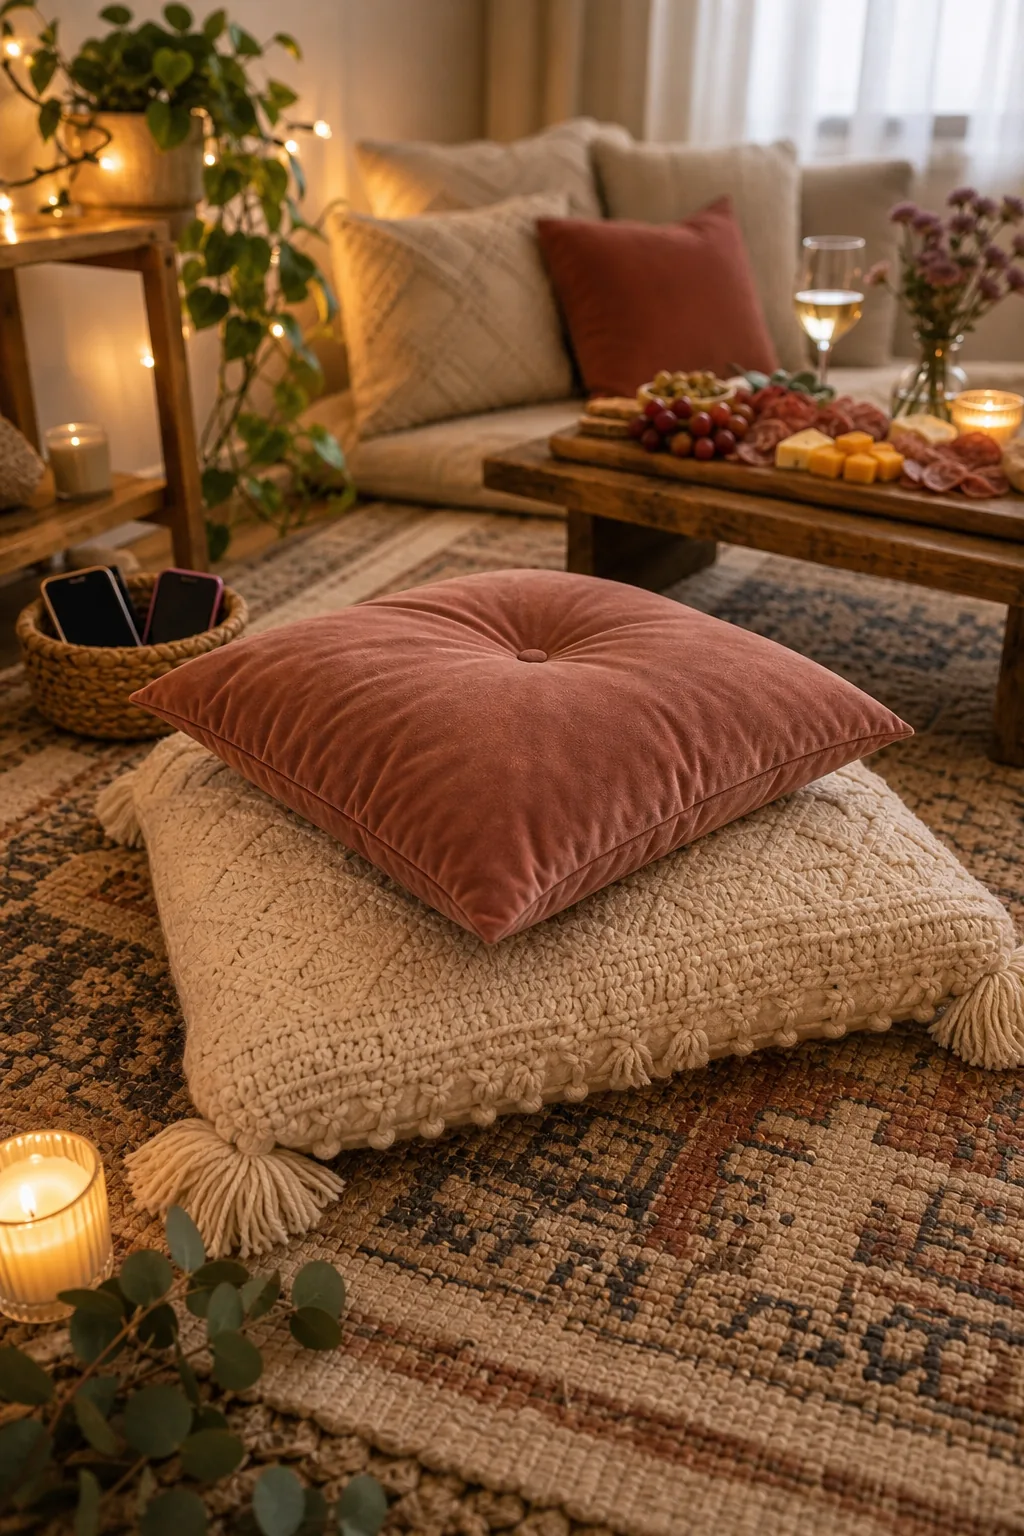
This dual-density approach mimics the ergonomic support of a traditional living room sofa while keeping you grounded at coffee-table height. The firm bottom layer absorbs your body weight, while the softer textured backing allows you to recline comfortably as the evening progresses.
Maintaining Ambient Room Temperature
Preparing for the reality of sitting on the floor means actively anticipating the cooler temperatures that naturally settle at ground level. Boost your home thermostat by exactly two degrees one hour before the date begins to counteract the subtle chill radiating from hardwood or tile surfaces.
Step 3: Enforce the No-Phone Basket
Implementing a dedicated no-phone basket establishes an absolute boundary between your shared quality time and outside digital demands. You must place this designated distraction drop zone entirely out of arm’s reach to break the subconscious habit of checking incoming notifications.
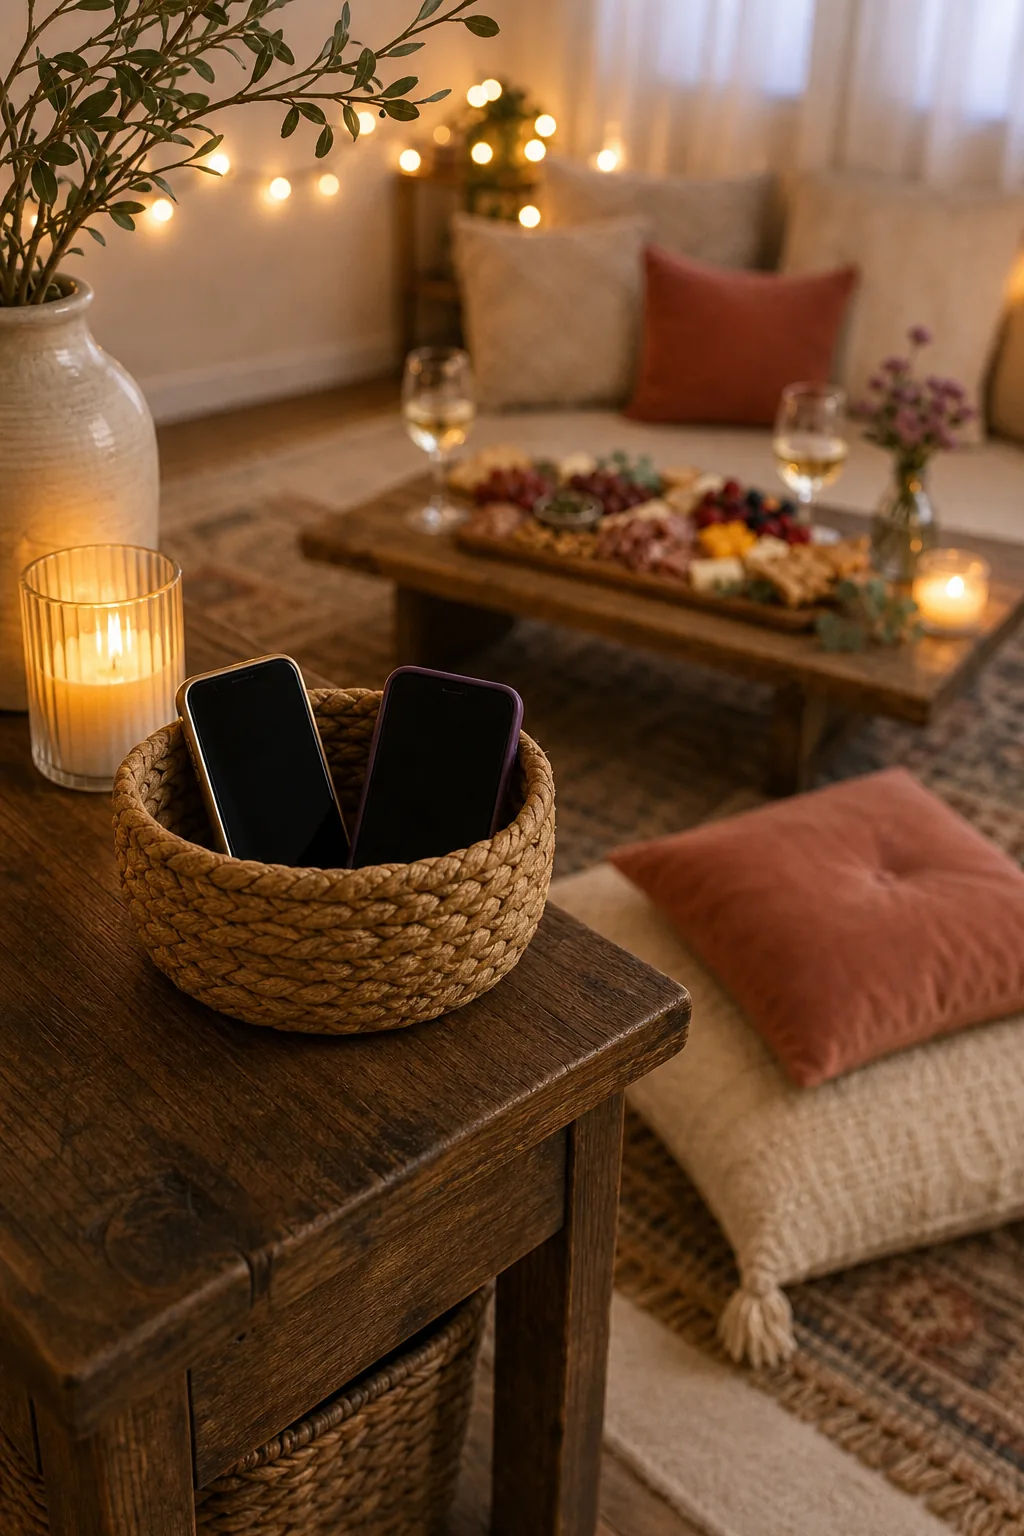
Positioning the basket at least 10 feet away from your seating area introduces a vital physical friction to screen time. This deliberate distance forces you to actively stand up to retrieve a device, making any digital interruption a conscious, highly visible choice.
Managing Pet Distractions
Hosting a seamless floor date requires managing curious pets who might disrupt your carefully arranged grazing board. Secure your dog or cat in a separate, comfortable room with their own treats to ensure they do not interrupt your conversation or attempt to steal the charcuterie.
Step 4: Master the 15-Minute Prep
Executing the 15-minute prep relies entirely on assembling a zero-cook charcuterie board that requires absolutely no active kitchen time. Grouping your chosen ingredients strictly by contrasting colors instantly makes a hastily arranged snack platter look like a professionally styled culinary centerpiece.
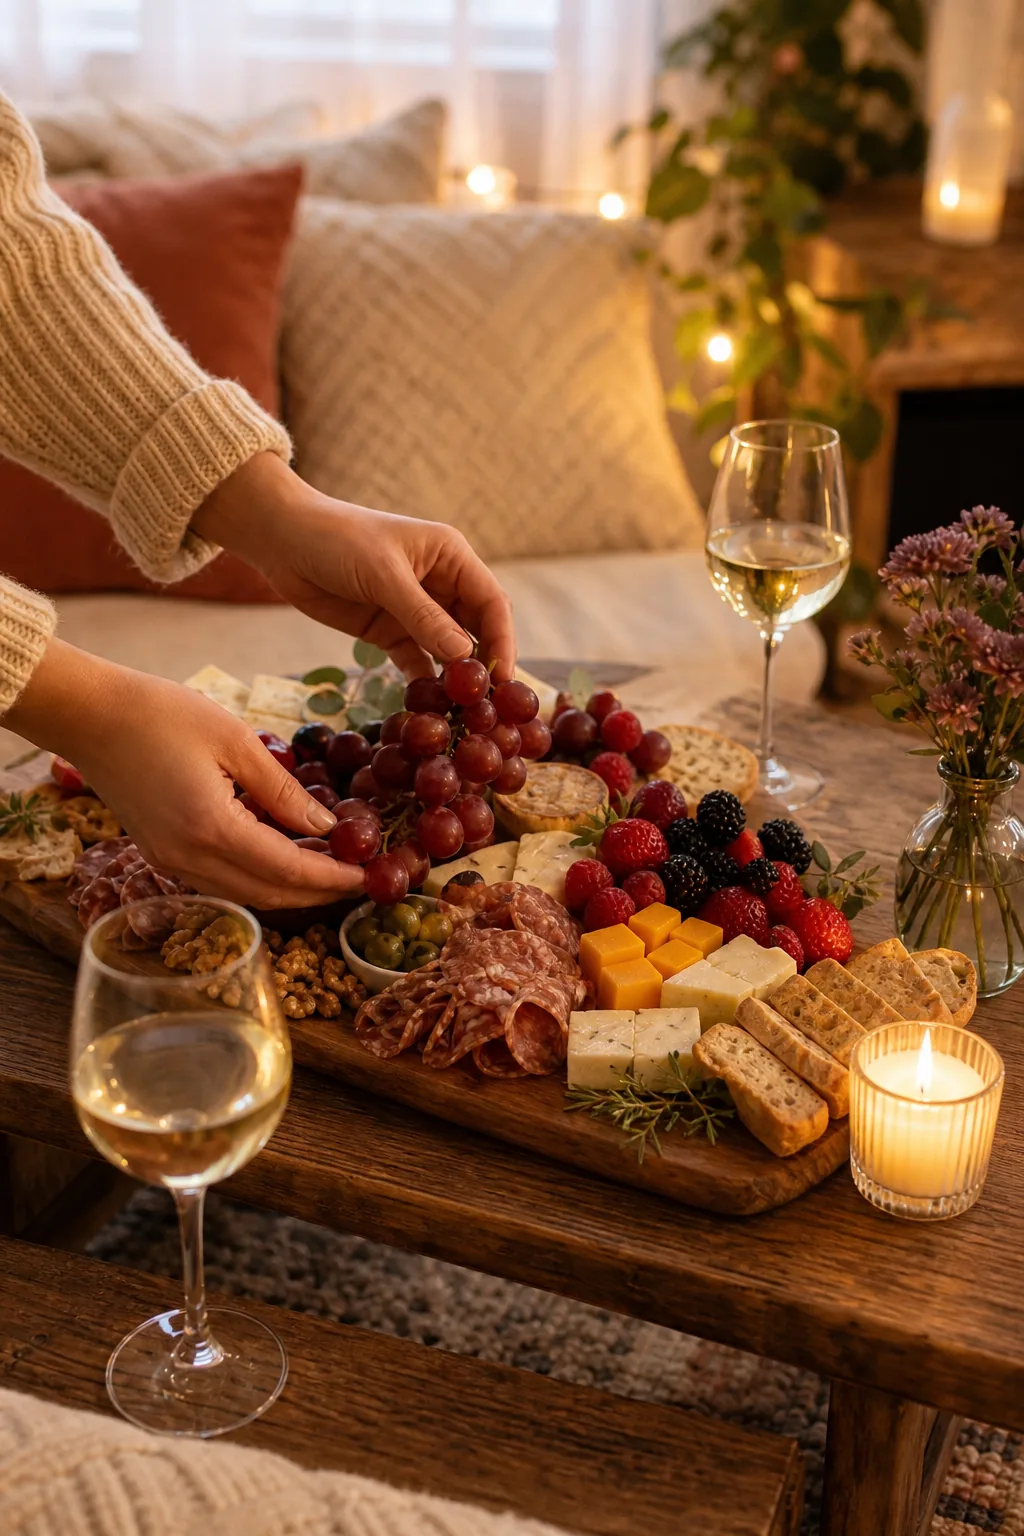
Building an abundant board quickly requires sticking to a foolproof ratio of three cheeses, two cured meats, and two fresh fruits. This precise formula guarantees a visually impressive spread while strictly keeping your total kitchen assembly time under the crucial 15-minute mark.
- Three cheeses: Include one hard aged cheddar, one soft brie wedge, and one crumbly blue or goat cheese for necessary texture variation.
- Two meats: Fold thin slices of prosciutto into delicate ribbons and fan out spicy salami rounds to build substantial savory volume.
- Two fruits: Anchor the opposite edges of the board with small clusters of red grapes and crisp, thinly sliced green apples.
- Crunchy fillers: Pour salted marcona almonds and assorted artisanal crackers into any remaining empty gaps to finalize the elegant board layout.
Step 5: Guide the 3-Part Activity
Structuring your evening around a 3-part activity prevents the night from fizzling out or defaulting to mindlessly watching television. Using a deck of curated conversation cards allows you to easily guide the dialogue through light icebreakers, deep connection questions, and future dreaming.
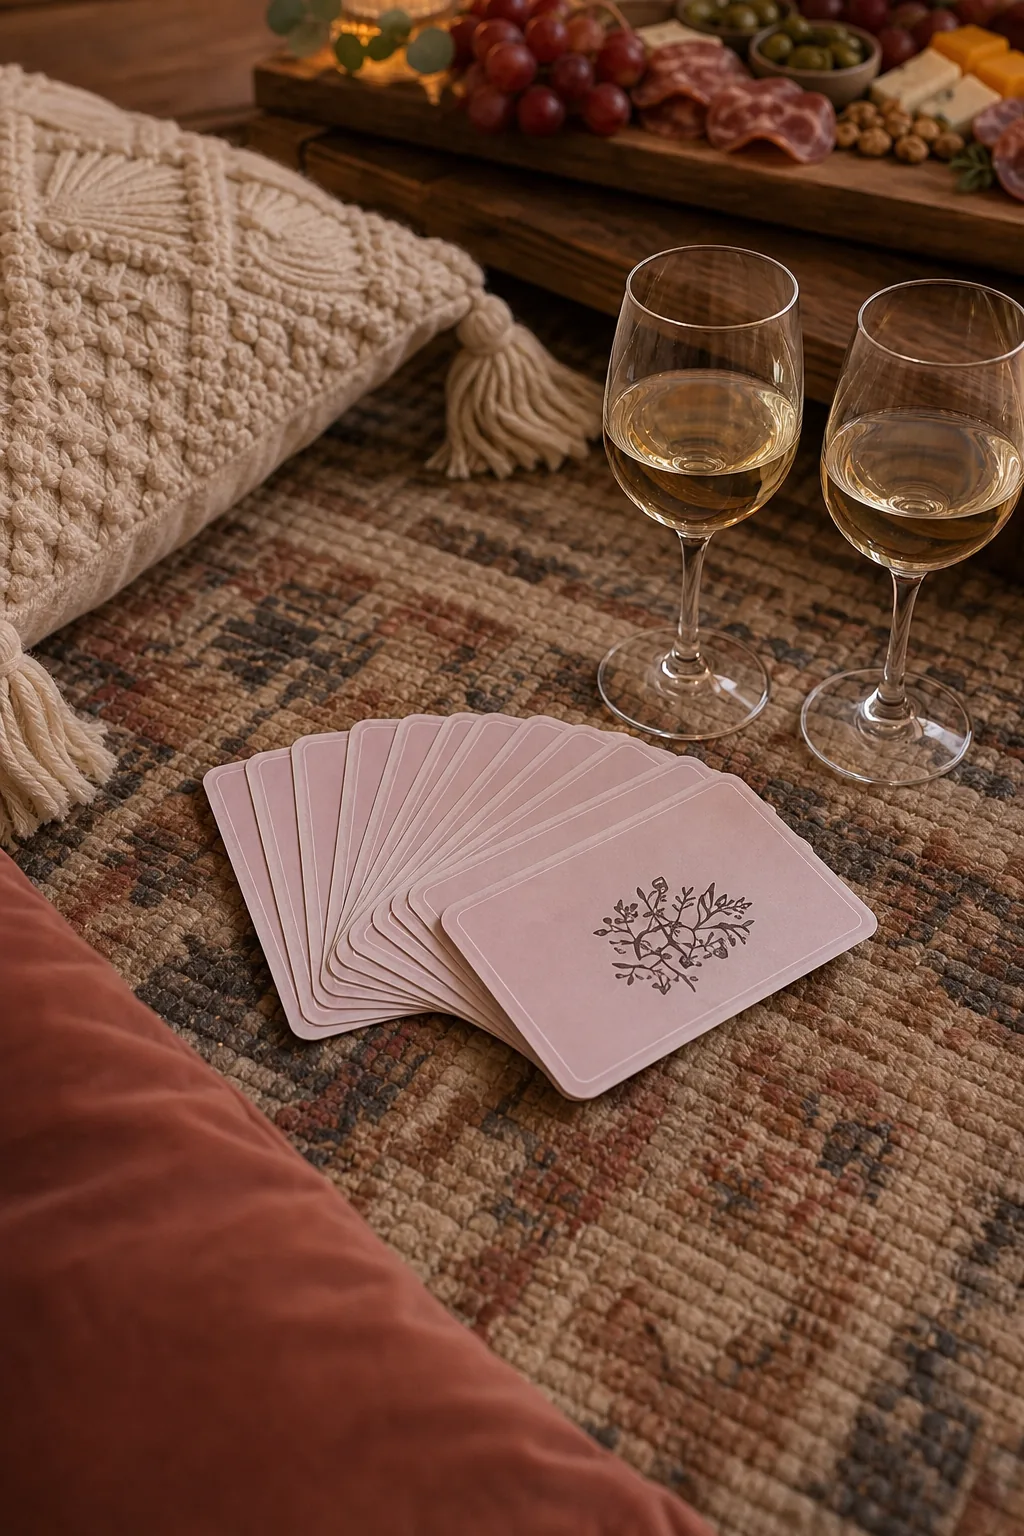
Pacing the experience by drawing exactly one card every twenty minutes naturally extends the engagement without making it feel like an interrogation. This deliberate timing allows each topic to breathe, giving both partners ample space to share detailed stories and explore unexpected conversational tangents.
Selecting the Proper Background Audio
Establishing a seamless auditory backdrop requires choosing instrumental or low-tempo acoustic tracks that never compete with your conversation. Keep the volume strictly at a low conversational level, ensuring the music fills awkward silences without forcing you to raise your voices to be heard clearly.
Managing the Low-Table Ergonomics
Optimizing your floor layout requires maintaining a strict 12-to-18-inch gap between the front edge of your seating cushion and the coffee table. This specific measurement provides enough clearance for crossed legs while ensuring your food and drinks remain comfortably within an easy arm’s reach.
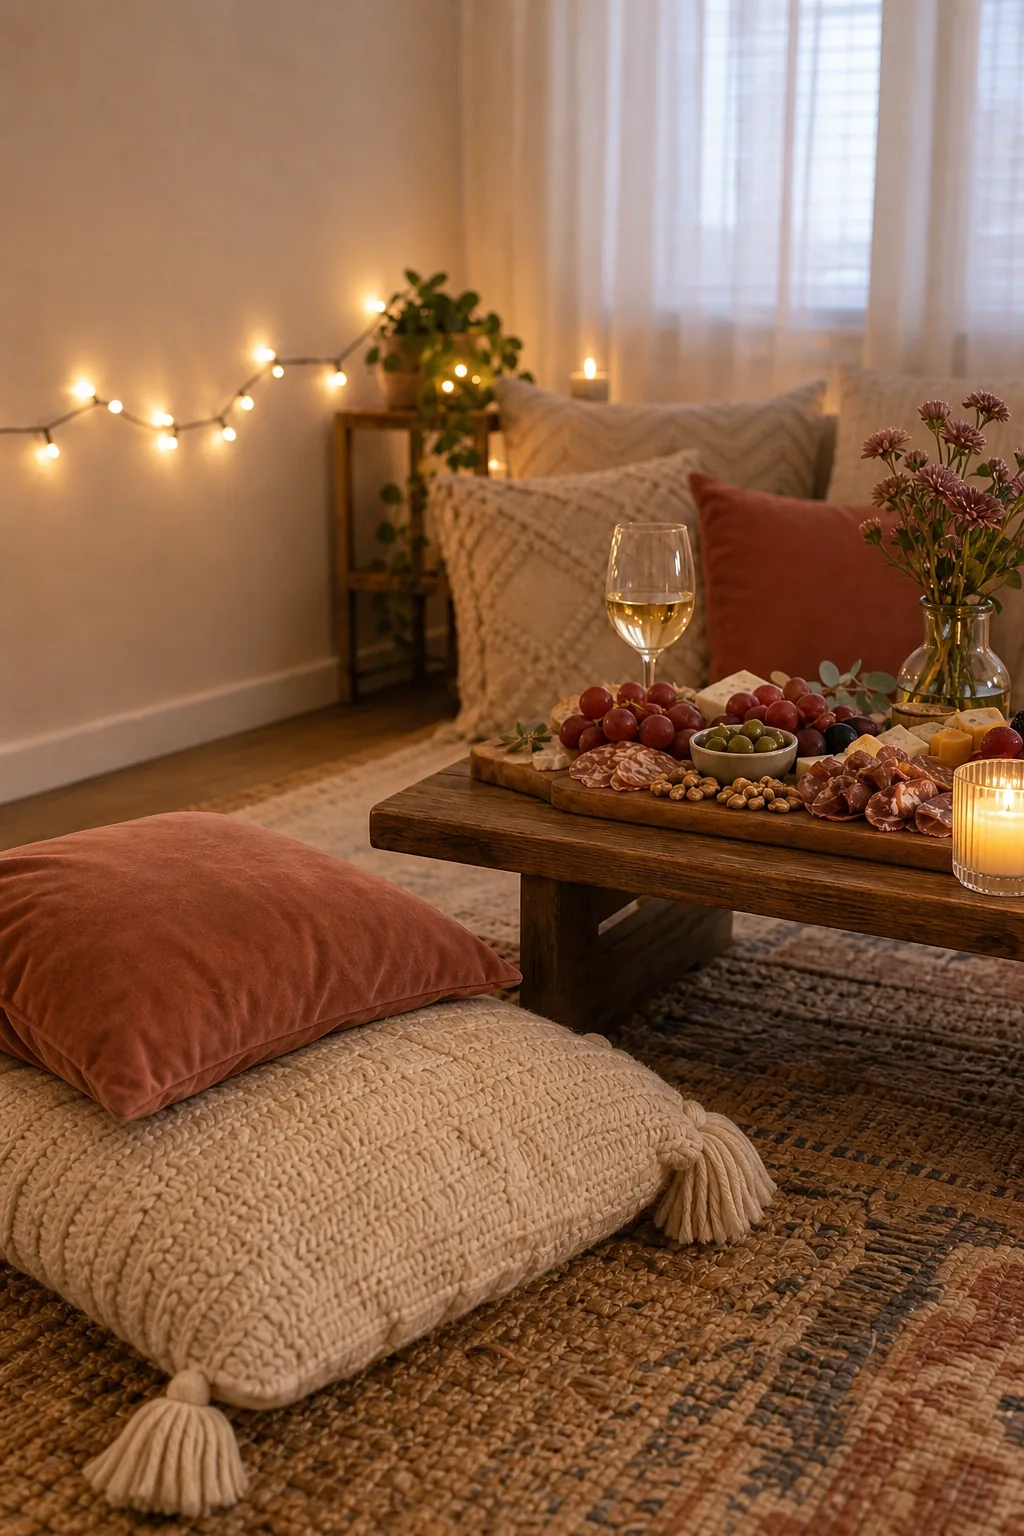
Eating on the floor can quickly become uncomfortable if your food is resting too low on a standard coffee table. You must adjust the serving height to prevent awkward hunching that will eventually compress your stomach and completely ruin your posture over time.
Planning the Post-Date Cleanup
Eliminating stress requires planning a simplified cleanup strategy before the date even begins. Stack all empty plates onto the central serving board and carry everything to the kitchen in one single trip, leaving the dishwashing entirely for the next morning so the romantic mood continues.
Common Floor Date Mistakes to Avoid
Preparing for the reality of sitting on the floor means actively anticipating the cooler temperatures that naturally settle at ground level. Keeping a secondary warmth layer immediately accessible is absolutely essential to counter the subtle drafts that sweep across hardwood or tile floors.
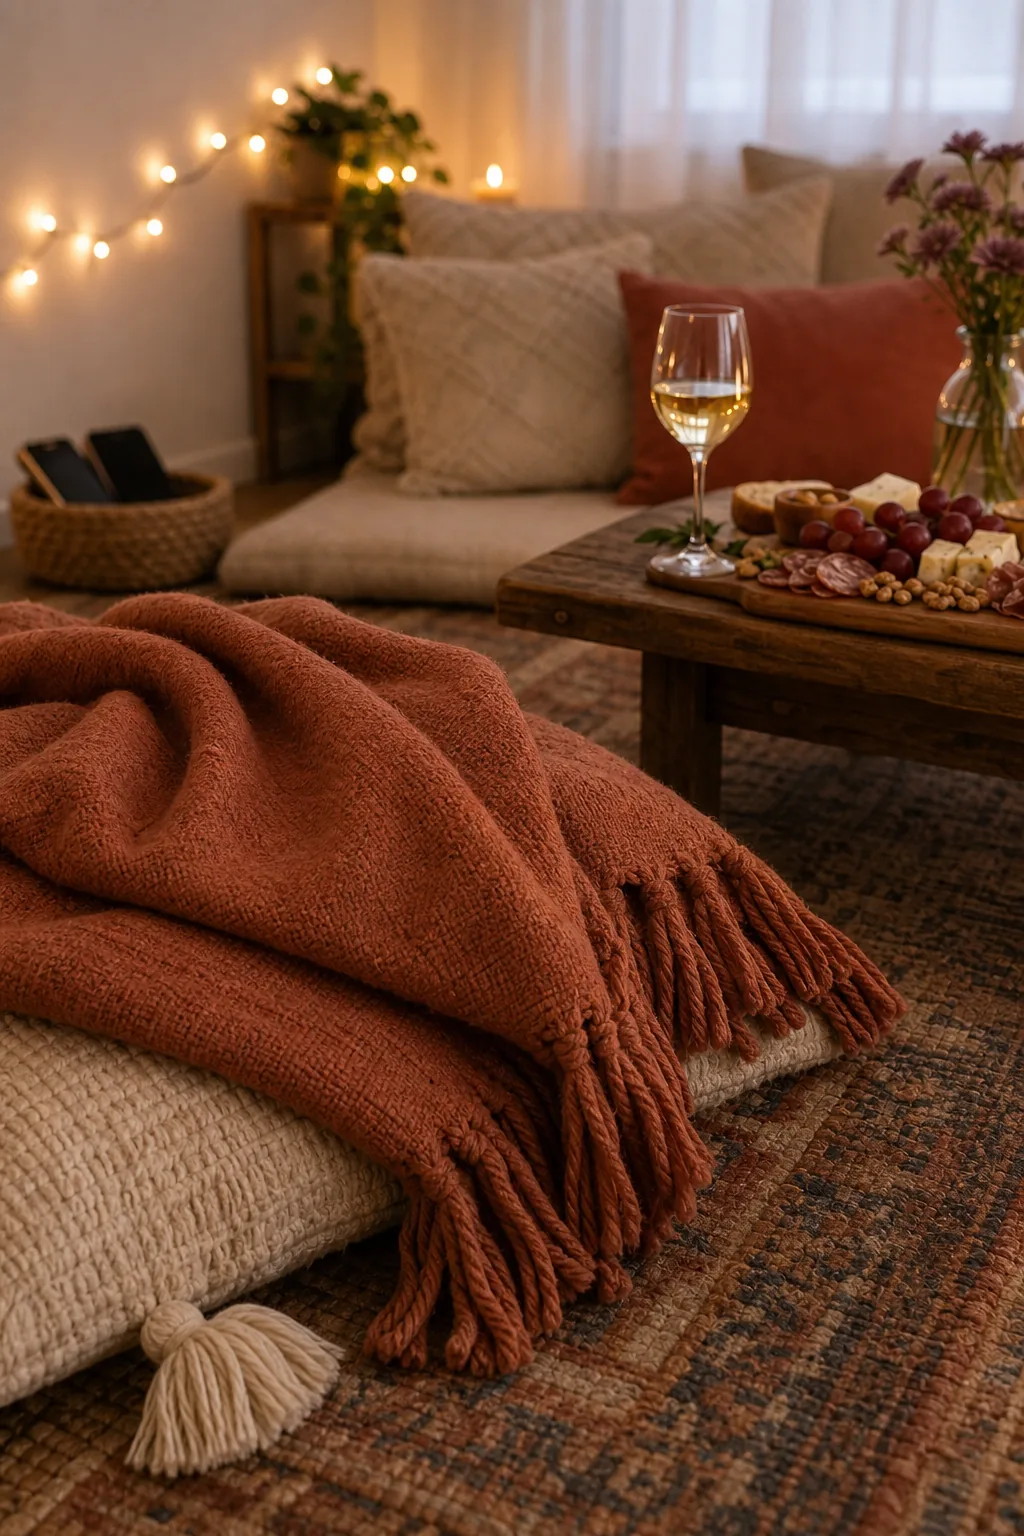
A few minor oversights in your environmental planning can easily break the cozy illusion of an indoor picnic. Failing to address basic physical comforts or choosing the wrong menu items will force you to abandon your carefully constructed anchor prematurely and move to the couch.