
Modern Bathroom Rules: The 5-Point Material Pairing Guide
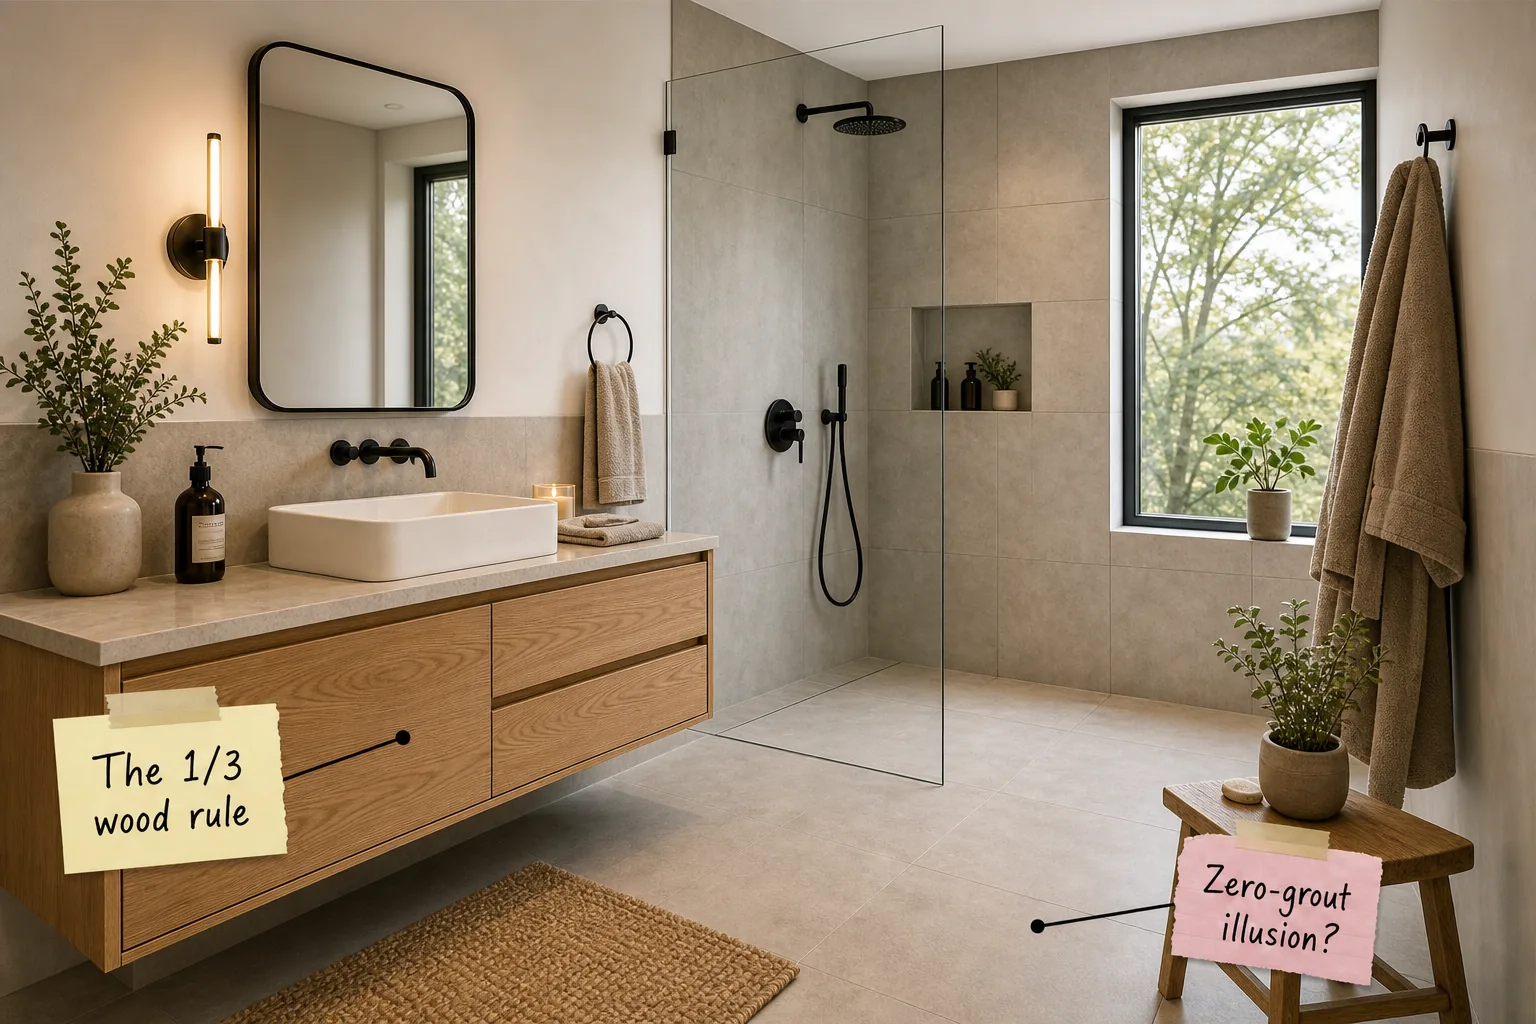
You will be able to confidently balance warm wood tones with sleek fixtures and minimal glass using our concrete 5-point modern material pairing guide. Master the exact ratio of warm oak, matte black, and neutral tile to build a clean, inviting space that never feels sterile.
The 1/3 wood rule
Limiting timber finishes to exactly one-third of the room’s visual weight prevents the space from feeling heavy, outdated, or overly rustic. A single warm oak vanity set against clean, neutral walls achieves this perfect modern balance while anchoring the entire bathroom design.
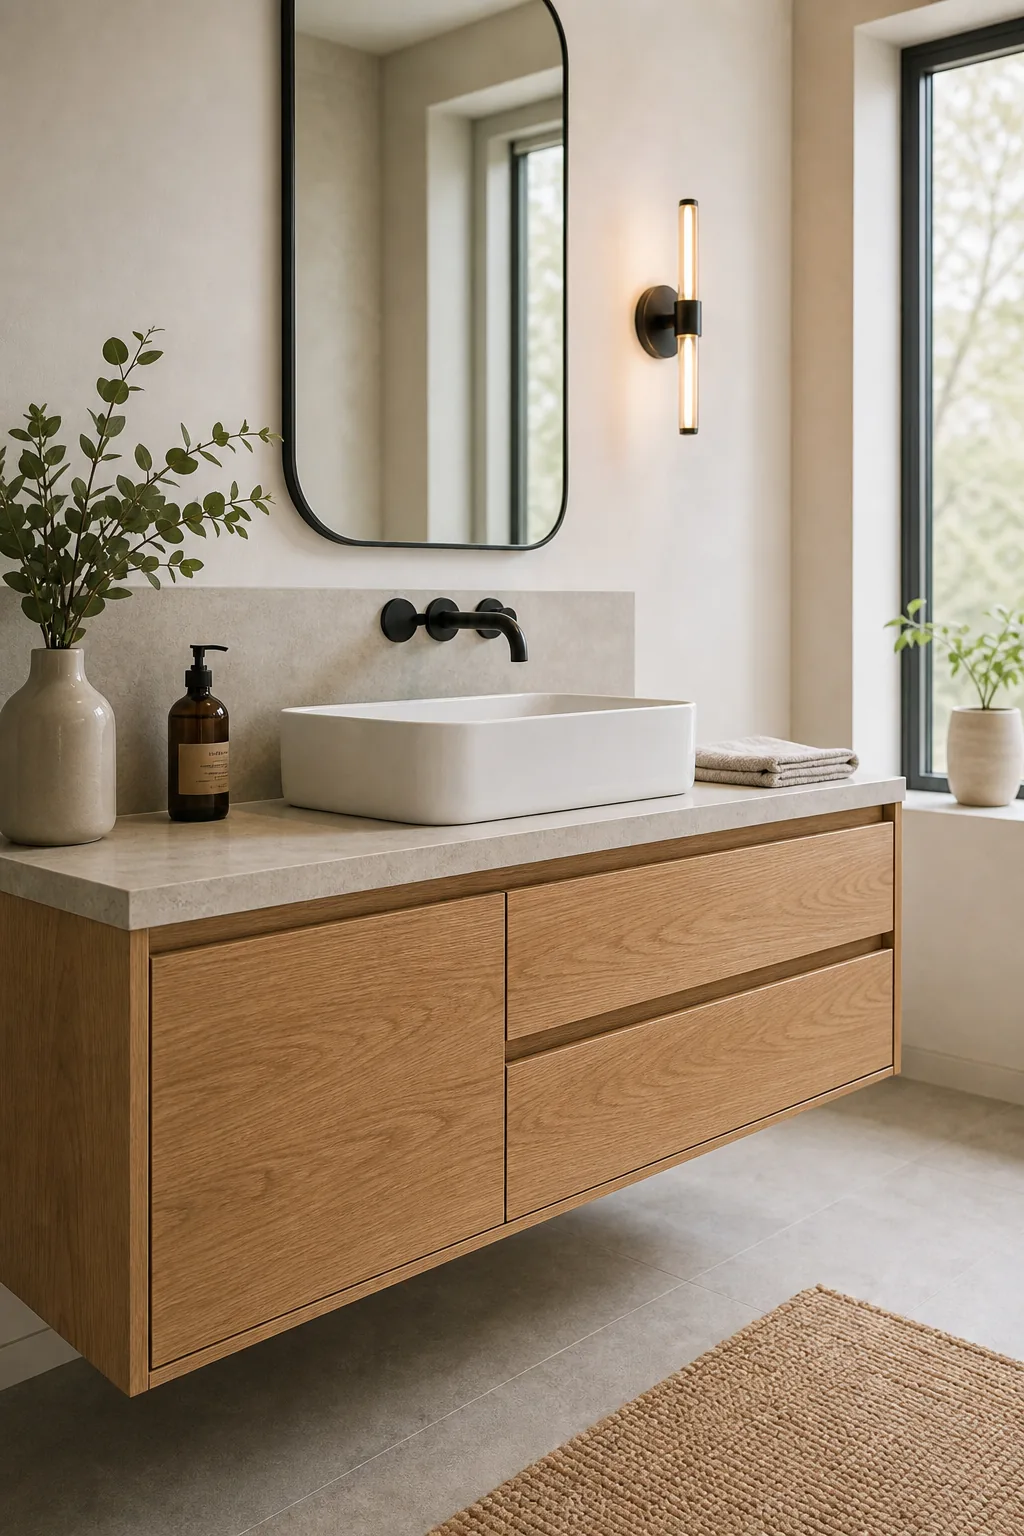
Getting the proportion right is only half the equation; the direction of the timber’s texture also dictates how spacious the room feels when you walk through the door.
Wood tone selection
Selecting the right timber species ensures your vanity remains a warm focal point rather than a dated distraction that clashes with your modern hardware and sleek tile selections.
| Oak Cut | Grain Pattern | Modern Suitability |
|---|---|---|
| Rift Sawn | Tight, linear lines | Excellent for minimal spaces |
| Plain Sawn | Prominent cathedral arches | Can feel too traditional |
| Quarter Sawn | Flecked, straight grain | Best for transitional designs |
| White Oak | Cool, pale undertones | Pairs perfectly with black |
| Red Oak | Warm, pink undertones | Clashes with neutral palettes |
| Walnut | Rich, dark chocolate | Requires ample natural light |
Matte black contrast
Matte black fixtures ground the airy design by providing sharp, deliberate visual anchors throughout the room. Resolving this matte black contrast prevents a light-colored bathroom from feeling washed out, sterile, or completely devoid of character.
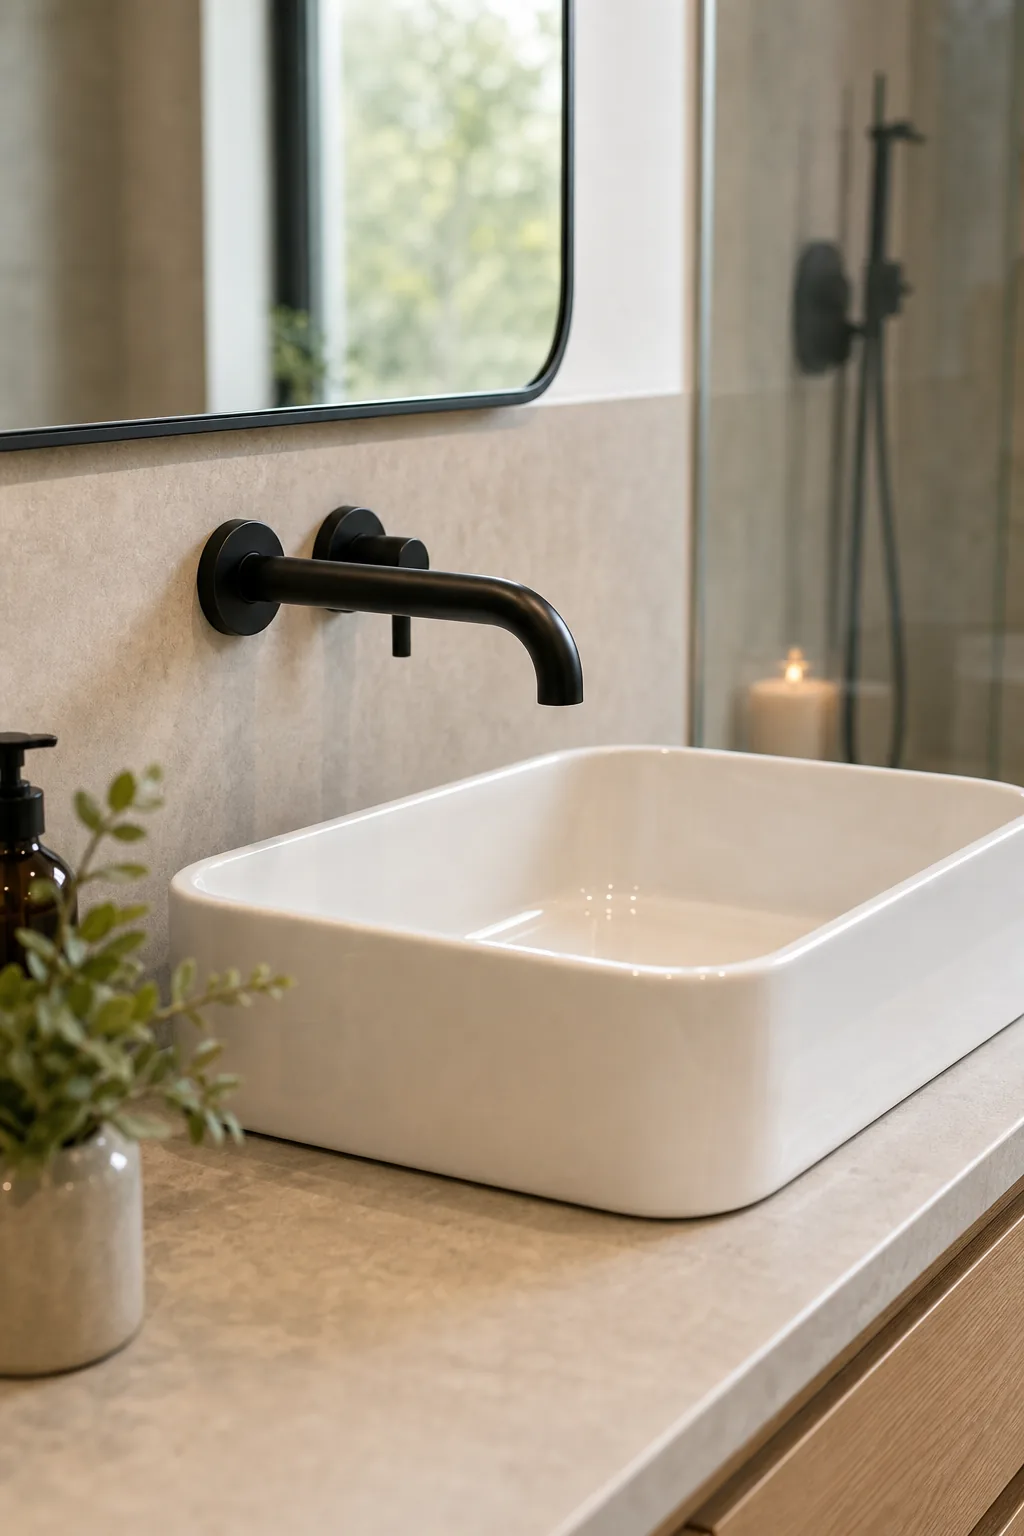
Keep all hardware—from the sink faucet to the shower hinges, towel bars, and drawer pulls—in the exact same finish to maintain a cohesive, highly intentional design language.
Fixture placement strategy
Mount wall faucets exactly 4 to 6 inches above the vessel sink rim to prevent excessive splashing while maintaining a sleek, floating appearance that keeps the countertop entirely clear of water-trapping hardware.
Layered task lighting
Implementing layered task lighting with eye-level sconces eliminates the harsh, unflattering facial shadows caused by overhead-only fixtures. This targeted side illumination is absolutely essential for daily grooming routines at the mirror.
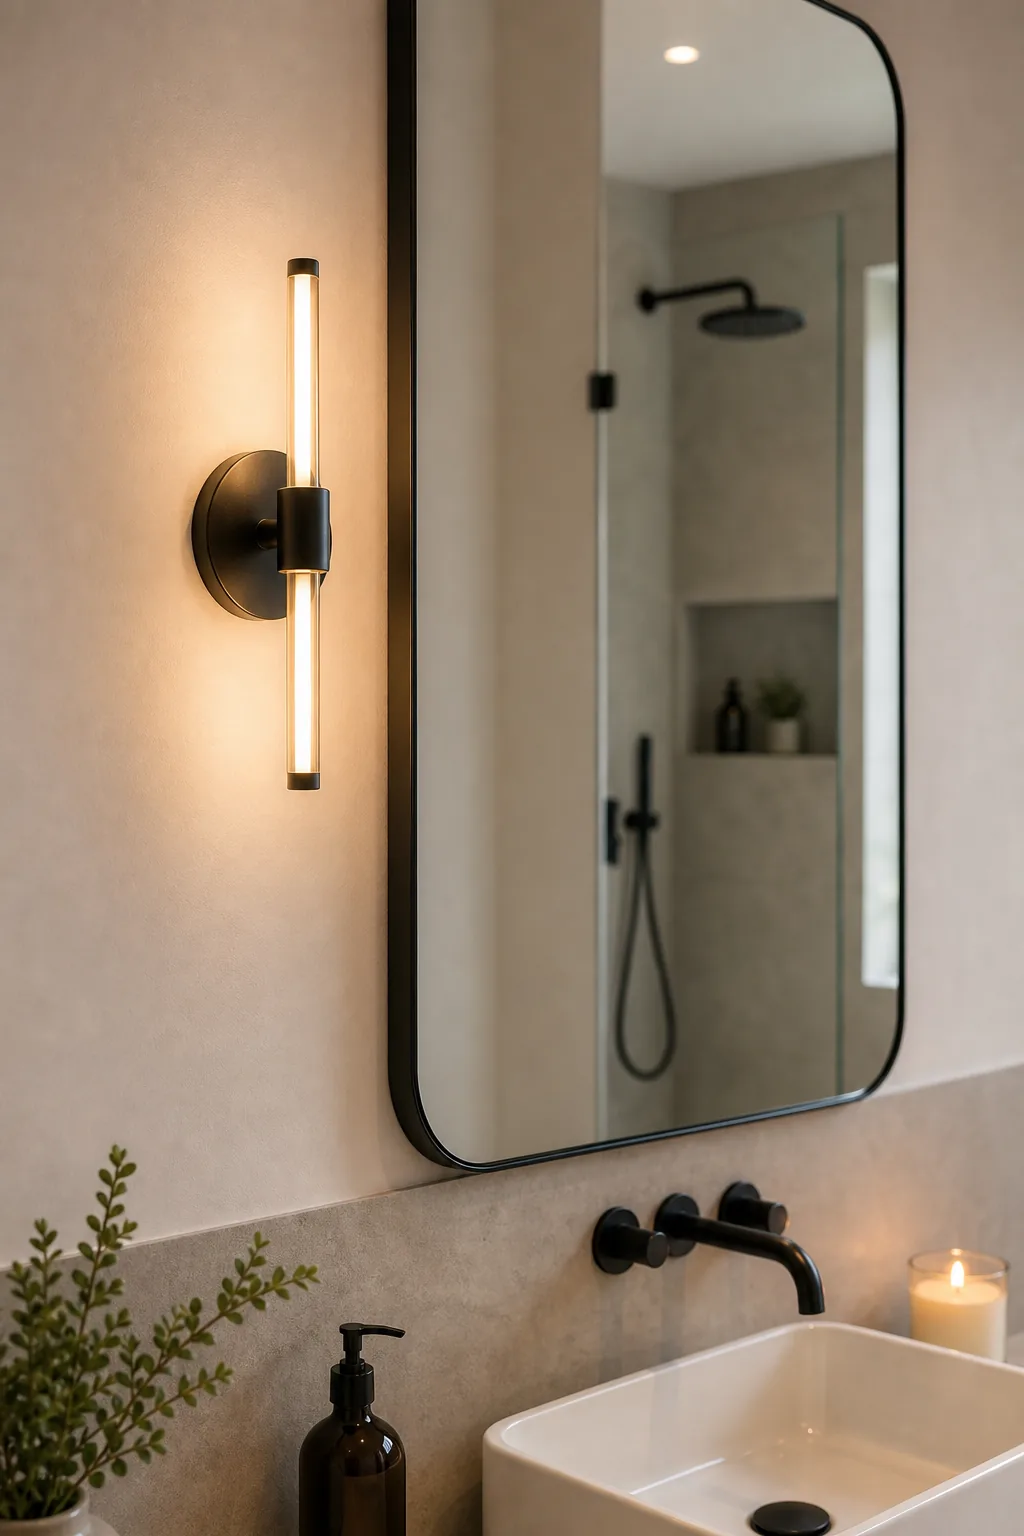
Pair these side fixtures with recessed ceiling lights, specifying a warm 3000K color temperature across all bulbs to ensure a flattering, natural glow that mimics soft morning sunlight.
Mirror proportions
Size your vanity mirror to leave at least 3 to 4 inches of breathing room on either side of the sconces, ensuring the lighting fixtures do not crowd the reflective surface or feel visually cramped.
Floating vanity clearance
Leave exactly 10 to 12 inches of clearance beneath a floating vanity to create a convincing illusion of expanded square footage. Exposing this continuous floor boundary tricks the eye into perceiving a much larger, uninterrupted room.
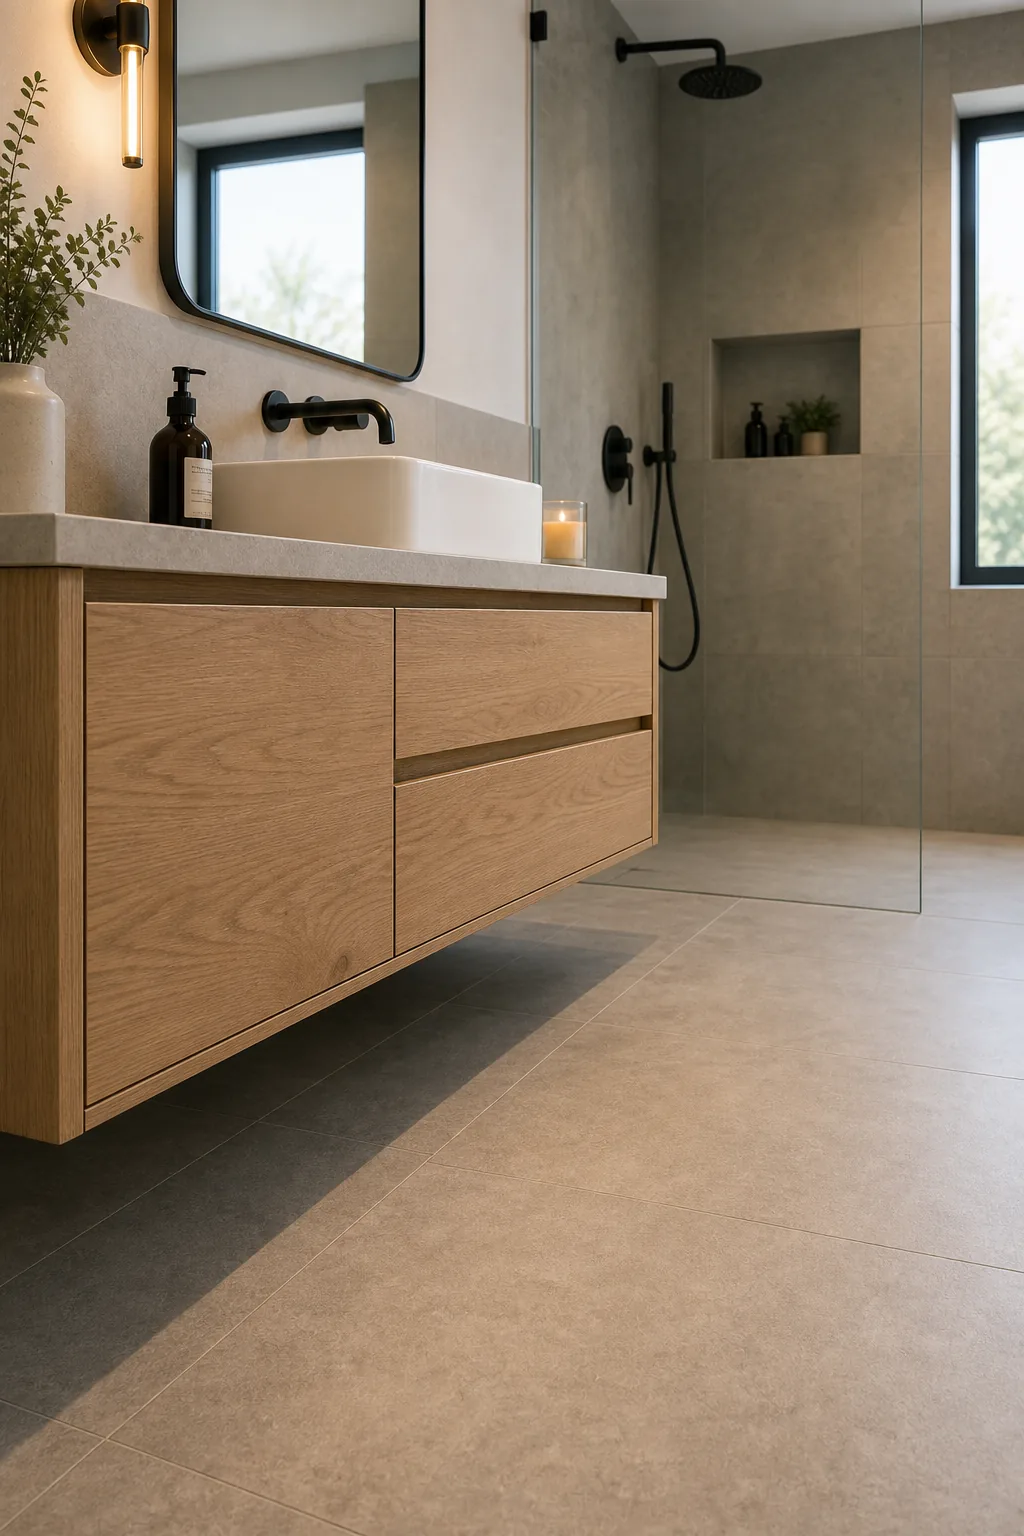
Achieving that weightless, hovering cabinet effect requires precise structural planning behind the drywall before the first piece of flooring tile is ever laid.
Floor tile direction
Running your floor tiles parallel to the longest wall in the bathroom visually elongates the entire space, drawing the eye straight toward the back wall and making the room feel significantly deeper than its actual physical footprint.
Frameless wet zone
A single fixed glass panel creates a minimal frameless wet zone, allowing a seamless visual transition into the shower without jarring metal borders. This uninterrupted sightline keeps the entire bathroom footprint feeling open and expansive.
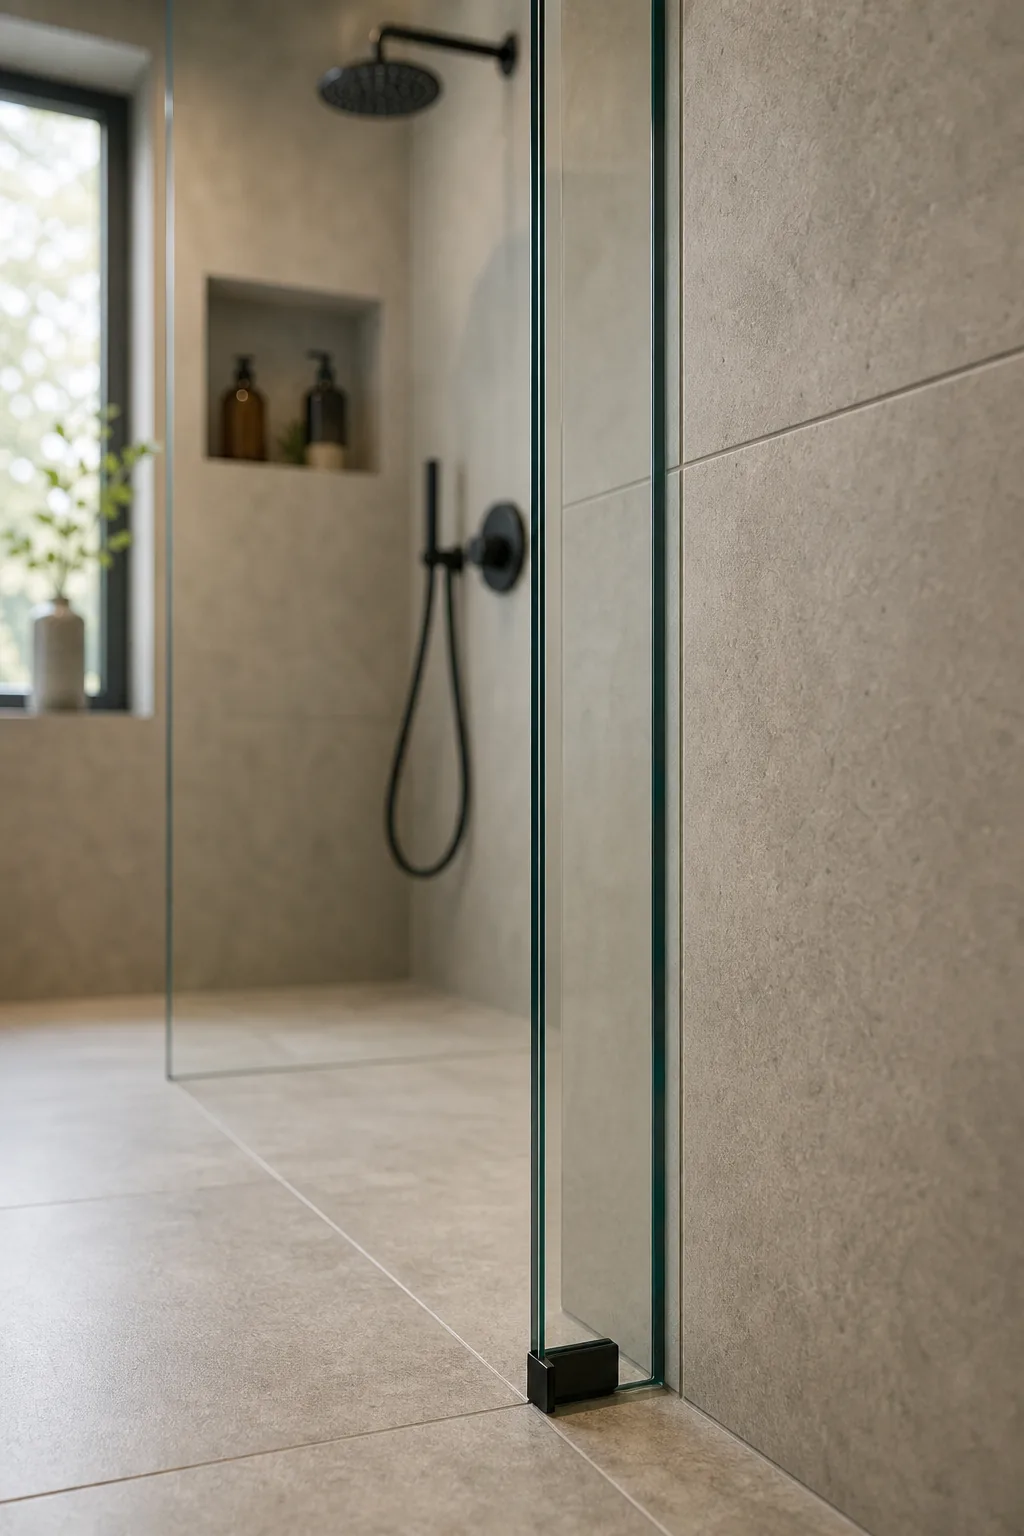
Specify 3/8-inch thick tempered glass to ensure long-term structural stability and daily safety without ever needing to rely on bulky, visually heavy supportive framing.
Glass maintenance
Factory-applied protective glass coatings actively repel hard water minerals and soap scum, ensuring your minimal partition remains crystal clear with simple, quick squeegee maintenance after each shower.
Shower niche integration
Aligning a recessed shower niche with the surrounding grout lines keeps the minimal aesthetic completely intact. This precise horizontal alignment prevents awkward, slivered tile cuts from interrupting the smooth visual flow of the wet zone.
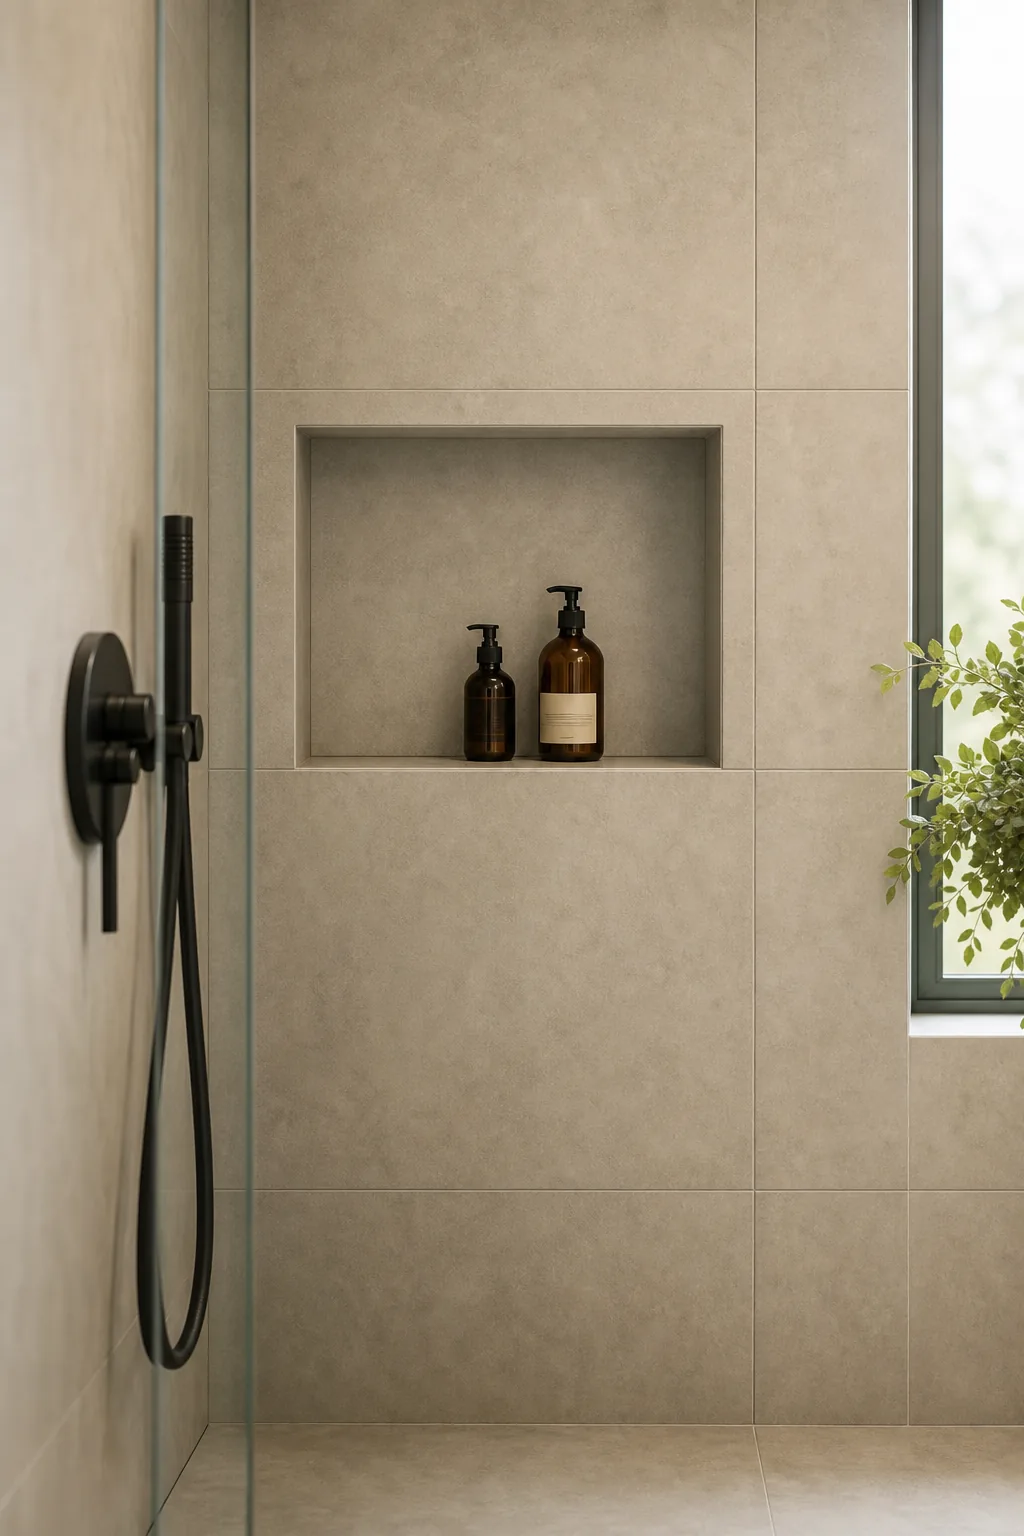
Frame the wall cavity to match the exact dimensions of your chosen wall tiles, accounting for the required 1/16-inch grout joint on all four sides of the storage box.
Niche waterproofing
Apply a continuous, liquid-applied waterproofing membrane over the entire framed niche box, ensuring every corner seam is fully reinforced with fabric banding before setting a single tile.
Zero-grout illusion?
Large-format concrete-look tiles—such as 24×24 or 24×48 inches—paired with color-matched epoxy grout successfully answer the zero-grout illusion question. This specific combination creates a nearly seamless floor surface that closely mimics expensive poured concrete.
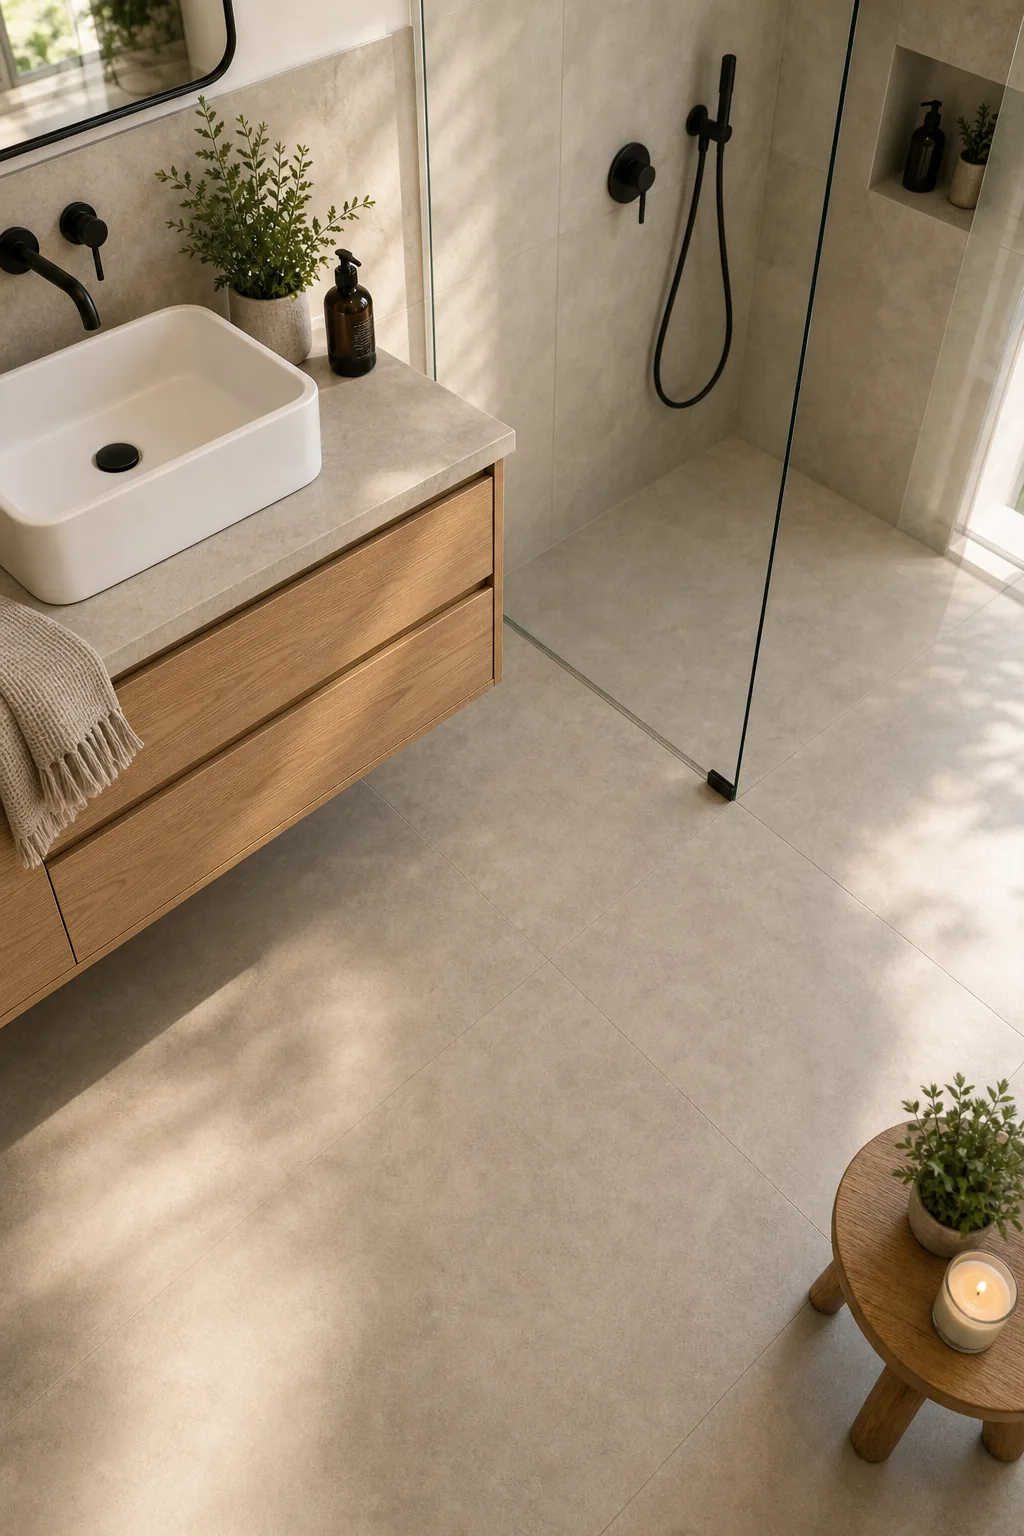
This seamless technique dramatically reduces visual floor clutter while making daily cleaning significantly easier by permanently eliminating deep, porous grout channels that trap dirt.
Grout joint sizing
Always specify rectified porcelain tiles featuring perfectly straight, machine-cut edges, allowing your professional installer to use a minimal 1/16-inch grout line that virtually disappears into the surface.
The 5-point material pairing guide
Successfully executing this modern aesthetic requires balancing distinct textures and tones to prevent the space from feeling cold. This concrete 5-point modern material pairing guide provides the exact formula for achieving a warm, clean look.
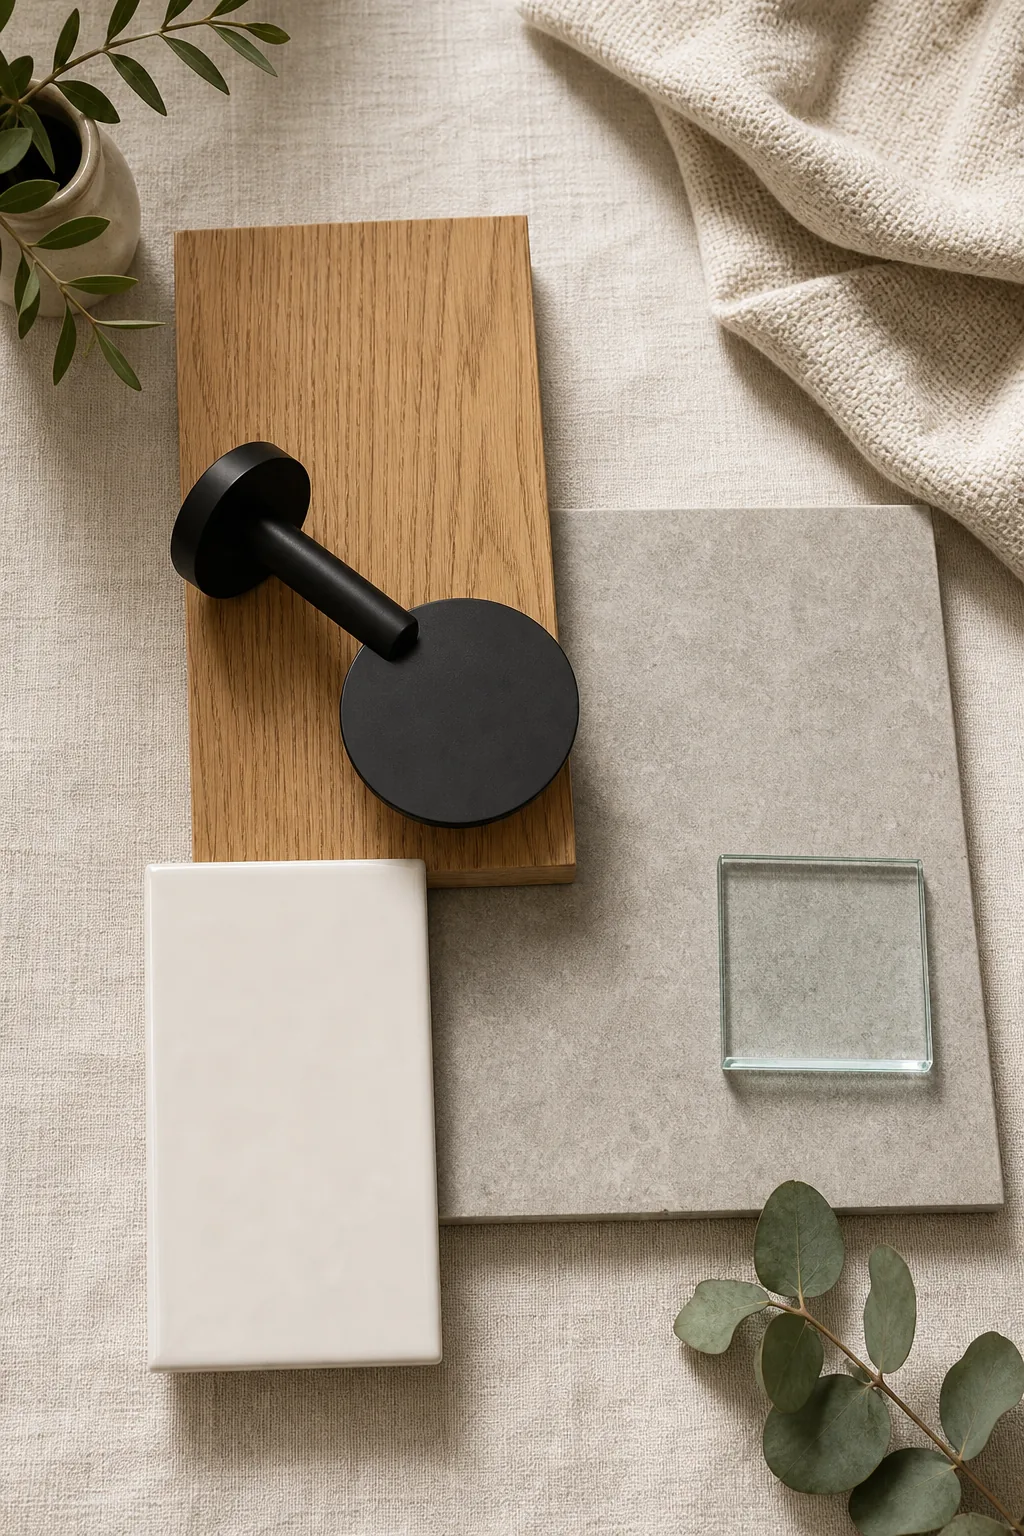
Gather physical material samples of these five critical elements and carefully evaluate how they interact under your bathroom’s specific lighting conditions before placing any final material orders.
- Warm oak base: Anchor the entire room with a single timber vanity element to inject necessary natural warmth into the layout.
- Matte black accents: Use uniform dark hardware across all plumbing and cabinetry to provide sharp, grounding modern contrast.
- Large-format concrete-look tile: Establish a seamless, neutral floor foundation that significantly reduces visual noise and maintenance.
- Crisp white ceramics: Select a simple white vessel sink and toilet to keep the functional areas looking bright and hygienic.
- Clear frameless glass: Remove all visual barriers with thick, unframed shower panels that let the eye travel freely.