
Rustic Basement Bar Layout Rules: The Complete Planning Guide
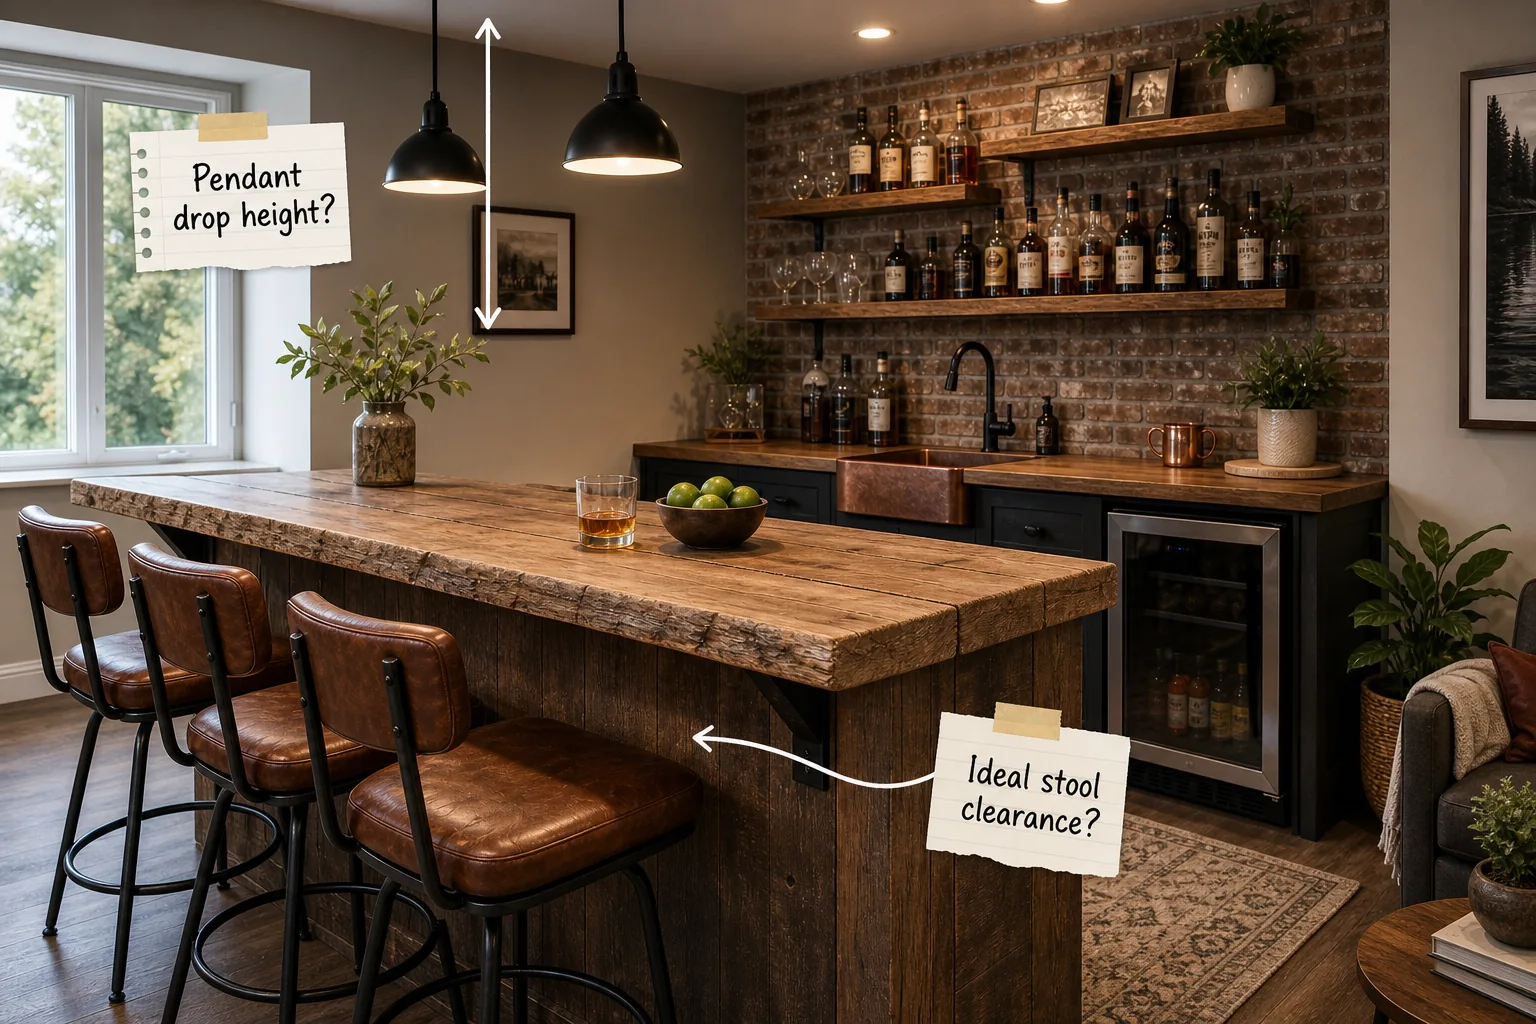
Master your rustic basement bar design with this complete measurement and layout guide. You will be able to map out your exact structural dimensions, ergonomic stool clearances, and built-in appliance footprints with total confidence before construction begins.
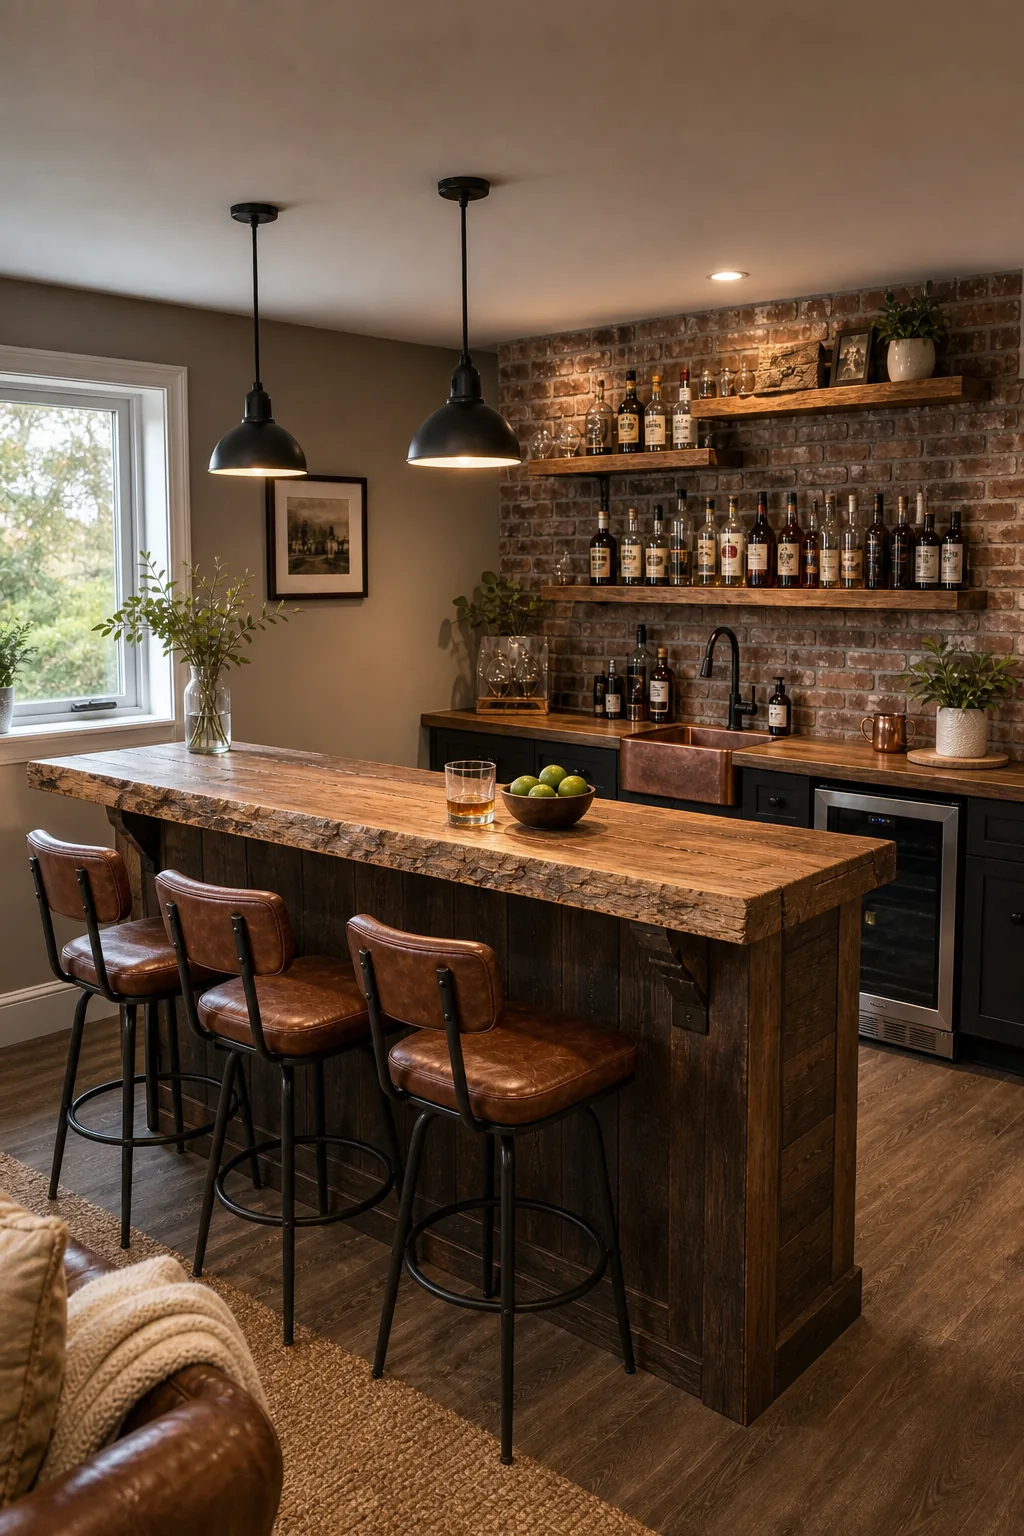
Sizing the Reclaimed Oak Slab
A highly functional bar top requires a finished depth of 16 to 24 inches to easily accommodate tall drinks, large dining plates, and resting elbows comfortably. When measuring a reclaimed oak slab, always calculate from the narrowest point of the live edge to guarantee adequate usable surface area.
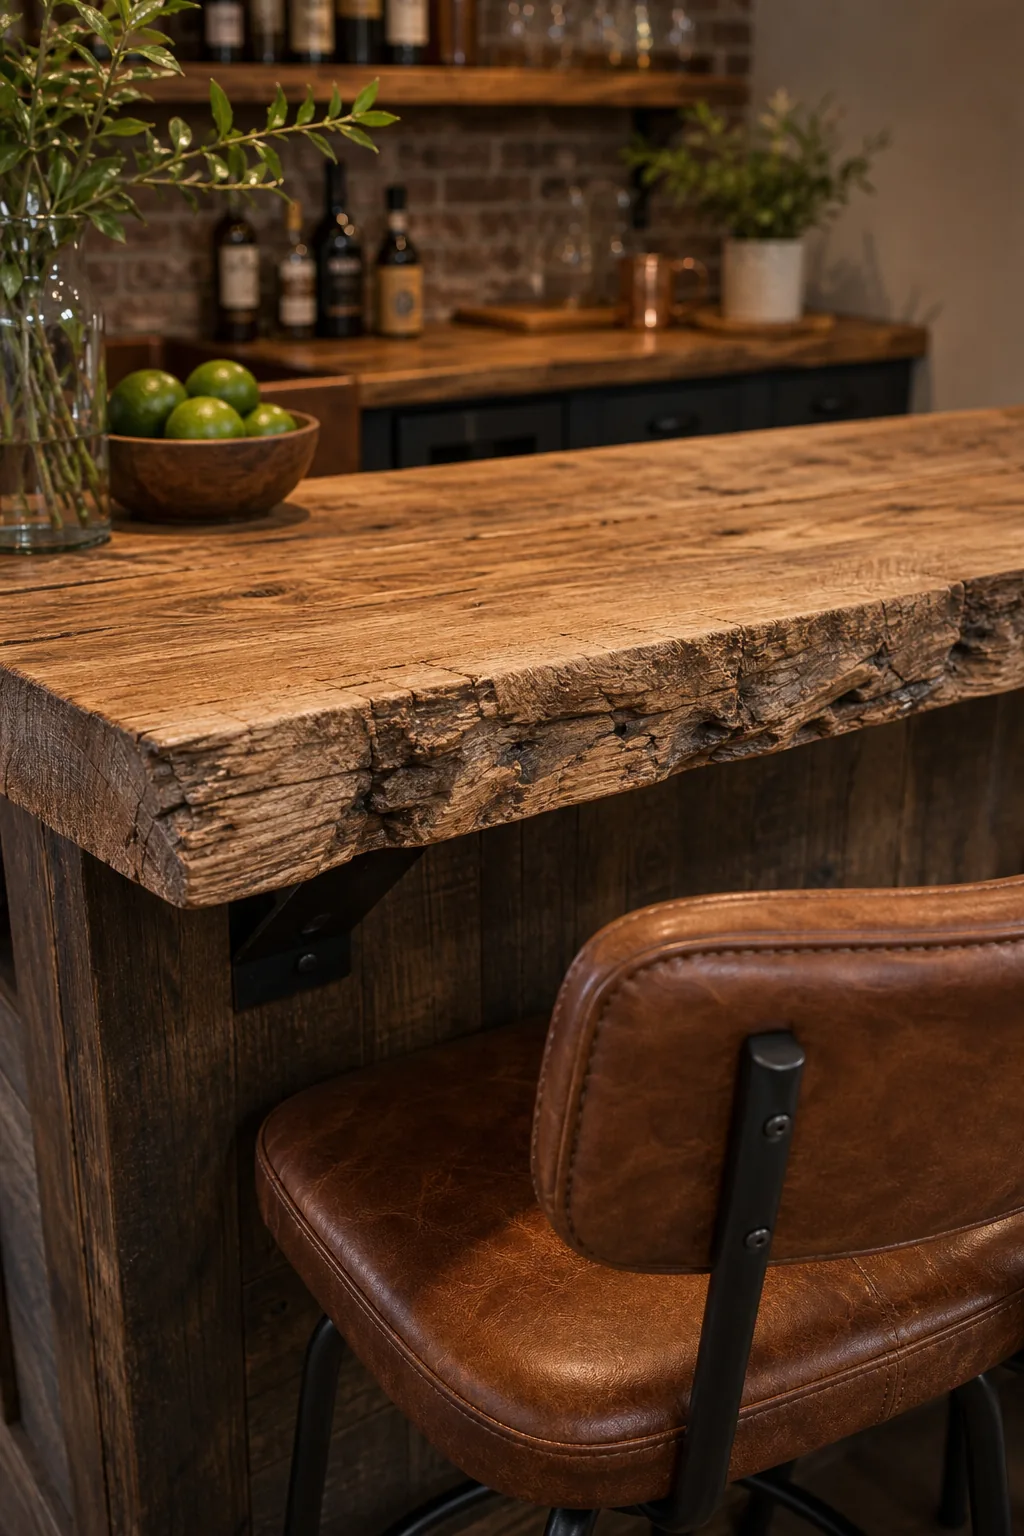
Using a massive, thick wood slab adds immense rustic character, but it demands incredibly careful spatial planning during the design phase. Ensure the deepest natural projections of the live edge do not awkwardly encroach on the primary walking paths surrounding your main basement seating area.
Selecting the Right Support Corbels
To keep the heavy wood structurally sound over a long span, support the slab with heavy-duty steel corbels spaced every 30 to 36 inches along the stud wall. Match the corbel dimensions precisely to your specific bar top depth to prevent dangerous sagging over time.
| Bar Top Depth | Minimum Corbel Length | Weight Capacity | Recommended Spacing |
|---|---|---|---|
| 16 inches | 10 inches | 250 lbs per bracket | 36 inches |
| 20 inches | 14 inches | 350 lbs per bracket | 32 inches |
| 24 inches | 18 inches | 500 lbs per bracket | 30 inches |
Calculating Ideal Stool Clearance
For genuinely comfortable seating, leave 10 to 12 inches of knee clearance between the front stool seat and the underside of the counter. A standard rustic basement bar sits at 42 inches high, requiring 30-inch tall bar stools to maintain this crucial ergonomic gap for guests.
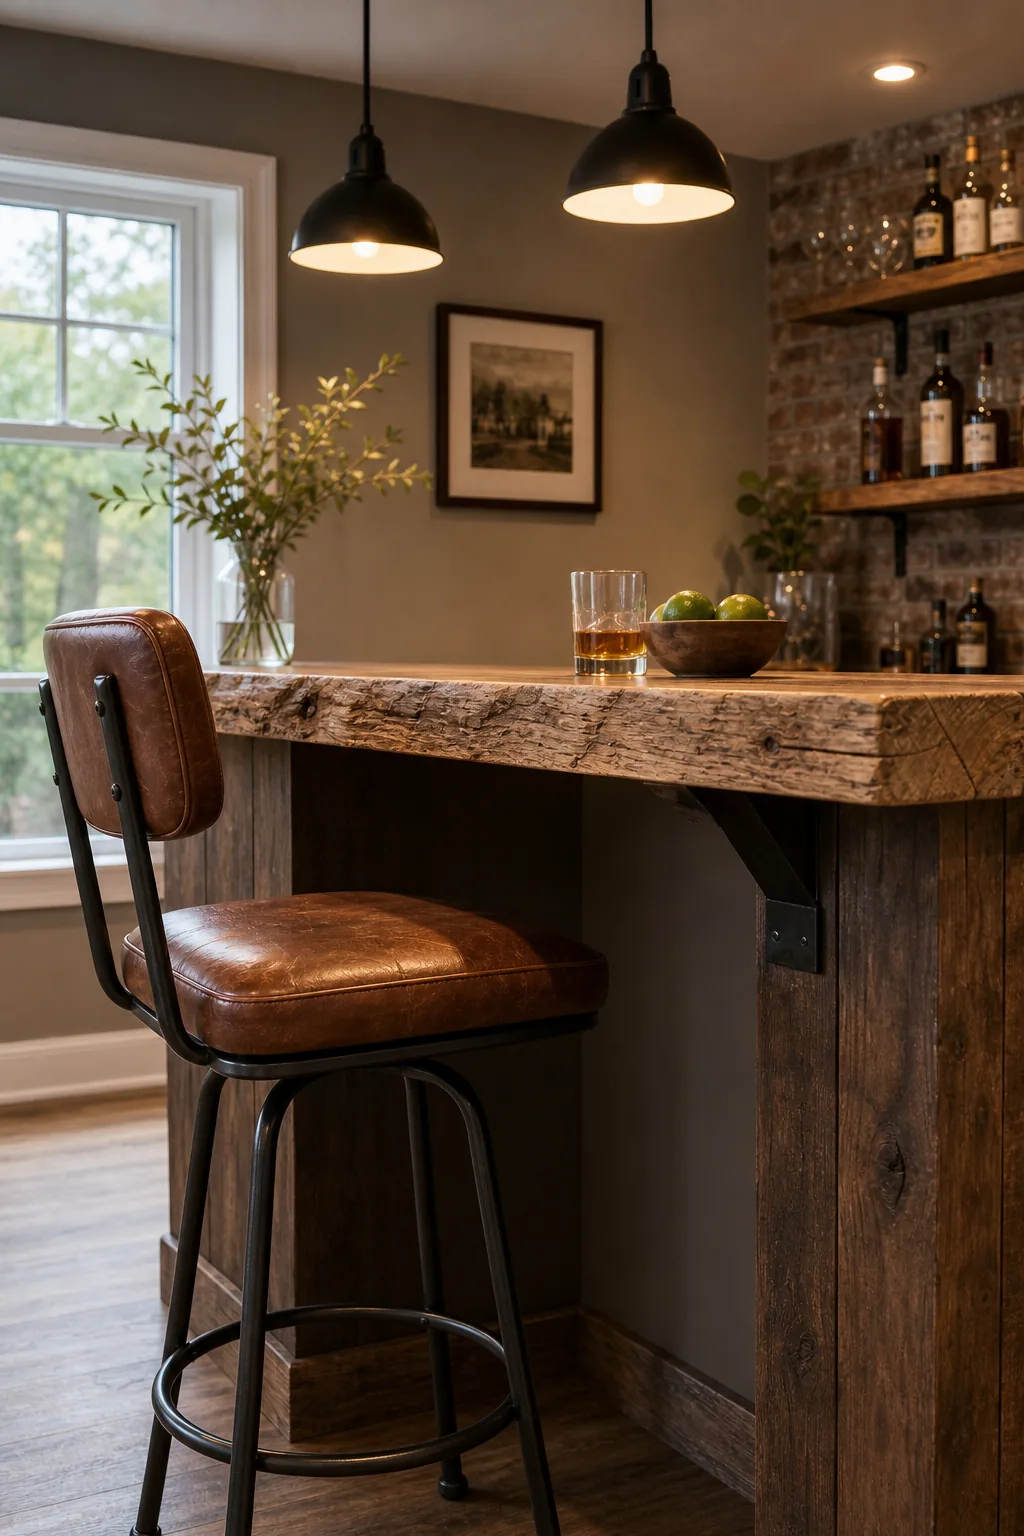
Avoid these incredibly common seating miscalculations to ensure your family and guests stay perfectly comfortable during long conversations, televised sporting events, and extended weekend entertaining sessions in your newly finished basement.
Accommodating the Wood Apron
Many authentic rustic bar designs incorporate a thick wooden apron directly beneath the main slab to completely hide the structural plywood sub-top. You must measure your strict stool clearance from the bottom edge of this decorative apron, rather than the top surface of the bar.
Setting the Pendant Drop Height
Suspend your overhead lighting so the bottom rim of the pendant shade rests precisely 30 to 36 inches above the bar top. This standard drop height illuminates the beautiful wood grain while safely keeping the hot electrical fixtures out of the direct sightline of seated guests.
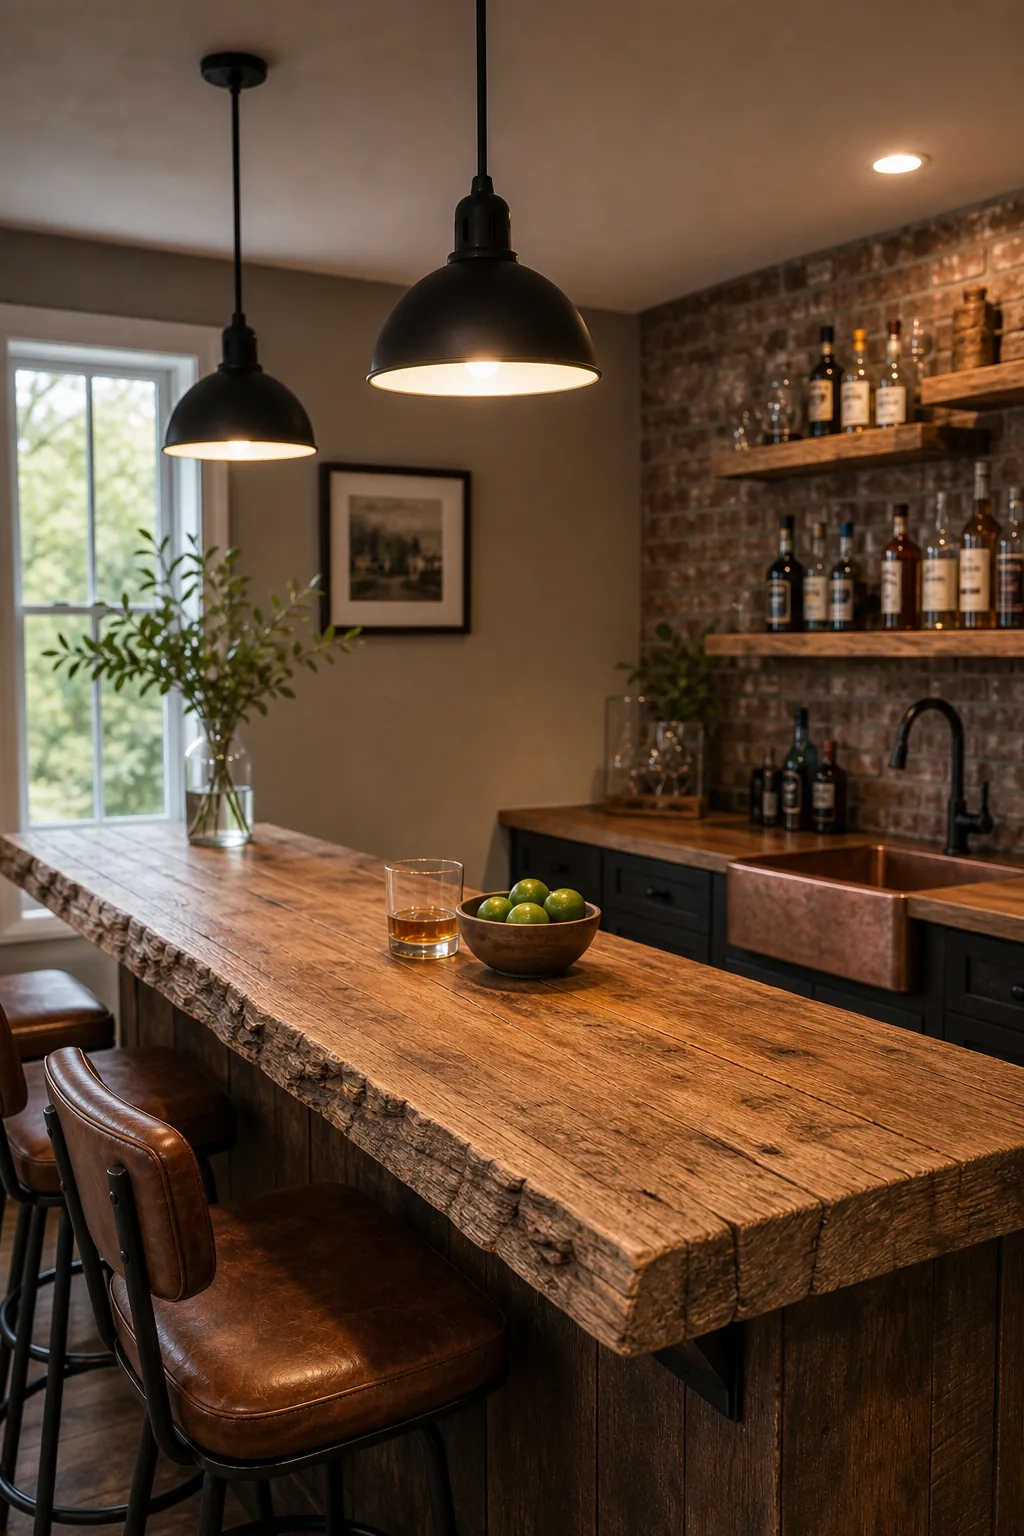
If your ceiling height fluctuates dramatically due to low basement ductwork or structural beams, always measure the drop from the finished bar surface rather than the ceiling above. This installation technique ensures all pendant shades hang perfectly level across the entire visible span.
Centering the Lighting Layout
For a standard eight-foot bar layout, install three evenly spaced metal pendants to completely eliminate harsh shadows across the primary seating area. Space the outer two fixtures roughly 30 inches apart from the center pendant to cast an even, overlapping pool of warm ambient light.
- Locate the exact center point of your finished wood slab length.
- Mark the ceiling directly above this center point for the primary electrical box.
- Measure 30 inches outward in both directions to mark the secondary fixture locations.
- Verify the wiring path completely avoids major plumbing pipes hiding in the basement ceiling.
Designing the Hidden Wet Bar Zone
The back counter serves as your primary prep and wash station within the highly functional hidden wet bar zone. A standard 36-inch counter height paired with a minimum 18-inch base cabinet provides enough internal room to easily install a small hammered copper prep sink.
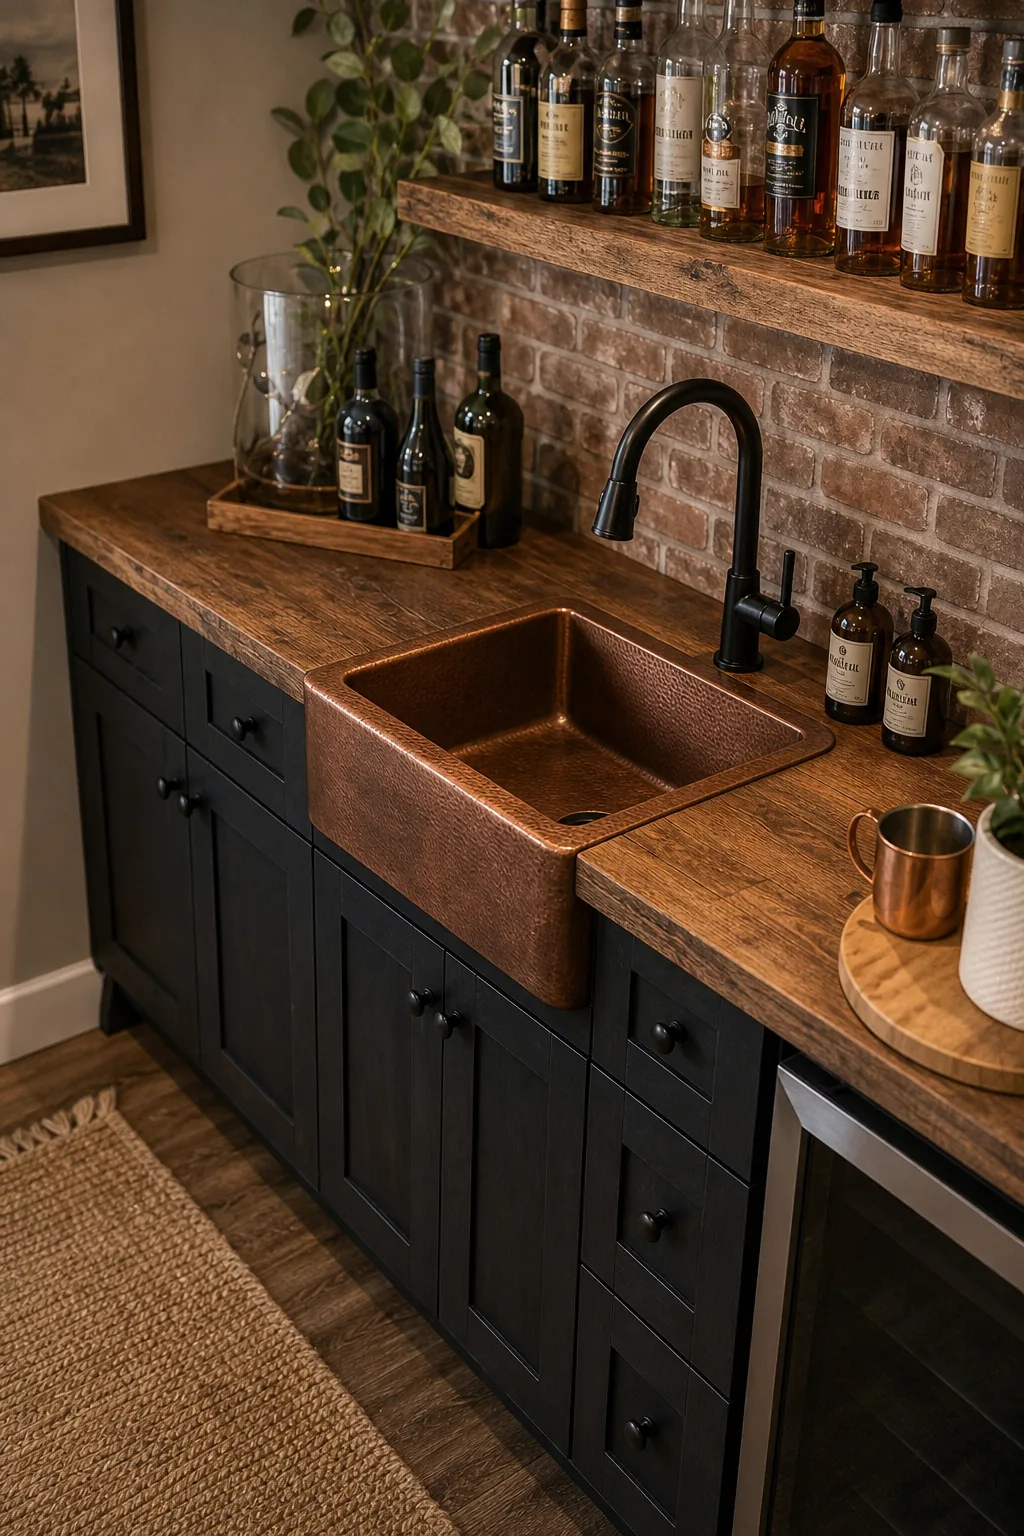
This dedicated wash station effortlessly conceals the necessary plumbing traps and hot water supply lines inside the dark lower cabinetry. It keeps dirty cocktail glassware completely out of sight from the main entertainment area while you continue mixing fresh drinks for your arriving guests.
Routing the Drain Plumbing
Basement wet bars frequently require a specialized mechanical drain pump if the main household sewer line sits higher than the new sink basin. Plan to allocate the entire bottom half of your sink cabinet strictly to housing this compact drain pump system and its discharge pipe.
Sizing the Keg Fridge Footprint
Plan a strict 24-inch wide opening in your lower cabinetry to properly accommodate the standard keg fridge footprint or an undercounter beverage center. Verify the manufacturer’s specific depth requirements so the heavy unit sits perfectly flush with your dark cabinet doors without sticking out.
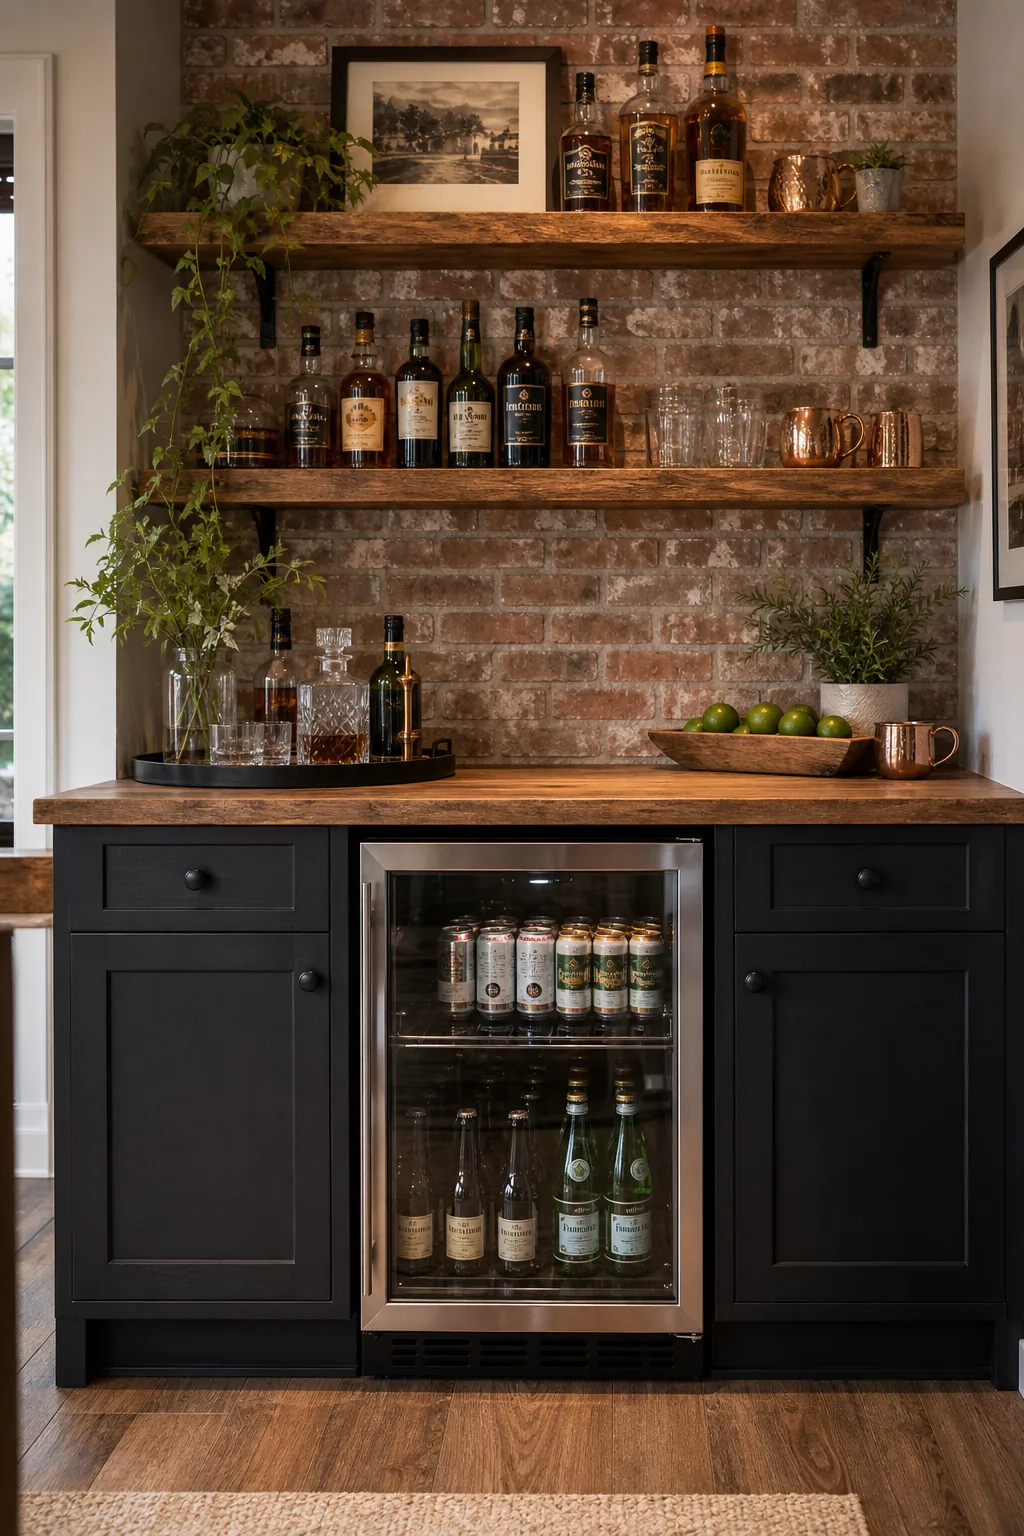
Always confirm that your chosen cooling appliance is exclusively front-venting before finalizing the permanent cabinet layout with your carpenter. This specific design feature is strictly required to prevent the powerful compressor from dangerously overheating and failing early in a tight built-in configuration.
Ensuring Proper Appliance Ventilation
Even specialized front-venting appliances require a small rear air gap to function efficiently over a long, reliable lifespan. Leave at least two inches of clearance between the back of the heavy fridge and the finished basement drywall to allow proper ambient heat dissipation.
Spacing Floating Shelves on Brick
Mount the lowest heavy floating shelf 18 to 20 inches above the back counter to leave ample vertical clearance for tall liquor bottles. When installing directly over a textured brick veneer backsplash, this optimal height keeps powerful blender motors safely away from the bottom wood.
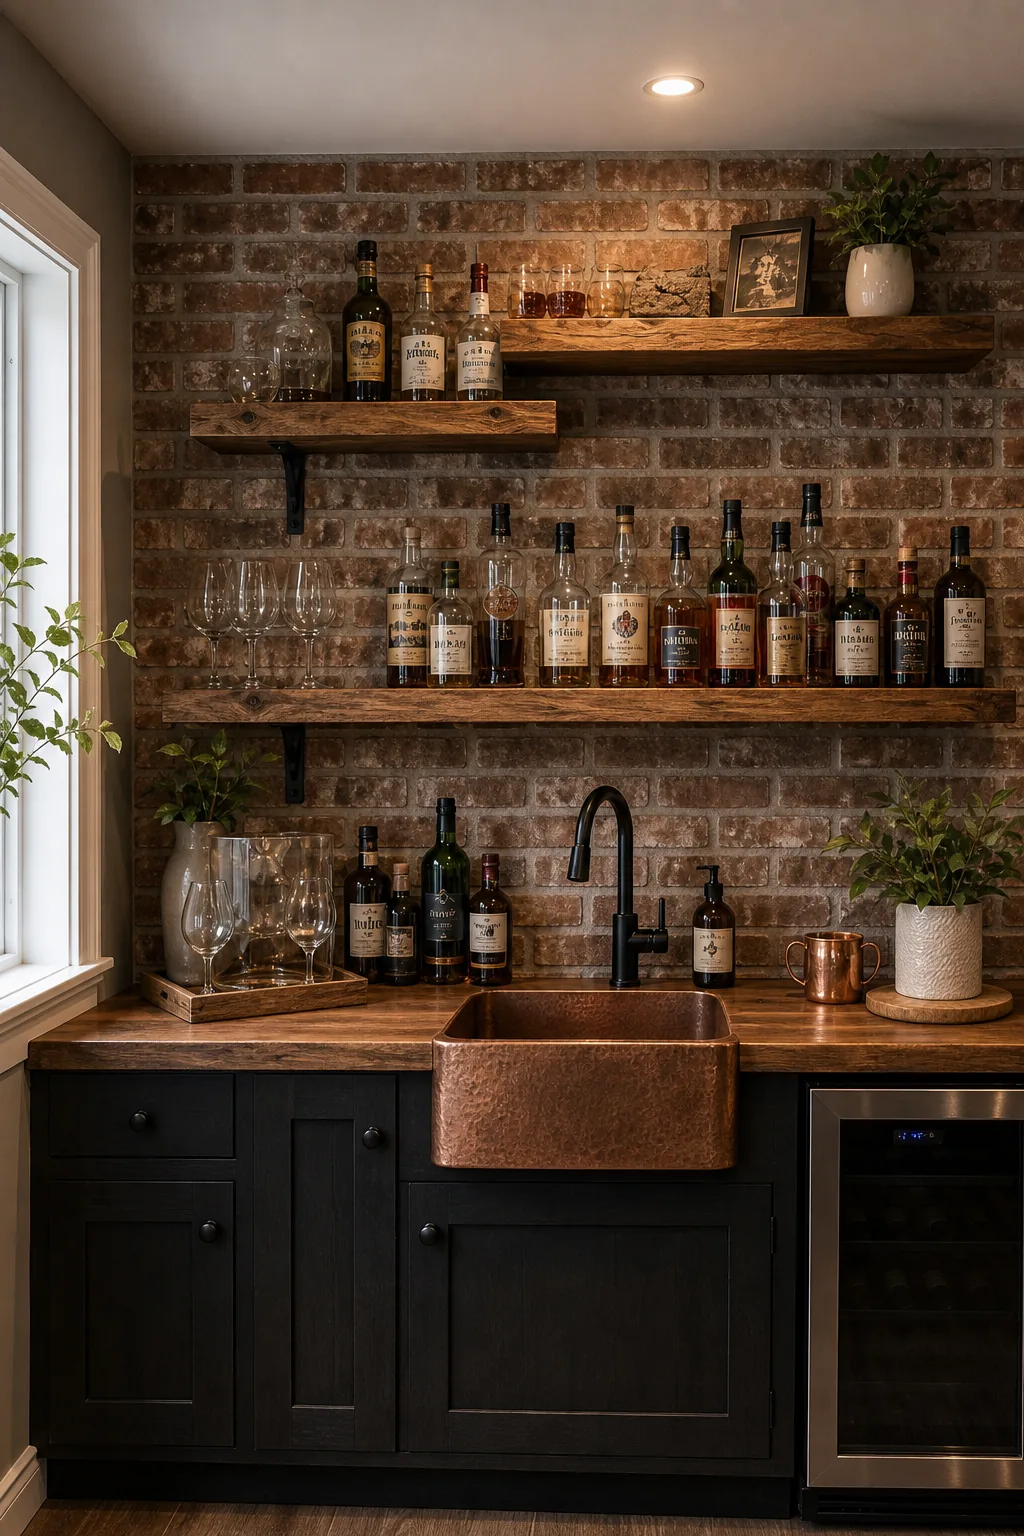
To create a visually balanced display wall, space any additional upper shelves exactly 12 inches apart from one another. This tidy vertical rhythm neatly organizes your assorted cocktail glassware while exposing plenty of the beautiful textured brick wall directly behind the arranged bottles.
Securing Shelves to Masonry
Standard plastic drywall anchors will quickly fail when driven into real brick or heavy masonry veneer backsplashes. You must use specialized metal masonry anchors or heavy-duty toggle bolts designed specifically to support the extreme, concentrated weight of full liquor bottles and heavy glass decanters.
Coordinating Rustic Hardware
Ground the warm amber tones of the oak slab and red brick by installing matte black metal hardware on the dark back-bar cabinetry. Matching the cabinet pulls directly to the black dome pendants creates a highly cohesive industrial-rustic aesthetic that feels custom and intentional.
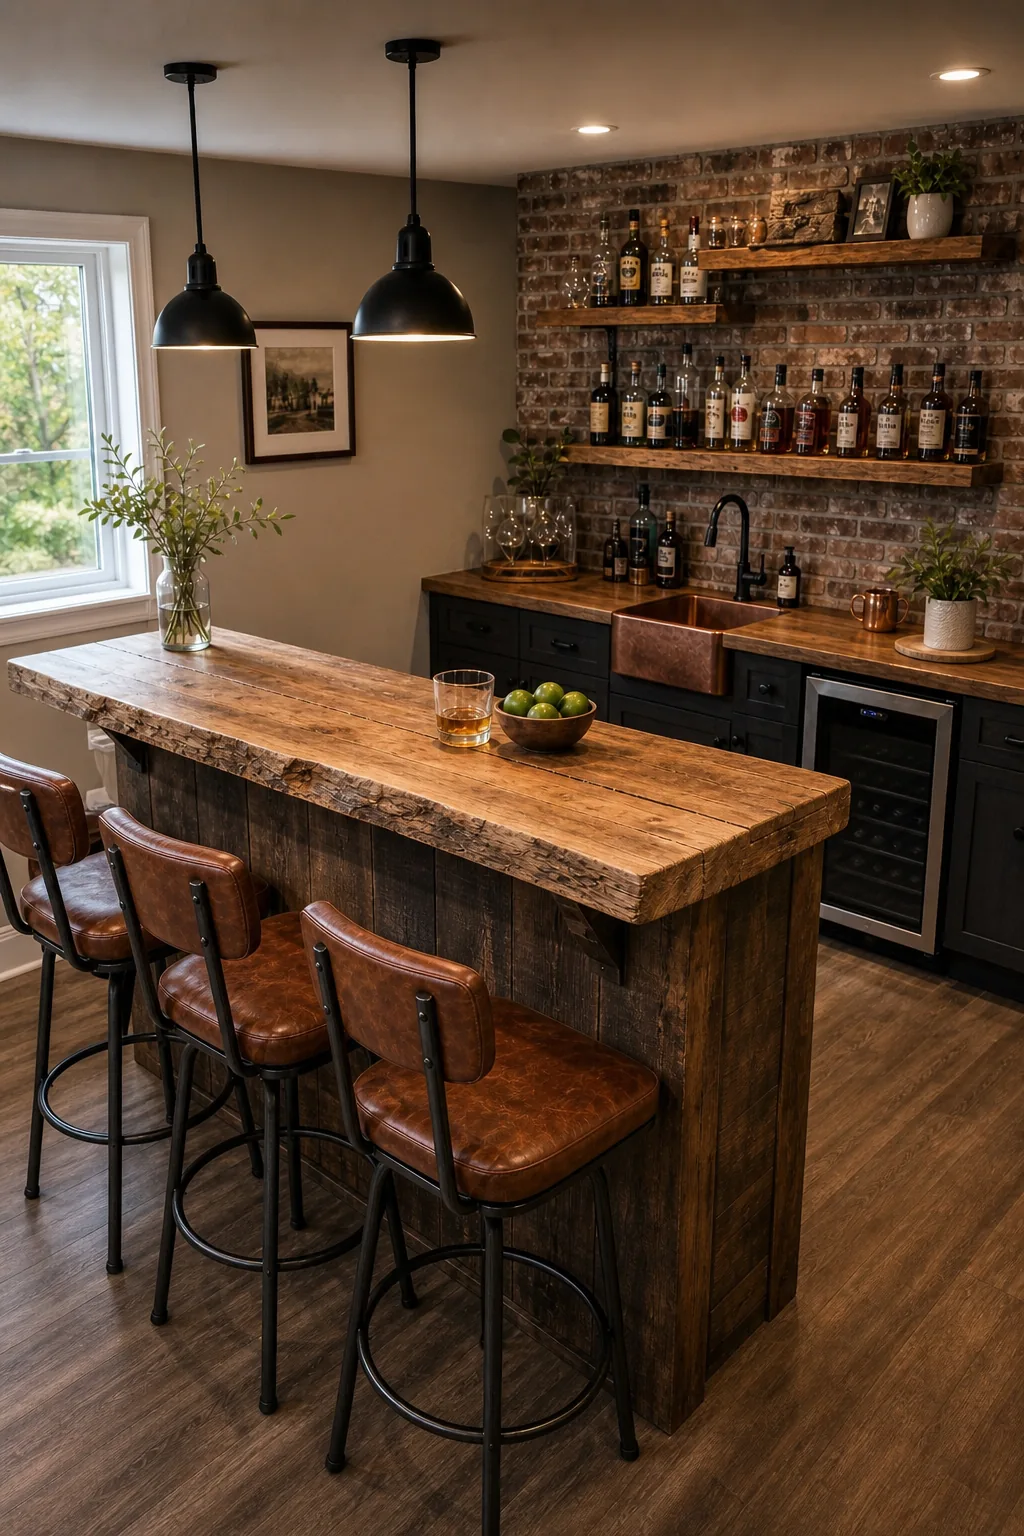
Introducing a secondary rich metal, like the hammered copper of the prep sink, adds immediate visual warmth to the dark stained cabinets. This subtle material contrast prevents the entire hardware suite from feeling overly matched, rigidly modern, or entirely devoid of authentic rustic character.
Blending Mixed Metal Finishes
Limit your permanent hardware palette to a maximum of two metallic finishes to maintain a carefully curated, intentional look throughout the space. Pair the dominant matte black elements with warm aged copper or unlacquered brass accents for the most authentic, visually appealing rustic effect.
The Complete Basement Bar Planning Guide
Successful basement bars rely on strict adherence to these spatial rules for both lasting comfort and efficient traffic flow. By locking in a 42-inch bar height, 10-inch knee clearance, and 24-inch appliance widths, you guarantee a professional layout that functions flawlessly for years.
Run through this final pre-construction spatial checklist before officially ordering your expensive building materials, cutting the custom wood slab, and scheduling the heavy appliance deliveries for your completed basement.