
Small Wine Cellar Under Stairs: Complete Prep & Build Guide
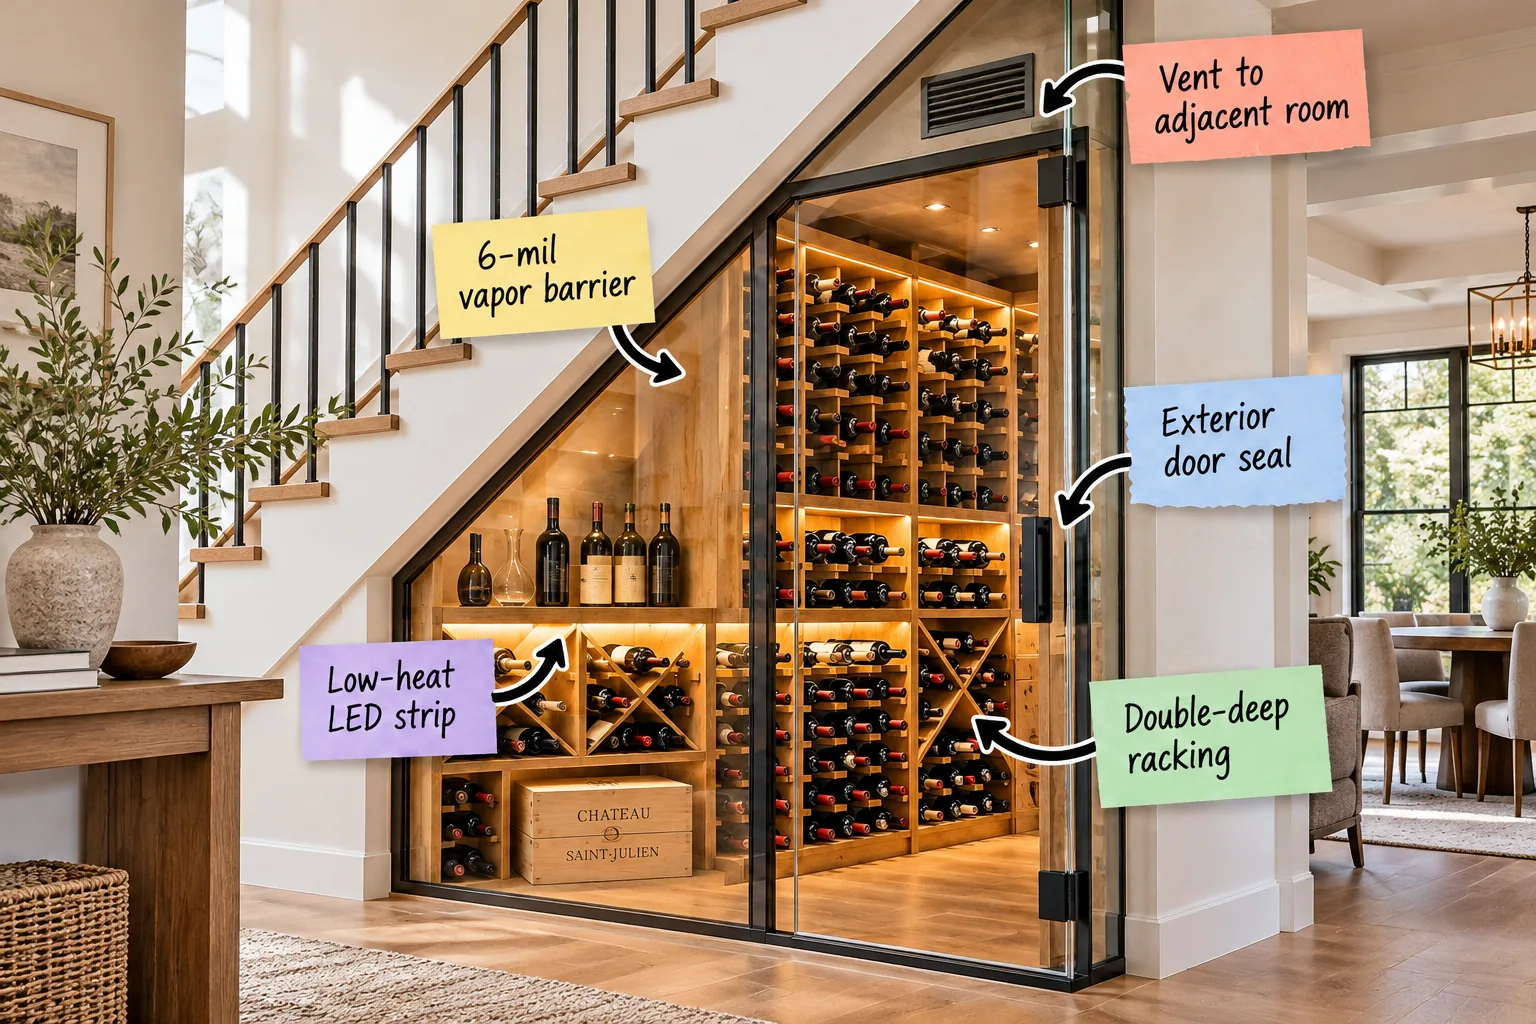
Grab our complete cellar prep checklist to turn your empty under-stair space into a stunning, climate-controlled wine display. You will know exactly how to prep, seal, and outfit this tricky footprint to safely store and showcase your entire collection.
Essential Pre-Construction Checks
Before framing begins, we must assess the exact footprint and electrical access of your specific under-stair space. A dedicated 110V circuit is typically required for the cooling unit, and the wall framing must be deep enough to accommodate R-13 to R-19 insulation.
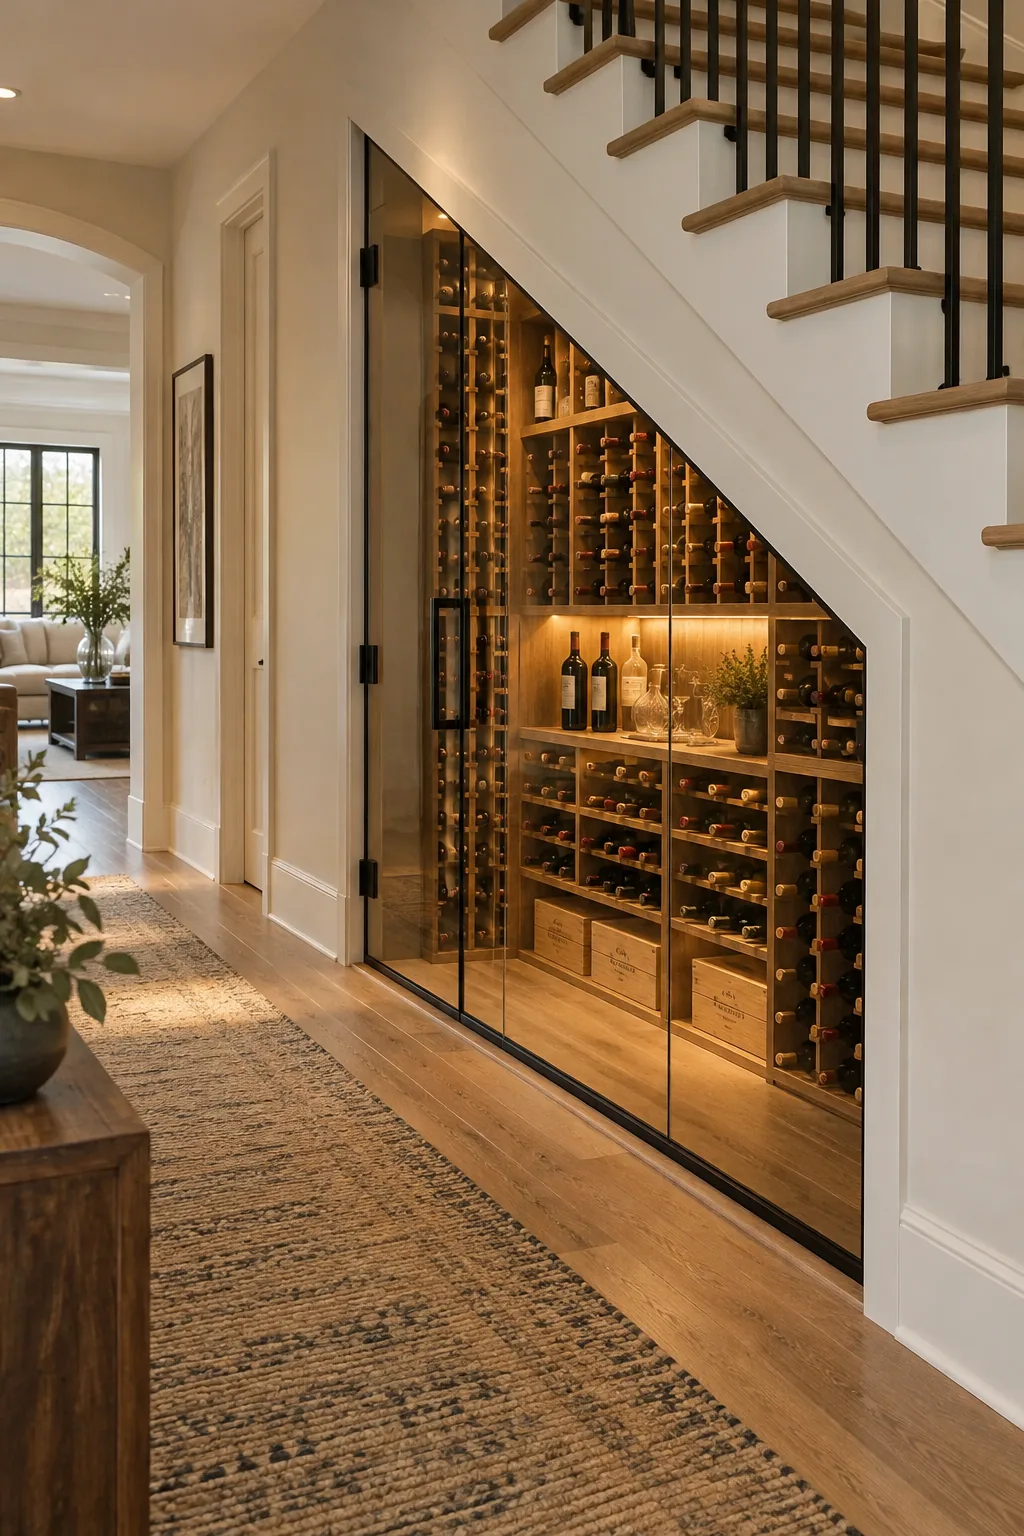
Before hanging any drywall or ordering custom glass panels, verify these foundational requirements to ensure your space can actually support a climate-controlled environment. Skipping these early checks often leads to expensive structural rework once the cooling unit is delivered.
Framing the Under-Stair Cavity
Standard staircases often feature irregular angles and shallow pockets that complicate standard construction techniques. Build out the interior framing to create square, plumb walls wherever possible, ensuring your custom oak racking will sit flush against the backing without awkward gaps.
Insulating the Floor and Walls
Proper climate control relies entirely on a tightly insulated envelope that traps chilled air inside the display. Pack every stud bay with high-density closed-cell spray foam or carefully fitted fiberglass batts, ensuring no voids remain near the tricky stair stringers.
Installing the Moisture Barrier
Climate-controlled cellars require a continuous 6-mil vapor barrier installed directly on the warm side of the insulation. This heavy polyethylene sheeting prevents warm household air from meeting the chilled cellar air inside the enclosed wall cavity.
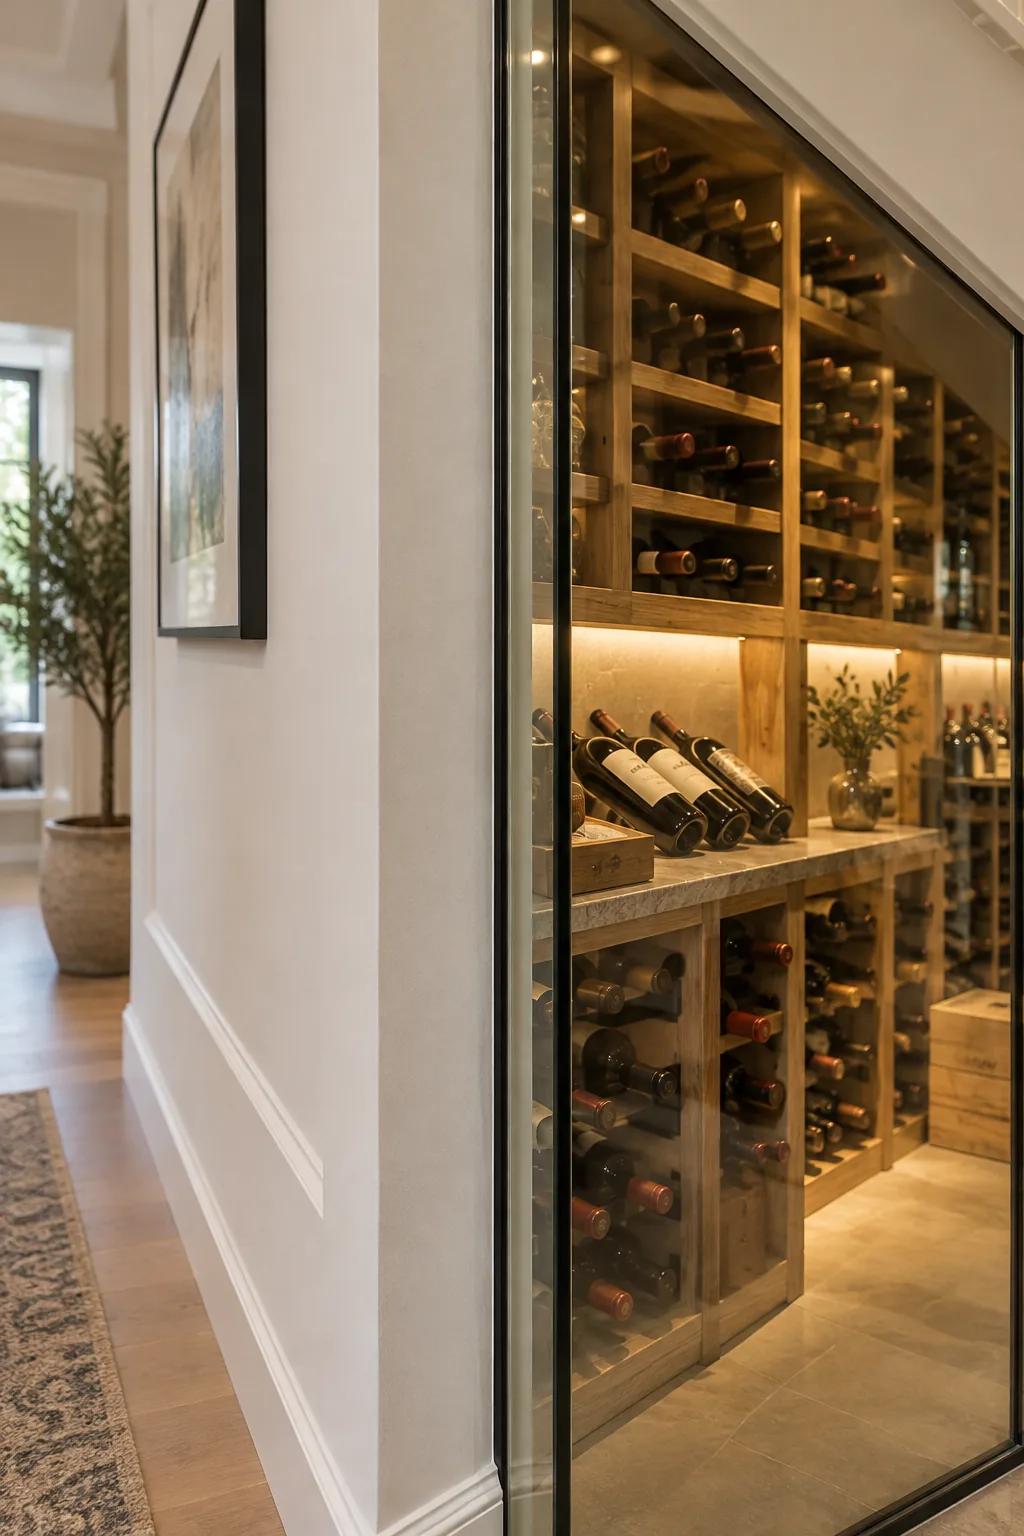
Without this crucial protective layer, hidden condensation will quickly form behind the walls, rotting the surrounding drywall and wood framing. Overlap every seam by at least six inches and seal them tightly with specialized moisture-resistant acoustic tape.
Selecting the Right Cooling Unit
Under-stair spaces usually require a self-contained, through-the-wall cooling unit rather than a complex ducted system. Choose a model specifically rated for your exact cubic footage, keeping in mind that glass walls offer poor insulation and require slightly higher cooling capacities.
Venting the Cooling Unit
A self-contained cooling system must exhaust the heat it pulls from the cellar, requiring a discreet vent to an adjacent room. This ensures the exhausted air dissipates quickly without overworking the cooling unit’s internal motor or raising ambient house temperatures.
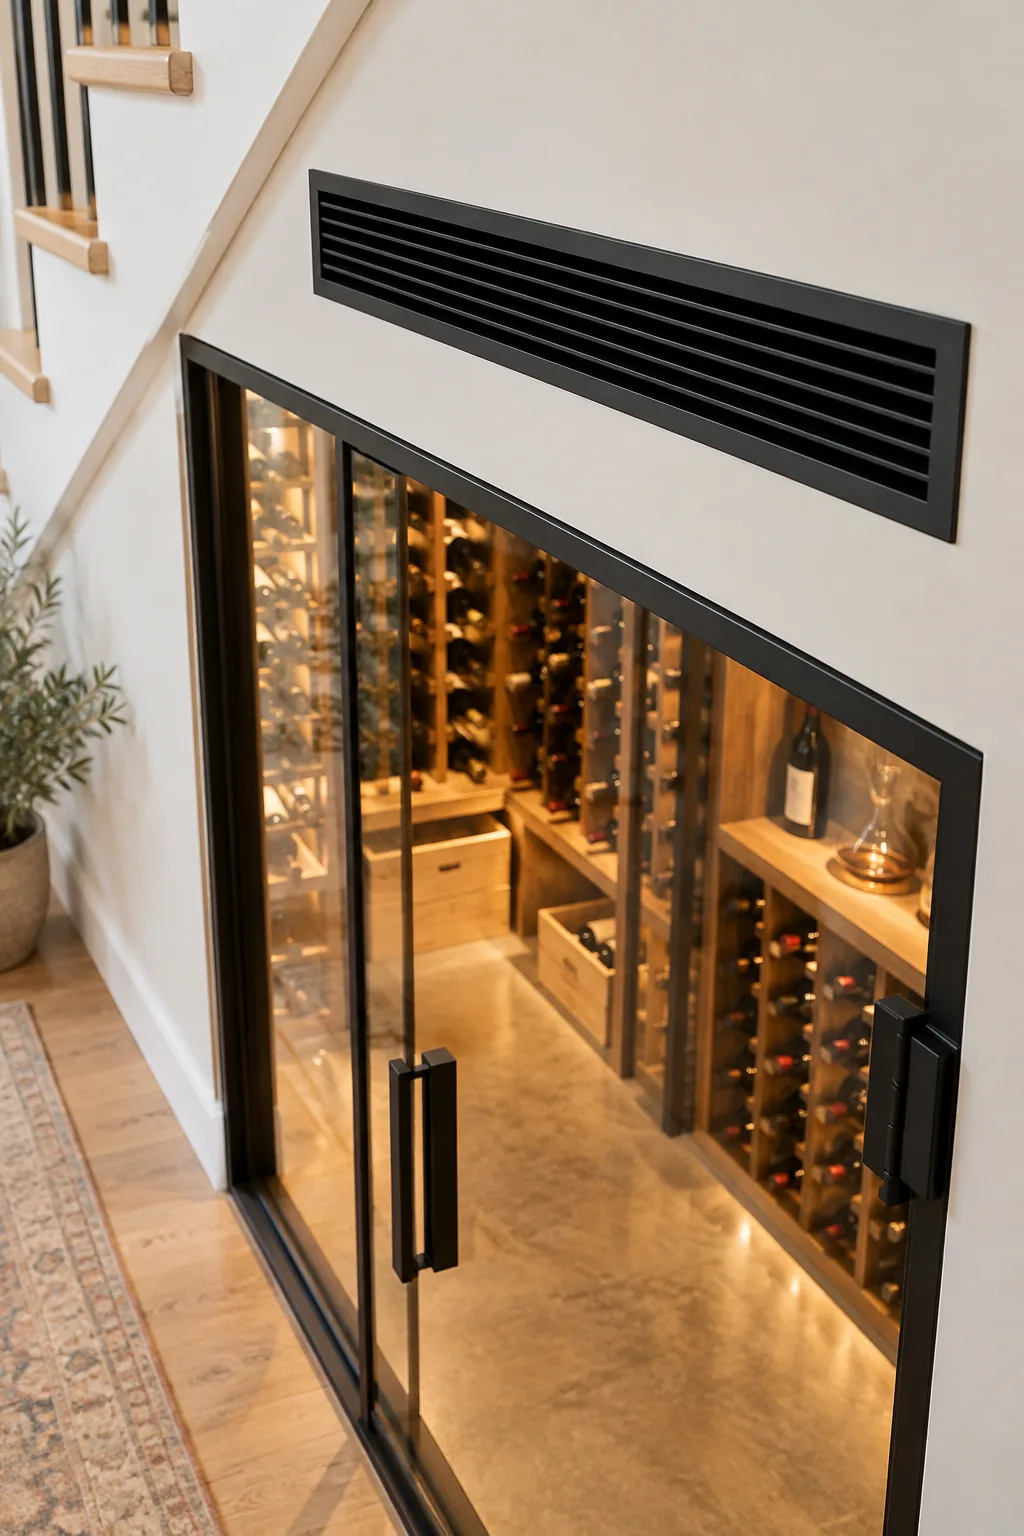
When I built my own under-stair cellar, I initially undersized the exhaust, which overworked the motor until I expanded the grille. Position your vent into a space that is at least twice the cubic volume of the wine cellar itself.
| Cellar Volume | Adjacent Room Size | Minimum Grille Size | Exhaust Clearance |
|---|---|---|---|
| 50 cubic feet | 100+ cubic feet | 8×8 inches | 3 feet |
| 100 cubic feet | 200+ cubic feet | 10×10 inches | 3 feet |
| 150 cubic feet | 300+ cubic feet | 12×12 inches | 4 feet |
| 200 cubic feet | 400+ cubic feet | 14×14 inches | 4 feet |
Routing the Electrical Wiring
Conceal all electrical wiring behind the drywall before finalizing the moisture barrier to maintain a clean aesthetic. Plan the exact locations for your thermostat, cooling unit receptacle, and lighting transformers early, ensuring they remain easily accessible for future maintenance needs.
Choosing the Right Glass Thickness
Single-pane glass has a poor thermal resistance rating, which frequently causes condensation on the outside of your cellar during humid summer months. Upgrade to half-inch tempered glass or double-paned insulated units to significantly improve the room’s overall energy efficiency.
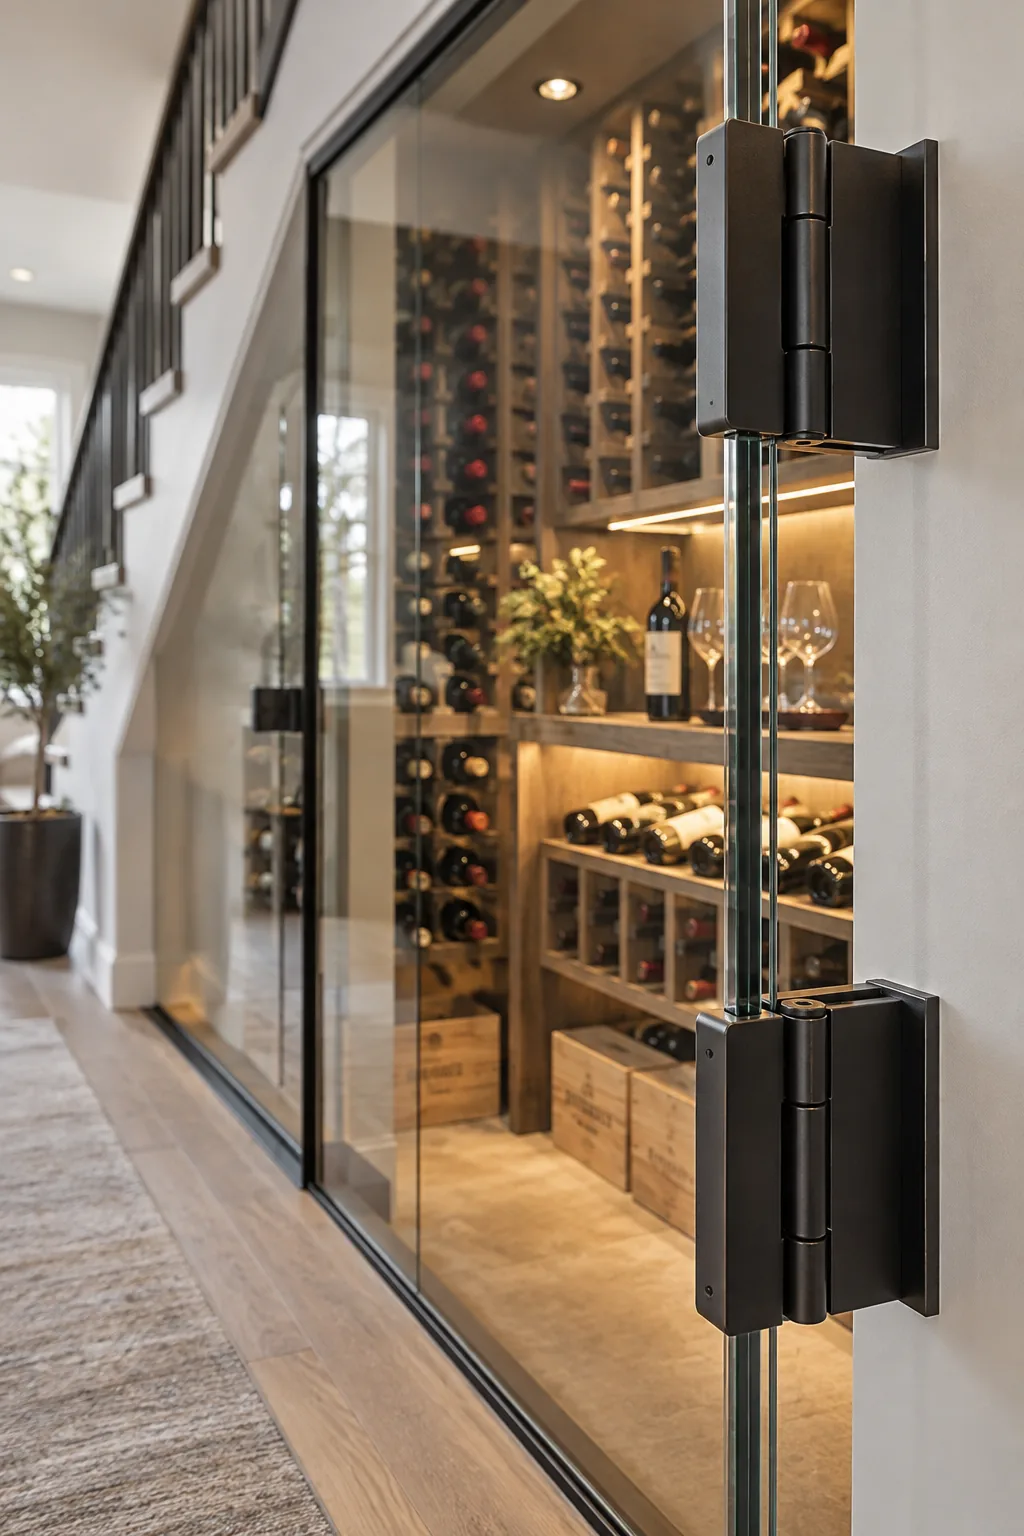
The thicker material provides essential structural integrity for heavy frameless hinges while keeping your daily climate control costs manageable. Work with a specialized glazier who understands the unique demands of a refrigerated residential space.
Sealing the Glass Enclosure
Frameless glass doors offer a stunning modern look, but they are notorious for leaking chilled air unless you apply a thick exterior door seal. This clear weatherstripping maintains the internal temperature and prevents the cooling unit from running constantly.
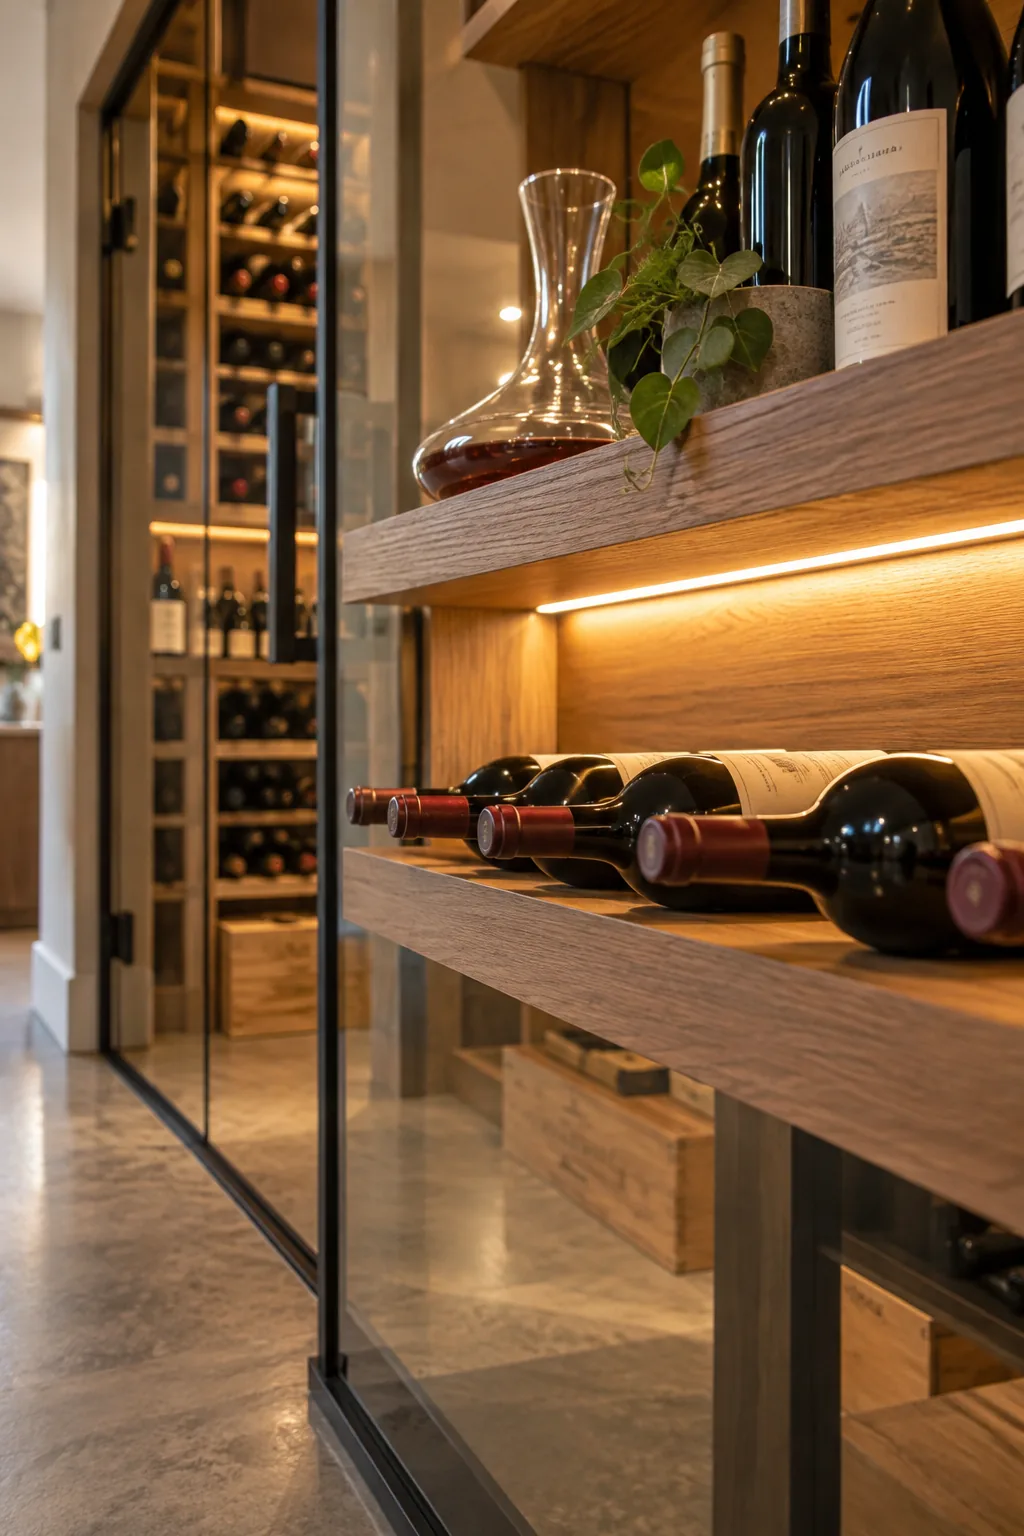
Even the most expensive cooling unit will fail if the enclosure leaks, so pay close attention to the transitions around the door. I learned the hard way that skipping the threshold sweep means your AC will run constantly just to cool the hallway.
Securing Heavy-Duty Hinges
Thick tempered glass doors are incredibly heavy and require specialized architectural hinges mounted directly to solid wood blocking. Reinforce the framing around the door opening with double studs to prevent the heavy glass from sagging or dragging across the floor over time.
Integrating Low-Heat Lighting
Standard incandescent bulbs emit too much heat for a small enclosed space, so specify a low-heat LED strip housed in aluminum channels. The aluminum acts as a heat sink for the diodes, extending their lifespan while protecting your wine.
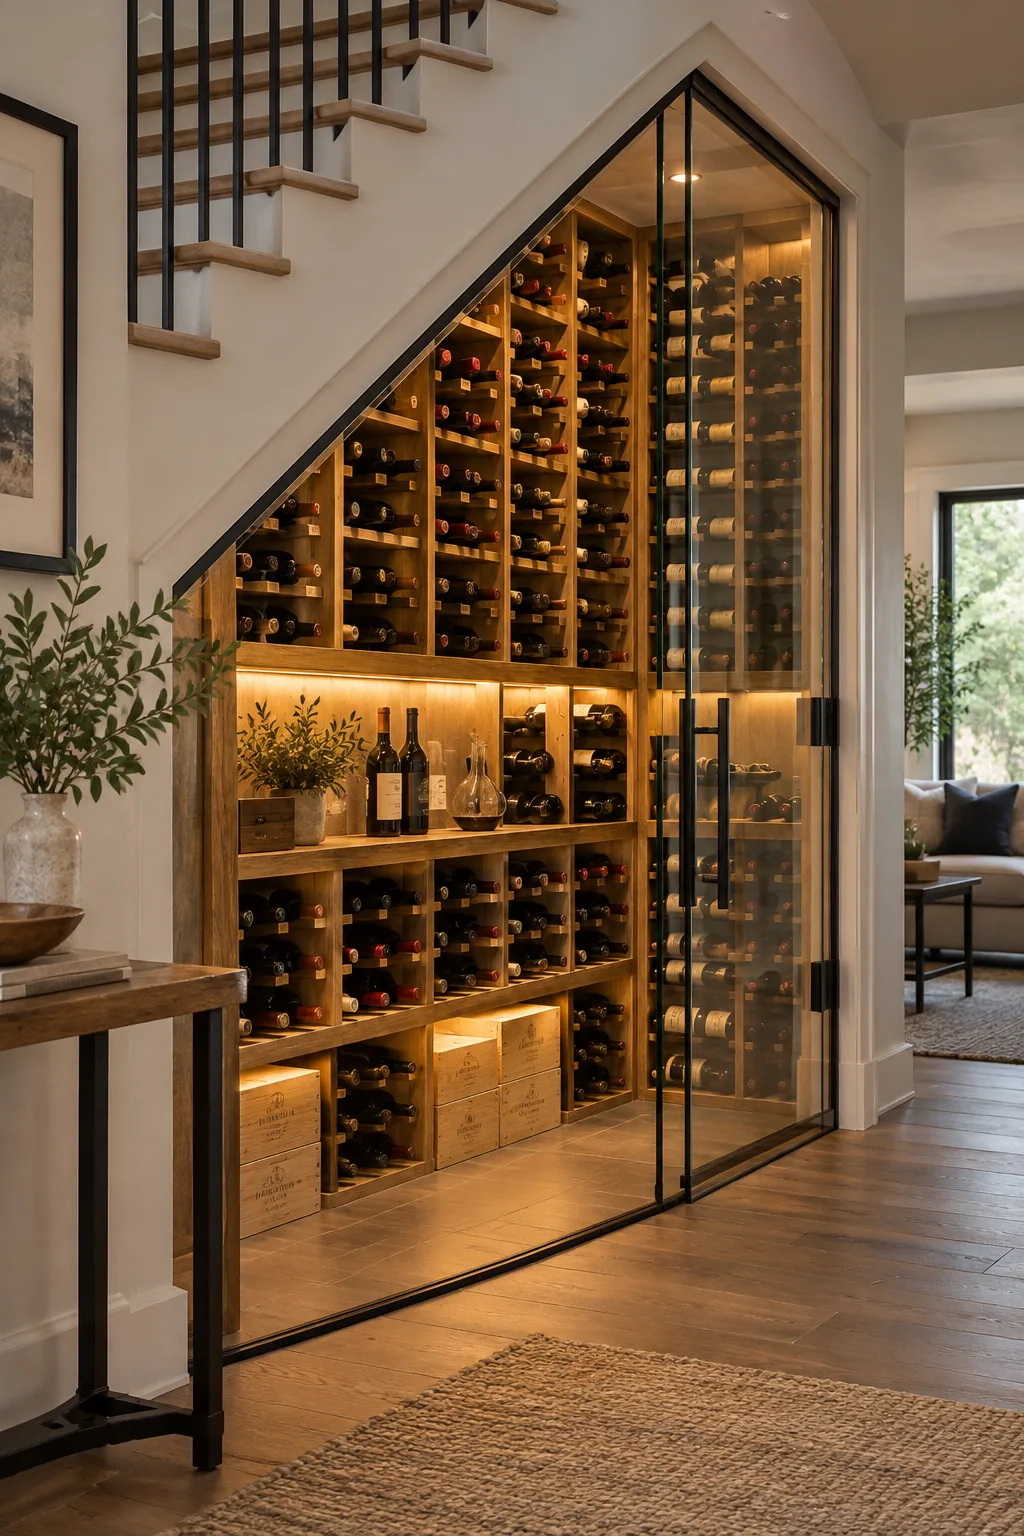
In my current setup, routing these channels behind the oak racking created a gorgeous glow without raising the ambient temperature at all. The strips can be easily concealed beneath display shelves or tucked behind vertical trim pieces for a seamless look.
- Measure the exact underside of your display shelves to determine the required channel length.
- Mount the aluminum heat-sink tracks securely using countersunk wood screws.
- Press the adhesive LED tape directly into the channel.
- Snap the frosted polycarbonate diffuser cover into place to soften the glow.
Selecting the Best Racking Material
High humidity levels inside the cellar require racking materials that resist warping, swelling, and mildew over time. Premium hardwoods like white oak, mahogany, or redwood offer excellent moisture resistance and provide a beautiful, durable finish that elevates the entire display.
Maximizing Capacity with Smart Racking
Under-stair spaces often lack width but offer surprising depth near the back wall, making double-deep racking the perfect organizational solution. Storing two bottles per slot instantly doubles your storage capacity while utilizing the exact same horizontal footprint.
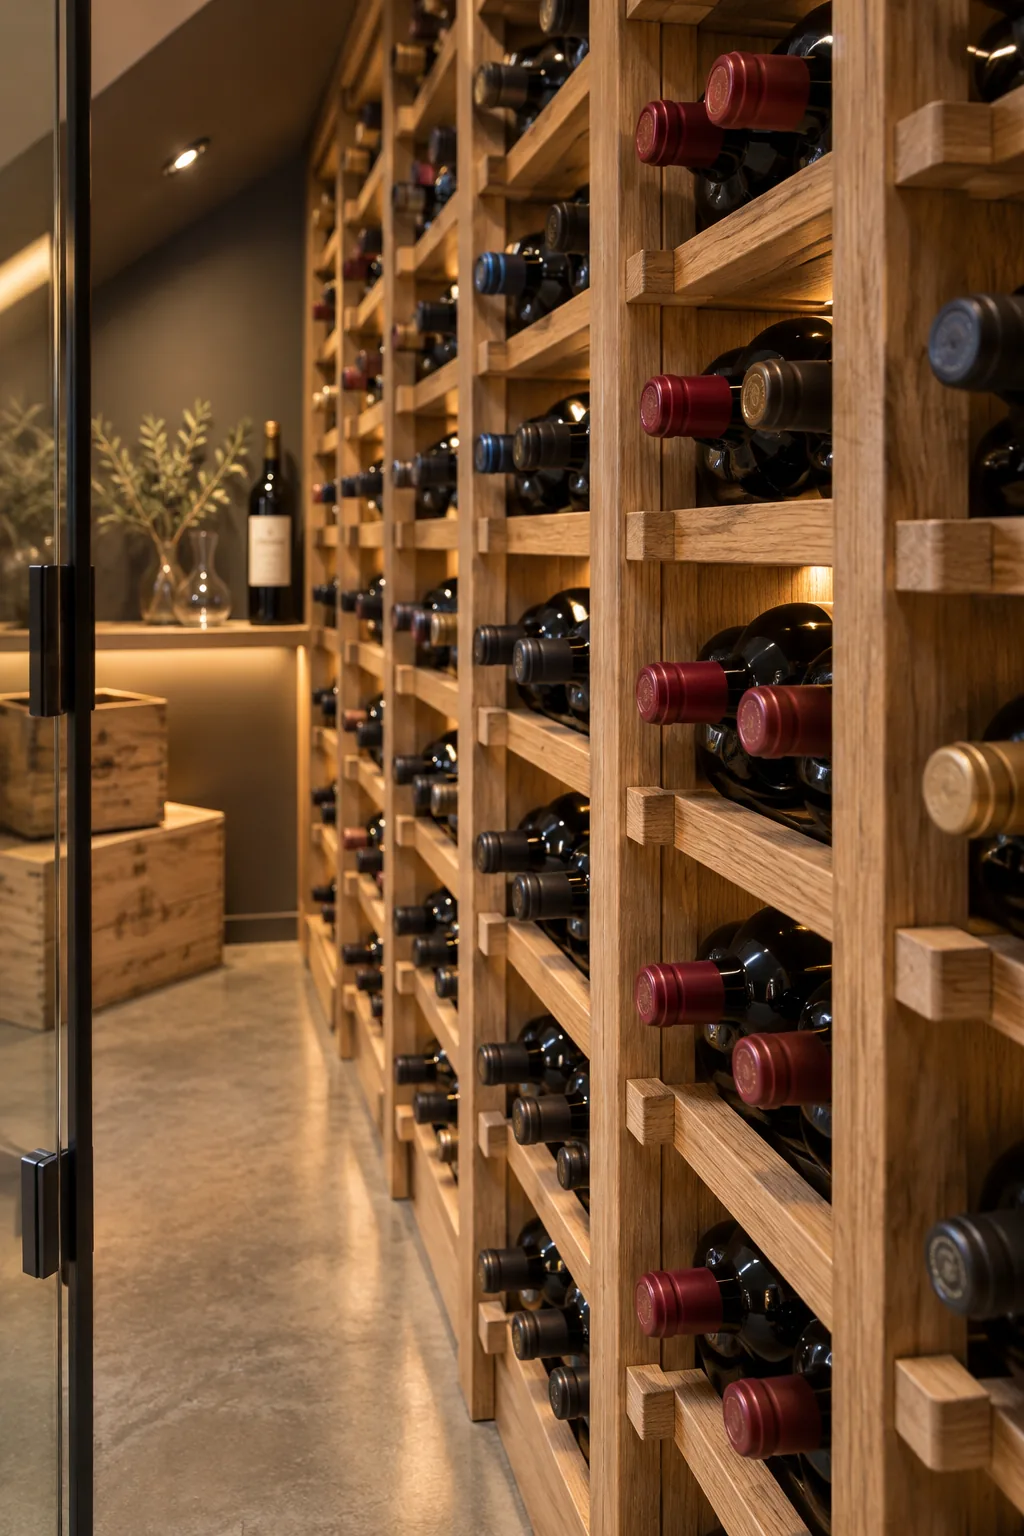
Standard wine bottles require about 13.5 inches of depth for a single rack, making a 27-inch deep assembly ideal for this setup. Measure your available depth carefully to ensure the front bottles will not interfere with the glass door swing.
Adding Display Shelves and Angles
Breaking up a massive wall of standard racking with angled display shelves adds tremendous visual interest to your cellar. Pitching the bottles at a 15-degree angle keeps the corks appropriately moist while allowing you to easily read the labels from outside the glass.
Monitoring Temperature and Humidity
Maintaining a consistent environment is crucial for aging wine gracefully, so install a digital hygrometer visible from the hallway. Aim for a steady temperature of 55 degrees Fahrenheit and a relative humidity level between 50 and 70 percent to prevent corks from drying out.
More Under-Stair Cellar Styles
Find the perfect aesthetic for your home's architecture with these distinct material palettes.
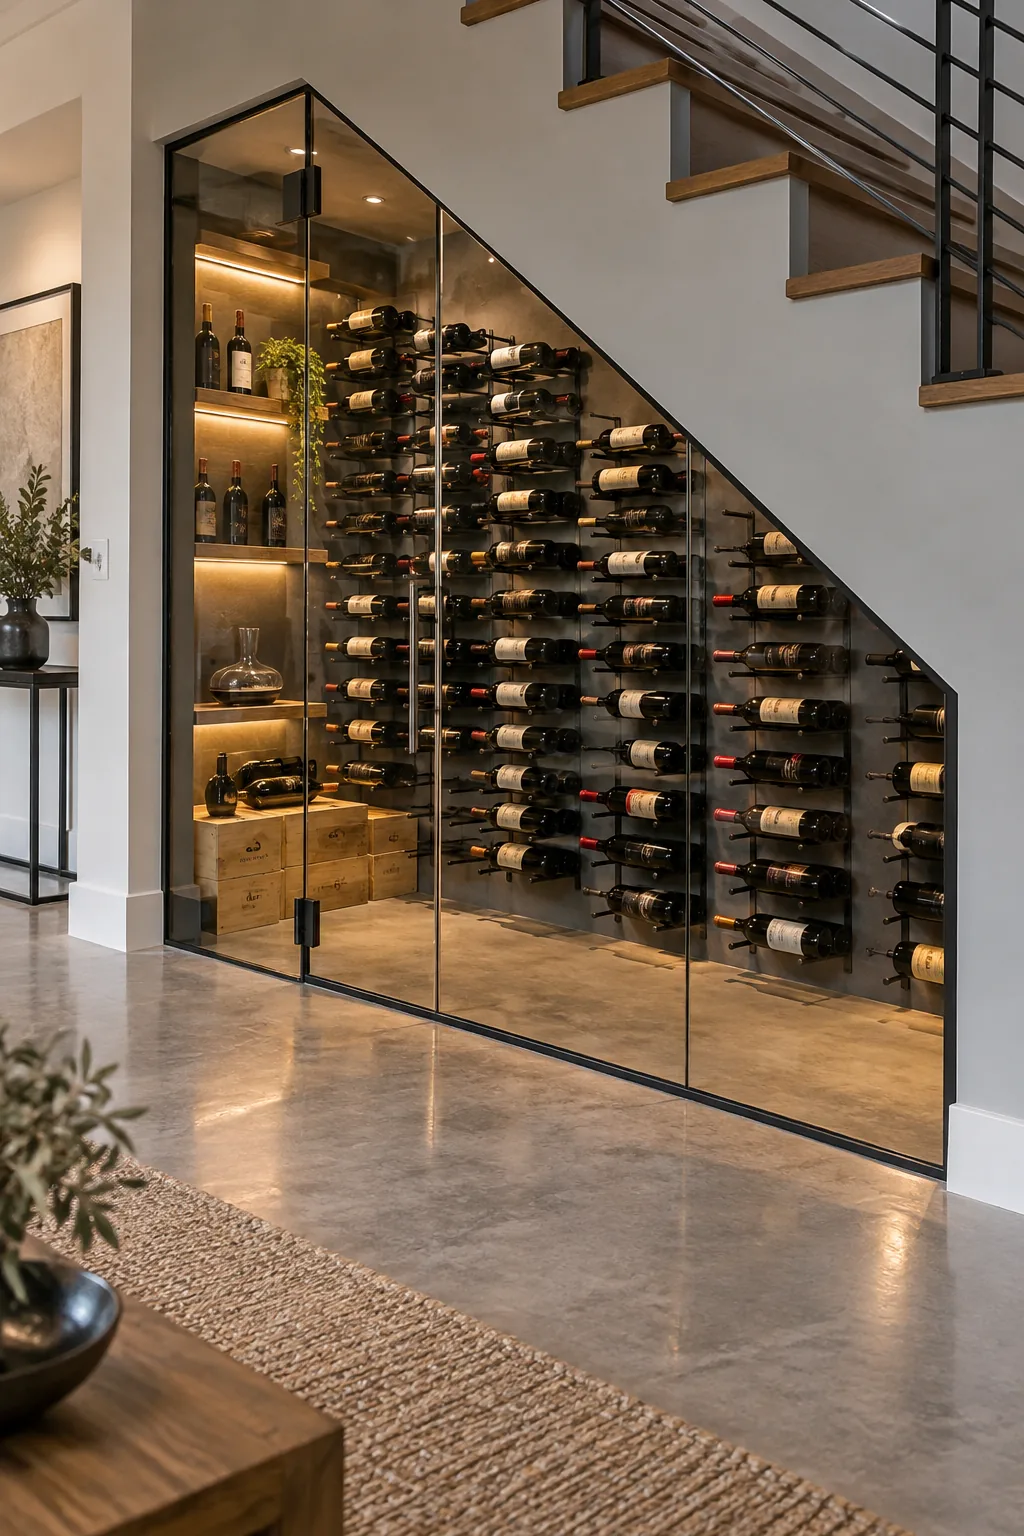
Modern Industrial Metal Racking: Matte black metal pegs against dark slate walls create a striking, minimalist display that lets the bottle labels take center stage.
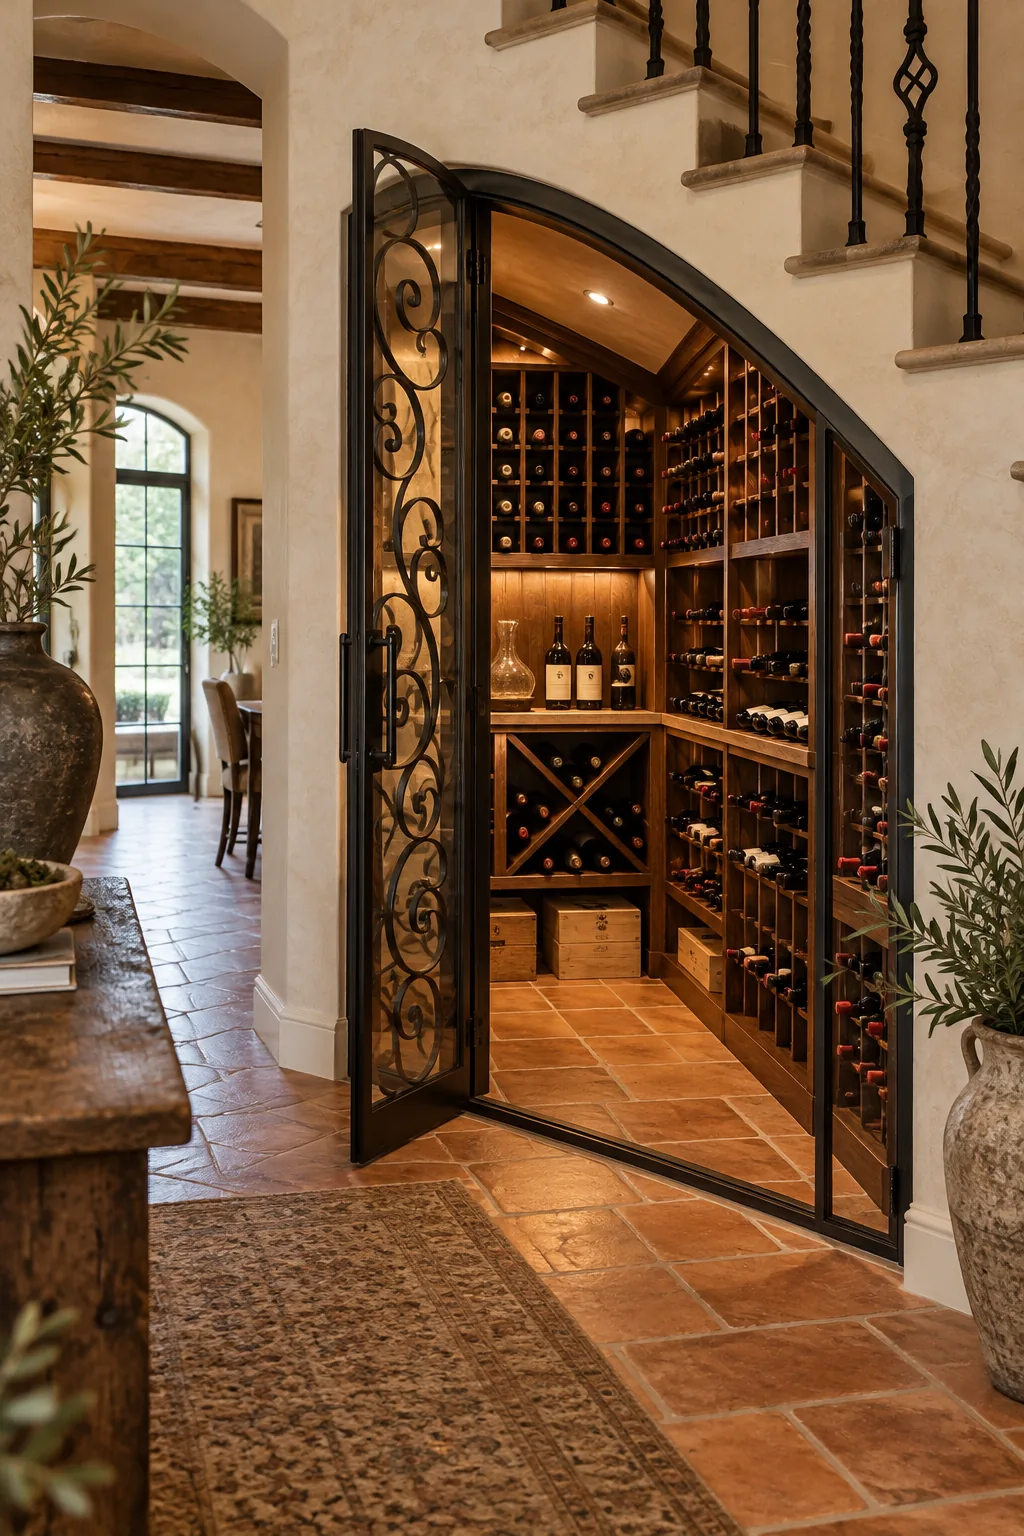
Classic Tuscan Walnut Wood: Rich dark walnut racks and wrought iron hardware bring traditional warmth and old-world charm to a compact modern footprint.
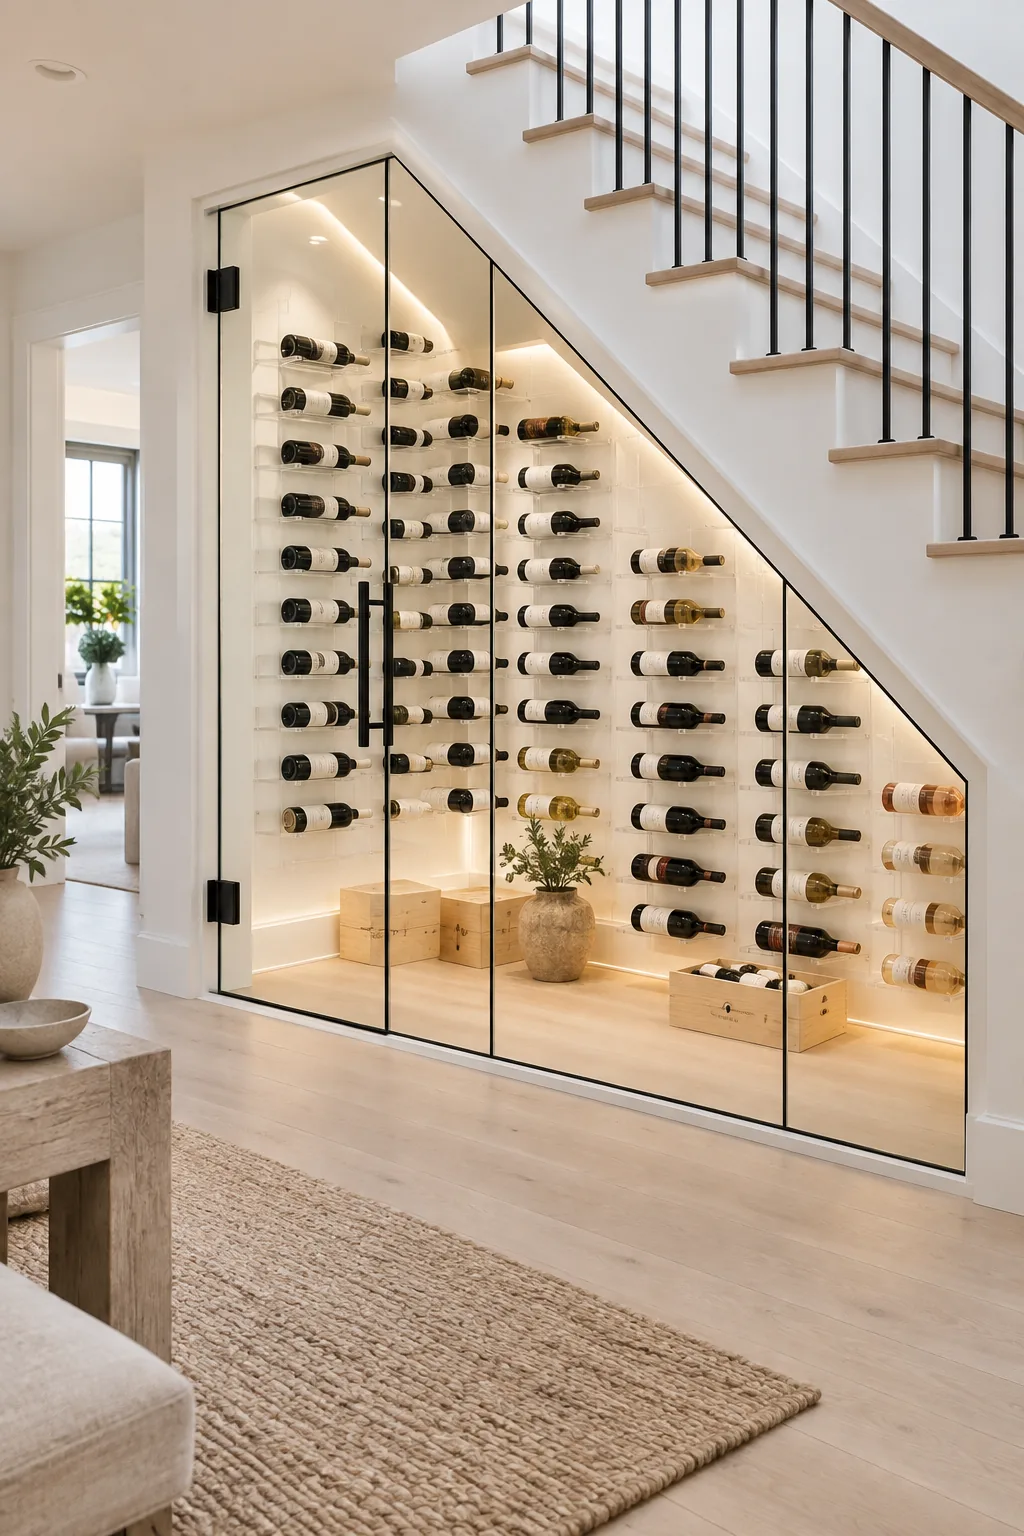
Bright Minimalist Acrylic Cradles: Clear acrylic holders and bleached oak floors make the space feel airy and expansive, creating the illusion of floating bottles.
Organizing the Collection
Temperature naturally stratifies in enclosed spaces, leaving the bottom of the cellar slightly cooler than the top near the ceiling. Store your everyday drinking wines on the upper display shelves where they remain easily accessible for spontaneous weeknight dinners.
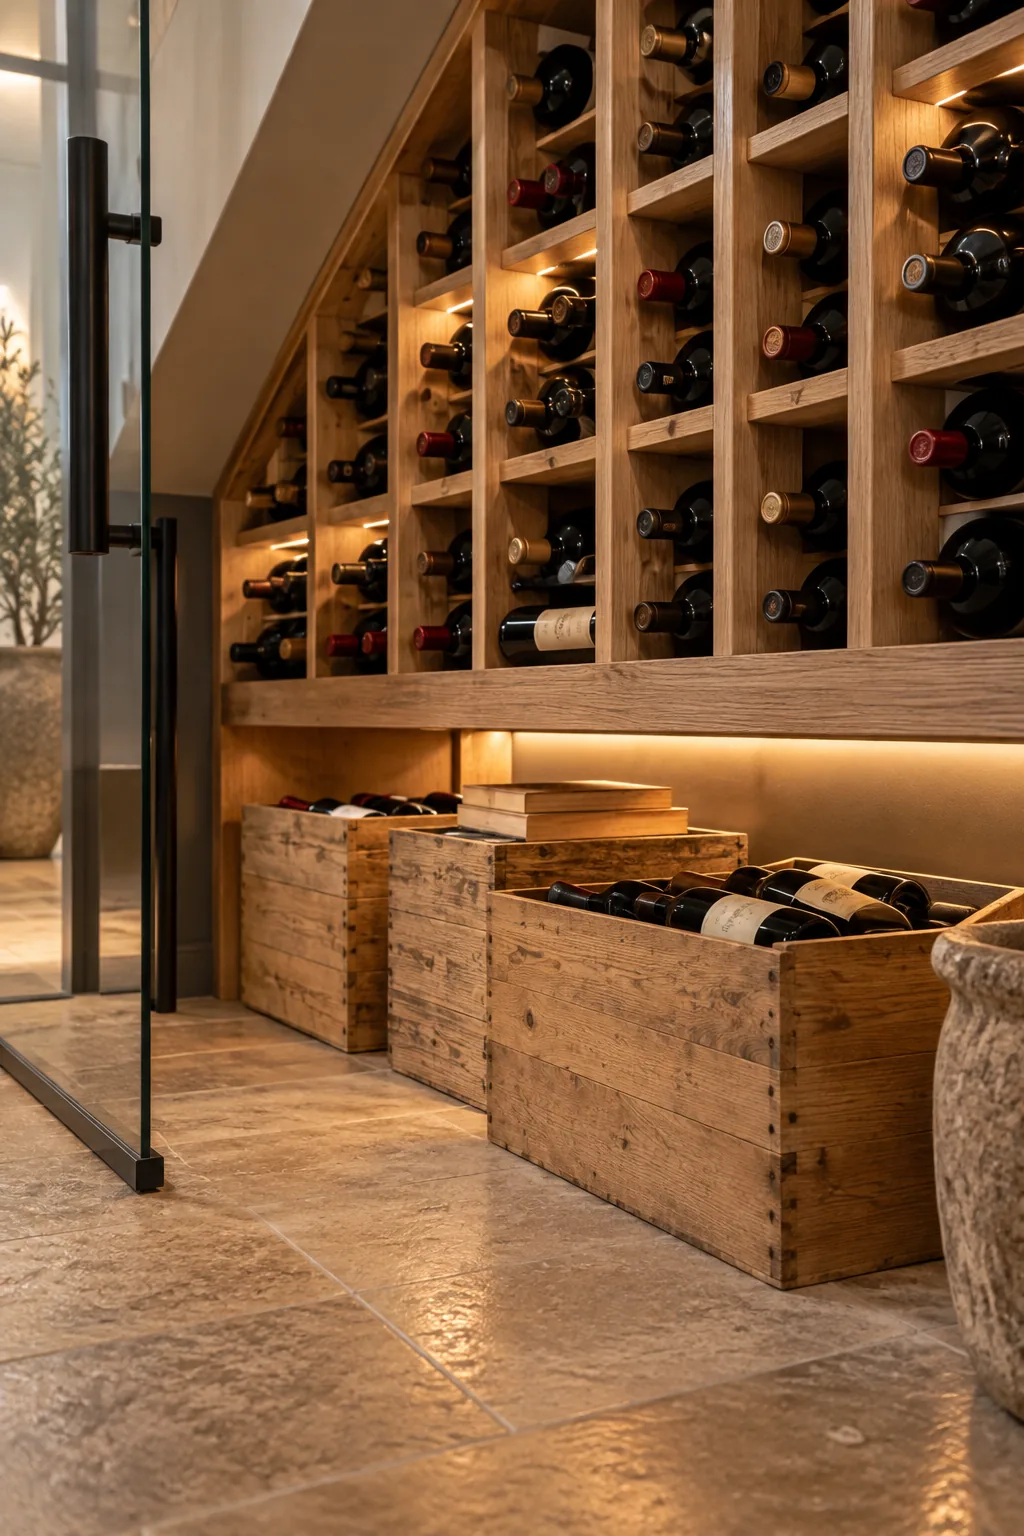
Reserve the bottom racks and wooden crates for your long-term aging bottles, where the climate remains the most stable. Keeping your most valuable investments in these cooler bottom zones ensures they mature perfectly undisturbed over the years.