
Dry-Stone Garden Wall Plan: Build a Retaining Border by Sunday
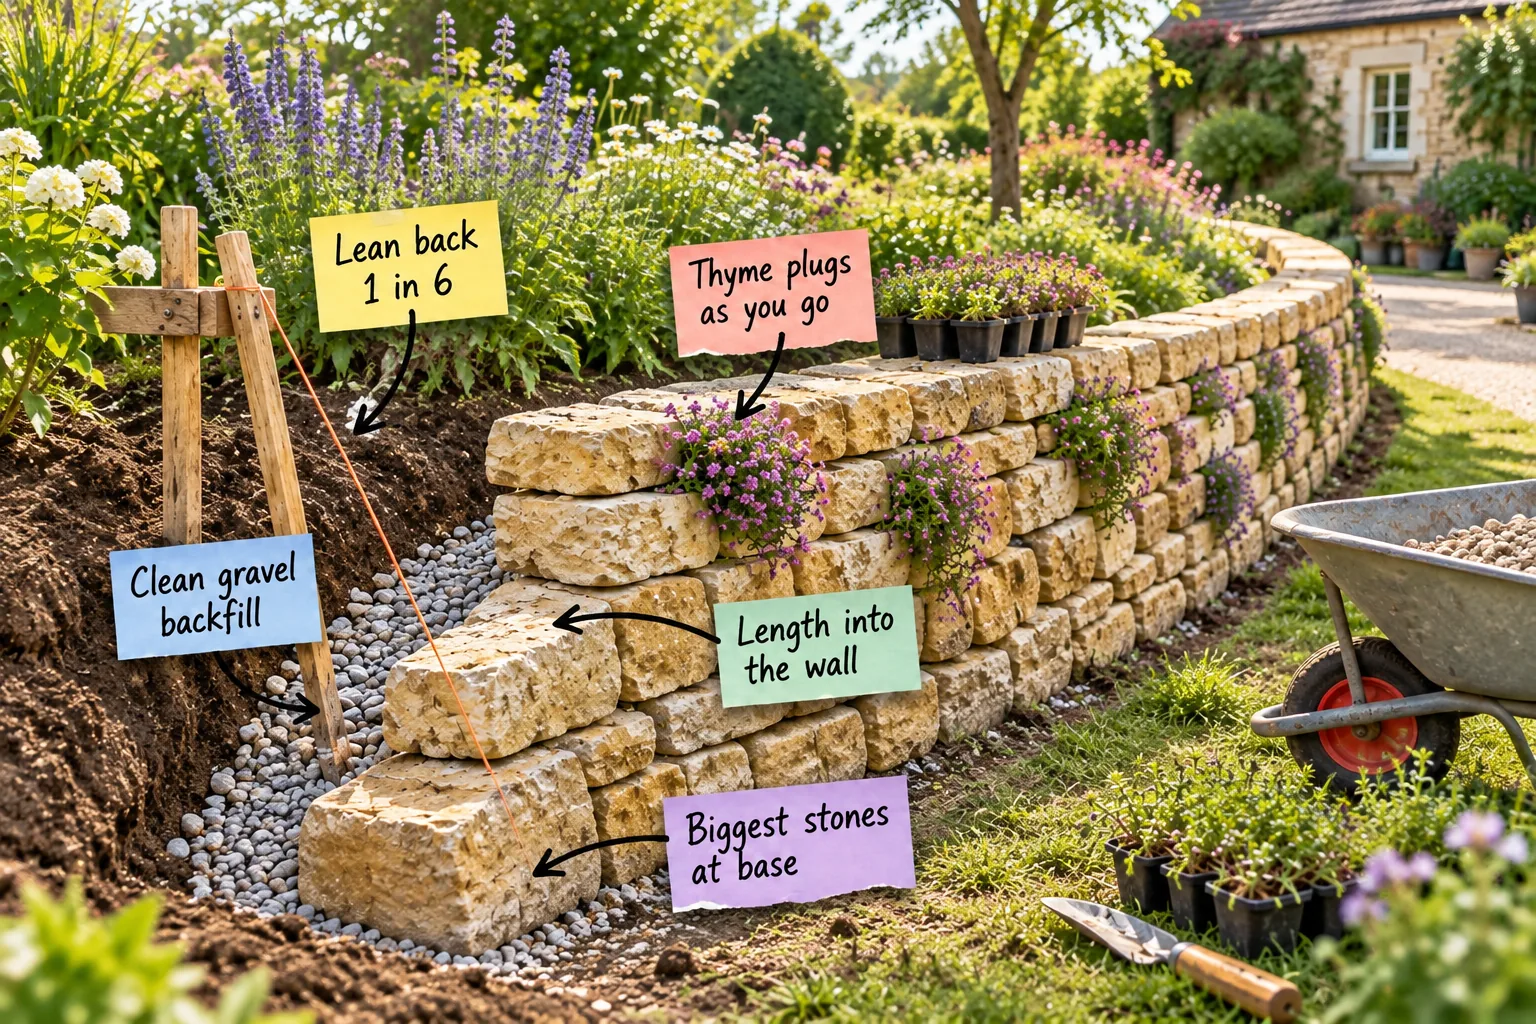
Grab our complete Saturday-to-Sunday Dry-Stone Wall Plan to confidently order the right material tonnages and assemble a beautiful, knee-high, gravity-held border over a single weekend. You will have exactly the right amount of stone and gravel to build a lasting retaining wall by Sunday evening.
The Saturday-to-Sunday Wall Plan
Download the complete weekend plan to guide your build and ensure you order exactly the right materials for a sturdy knee-high retaining border. Having a clear sequence prevents mid-project panic and keeps your weekend timeline completely manageable.
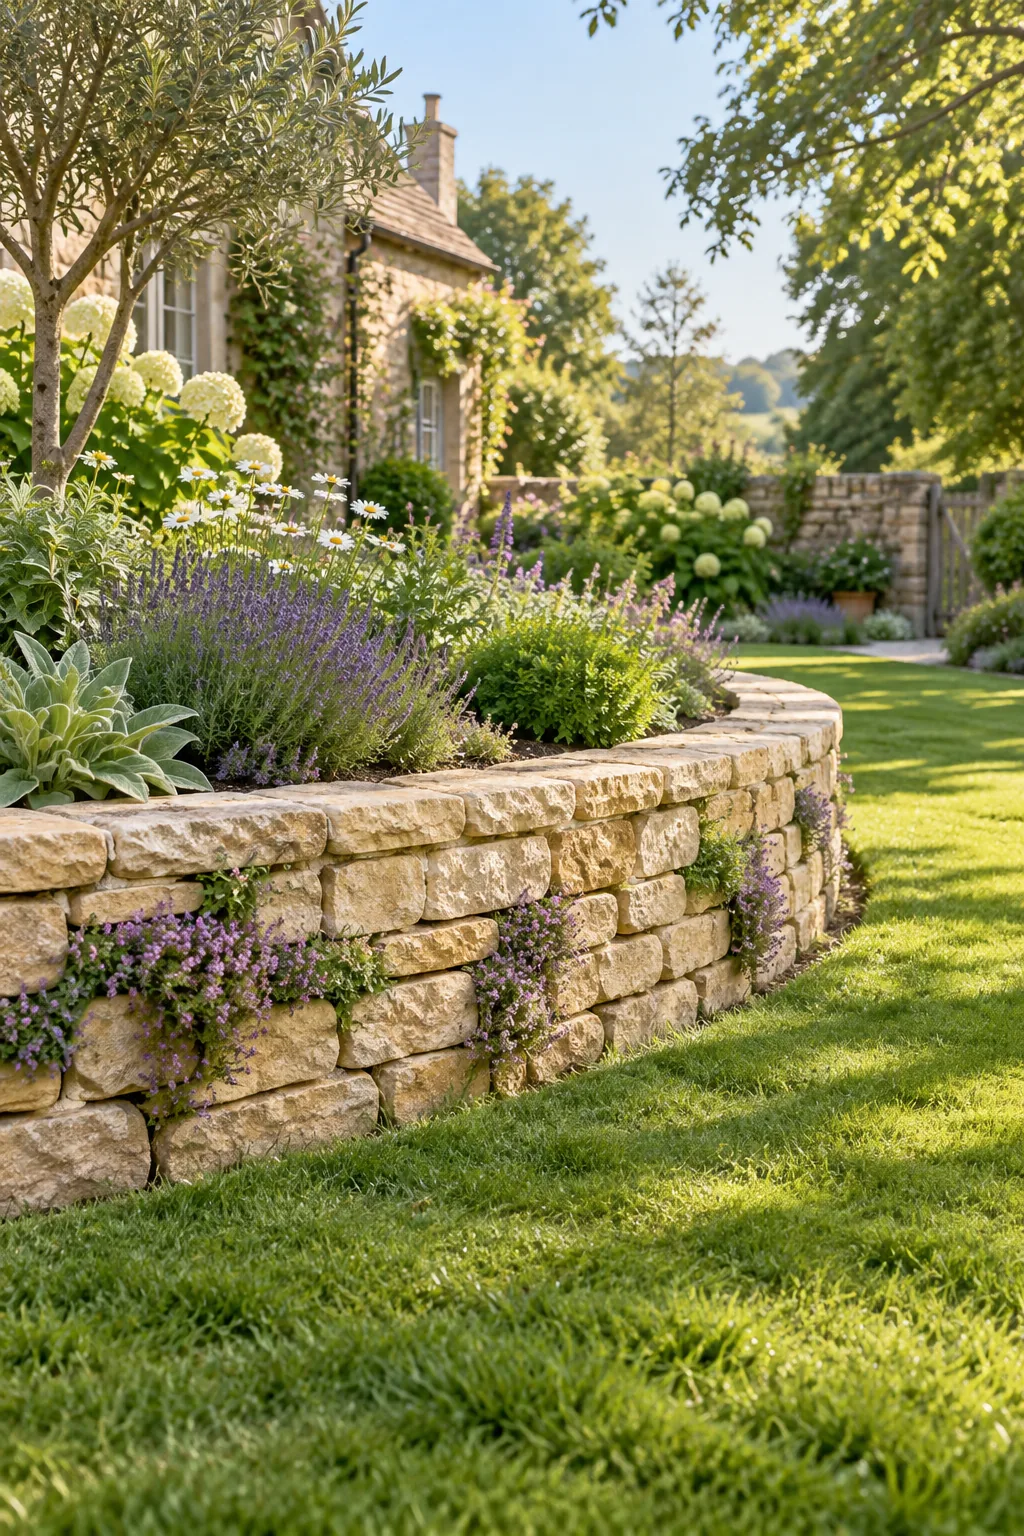
For a standard ten-metre stretch, order 1.5 tonnes of walling stone and 0.5 tonnes of angular gravel. You will also need roughly 4 to 5 creeping thyme plugs per metre of wall to ensure lush, immediate coverage.
Calculating Your Material Tonnages
Sourcing the right volume of stone prevents frustrating delays and ensures your weekend build stays firmly on track. Use this simple breakdown to match your specific garden bed dimensions before calling the local stone yard for a delivery.
| Wall Length | Walling Stone | Angular Gravel | Thyme Plugs |
|---|---|---|---|
| 5 metres | 0.75 tonnes | 0.25 tonnes | 25 plugs |
| 10 metres | 1.5 tonnes | 0.5 tonnes | 50 plugs |
| 15 metres | 2.25 tonnes | 0.75 tonnes | 75 plugs |
| 20 metres | 3.0 tonnes | 1.0 tonnes | 100 plugs |
Having a slight surplus of material gives you plenty of choices for those crucial face stones and tight joints. This simple buffer minimizes the need to endlessly chip away at stubborn rocks with your heavy lump hammer.
Gathering Your Walling Tools
Before the massive stone delivery arrives on Friday afternoon, take a moment to stage your workspace with the essential hand tools required for traditional dry-stone masonry. Having everything within arm’s reach makes the heavy lifting much more efficient.
- A heavy-duty wheelbarrow for transporting large blocks across the lawn.
- A bricklayer’s line and wooden stakes to establish your batter angle.
- A heavy lump hammer for shaping stubborn pieces to fit tightly.
- A long spirit level to verify your foundation trench is perfectly flat.
Staging these tools right next to the build site saves you from exhausting back-and-forth trips to the garage. You want to save all your physical energy for actually placing the heavy masonry units into the wall.
Sorting the Stone Delivery by Size
When the truck dumps your stone, resist the urge to immediately start stacking pieces into the garden bed. Take thirty minutes to sort the pile into distinct categories based on their thickness, length, and flatness to drastically speed up the build.
Setting the Foundation Trench
Dig a shallow trench about 150mm deep along the entire length of your planned border and fill it with a dedicated layer of compacted gravel. This crucial step provides a reliable, flat base for the heavy masonry.
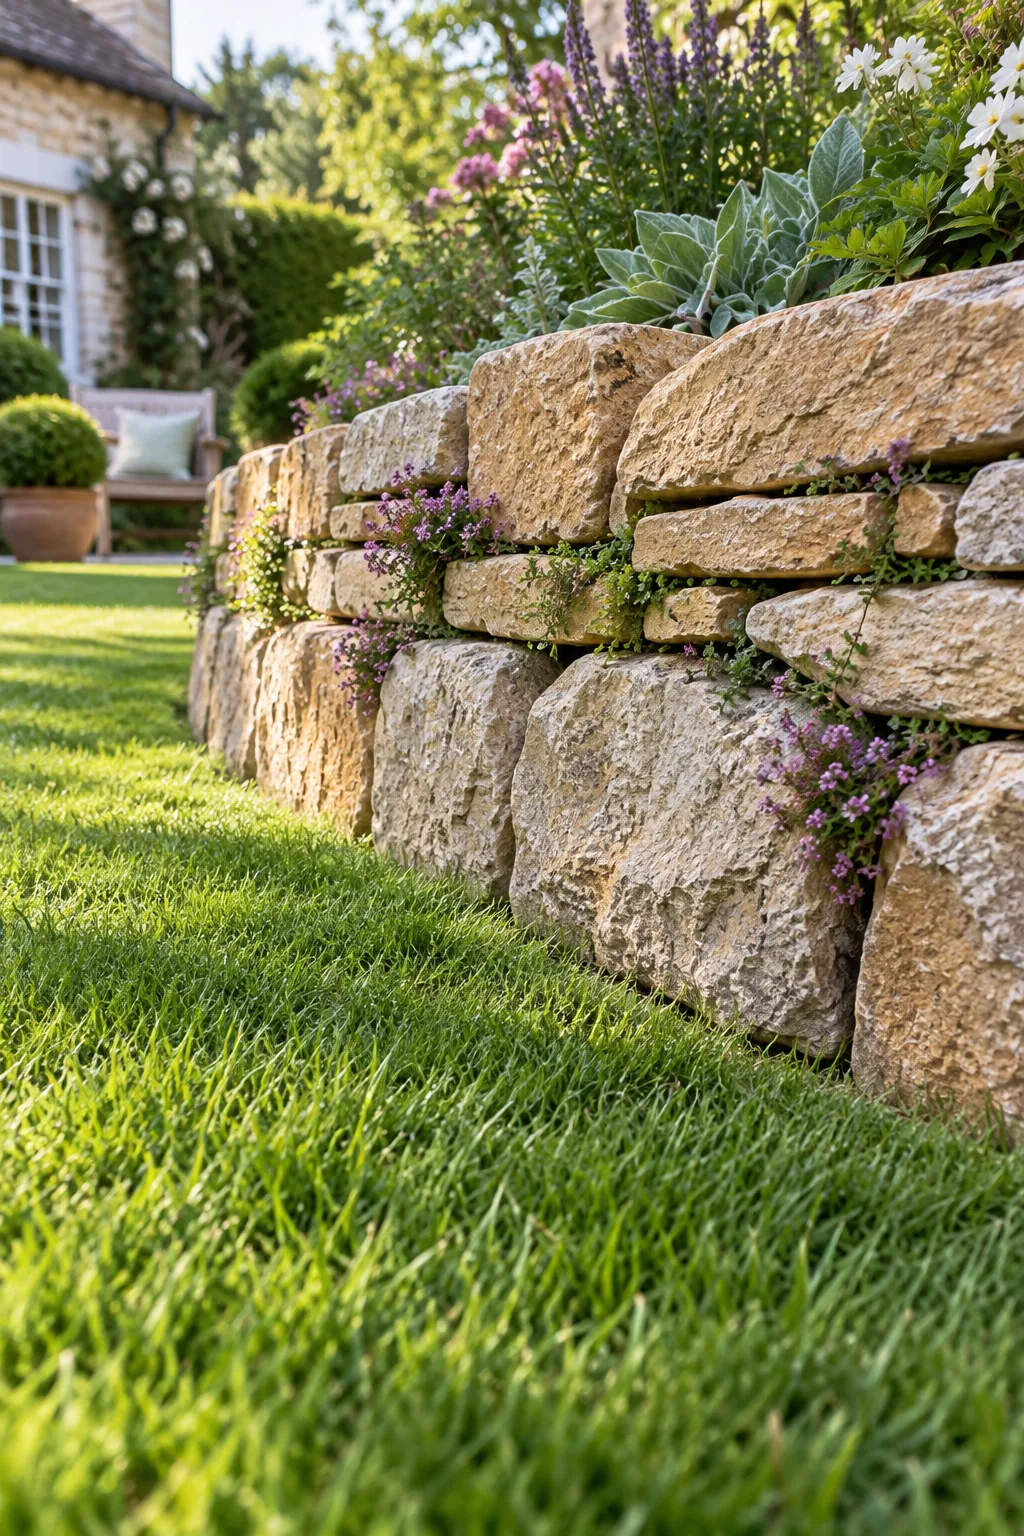
Taking the time to tamp this foundational layer down firmly ensures your heavy masonry courses remain perfectly straight and structurally sound for decades to come.
Levelling the Base Course
Once your gravel is firmly compacted, use a long spirit level to double-check the entire length of the trench. Any slight dips or mounds in this foundational layer will magnify into noticeable wobbles by the time you reach the coping course.
Placing the Biggest Stones at the Base
Sort through your previously organized piles and reserve the largest, thickest blocks specifically for the very first layer. These massive pieces act as the primary anchors for everything stacked above them, bearing the brunt of the structural load.
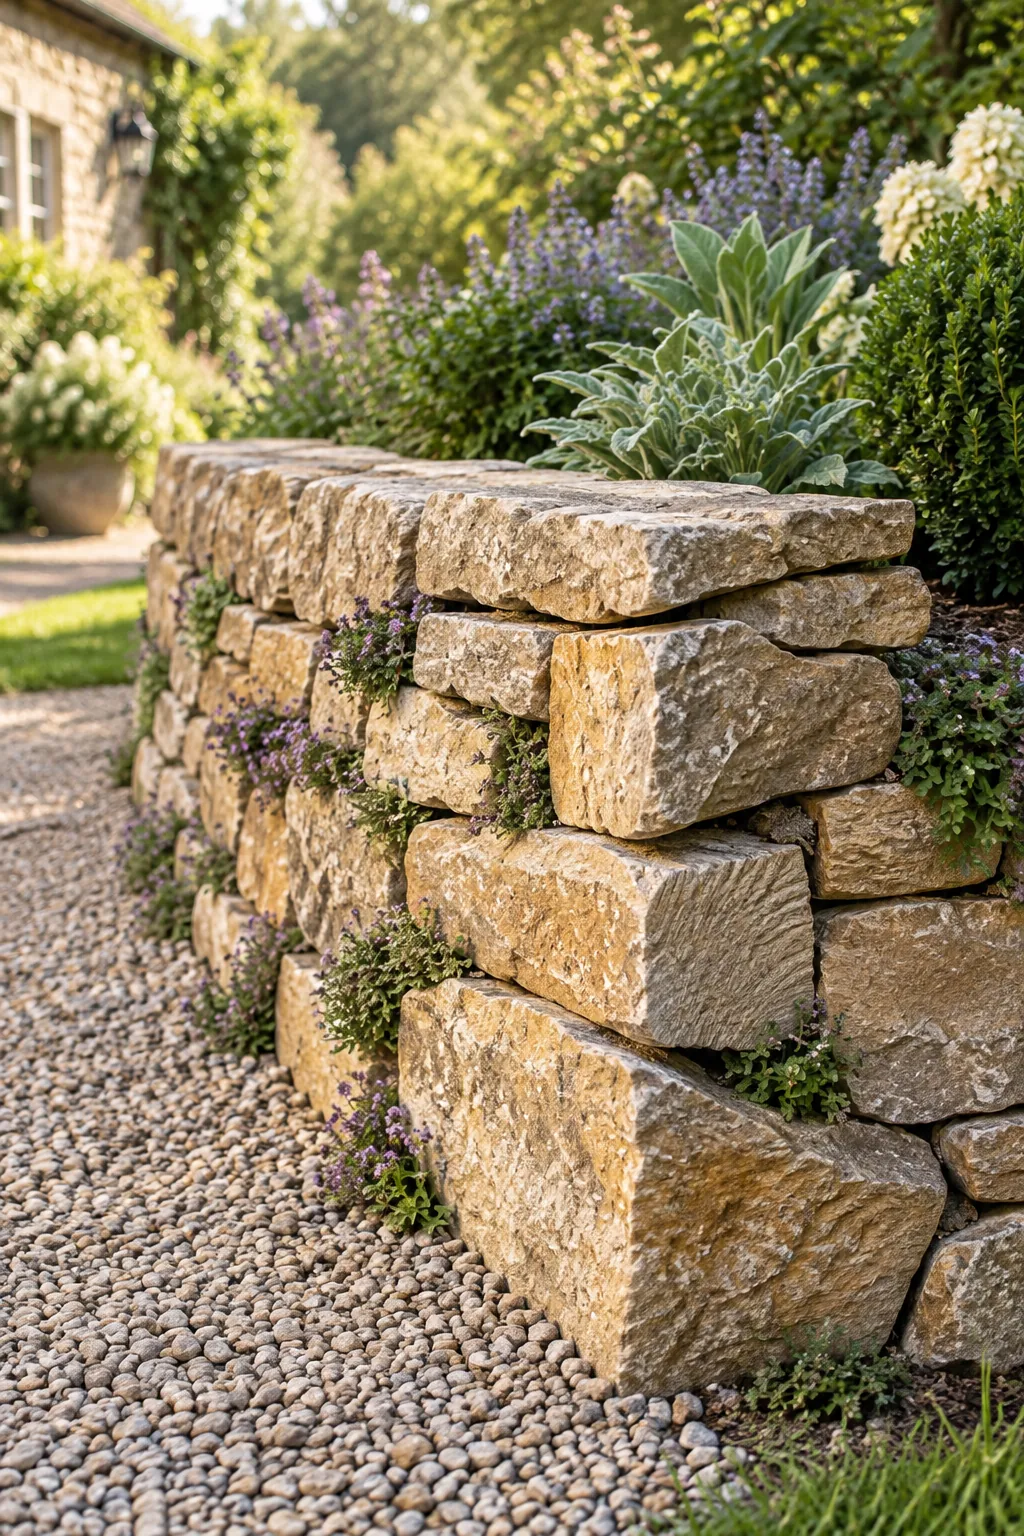
Bedding these massive anchor stones directly into the gravel trench establishes an immovable foundation for the rest of the structure. I learned this the hard way on my first Austin garden bed, where starting with medium stones left the whole wall feeling wobbly by the second course.
Breaking Joints for Structural Strength
As you begin stacking the second layer, always ensure that each new stone crosses over the vertical seam between the two stones below it. This classic bricklaying technique, known as breaking joints, locks the individual rocks into a single, unified mass.
Maintaining a Consistent Face Profile
As you stack each course, frequently step back from the trench to visually check the front profile of your stonework. A truly beautiful dry-stone border relies on maintaining a relatively smooth, consistent face without jagged rocks protruding awkwardly into the garden path.
Turning Length Into the Wall
Always place a good portion of your stones with their long ends running back into the backfill, rather than laying them parallel to the face. These crucial header stones act as deep anchors, tying the visible face to the structural mass behind it.
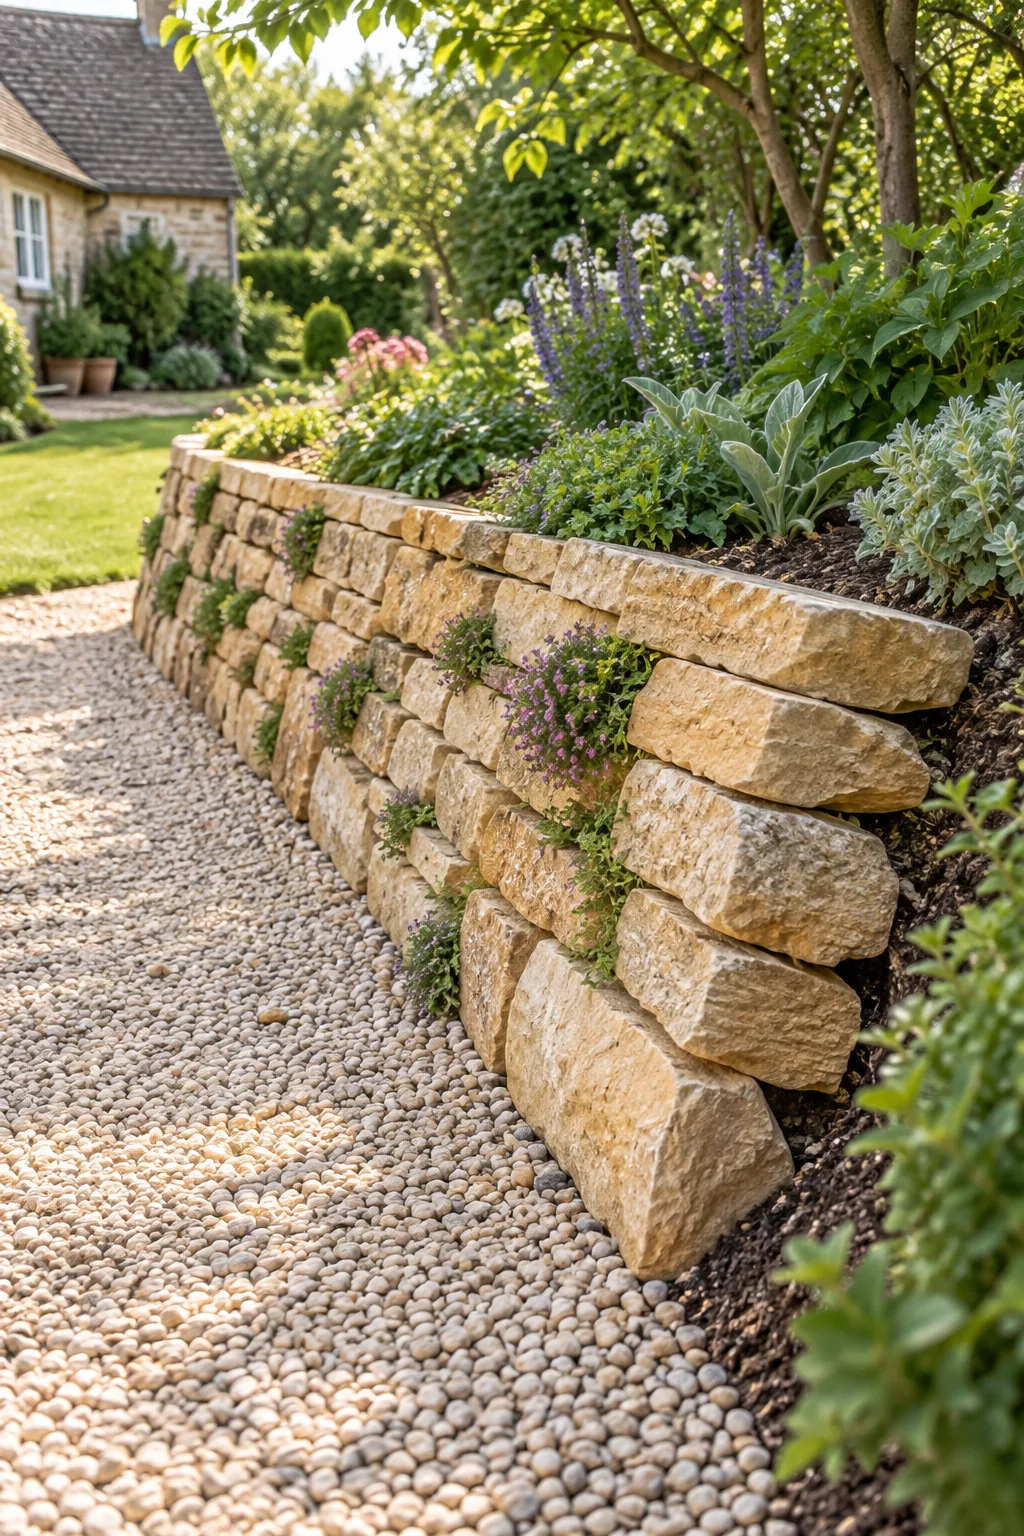
It is incredibly tempting to lay every piece lengthwise along the border to cover more visual distance quickly, but this creates a weak, unstable veneer rather than a genuine structural barrier.
Hearting the Core with Small Stones
Whenever you place a large face stone, immediately fill the empty voids behind and between it with smaller, irregular chunks of rock. This process, called hearting, locks the larger stones tightly in place and prevents them from shifting inward under pressure.
Checking Your Progress with a Level
Even though the wall leans backward, the horizontal courses themselves should remain relatively flat as they run along the garden bed. Laying a long spirit level across the top of your stones every few hours helps prevent the entire structure from sloping downhill.
Setting the 1 in 6 Batter
A dry-stone retaining wall must lean into the slope it holds back to remain standing over time. This intentional backward tilt uses the immense weight of the stone itself to actively push against the heavy soil behind it.
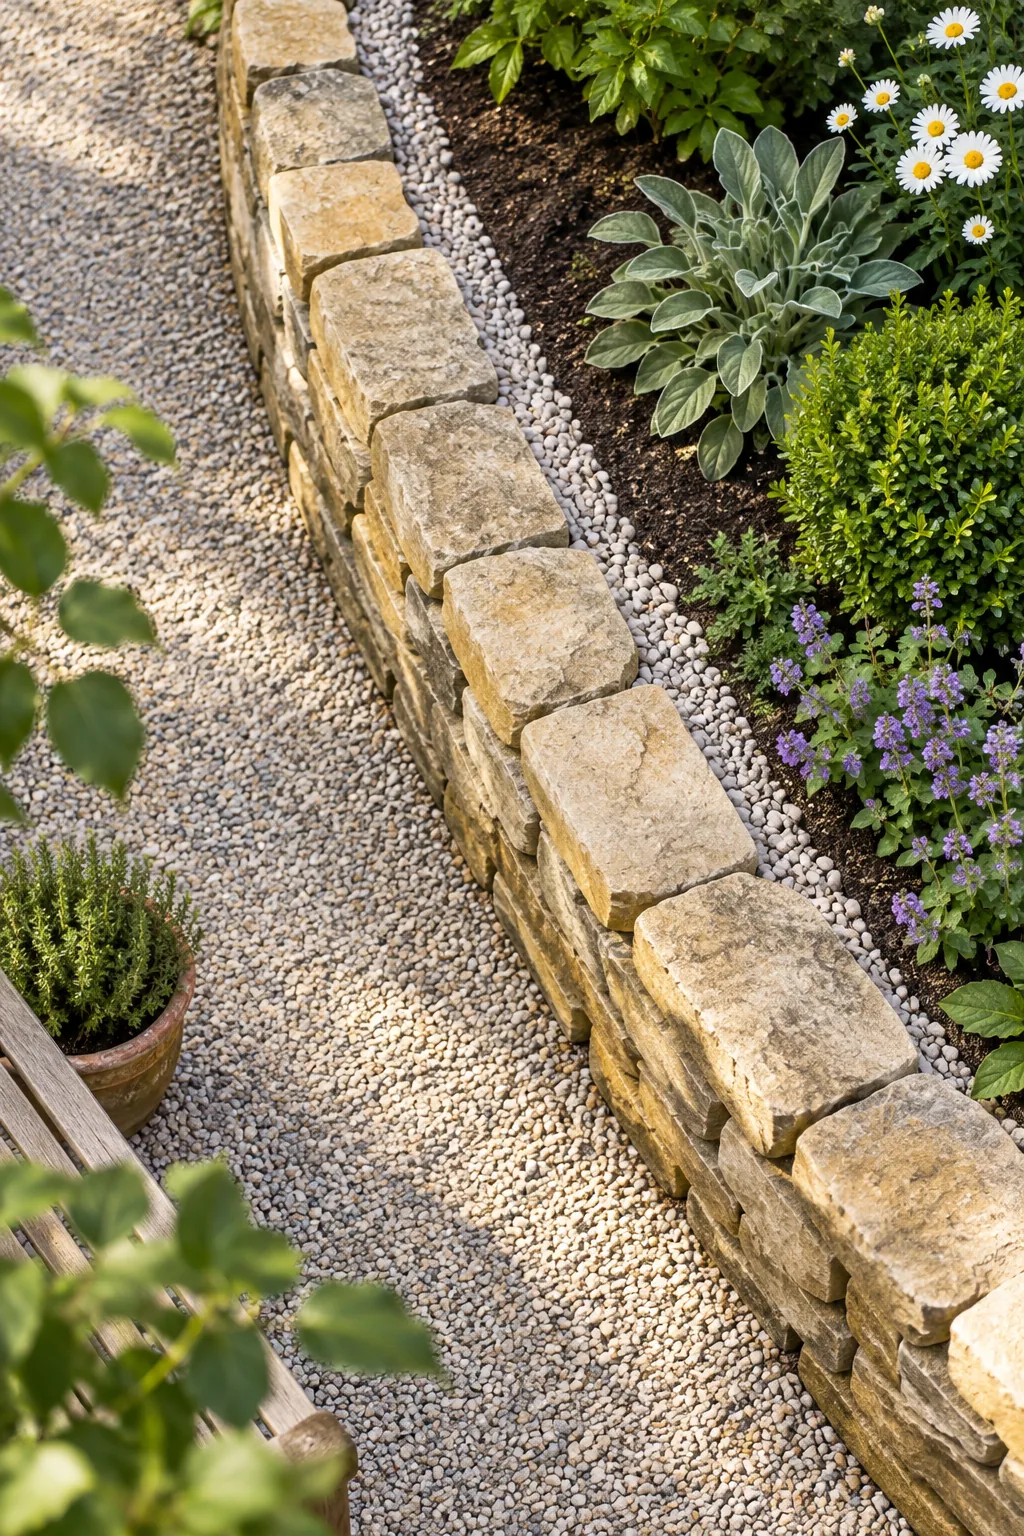
Set a taut string line to a 1 in 6 batter, meaning the wall steps back one inch for every six inches of vertical height, allowing gravity to do the heavy lifting.
Packing Clean Gravel Backfill
Pack a continuous band of clean, angular gravel tightly between the back of your structural stones and the raw garden soil as you build upward. This hidden layer is just as important as the beautiful face stones you see from the lawn.
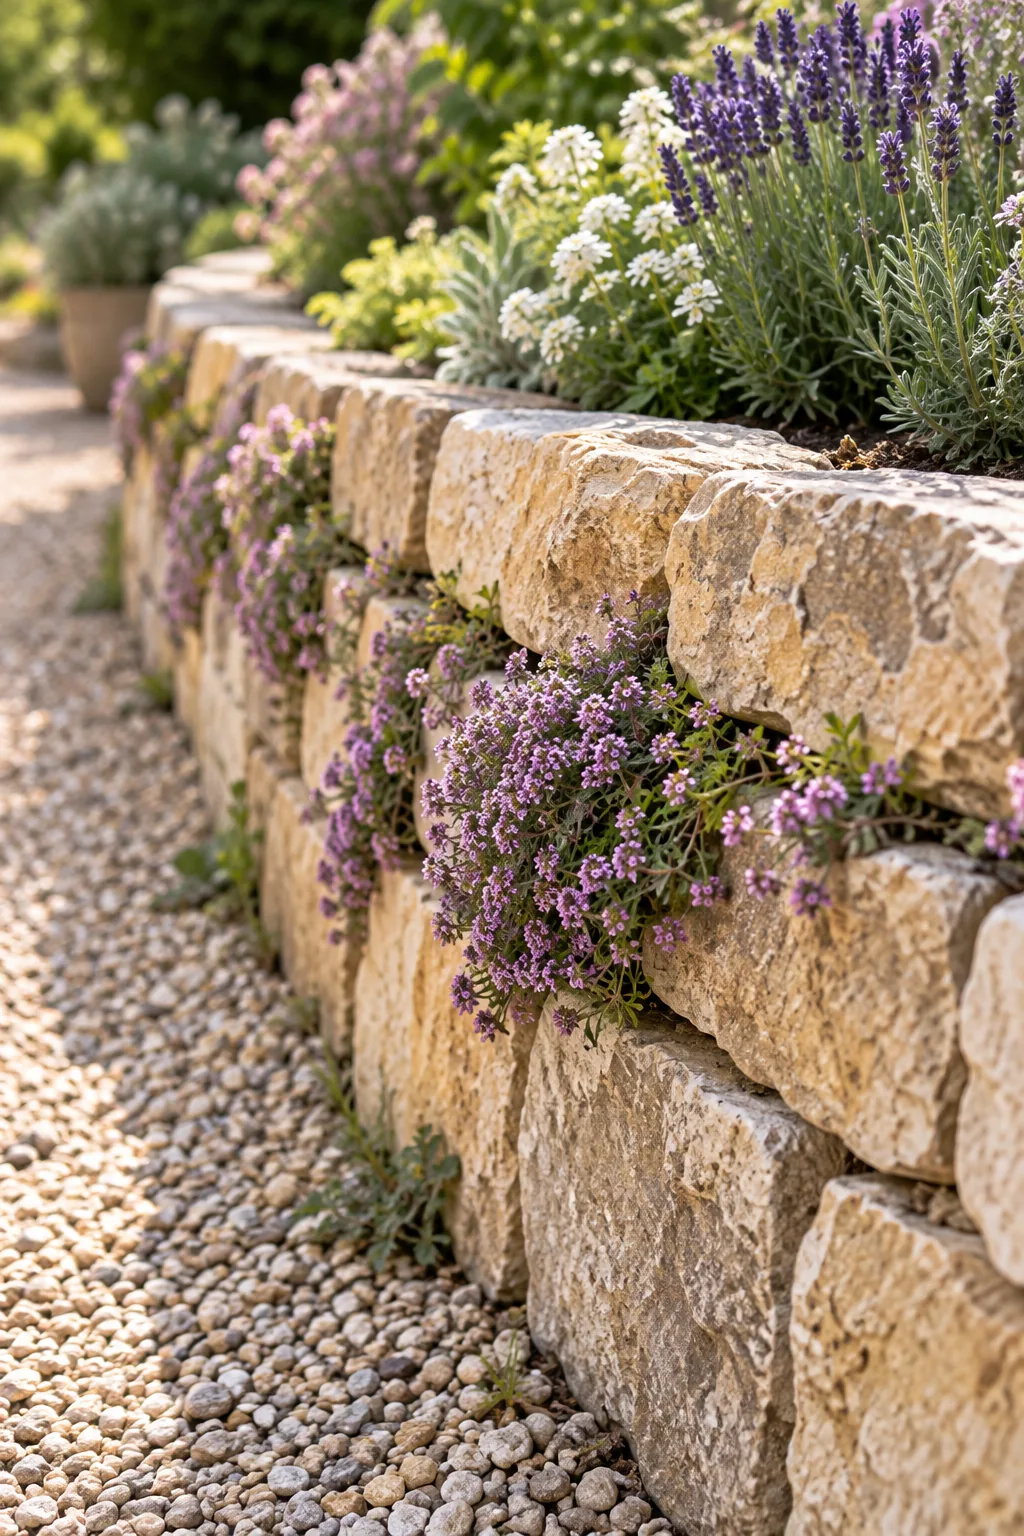
This drainage layer stops water from pooling and prevents winter frost heave from blowing out the wall face. When I built my front terrace border, skipping the backfill on one small curve caused a blowout after just one heavy Texas thunderstorm, so never skip this step!
Tamping the Soil Behind the Gravel
As you bring the gravel backfill up to match the height of your stone courses, add a layer of fresh garden soil behind it and tamp it down firmly. Compacting this earth as you go prevents the garden bed from sinking later.
Planting Thyme Plugs As You Go
Insert creeping thyme plugs directly into the structural joints while you build, rather than hopelessly trying to stuff them into tiny crevices later. The delicate roots need to be laid completely flat on the stone before the next course goes on.
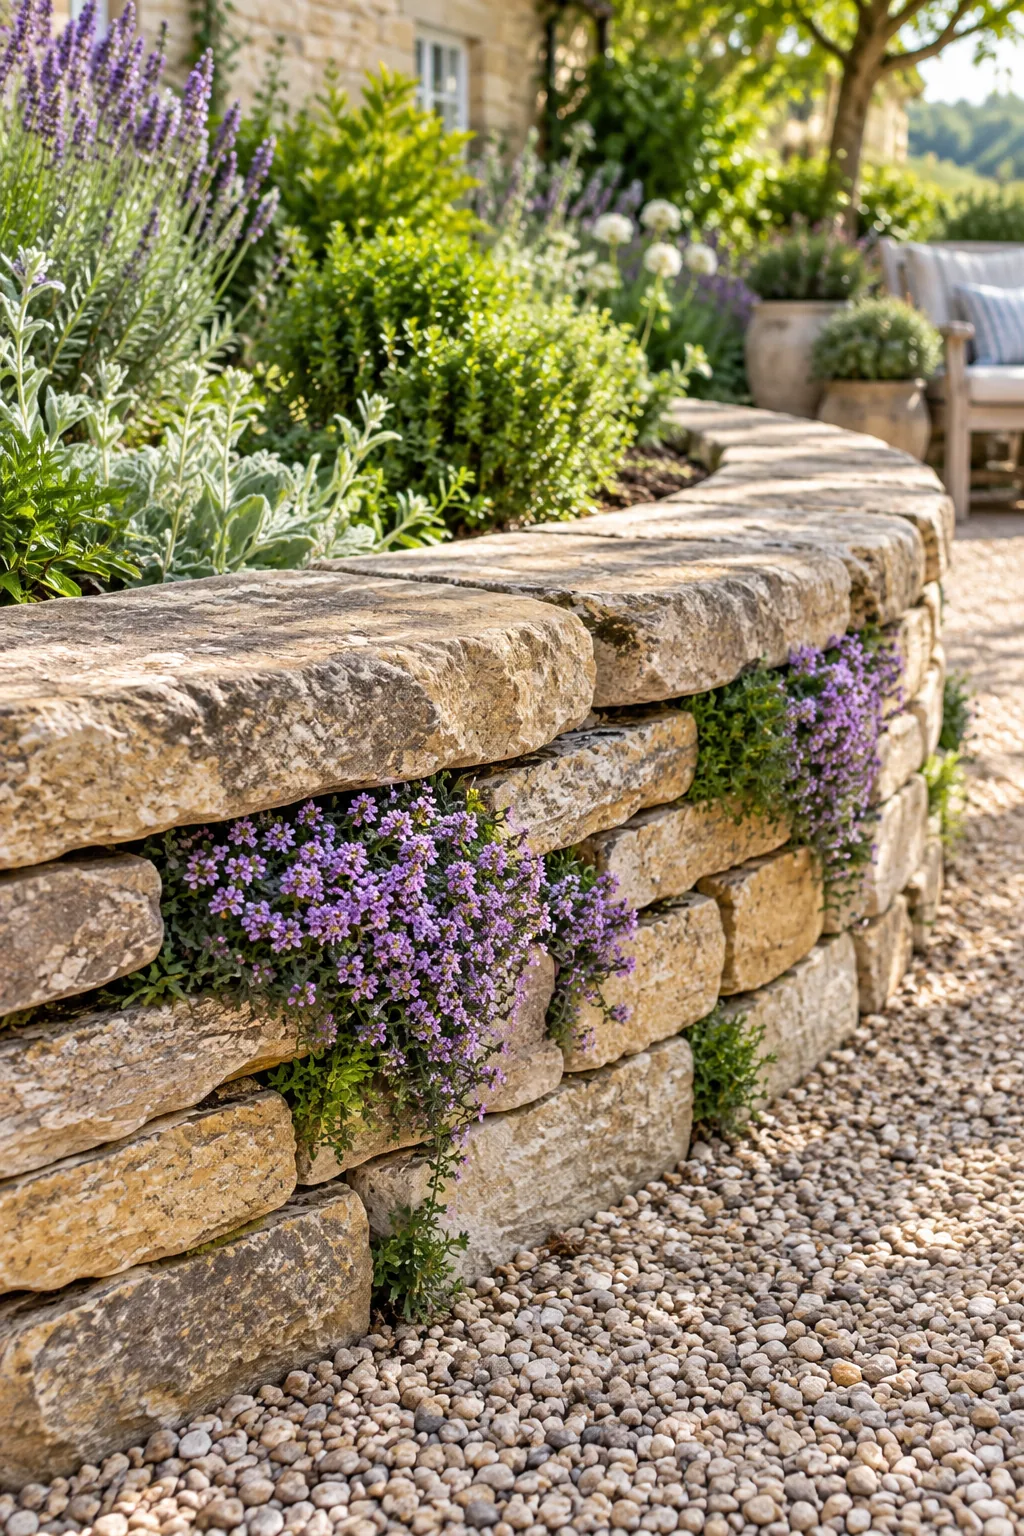
Because the live plants are inserted actively during construction, their roots are temporarily exposed to the dry, rough stone before they finally reach the damp soil behind the wall.
Pinning the Coping Stones Securely
Before laying your final capstones, wedge tiny shards of rock under any slightly wobbly pieces in the course below. This meticulous pinning process ensures the top layer has a completely solid, unmoving base to rest upon, preventing future structural shifts.
Three Distinct Dry-Stone Wall Styles
Once you understand the basic gravity structure, you can adapt the materials to fit any garden aesthetic.
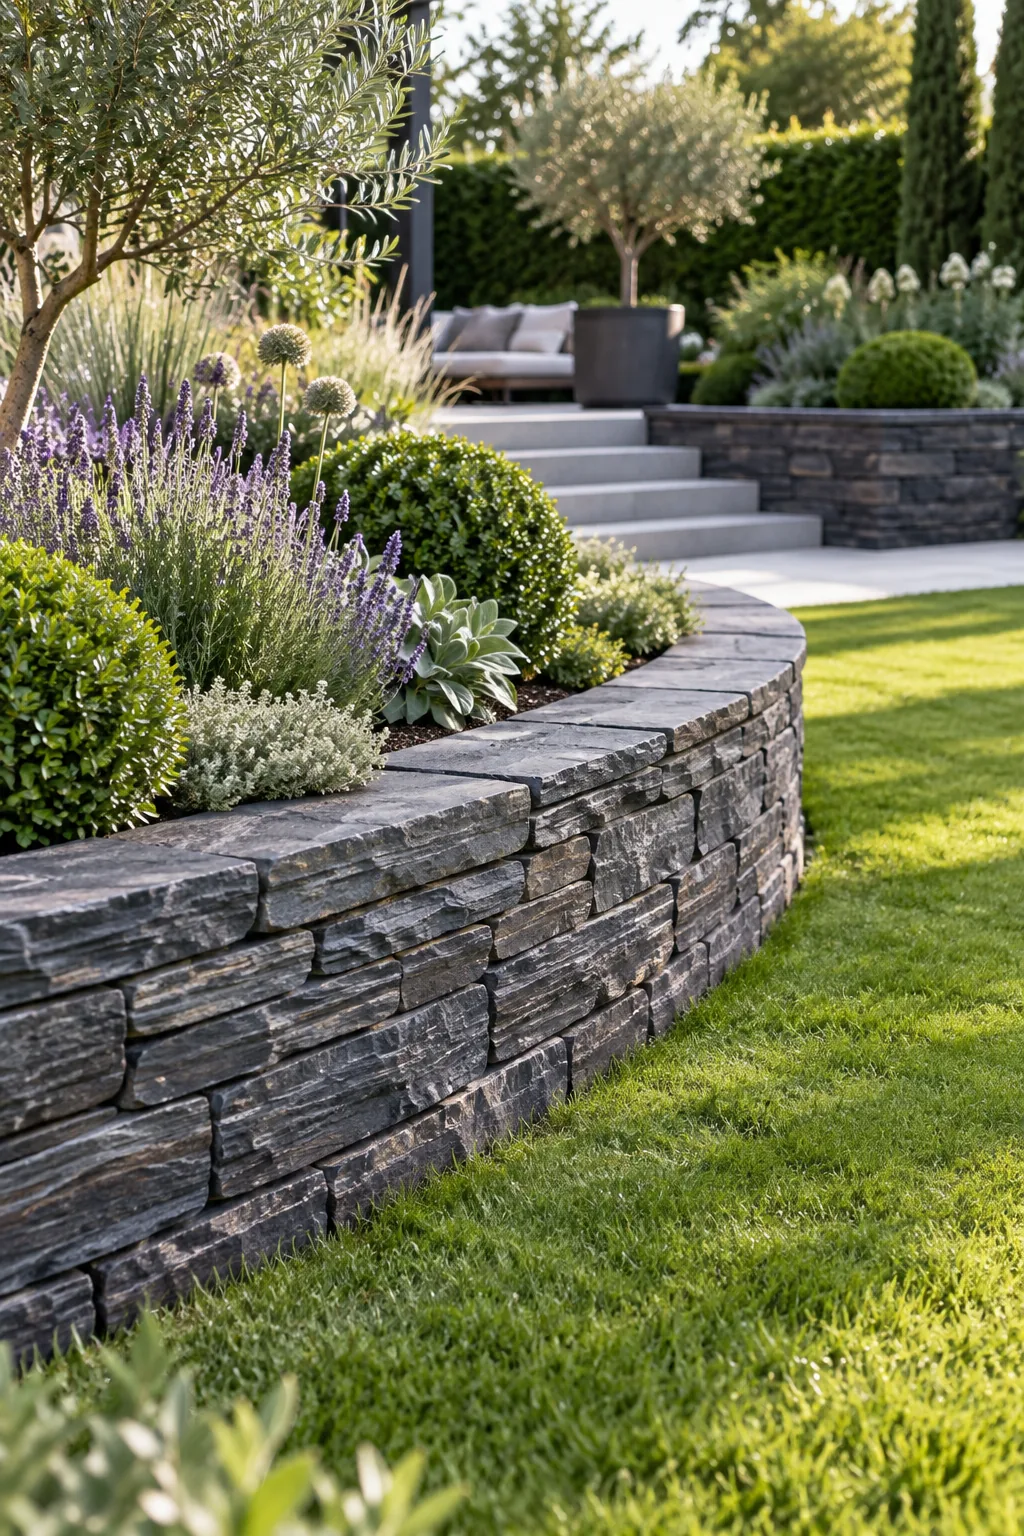
Formal Slate Retaining Wall: Crisp charcoal slate offers a modern, tailored edge. Use tightly fitted sawn blocks instead of rough rubble for a precise finish.
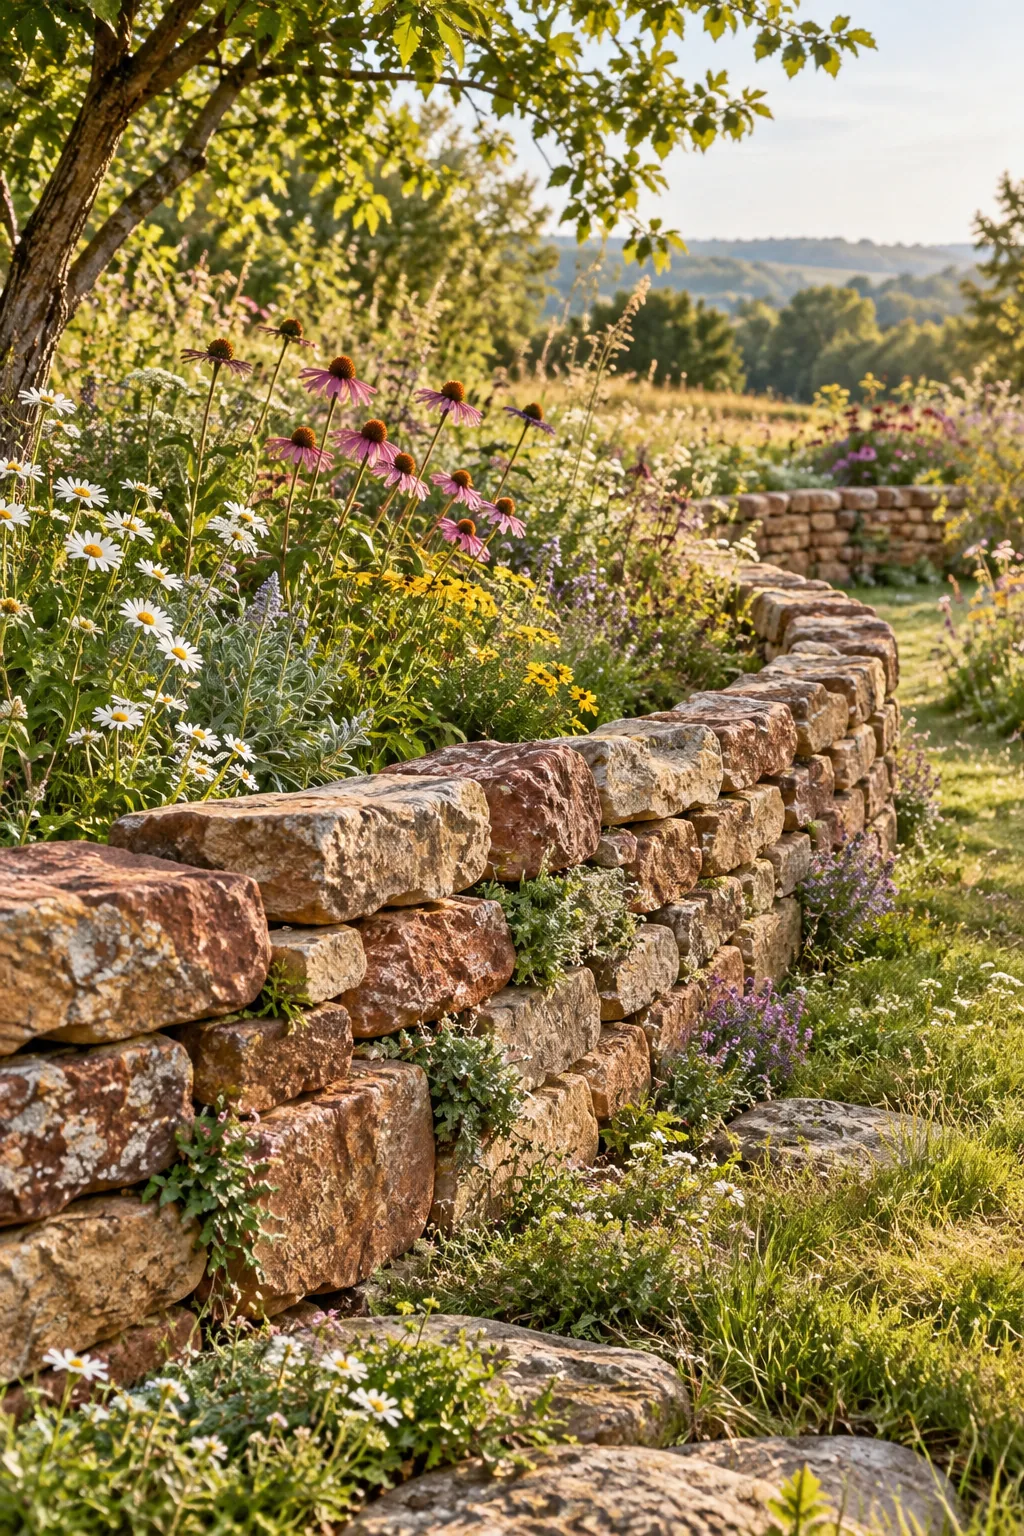
Rustic Sandstone Field Wall: Warm red and brown sandstone creates an instantly aged, rural feel. Allow moss to establish naturally on the porous surface.
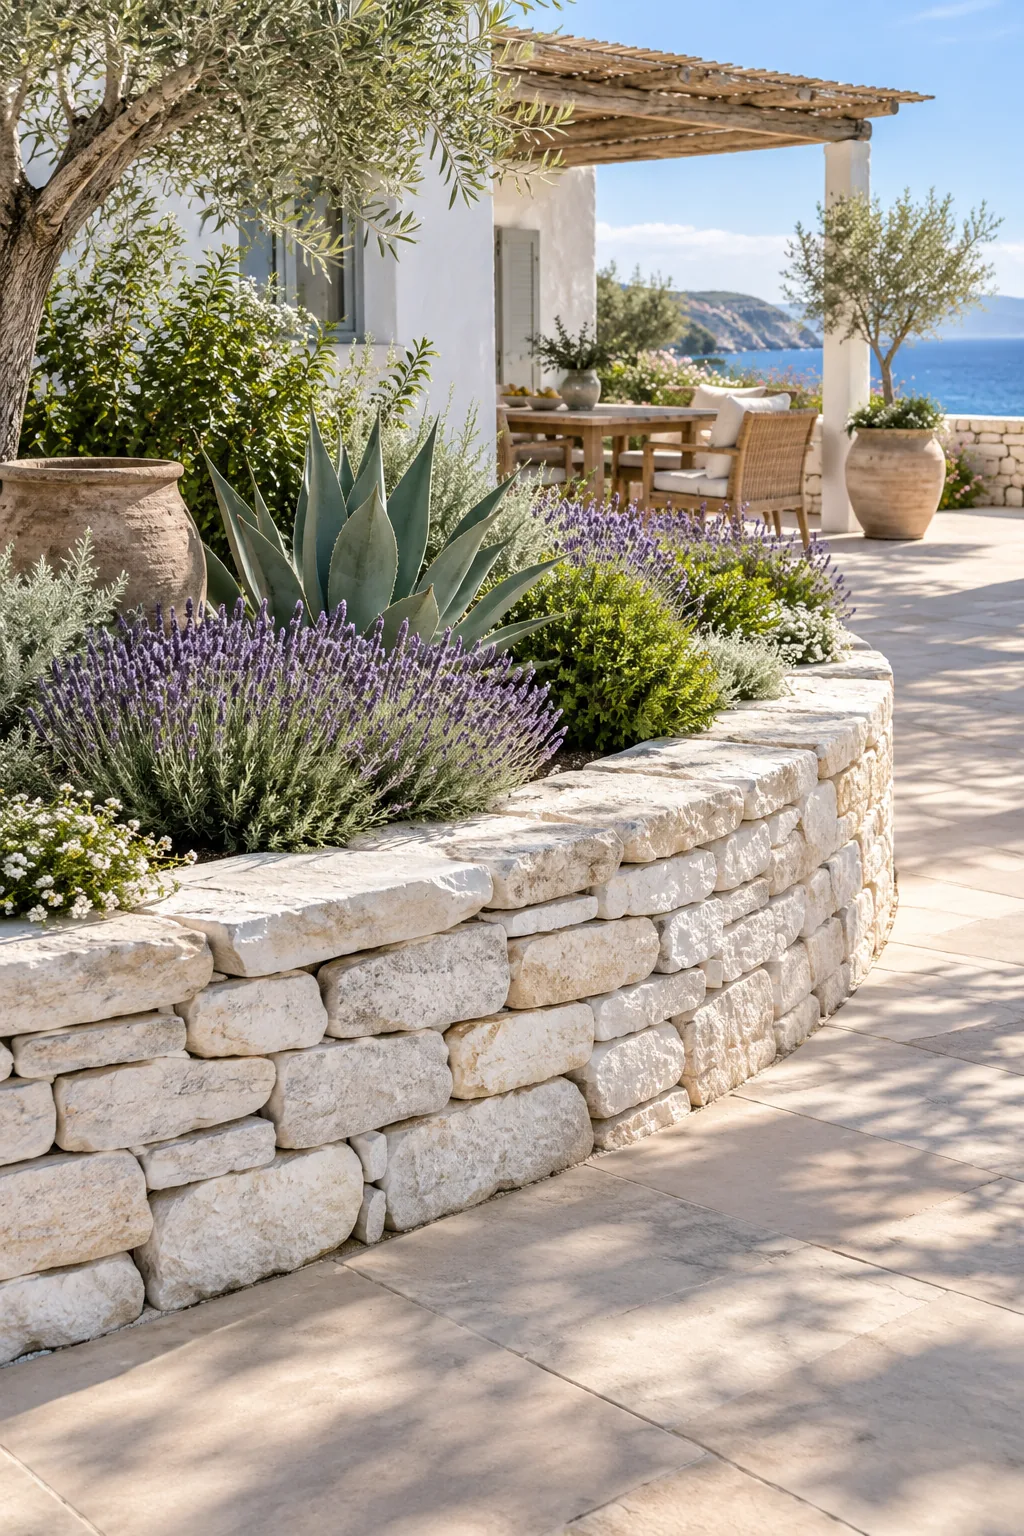
Whitewashed Mediterranean Planter: Bright white painted stone reflects the sun and highlights vibrant foliage. Leave the top edge irregular for a relaxed coastal atmosphere.
Finishing With the Coping Course
Finish the very top of the wall with a continuous coping course made of your widest, flattest stones to provide a definitive visual border for the garden bed.
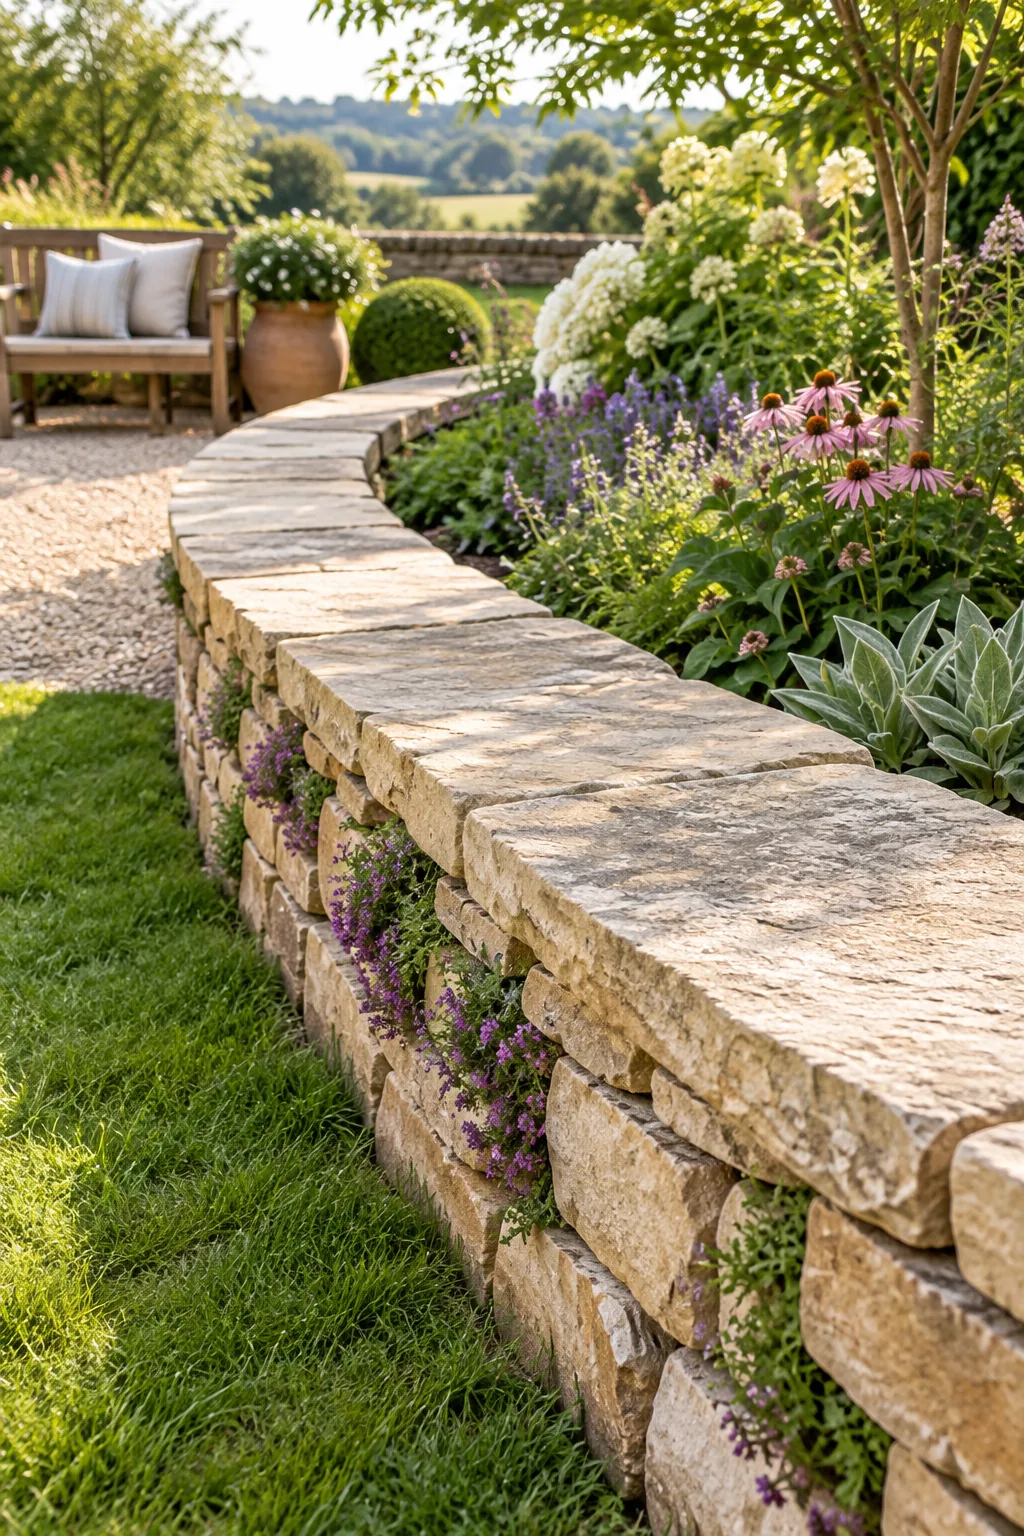
This final layer provides a clean, level edge that doubles as a wonderfully casual garden seat. I spend most of my spring mornings drinking coffee right on the coping stones of my backyard retaining wall, enjoying how solid the whole structure feels.