Minimalist Living Room: The Hidden Storage & Wiring Guide
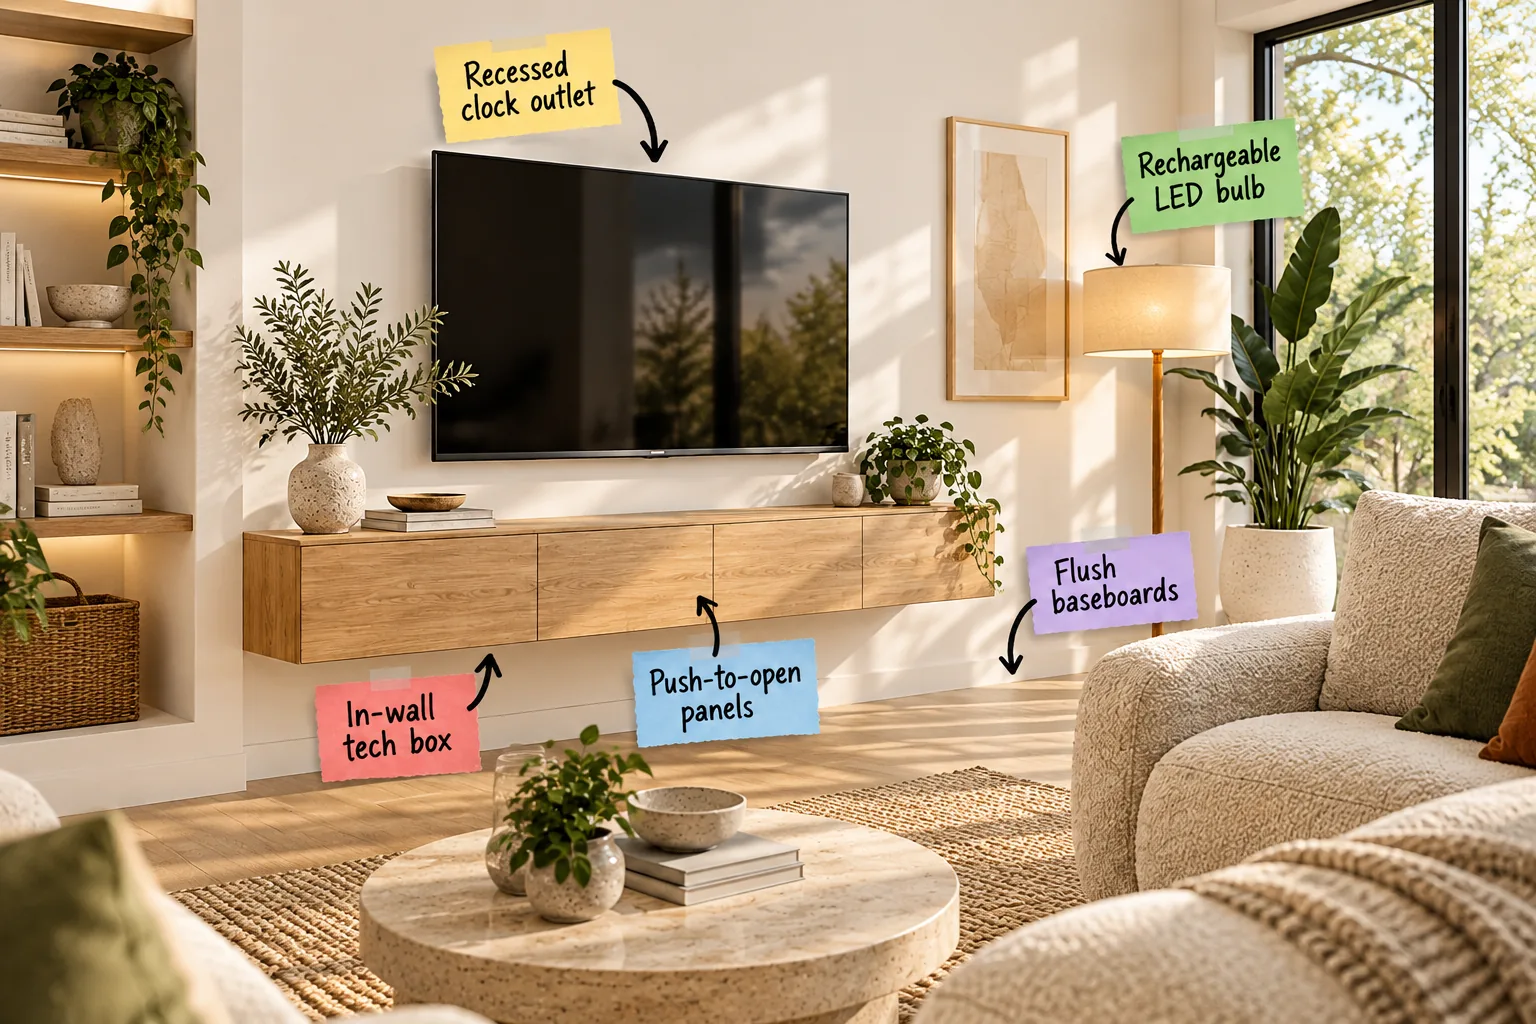
You can achieve a completely flawless minimalist living room by mapping out exact placements for recessed outlets, media boxes, and hidden storage. Get our complete hidden storage and wiring layout guide below to conceal cords and daily clutter behind a serene, seamless design.
Planning the Cordless TV Wall
The foundation of a seamless media wall requires installing a recessed clock outlet directly behind the mounted flat screen TV, ensuring the exact placement of the receptacle sits perfectly within the negative space of the TV mount bracket.
Measuring the Screen Clearance
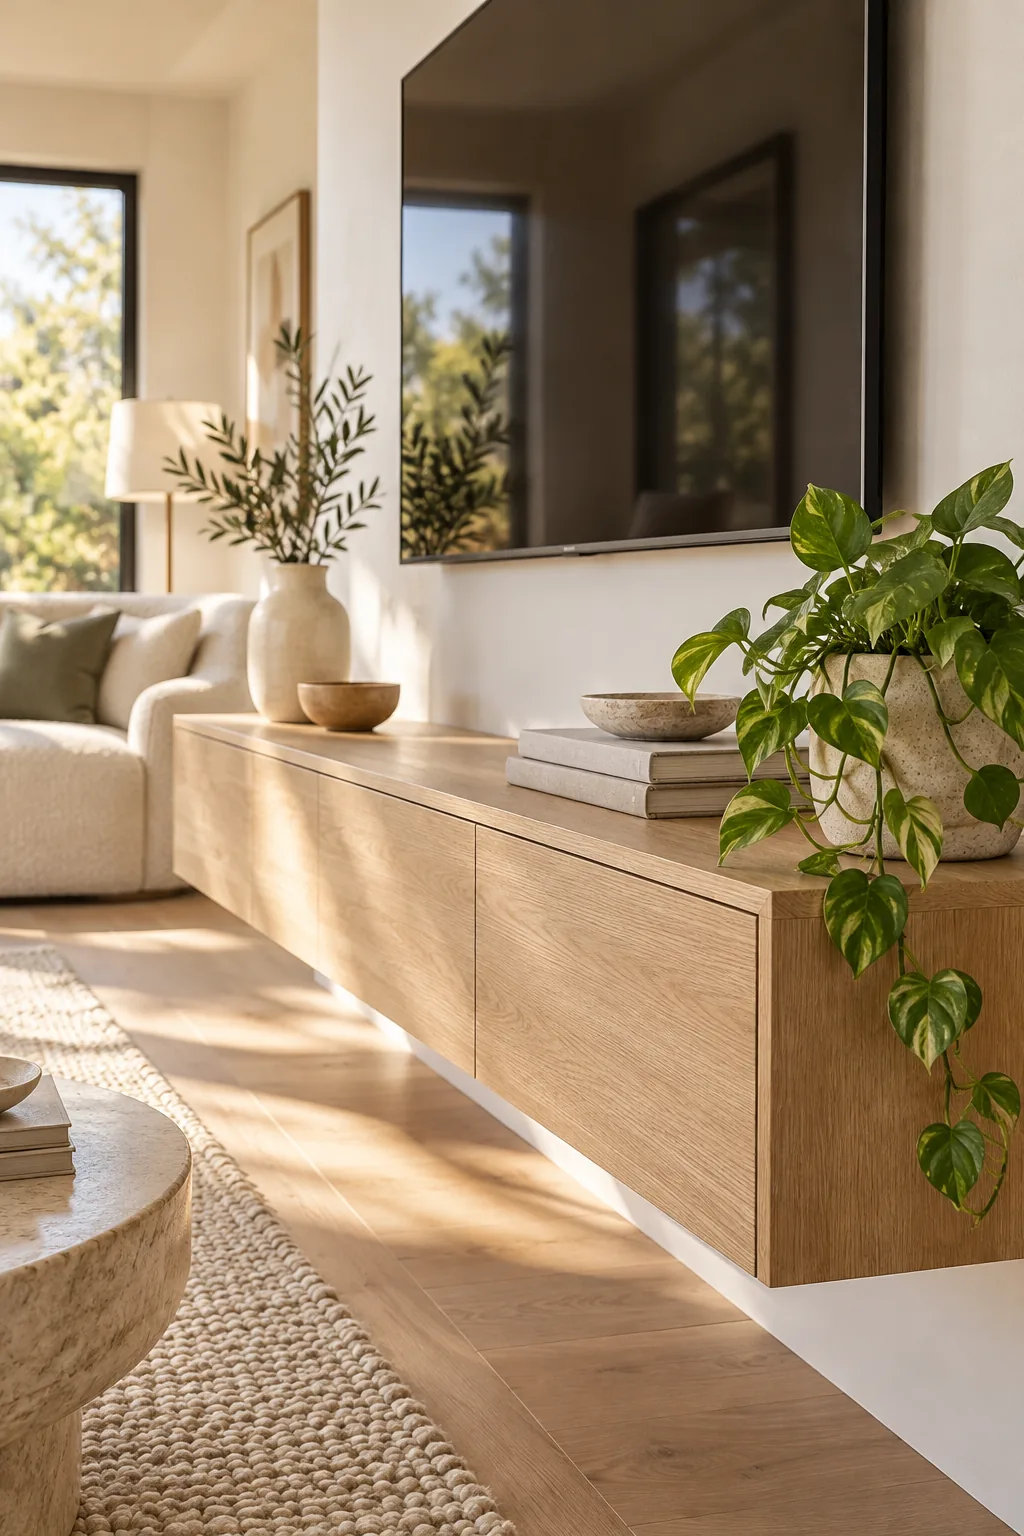
Always measure your specific articulating bracket before cutting into the drywall to guarantee the outlet sits safely hidden. I recommend positioning the recessed box exactly 4 to 6 inches off-center to prevent any physical interference with the heavy steel mounting arms.
Concealing the Media Hub
To house streaming devices and manage excess HDMI cables, install an in-wall tech box as a subtly recessed panel directly behind the floating console. Recessing a 14-inch structured media enclosure keeps bulky electronics accessible yet invisible while maintaining clean exterior lines.
| Enclosure Type | Stud Spacing | Depth Needed | Ideal Usage |
|---|---|---|---|
| 9-Inch Compact | 16 inches on-center | 3.5 inches | Basic router storage |
| 14-Inch Standard | 16 inches on-center | 3.5 inches | Apple TV and splitters |
| 20-Inch Extended | 16 inches on-center | 3.5 inches | Full smart home hubs |
| 28-Inch Maximum | 24 inches on-center | 4.0 inches | Complex AV receivers |
| Dual 14-Inch | 16 inches on-center | 3.5 inches | Separated power and data |
Positioning the Wall Studs
Standard residential framing uses vertical studs placed 16 inches on-center, which perfectly accommodates the width of a standard media enclosure. Verify your stud locations with a magnetic finder before ordering your tech box to avoid costly structural modifications during the rough-in phase.
Streamlining the Console Front
Maintain a monolithic, handle-free look across the seamless oak cabinet fronts by specifying heavy-duty push-to-open panels. These mechanical touch latches allow the doors to spring open with a gentle press, preserving the continuous wood grain and the room’s austere architectural aesthetic.
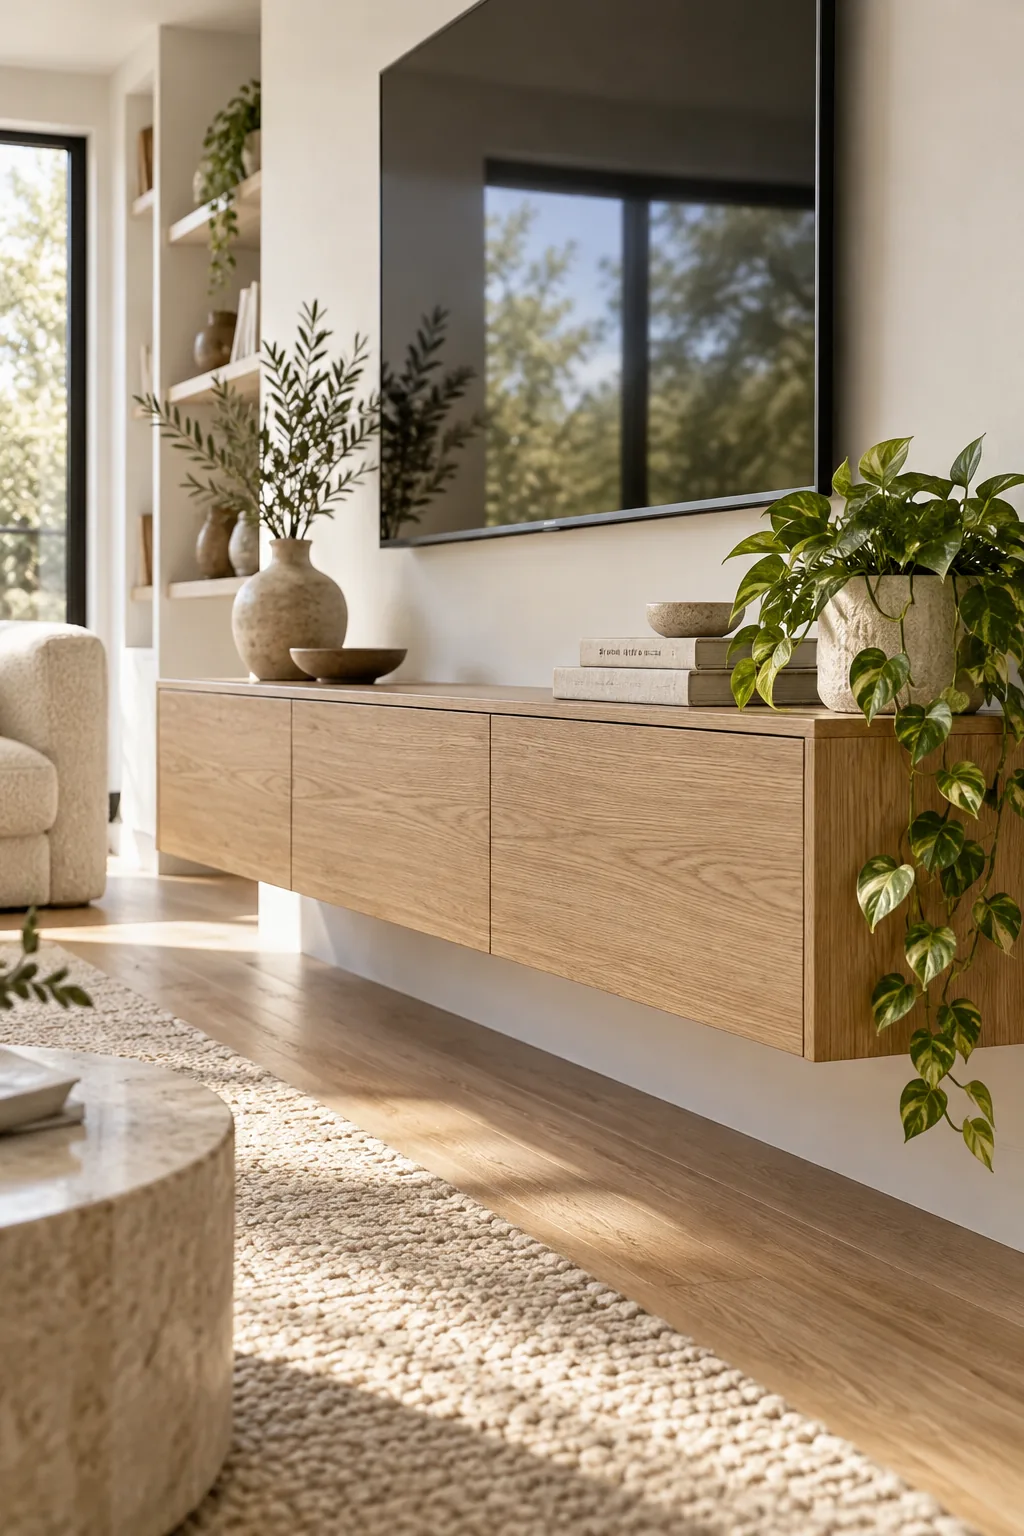
Before finalizing the cabinet dimensions, you must verify exactly how the in-wall enclosure sits perfectly recessed between the standard wall studs behind the unit to ensure the hardware clears the routers.
Aligning the Cabinet Hinges
Pair your push-to-open latches with fully concealed, six-way adjustable European hinges to achieve perfectly uniform shadow lines around every door. Taking the time to dial in the depth, height, and lateral alignment ensures the oak panels read as a single solid architectural block.
Executing Flush Baseboards
Eliminate traditional protruding trim by designing flush baseboards that create a crisp, shadow-gapped junction between the wall and the floor. This rigorous architectural detail stops the drywall exactly half an inch above the flooring, making the entire wall appear to float weightlessly.
Prepping the Drywall Edge
Achieving that flawless floating effect requires installing an extruded aluminum Z-shadow bead along the bottom edge of the drywall before plastering. This specialized metal profile creates a rigid, dust-free recess that protects the delicate plaster edge from vacuum bumps and daily foot traffic.
Faking Hardwired Lighting
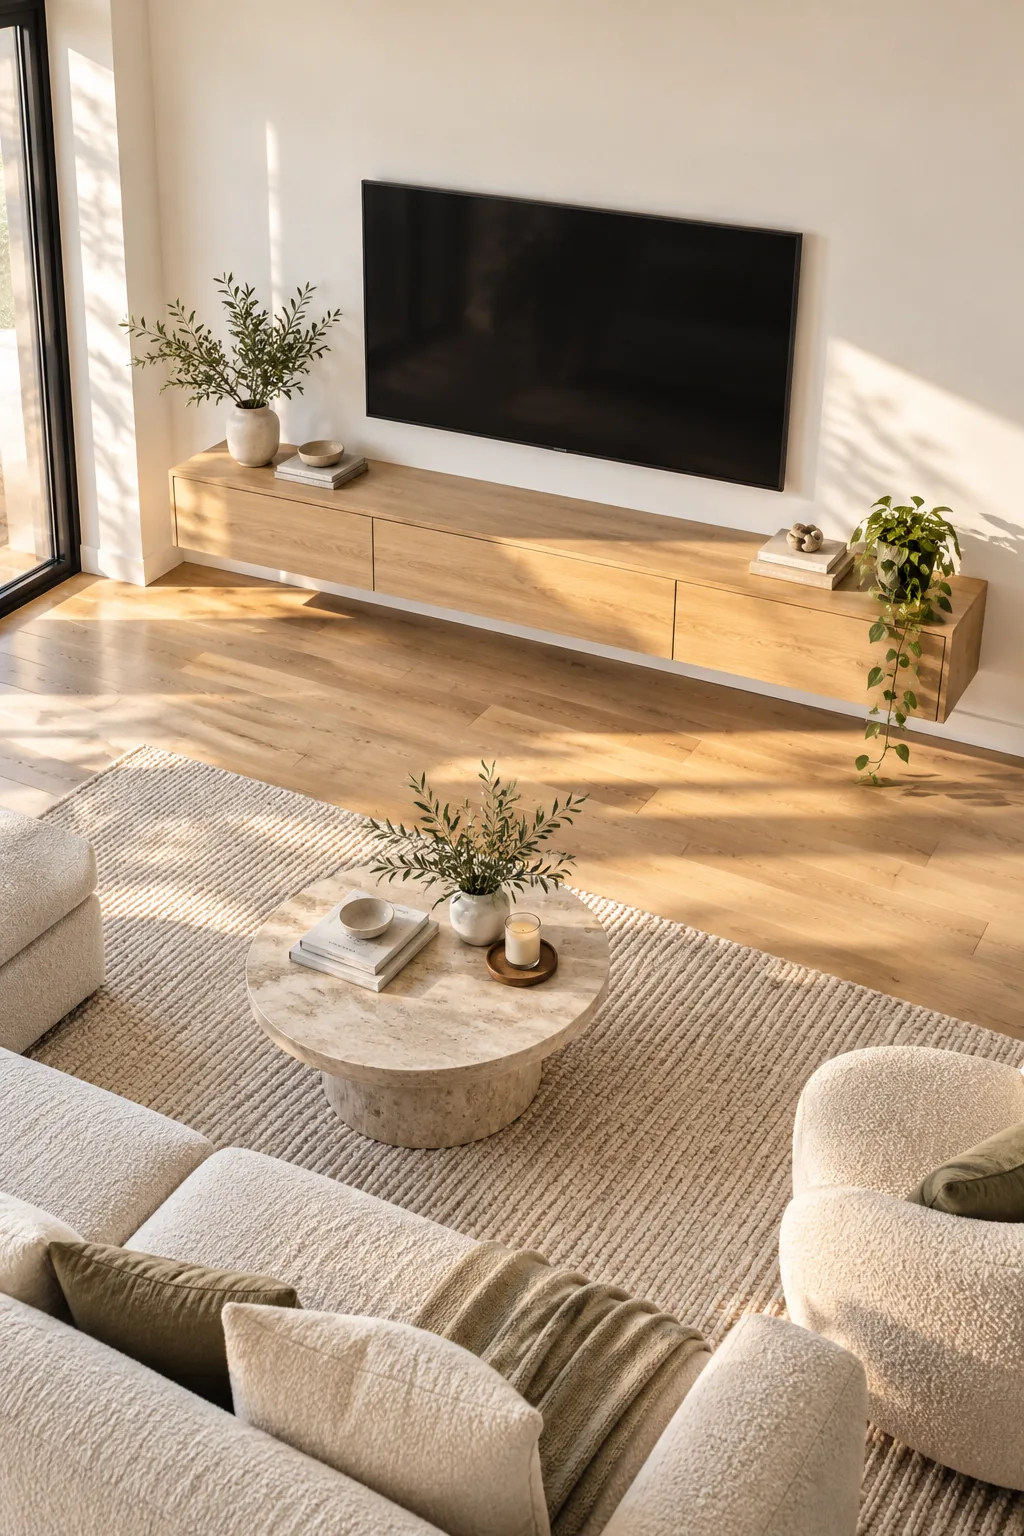
You can eliminate trailing floor cords entirely by placing a rechargeable LED bulb inside the freestanding reading lamp beside your sofa. I always recommend selecting a premium battery-operated bulb to maintain the room’s serene evening mood without the expense of an electrician.
- Color temperature: Select a warm 2700K hue to mimic comforting traditional incandescent lighting.
- Battery capacity: Ensure the unit guarantees at least a 12-hour lifespan on its highest brightness setting.
- Charging interface: Opt for a modern USB-C connection for faster, more reliable weekly power cycles.
The visual effect of stopping the drywall above the floor line with a Z-bead creates a pristine, distraction-free architectural backdrop that makes your cordless lighting setup look entirely intentional.
Managing the Battery Cycle
Establish a simple weekly charging routine to ensure your cordless reading lamp remains reliably illuminated during long, relaxing evenings spent unwinding on the sofa. Keeping a dedicated charging cable hidden inside the console prevents the bulb from dying when you need it most.
The Hidden Storage Layout Guide
Replicate this exact seamless media wall setup by downloading our complete hidden storage and wiring layout guide, which shows you exactly how to align your hidden conduit paths with specific internal cabinet zones.
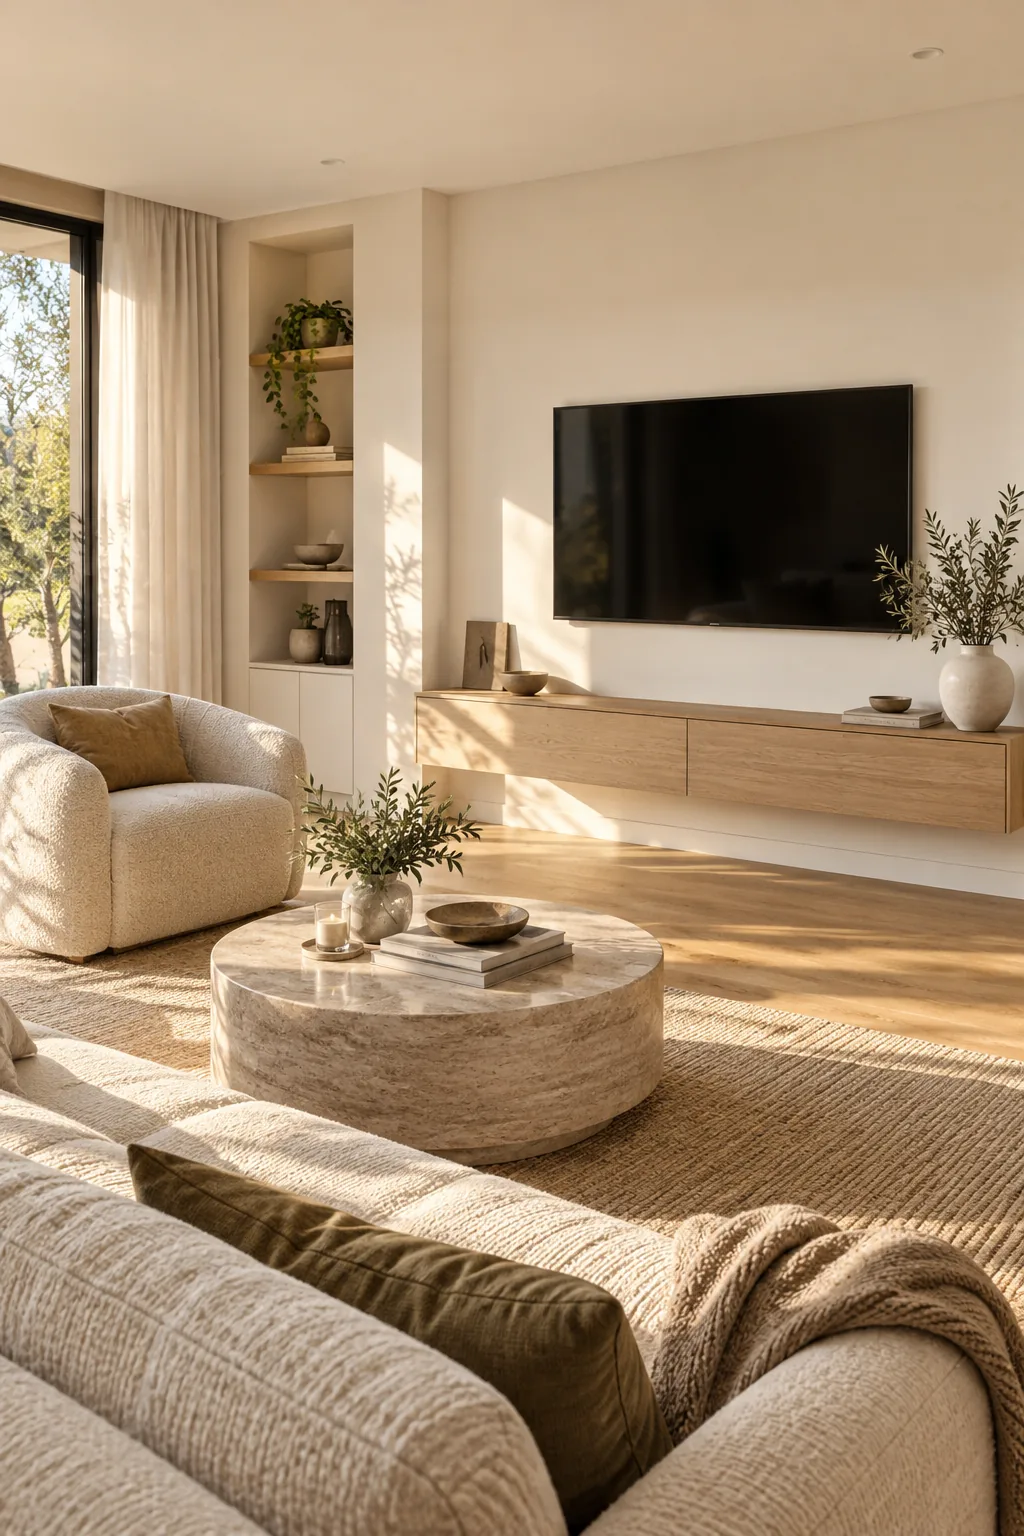
Before closing up the walls, use this final verification list to ensure every wire, conduit, and mounting block is perfectly positioned for the layout guide.
Securing the Conduit Paths
Anchor the flexible PVC conduit to the wall studs using heavy-duty plastic strap clamps placed every 24 inches along the vertical drop. Properly securing this hollow channel prevents it from rattling against the drywall whenever someone walks heavily across the floor above.
Organizing the Internal Compartments
In my own Denver home, dividing the floating console into strict functional zones finally stopped our remotes from constantly migrating onto the coffee table. Dedicate the center specifically to ventilated electronics, leaving the outer compartments strictly for analog items and daily lifestyle storage.
- Zone One: Left compartment dedicated to gaming controllers and remotes stored in shallow felt trays.
- Zone Two: Center compartment reserved for heat-generating streaming boxes and smart home hubs.
- Zone Three: Right compartment allocated for bulkier analog items like board games or throw blankets.
Ventilating the Tech Zone
Active electronics trapped inside a closed oak console require a dedicated thermal management strategy to prevent dangerous overheating. Install a whisper-quiet, 120-millimeter USB cooling fan discreetly into the bottom panel of the center compartment to pull fresh air continuously upward.
Lining the Controller Trays
Protect the delicate rift-sawn oak interior from scratches by lining the bottom of your designated gaming trays with dense merino wool felt. This tactile addition not only preserves the wood but also dramatically dampens the sharp clatter of setting down heavy plastic controllers.
Grounding the Seating Area
Anchor the soft upholstery layout with a heavily textured, raw stone coffee table placed precisely in the center of the seating arrangement. The porous, irregular surface of the natural stone provides a necessary visual counterweight to the perfectly smooth, machine-finished oak console nearby.
Introducing Live Foliage
Break up the strict geometric grid of the media wall by placing an asymmetrical, large-scale olive tree in the corner of the room. The organic, unpredictable shapes of the live branches immediately soften the room’s austerity and bridge the gap between the indoors and nature.
5 Ways to Style a Minimalist Media Wall
Find the perfect balance of warmth and simplicity for your living space with these distinct minimalist approaches.
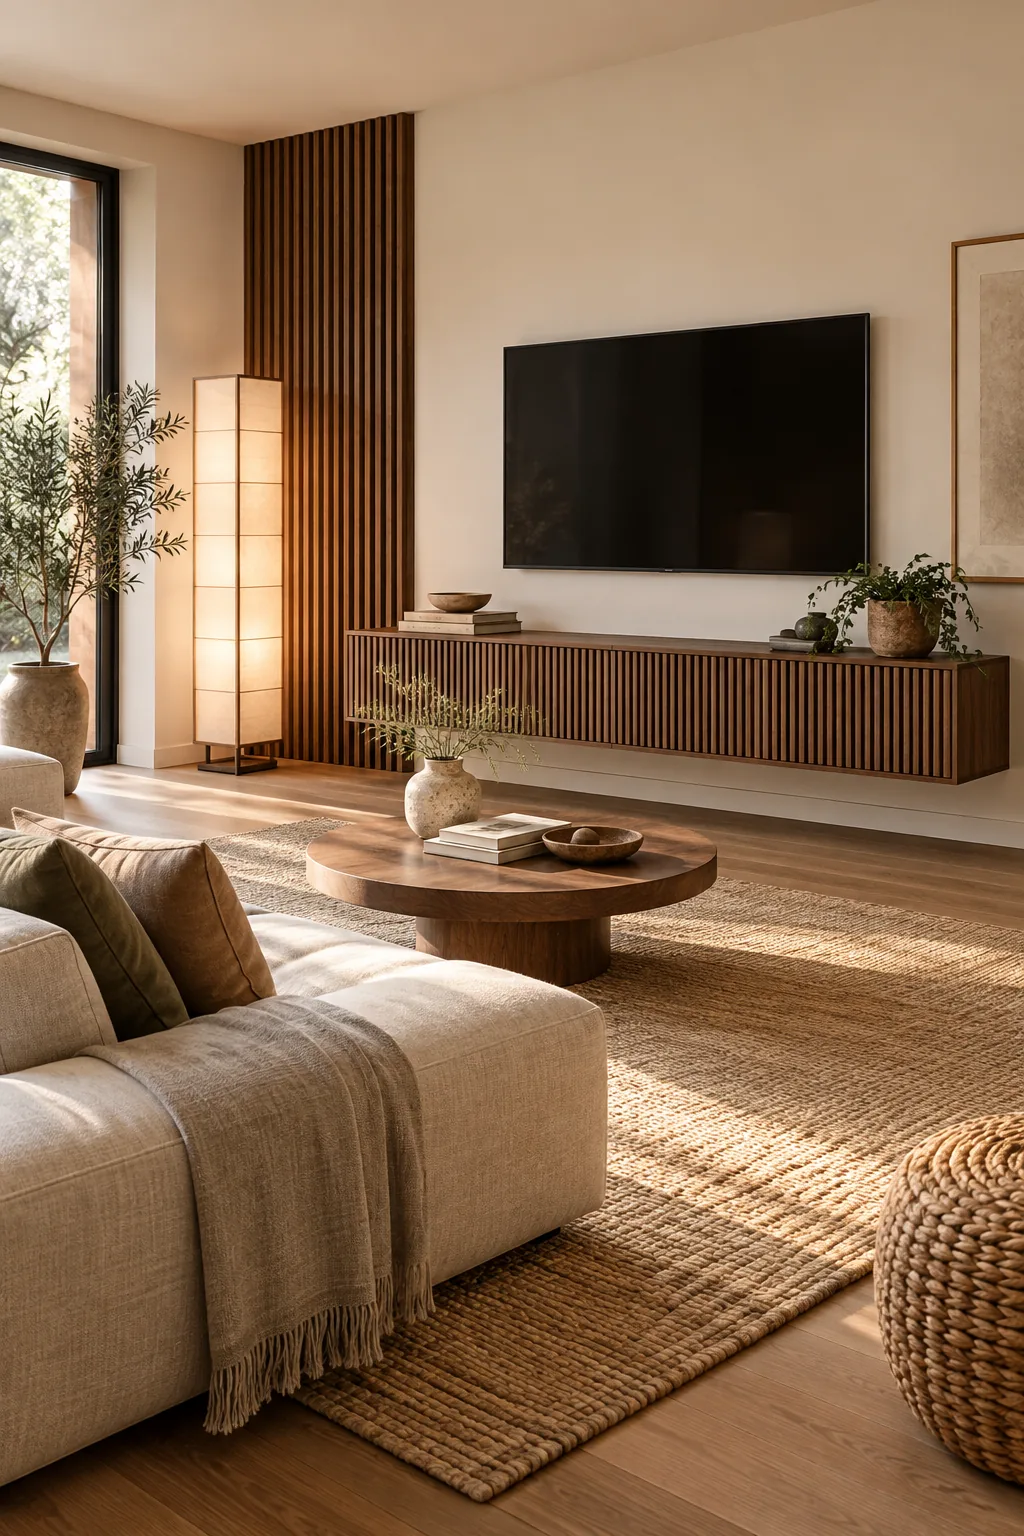
Warm Japandi Slatted Wood: Slatted walnut fronts add deep architectural interest while allowing infrared remote signals to pass through.
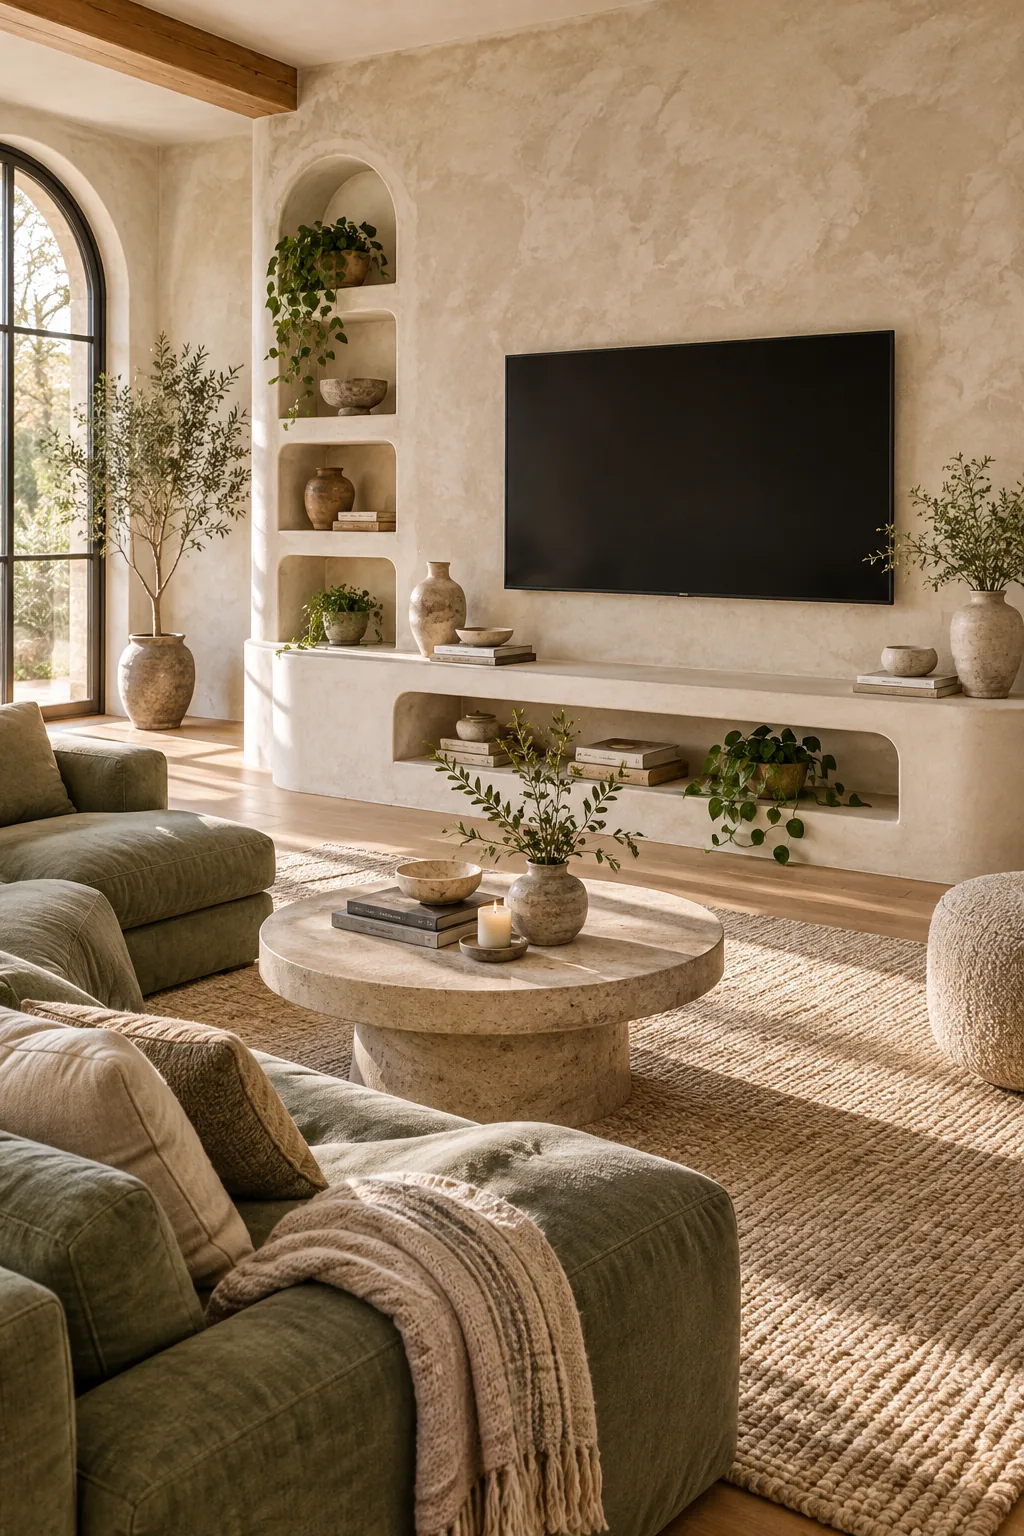
Soft Organic Plaster Curves: A built-in plaster console seamlessly blends into limewash walls for a soothing, continuous visual flow.
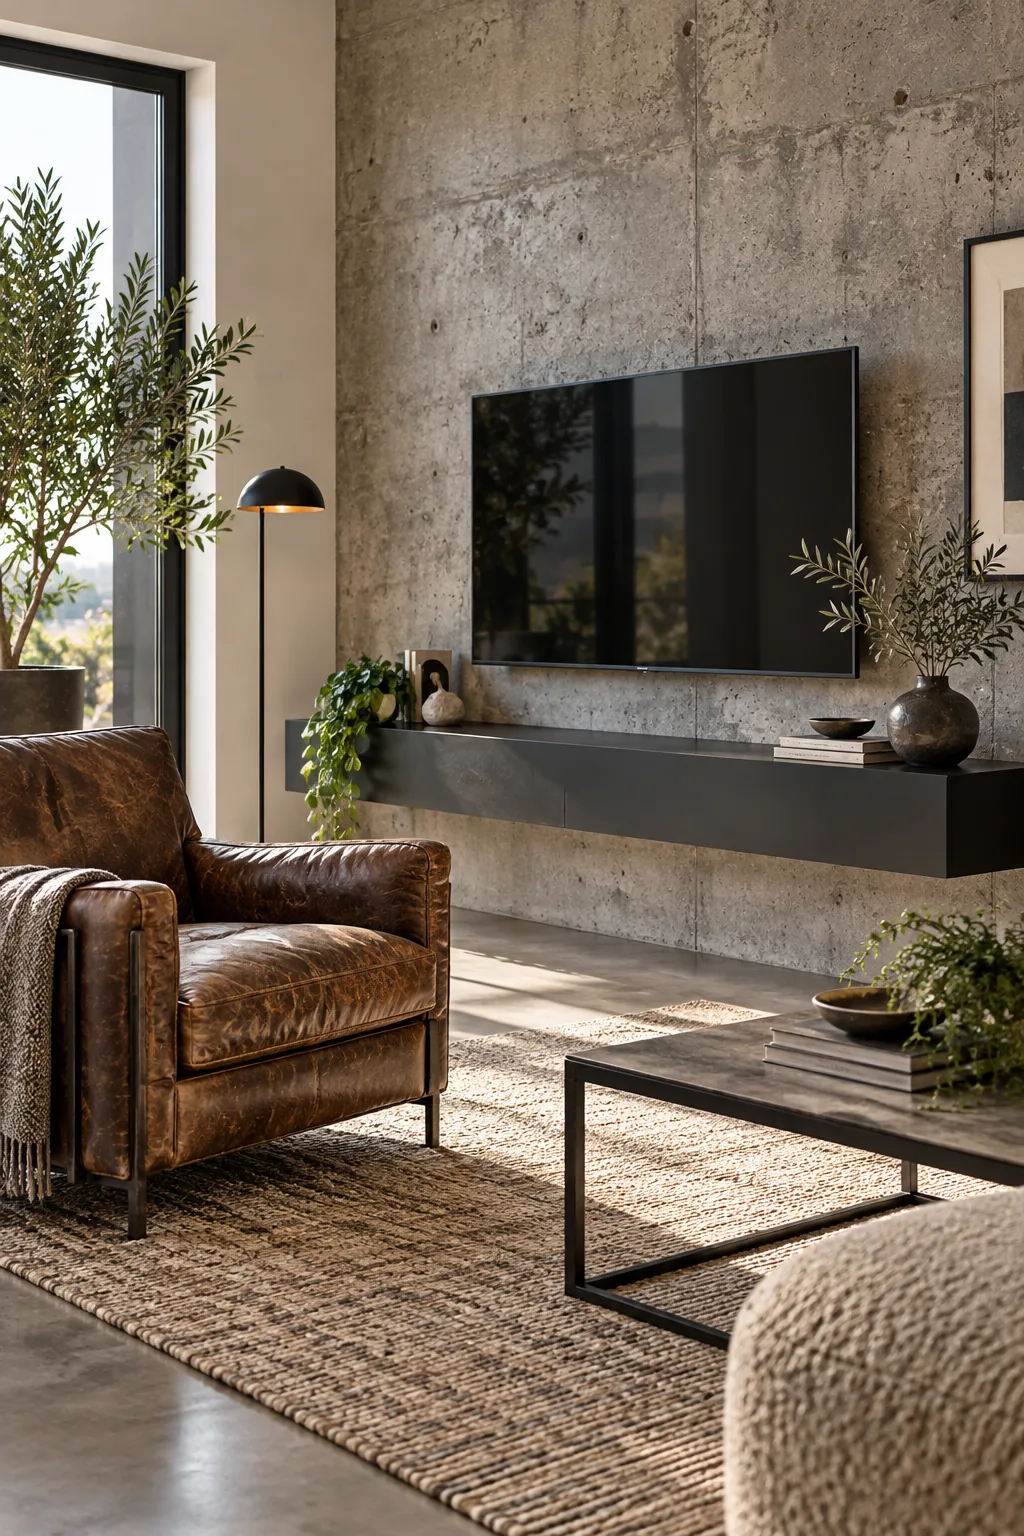
Industrial Edge Matte Steel: A slim matte black steel shelf provides rugged contrast against a raw concrete media wall.
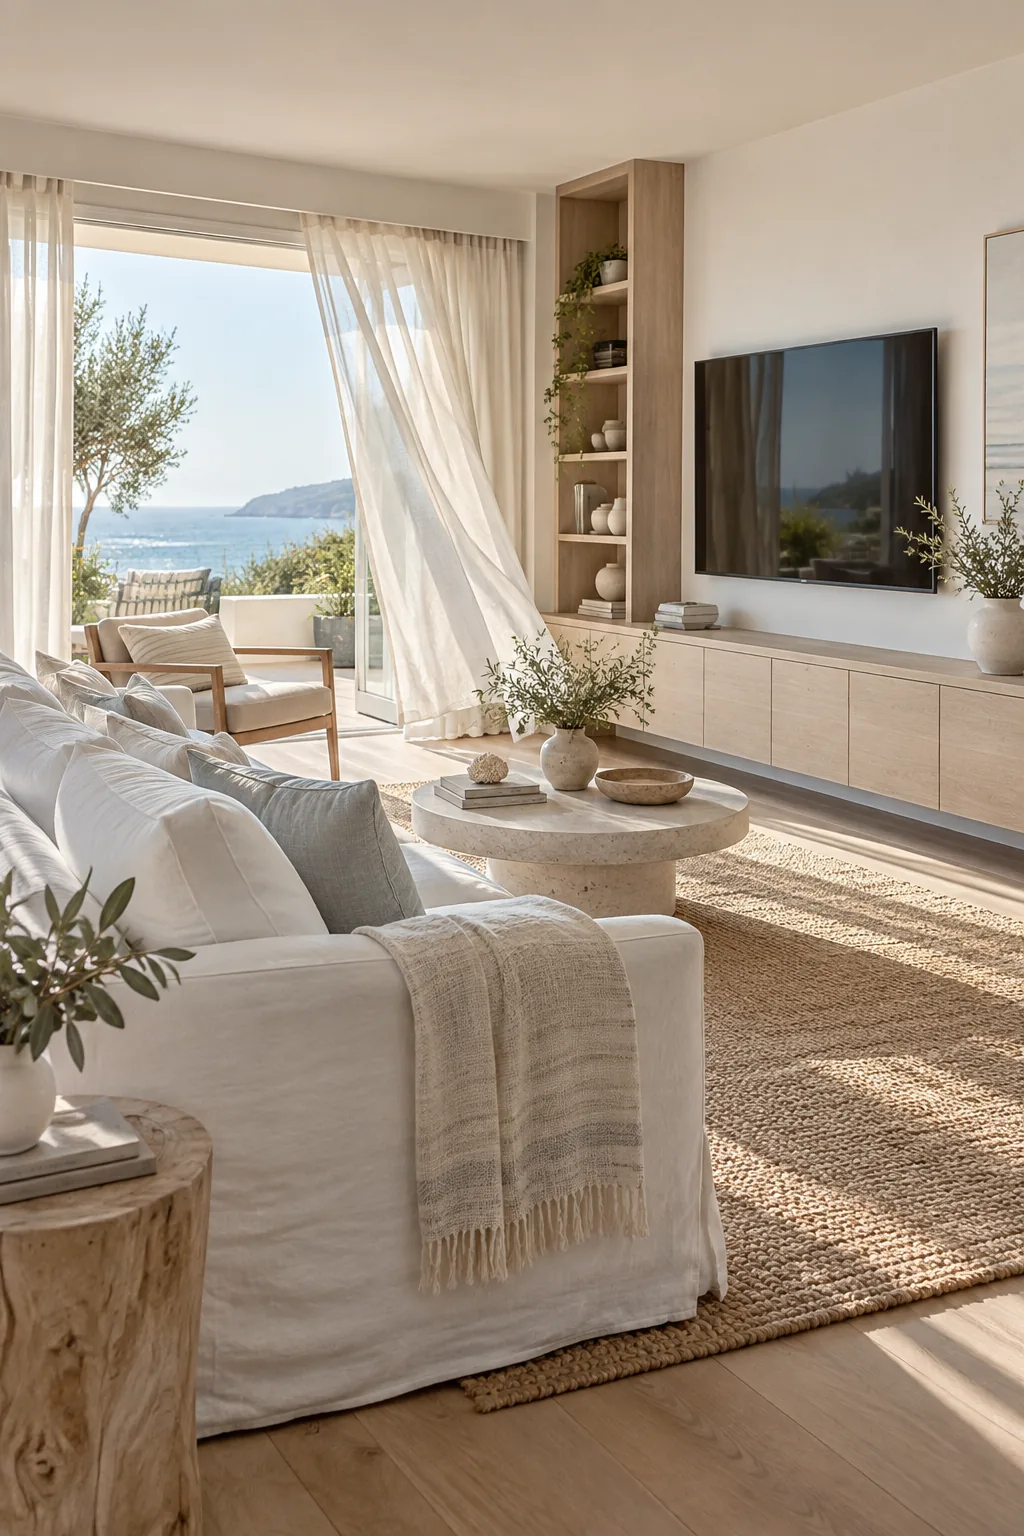
Airy Coastal Bleached Ash: Bleached ash wood and sheer linen window treatments keep the technology wall feeling incredibly light.
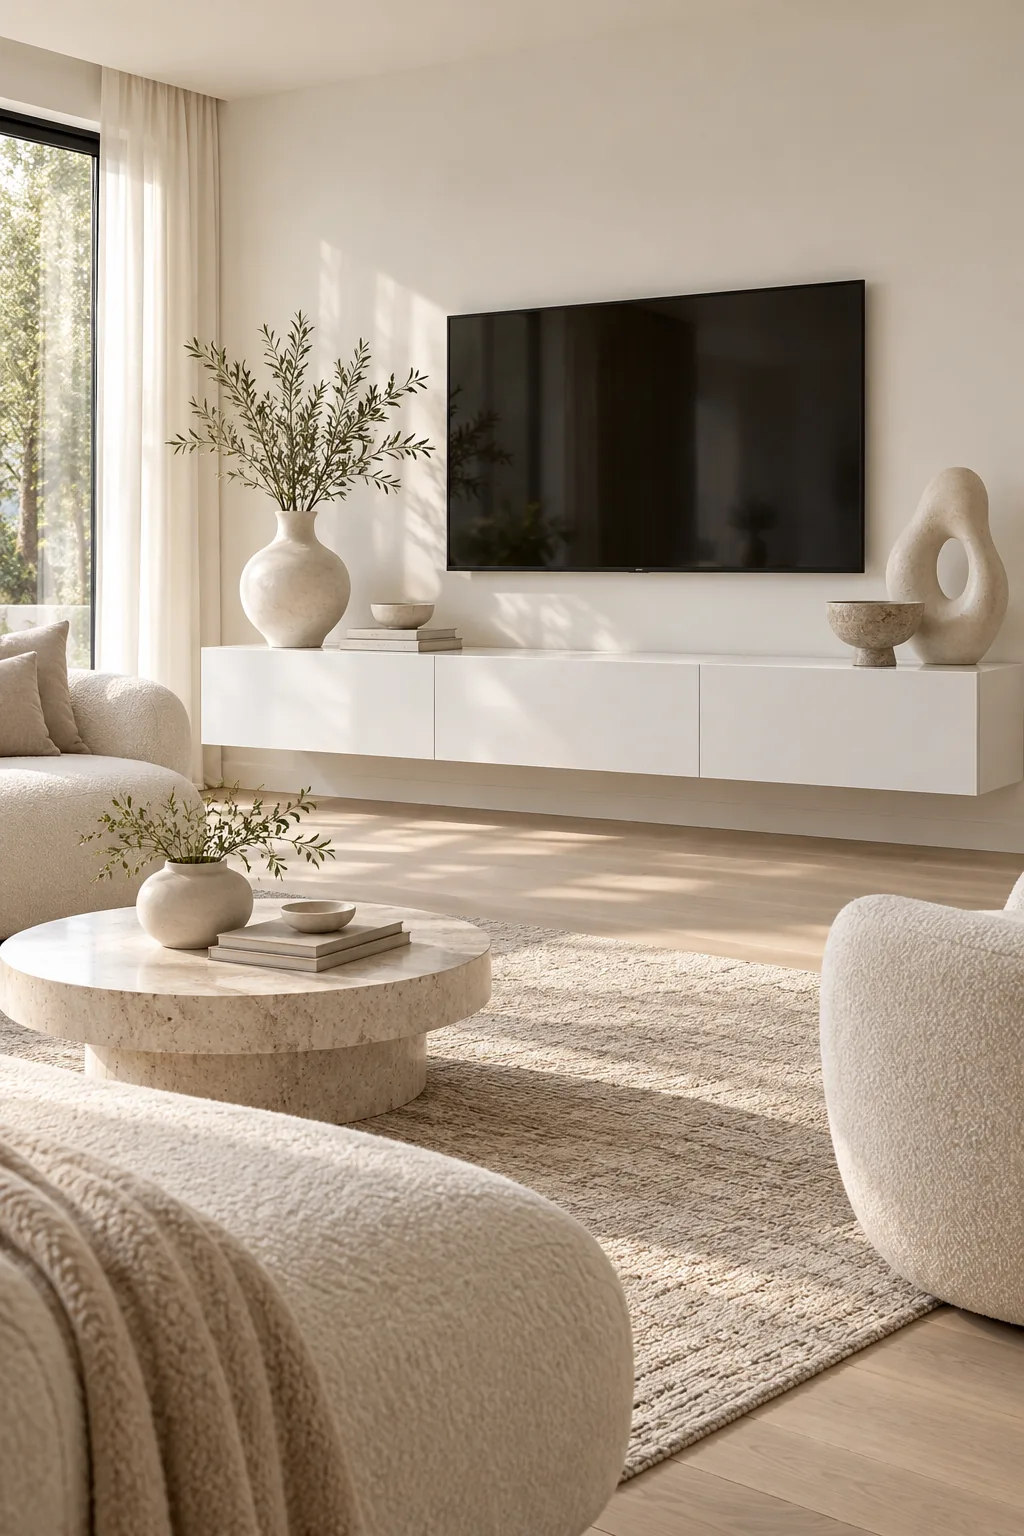
Monochromatic Lacquered White: High-gloss white cabinetry reflects natural light and makes the storage unit practically disappear into the wall.
Balancing Texture and Austerity
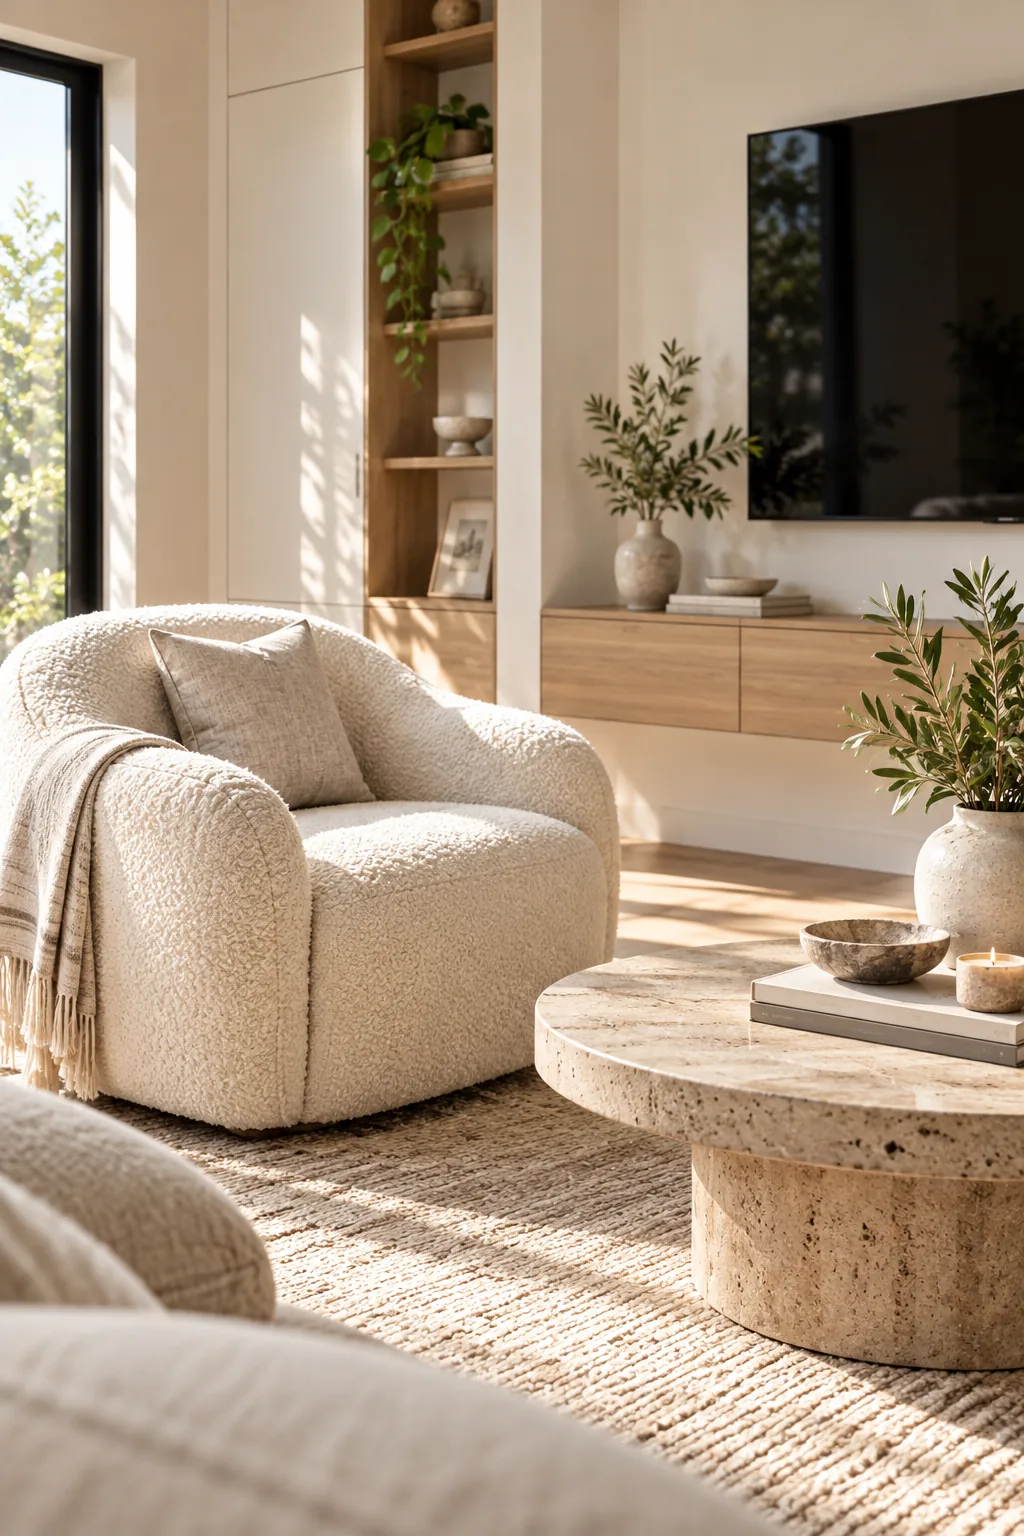
A highly technical, minimalist space can quickly feel sterile if you fail to introduce organic, tactile materials to offset the rigid architectural lines. In my recent projects, I always layer a plush cream boucle sofa against the flat walls to instantly restore a sense of inviting warmth.