
The Complete Gaming Room Setup and Bias Lighting Guide
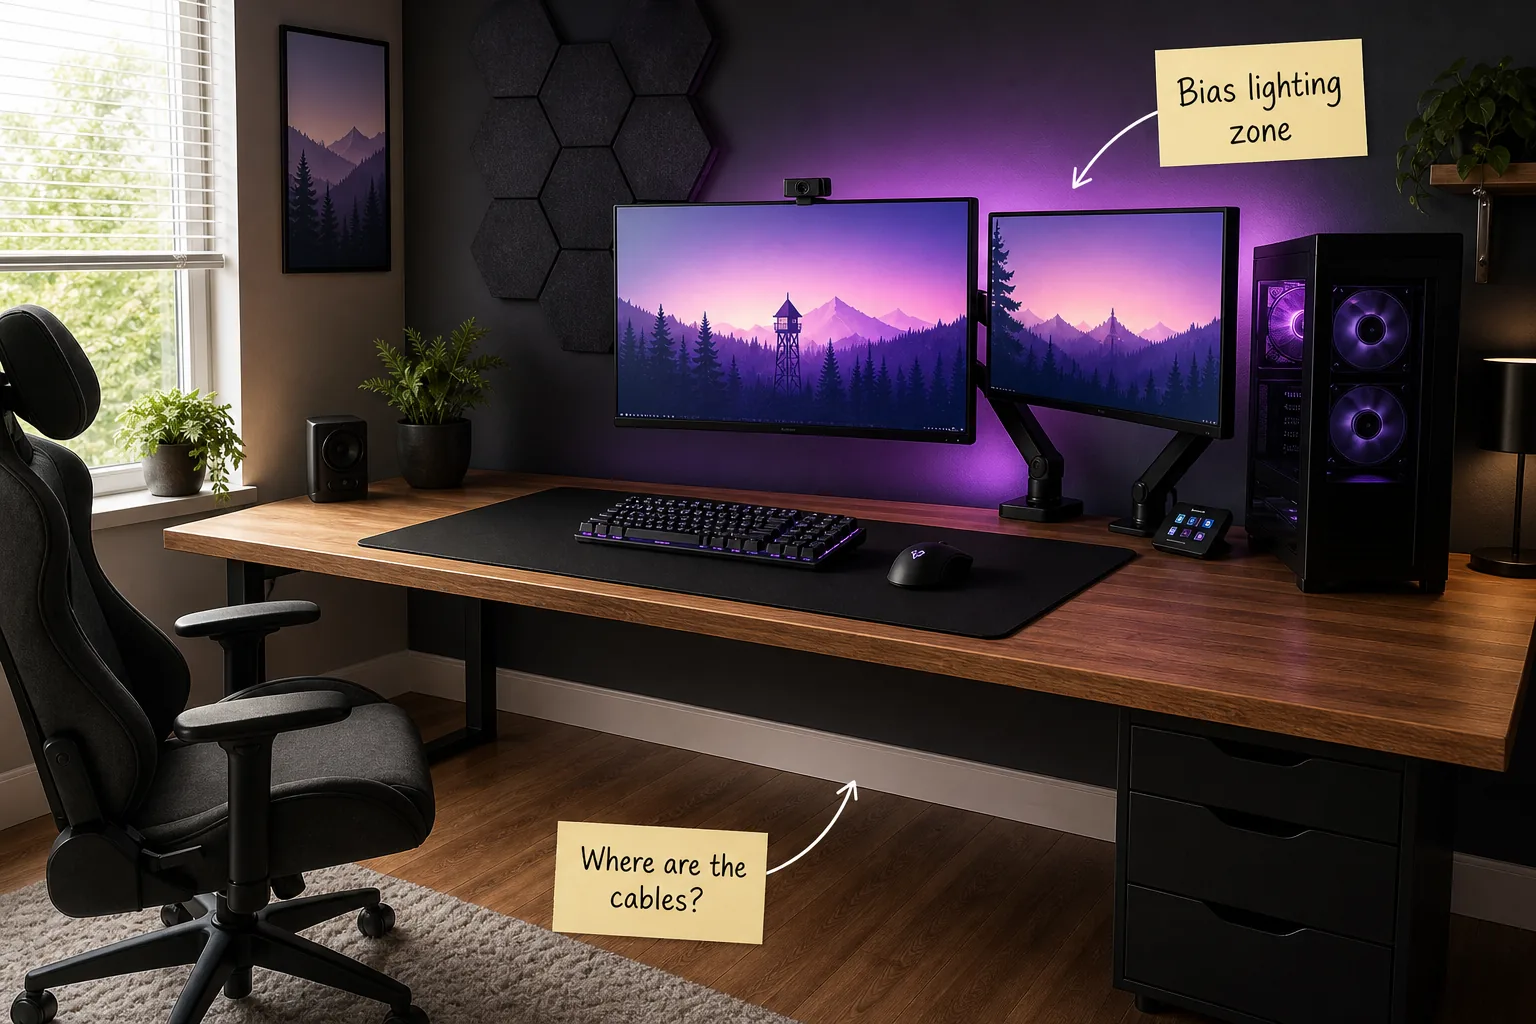
This complete gaming room setup and bias lighting guide delivers the precise blueprint required to build a clean, ergonomic PC battlestation. You will be able to route your cables invisibly, align your monitors for ergonomic comfort, and install ambient lighting that drastically reduces eye strain.
Taming Room Echo with Acoustic Dampening
Installing acoustic dampening through hexagon acoustic panels effectively absorbs high-frequency sound reflecting off hard walls from powerful desktop speakers and mechanical keyboards. This targeted sound treatment eliminates distracting room echo and significantly improves directional audio clarity during intense competitive gaming sessions.
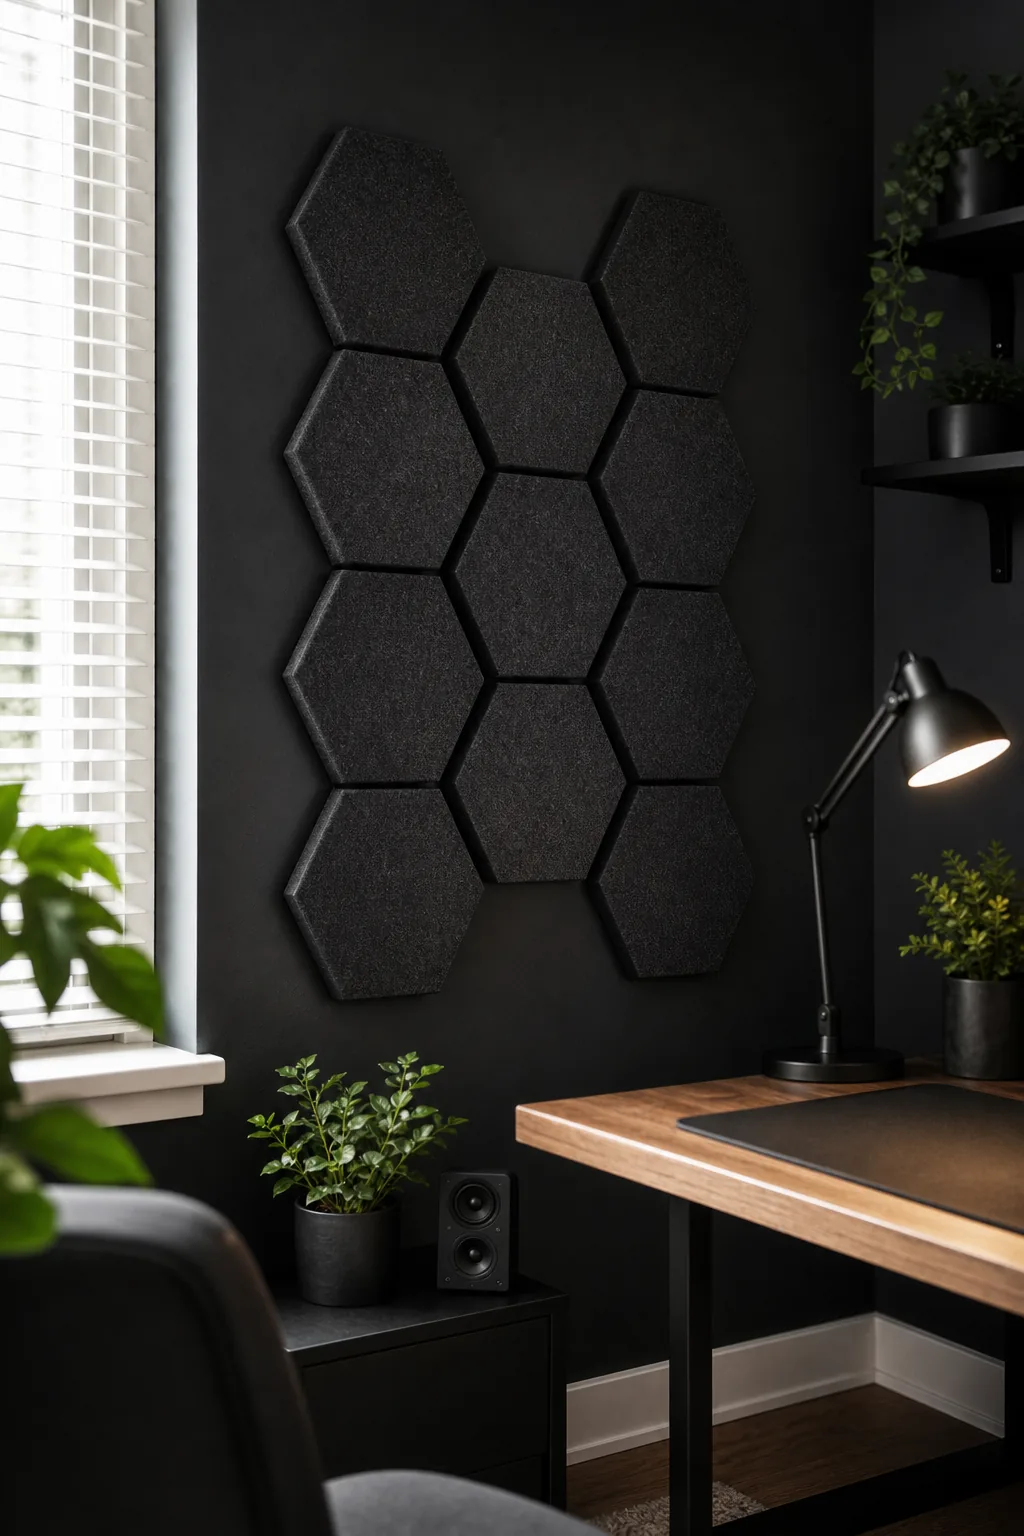
Proper placement is just as critical as the specific material you choose for absorbing unwanted sound. You must strategically position these dampening panels to intercept direct acoustic reflections rather than arranging them into arbitrary geometric patterns that completely miss the primary audio pathways.
Calculating Optimal Acoustic Coverage
To achieve a noticeable reduction in room reverberation, cover at least 15 to 20 percent of the immediate wall area directly behind the audio sources. Measure the vertical space behind your monitors and center the densest cluster of hexagon panels exactly there to firmly anchor the forward soundstage.
The Under-Desk Cable Management Strategy
If you are wondering where are the cables?, the secret is a completely invisible cable routing system that keeps the floor entirely bare. By mounting a heavy-duty surge protector and rigid raceways directly to the underside of the wooden desk, every wire vanishes.
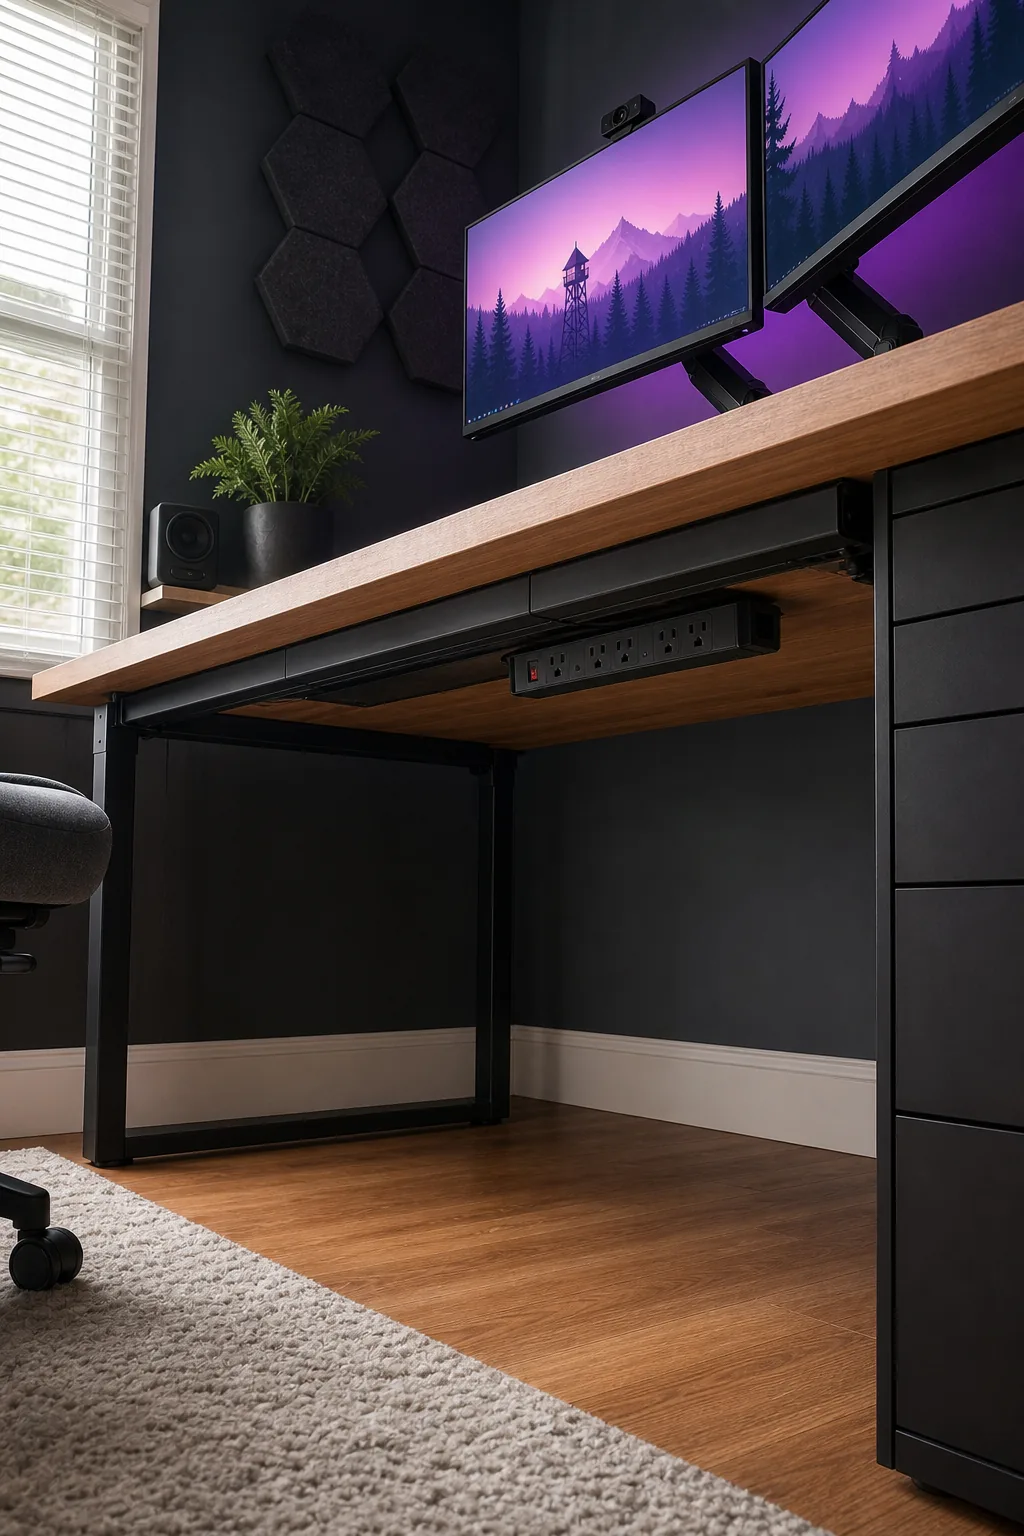
Securing heavy power bricks and thick display cables requires industrial-strength double-sided mounting tape applied to a thoroughly cleaned wooden surface. You must ensure the adhesive cures completely before loading the raceway channels with the combined weight of your thickest power cords.
| Cable Volume | Raceway Width | Mounting Method | Clearance Needed |
|---|---|---|---|
| 1 to 3 cables | 1.5 inches | Adhesive tape | 2 inches |
| 4 to 6 cables | 2.5 inches | Wood screws | 3 inches |
| 7+ mixed cords | 3.0 inches | Bracket clips | 4 inches |
Routing Peripheral Wires Invisibly
To prevent a chaotic mess of peripheral wires from cluttering your pristine desktop, drill a strategically placed grommet hole directly behind the keyboard tray. This dedicated pathway allows you to drop USB connections straight down into the concealed management channels below.
- Bundle your mouse, keyboard, and external audio cables together using reusable velcro straps spaced evenly every six inches along the entire length.
- Route the bundled snake carefully through the desk grommet, maintaining exactly enough slack for comfortable, unrestricted peripheral movement during intense gameplay.
- Push the consolidated wire bundle firmly into the under-desk raceway, securing the plastic channel cover tightly to prevent any heavy sections from sagging.
Mounting the Dual Monitor Array
Reclaim massive amounts of usable desktop space by replacing bulky factory stands with heavy-duty pneumatic monitor arms. These articulating mounts allow you to push the displays further back, maximizing the physical distance between your sensitive eyes and the bright LCD screens.
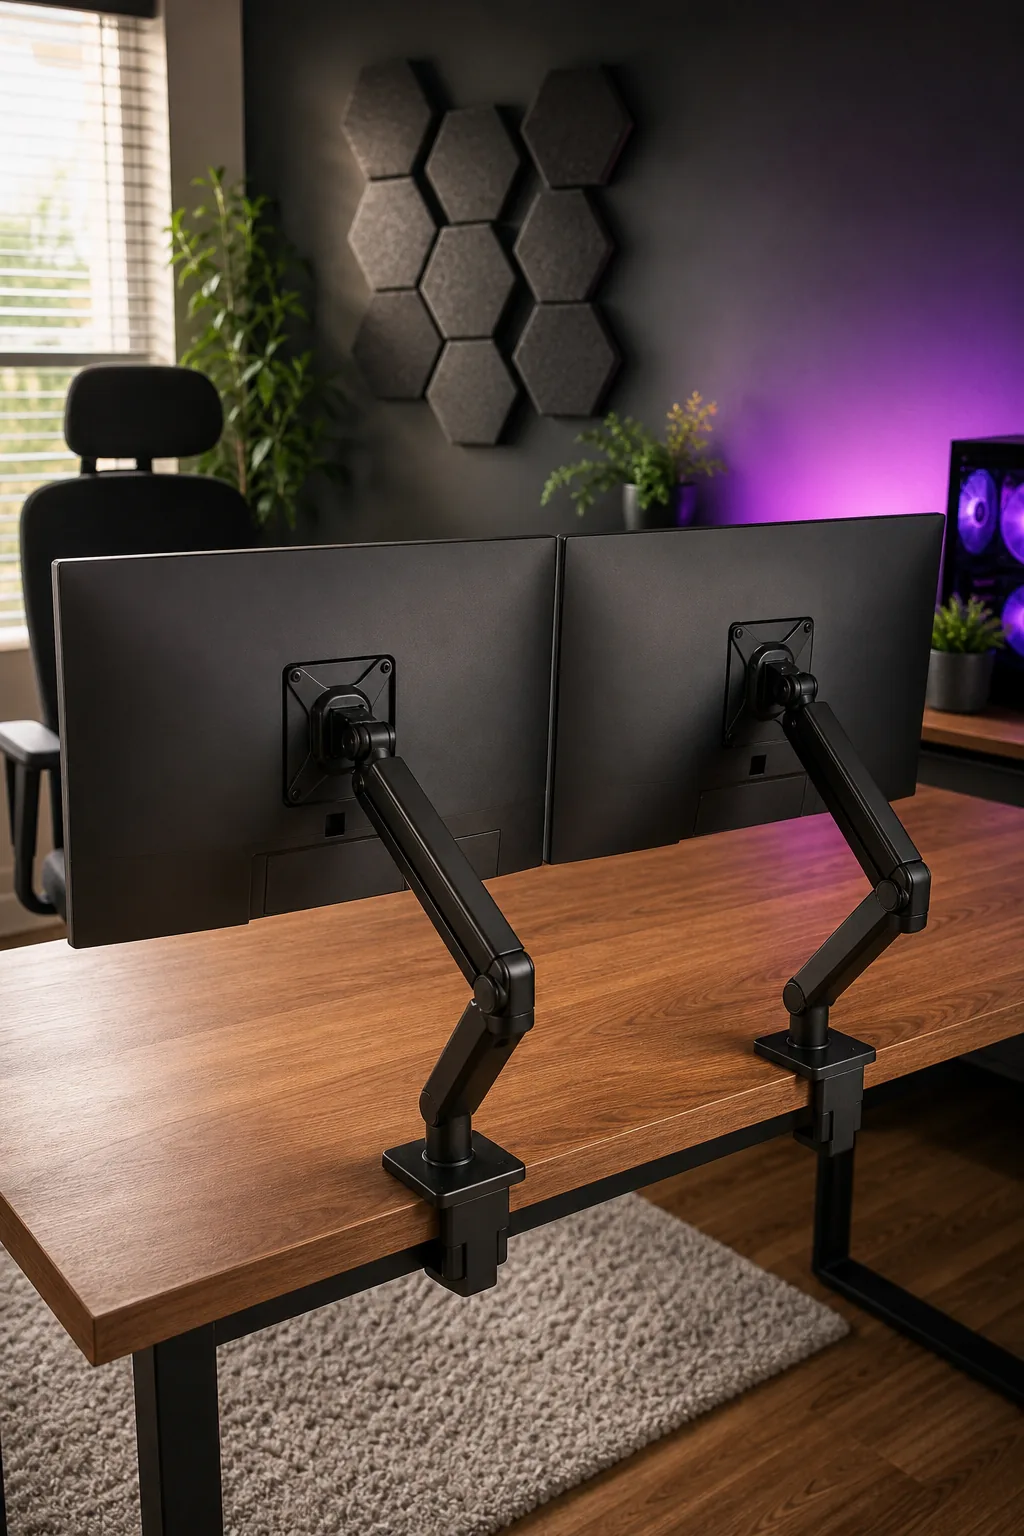
Clamping the sturdy base exactly 4 to 6 inches from the desk edge ensures perfect structural stability. This specific positioning supports heavy 27-inch displays effortlessly, preventing any distracting screen wobble while you type aggressively on a mechanical keyboard.
Calibrating Arm Tension for Heavy Displays
Once the heavy screens are mounted securely, adjust the internal gas spring using the included hex key until the monitor floats effortlessly at any desired height. Proper tension calibration actively prevents the heavy displays from slowly drooping downward over extended periods of daily use.
Finding Your Perfect Eye-Level Axis
Establishing the correct eye-level axis is the absolute ergonomic sweet spot for enduring incredibly long gaming sessions. You must align your seated eye level precisely with the top third of the primary monitor to maintain a naturally neutral neck posture.
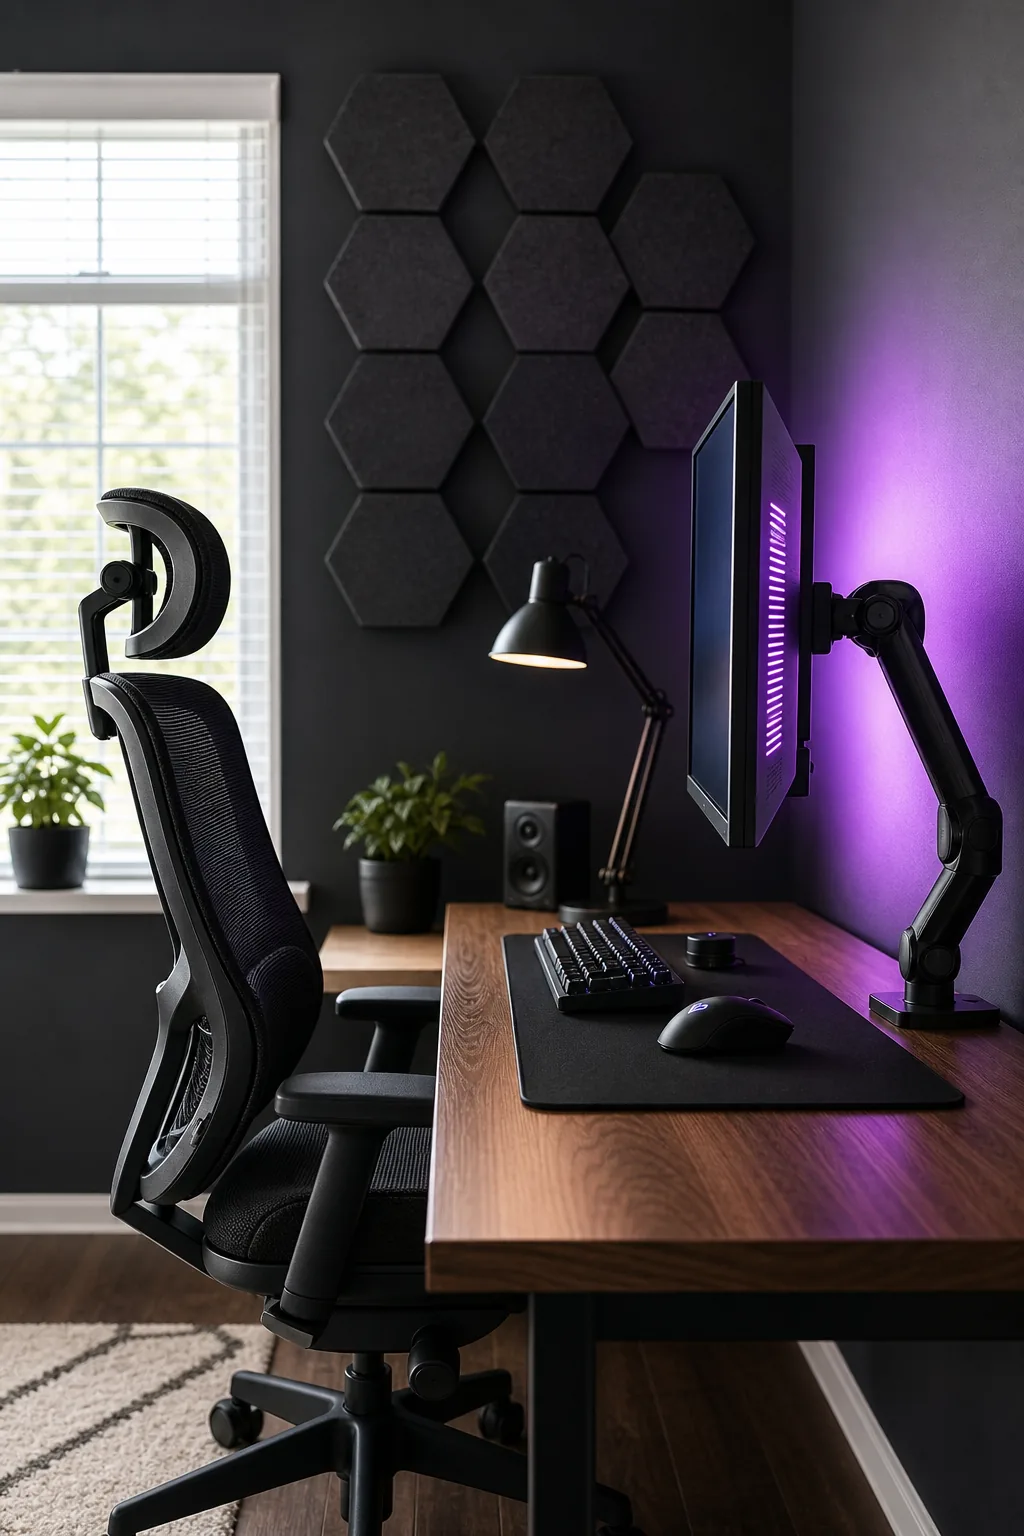
This exact vertical alignment actively prevents severe cervical spine strain and upper shoulder fatigue. By keeping your gaze slightly downward, you remain physically comfortable and mentally focused during the most demanding extended competitive matches.
Positioning the Secondary Display
Angle the secondary screen at a precise 15-degree inward tilt to keep supplementary chat windows and vital system monitoring tools within a quick peripheral glance. This subtle curvature minimizes repetitive neck rotation while massively expanding your usable digital workspace without compromising your central focus.
Creating the Bias Lighting Zone
Establishing a dedicated bias lighting zone by placing an LED strip directly behind the monitor drastically reduces the harsh contrast between the bright screen and a dark room. This ambient glow expands your field of vision and mitigates aggressive eye fatigue.
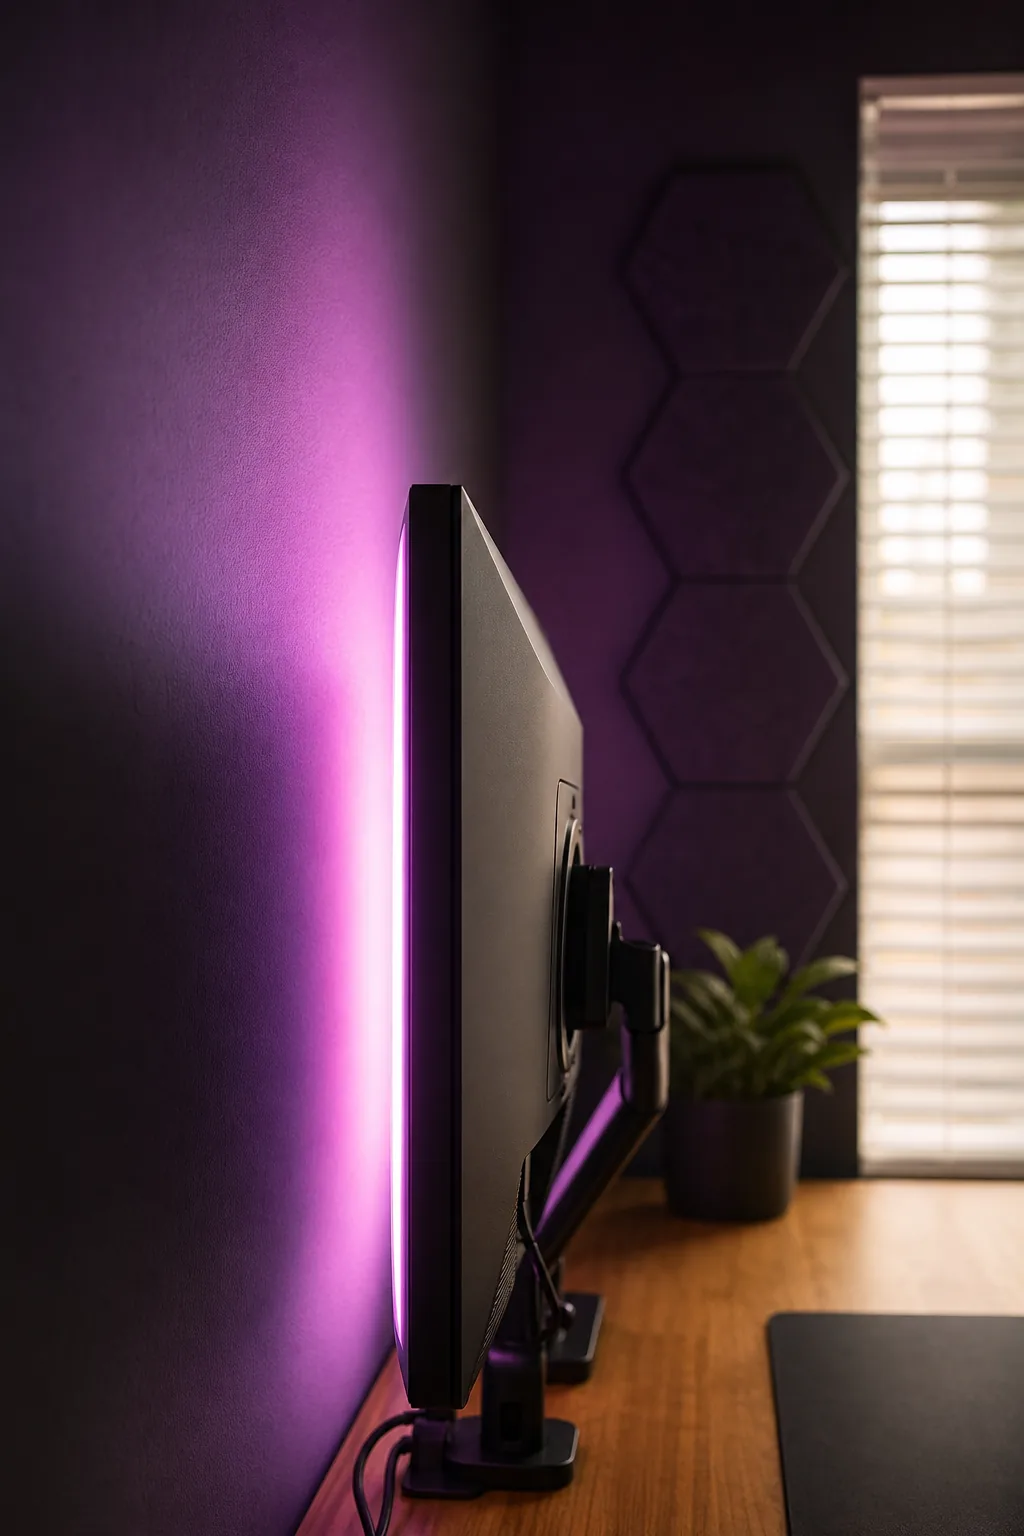
We highly recommend selecting a calibrated 6500K white or a soft purple hue for optimal visual comfort. These specific color temperatures gently illuminate the wall without distorting on-screen color accuracy or washing out the deep black levels of your game.
Routing the LED Strip Effectively
Apply the flexible adhesive strip exactly two inches inward from the monitor edge to ensure the light diffuses softly and evenly across the acoustic panels. Avoid placing the bright diodes too close to the outer bezel, which creates harsh, highly distracting hot spots on the wall.
Synchronizing the Ambient RGB Glow
Connect the external bias lighting directly to your internal PC case lighting to cultivate a cohesive, deeply immersive atmosphere. Synchronizing the entire setup eliminates distracting color clashes that subconsciously pull your attention away from the critical on-screen gameplay.
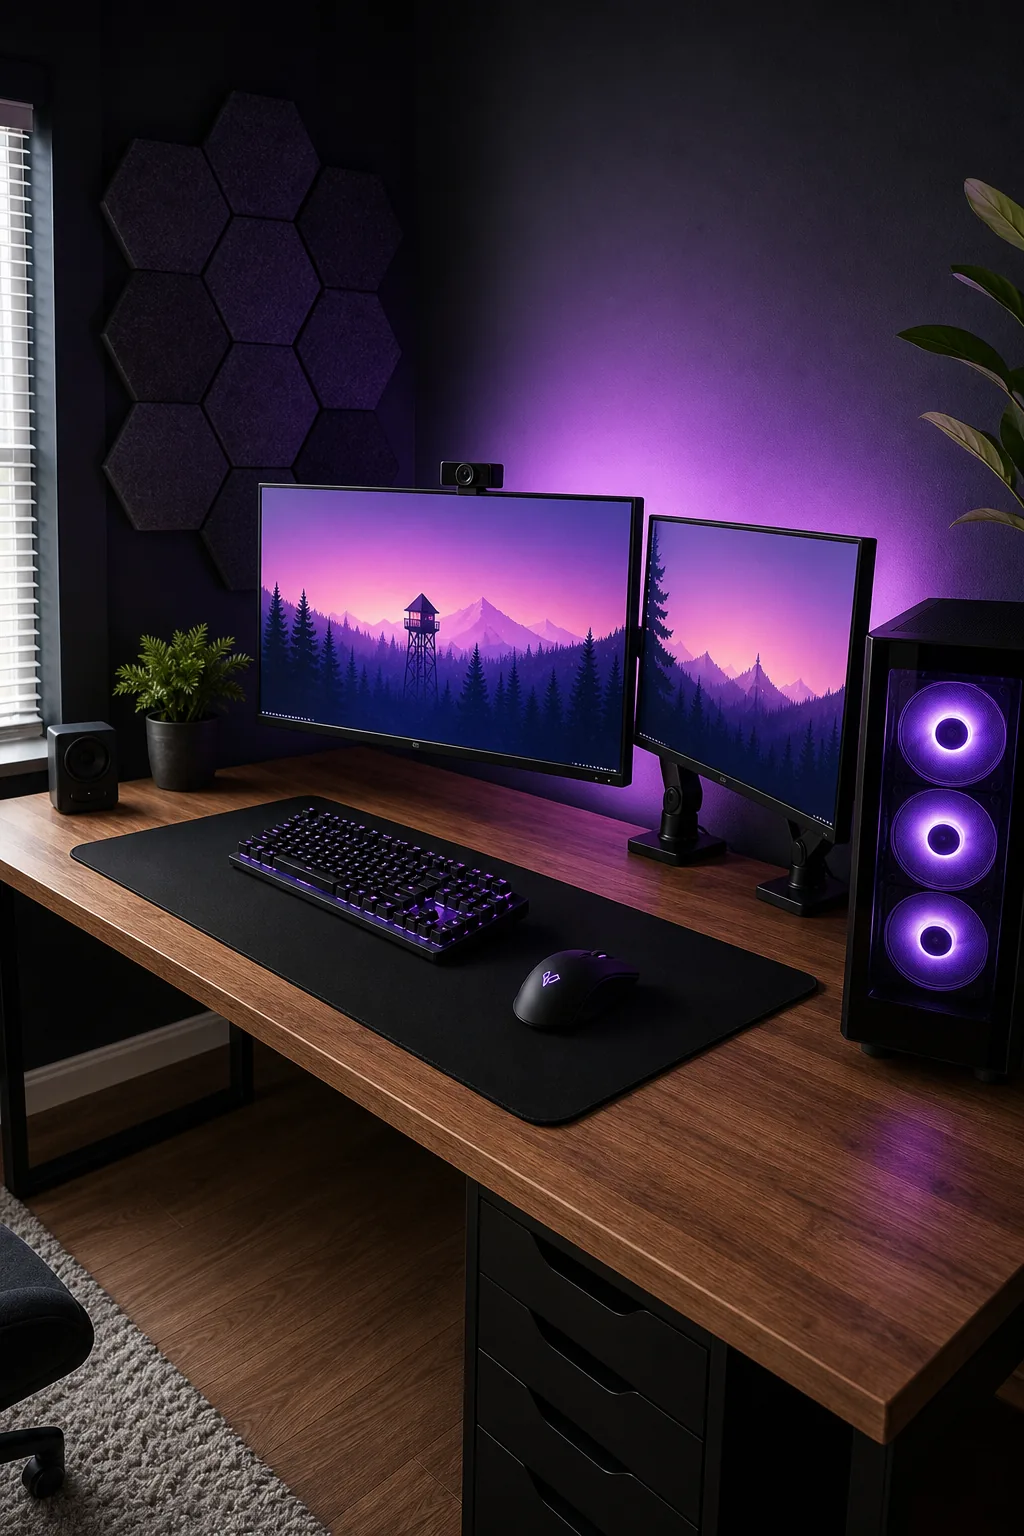
Utilize your integrated motherboard software to lock the exact color temperature across all peripheral devices simultaneously. This unified digital control ensures the ambient wall glow perfectly matches the vibrant illumination radiating from your internal liquid cooling fans.
Managing Software Lighting Profiles
Set up a dedicated low-brightness profile specifically designed for late-night sessions to maintain intense focus without overwhelming your peripheral vision. Dimming the synchronized LEDs by fifty percent preserves the ergonomic eye-strain benefits while seamlessly matching the naturally darker room environment.
Anchoring the Desk with a Zero-Friction Mat
A massive zero-friction mat is absolutely mandatory for executing low-DPI mouse movements effortlessly while protecting the delicate wooden surface below. This oversized desk pad provides a uniform glide texture that drastically improves aiming consistency during incredibly fast-paced matches.
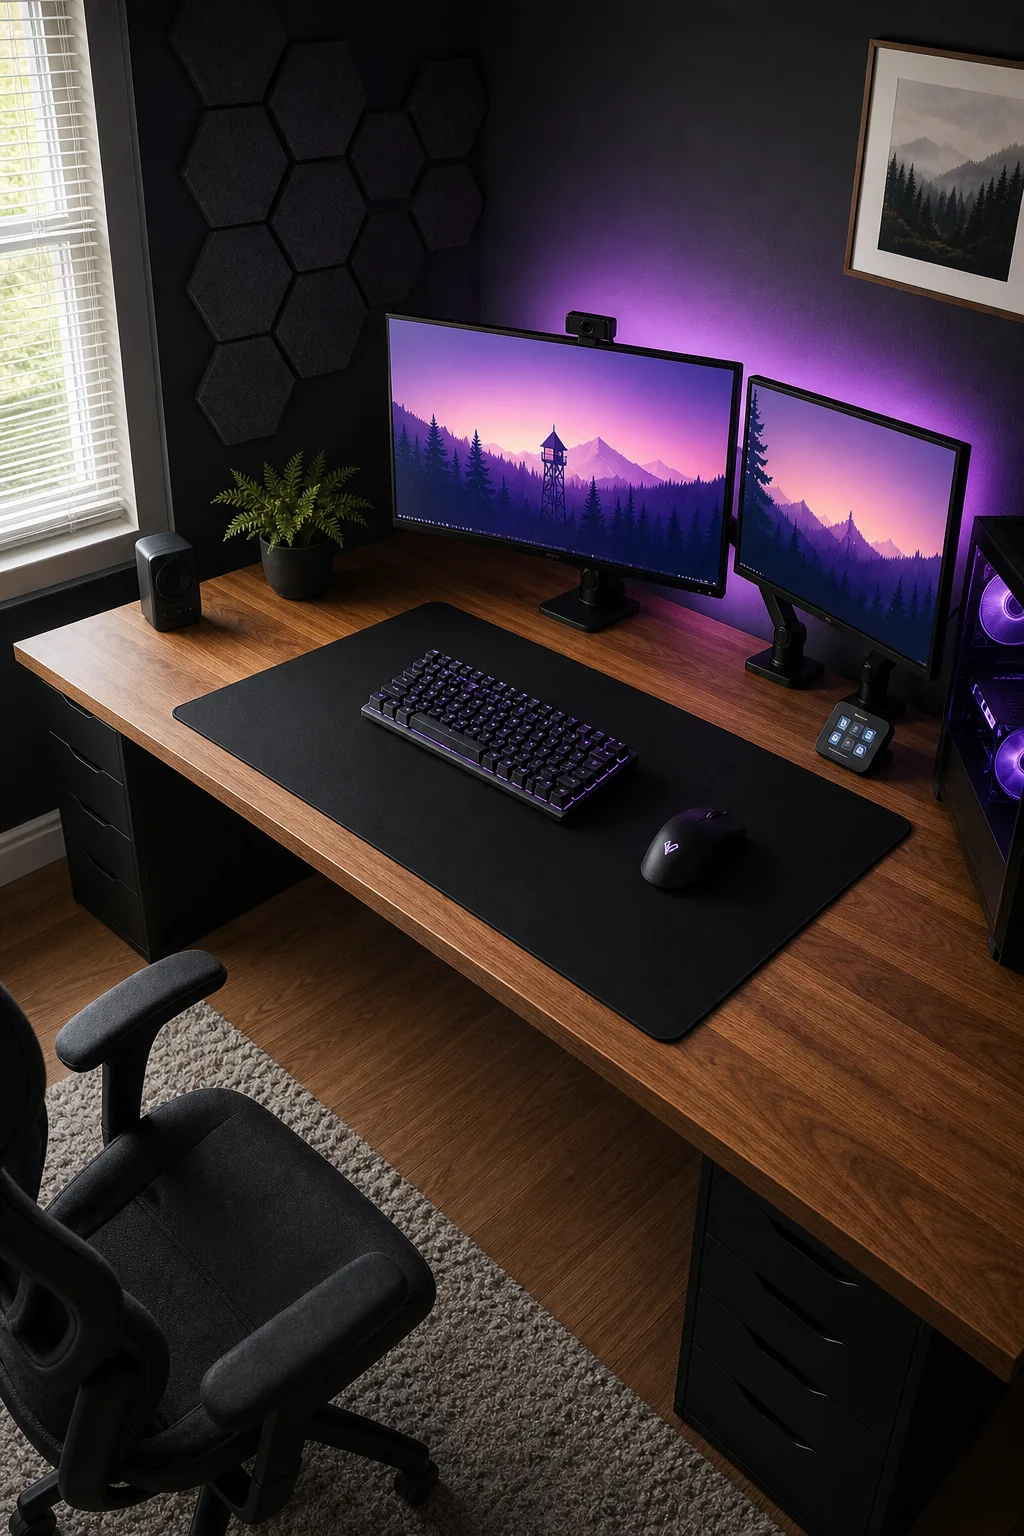
Maintaining that perfectly smooth glide requires a quick but incredibly consistent cleaning routine to prevent annoying sensor tracking errors. Dust and microscopic debris will rapidly degrade the pristine fabric surface if left unmanaged for extended periods.
Sizing the Peripheral Surface
Specify a generous 900x400mm dimension to comfortably fit a heavy full-sized mechanical keyboard while simultaneously accommodating wide, sweeping mouse movements. This ample physical acreage ensures your precision mouse never accidentally slips off the rough edge during critical, high-stakes gaming moments.
The Complete Setup and Lighting Guide
This complete gaming room setup and bias lighting guide provides the final specifications for recreating this exact ergonomic battlestation. By systematically addressing acoustics, cable management, and ambient illumination, you successfully build a space engineered for total gaming performance.
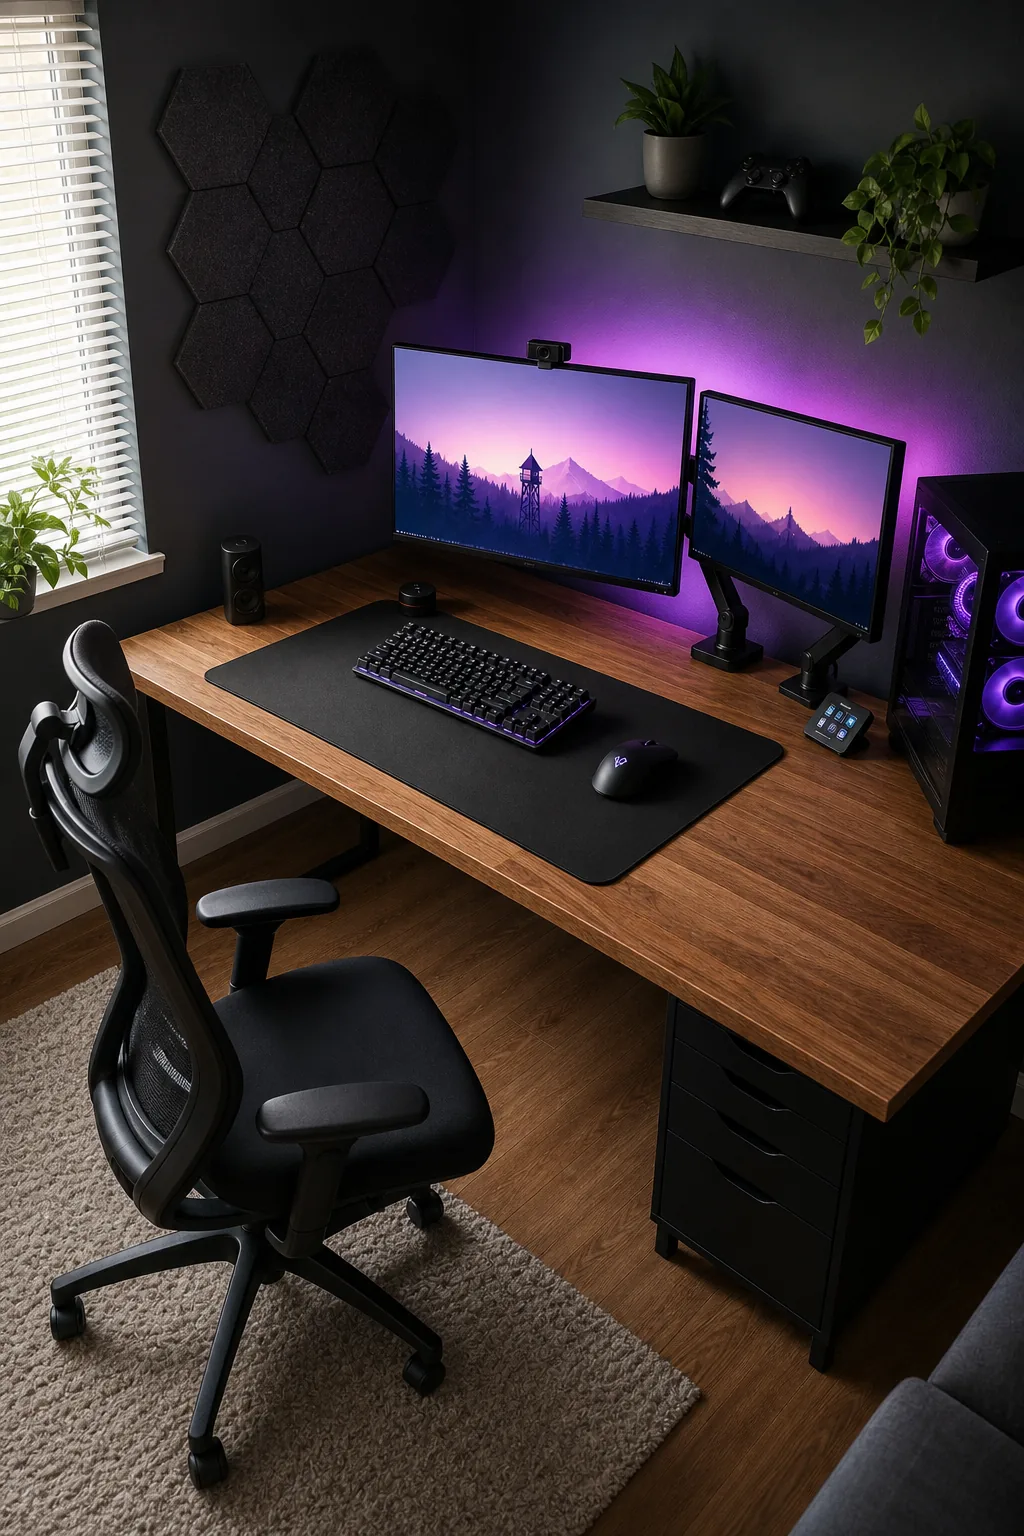
Always ensure your primary workstation features a required desk depth of at least 30 inches to maintain a healthy viewing distance. This crucial measurement provides ample room for dual monitors, an oversized mat, and proper ergonomic arm support.