
How to Decorate a Christmas Tree: The 5-Step Layering Guide
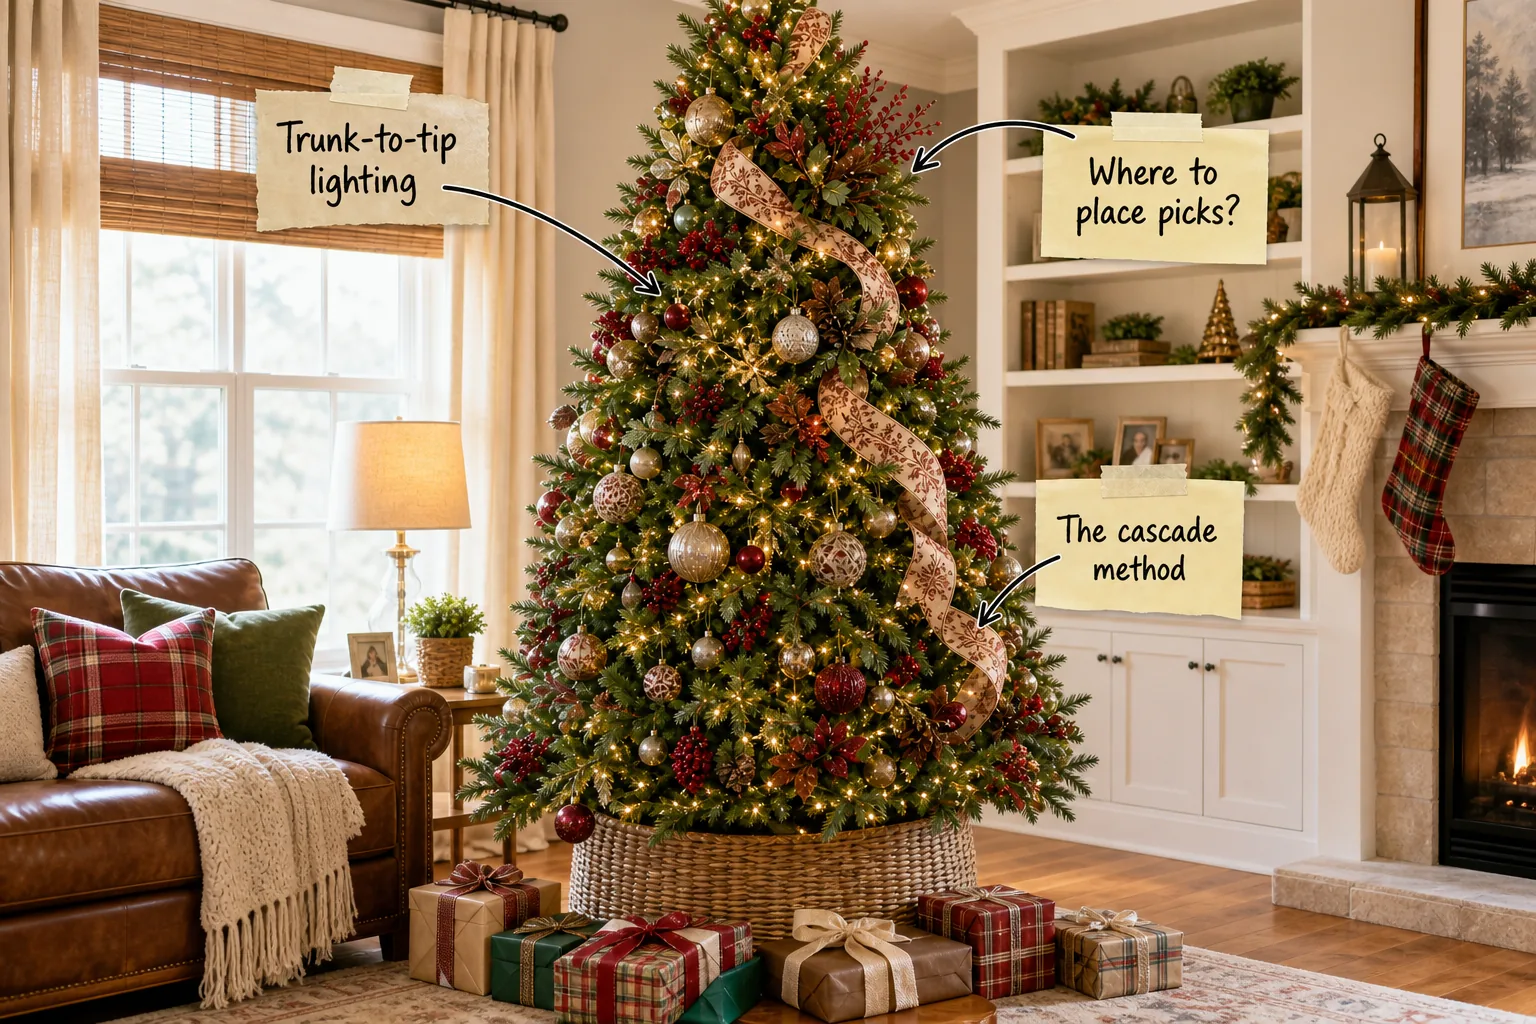
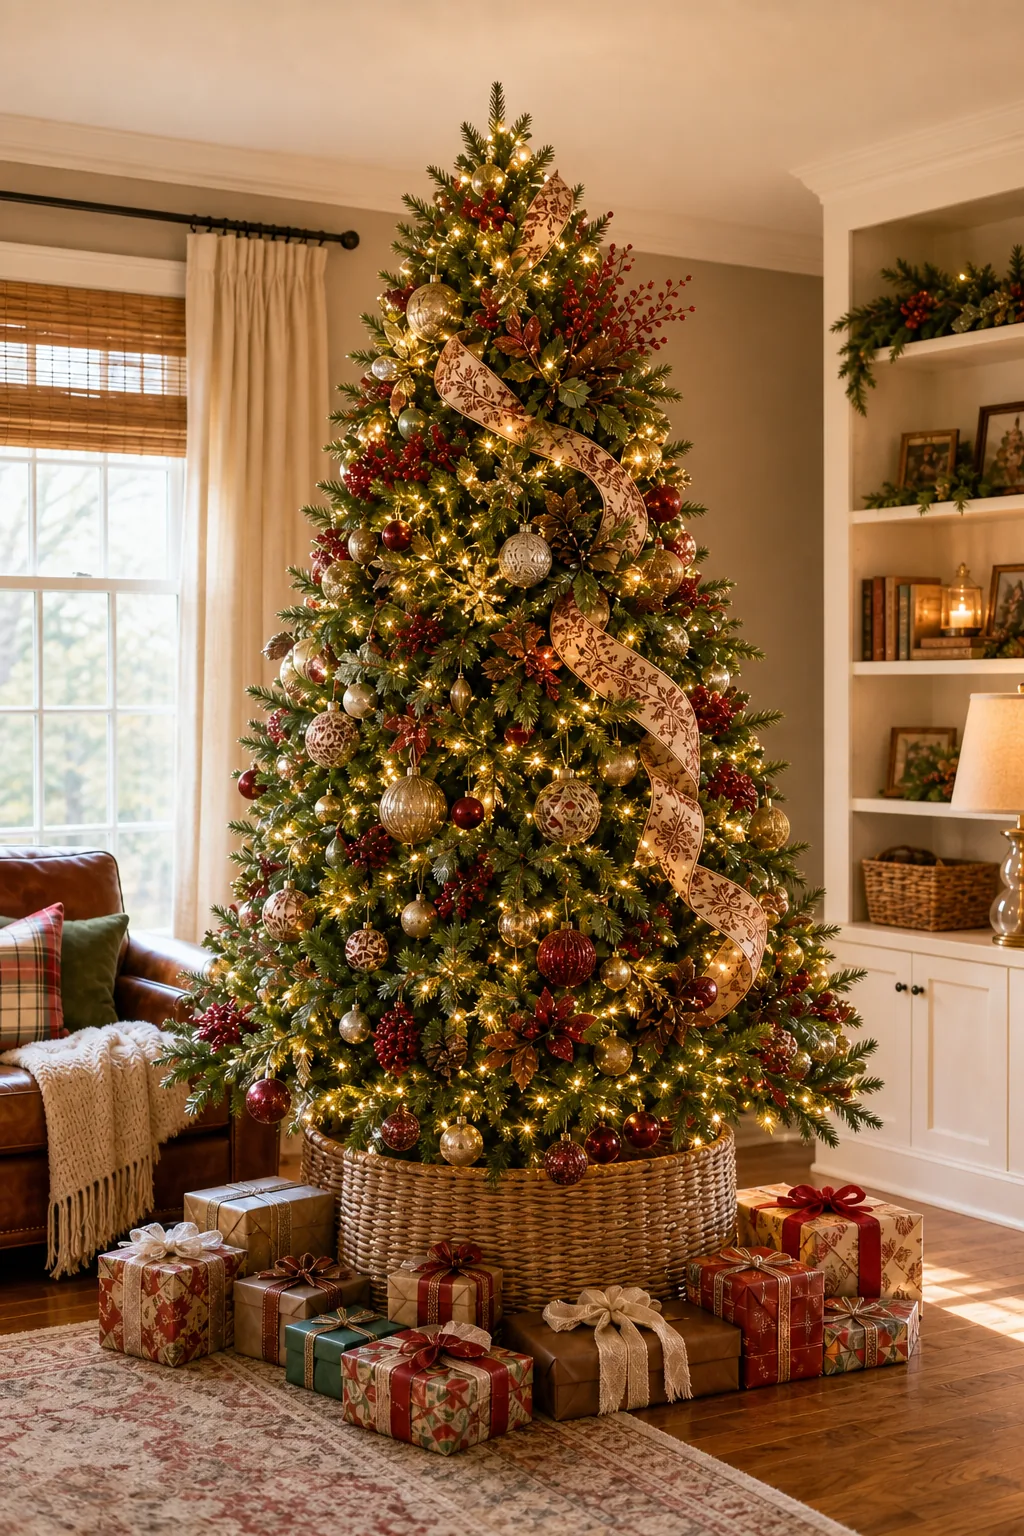
Master the exact sequence for a beautifully balanced display with our 5-step tree layering guide. By following this professional order, you will be able to confidently layer lights, ribbon, ornaments, picks, and a base collar without crushing a single delicate branch.
The 5-Step Tree Layering Guide
Professional tree styling relies entirely on applying your decorative elements in a strict sequential order to prevent crushed branches and uneven visual distribution. Starting from the bare branches, this methodical sequence builds structural volume while hiding unsightly wires and plastic stems.
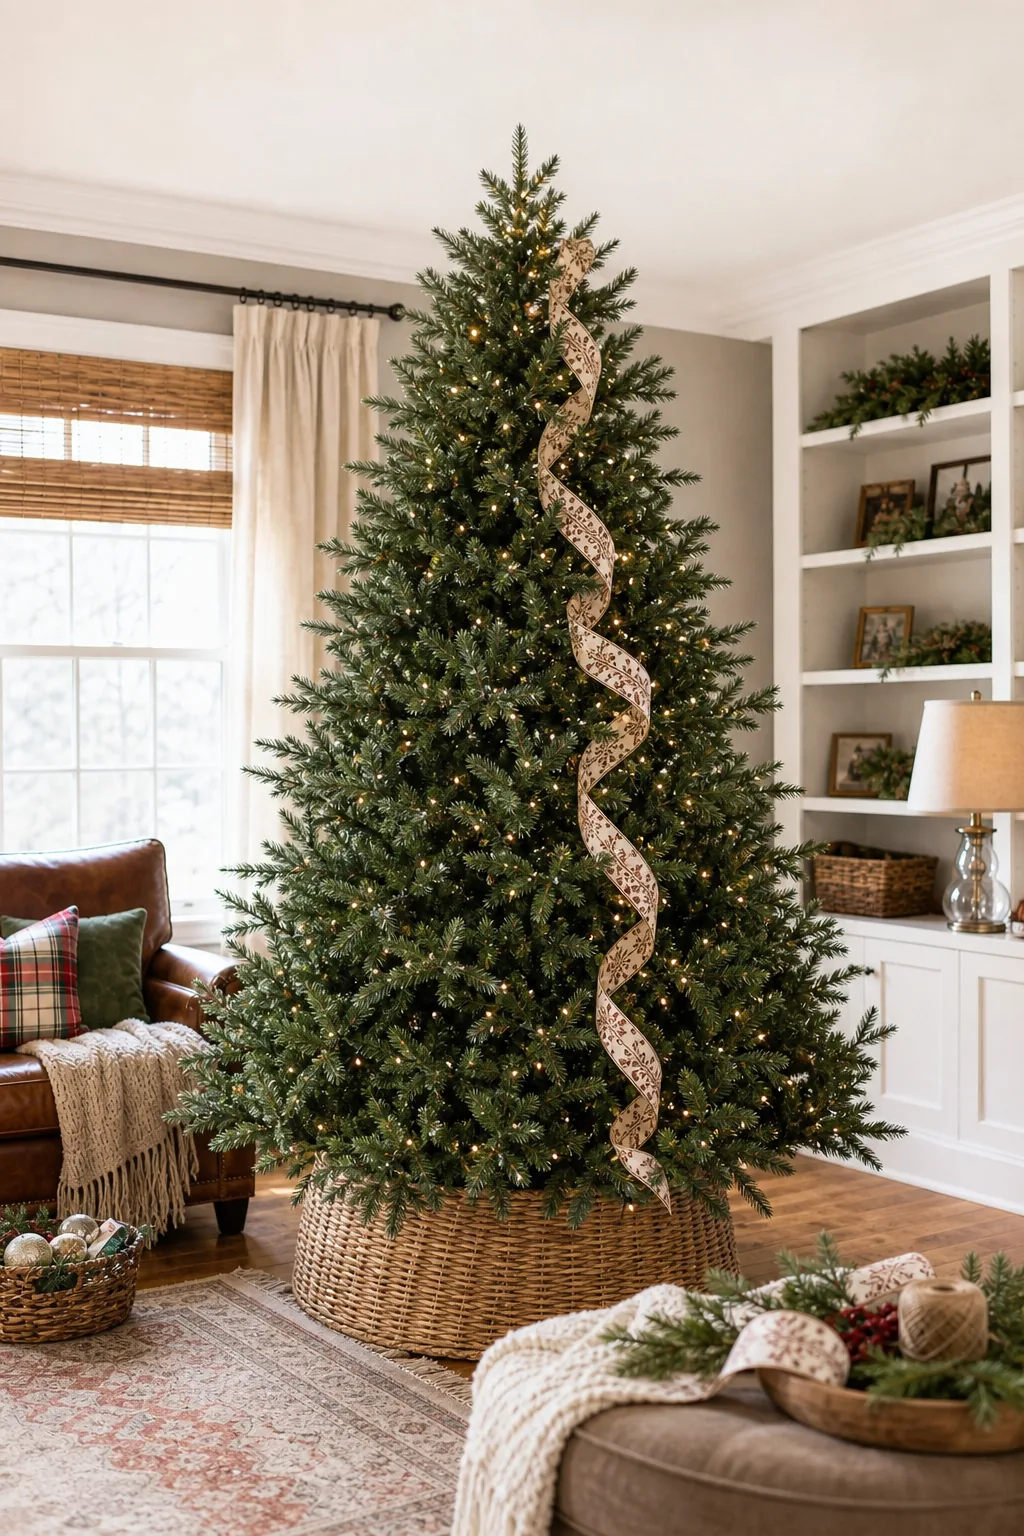
Memorize this exact layering sequence before you pull your fragile decorations out of storage to ensure a smooth, professional styling process. Following these steps guarantees that your heavy base elements support the delicate finishing touches perfectly.
- Lighting: Wrap every single branch from the trunk outward to create a deep inner glow.
- Ribbon: Cascade wired fabric diagonally down the branches to establish structural flow.
- Ornaments: Contrast deep core pieces and outer surface scales to build visual volume.
- Picks: Insert floral textures horizontally to fill remaining gaps between glass baubles.
- Anchor: Ground the base with a woven collar and varying heights of wrapped gifts.
Shaping the Bare Branches
Before applying any decorations, spend time fanning out every individual tip on your artificial tree to eliminate visible gaps. Angle the inner tips straight up to hide the center pole, while firmly pulling the outer tips horizontally to create a wide, natural, perfectly full silhouette.
Step 1: Trunk-to-Tip Lighting
The secret to a glowing centerpiece is trunk-to-tip lighting, which requires wrapping each branch from the deep center out to the tip and back. This intense inner illumination prevents the tree from looking like a flat, dark triangle at night.
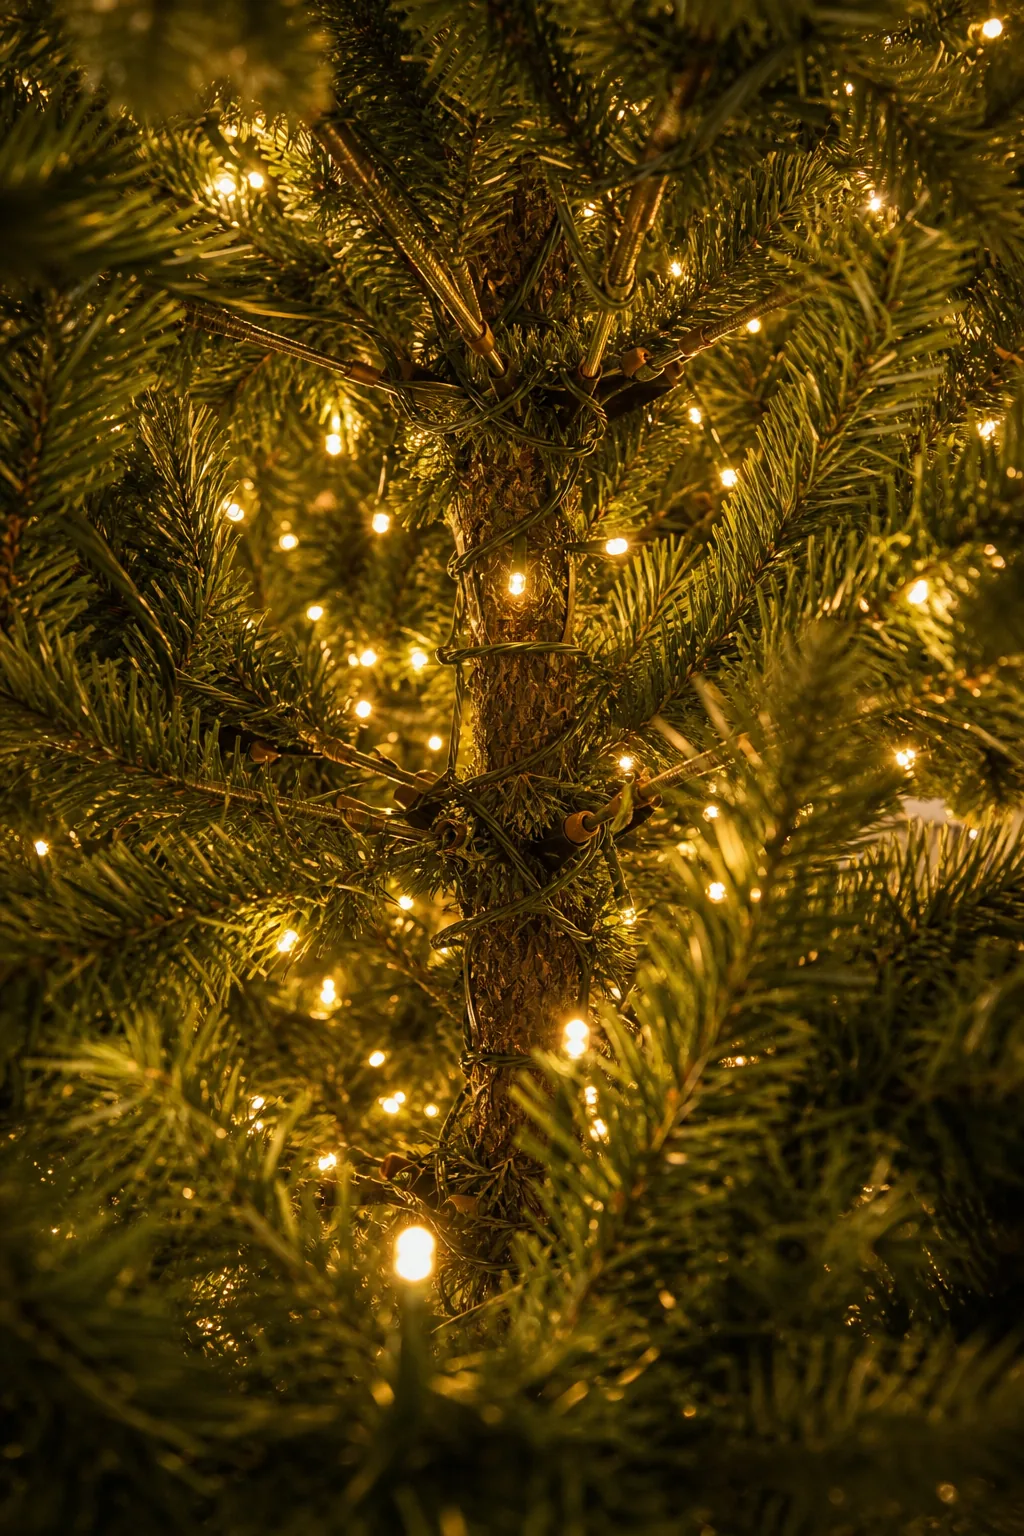
For a lush, professional look, use exactly 100 warm lights per foot of tree height. This dense coverage ensures the light reaches through the outer ornaments to highlight the core, creating a rich three-dimensional glow across the entire living room.
Calculating Light Strand Counts
Determining the exact number of bulbs required prevents you from running out of lights halfway up the trunk. Always measure your tree from the floor to the highest vertical tip before purchasing your commercial string lights to ensure perfect coverage.
| Tree Height | Standard Lighting | Dense Professional Lighting | Recommended Ornament Count |
|---|---|---|---|
| 6 feet | 600 bulbs | 900 bulbs | 70 to 80 pieces |
| 7.5 feet | 750 bulbs | 1,125 bulbs | 100 to 120 pieces |
| 9 feet | 900 bulbs | 1,350 bulbs | 150 to 175 pieces |
| 12 feet | 1,200 bulbs | 1,800 bulbs | 200 to 250 pieces |
If you prefer a heavily illuminated aesthetic, upgrade to the dense professional light count. This elevated approach requires wrapping the wire tightly around every secondary offshoot rather than just the primary horizontal branches, doubling the overall brightness of the room.
Step 2: The Cascade Method for Ribbon
Once the tree is lit, apply the cascade method by anchoring a thick, wired ribbon at the top and sweeping it diagonally downward. Weaving the ribbon in large, loose loops adds essential structural flow to the rigid horizontal branches.
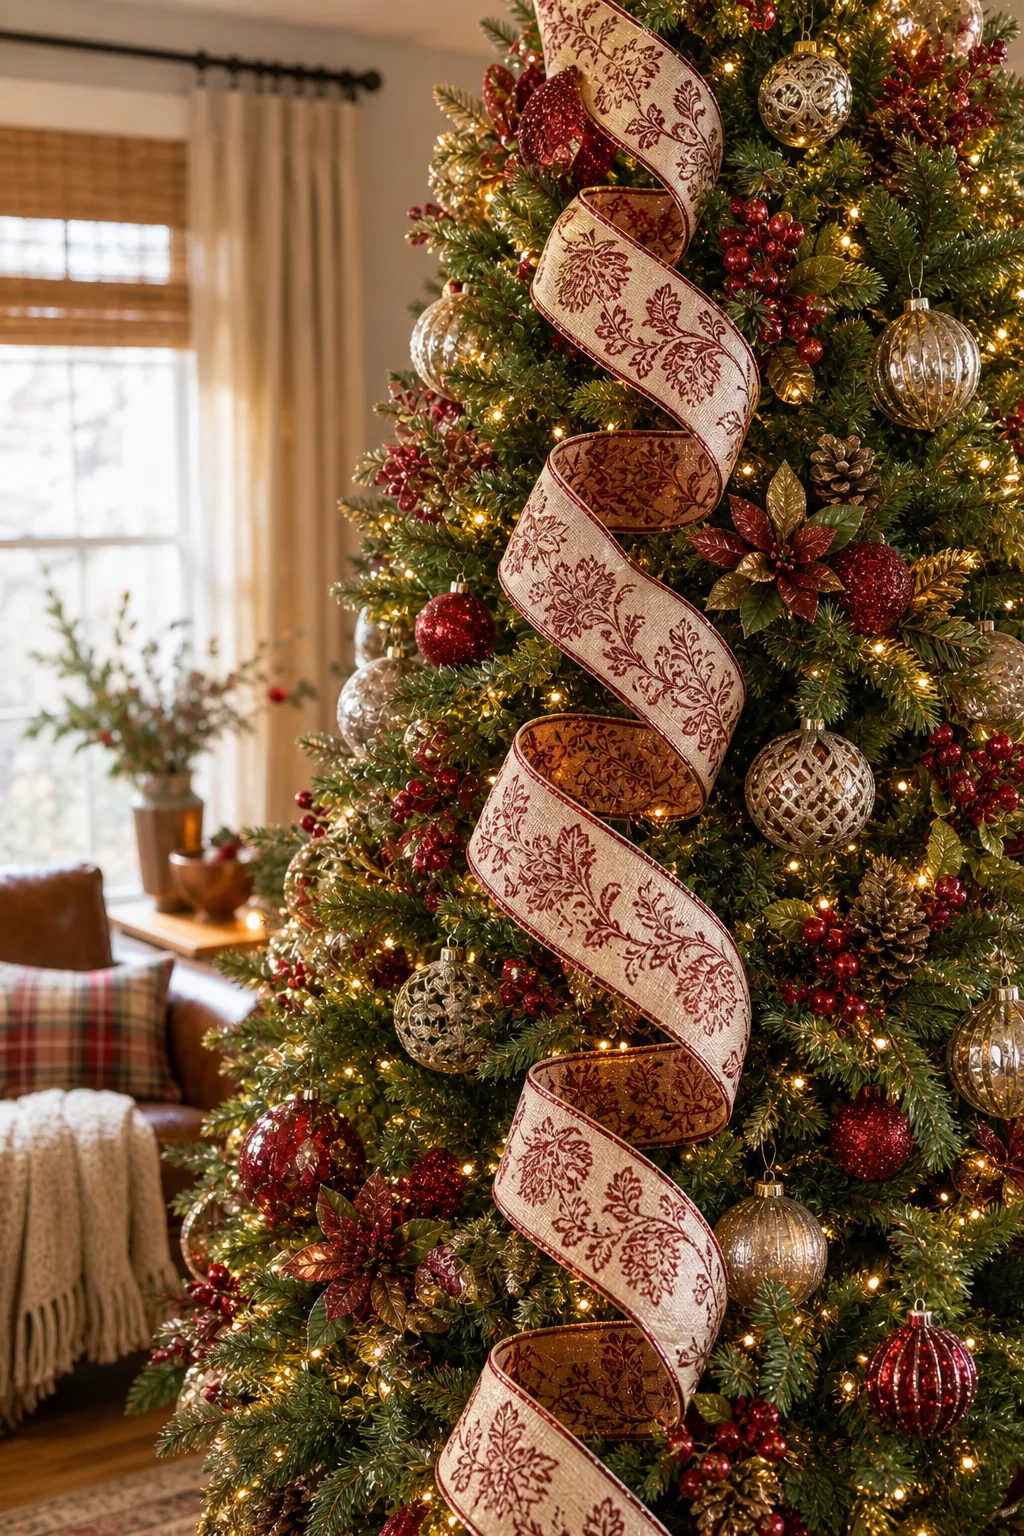
To secure the ribbon without using extra wire, firmly tuck the fabric deep into the branches every 12 to 18 inches. This technique creates natural, billowing loops that stay perfectly in place even in high-traffic living rooms throughout the season.
Selecting the Right Ribbon Width
Matching your ribbon width to the height of your tree is critical for maintaining visual proportion. A narrow ribbon will get lost inside a massive tree, while an oversized sash will completely overwhelm a smaller apartment-sized profile and obscure your ornaments.
Always choose a premium ribbon with a sturdy wire edge for your primary cascade. Soft satin or velvet fabrics will quickly droop and lose their carefully sculpted loops within a few days of installation, ruining the structured professional appearance.
Step 3: Core vs. Surface Scale for Ornaments
Building visual volume requires understanding core vs. surface scale by placing your largest, most reflective ornaments deep inside the tree. These oversized core pieces act as mirrors, bouncing your inner string lights outward to brighten the deep shadows near the trunk.
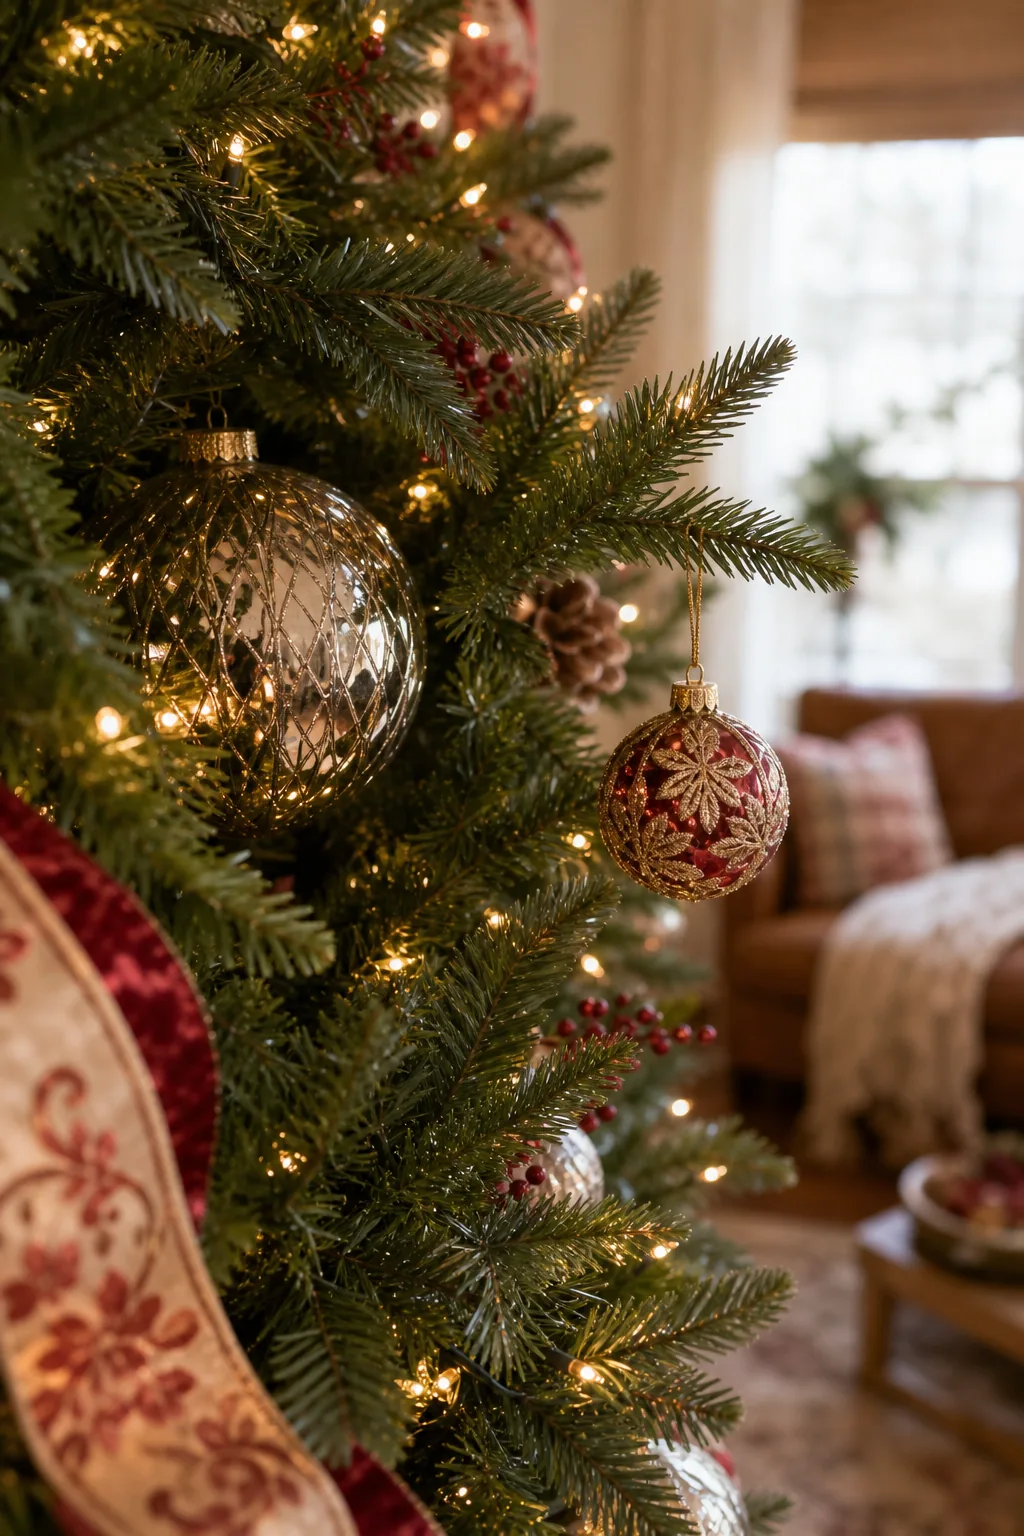
Reserve your smaller, highly detailed ornaments for the outer branch tips where they can hang freely without obstruction. This deliberate contrast in scale pulls the eye inward, making the tree appear significantly thicker and more professionally curated from every angle.
Securing Heavy Glass Ornaments
When hanging substantial glass baubles, ditch the flimsy standard wire hooks in favor of heavy-duty floral wire or discrete zip ties. Wrapping the wire completely around the branch ensures your most valuable heirloom pieces will never slip off and shatter on the hardwood floor.
Balancing Color and Texture
Distribute specialty ornaments and contrasting textures evenly by grouping them in sets of three or five. This odd-number rhythm feels natural to the eye and prevents any single vibrant color from dominating one specific side of your beautifully styled room.
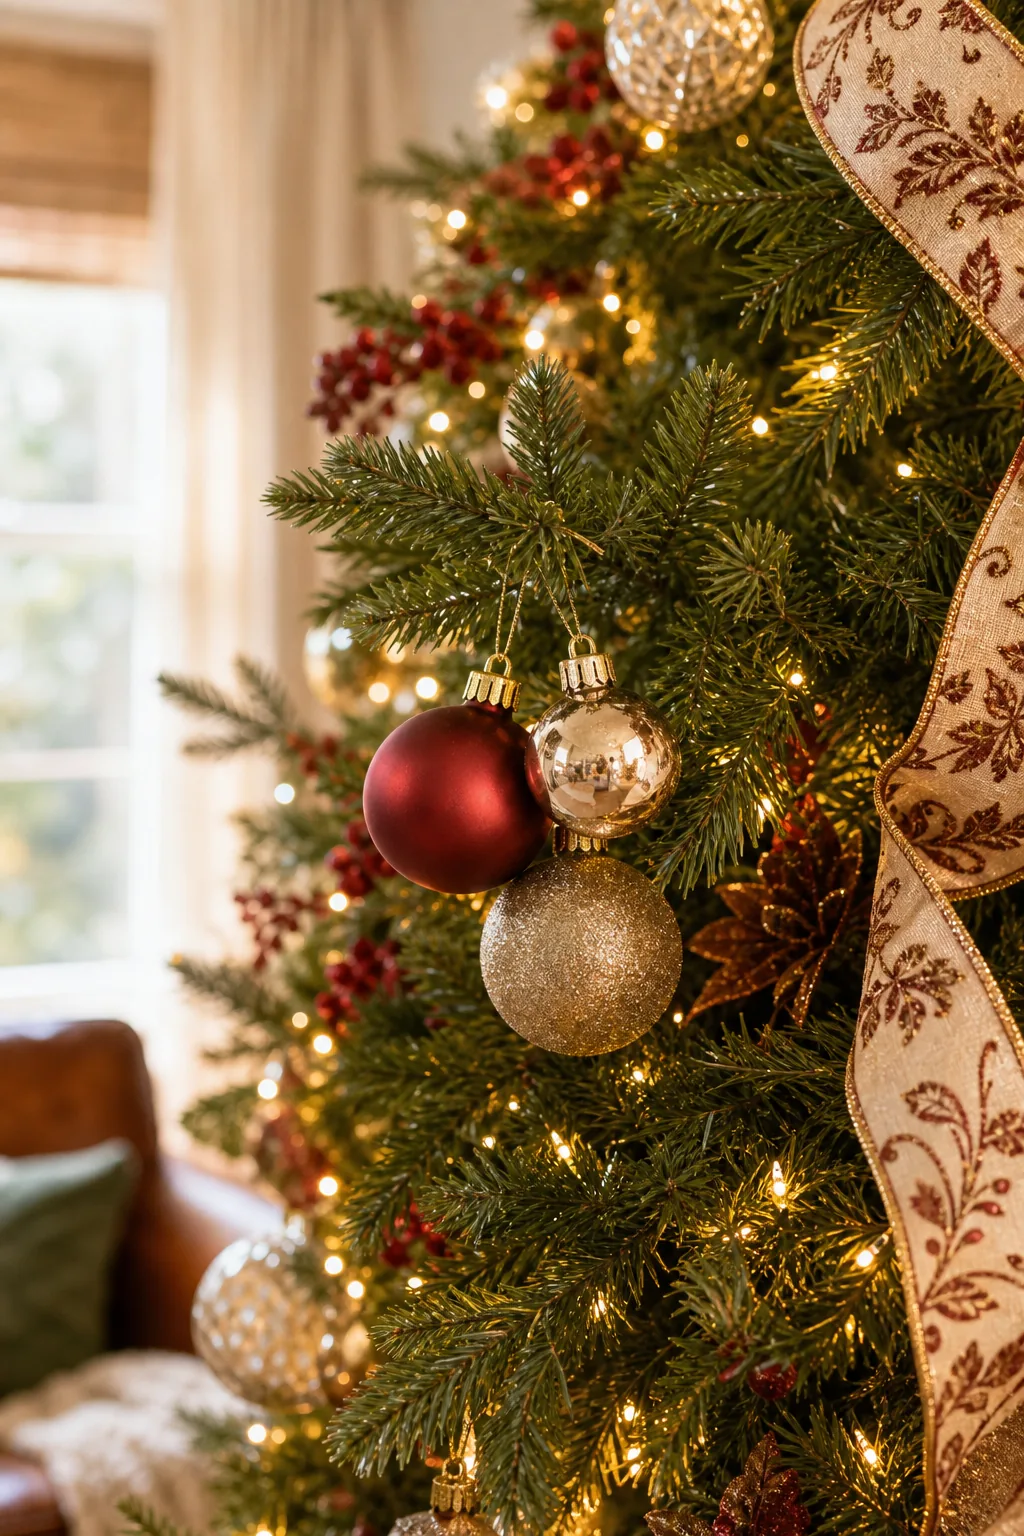
Avoid these common ornament placement errors to keep your tree looking balanced and structurally sound throughout the holiday season. Correcting these minor mistakes early prevents the branches from sagging under uneven weight distribution.
Layering Metallic Finishes
Mixing metallic finishes adds sophisticated depth to your overall color palette. Pair matte gold spheres with high-gloss silver teardrops to create a dynamic interplay of light, ensuring the tree sparkles brilliantly from every angle in the room as the sun sets on your holiday gathering.
Step 4: Where to Place Picks and Florals
If you are wondering where to place picks, insert textured floral and berry stems into the top third of the tree at a slight upward angle. This positioning mimics natural branch growth and adds dramatic height to the overall silhouette.
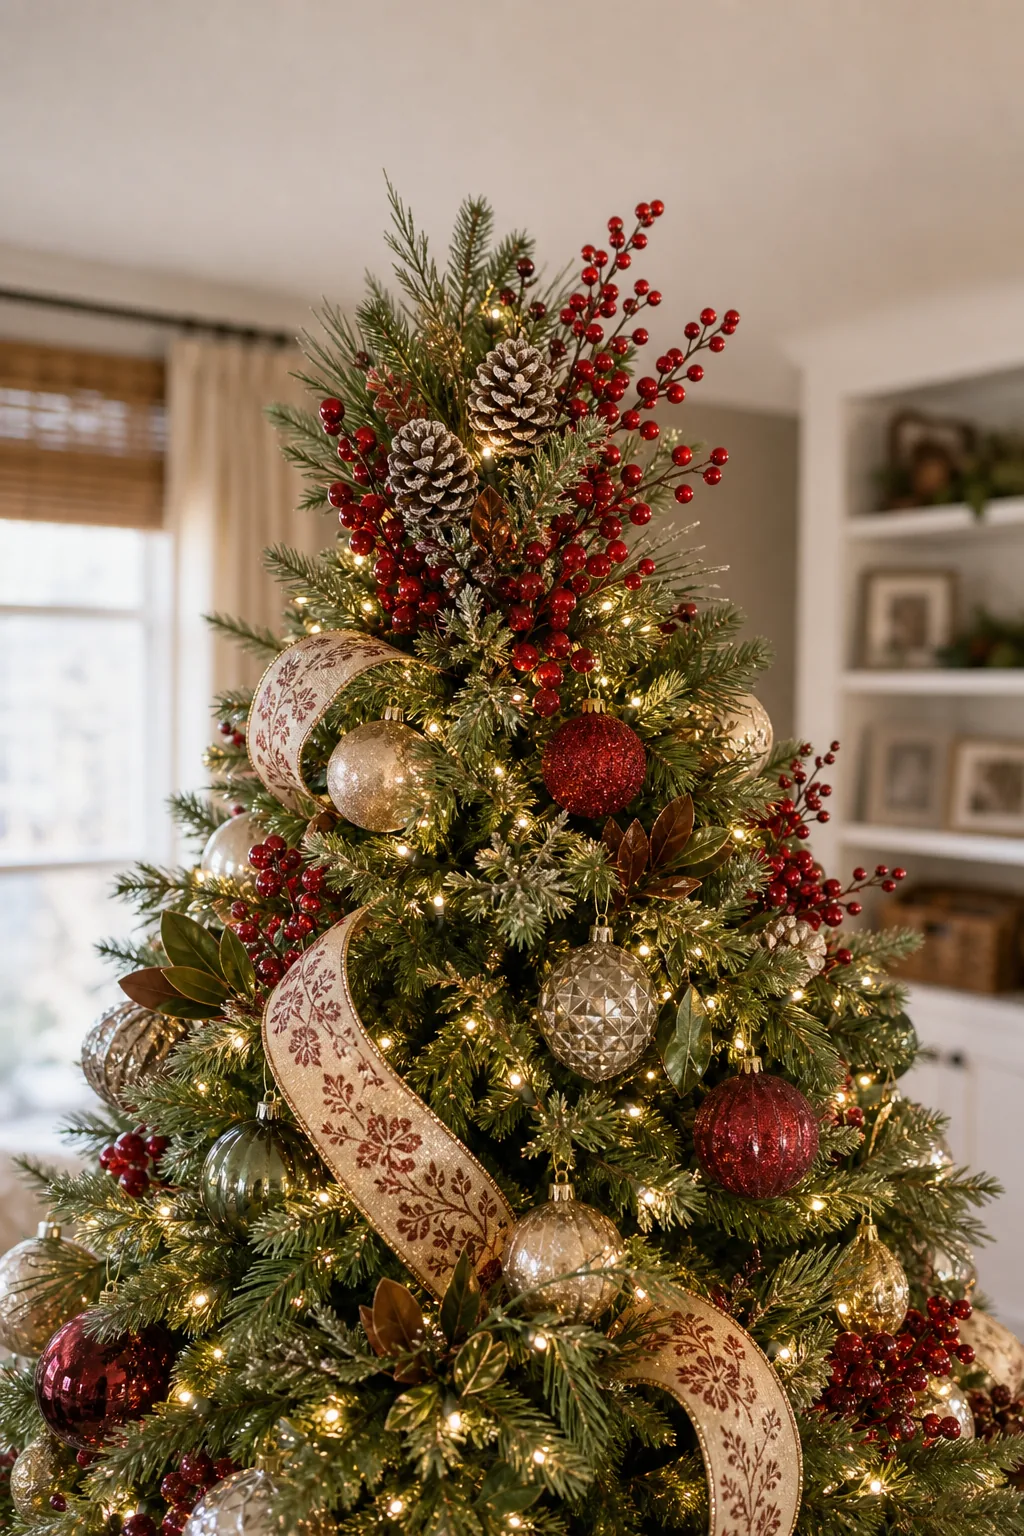
In the middle and lower sections, push the picks straight out horizontally to fill any remaining gaps between your cascading ribbon and glass ornaments. The added botanical texture beautifully softens the hard, reflective edges of the traditional glass baubles.
Bending Floral Stems for Realism
Never insert a perfectly straight, rigid artificial floral stem directly into the tree. Always bend the wire slightly downward near the bloom to mimic the natural droop of heavy winter berries and pinecones under the weight of fresh holiday snow, creating a highly realistic botanical display.
Step 5: Styling the Anchor Zone
The anchor zone at the base of the tree must carry enough visual weight to balance the heavily decorated branches above. Integrating a woven tree collar instantly hides the harsh metal stand while adding beautiful organic texture to the room.
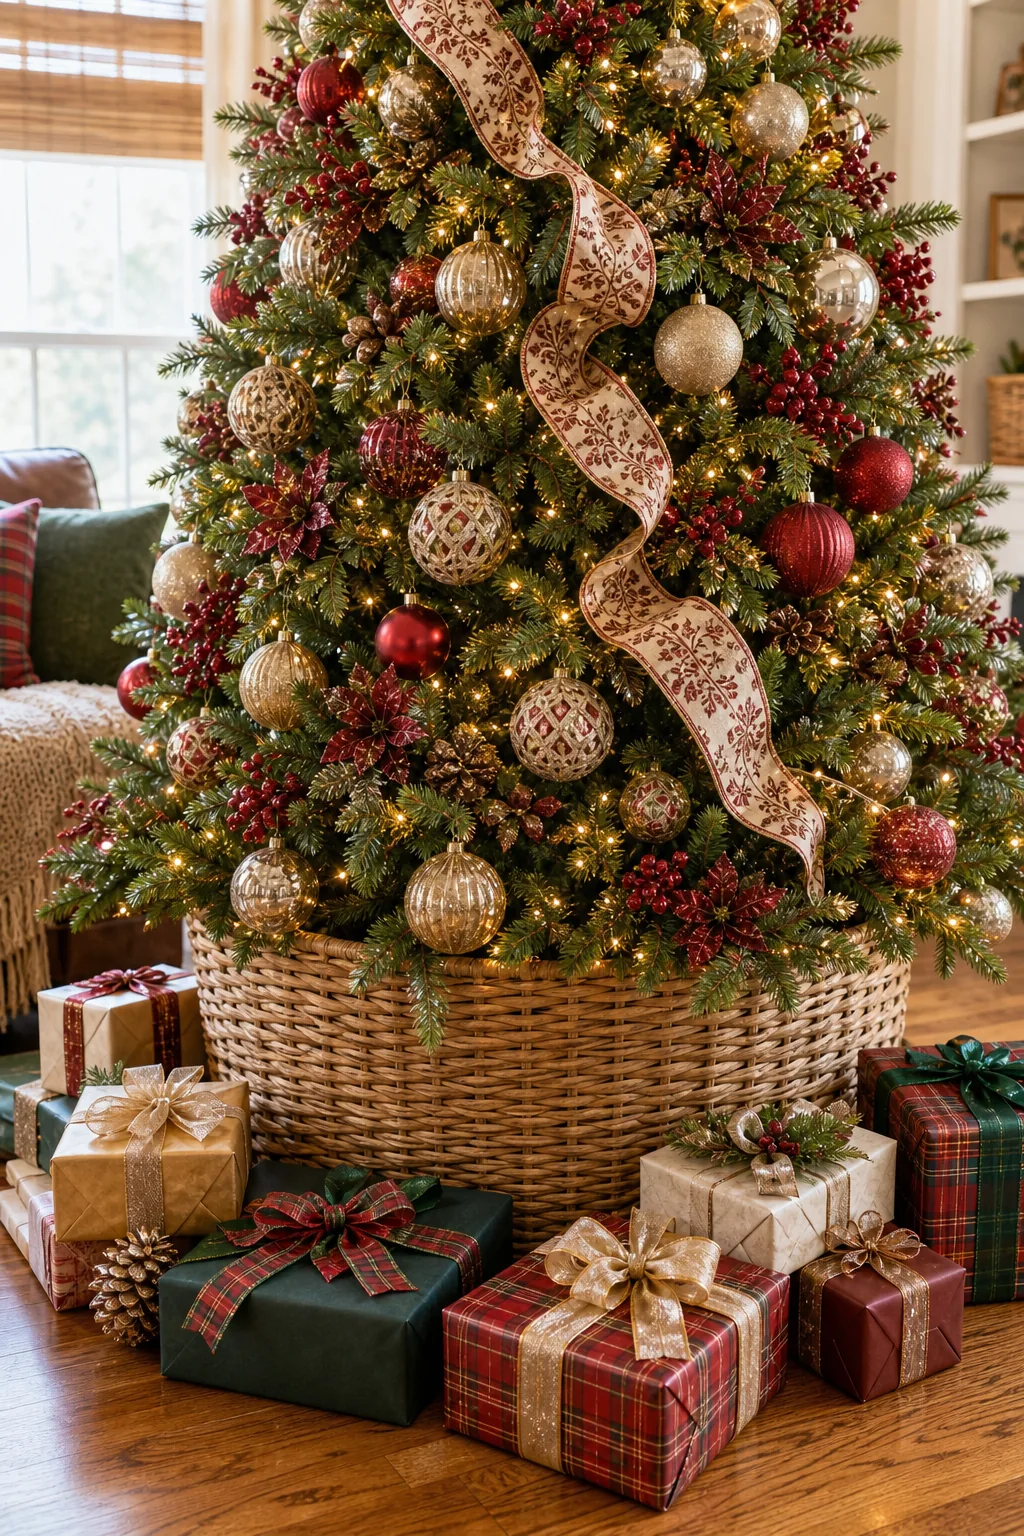
Arrange wrapped gift boxes in varying heights around the collar to seamlessly connect the tree to the floor. This staggered baseline visually grounds the design and prevents the massive decorations from feeling top-heavy and unstable in your living space.
Choosing the Perfect Tree Topper
Select a tree topper that leaves at least six inches of clearance below your ceiling to avoid a cramped, overwhelming appearance. If a traditional star feels too heavy for the top branch, bundle five lightweight glittered floral picks together with wire for an airy, custom crown.
The Final 360-Degree Polish
The final review process requires stepping back at least six feet and turning on the lights to check for dark spots. Changing your viewing distance reveals sagging ribbons or clustered colors that remain completely invisible when you stand up close.
Run through this quick final checklist to ensure your tree is perfectly styled from every angle before you finish your decorating session. These last adjustments make the difference between a good display and a truly professional holiday centerpiece.