
Walk-in Closet Layout Rules and Exact Measurements
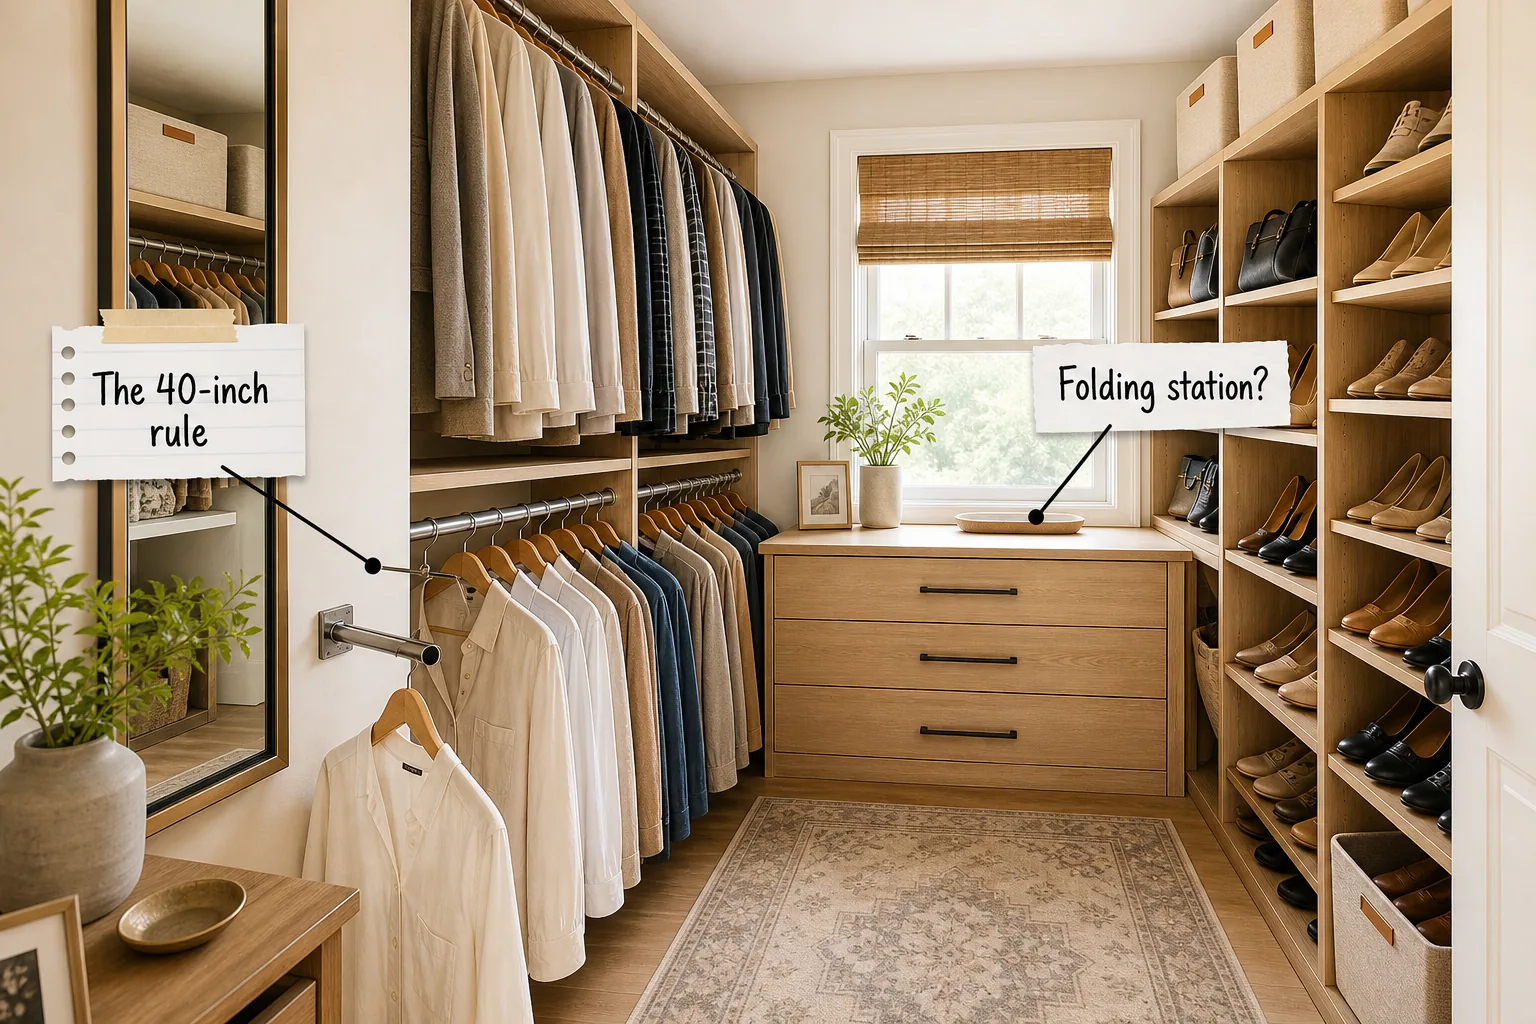
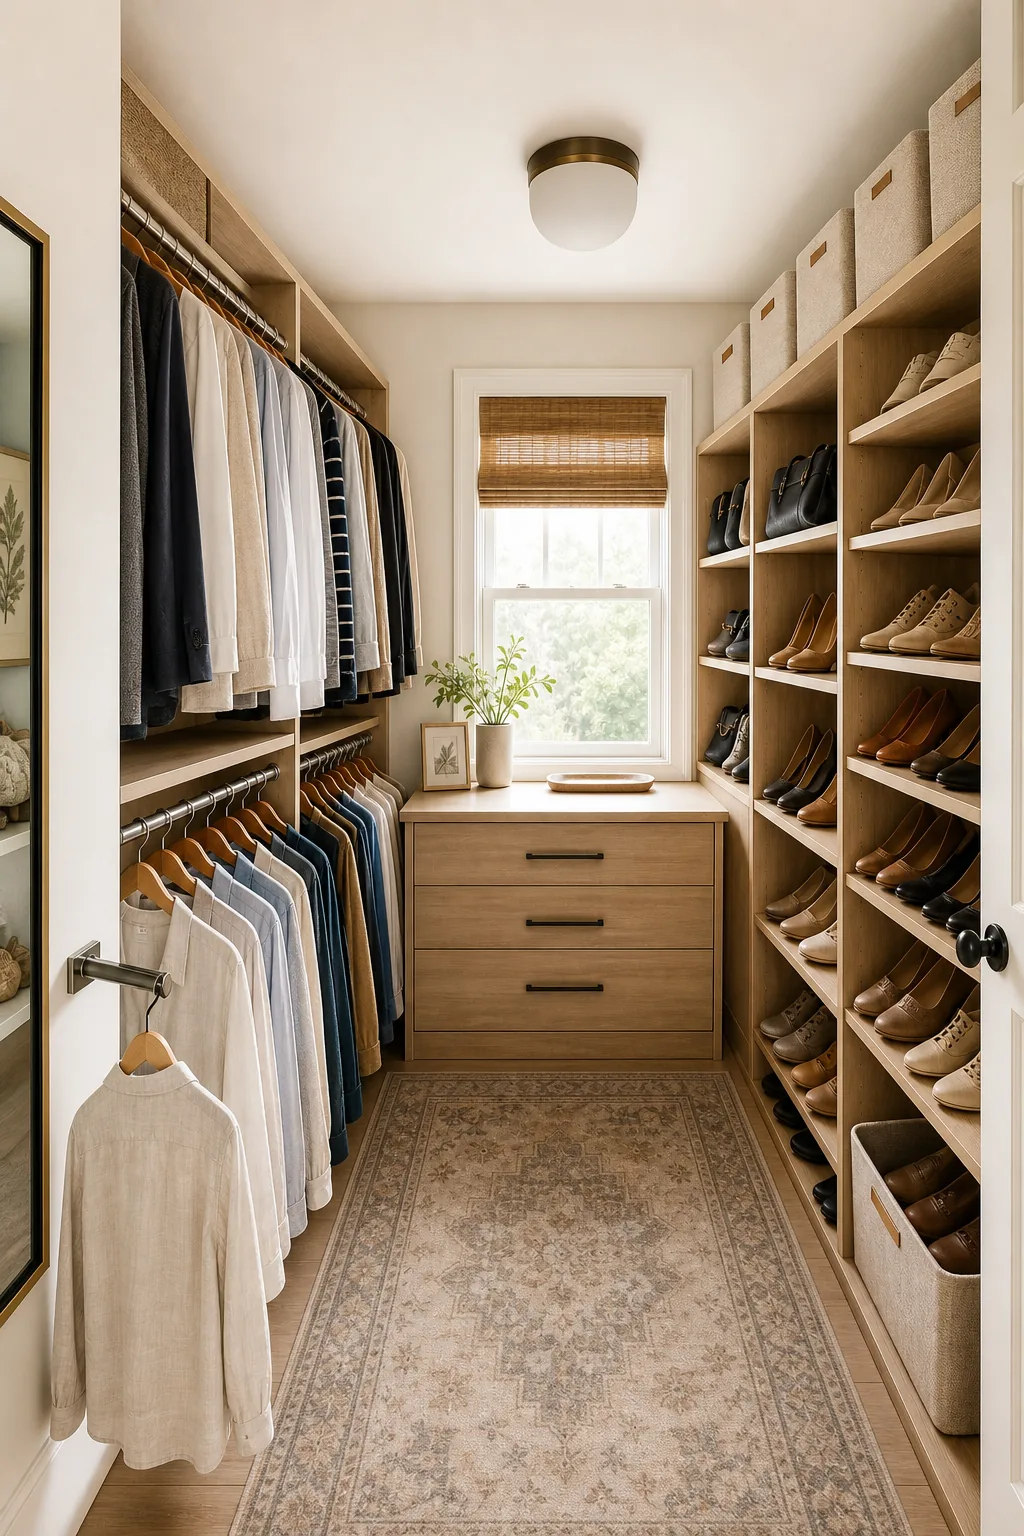
Design your dream space using our custom walk-in closet layout rules to plan perfectly proportioned storage zones from the ground up. You will be able to map out your own wardrobe using The Custom Closet Measurement Guide for exact architectural spacing, standard depths, and highly ergonomic heights.
Strategizing Valet Rod Placement
Begin at the closet entrance by installing a sturdy pull-out valet rod on a solid side panel to create a temporary staging area. Position this retractable metal hardware between 42 and 48 inches from the floor for comfortable daily outfit planning and easy steaming.
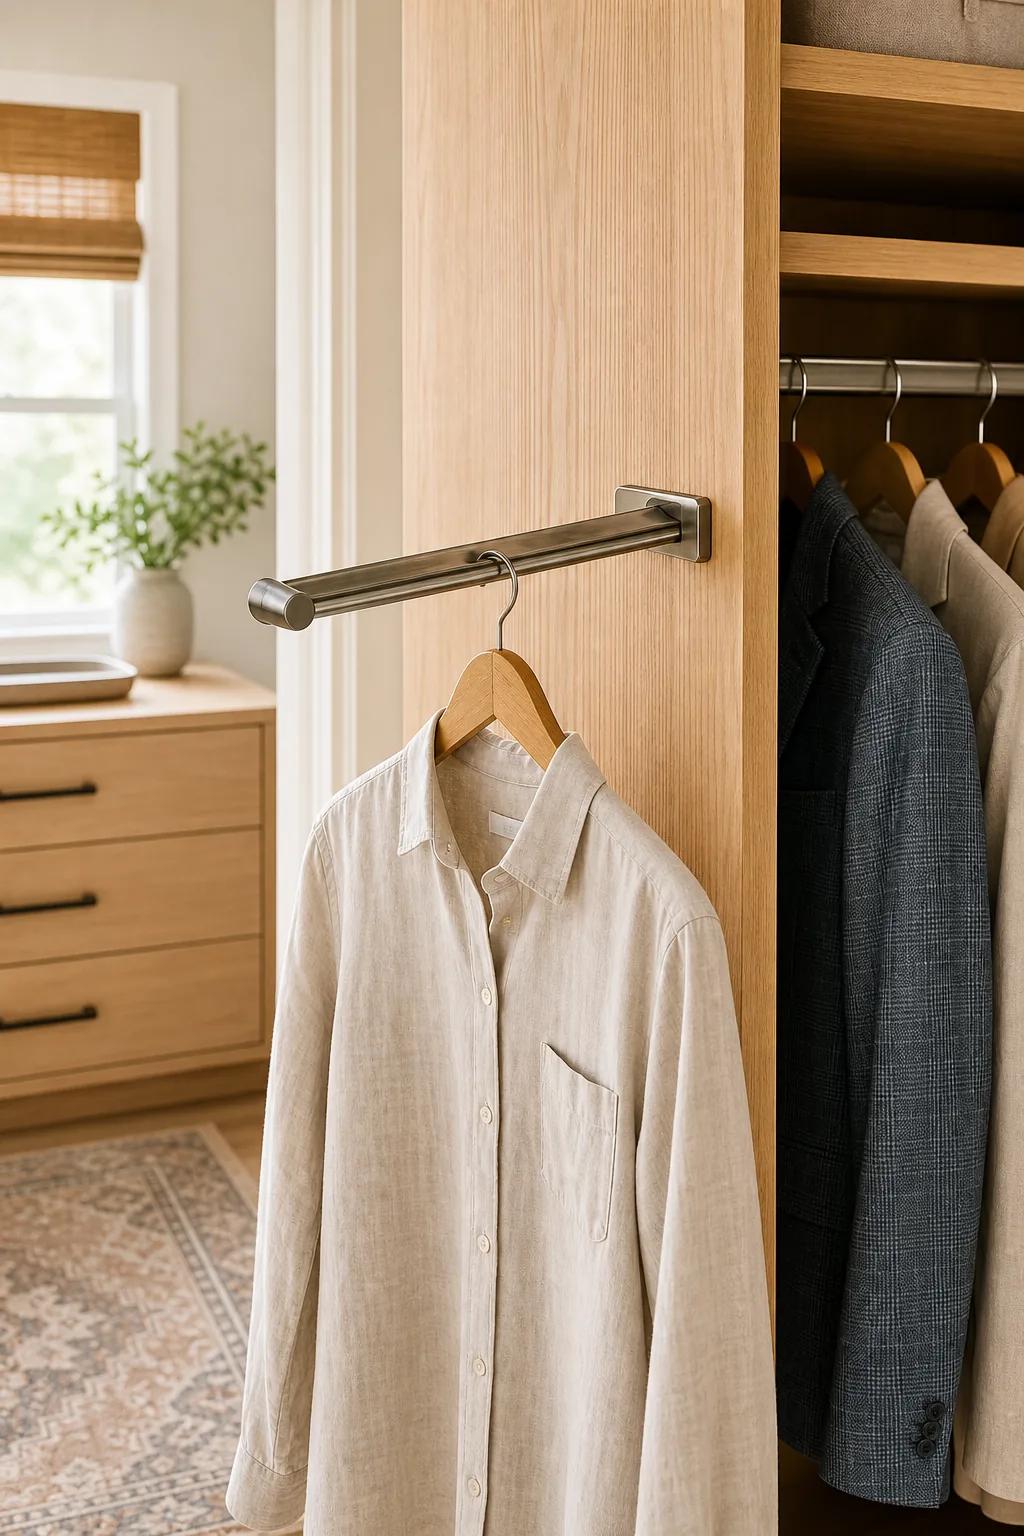
Mounting this specialized rod just outside your main traffic paths allows you to assemble tomorrow’s look without blocking the primary central walkway. Always push the metal arm completely flush with the surrounding cabinetry when not in active use to maintain a clean aesthetic.
Planning the Entry Clearance
Maintain a minimum 36-inch walking path straight through the center of your walk-in closet to ensure comfortable daily movement and easy accessibility. This essential standard interior clearance prevents you from awkwardly bumping into extended drawer faces or hanging garment sleeves while carrying bulky laundry baskets through the space.
Applying the 40-Inch Rule
Maximize your primary wall with a double-hang system by strictly applying the 40-inch rule for perfect vertical division. Mount the lower hanging rod exactly 40 inches from the floor so your standard button-down shirts and folded trousers easily clear the ground below.
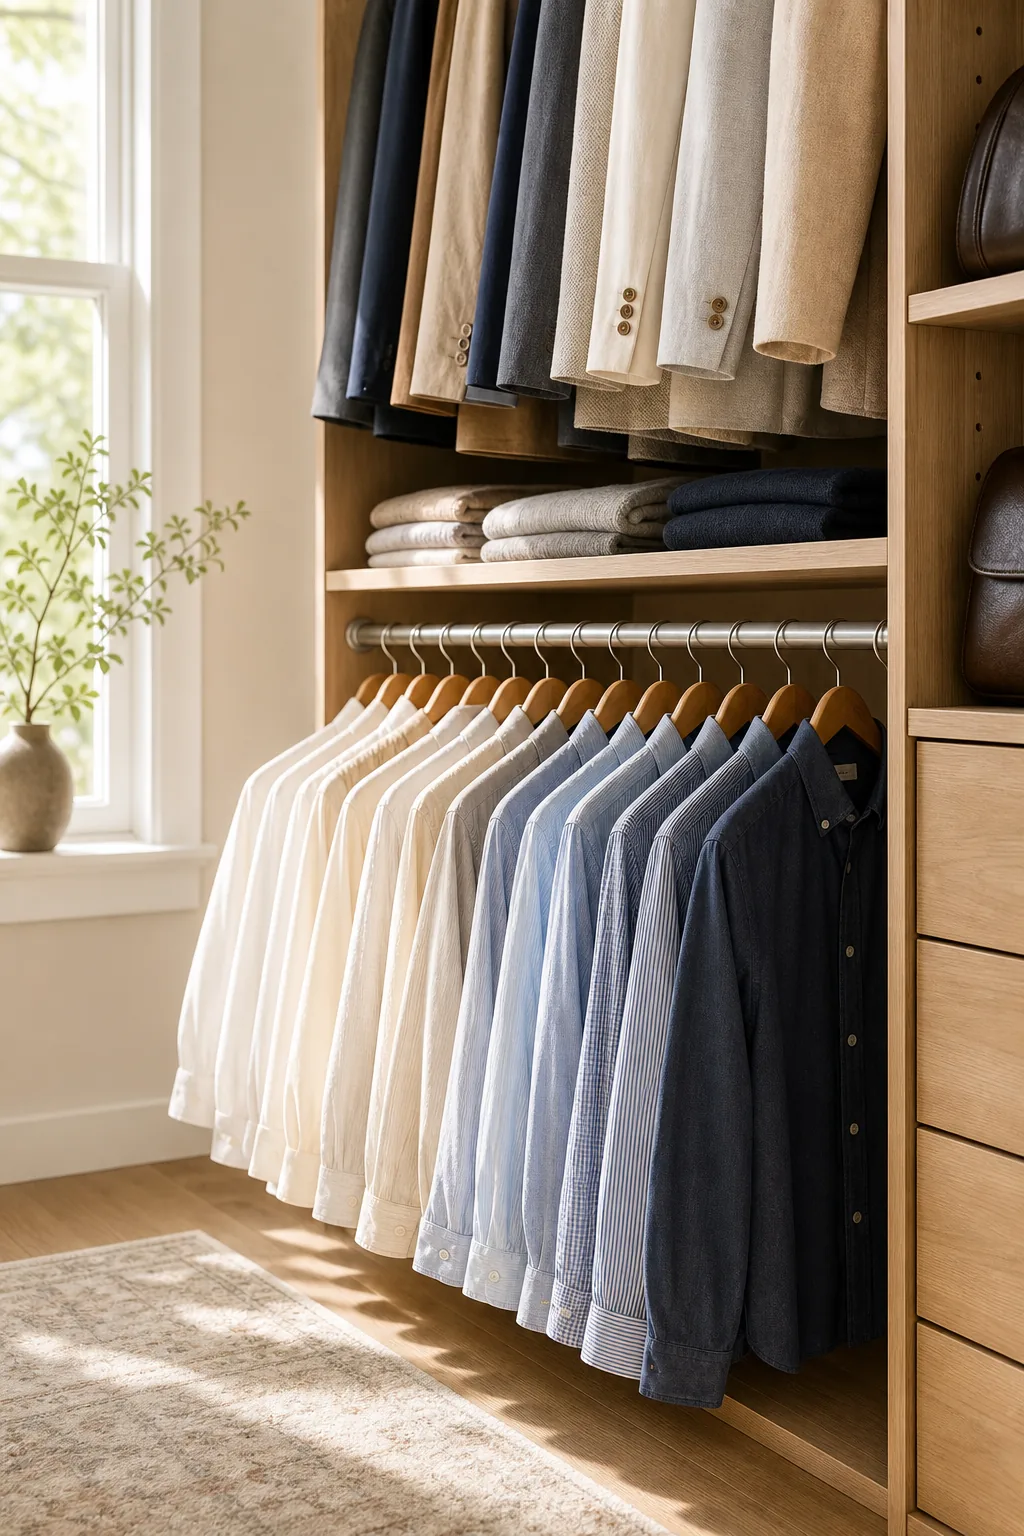
Even a few inches off can completely ruin the functionality of a double-hang system, so always measure twice before drilling your bracket holes. Leaving adequate room above ensures the second tier fits seamlessly without crowding your carefully pressed lower garments.
Selecting the Right Hanger Profile
Invest in uniformly thin velvet or wooden hangers to maximize the lateral capacity of your newly measured double-hang sections immediately. Matching hanger profiles prevent unsightly shoulder bumps and keep the entire wardrobe visually streamlined across every single hanging rod inside your beautifully customized dressing space.
Spacing the Upper Hanging Rod
Complete the double-hang section by positioning the upper rod at exactly 80 to 82 inches from the finished floor. This generous spacing grants the top tier its own dedicated 40-inch vertical drop, perfectly accommodating standard adult clothing without any unwanted fabric overlap.
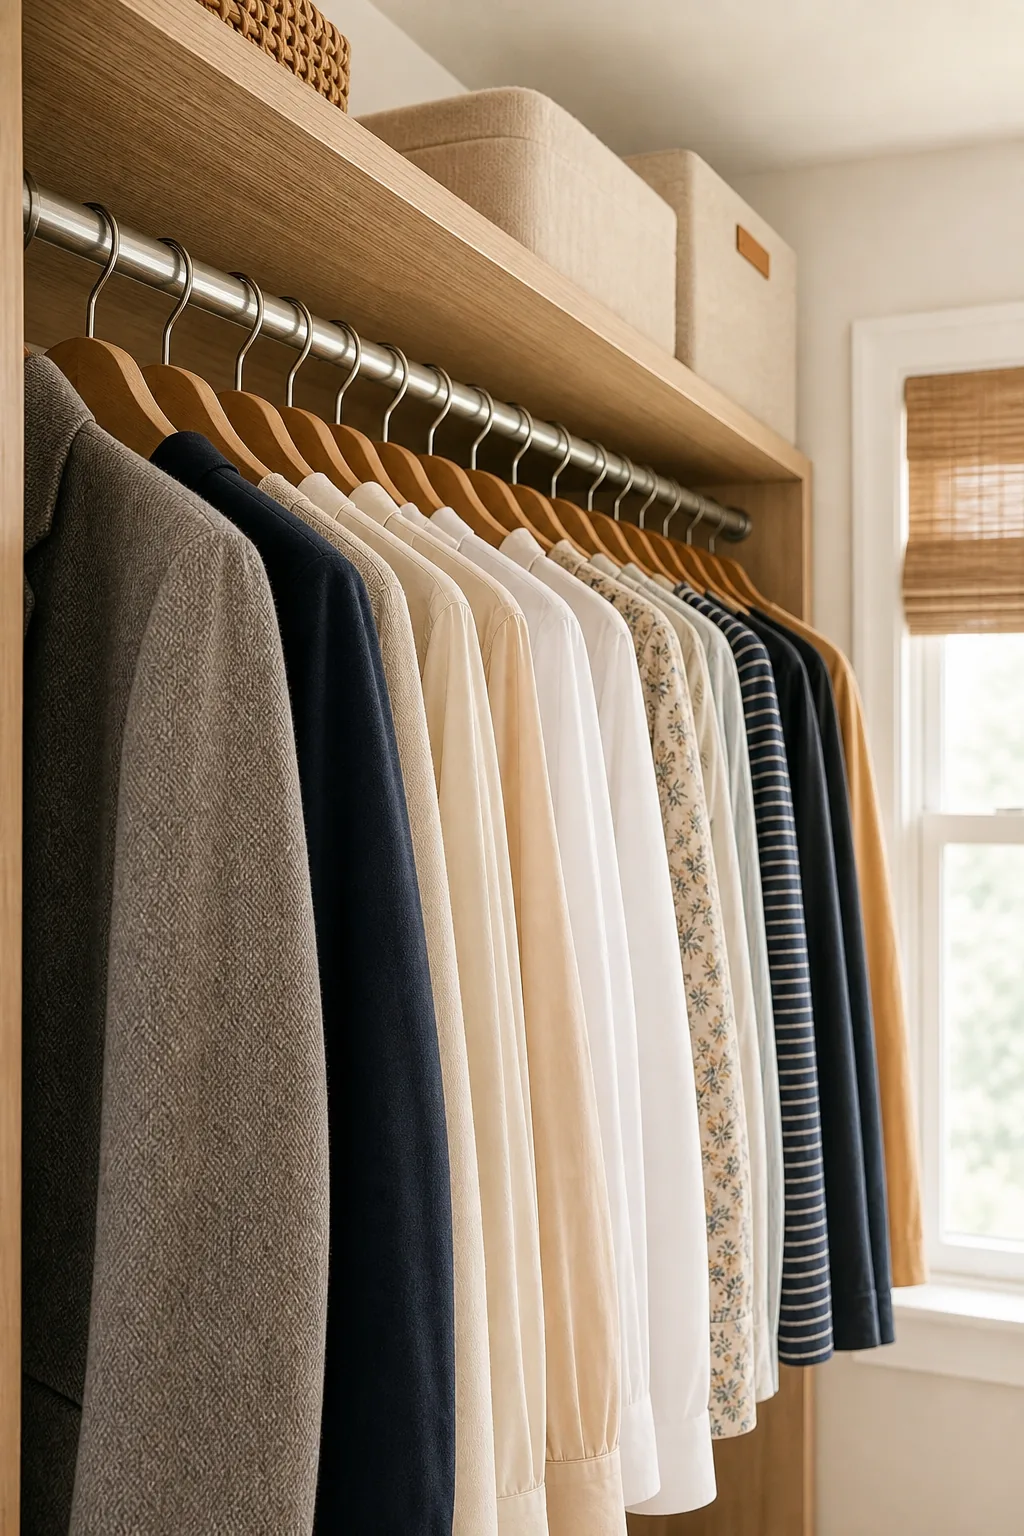
Maintaining this specific elevated height prevents long hemlines from crushing against the lower dividing shelf while keeping the upper rod fully accessible. You can easily reach these higher garments on a daily basis by keeping a stylish folding step stool tucked nearby.
Accommodating Long Garments
Dedicate a separate single-hang section specifically for elegant dresses and heavy winter coats to prevent them from dragging on the floor. Use these standard vertical drop measurements to accurately plan your specialized hanging zones before installing the final support cleats.
| Garment Type | Vertical Drop Needed | Recommended Rod Height |
|---|---|---|
| Formal Maxi Dresses | 60 to 65 inches | 70 inches from floor |
| Heavy Winter Coats | 50 to 55 inches | 65 inches from floor |
| Tailored Suit Separates | 35 to 40 inches | 45 inches from floor |
Creating a Center Folding Station
Anchor the back wall with a built-in drawer unit positioned under the window to serve as a dedicated folding station. Set this flat top surface at a standard counter height of 36 inches to provide an ergonomic space for daily household tasks.
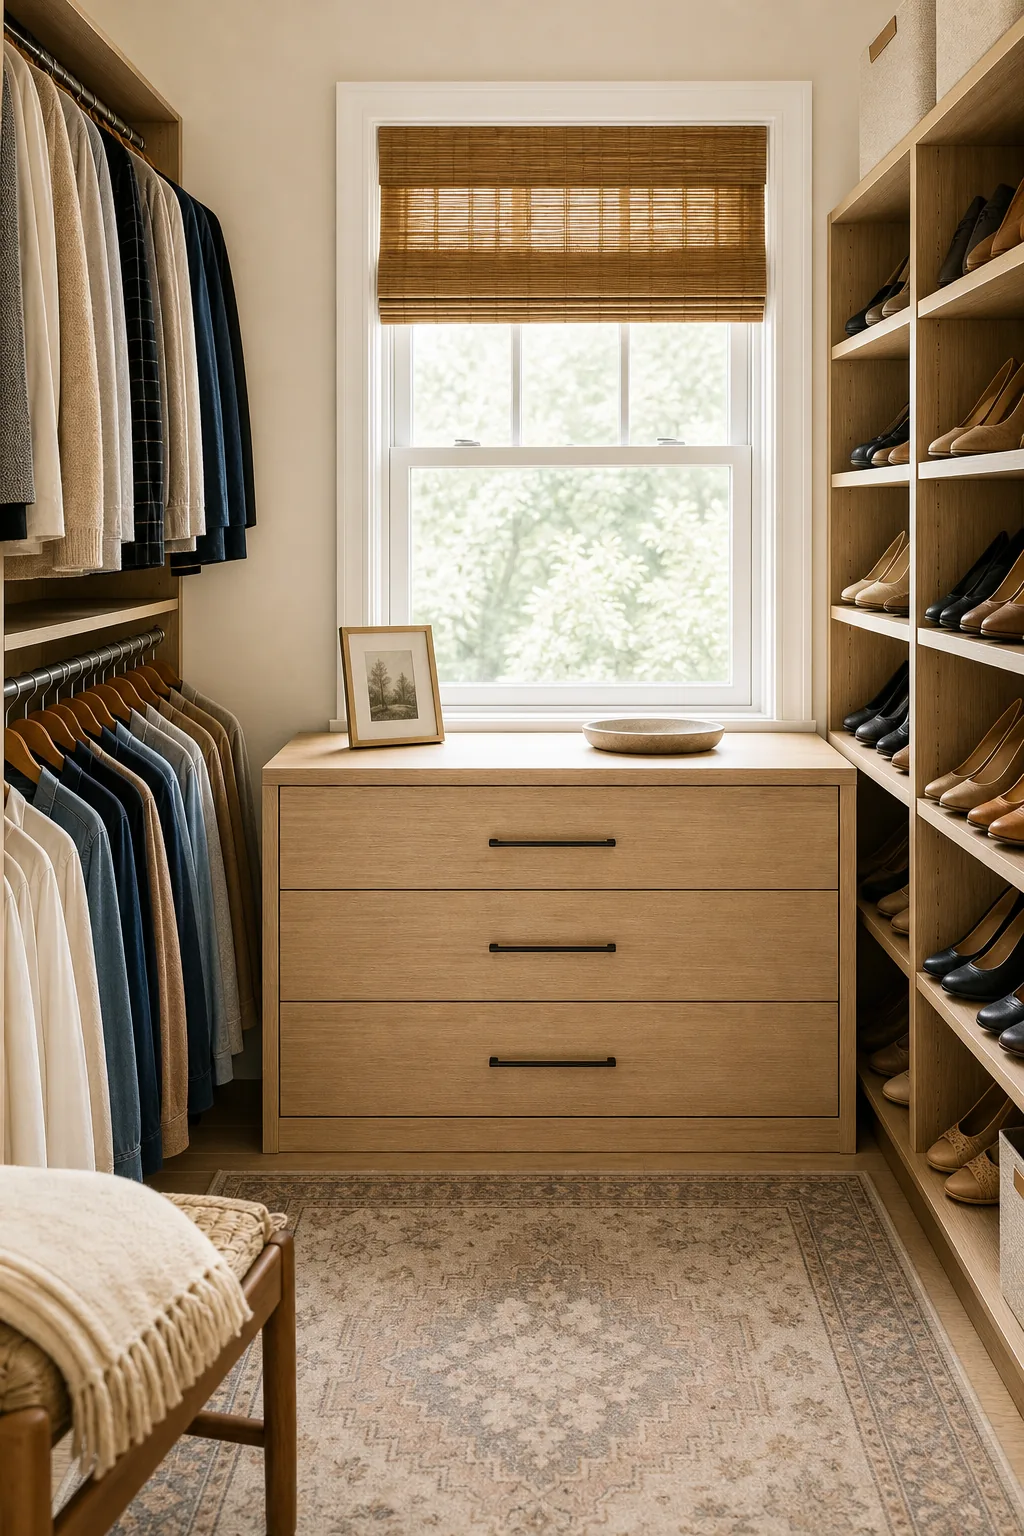
This centralized flat surface provides an incredibly ideal staging area for packing weekend suitcases, sorting fresh laundry, and organizing your daily accessories. Keep the countertop completely clear of decorative clutter to preserve its essential practical function within the closet.
Integrating Laundry Sorting
Conceal your dirty clothes by building convenient tilt-out hampers directly into the lower cabinetry of your central folding station. Follow a highly efficient sequence to process your worn garments seamlessly right where you naturally undress at the end of the day.
- Sort darks and lights into separate built-in hamper bins immediately upon undressing.
- Transfer full bins directly to the laundry room using removable canvas liner bags.
- Return clean folded items directly to the 36-inch folding counter for immediate distribution.
Sightline Shelving for Everyday Shoes
Dedicate the middle section of your right wall to beautifully angled sightline shelving placed precisely at your natural eye level. Keeping your most-worn footwear positioned between 36 and 60 inches high ensures you can quickly scan and select matching pairs.
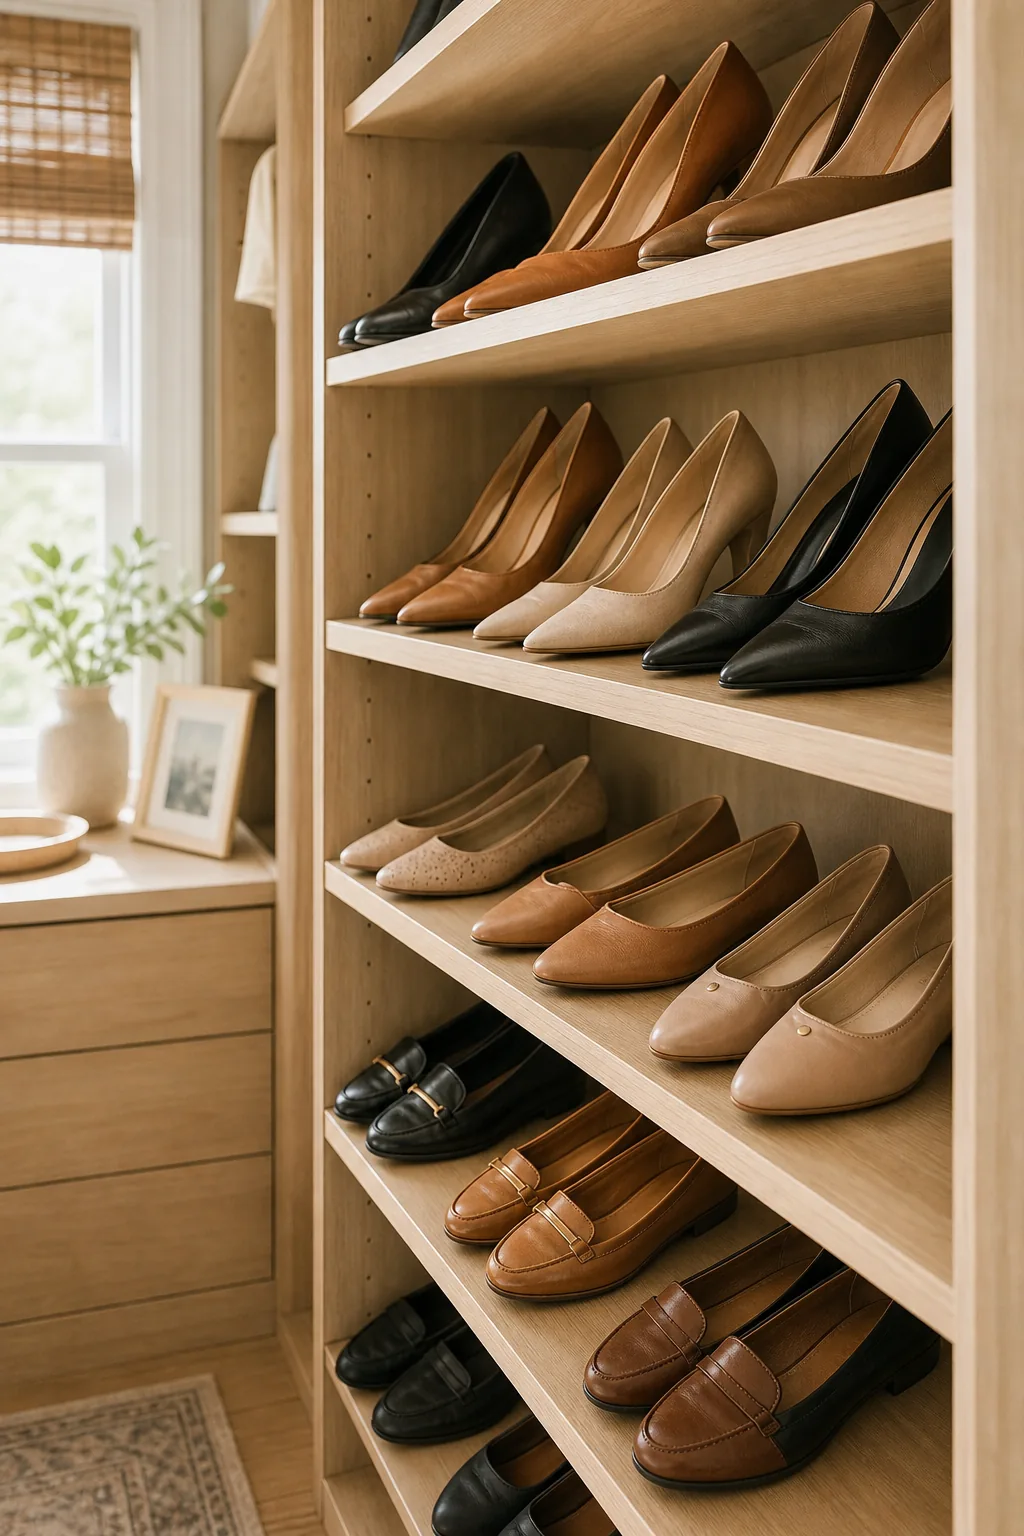
Adding a subtle wooden heel catch at the front edge of each angled shelf prevents your favorite pumps from sliding forward. This targeted ergonomic placement completely eliminates the frustrating need to bend or stretch during your famously busy morning routine.
Storing Tall Boots Safely
Reserve the flat bottom shelves specifically for heavy knee-high boots, spacing these lower tiers at least 18 to 20 inches apart. Insert specialized plastic boot shapers to keep the tall leather shafts upright and prevent permanent creases at the delicate ankles.
Adjustable Shelving for Handbags
Transition to flat, fully adjustable shelves directly above the shoe zone to safely store your curated collection of structured handbags. Space these wooden shelves 12 to 14 inches apart vertically so your favorite bags can stand completely upright without interference.
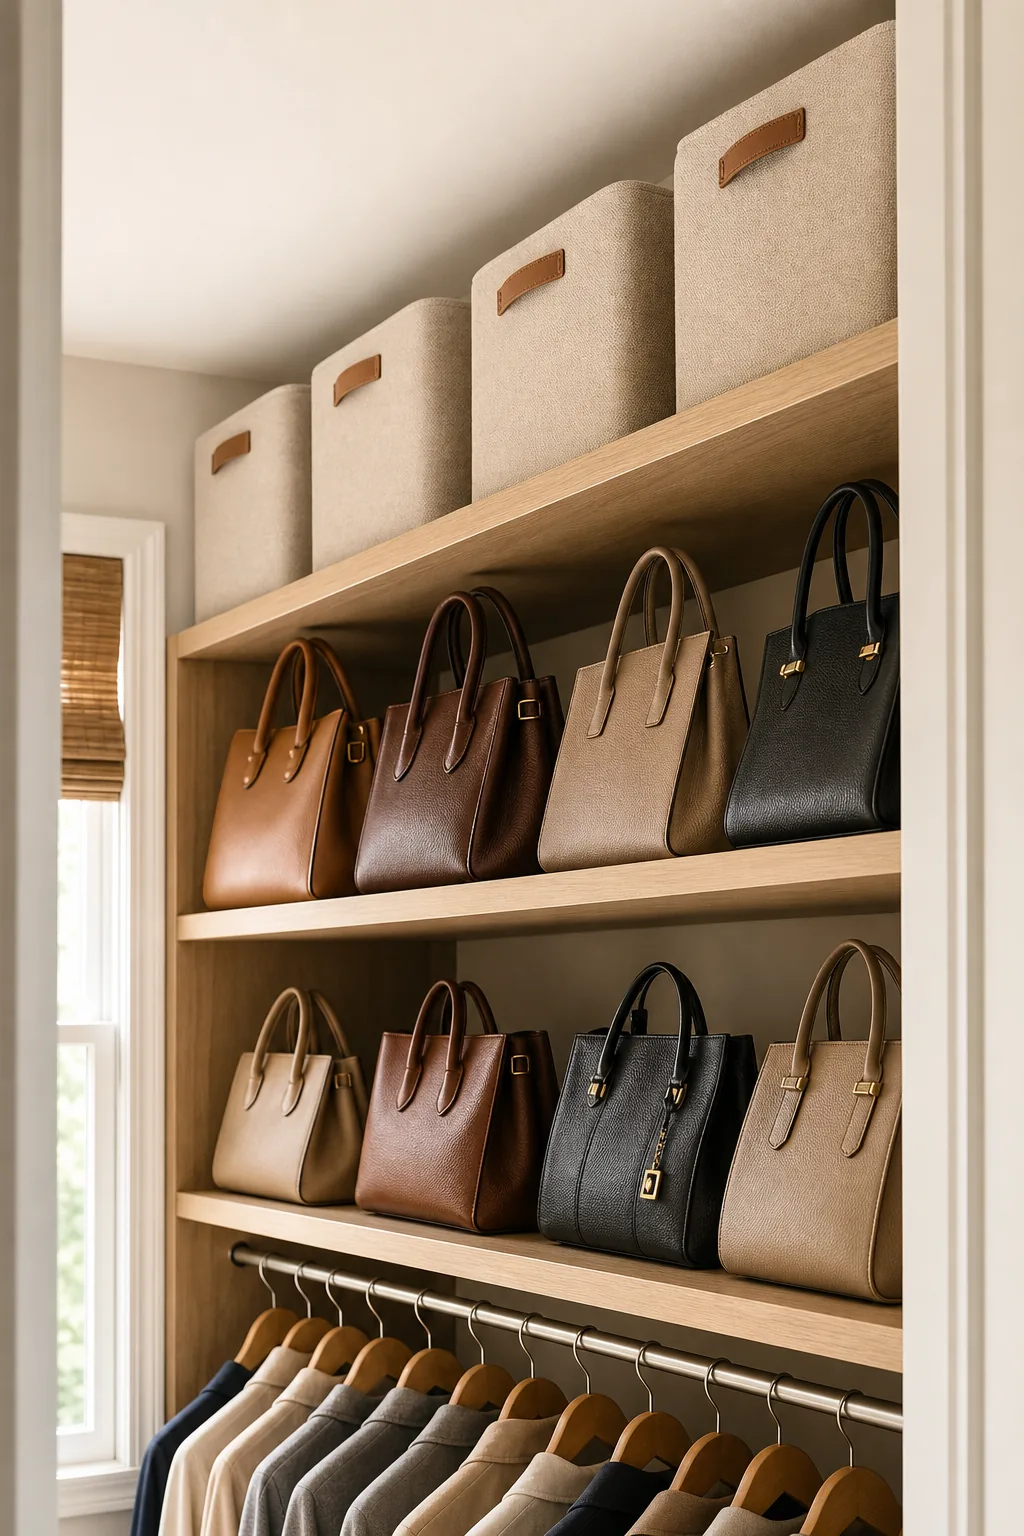
Proper vertical spacing ensures delicate top handles are never crushed or permanently distorted by the heavy shelf immediately above them. Adjust the metal shelf pins regularly as your collection evolves to maintain a perfectly customized fit for every seasonal tote.
Adding Drawer Dividers for Accessories
Install plush velvet-lined acrylic dividers inside your shallow top drawers to beautifully organize delicate sunglasses, luxury watches, and fine jewelry pieces. Keep these custom sorting compartments exactly two to three inches deep so tiny small items remain highly visible, completely untangled, and incredibly easy to grab.
Utilizing Off-Season Bins
Reserve the highest shelf, typically situated 84 inches or more above the floor, for long-term storage using matching off-season bins. Select durable fabric storage containers to seamlessly conceal heavy winter sweaters and bulky travel gear from your daily view.
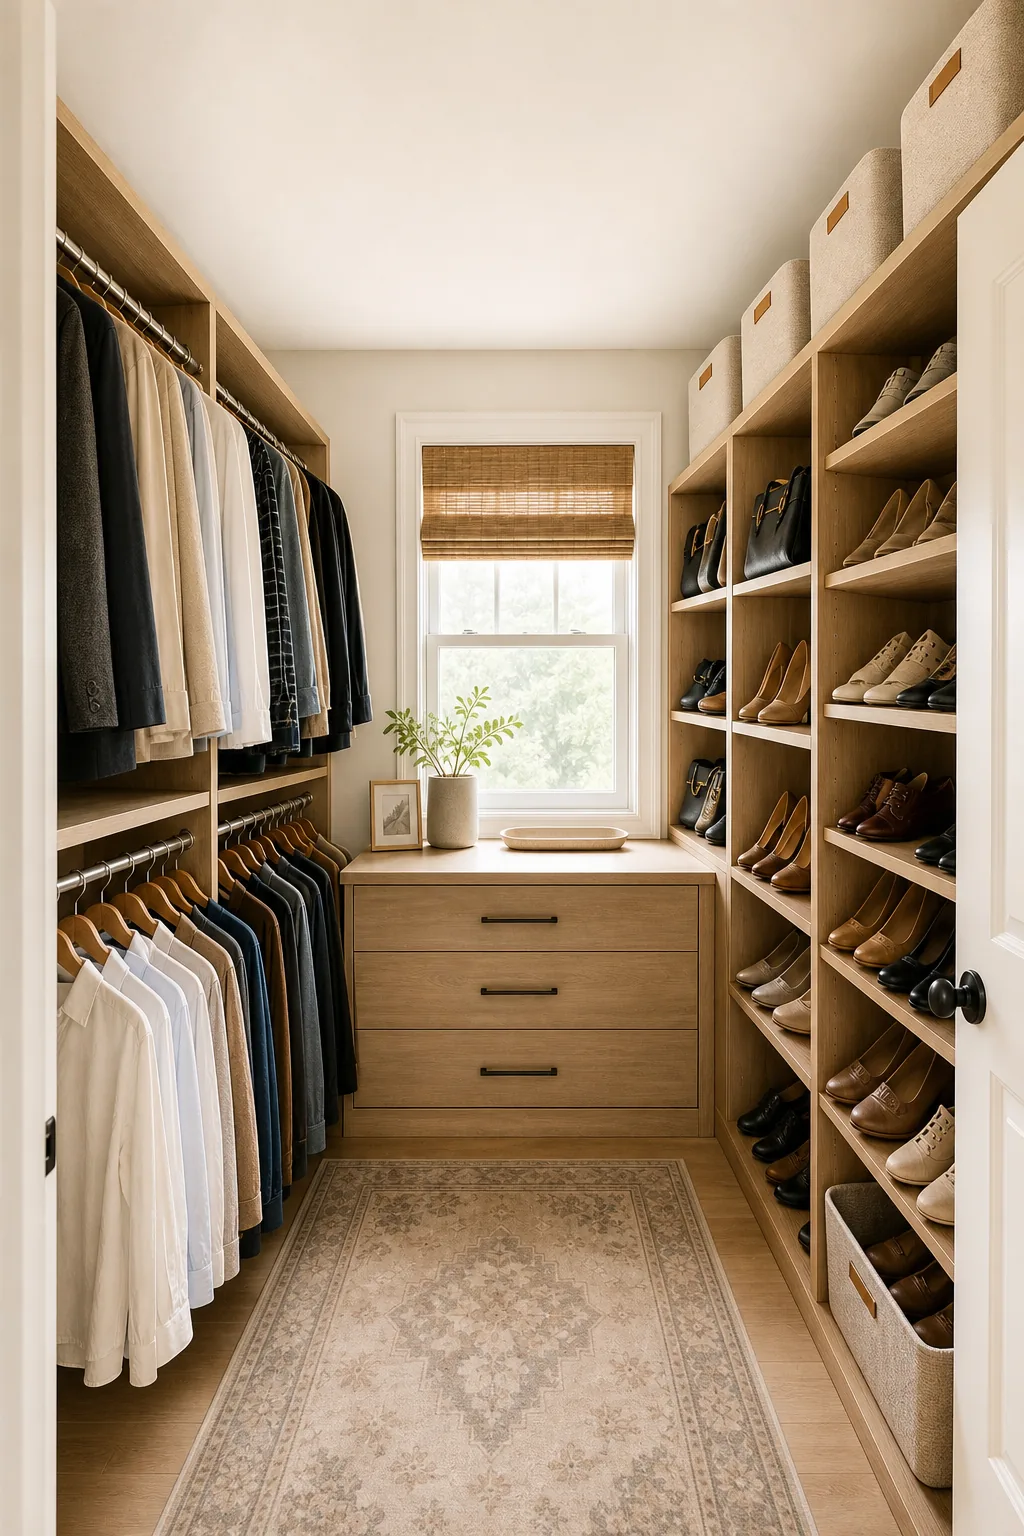
Uniform neutral containers keep the upper perimeter visually uncluttered while fully utilizing your valuable ceiling height for maximum storage efficiency. Add clear label tags to the front handle of each fabric bin so you never have to guess what rests inside.
Lighting the Deep Corners
Install motion-sensor LED light strips along the inner front edge of your vertical closet panels to brilliantly illuminate deep shadowy corners automatically. Aim for a crisp 4000K color temperature to ensure you can always accurately distinguish between dark navy blue and solid black clothing fabrics.
The Custom Closet Measurement Guide
Finalize your architectural layout by referencing The Custom Closet Measurement Guide to ensure every storage zone functions absolutely flawlessly. Plan for 24 inches of depth for hanging sections and 14 inches of depth for standard flat folded shelving.
Before finalizing your custom closet dimensions and ordering expensive materials, you must physically verify the structural details of your specific room. Double-check these crucial environmental factors to prevent costly installation delays and frustrating layout modifications down the line.