
Wall Texture Design: Stroke Guide for a Velvety Glow
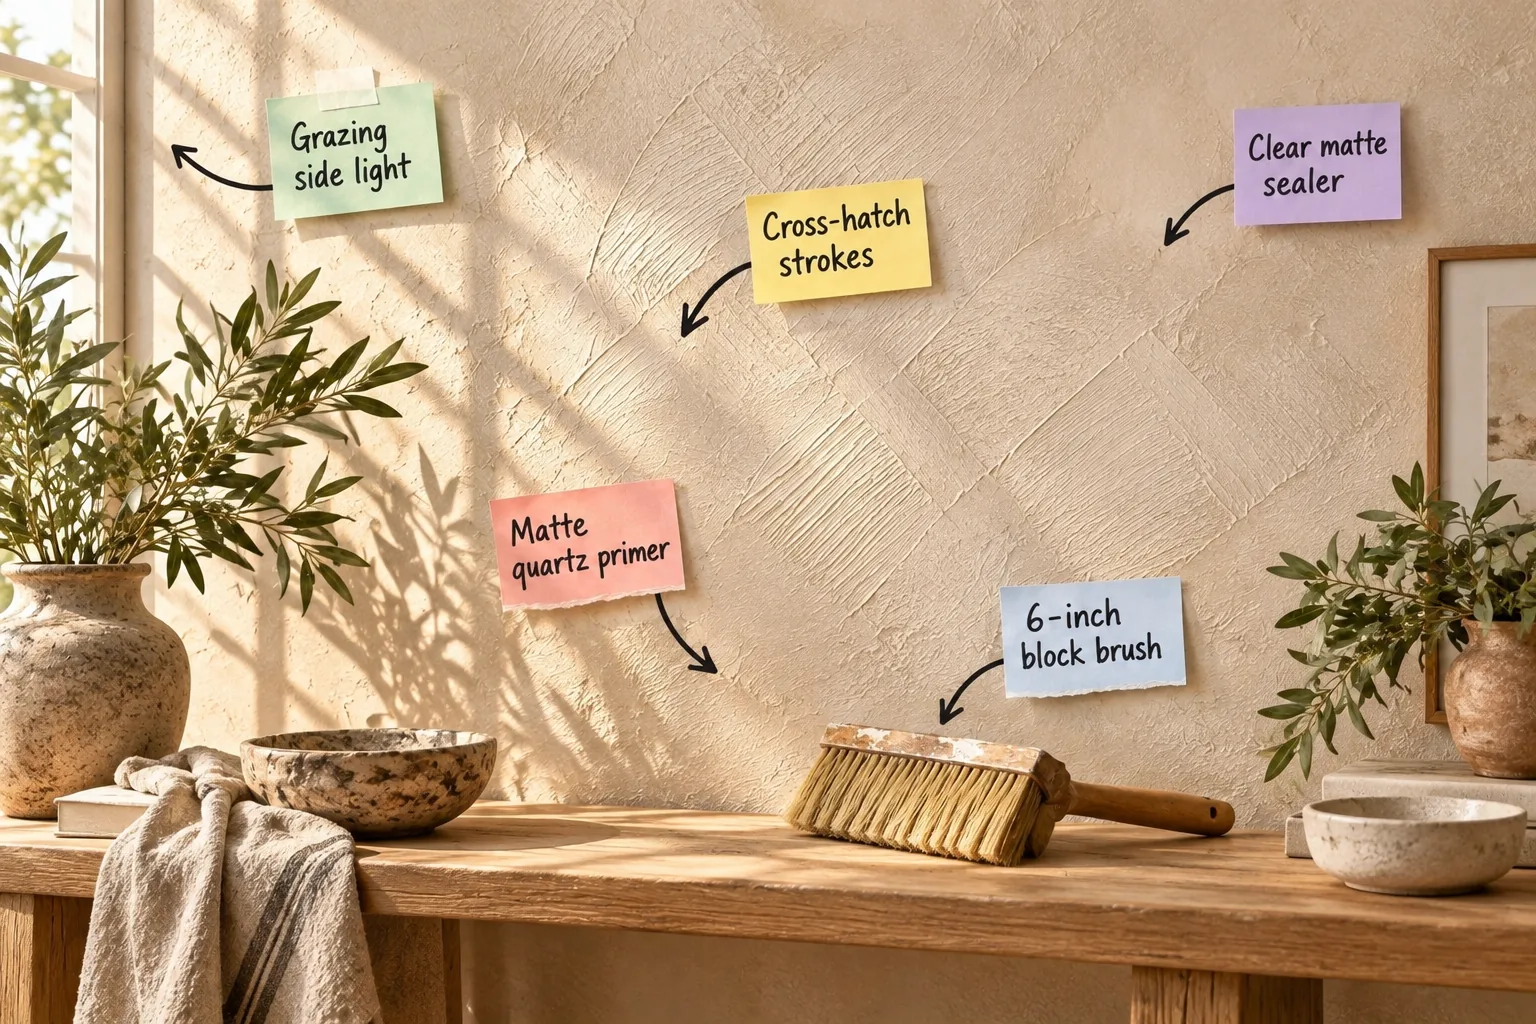
You will be able to prep, brush, and seal a flawless textured wall using the correct materials and lighting from this complete texture stroke guide and material list.
Selecting the Right Mineral Paint
When planning your room refresh, choosing an authentic mineral-based limewash or Roman clay over a standard faux-finish latex is absolutely crucial. These natural materials calcify onto the wall surface, creating a breathable, stony finish that ages beautifully over time.
Assessing Room Temperature and Humidity
Before opening any mineral products, verify that your room sits between 65 and 75 degrees Fahrenheit with moderate humidity. Extreme heat causes the wet edge to flash-dry prematurely, while high humidity prevents the heavy pigments from setting properly onto the drywall surface.
Preparing the Drywall Surface
Achieving a velvety glow requires an absolutely pristine canvas, so you must fill every nail hole and sand the entire wall smooth. Any leftover drywall dust or lingering grease spots will repel the mineral wash and create glaring, permanent bald spots.
Taping and Protecting Trim
Heavy mineral paints splatter aggressively during application, making thorough room protection a mandatory first step. Use wide painter’s tape on all baseboards and drape canvas drop cloths over the floor, securing the edges tightly to catch falling pigment clumps.
Building the Base with Matte Quartz Primer
Standard drywall primer is much too slick, so a specialized matte quartz primer provides the essential gritty micro-texture required for heavy mineral finishes to grip the wall evenly.
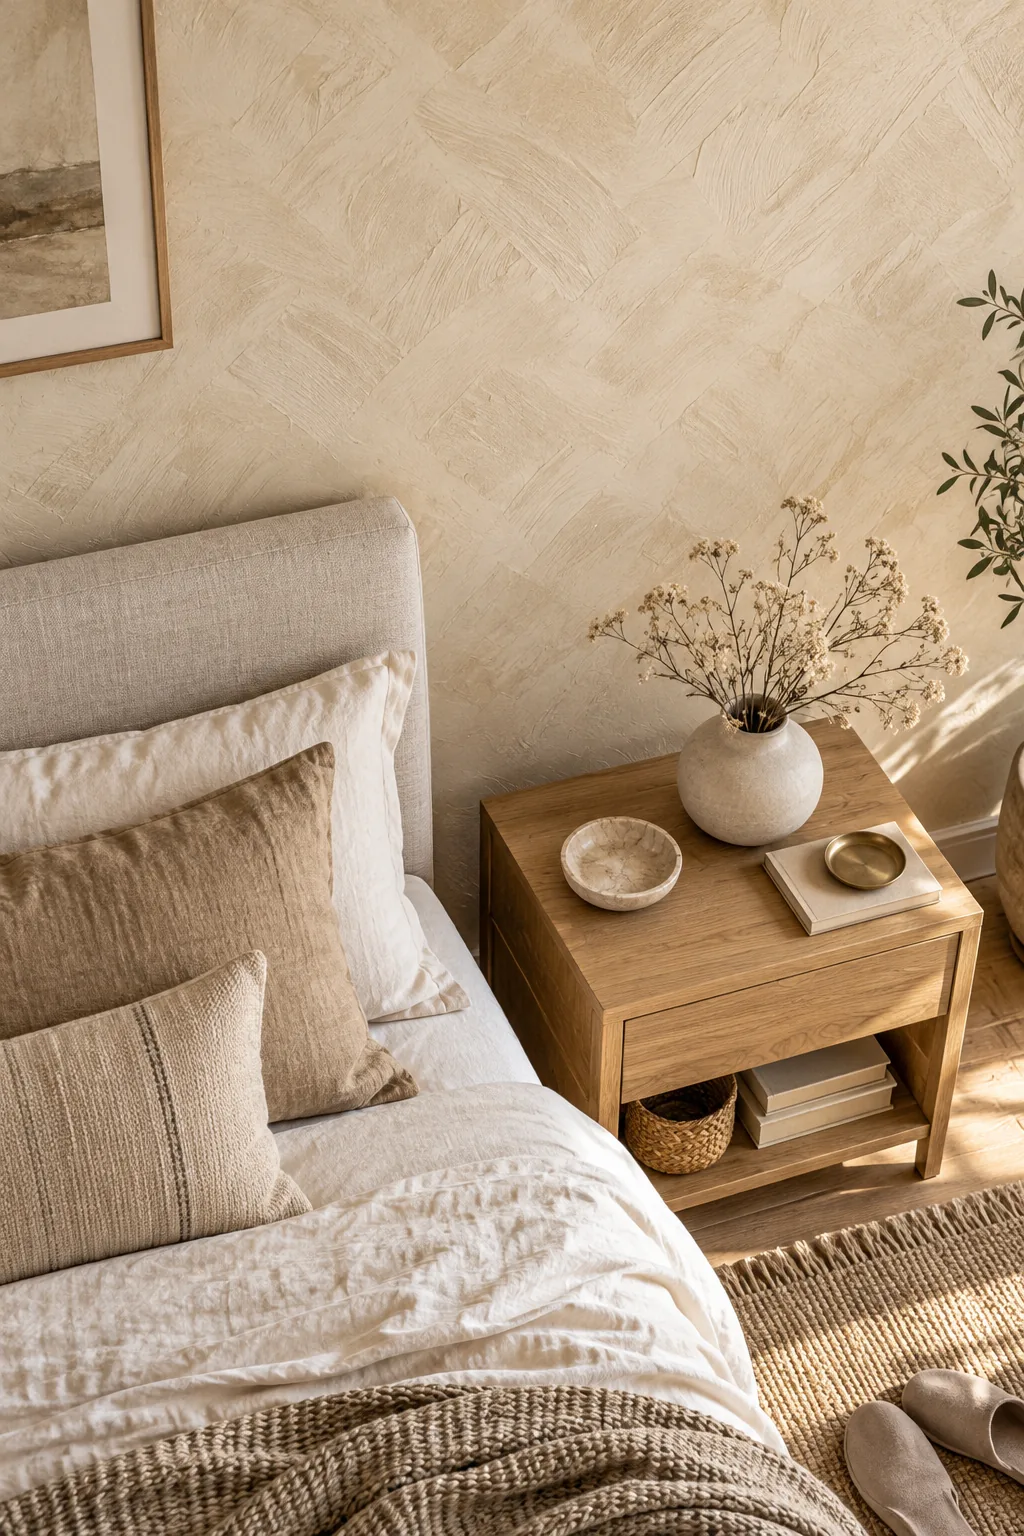
Apply one solid coat of this specialized base layer and allow it to cure for a full 12 hours before attempting to add any texture.
Calculating Square Footage for Materials
Mineral paints do not stretch like standard latex, so multiply your wall height by the width to determine the exact square footage. Always purchase an extra 15 percent of product to account for the heavy absorption rate of the quartz primer layer.
Understanding Coverage Rates
Keep in mind that heavy mineral paints yield significantly less coverage than standard acrylics, typically maxing out at 250 square feet per gallon. Porous drywall absorbs the first coat greedily, so factoring in this lower spread rate prevents you from running out mid-wall.
Testing the Color Swatch
Never trust a tiny printed color card when working with reactive mineral pigments. Paint a large test board and move it around your room at different times of day to see how the natural sunlight interacts with the earthy undertones.
Stirring the Mineral Paint
Heavy earthy pigments settle rapidly at the bottom of the bucket during shipping and storage. You must use a mechanical drill mixer on a low speed setting for at least three minutes to fully reincorporate the dense minerals before dipping your brush.
Choosing the 6-Inch Block Brush
The application tool directly dictates the final pattern, and a wide 6-inch block brush holds enough heavy material to create sweeping, continuous strokes without constant reloading.
| Tool Type | Bristle Density | Material Capacity | Stroke Effect |
|---|---|---|---|
| Standard Paint Brush | Low | Minimal | Harsh, linear streaks |
| 6-Inch Block Brush | High | Maximum | Soft, cloud-like blends |
The dense natural bristles of the masonry brush naturally separate the mineral pigments as you drag them, creating the subtle organic color variations that give the textured wall its signature depth.
Loading the Block Brush
Dip only the bottom third of your bristles into the bucket to prevent the heavy mixture from migrating up into the metal ferrule. Tap the brush gently against the rim to remove excess drips, ensuring you transfer the perfect amount of product.
Mastering Cross-Hatch Strokes
The signature velvety glow comes from applying deliberate, overlapping cross-hatch strokes kept strictly between 12 and 18 inches long to avoid harsh vertical or horizontal lines.
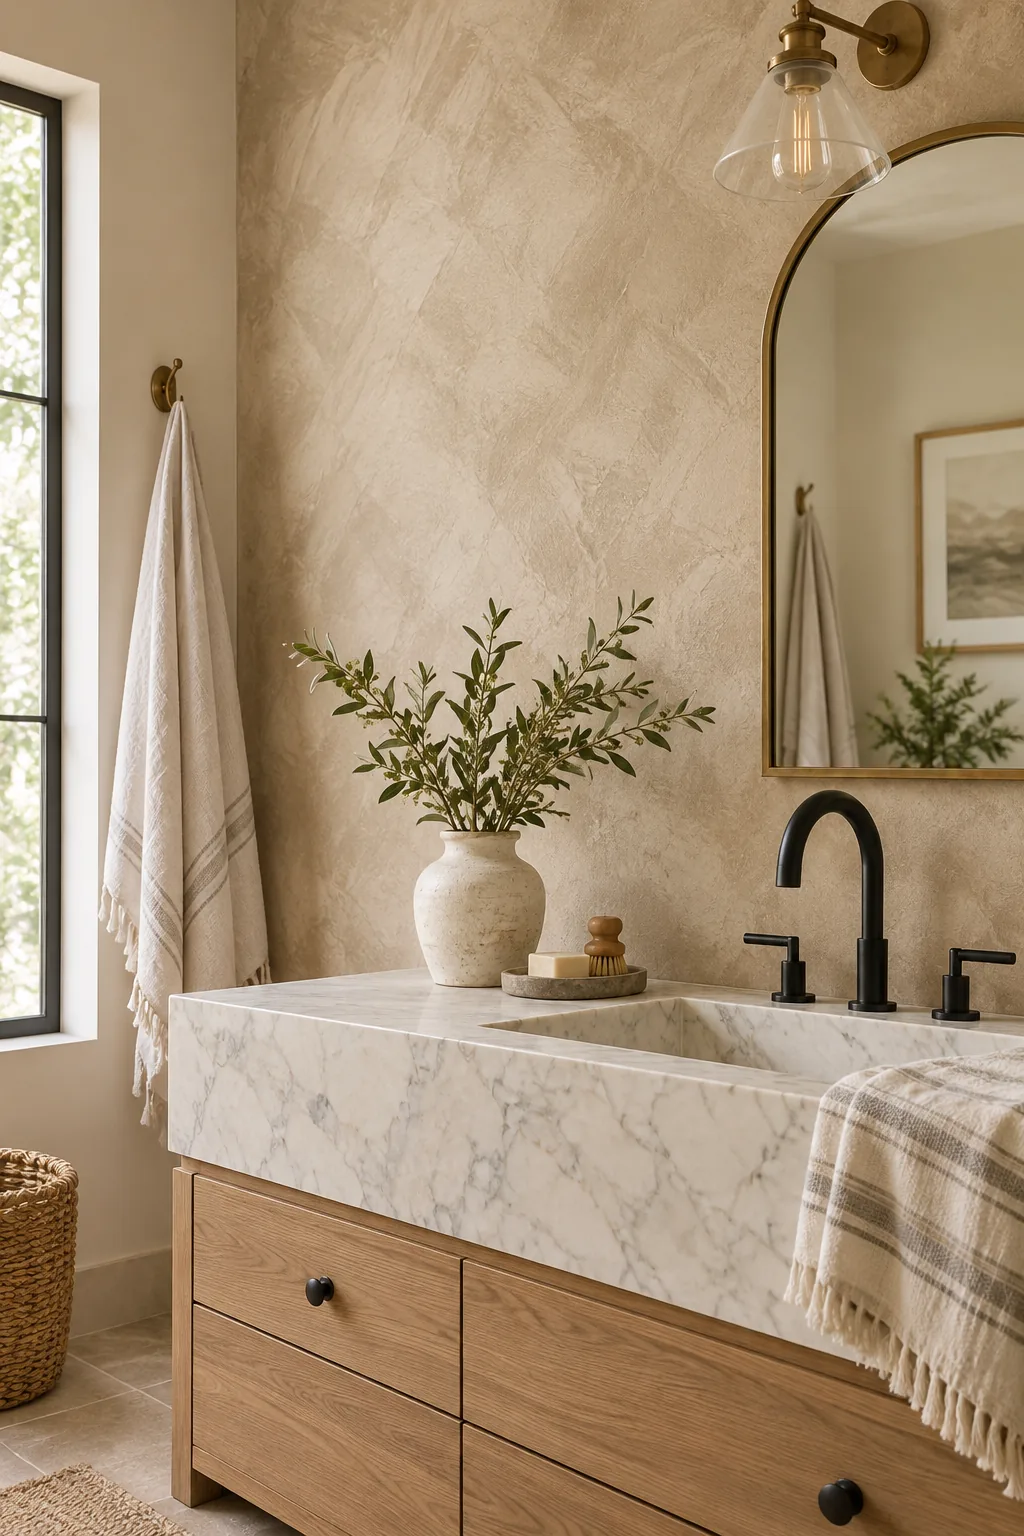
Even with the right masonry brush, the way you move it across the wall determines the final look, so avoid these common application errors to keep the finish soft and organic.
Managing the Wet Edge
Constantly working back into the damp paint is the only way to prevent visible lap marks from forming across the surface. Never stop halfway across a room, as the overlapping technique relies entirely on blending fresh material into a still-active edge.
Troubleshooting Lap Marks
If you do accidentally let an edge dry and a harsh line forms, do not attempt to sand it out. Lightly mist the mistake with a spray bottle of water and gently stipple fresh mineral paint over the boundary to diffuse the mistake.
The Texture Stroke Guide & Material List
To achieve this exact look, gather these specific supplies; when I textured my Austin living room, staging everything on a console saved me from dried-out edges while I worked.
- 1 gallon matte quartz primer
- 2 gallons mineral texture paint
- 6-inch natural block brush
- 2-inch angled cutting brush
- 1 quart clear matte sealer
For the stroke progression, always cut in the edges first, then work in manageable 3-foot diagonal sections, maintaining a wet edge across the entire wall.
Evaluating the First Coat
The initial layer will always look terrifyingly patchy and uneven as the drywall absorbs the moisture at different rates. Resist the intense urge to touch up the lighter spots, as adding wet paint over semi-dry sections will permanently scar the finish.
Applying the Second Coat
Once the first layer is completely dry to the touch, apply a second coat using the exact same overlapping cross-hatch technique. This subsequent application fills in the remaining translucent gaps and deepens the overall color profile to establish a rich, opaque base.
Protecting with Clear Matte Sealer
Mineral textures are naturally porous, so applying two thin coats of a breathable, clear matte sealer protects the surface from everyday oils without adding an unwanted plastic sheen.
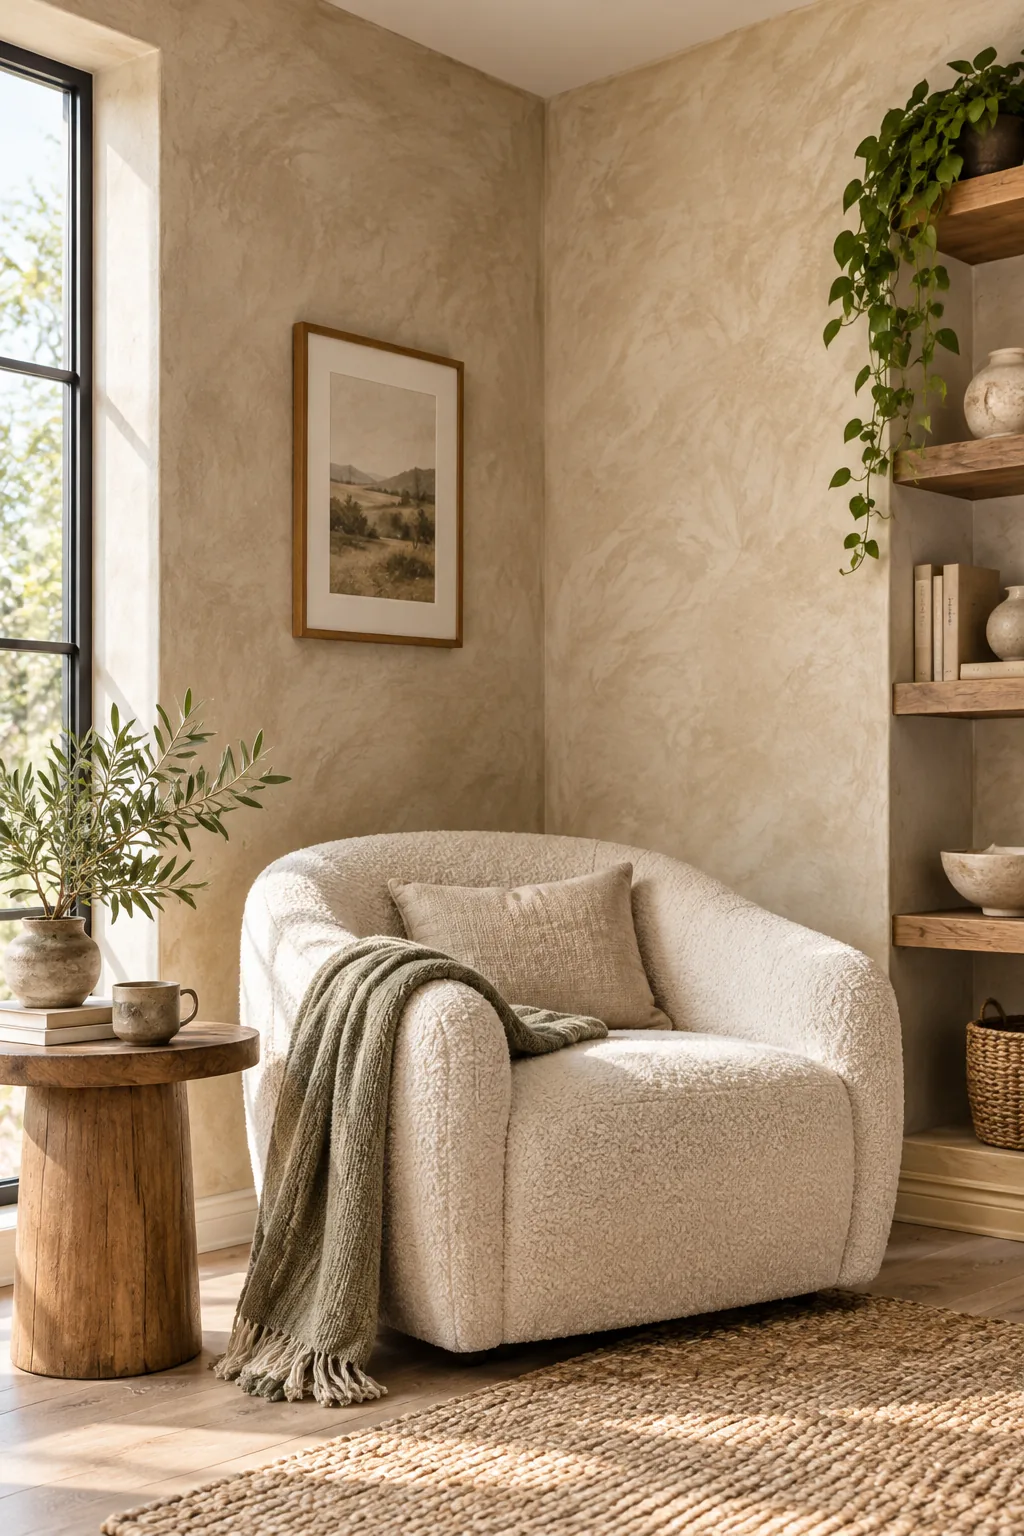
Wait until the final texture coat is completely dry before applying protection; I rushed this step in my hallway once and trapped cloudy moisture under the finish.
Addressing Drips and Splatters
If a heavy clump of mineral paint slides down the wall during application, do not attempt to wipe it away with a rag. Lightly feather the drip out with the very tips of your dry block brush to blend it seamlessly into the surrounding texture.
Enhancing with Grazing Side Light
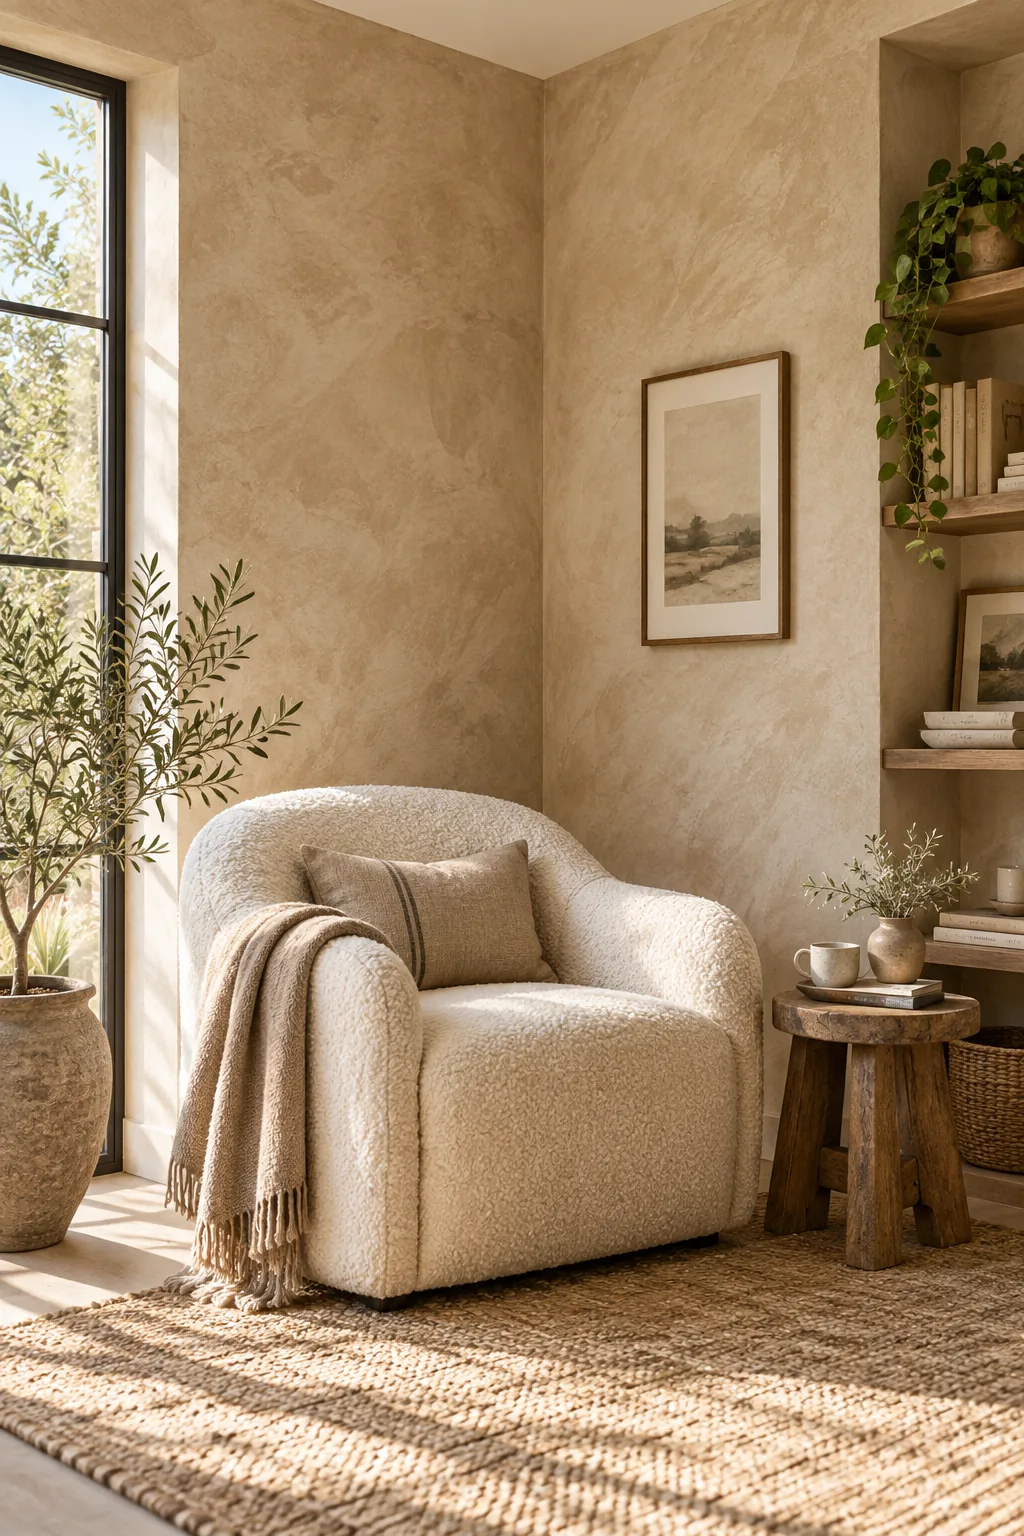
Texture is only visible through shadow, so to maximize the velvety effect, position sconces, picture lights, or floor lamps 4 to 6 inches from the wall surface.
- Install wall sconces with downward-facing shades to cast shadows across the brush strokes.
- Position adjustable floor lamps close to the baseboards, aiming the beam sharply upward.
- Angle ceiling track lights steeply toward the wall rather than pointing them straight down.
This focused grazing side light washes across the subtle ridges of the overlapping strokes, brilliantly highlighting the dimensional depth and movement of the organic finish.
Corner and Edge Blending
Handling transitions requires a shift in technique, so switch to a smaller 2-inch brush for tight corners, gently pouncing the material rather than dragging it.
This localized stippling motion perfectly mimics the larger field of strokes, ensuring the delicate edges blend seamlessly and invisibly into the main textured wall.
Removing Protective Tape
Pull your painter’s tape away from the baseboards while the final sealer coat is still slightly damp to the touch. Waiting until the wall is entirely cured will cause the rigid mineral crust to chip and crack along the pristine trim line.
Cleaning Your Masonry Brush
Natural bristles hold onto mineral pigments stubbornly, so you must rinse your block brush under warm water for at least ten minutes. Gently comb through the dense fibers with a wire brush to dislodge hidden clumps, ensuring the tool remains soft for future projects.
5 Ways to Style Textured Walls
Find the perfect color and room pairing for your textured finish.
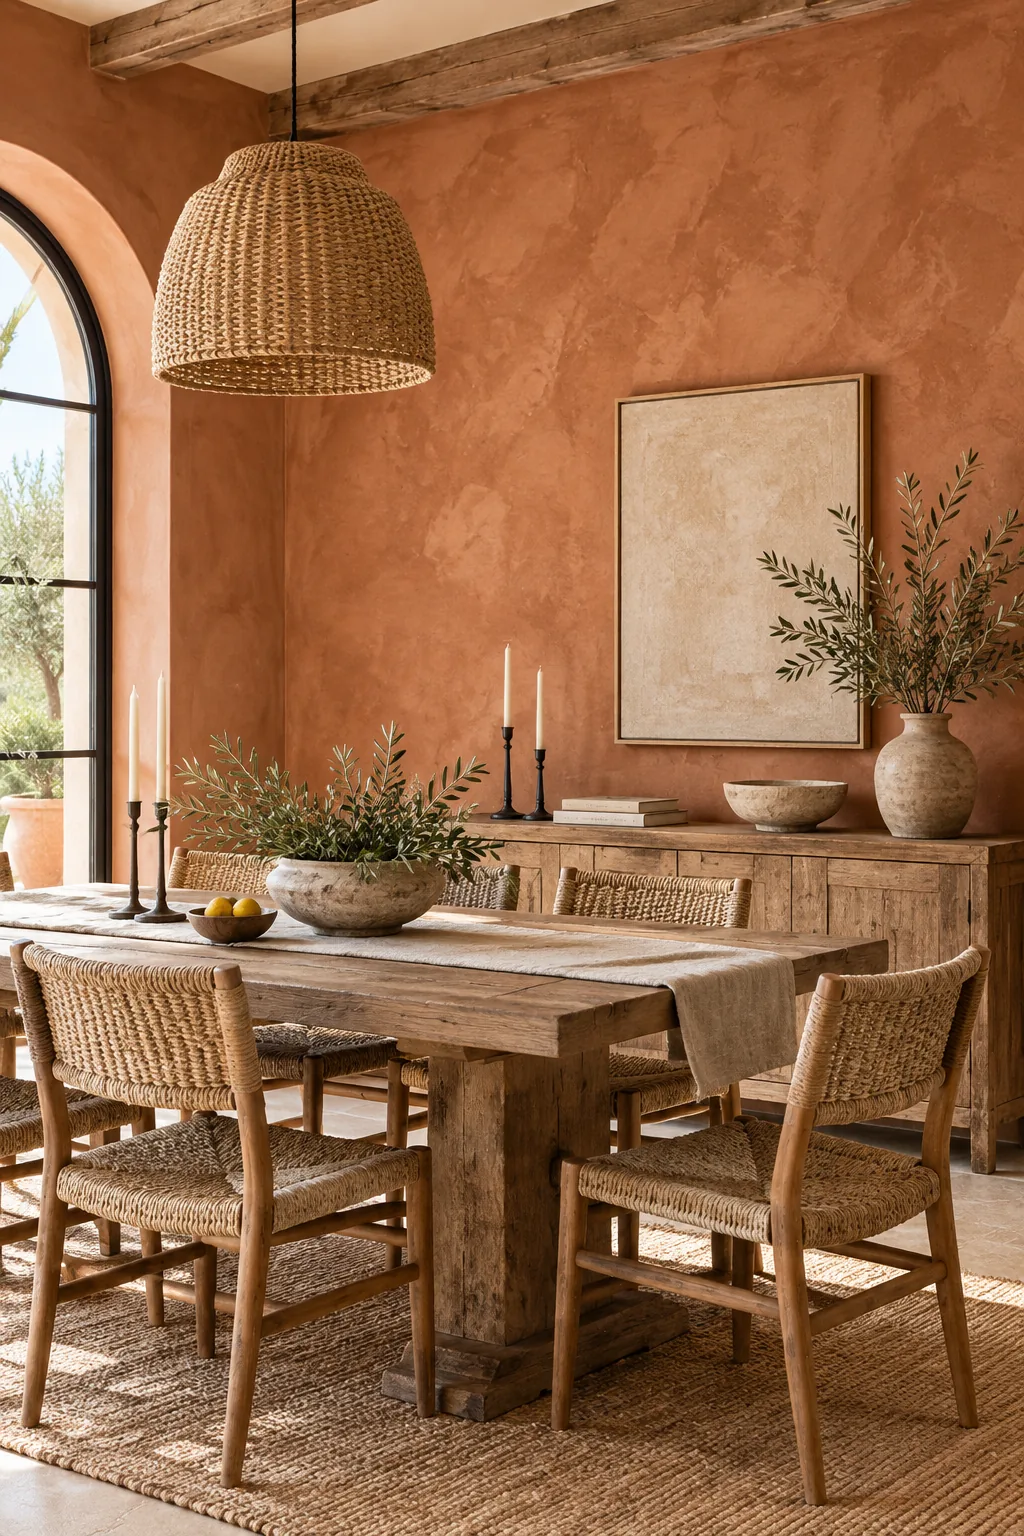
Warm Terracotta Dining Room: Embrace a Mediterranean feel by pairing rich terracotta texture with natural woven dining chairs.
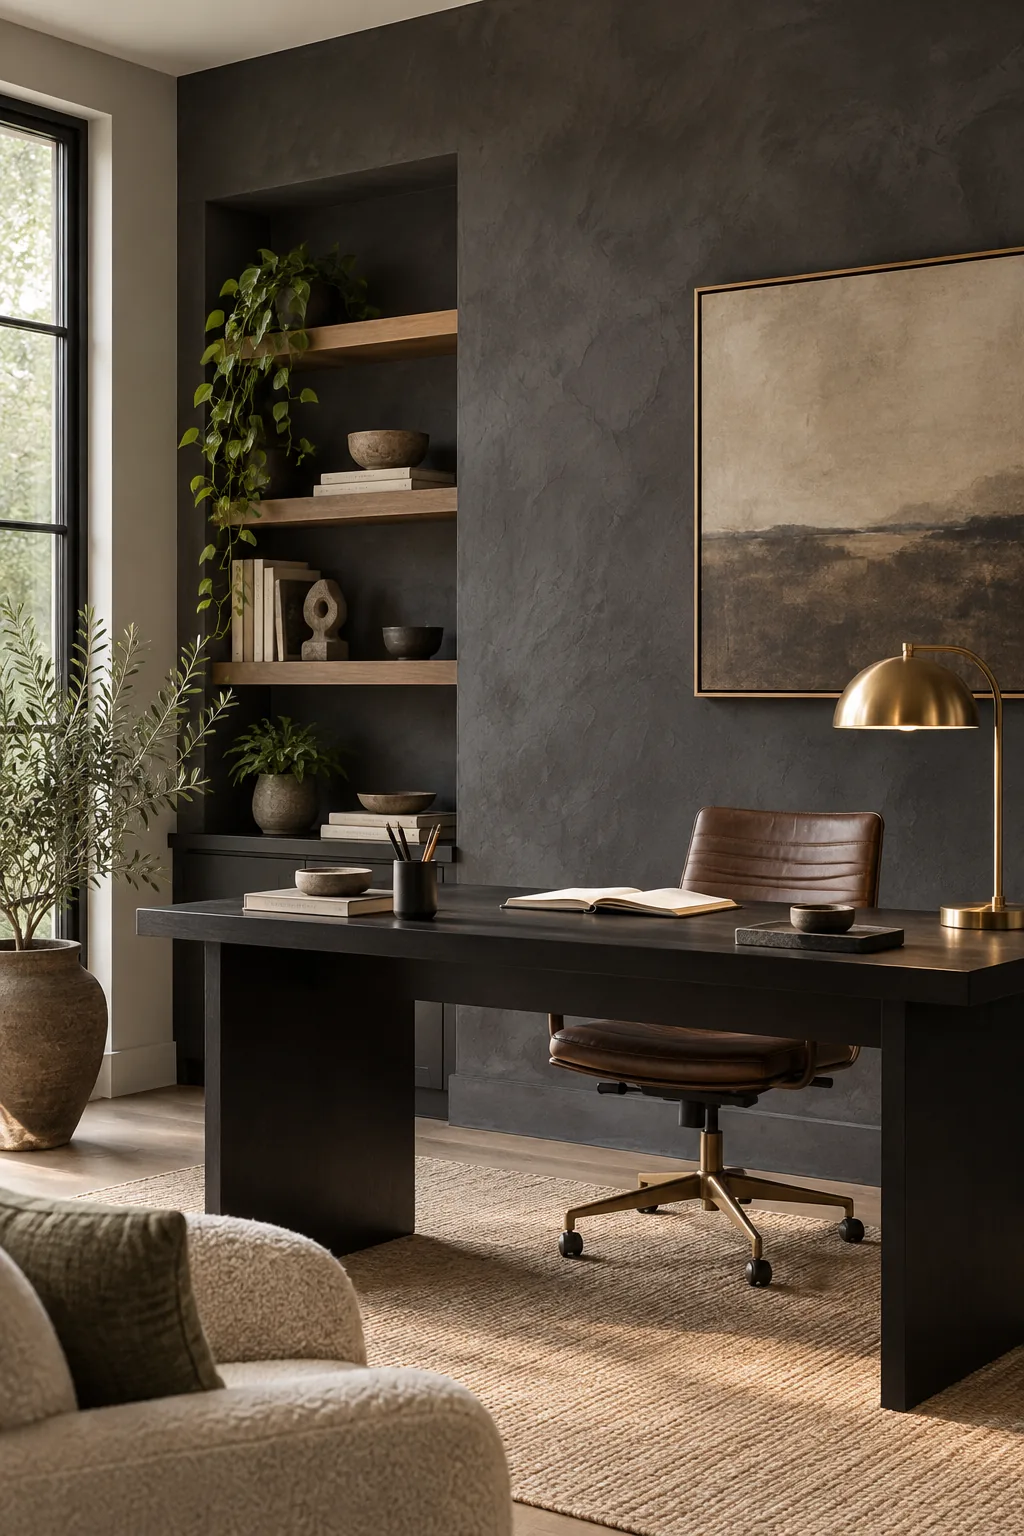
Cool Charcoal Home Office: Ground a modern workspace with deep charcoal texture and sleek brass lighting accents.
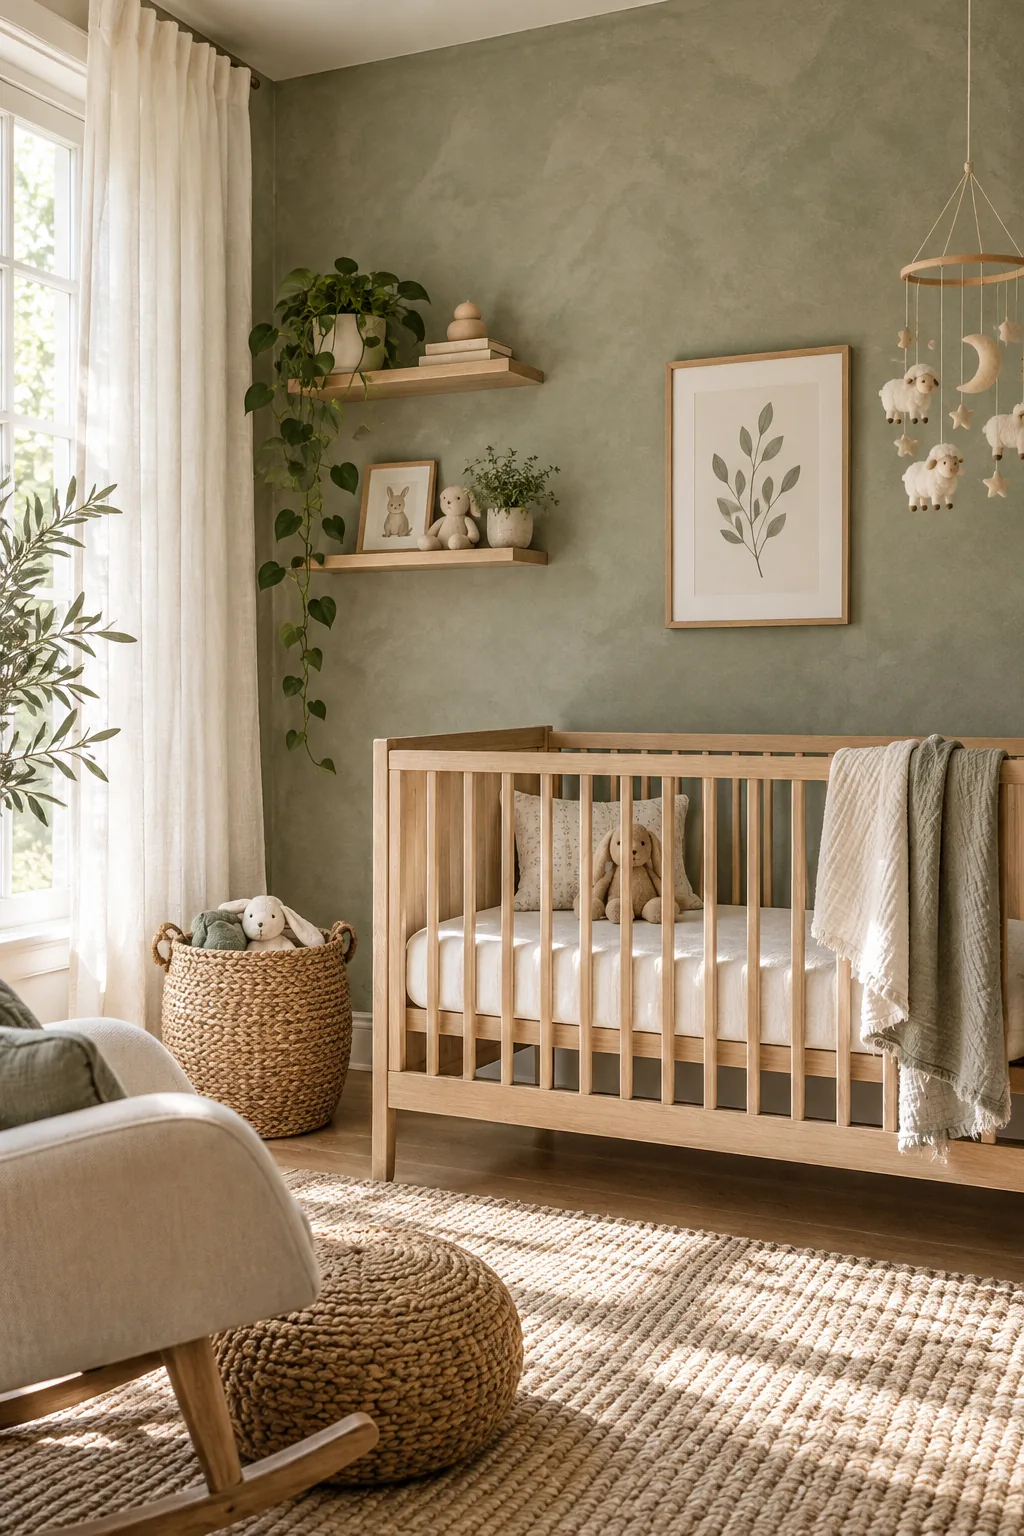
Soft Sage Green Nursery: Create a calming sanctuary for a nursery using soft sage green texture and light woods.
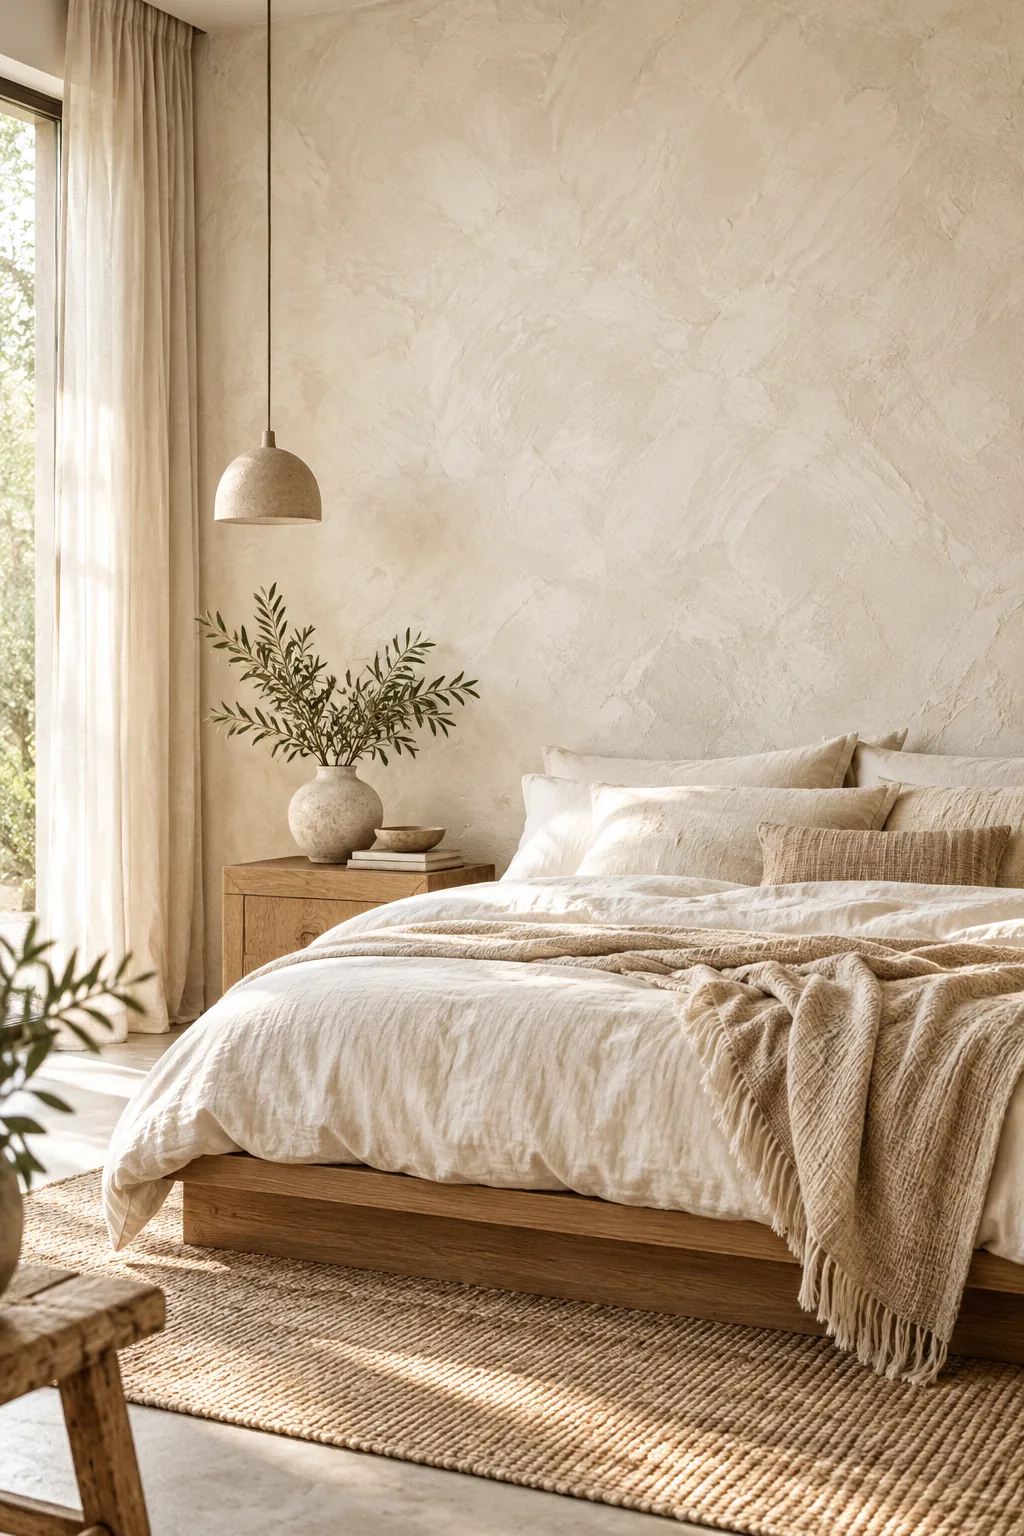
Creamy Off-White Bedroom: Achieve a serene wabi-sabi aesthetic with off-white texture and rumpled linen bedding.
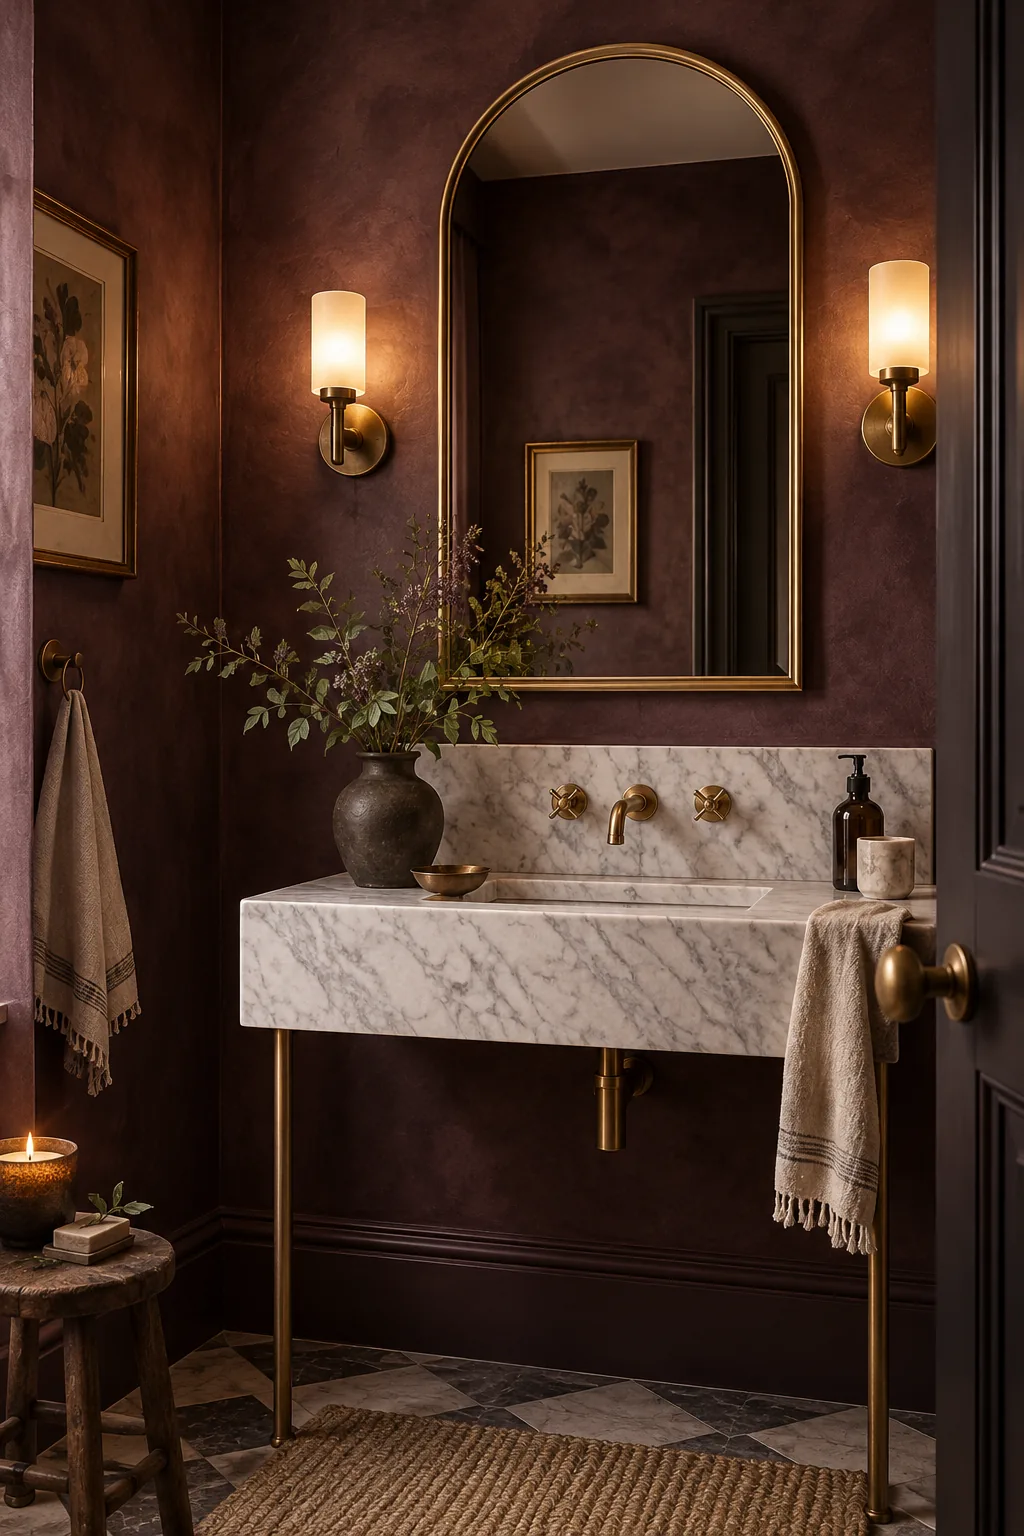
Deep Plum Powder Room: Make a dramatic statement in a small powder room with rich plum texture and brass mirrors.
Curing and Final Assessment
The wall will appear alarmingly dark when wet, but it will lighten by up to 40 percent as it cures completely over 48 hours.
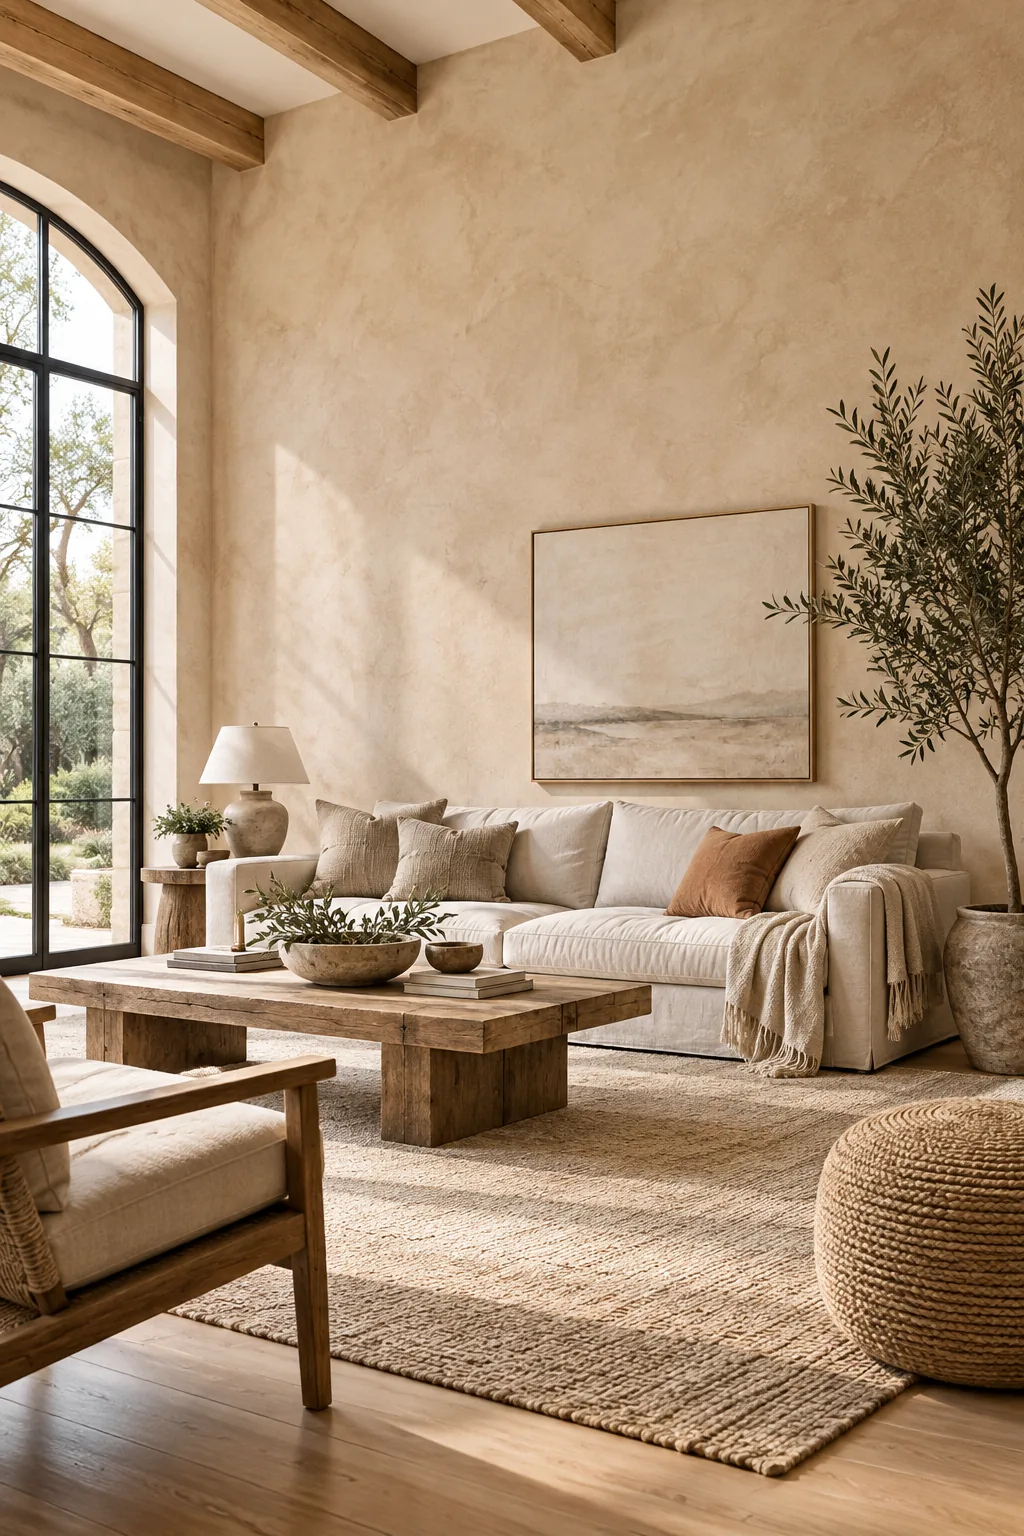
Once the final coat is on the wall, the waiting game begins; I always panic at the dark wet stage, but run through these final checks before moving furniture.