
Horizontal Privacy Fence: The Complete Build & Spacing Guide
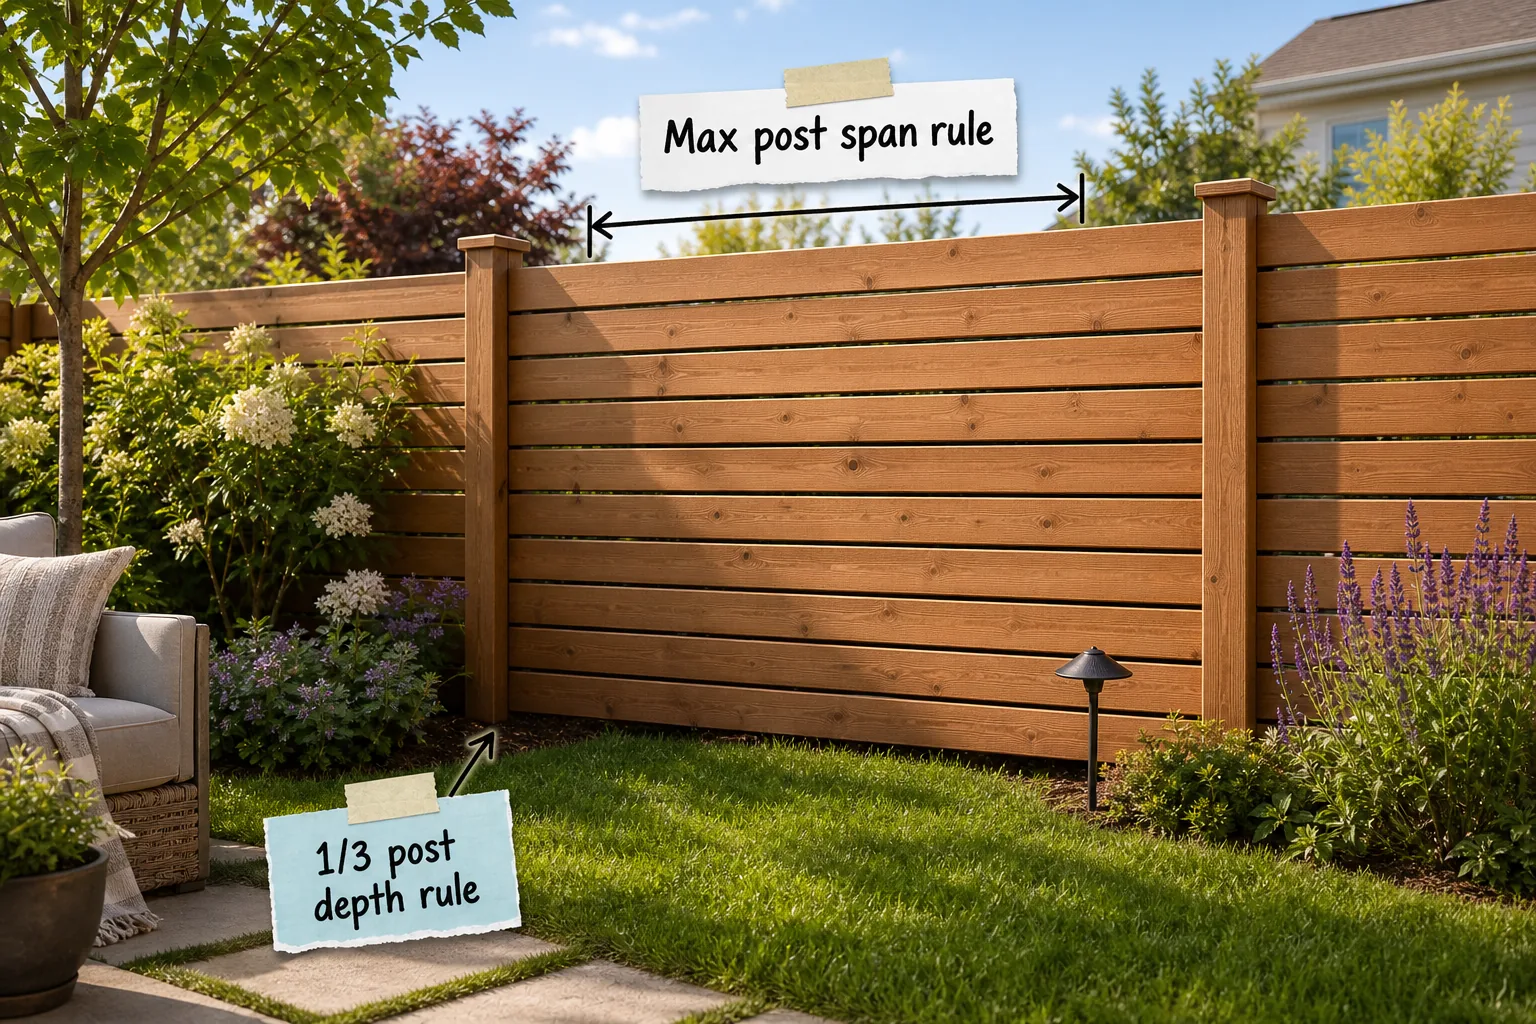
Building a secure, modern horizontal cedar fence requires precise planning, so we have compiled the complete fence build guide and exact spacing measurements you need. You will be able to calculate your exact material needs and space your posts and slats correctly for a durable result.
The 1/3 Post Depth Rule
Structural stability relies entirely on the 1/3 post depth rule, which dictates that one-third of your total post length must be buried underground. To support a standard 6-foot fence above ground, you must purchase a 9-foot post.

Burying exactly 3 feet of the post below grade anchors the structure securely beneath the frost line. This depth prevents high winds and shifting soil from destabilizing the fence line.
Sizing the Post Hole Diameter
Your concrete footing must be wide enough to support the heavy cedar boards against lateral wind loads. Always dig holes that are exactly three times the width of your post to ensure adequate concrete coverage.
| Post Size | Hole Diameter | Concrete Bags | Gravel Base |
|---|---|---|---|
| 4×4 standard | 12 inches | 3 bags | 6 inches |
| 6×6 upgrade | 18 inches | 5 bags | 6 inches |
Adding six inches of crushed gravel at the bottom of each hole facilitates drainage. Digging a bell-shaped hole that widens at the base actively prevents winter frost heave from pushing the concrete footing upward.
The Max Post Span Rule
Horizontal boards carry their own weight differently than vertical pickets, making the max post span rule critical. Structural posts must be spaced a strict maximum of 6 feet apart on center to maintain rigidity.
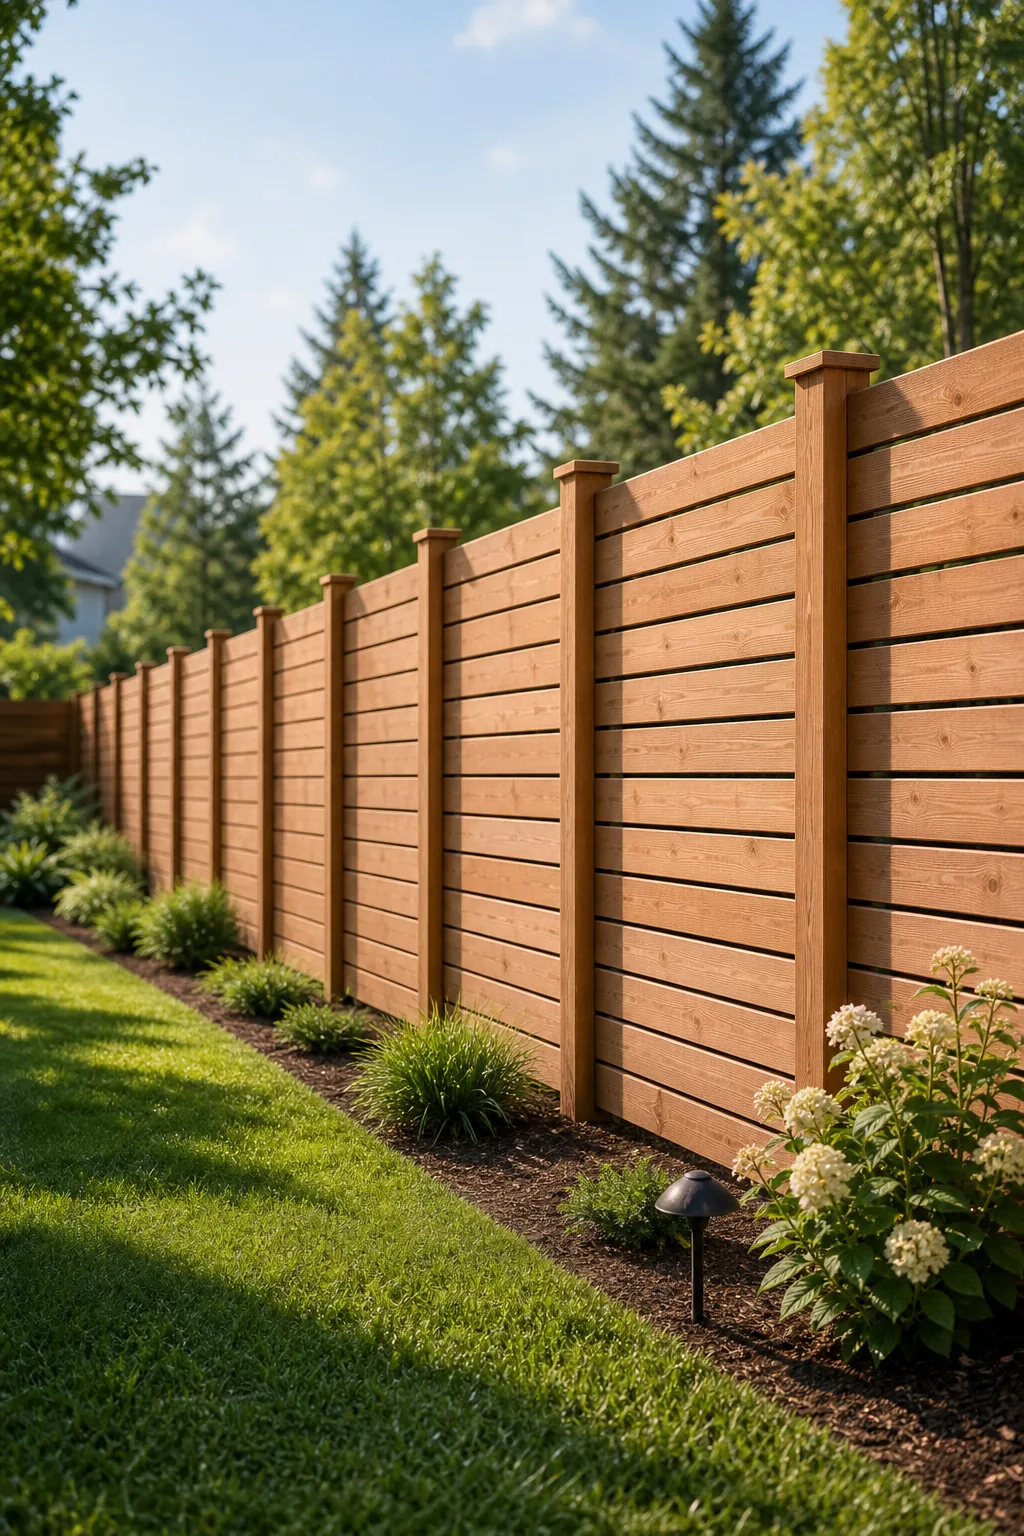
Pushing your post spacing too far is the most common cause of a ruined horizontal fence.
Planning the Fence Layout
Before mixing any concrete, you must establish a perfectly straight string line to guide your post locations. This ensures your final horizontal boards will run true without bowing inward or outward.
- Stake the corners: Drive wooden stakes at the exact terminal points of your property line.
- Run the string: Pull a masonry line tightly between the stakes, keeping it perfectly level.
- Mark the centers: Spray marking paint on the grass exactly every 72 inches along the string.
Marking these locations accurately before you dig ensures your 6-foot post spans remain perfectly consistent. This precision means you will rarely have to trim the ends of your expensive cedar boards.
Setting Posts for Longevity
Pouring the concrete footings correctly is just as important as digging them to the right depth. Fill the hole until the concrete sits roughly two inches above the surrounding soil level.
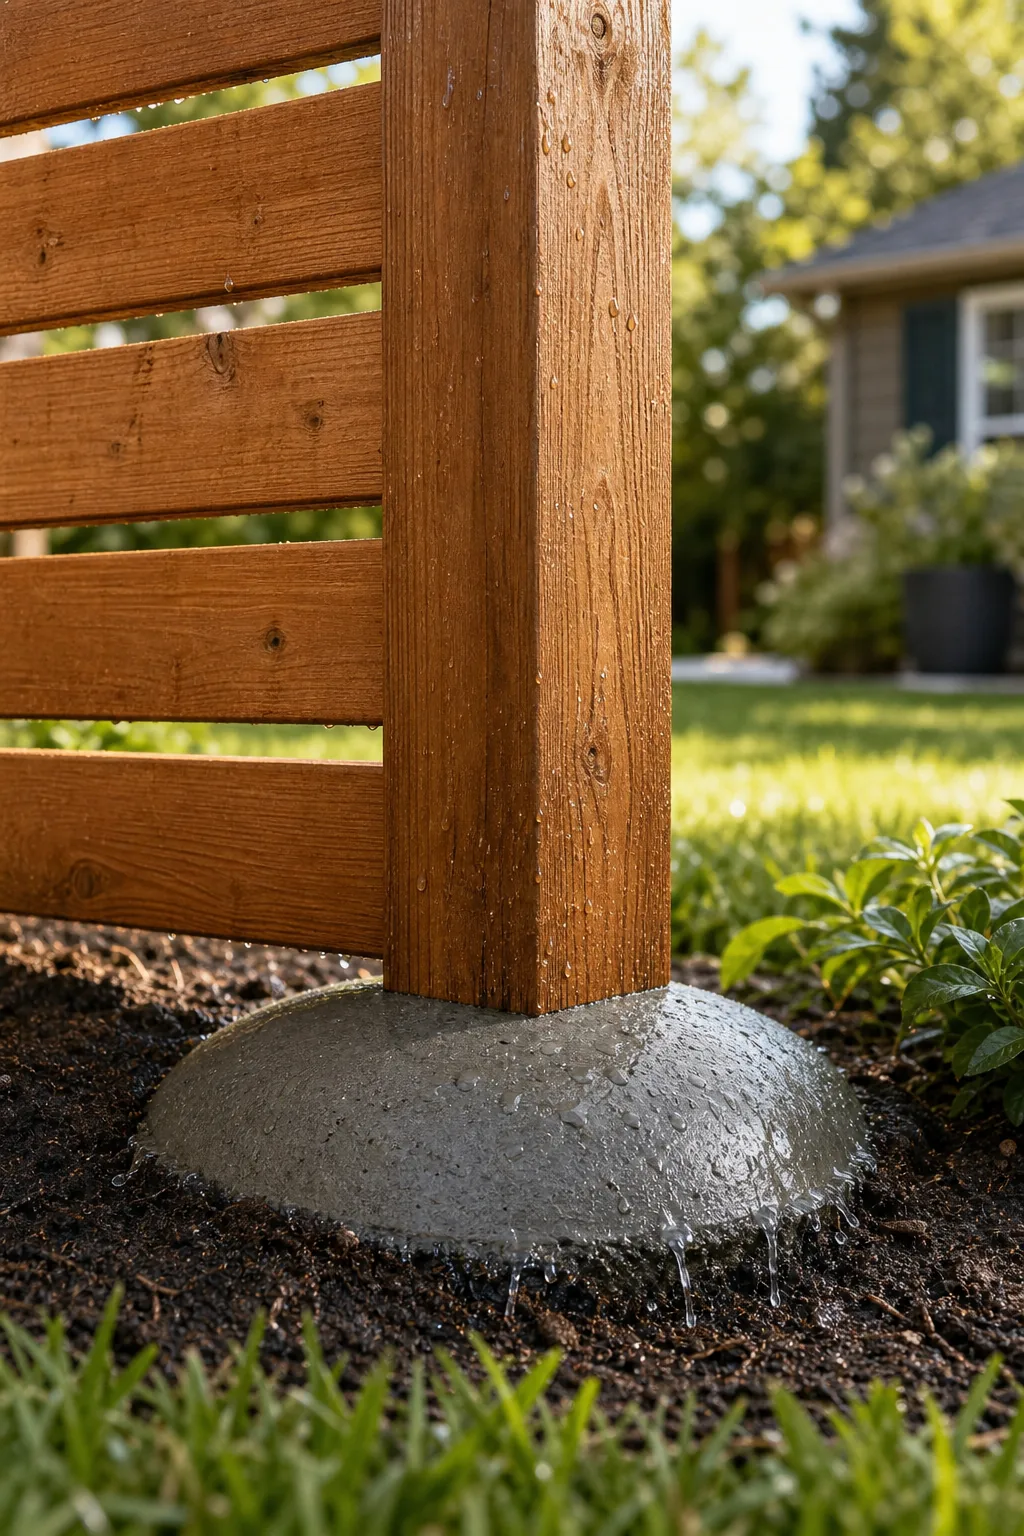
Use your trowel to sculpt a domed concrete footing that slopes downward from the wood. This shape actively channels rainwater away from the base, protecting the vulnerable grain from ground moisture.
Upgrading to Thicker Corner Posts
While standard 4×4 posts are sufficient for your 6-foot line spans, upgrading your corners adds massive structural stability to the entire perimeter.
This added mass easily resists the immense tension created by long runs of horizontal boards, ensuring your gates never sag and your corners never pull inward.
The Rot-Proof Base Board
The lowest horizontal layer is the most susceptible to decay, requiring a strict rot-proof base board installation. You must leave a permanent 2-inch gap between the bottom slat and the lawn.
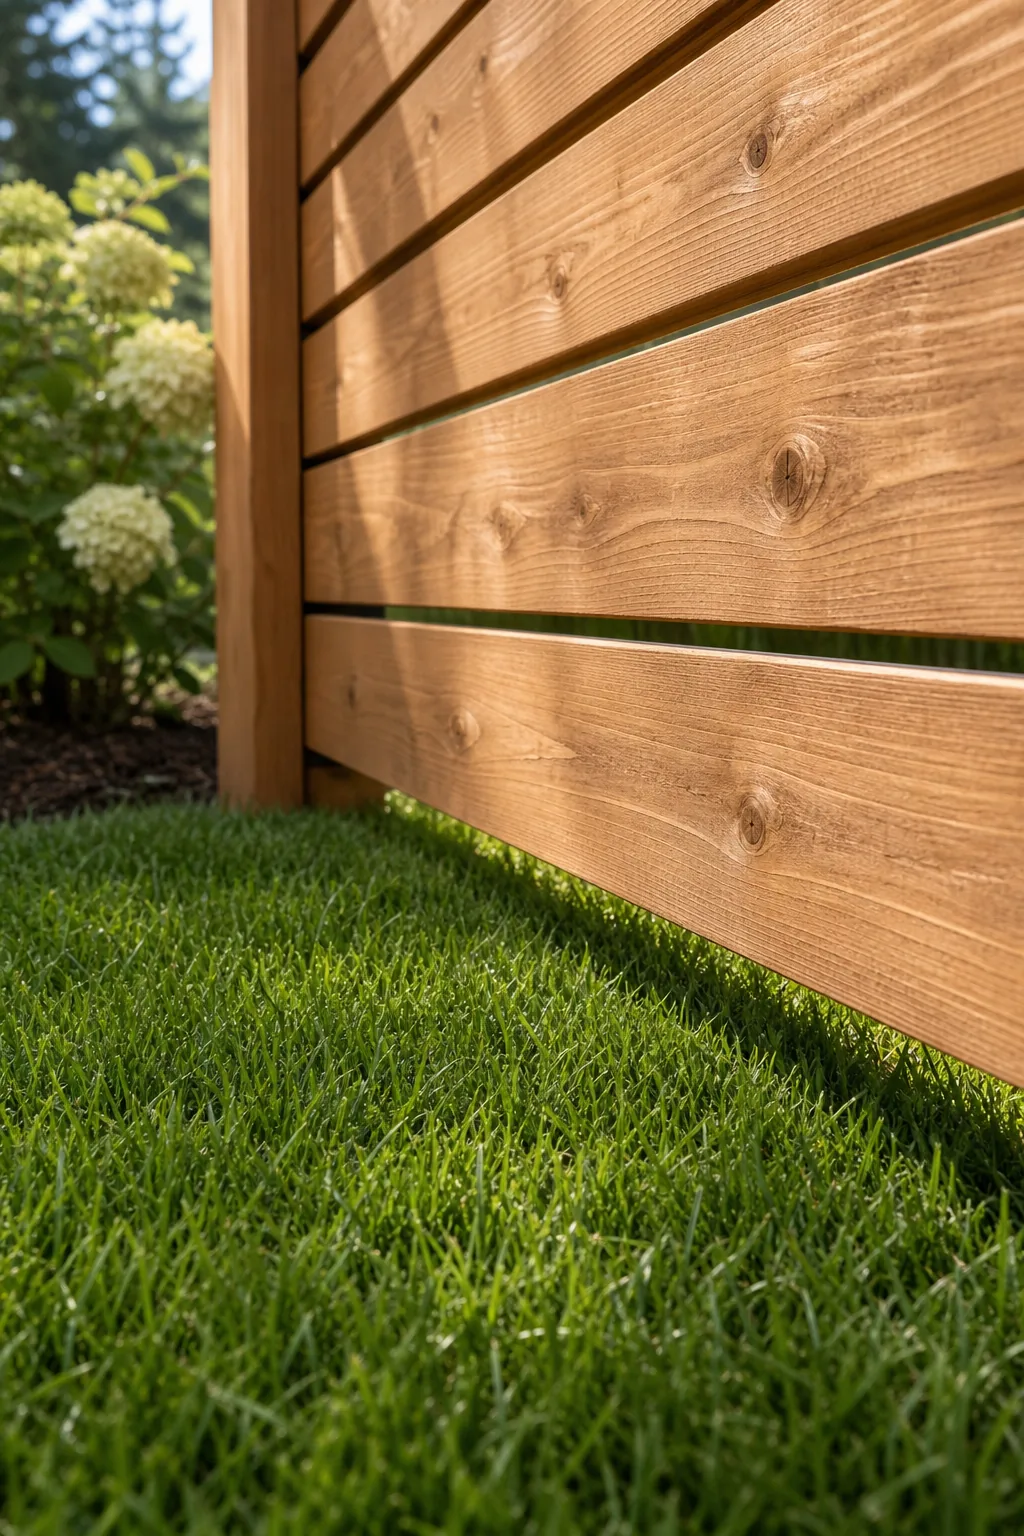
This intentional gap prevents wet soil from destroying the dry wood fibers. It also provides enough room to safely operate a string trimmer without damaging your cedar.
Establishing a Level Starting Line
Because yard grades naturally slope and roll, you must use a laser level to strike a perfectly horizontal reference line across all posts. Fastening your base board along this true level line ensures every subsequent course stacks flawlessly to the top.
The Wind-Safe Slat Gap
Solid privacy walls act like massive sails during a storm, which is why you must leave a wind-safe slat gap. Intentionally spacing the horizontal boards prevents severe weather from snapping your posts.
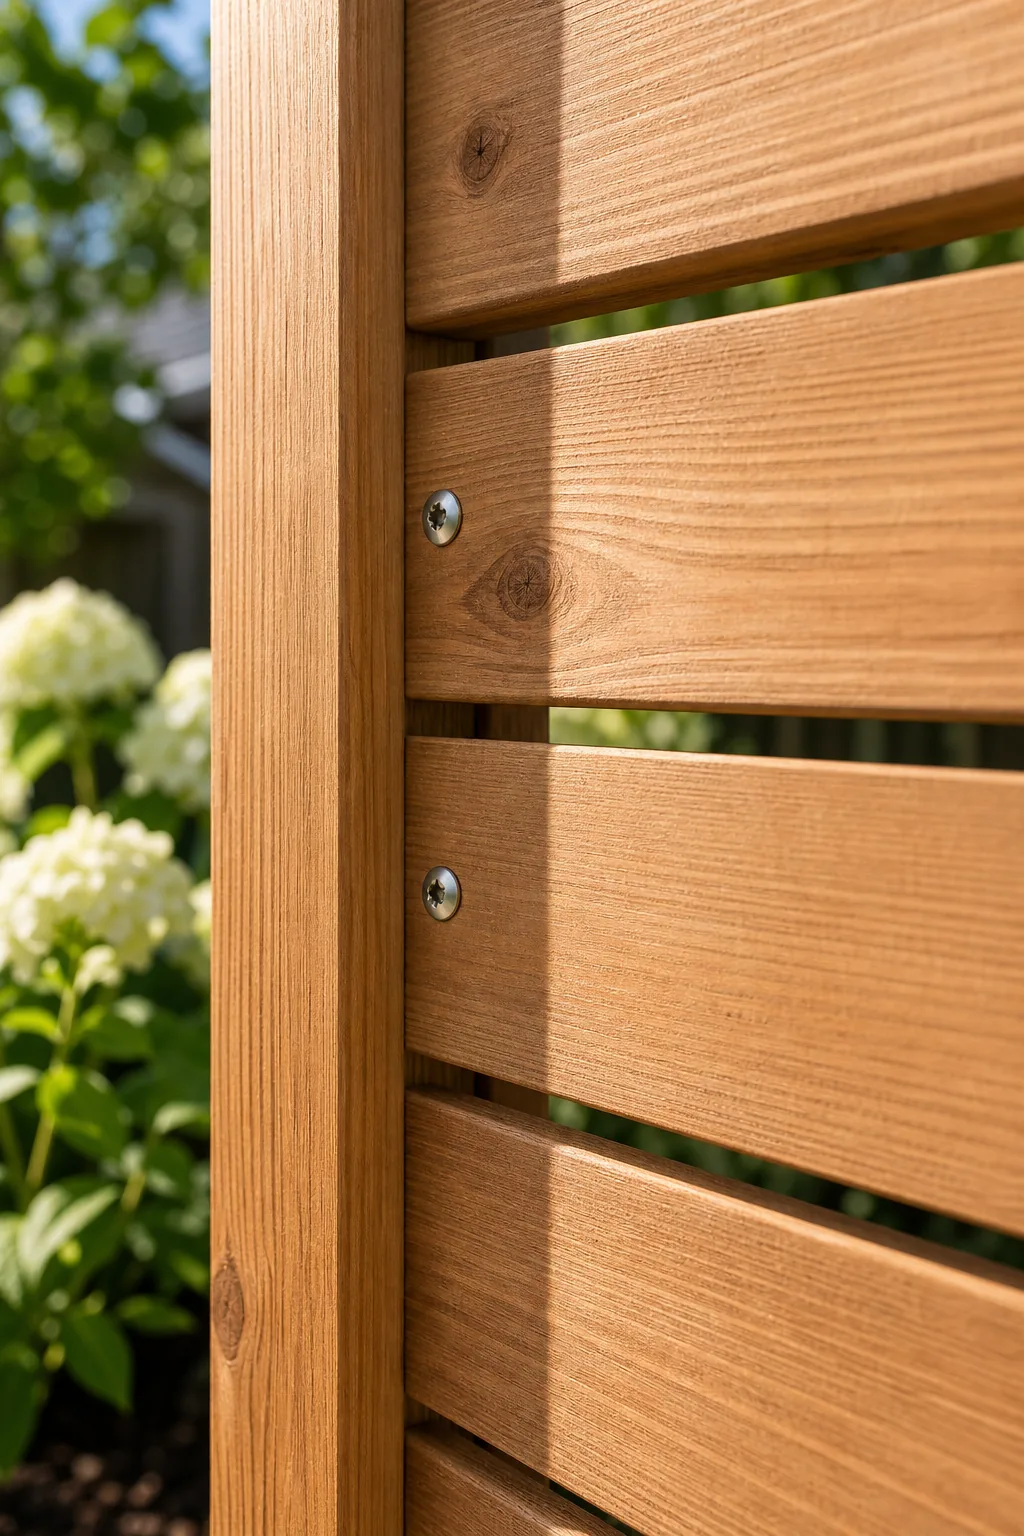
Leave a 1/4-inch to 1/2-inch gap between every horizontal slat to allow air to pass through safely. This breathing room also lets the cedar boards naturally expand when soaked by heavy rain.
Using Spacers for Consistent Gaps
To maintain perfect parallel lines as you build upward, insert rigid wooden spacer blocks between the boards before driving your screws. Moving these temporary blocks along the seam ensures your horizontal gaps remain identical from the first post to the last.
Fastening the Horizontal Slats
Securing the heavy cedar requires heavy-duty hardware that can resist the wood’s natural tendency to cup and twist. You must drive two stainless steel screws through the board at every post crossing.
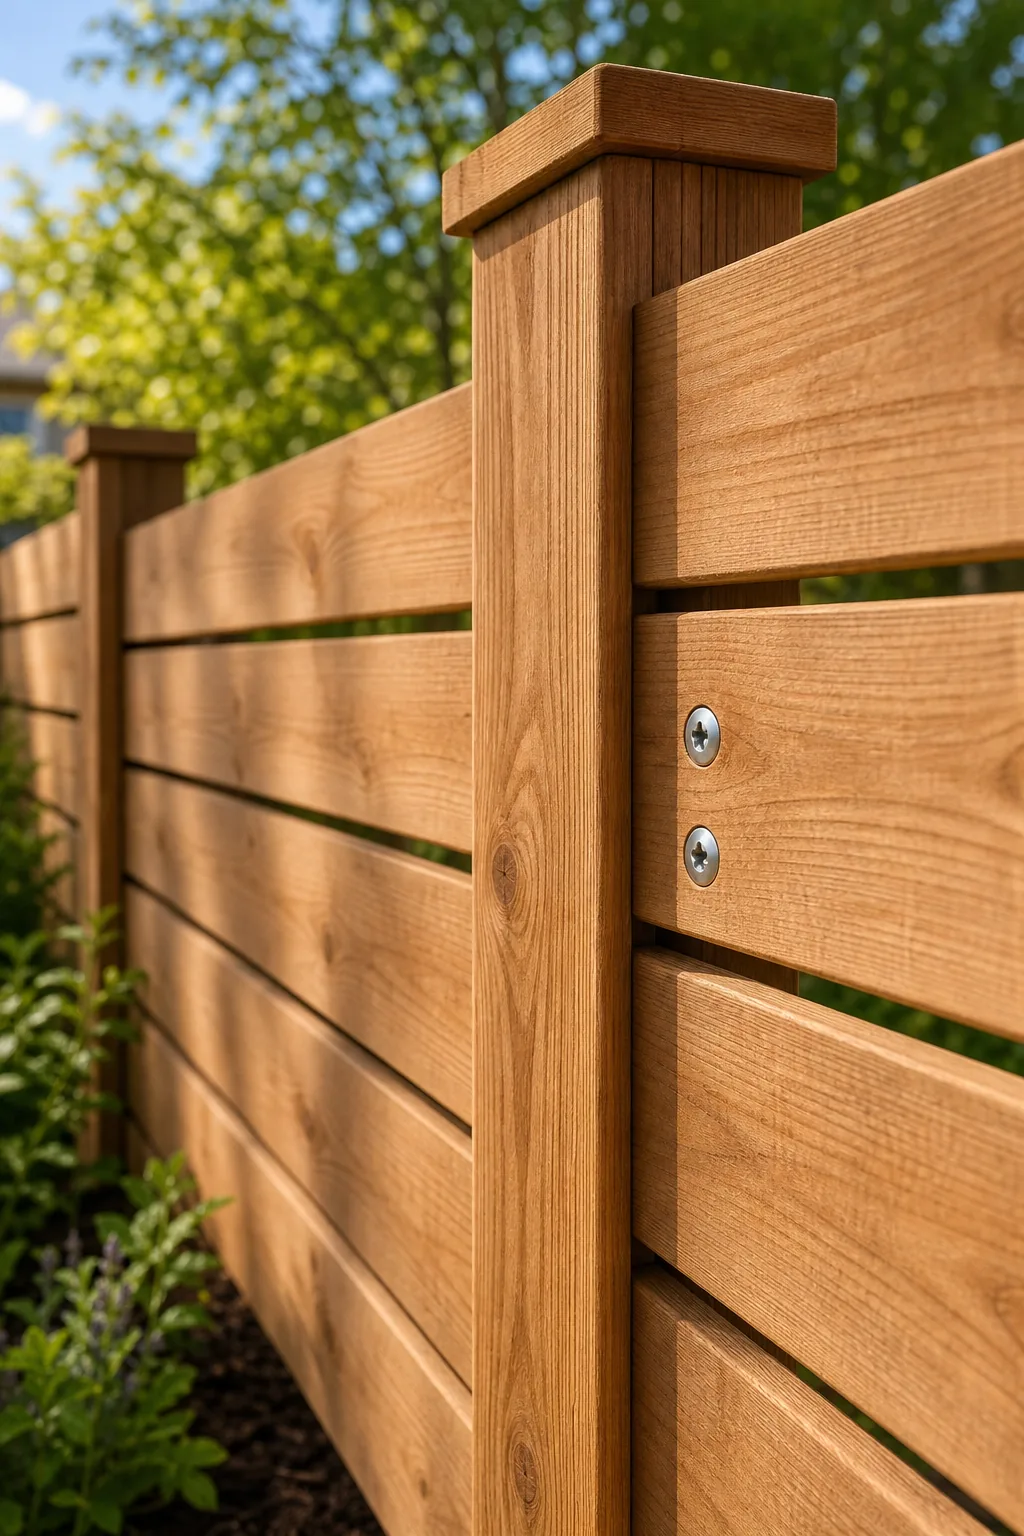
Never use standard framing nails, which will inevitably pull out as the wood naturally warps over the seasons. Premium screws permanently lock the boards down and maintain a pristine appearance regardless of the weather.
Pre-Drilling to Prevent Wood Splitting
Because the fasteners sit very close to the ends of the horizontal boards, driving screws directly into the raw wood often causes severe splitting. Always pre-drill pilot holes through the cedar to protect the fragile end grain and ensure a flush screw head.
Staggering Slat Seams for Strength
If all your horizontal boards end on the exact same vertical post, that single post becomes a massive structural weak point. You must intentionally stagger the butt joints across the fence line.

By alternating where the board ends meet on alternating posts, you distribute the structural tension evenly. This weaving technique creates a continuous, rigid wall that is far stronger than isolated sections.
Sealing the Cedar End Grain
The freshly cut ends of your horizontal boards absorb water ten times faster than the flat faces. Brushing a clear, penetrating wood sealer onto every exposed end grain before installation prevents deep moisture rot and stops the boards from checking.
The Complete Spacing and Build Guide
You now possess the complete fence build guide and exact spacing measurements required for a flawless installation. Combining the 1/3 post depth, 6-foot max span, 2-inch base clearance, and 1/4-inch slat gap guarantees a lasting structure.

Before you buy your cedar and start digging, run through this final planning checklist.