Farmhouse Master Bedroom: Builder Grade to Rustic Retreat
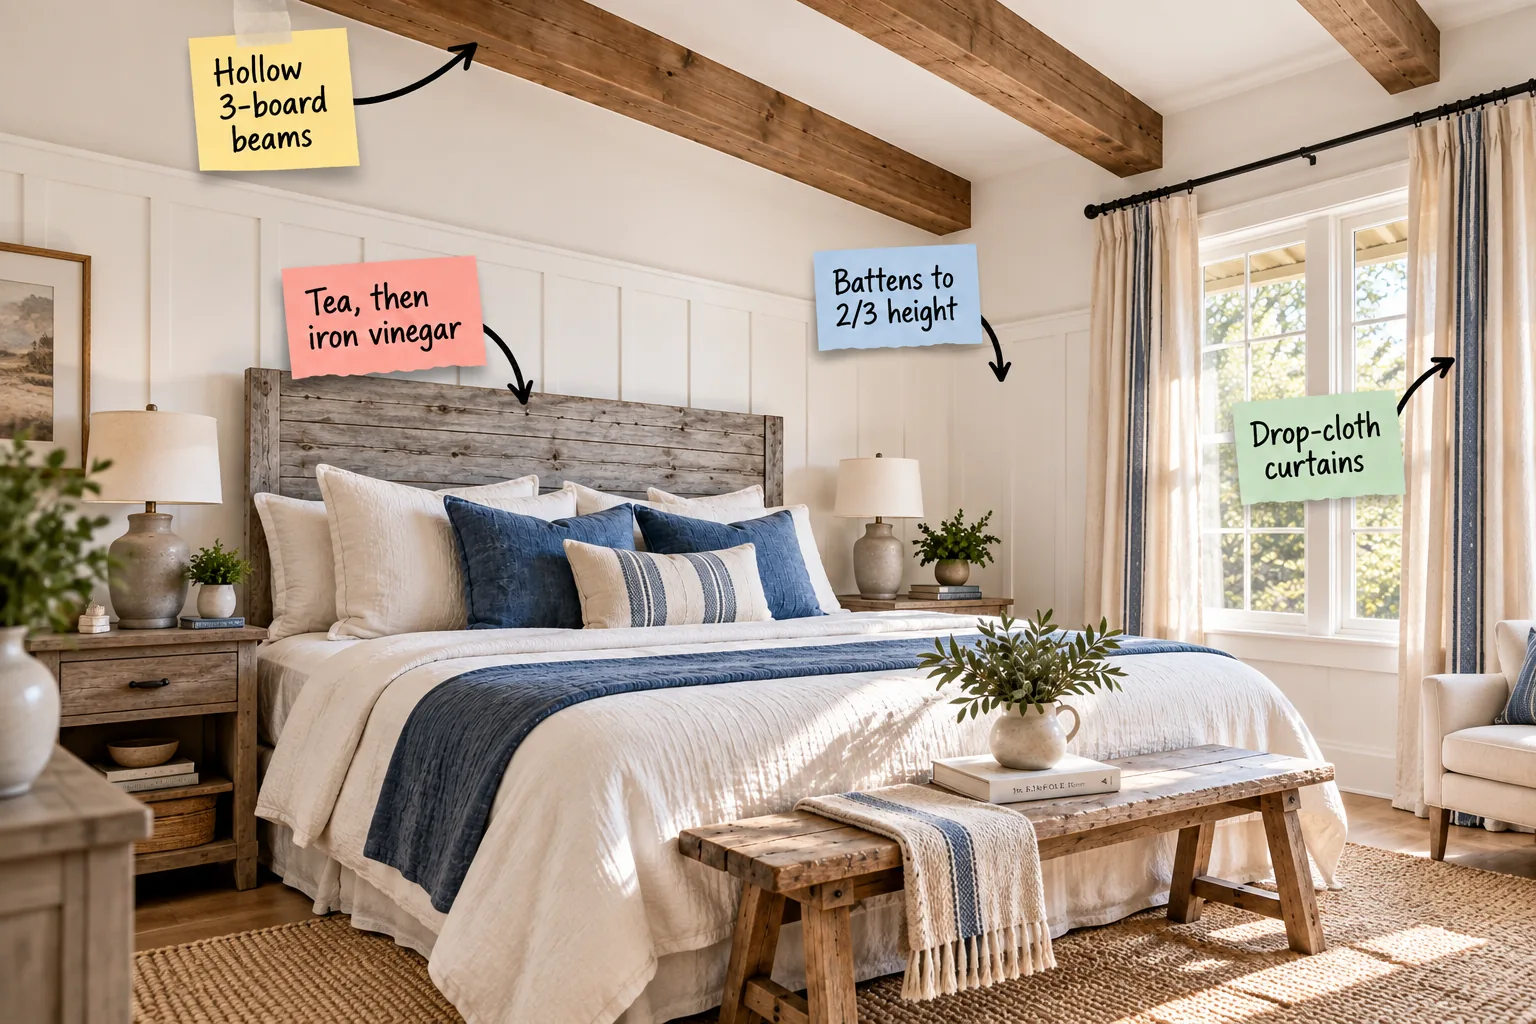
Transform your plain builder-grade space into a custom rustic retreat by focusing on architectural layers and textured textiles. Grab the complete Farmhouse Master Bedroom Cut & Materials List below so you can confidently measure, cut, and install every detail from the ceiling beams to the wainscoting.
Building Hollow 3-Board Ceiling Beams
When I first stared at my own flat bedroom ceiling in Austin, I knew adding hollow 3-board beams was the fastest way to inject instant architectural character. You simply assemble standard 1×6 pine boards into a U-shape to mimic massive solid timber framing.
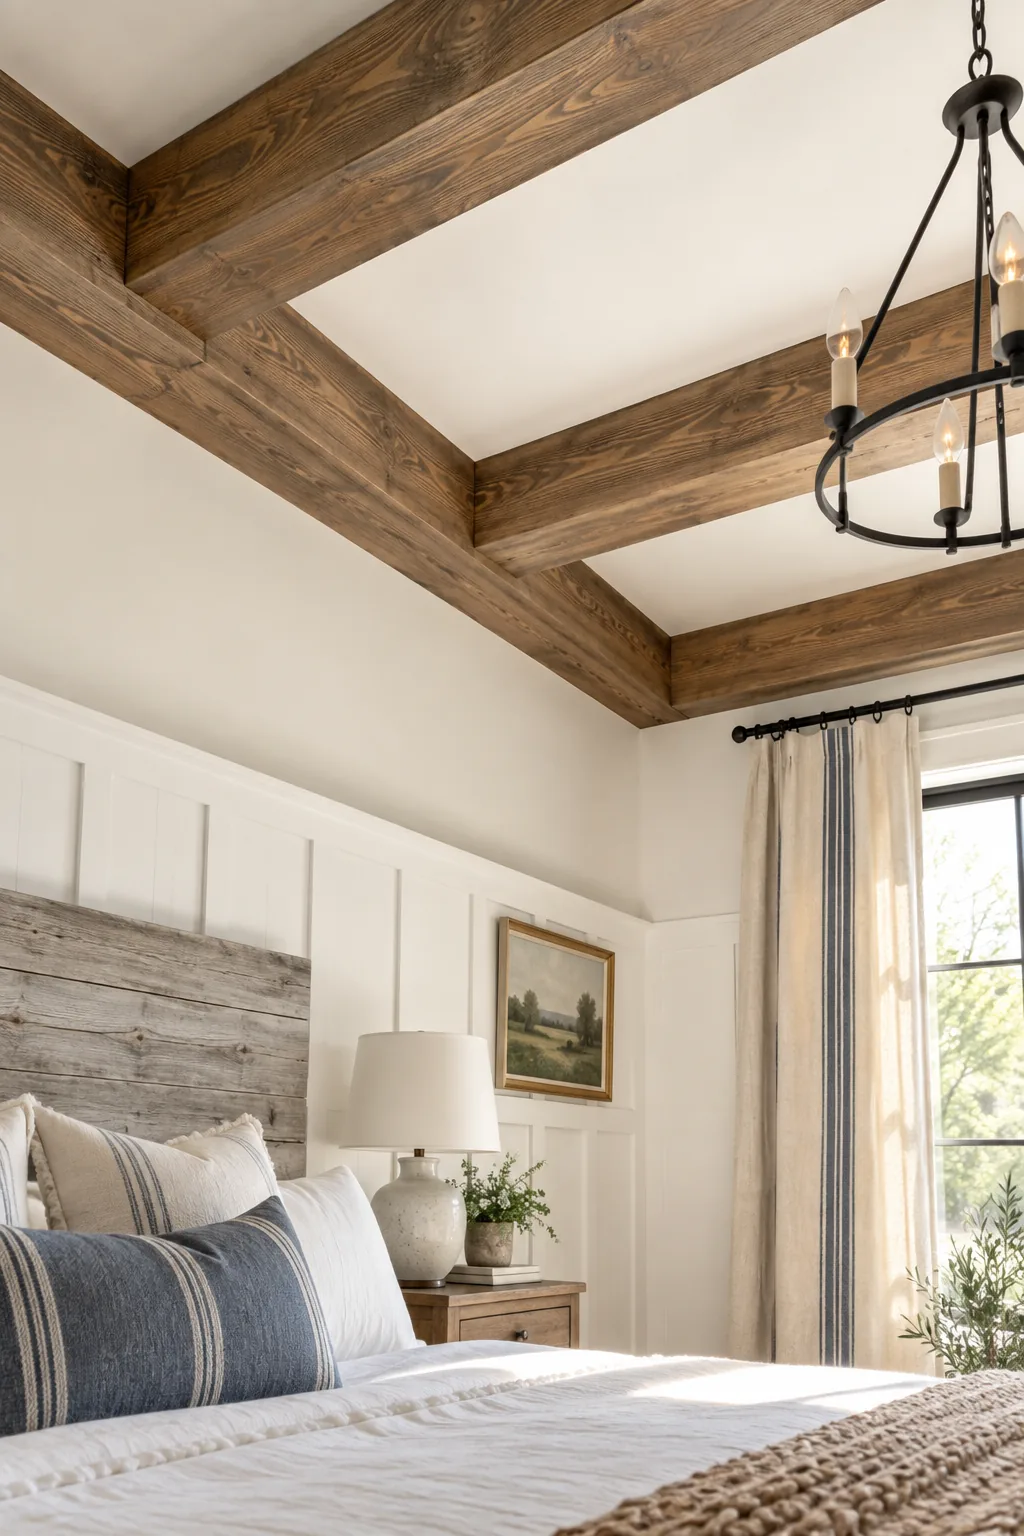
Slipping the assembled wood over a hidden structural support makes the installation process manageable for a single weekend. While basic butt joints are certainly easier for beginners, a simple adjustment at the table saw makes the finished wooden beam look entirely seamless.
Securing Beam Cleats to Ceiling Joists
Your hollow beam structure slips directly over a 2×4 mounting cleat that must be secured firmly to the ceiling joists above. Locating these structural joists with a reliable stud finder guarantees your heavy wooden beams will never sag or pull away from the drywall.
| Ceiling Material Type | Required Fastener Size | Recommended Spacing | Weight Capacity |
|---|---|---|---|
| Standard 1/2-inch Drywall | 3-inch #10 wood screws | Every 16 inches | Standard load |
| Thick Plaster and Lath | 4-inch heavy toggle bolts | Every 24 inches | Medium load |
| Exposed Structural Rafters | 5/16-inch lag screws | At each rafter intersection | Maximum load |
Driving your chosen fasteners perfectly straight into the solid framing provides the rigid backbone needed to support the entire ceiling installation safely. Never rely on standard drywall anchors when suspending heavy wooden architectural elements directly over your main sleeping area.
Installing Board-and-Batten to Two-Thirds Height
Taking your bright white wainscoting up to roughly 64 inches on a standard 8-foot ceiling dramatically elevates the entire room. This specific two-thirds proportion draws the eye upward immediately, making the bedroom space feel significantly taller than traditional chair-rail height ever could.
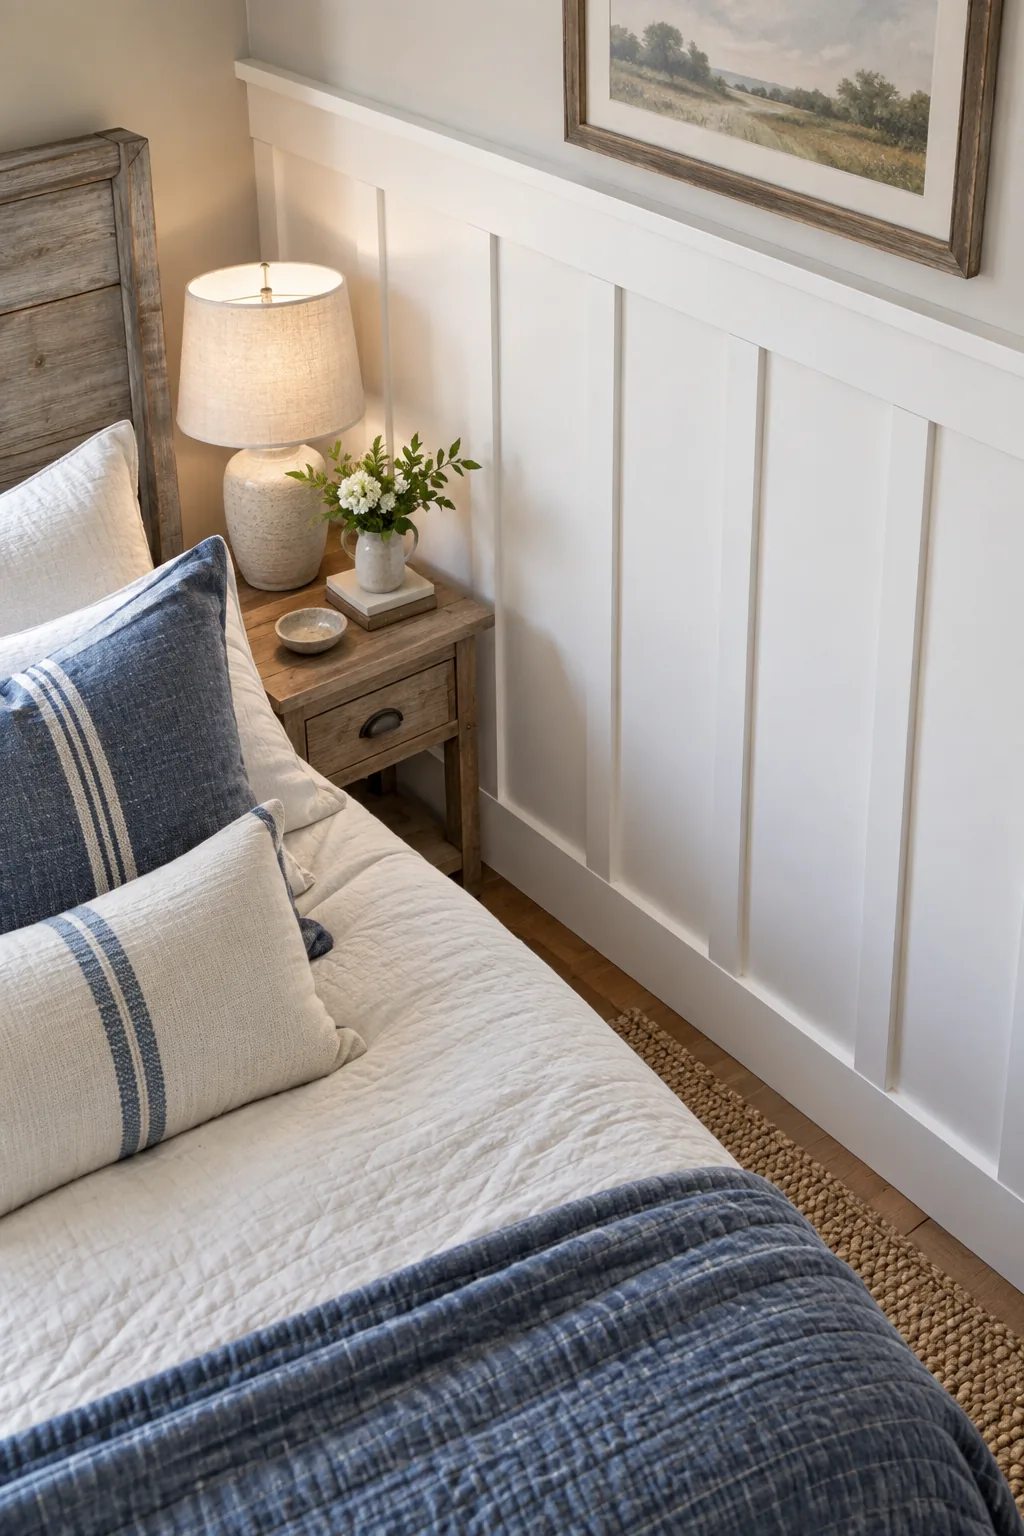
The visual proportion achieved by stopping the wainscoting just above the midway mark balances the heavy ceiling beams perfectly. Finishing the top edge with a flat horizontal rail gives the entire wall treatment a polished, professional appearance that anchors the bedroom furniture.
Spacing and Nailing the Vertical MDF Strips
I always recommend using 1×3 MDF for the vertical battens because the composite material stays perfectly straight and accepts paint beautifully. Setting your spacing correctly ensures the wall treatment looks like intentional architecture rather than a cluttered, poorly planned afterthought.
- Mark vertical plumb lines exactly 16 inches apart across the entire bedroom wall.
- Apply a thin, continuous zigzag bead of construction adhesive to the back of each strip.
- Secure the battens using 2-inch brad nails driven directly into the underlying drywall.
- Fill every visible nail hole with a high-quality, shrink-resistant wood putty.
- Sand the dried putty flush before applying any primer or finish paint.
Caulking the long vertical seams where the MDF meets the drywall is the crucial final step that makes the finished wainscoting look like original built-in architecture. Skipping this step leaves dark shadow lines that immediately give away the DIY nature of the project.
Aging Pine with Tea and Iron Vinegar
Creating that beautifully weathered-gray planked pine headboard requires a specific two-part chemical weathering process. You must brush on a strong black tea wash first, followed by a reactive mixture of fine steel wool steeped in plain white vinegar for 24 hours.
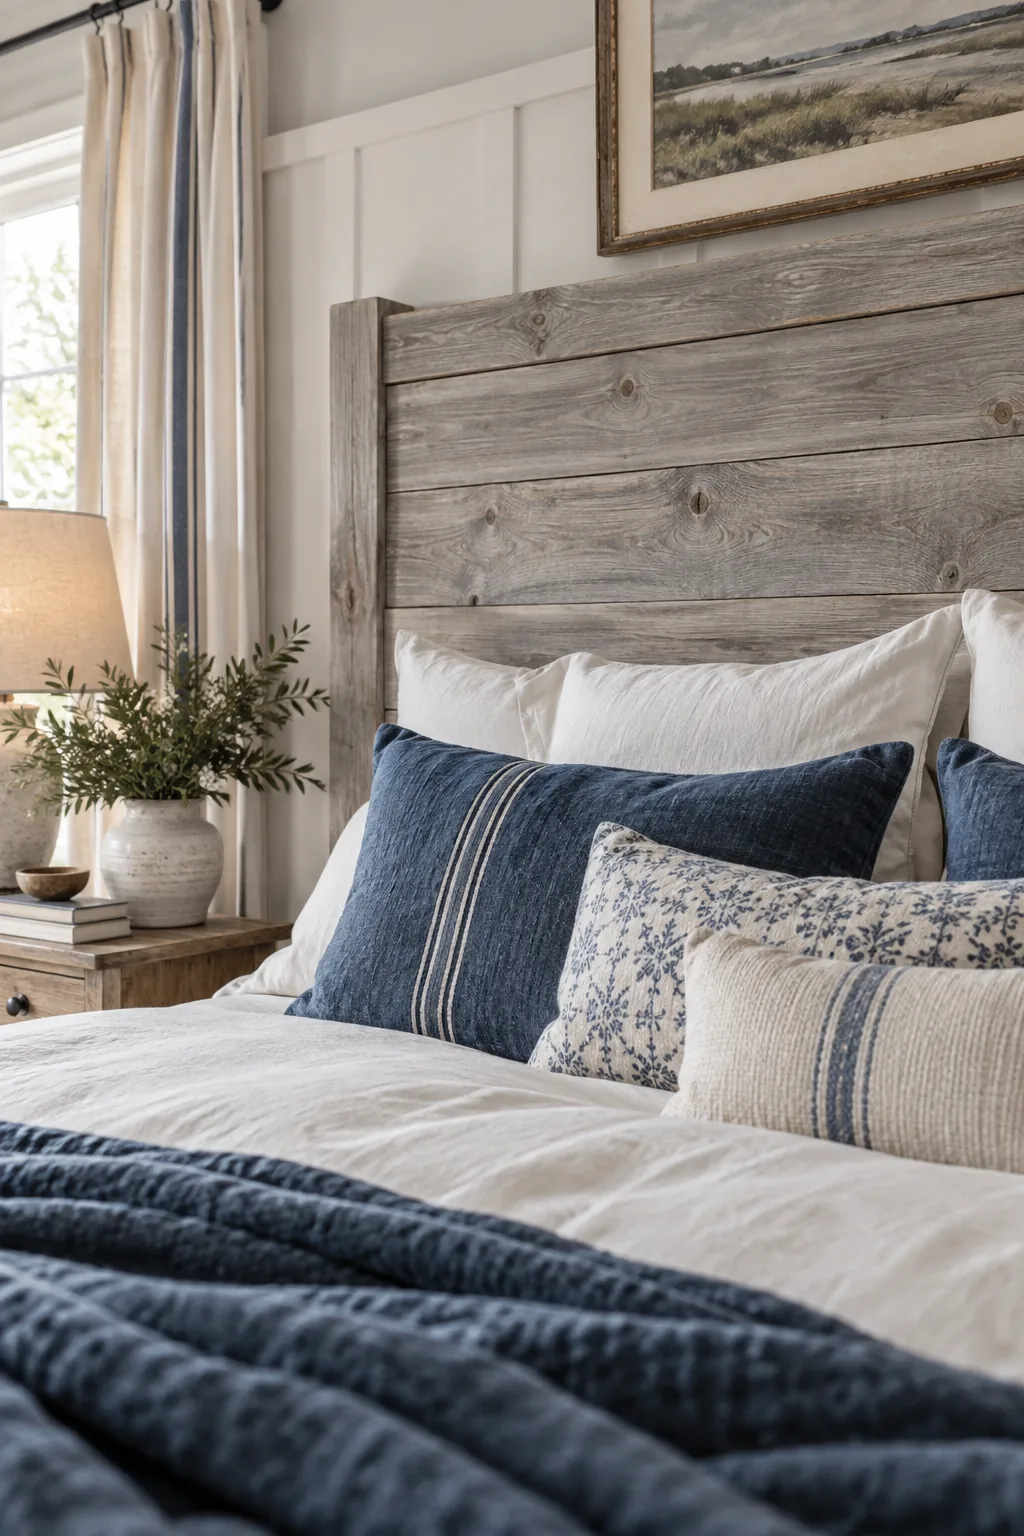
The authentic silvery gray tone produced by the chemical reaction on pine perfectly mimics decades of natural outdoor exposure. This chemical oxidation is highly reliable, but rushing through the application steps will leave you with muddy brown wood instead of that coveted silver.
Sealing the Weathered Wood Headboard
Once the wood reaches your desired shade of gray, you must lock in the color to prevent further darkening over time. Applying a high-quality water-based polyurethane stops the chemical reaction completely while protecting your pillows from any lingering rust residue or splinters.
Choosing a dead-flat or matte finish preserves the authentic rustic texture of the aged wood. Glossy sealers will instantly ruin the illusion of reclaimed barn wood, making the headboard look like cheap manufactured furniture rather than a custom architectural piece.
Sewing Drop-Cloth Window Panels
Repurposing 9×12 heavy-duty canvas drop cloths into floor-length curtains is a favorite budget secret I used extensively in my own guest room. The thick natural fabric provides beautiful dimensional texture and blocks harsh morning light just as well as expensive custom drapery.
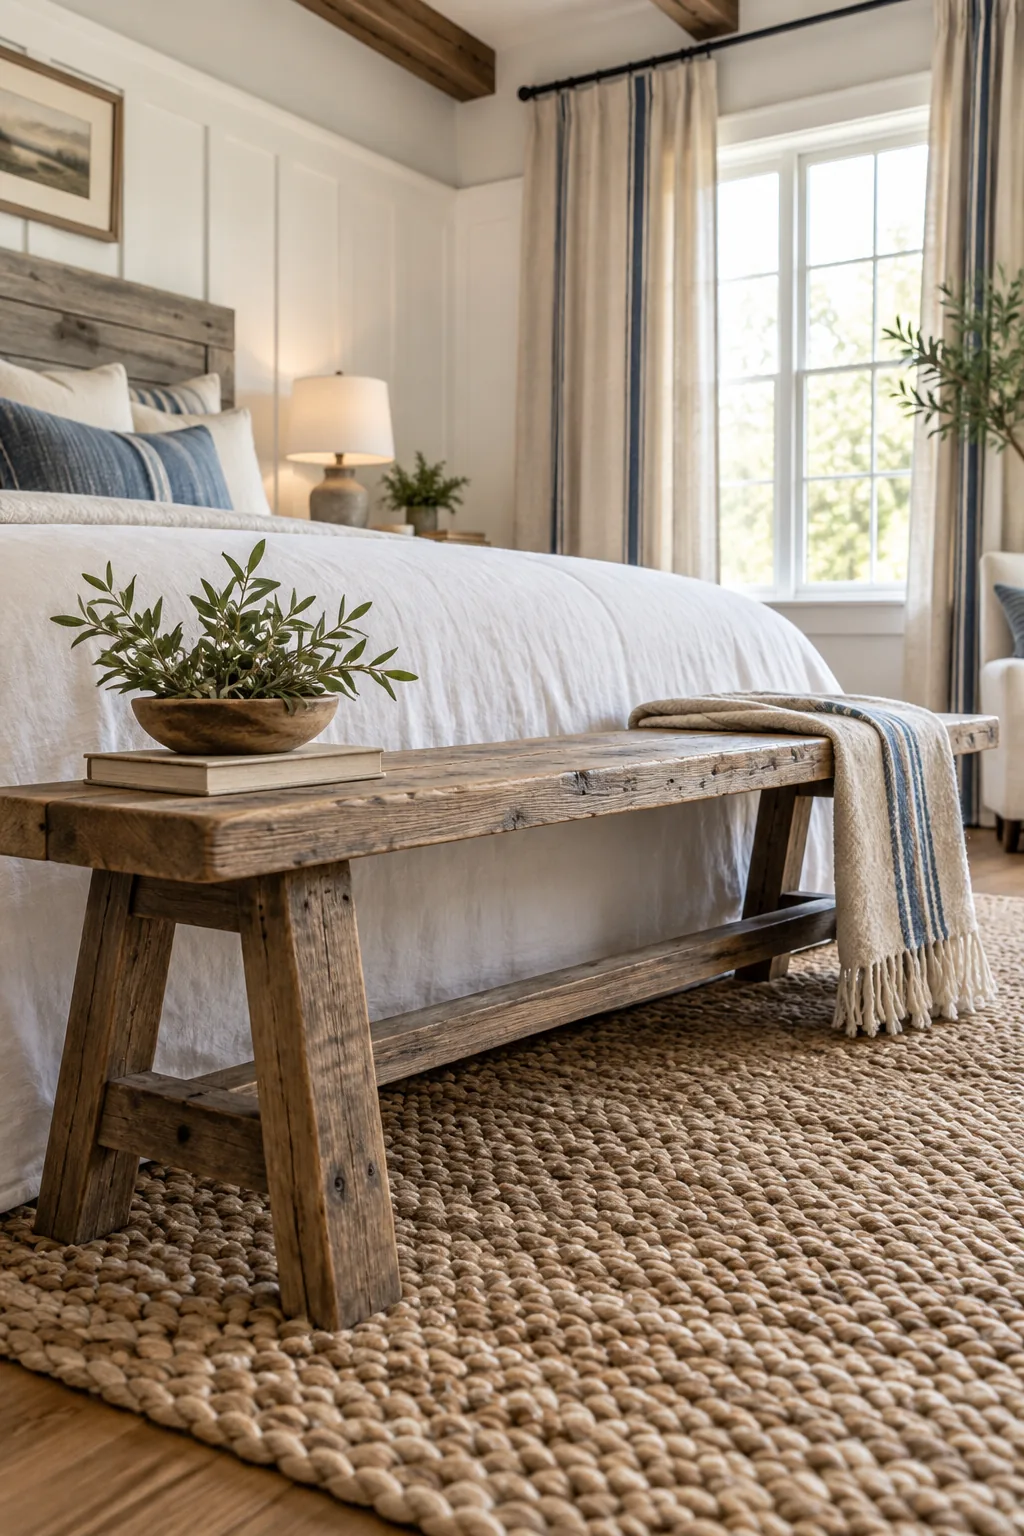
The heavy, structured drape of these utility fabrics creates deep, even folds that hold their shape beautifully. Spacing your hanging hardware exactly four inches apart along the top edge ensures the stiff material glides effortlessly across the metal curtain rod.
Customizing Curtains with an Indigo Stripe
Adding a painted indigo grain-sack stripe down the leading edge of each panel transforms basic canvas into a premium custom detail. Using a specialized fabric medium mixed with standard acrylic paint ensures the colored stripe remains soft and flexible rather than cracking.
- Wash and dry the canvas drop cloths twice to remove any chemical sizing.
- Iron the fabric completely flat using the highest steam setting available.
- Tape off a crisp two-inch vertical stripe using high-quality painter’s tape.
- Mix your deep indigo acrylic paint with the fabric medium according to the bottle.
- Brush the paint mixture firmly into the canvas fibers and let it cure overnight.
Heat-setting the dried painted stripe with a hot iron permanently bonds the color to the thick canvas fibers. This crucial step guarantees your custom indigo detailing will never bleed or fade when you eventually need to wash the heavy window panels.
Layering Indigo and Washed Linen Bedding
Breaking down the textile mix on the bed creates that coveted lived-in comfort essential to the farmhouse aesthetic. The sharp visual contrast between a crisp white linen duvet cover and deeply textured indigo throw pillows forms the welcoming centerpiece of the room.
- Start with breathable percale cotton sheets in a bright, clean white tone.
- Add a lightweight waffle-knit blanket tucked tightly around the mattress sides.
- Fold a fluffy washed linen duvet over the foot of the bed for volume.
- Prop up three deeply textured indigo pillows against the weathered headboard.
Stuffing your decorative covers with standard 20×20 feather inserts keeps the pillows looking plush and perfectly chopped. Using inserts that are slightly larger than your covers guarantees that luxurious, overstuffed appearance seen in high-end lifestyle magazines.
Grounding the Space with Rustic Accents
Anchoring the foot of the bed with a heavily distressed reclaimed wood bench adds necessary warmth to the bright white architecture. Layering a chunky braided jute rug underneath introduces rich, earthy texture right where you step out of bed each morning.
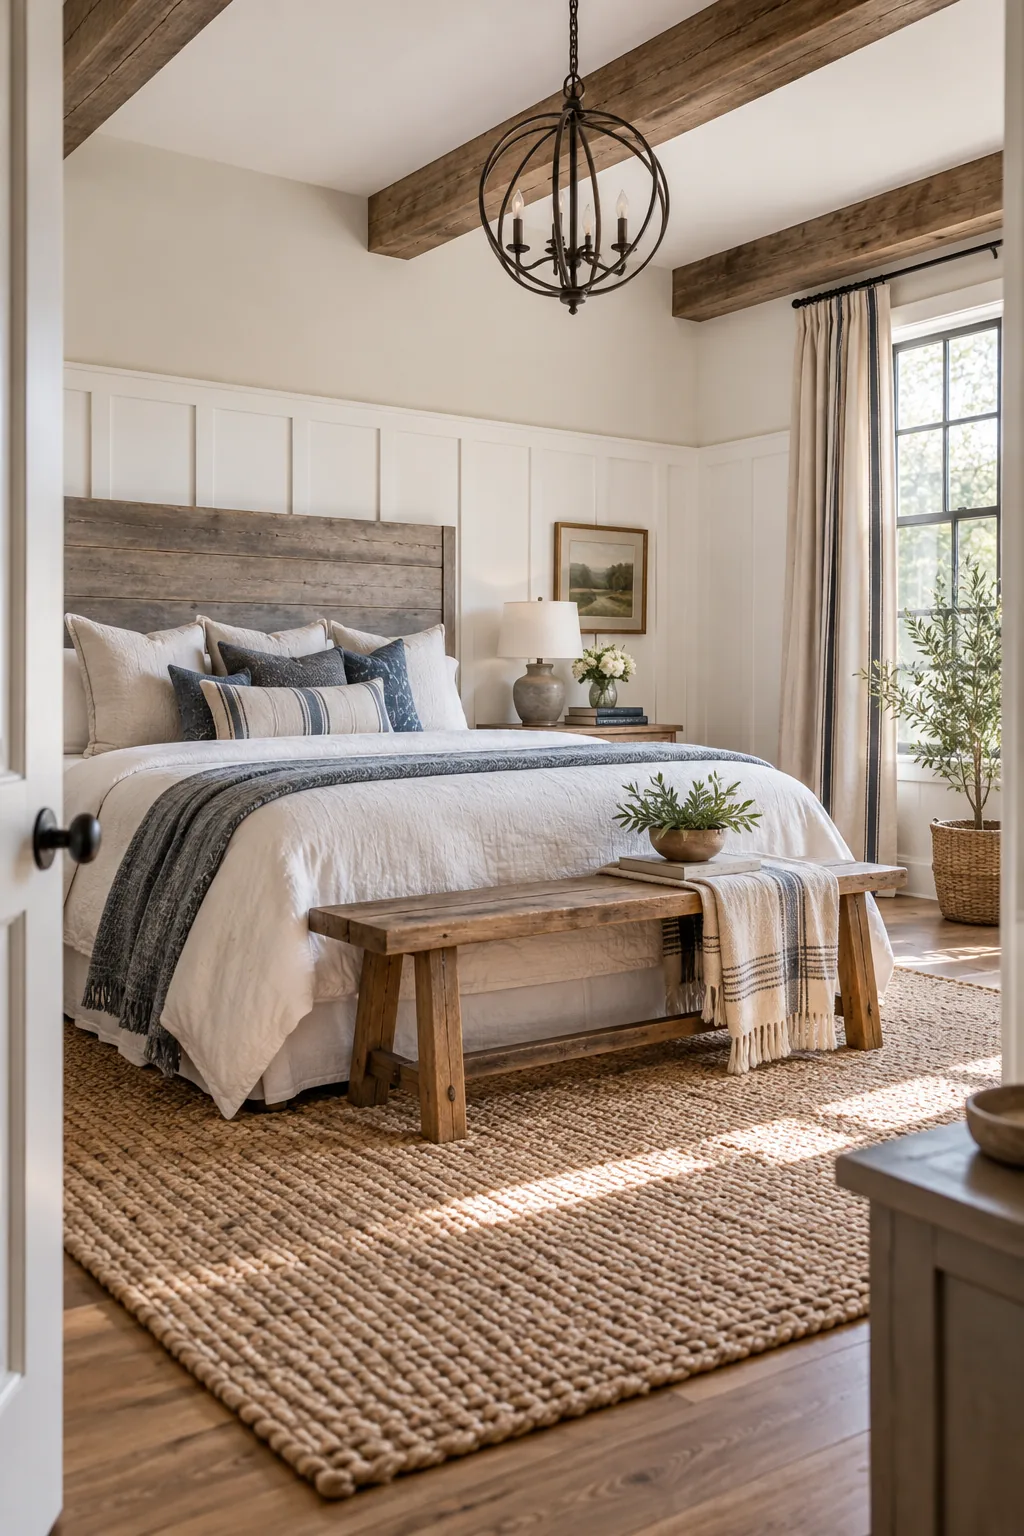
The textural contrast between the rough reclaimed wood bench and the woven floor covering creates immediate visual interest. Layering these earthy materials introduces essential warmth that perfectly balances the crisp, clean lines of the surrounding architectural woodwork.
Styling Farmhouse Nightstands and Lighting
Thoughtful bedside styling should gently soften the straight, rigid architectural lines of the tall wainscoting and horizontal headboard. Flanking the bed with matching textured ceramic lamp bases provides warm, ambient light perfect for reading while adding subtle organic curves to the space.
Print the Master Bedroom Cut List
When I built my own weathered headboard, having the exact measurements written down saved me three frustrating trips to the lumber aisle. Grab the complete printable materials sheet below to eliminate all the stressful guesswork from your upcoming bedroom transformation.
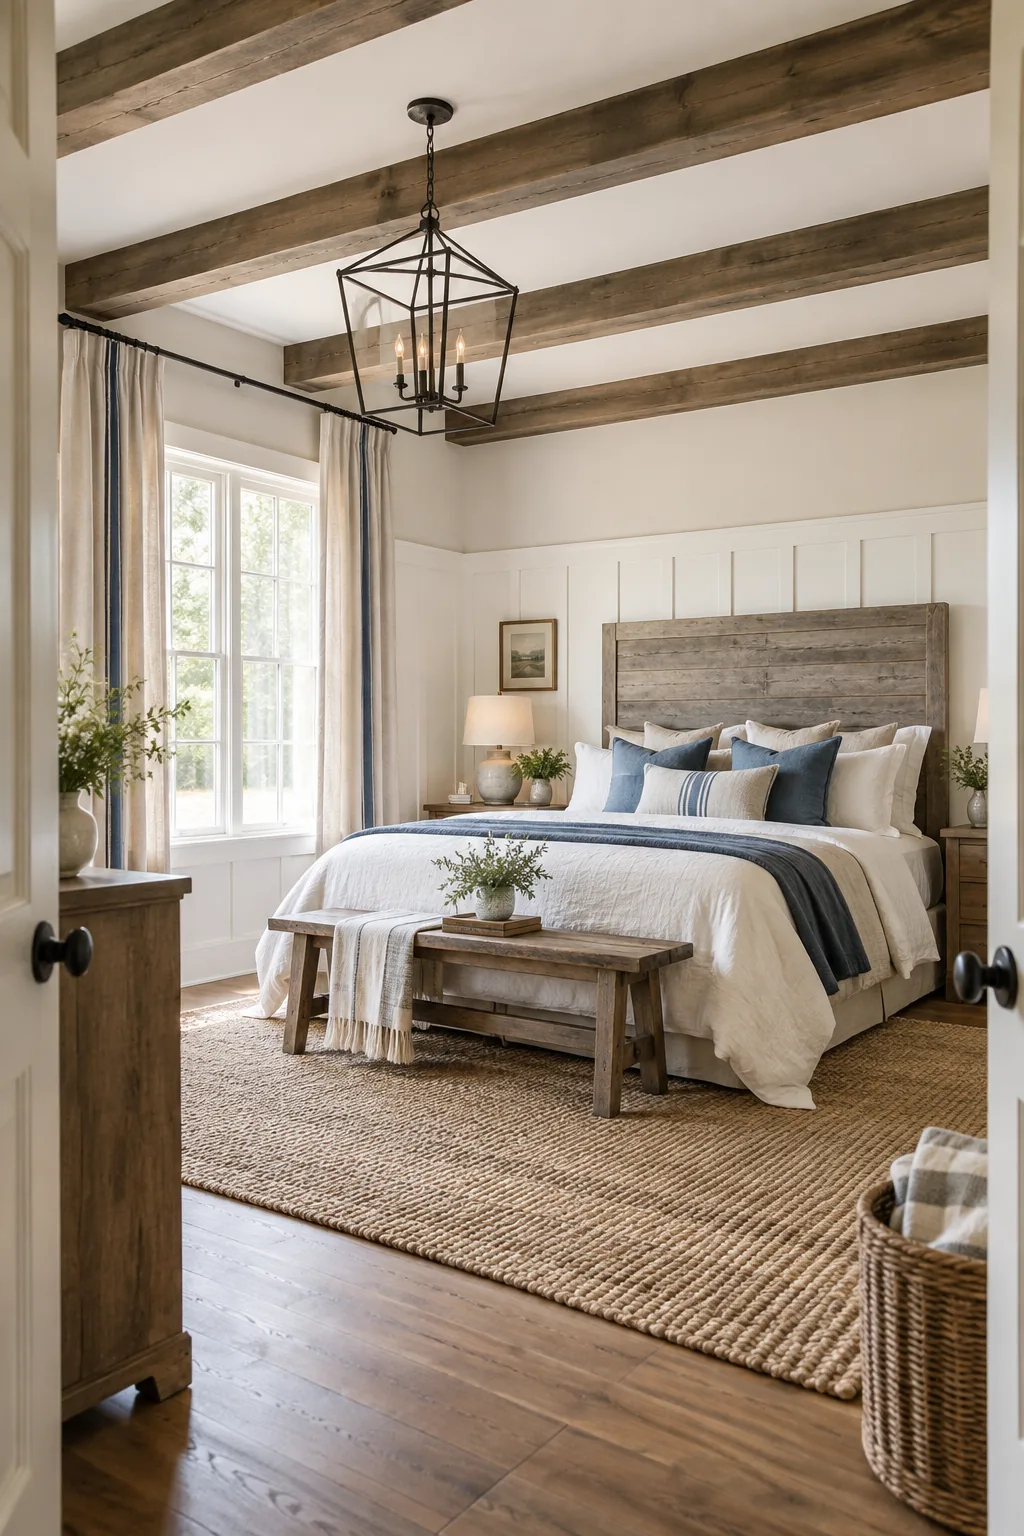
Having all your measurements calculated in advance guarantees your ceiling and wall treatments will scale perfectly to your specific space. This printable 2-page sheet includes exact board counts for the beams, drop-cloth sizing charts, and the complete steel-wool-and-vinegar aging recipe.
More Farmhouse Bedroom Variations
Explore these different takes on the farmhouse aesthetic to find the perfect mood for your own space.
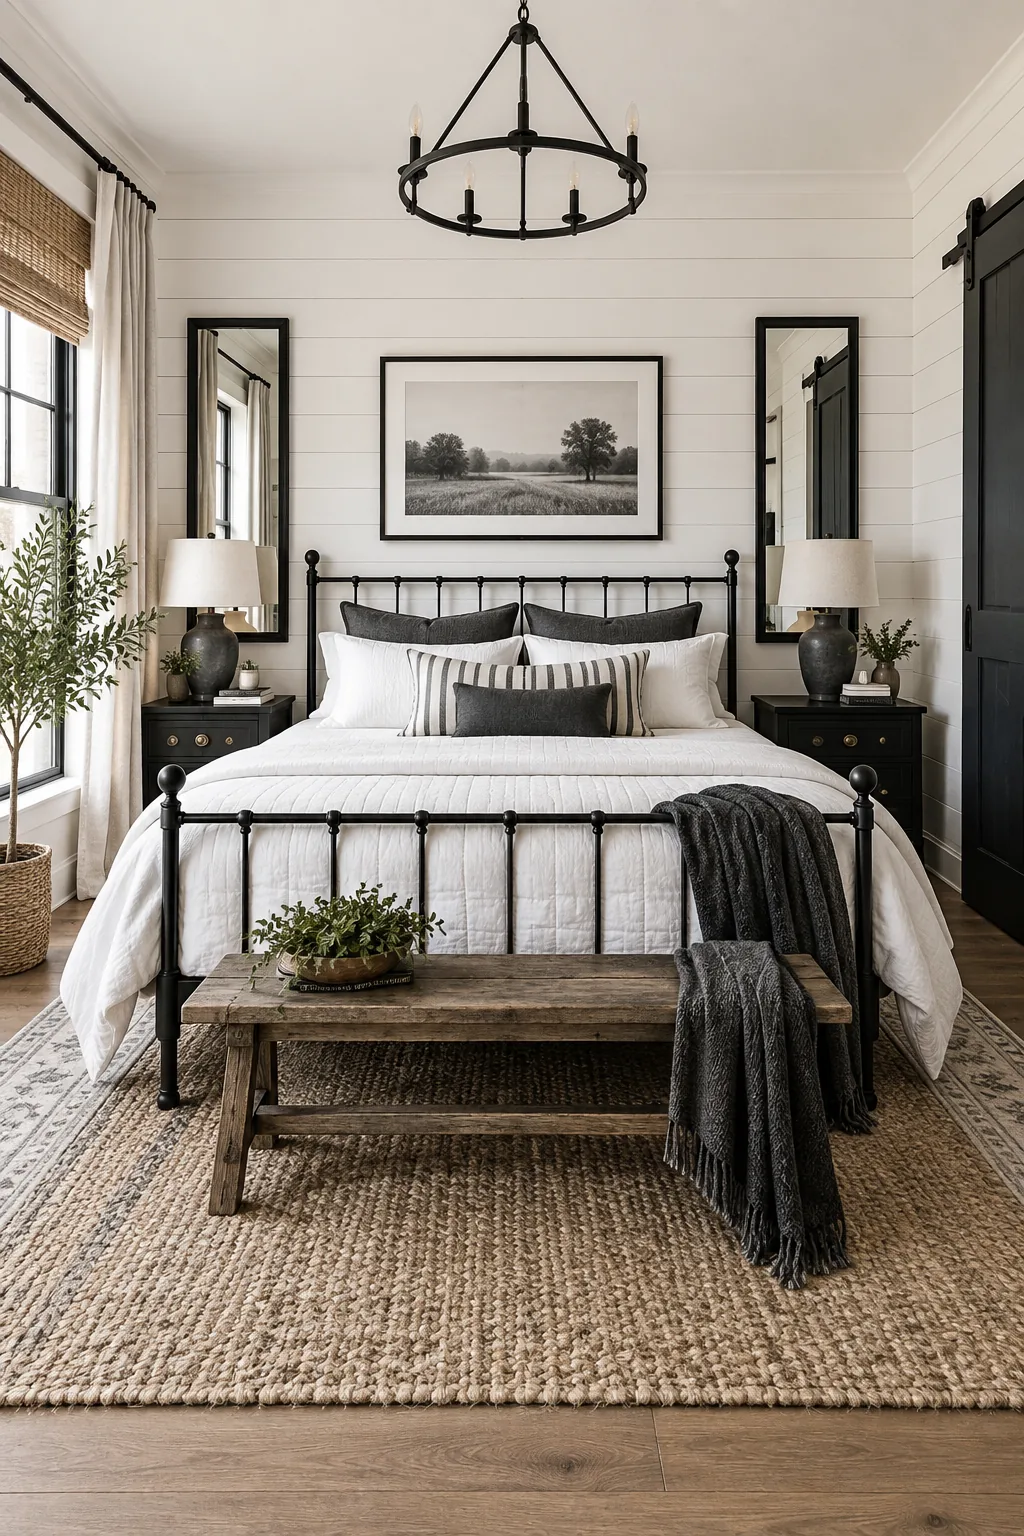
High-Contrast Modern Farmhouse: Crisp white shiplap pairs with a matte black iron bed for a sharper, more contemporary take on the farmhouse look.
Soft Cottage Farmhouse: Muted sage greens and distressed white finishes create a softer, romantic atmosphere that leans heavily into vintage cottage charm.
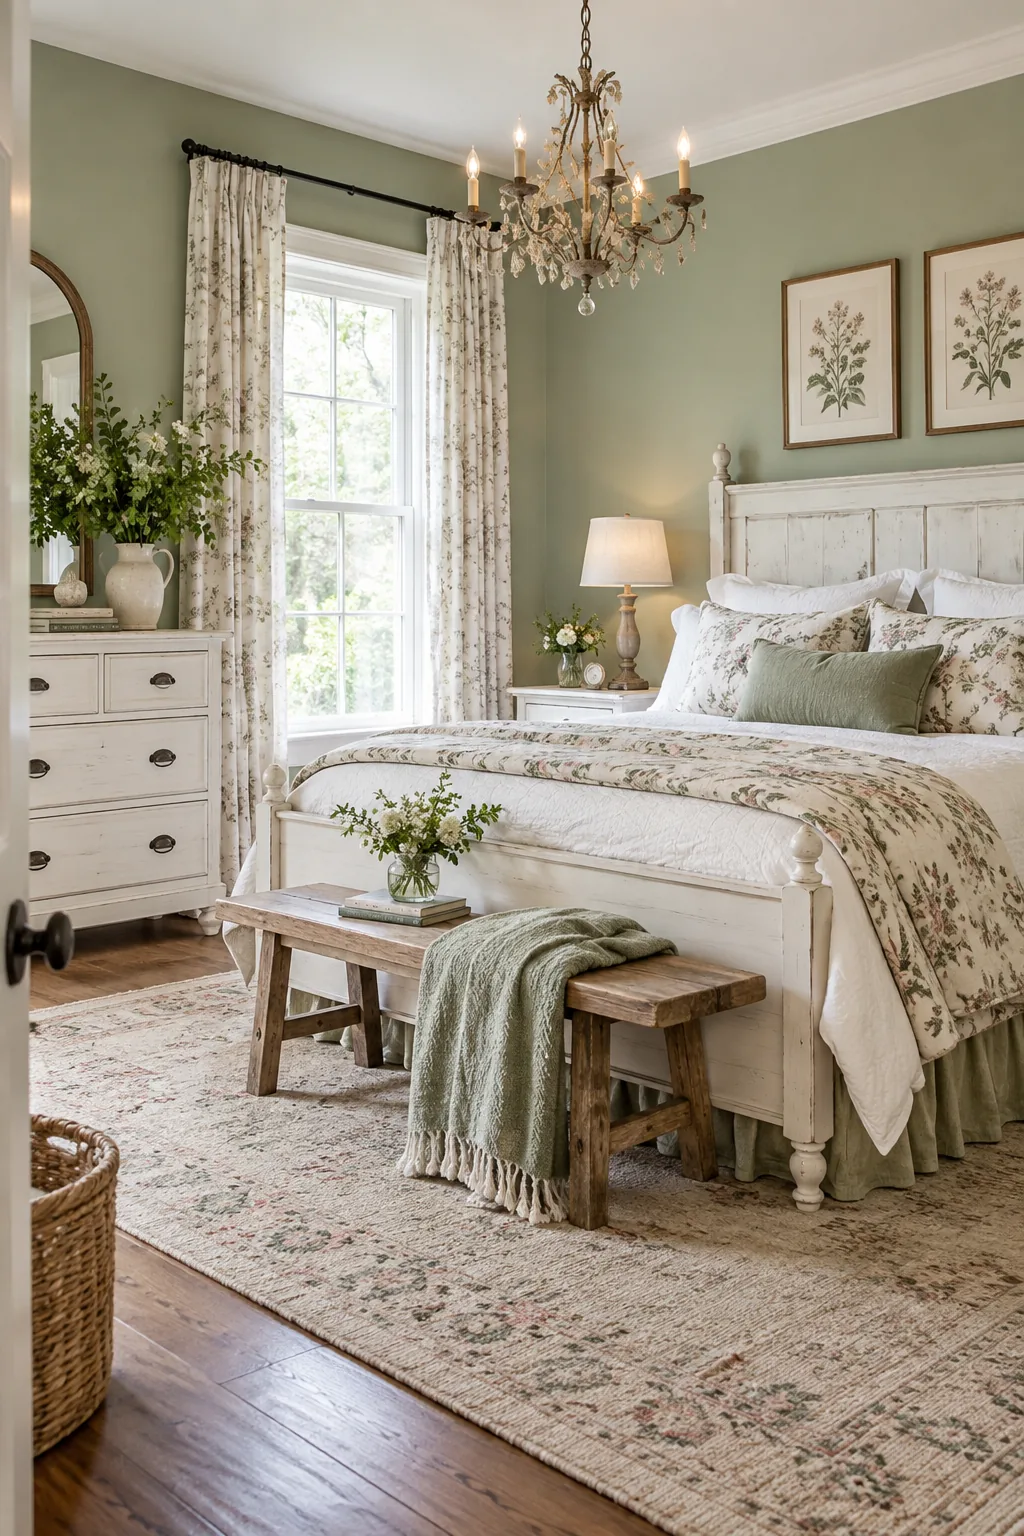
Rugged Industrial Farmhouse: Exposed brick and raw pipe-fitting hardware introduce an urban, industrial edge to traditional rustic wood elements.
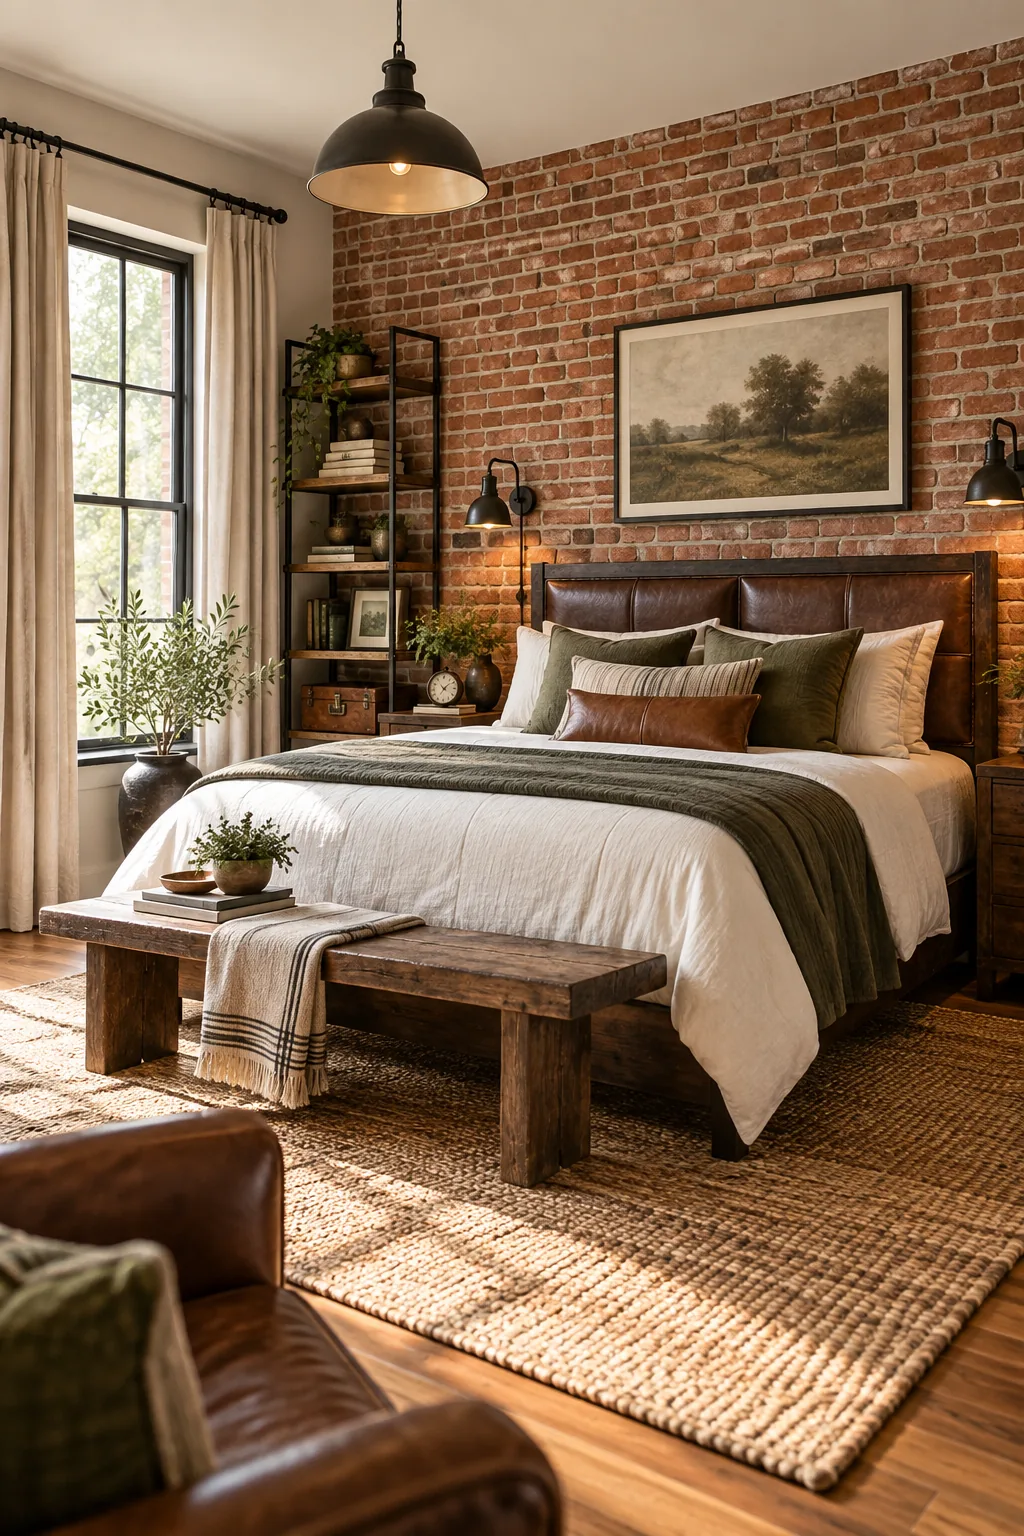
Airy Coastal Farmhouse: Whitewashed woods and sea-glass blue textiles lighten the visual weight, blending rustic farmhouse textures with a breezy beach aesthetic.