
Attached Covered Patio Build Guide: Structural Plans & Steps
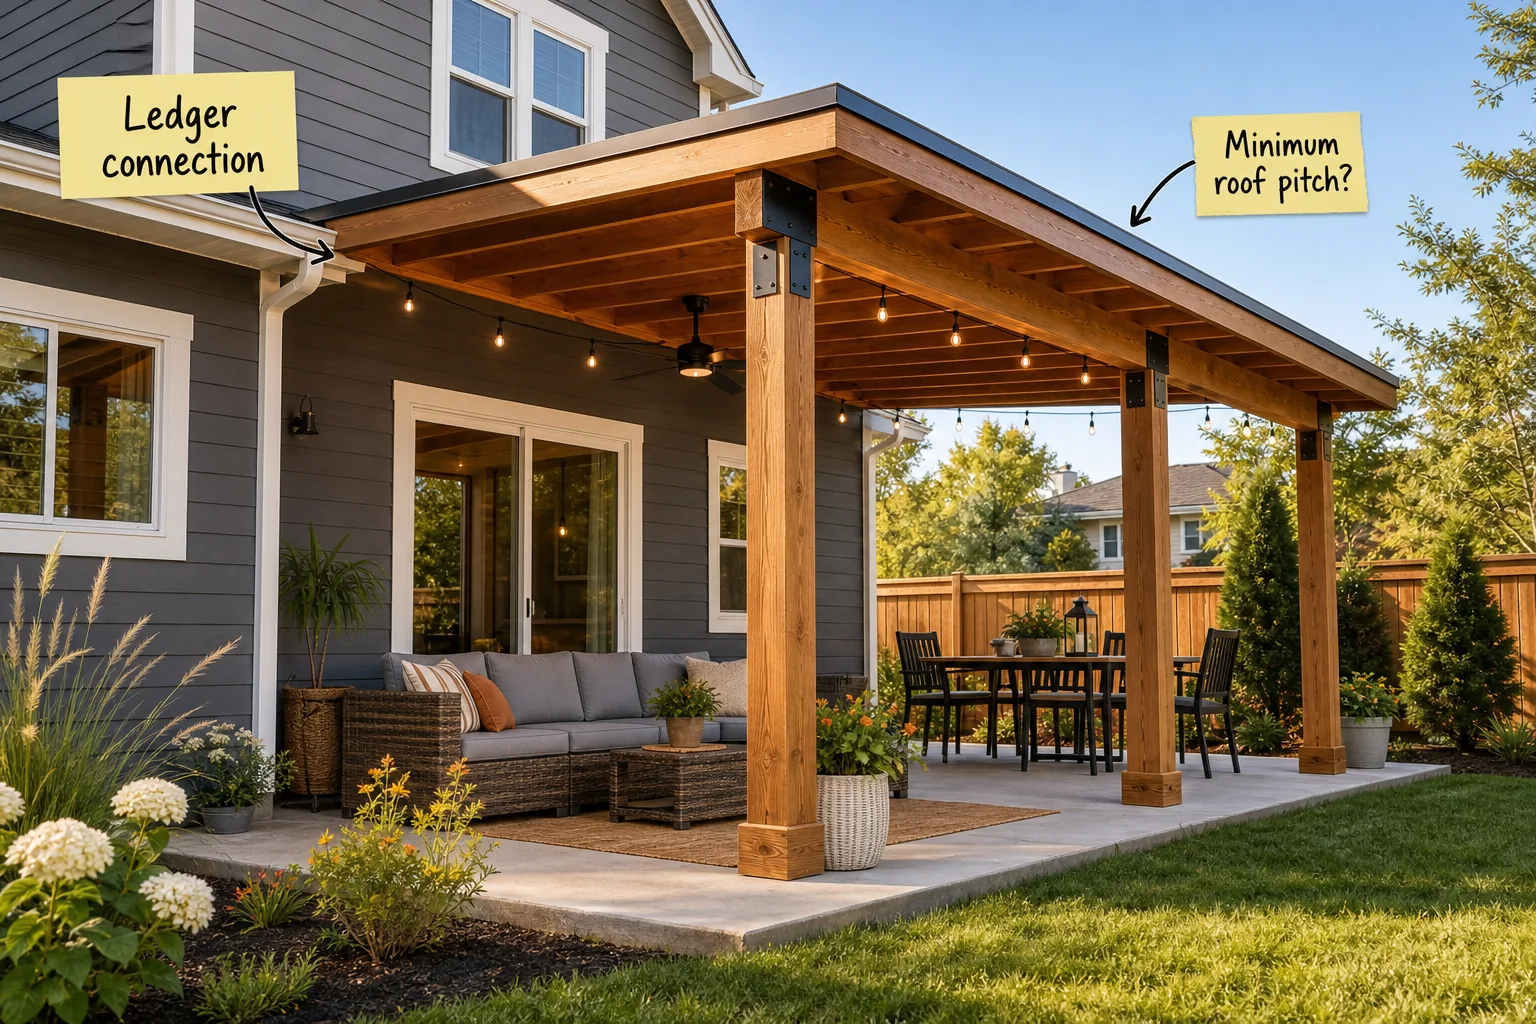
Plan your attached covered patio with this complete structural planning and connection guide, featuring exact measurements for safely attaching a new roof to your house. You will know exactly how to verify clearances, calculate slopes, and anchor load-bearing timber framing to your existing home.
The Structural Planning Guide
Start your project with a comprehensive structural plan to calculate your required roof span and determine the correct concrete footing depth based on local frost lines. Always consult regional span tables to properly size your overhead beams before purchasing any heavy timber framing materials.
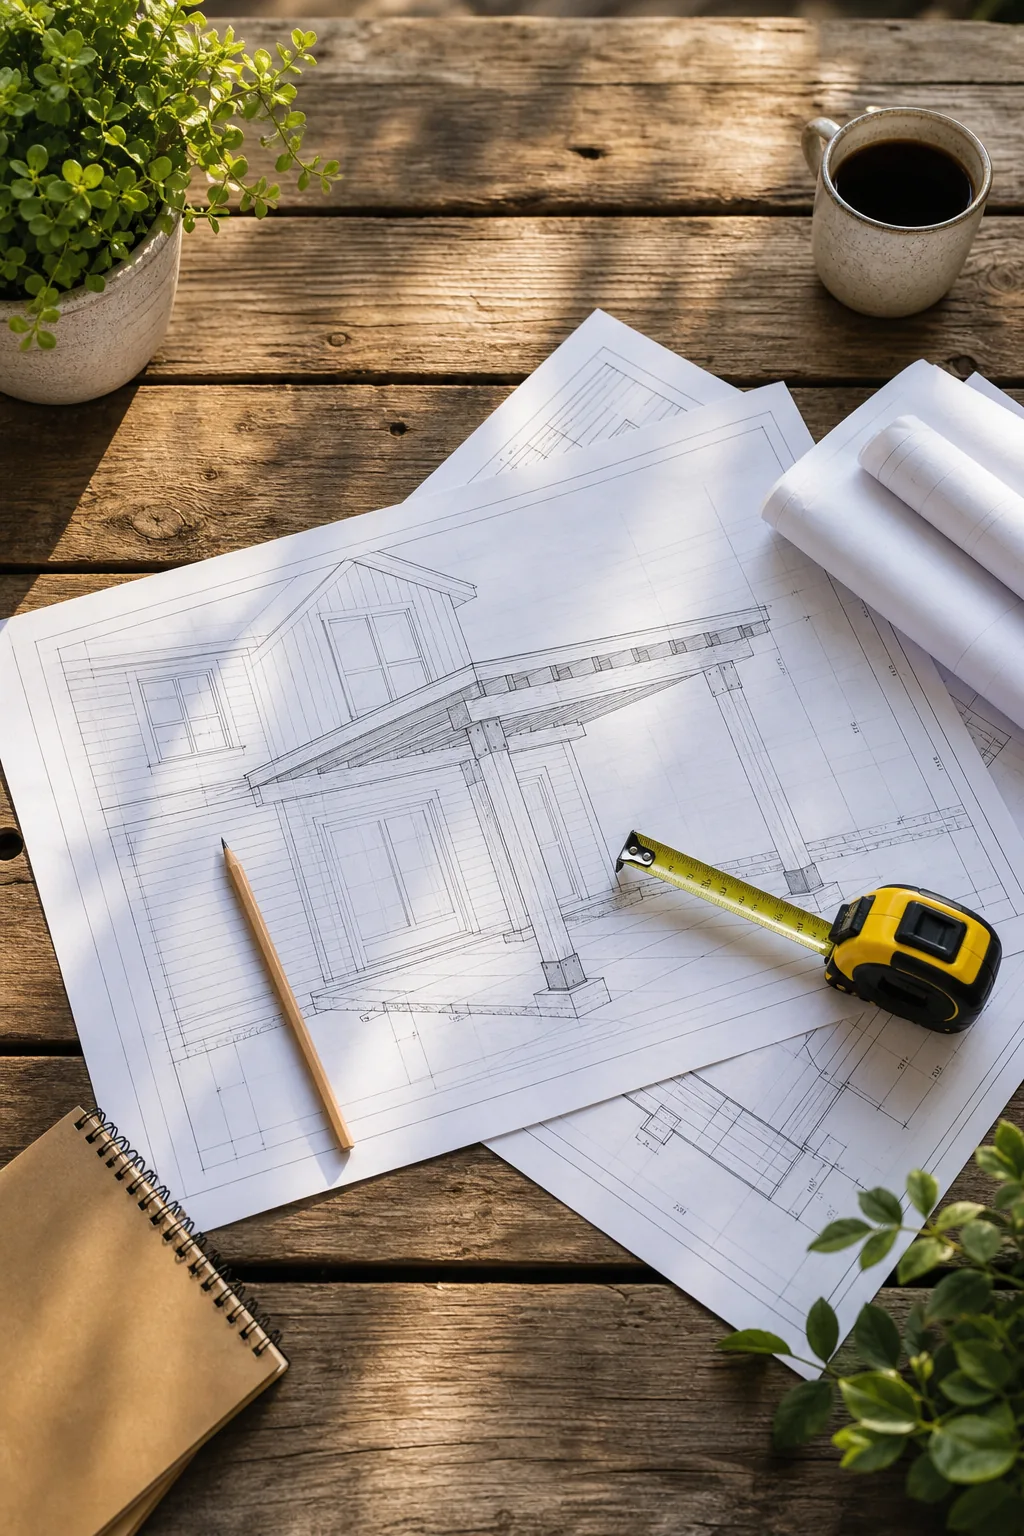
Before making your first saw cut or pouring concrete footings, ensure your outdoor construction project meets these critical pre-build requirements to guarantee long-term stability and prevent costly structural failures.
Evaluating the Roof Tie-In Zone
Assess the roof tie-in zone where the existing house eaves meet the new patio structure to confirm you have adequate vertical space. You must measure the available exterior wall area to ensure at least 8 inches of clearance below any second-story windows.
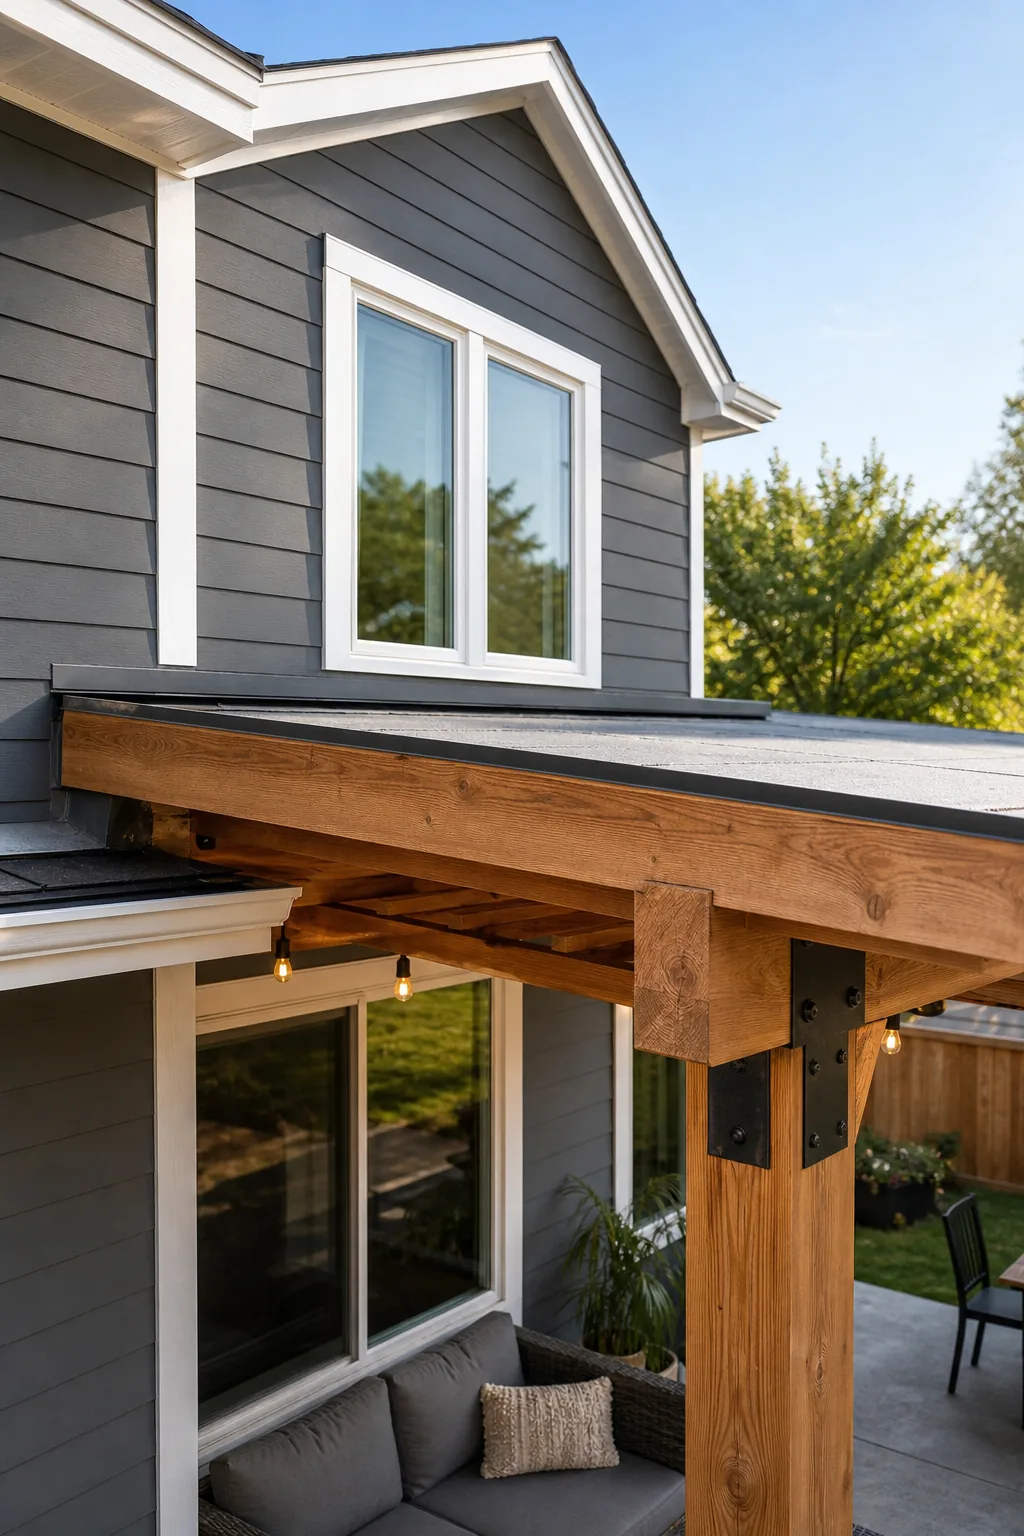
Follow a strict measurement sequence to verify your exterior wall clearances before finalizing the patio roof pitch, ordering materials, or locking in your ledger board placement.
- Measure vertically from the finished patio floor to the bottom edge of the second-story window sill.
- Subtract eight inches to establish the absolute maximum height for your new roof surface.
- Calculate the remaining vertical drop down to your planned outer support beam height.
- Verify that this total drop accommodates your chosen roofing material’s minimum required slope.
Securing the Ledger Connection
The ledger connection serves as the primary structural anchor for your patio roof, requiring a 2×8 or 2×10 pressure-treated board fastened directly into the house framing. Secure this critical load-bearing plate using 1/2-inch galvanized lag screws spaced precisely every 16 inches along the wall.
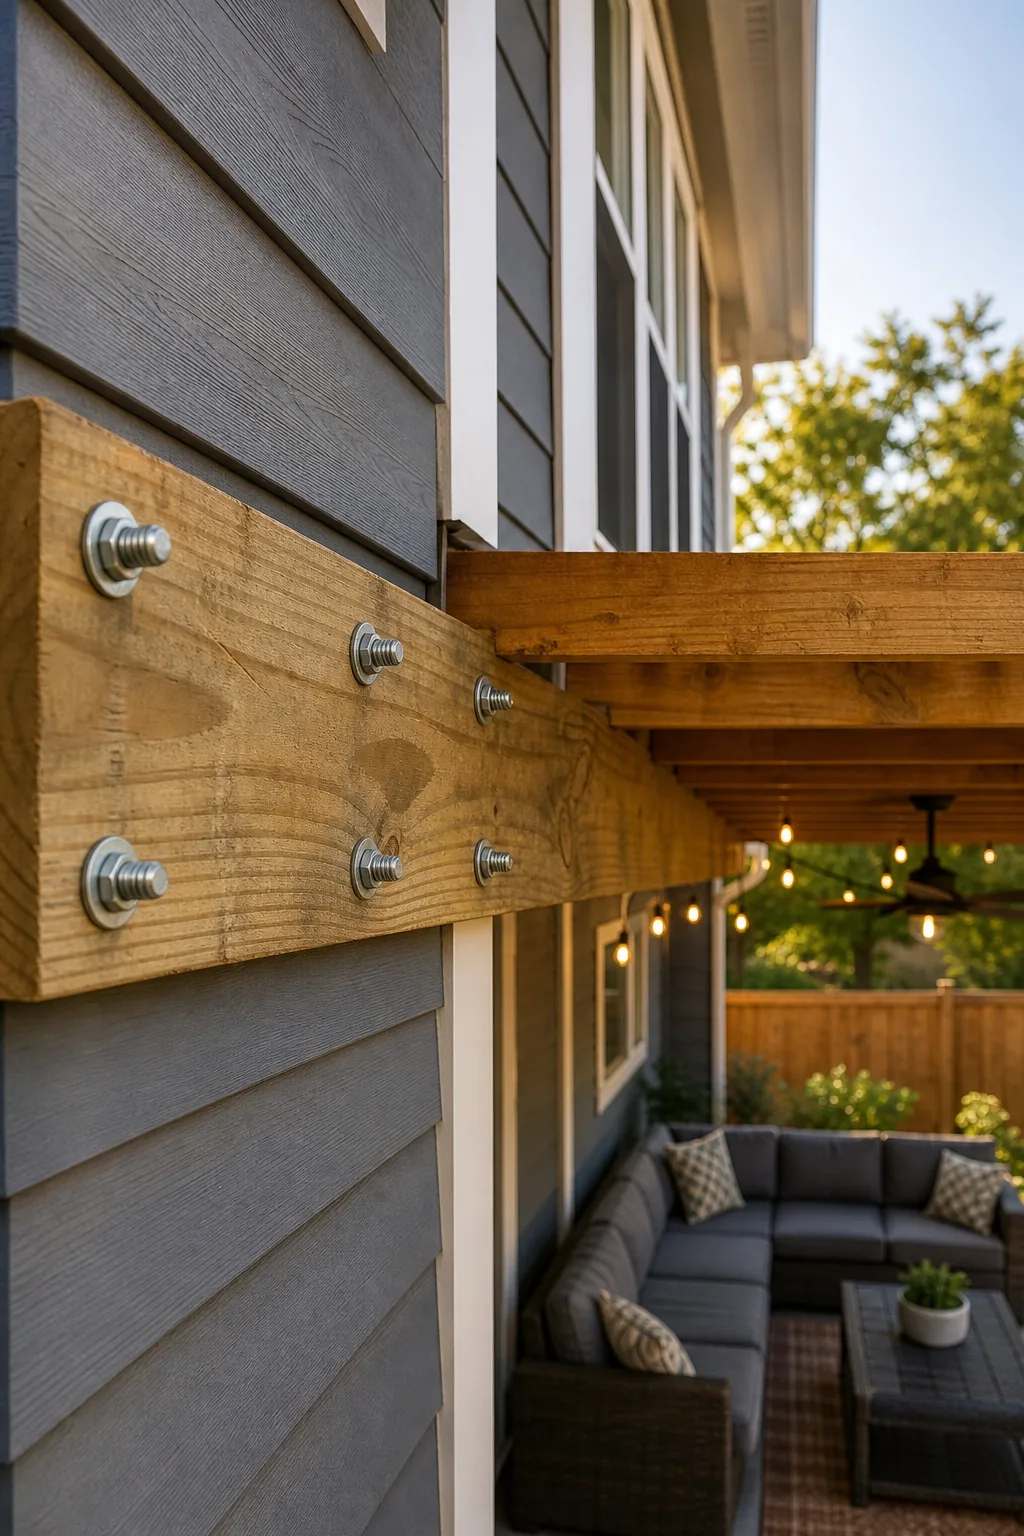
Staggering your heavy fasteners prevents the wood grain from splitting under massive structural loads, so carefully follow standard spacing guidelines for all exterior ledger board installations.
| Ledger Board Size | Fastener Type | Spacing Profile | Minimum Edge Distance |
|---|---|---|---|
| 2×8 nominal timber | 1/2-inch lag screw | 16 inches staggered | 2.0 inches |
| 2×10 nominal timber | 1/2-inch lag screw | 16 inches staggered | 2.5 inches |
| 2×12 nominal timber | 1/2-inch lag screw | 16 inches staggered | 3.0 inches |
Installing the Flashing Overlap
Waterproofing the house attachment point is absolutely critical to prevent hidden structural rot inside your exterior walls. Install a continuous strip of metal Z-flashing directly over the ledger board, carefully tucking the top edge at least 2 inches upward beneath the existing house siding.
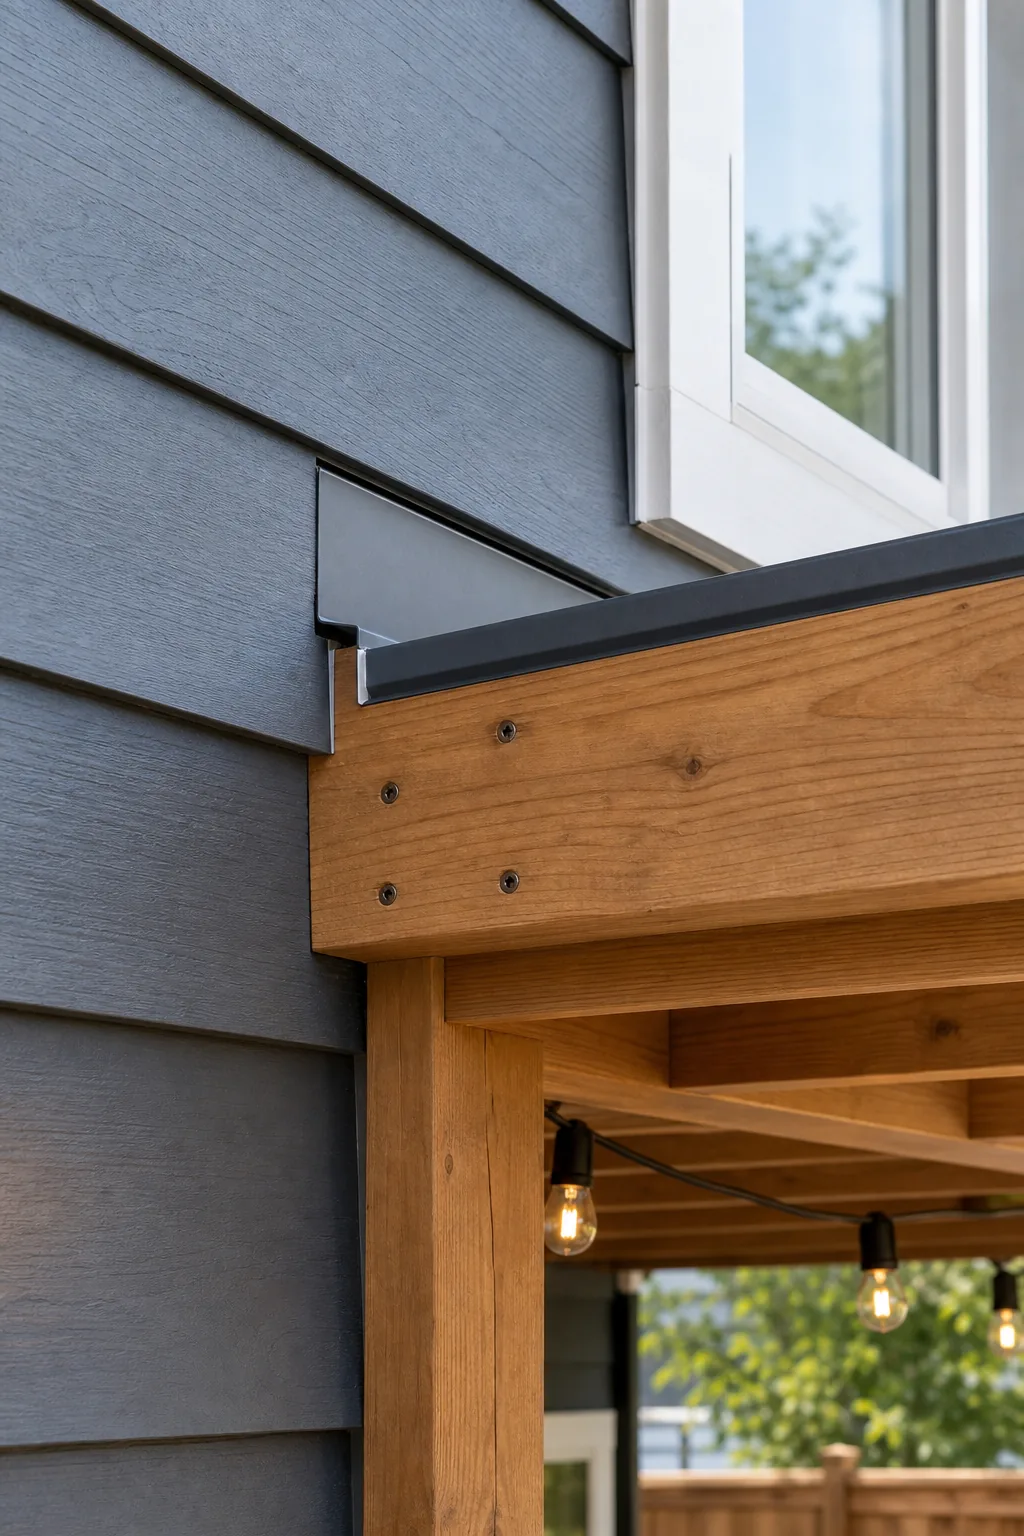
This essential flashing overlap creates an impenetrable continuous drip edge that forces heavy rainwater to cascade smoothly over the patio framing rather than pooling against the vulnerable house sheathing.
Determining Minimum Roof Pitch
The required slope of your overhead shelter depends entirely on the specific roofing material you select for the project. For the low-profile aesthetic shown, you must install a standing seam metal or EPDM membrane roof, which safely accommodates a minimum pitch of 1/4:12 to 1:12.
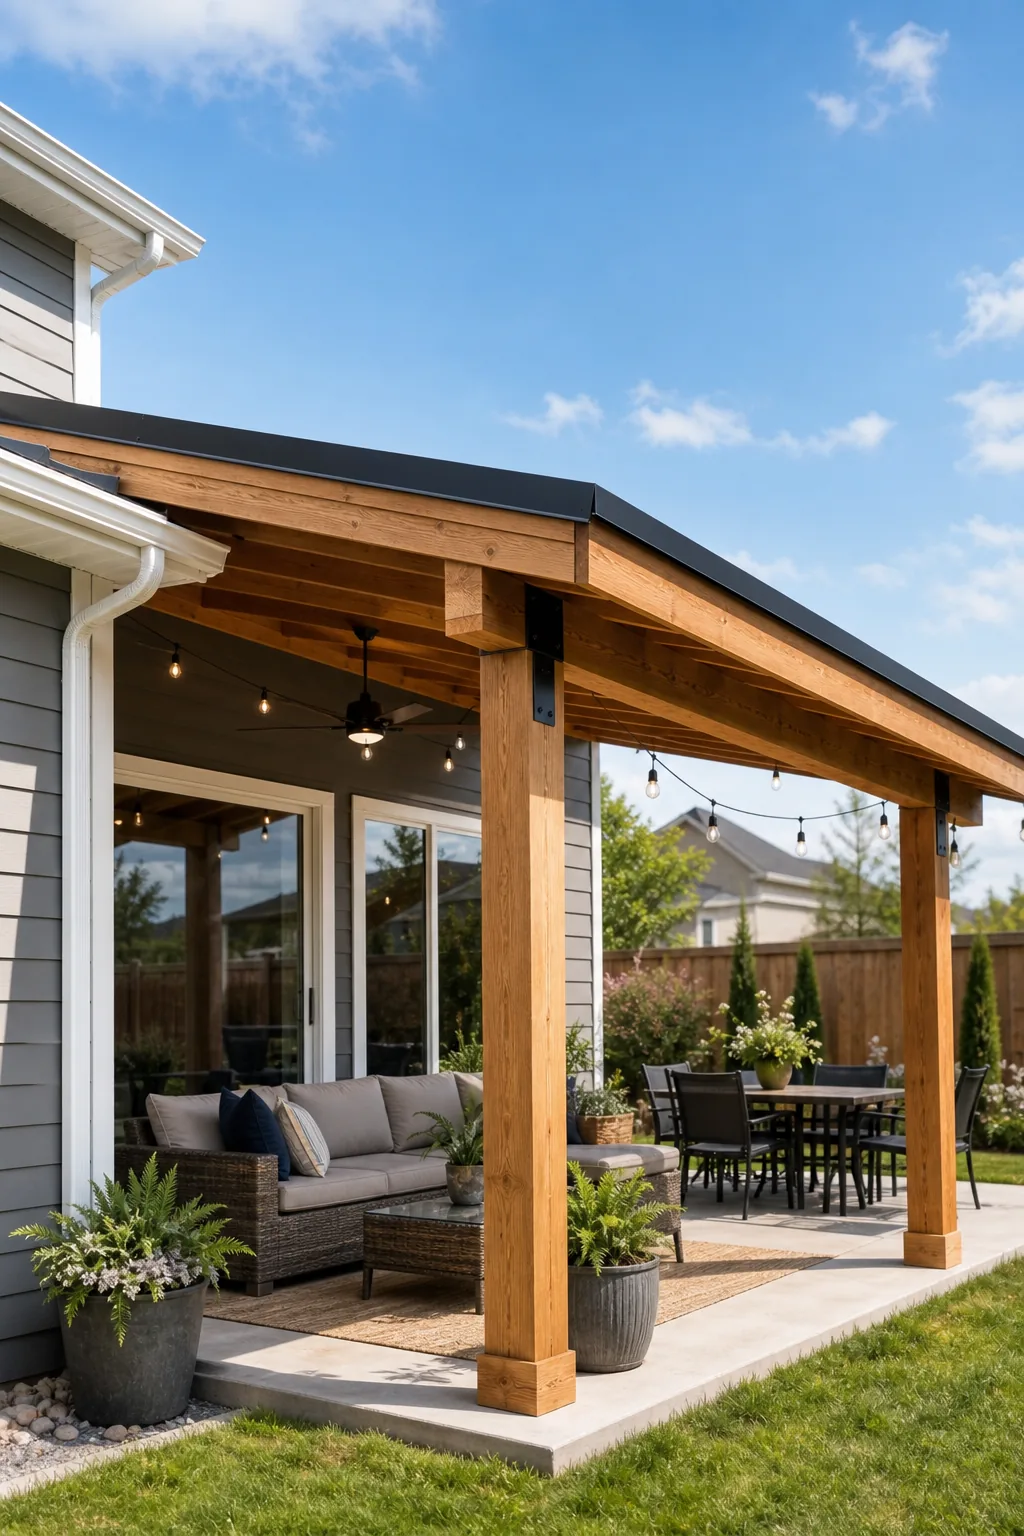
Attempting to use traditional asphalt shingles on this nearly flat slope guarantees massive water intrusion, as standard shingles strictly require a minimum 2:12 pitch to shed rain effectively.
Sizing Load-Bearing Posts
The outer edge of the patio roof demands substantial vertical support to safely handle heavy winter snow accumulation and severe wind loads. Always specify minimum 6×6 treated timber posts resting on poured concrete footings rather than standard 4x4s, which frequently bow over time.
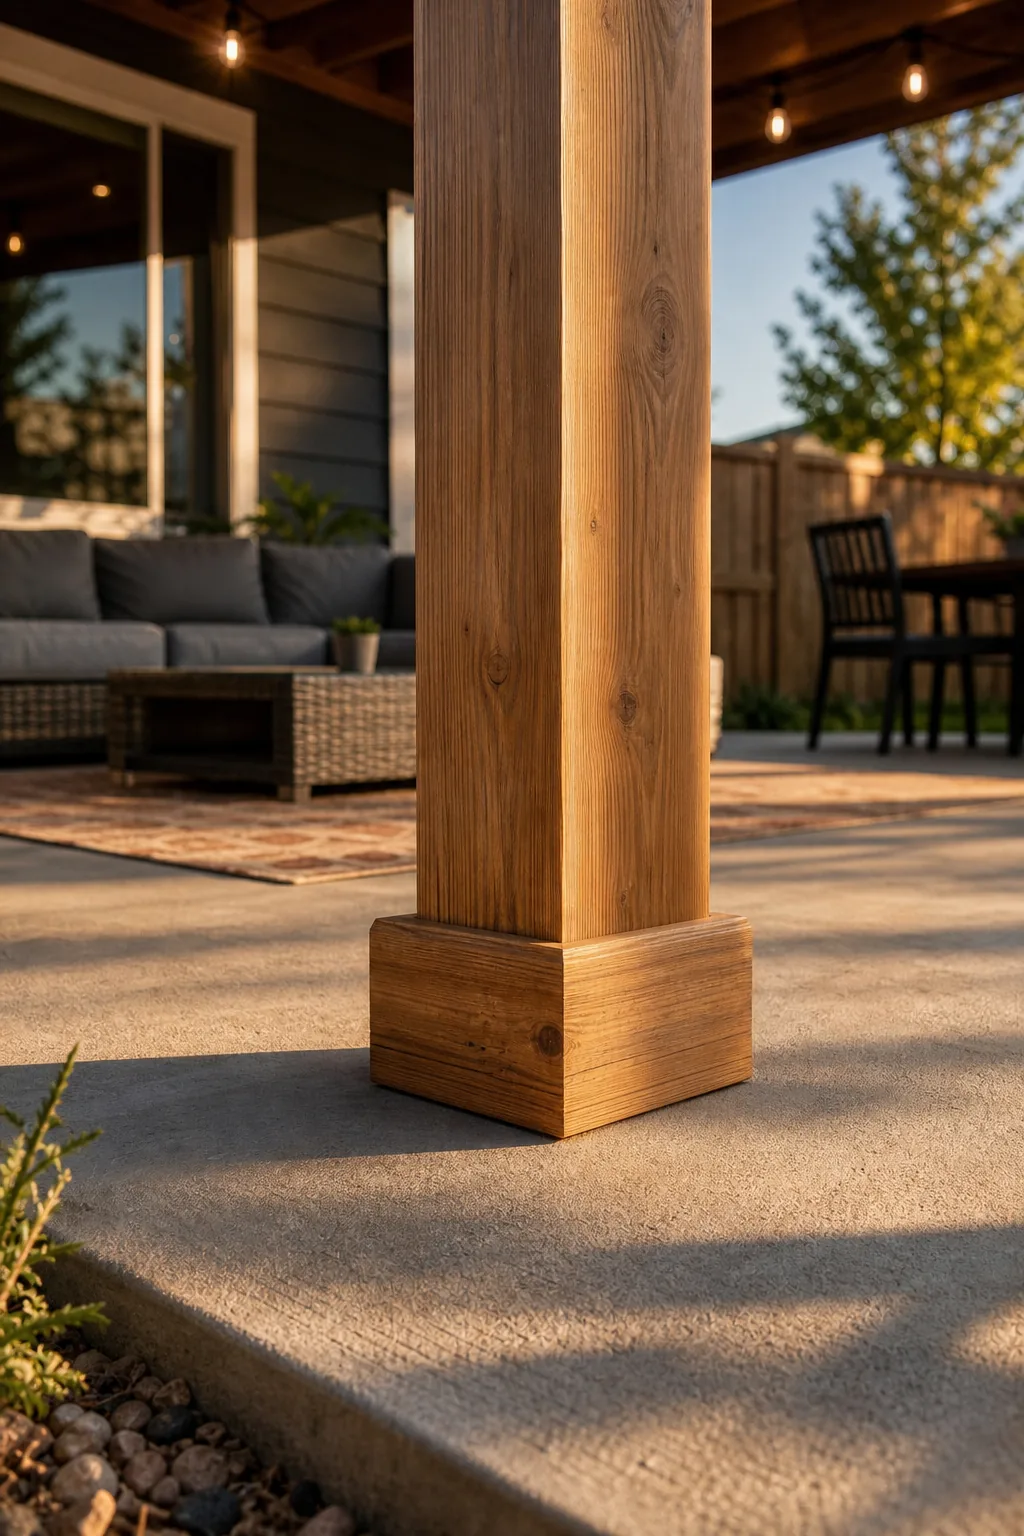
These thick load-bearing posts provide the necessary structural rigidity to prevent the massive overhead beam from sagging while offering a substantial visual anchor for the entire outdoor living space.
Selecting Heavy-Duty Hardware
Visible structural hardware actively secures the timber frame against dangerous high winds and upward lifting forces during severe weather. Install heavy-gauge black steel post bases at the concrete floor and matching column caps where the vertical posts meet the horizontal overhead beams.
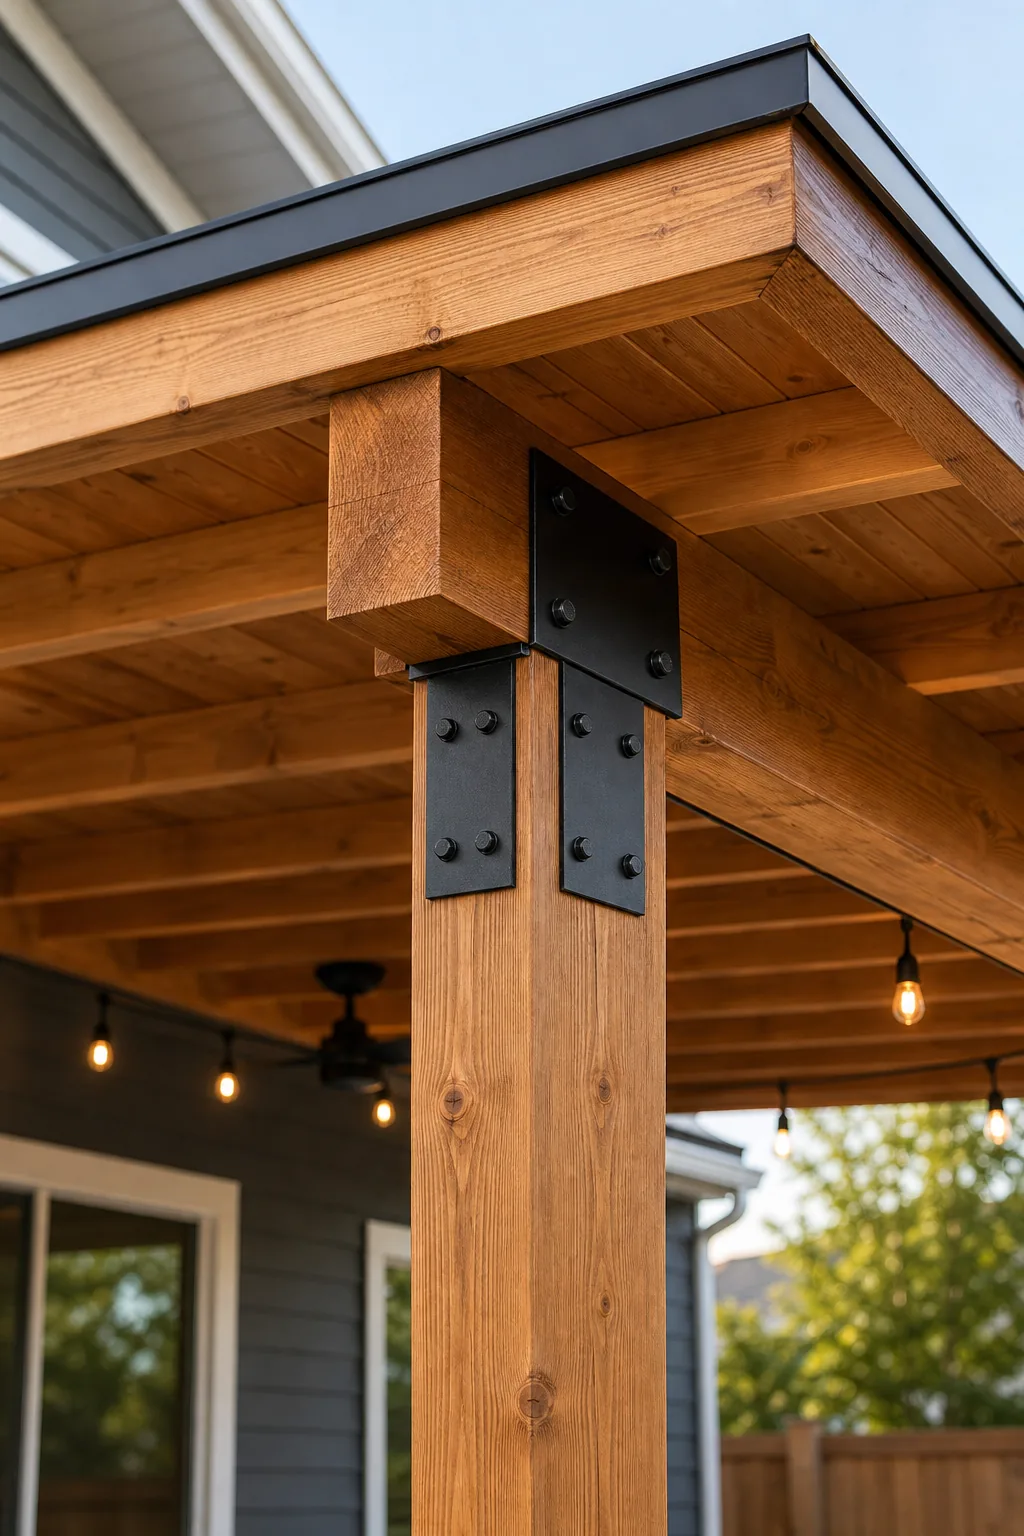
Using exposed structural brackets rated for exterior exposure eliminates the need for complex hidden joinery. This heavy-duty hardware adds a rugged, modern craftsman aesthetic to the finished pavilion while ensuring your roof structure remains firmly anchored during extreme weather events.
Finishing with a Wood Ceiling
Complete the outdoor living space by installing a beautiful natural wood ceiling directly beneath the exposed structural rafters. Fasten 1×6 tongue-and-groove cedar or pine boards perpendicular to the joists to completely hide the underlying structural framing and exposed roofing nails.
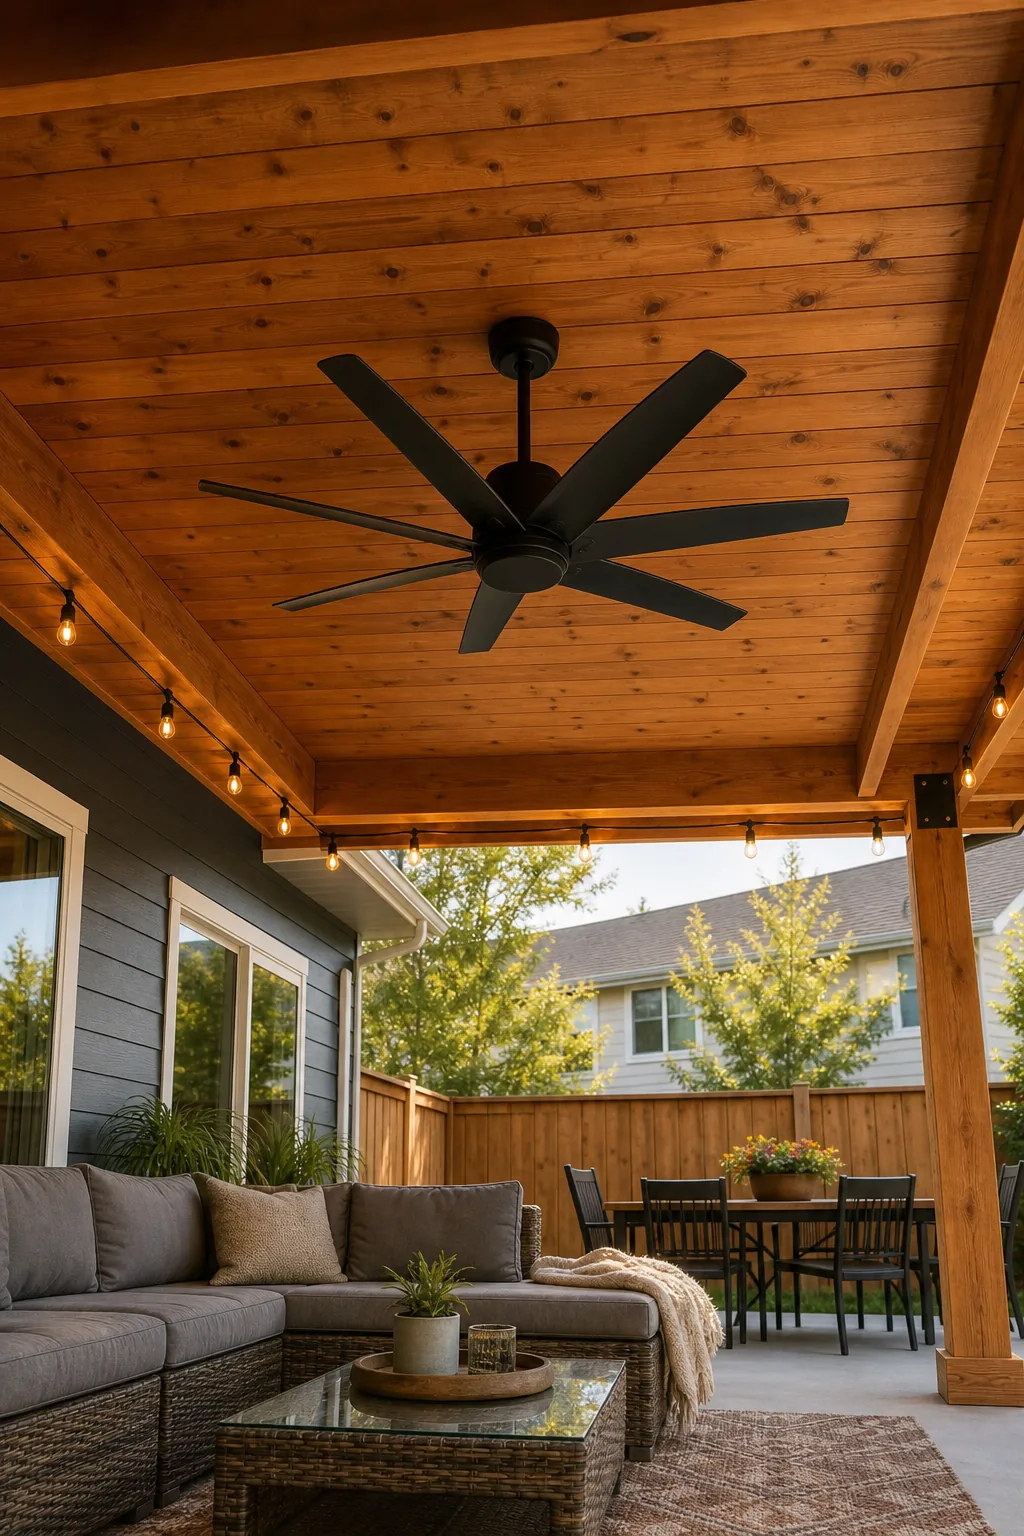
Adding this finished ceiling layer transforms the rugged timber structure from a basic backyard shelter into a highly refined and welcoming outdoor room.