
Mastering the Open Kitchen Layout: The Sightline Secret
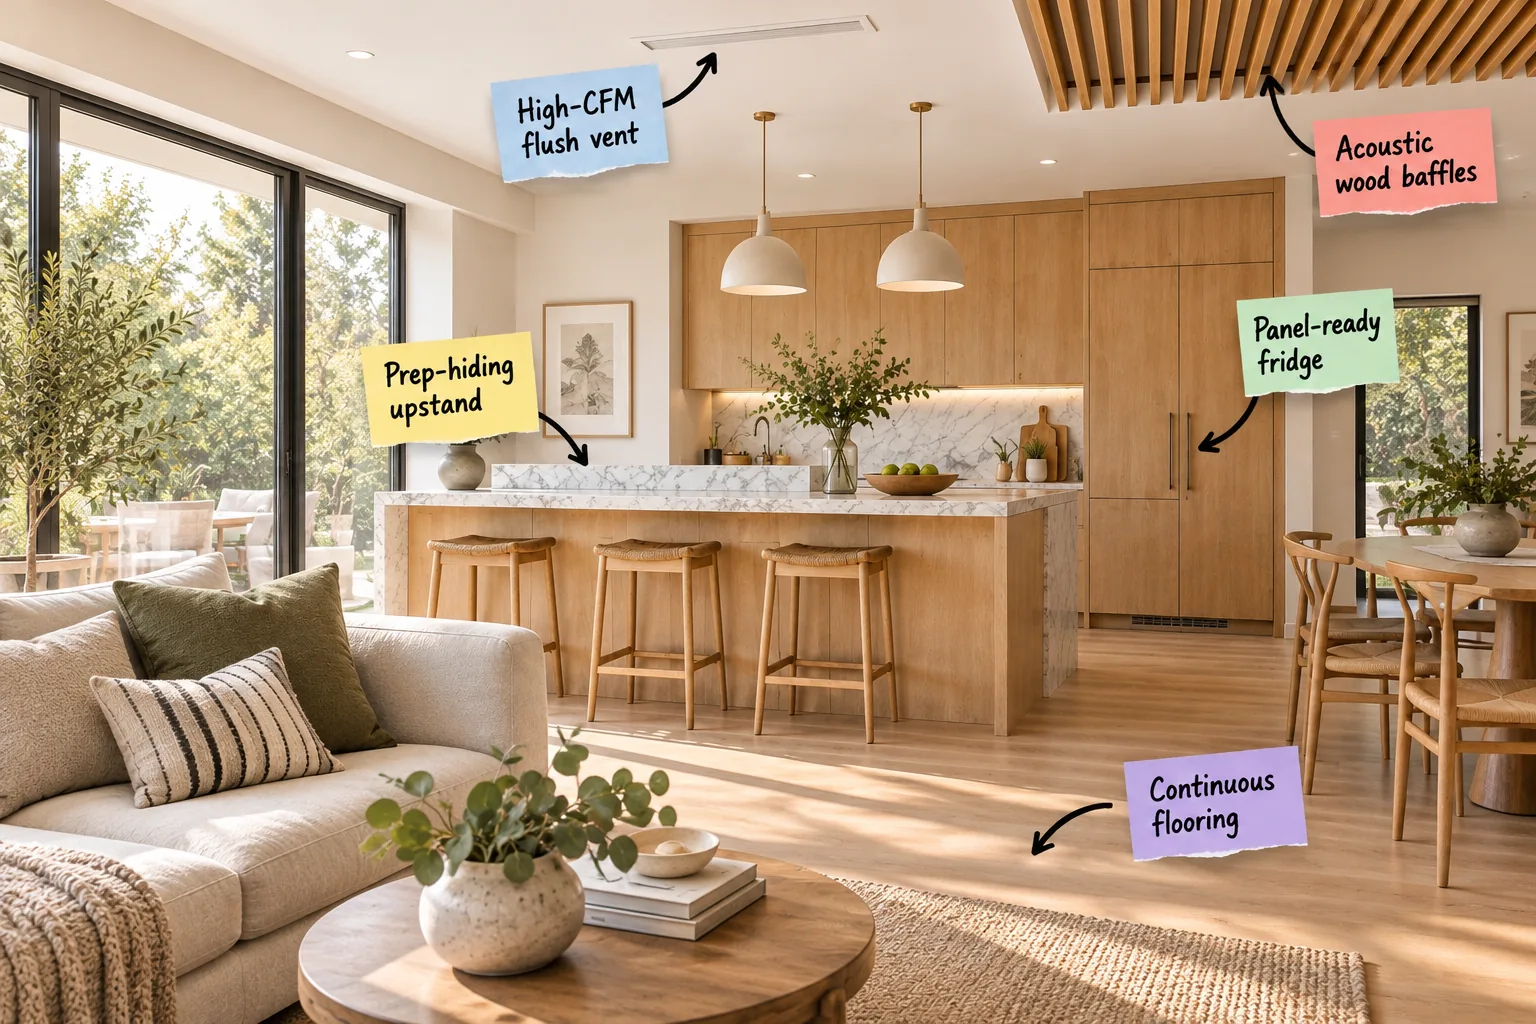
Download our complete Open Concept Layout Guide to seamlessly blend your kitchen and living spaces without exposing the mess. You will learn to design a flawless foundation that hides prep clutter and controls noise from the floor up.
Mastering the Sightline Secret
Your living room seating height directly determines which parts of the kitchen remain visible from the sofa. Controlling these specific sightlines is the fundamental secret to maintaining an elegant, unified space while actively cooking.
When I redesigned my own Denver home, mapping the exact seated eye level from my linen sofa completely transformed how I positioned the island barrier. You must measure this average 42-inch seated height to calculate your ideal visual blocks.
Establishing the Visual Baseline
Standard kitchen counters sit at a 36-inch finished height, leaving active prep zones completely exposed to anyone sitting nearby. Introducing strategic, elevated visual barriers prevents your relaxing living space from feeling like a busy commercial kitchen.
Unifying with Continuous Flooring
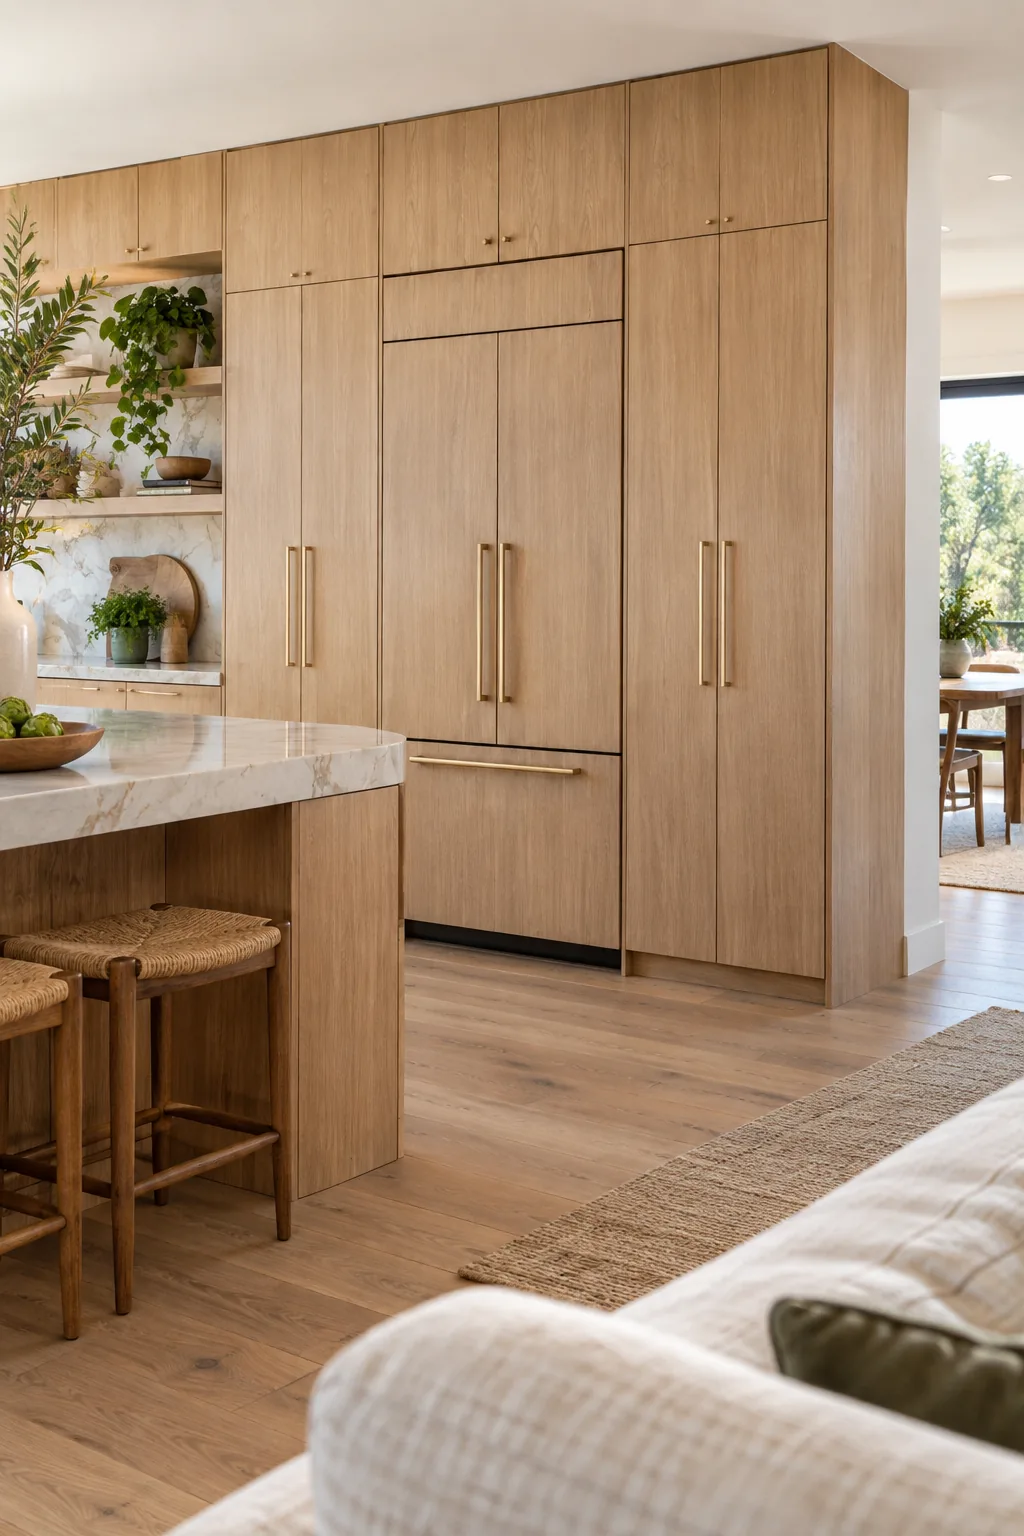
Maintaining a perfectly flush cabinet depth across the back wall prevents bulky appliance shadows from interrupting the room’s flow. This seamless vertical plane allows the eye to glide effortlessly across the entire open concept.
Running the same wide-plank white oak flooring unbroken between your kitchen and living zones creates a cohesive, grounding foundation. This continuous material choice eliminates visual choppiness and makes both rooms feel significantly larger.
Scaling the White Oak Planks
Selecting the correct floorboard width is crucial for balancing the scale of a sprawling open layout. You should match the plank dimensions to the overall square footage to maintain a harmonious, high-end aesthetic.
| Room Size | Ideal Plank Width | Visual Effect | Installation Direction |
|---|---|---|---|
| Under 400 sq ft | 5 inches | Classic proportion | Parallel to longest wall |
| 400 – 800 sq ft | 6 inches | Balanced scale | Toward natural light |
| Over 800 sq ft | 7+ inches | Expansive luxury | Continuous through zones |
Using a 5-inch to 7-inch plank width provides the optimal scale for large, interconnected rooms. Wider boards minimize distracting seam lines and enhance the feeling of a single, unified architectural space.
Hiding Bulk with a Panel-Ready Fridge
Integrating your refrigerator directly into the back wall cabinetry requires precise planning to prevent visual disruption. Following a strict sequence ensures the heavy appliance disappears entirely into the surrounding millwork.
- Specify a true 24-inch cabinet depth to match standard architectural framing.
- Select heavy-duty articulating hinges that allow the custom panels to swing clear.
- Align the custom wood door panels perfectly with the adjacent pantry gaps.
When executed correctly, this flush finish makes your hardest-working cold storage look like a beautiful piece of custom furniture. The resulting seamless wall reinforces the calm, uncluttered atmosphere required for open living.
Maintaining Flush Clearances
Achieving that flawless, built-in look demands strict attention to your surrounding cabinet clearances. You must leave exactly 1/8-inch reveal gaps around the panel edges to allow for natural wood expansion without rubbing.
The Prep-Hiding Upstand
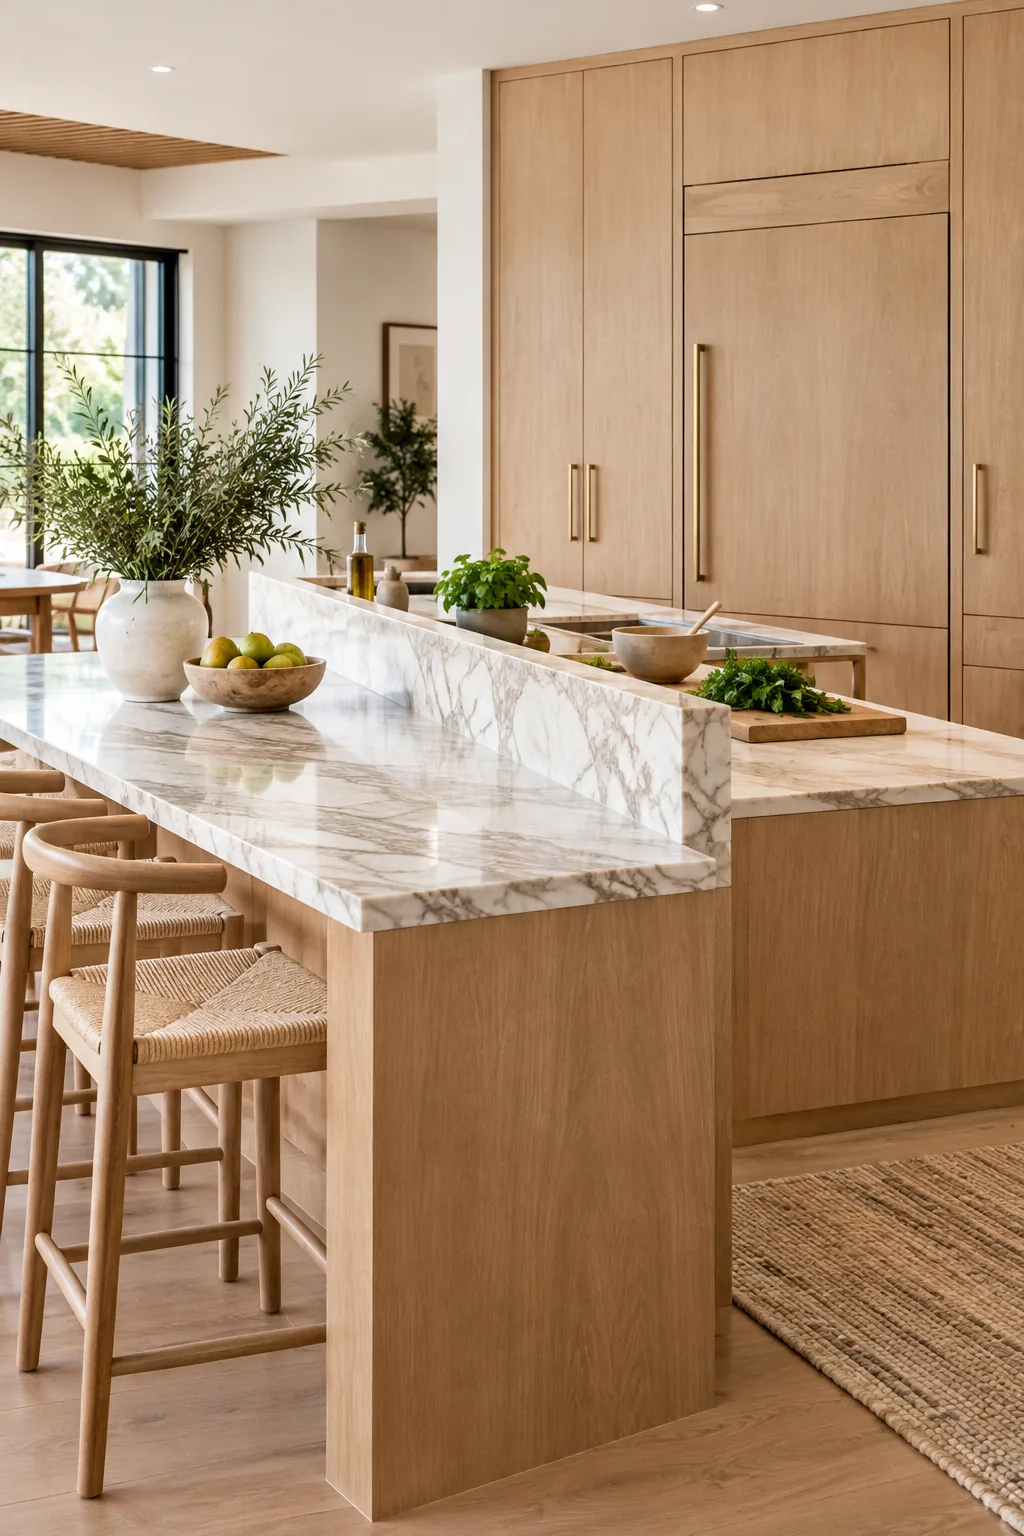
Adding a calculated marble lip to the island conceals cutting boards and messy prep materials from the living area. The exact height and placement of this barrier keep the overall room feeling open while hiding countertop chaos.
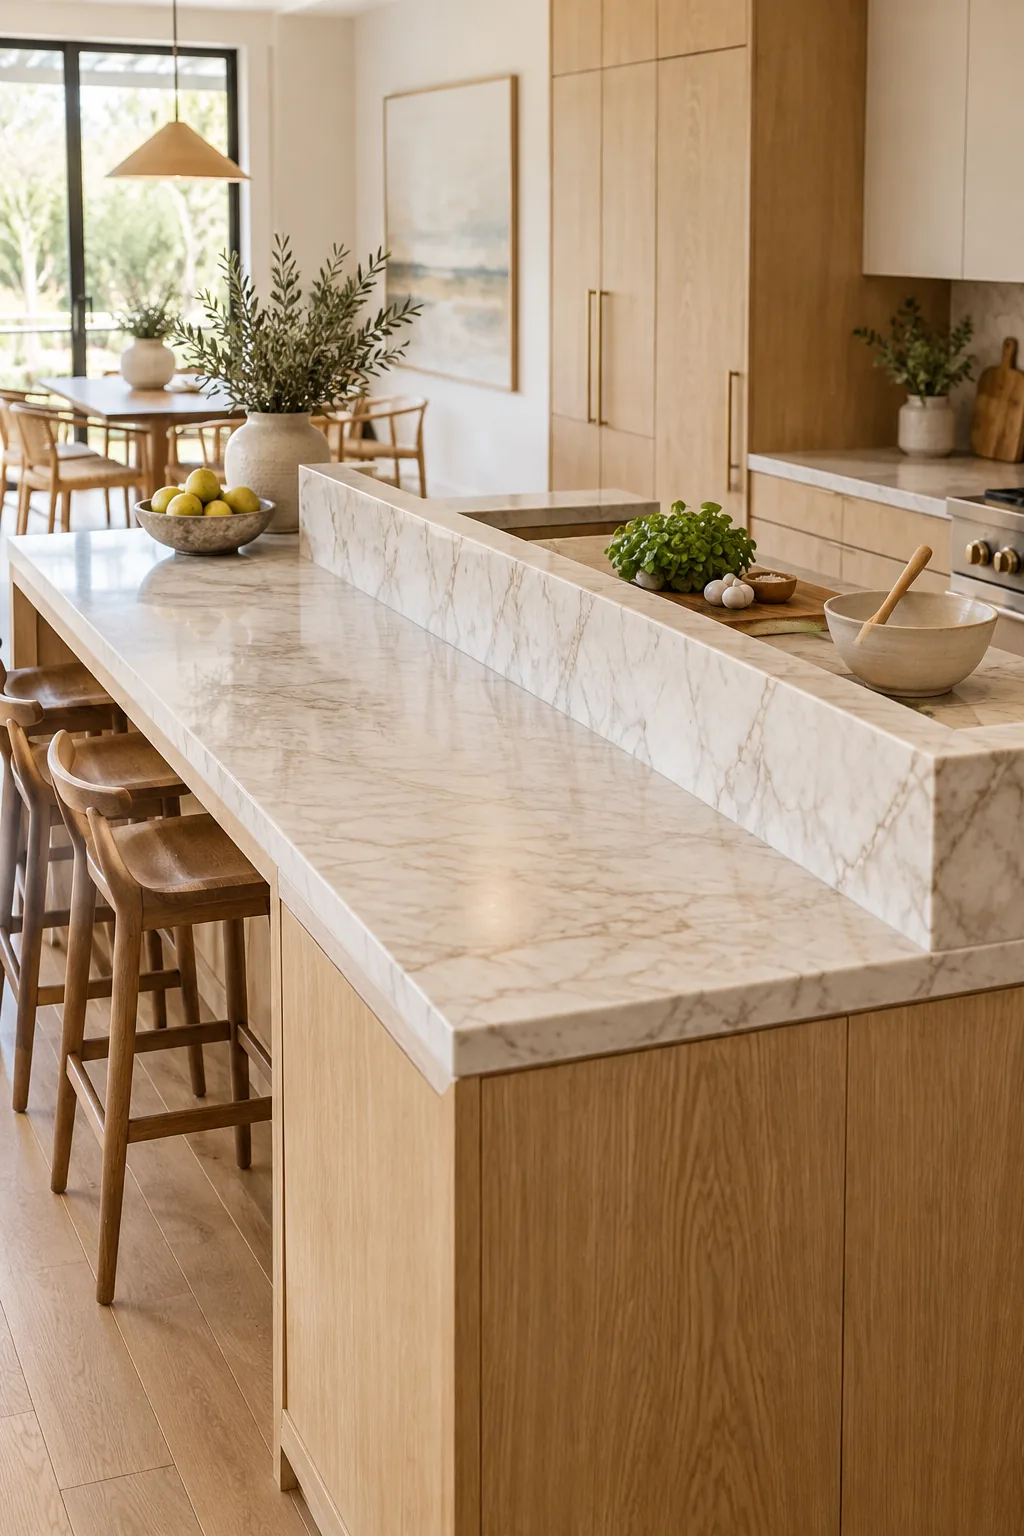
In my own kitchen projects, I always include this elevated ledge because it perfectly masks my chaotic baking sessions from dinner guests. A 6-inch to 8-inch raised upstand provides the exact coverage needed for standard mixing bowls.
Selecting the Upstand Material
Carrying the same heavy veining from your primary island surface up the vertical face of the barrier creates a stunning monolithic effect. This continuous stone application elevates the upstand from a functional shield to a deliberate architectural feature.
Aligning the Island Seating
Positioning your counter stools directly behind the upstand creates a comfortable, protected dining zone. You should allow a 15-inch minimum overhang for knee clearance so guests can sit comfortably without kicking the cabinetry.
Clearing the Air with a Flush Vent
Installing a minimalist ceiling exhaust is absolutely required to preserve the open, airy feeling of the room. This flush ceiling installation removes cooking odors effectively while keeping the panoramic view completely unobstructed.
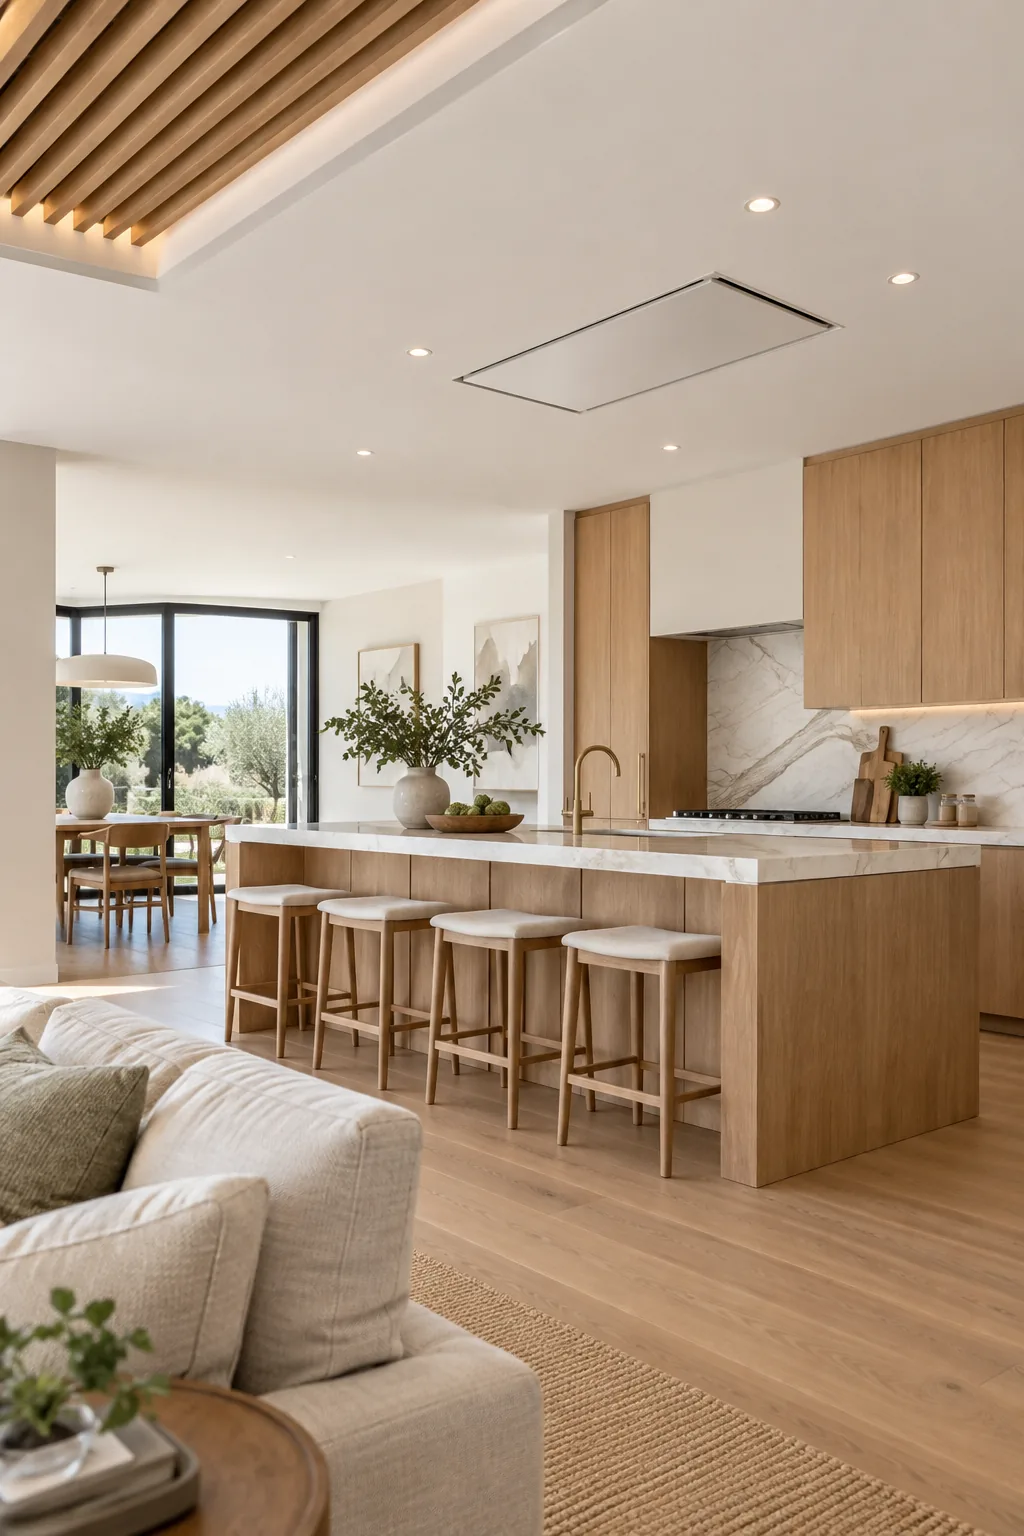
You need a high-capacity unit pulling at least 600 CFM for open spaces to capture drifting grease and smoke. Mounting it perfectly flat against the drywall ensures the heavy machinery vanishes into the architecture.
Routing the Exhaust Ductwork
Integrating a powerful ceiling cassette requires careful coordination with your existing structural framing. You must verify your ceiling joist direction early to ensure the rigid 8-inch ducting can route directly to the exterior.
Controlling Noise with Acoustic Baffles
Spacious, hard-surfaced rooms easily echo, making acoustic dampening a vital part of the layout strategy. Introducing specialized ceiling treatments helps absorb the harsh sound waves generated by daily cooking activities.
- Wood slats break up flat planes to scatter high-frequency noises.
- Deep acoustic felt backing traps and deadens low-frequency rumbles.
- Linear installations draw the eye outward, expanding the perceived ceiling length.
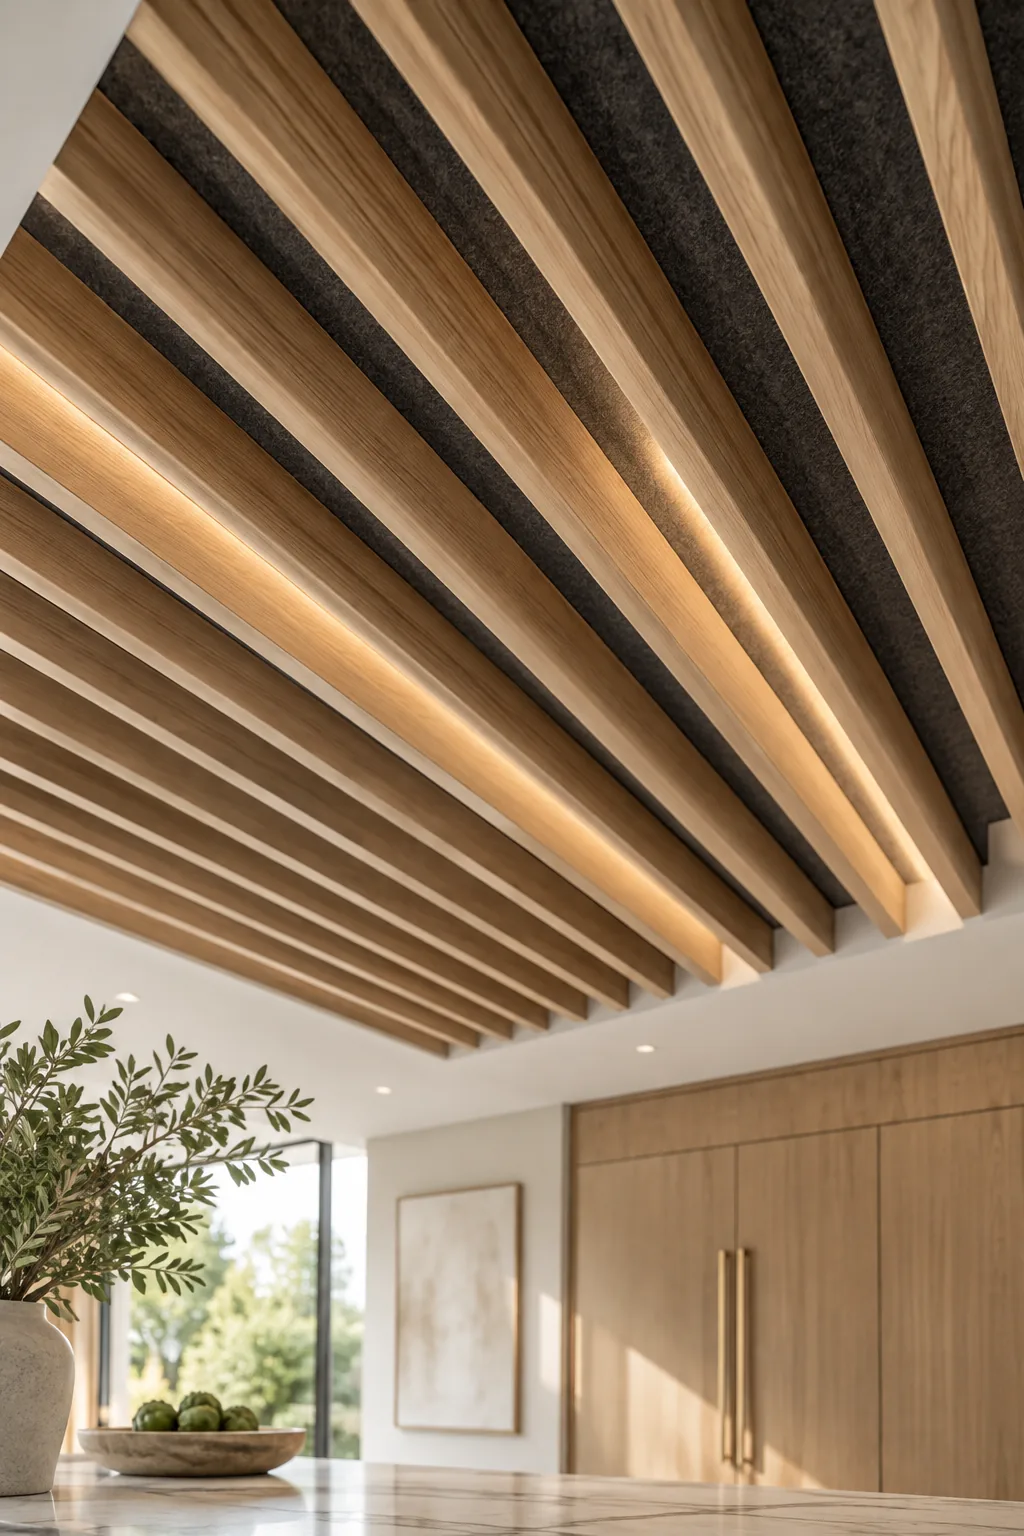
Spacing the rigid slats exactly 1 to 2 inches apart over the sound-dampening felt optimizes the noise reduction. This precise gap ratio effectively captures the sharp clinking of pots and pans before it reaches the sofa.
Layering Sound Absorption
The effectiveness of your acoustic ceiling depends entirely on the density of the hidden backing material. Utilizing a 9mm thick PET felt layer behind the wood provides the commercial-grade absorption necessary for residential open concepts.
Zoning with Pendant Lighting
The layered construction of wood slats over acoustic felt provides incredible sound absorption while offering a secure mounting base for fixtures. This integrated ceiling system allows you to drop illumination exactly where the island requires it.
Hanging oversized brass pendants in my own open layout instantly defined the kitchen zone without building a single wall. You should suspend these fixtures 30 to 36 inches above the counter to maintain clear sightlines across the room.
Calibrating the Light Temperature
Selecting the proper bulb temperature ensures your kitchen workspace blends seamlessly with the ambient living room glow. Using consistent 2700K LED bulbs across both zones prevents the cooking area from feeling overly sterile or detached.
Finalizing the Walkway Flow
Establishing clear, generous travel paths around the island prevents the space from feeling cramped when entertaining. These invisible corridors are just as critical to the layout’s success as the physical cabinetry itself.
Open Kitchen Styles to Inspire Your Space
Explore how different material palettes can completely transform the open concept layout.
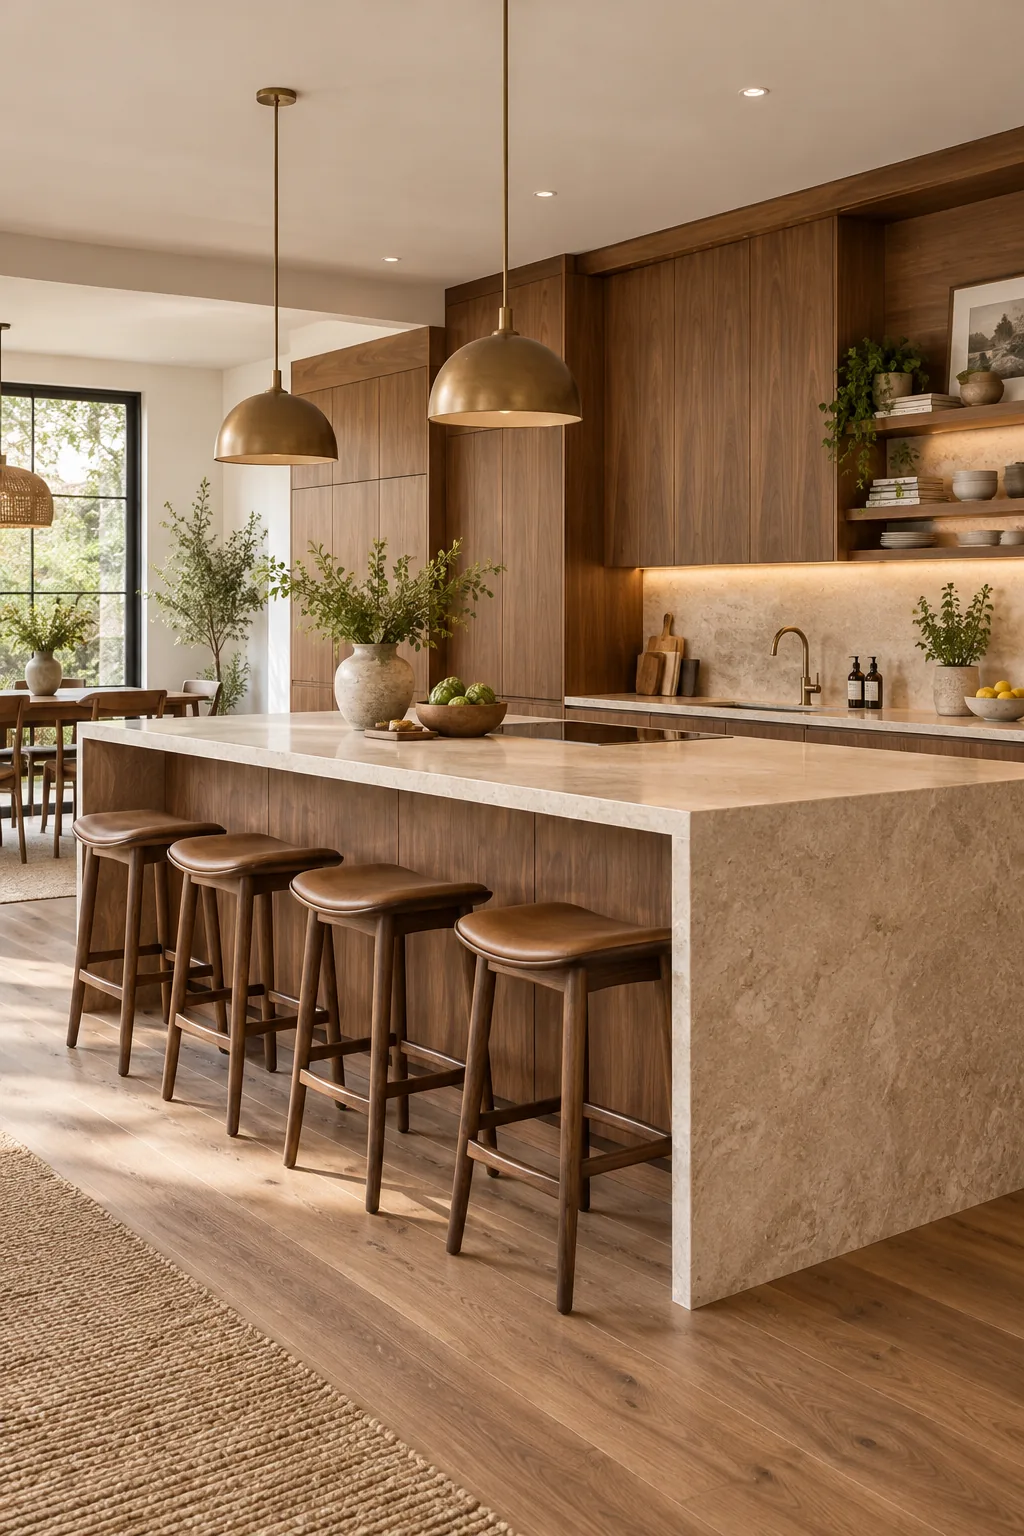
Warm Minimalist Walnut: Rich walnut tones bring instant warmth to large open spaces, pairing beautifully with soft cream stone.
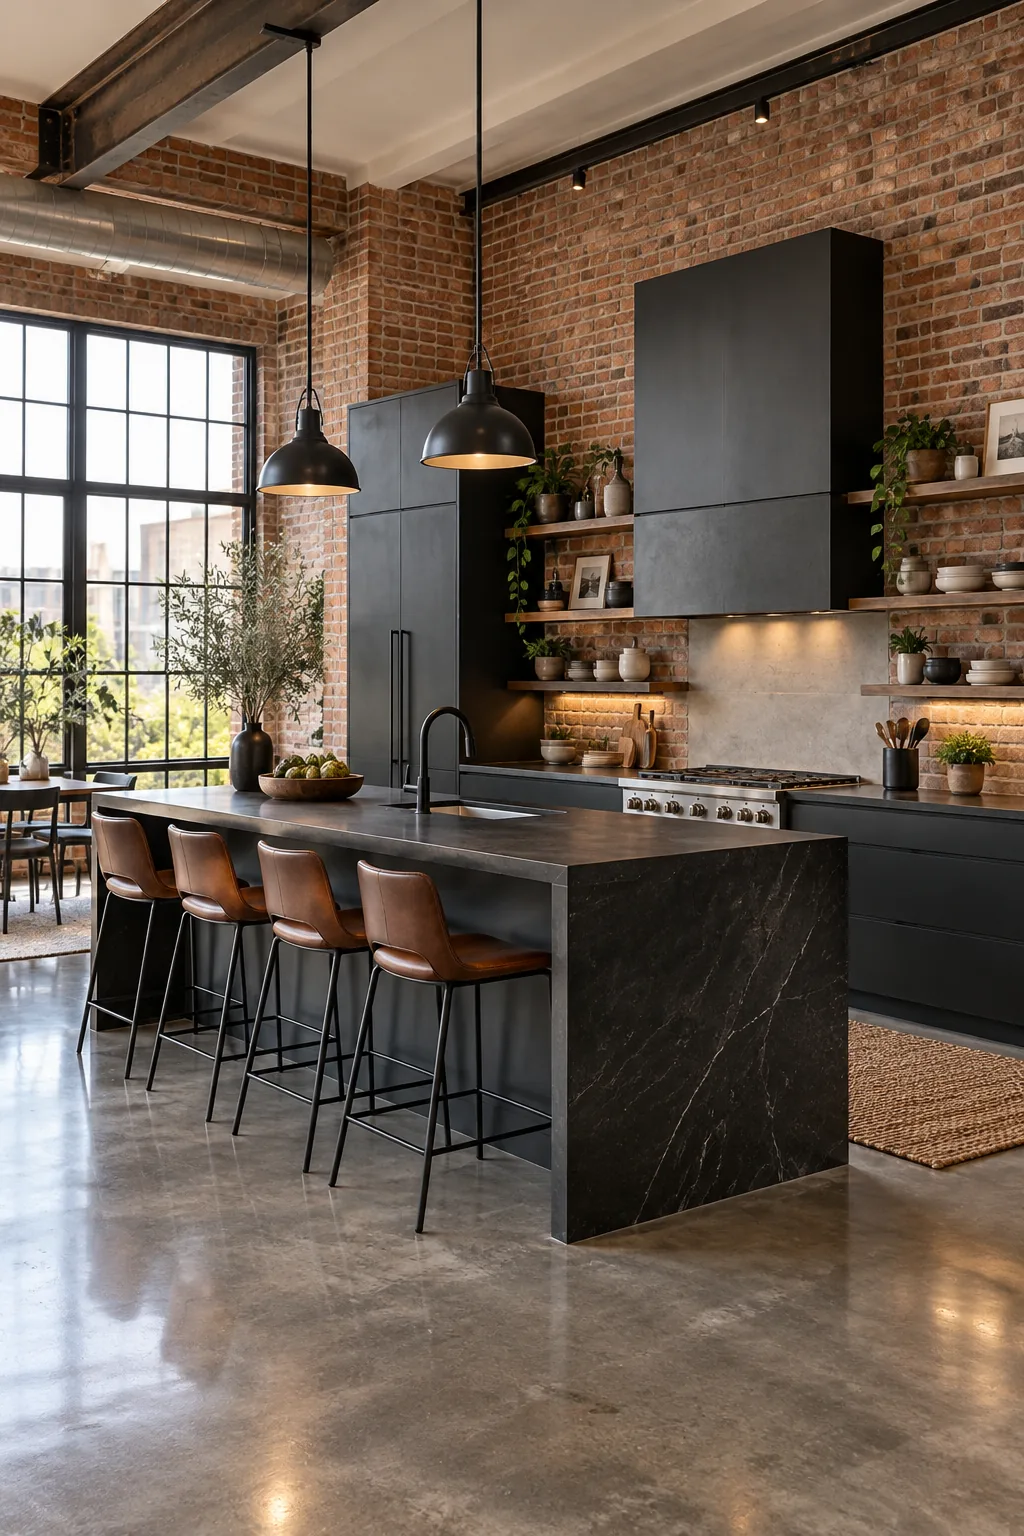
Industrial Concrete Loft: Matte black finishes and polished concrete floors create a striking, edgy foundation for a modern loft.
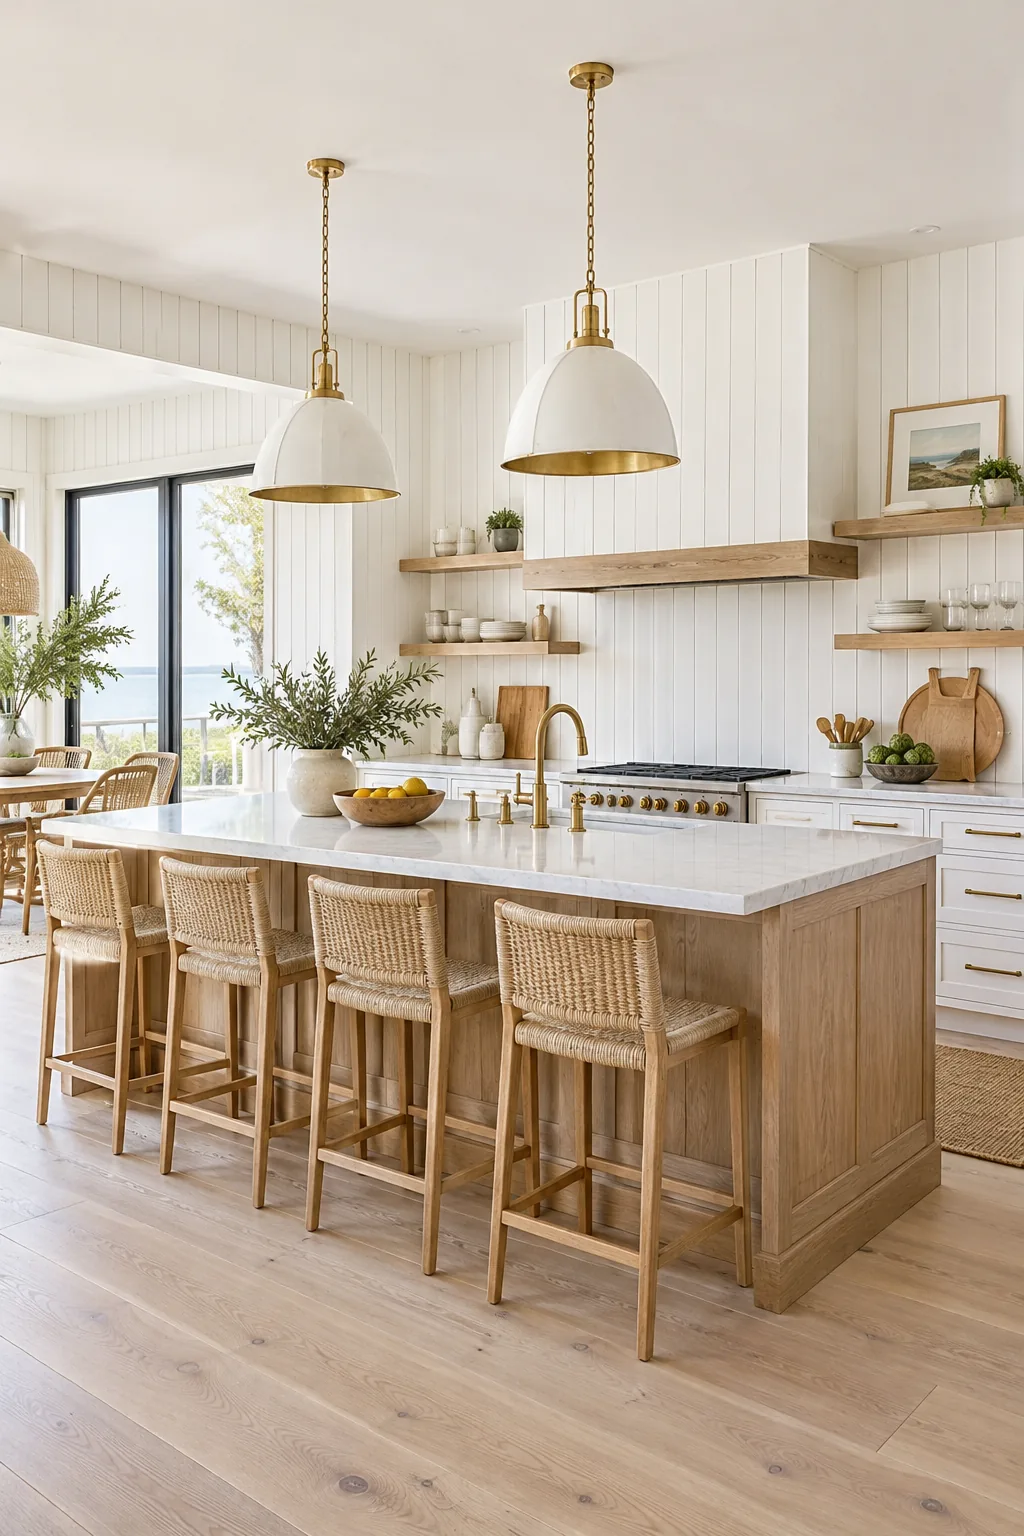
Coastal Crisp White: Vertical shiplap draws the eye upward, while unlacquered brass adds warmth to a bright coastal palette.
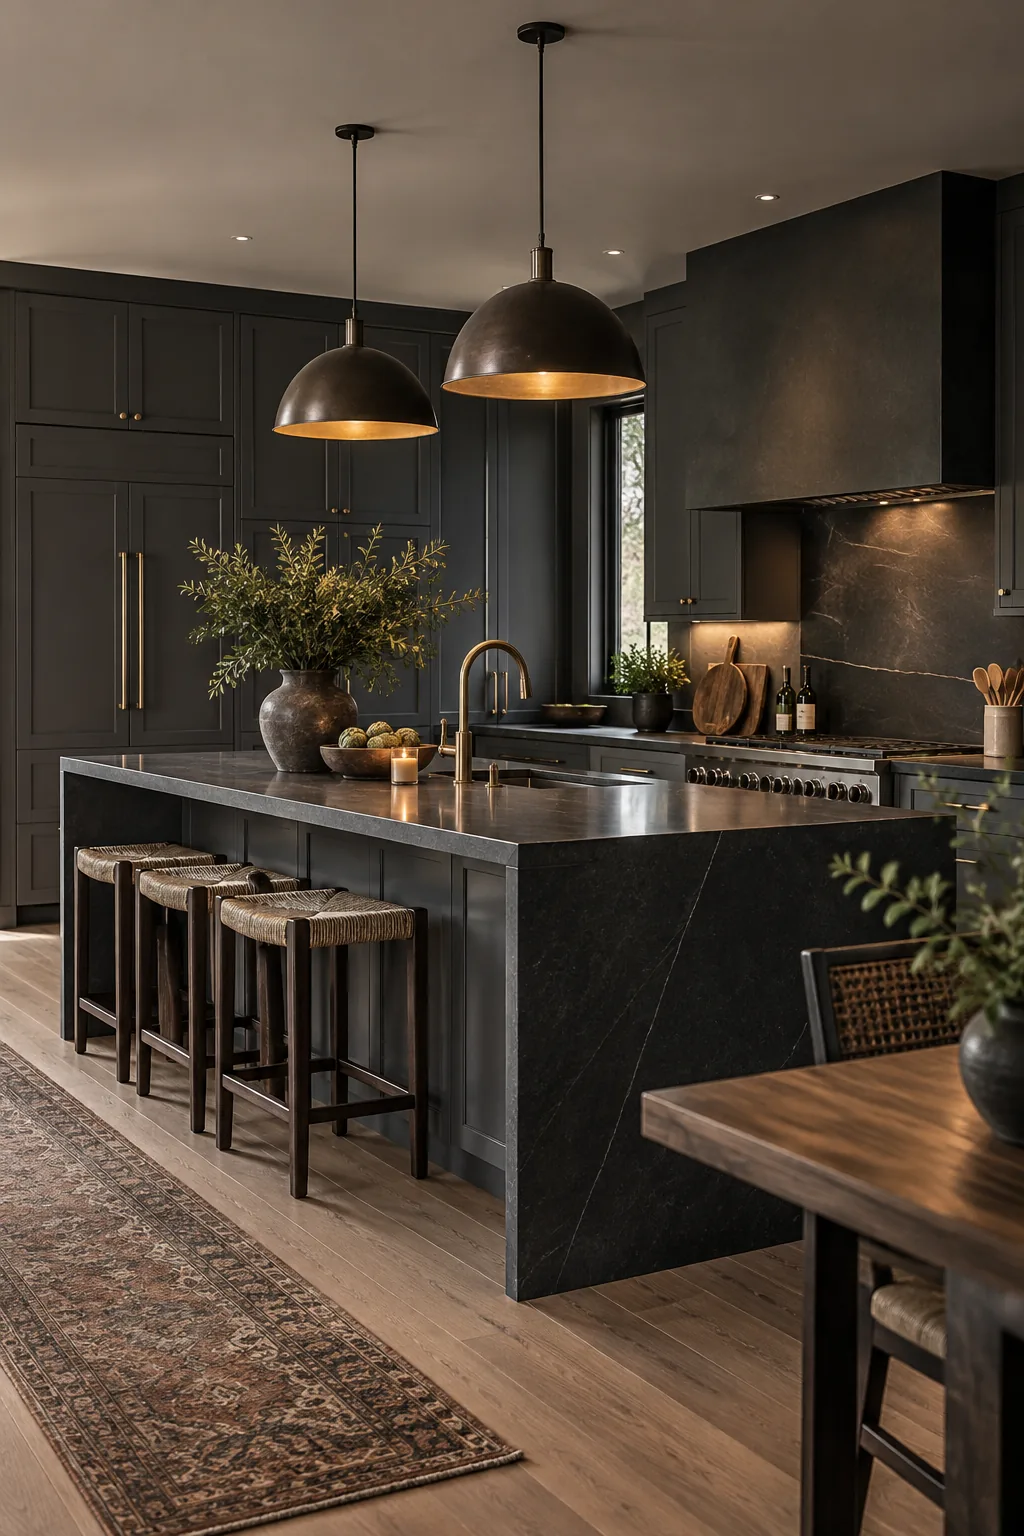
Moody Charcoal Slate: Dark charcoal cabinetry and soapstone counters transform an open kitchen into an elegant, intimate entertaining zone.
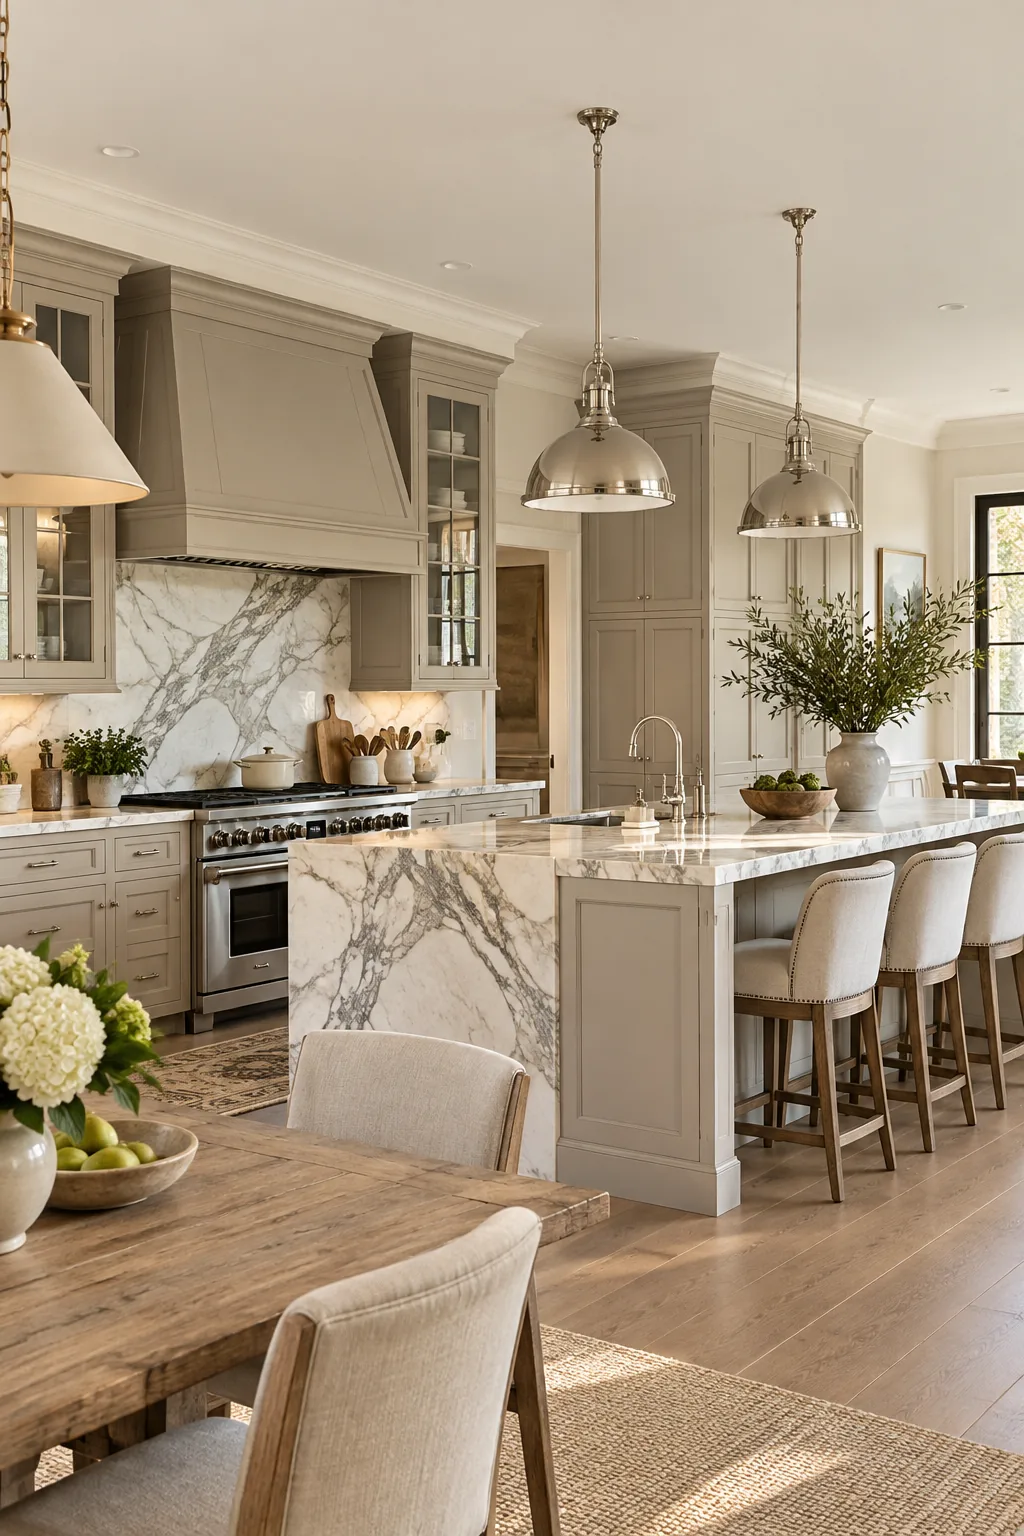
Classic Transitional Greige: Soft greige shaker cabinets offer a timeless bridge between traditional details and modern open layouts.
Your Open Concept Layout Guide
The critical walkway spacing between the island and the back wall dictates the entire functional flow of the space. Nailing these exact dimensions ensures multiple people can comfortably cook, clean, and pass through simultaneously.
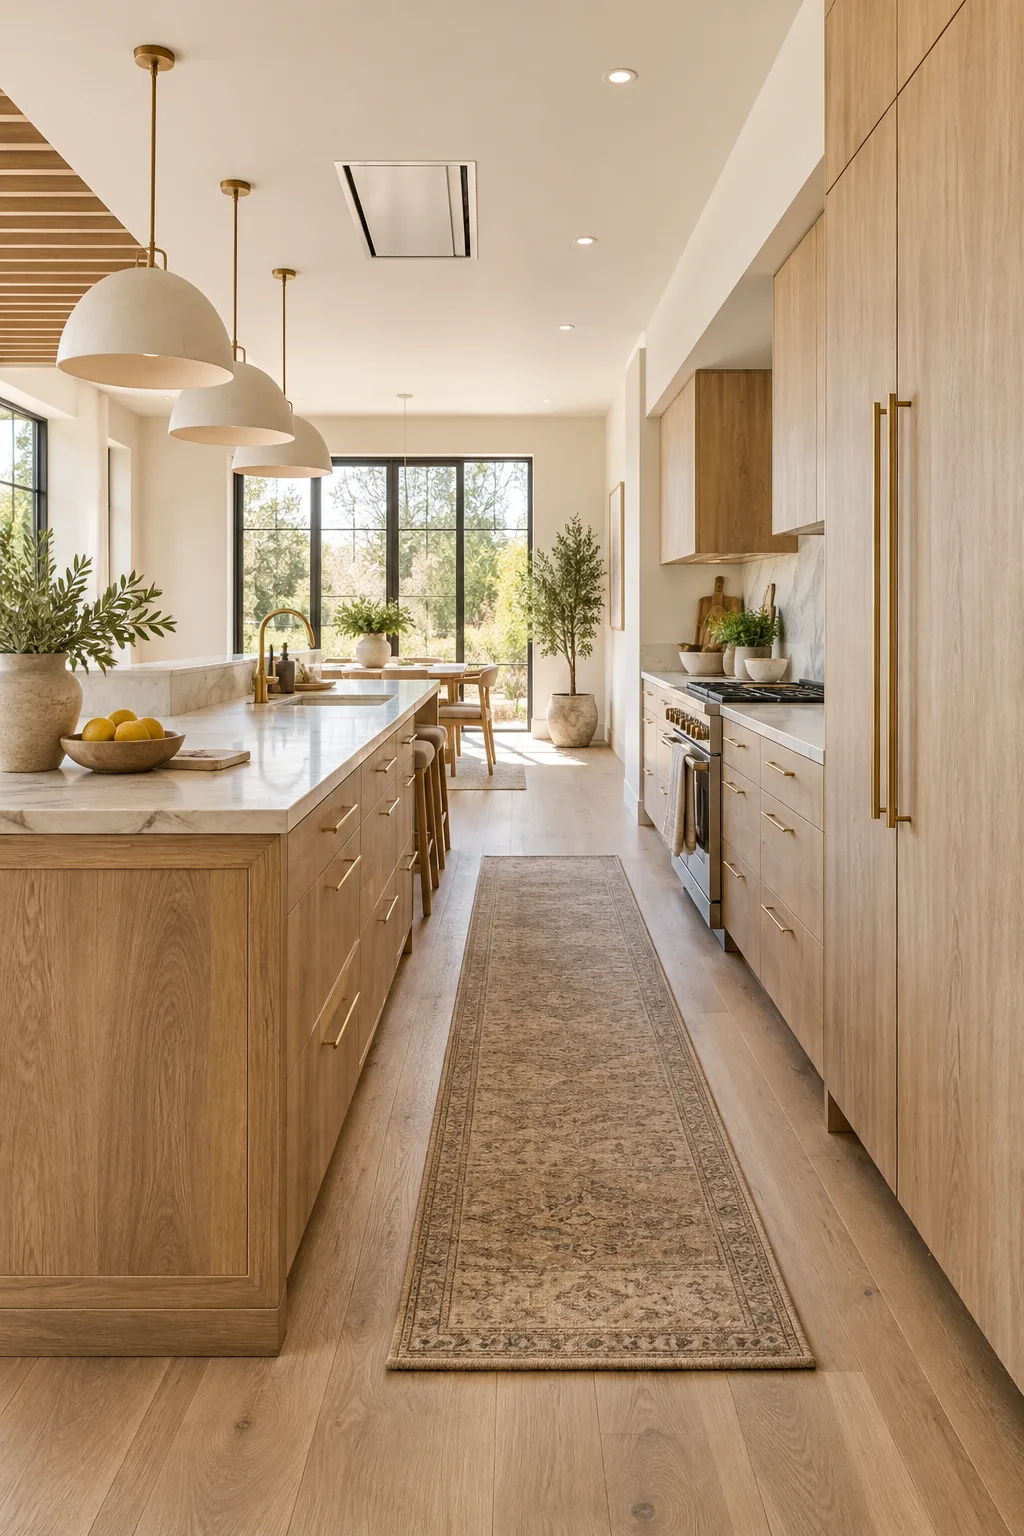
I reference this downloadable layout guide for every single client project to guarantee a flawless, highly functional result. Always enforce a 42-inch minimum clearance for these primary walkways to prevent frustrating bottlenecks during busy dinner preparations.