
Cozy Concrete Flooring: The Exact Finish Specification Sheet
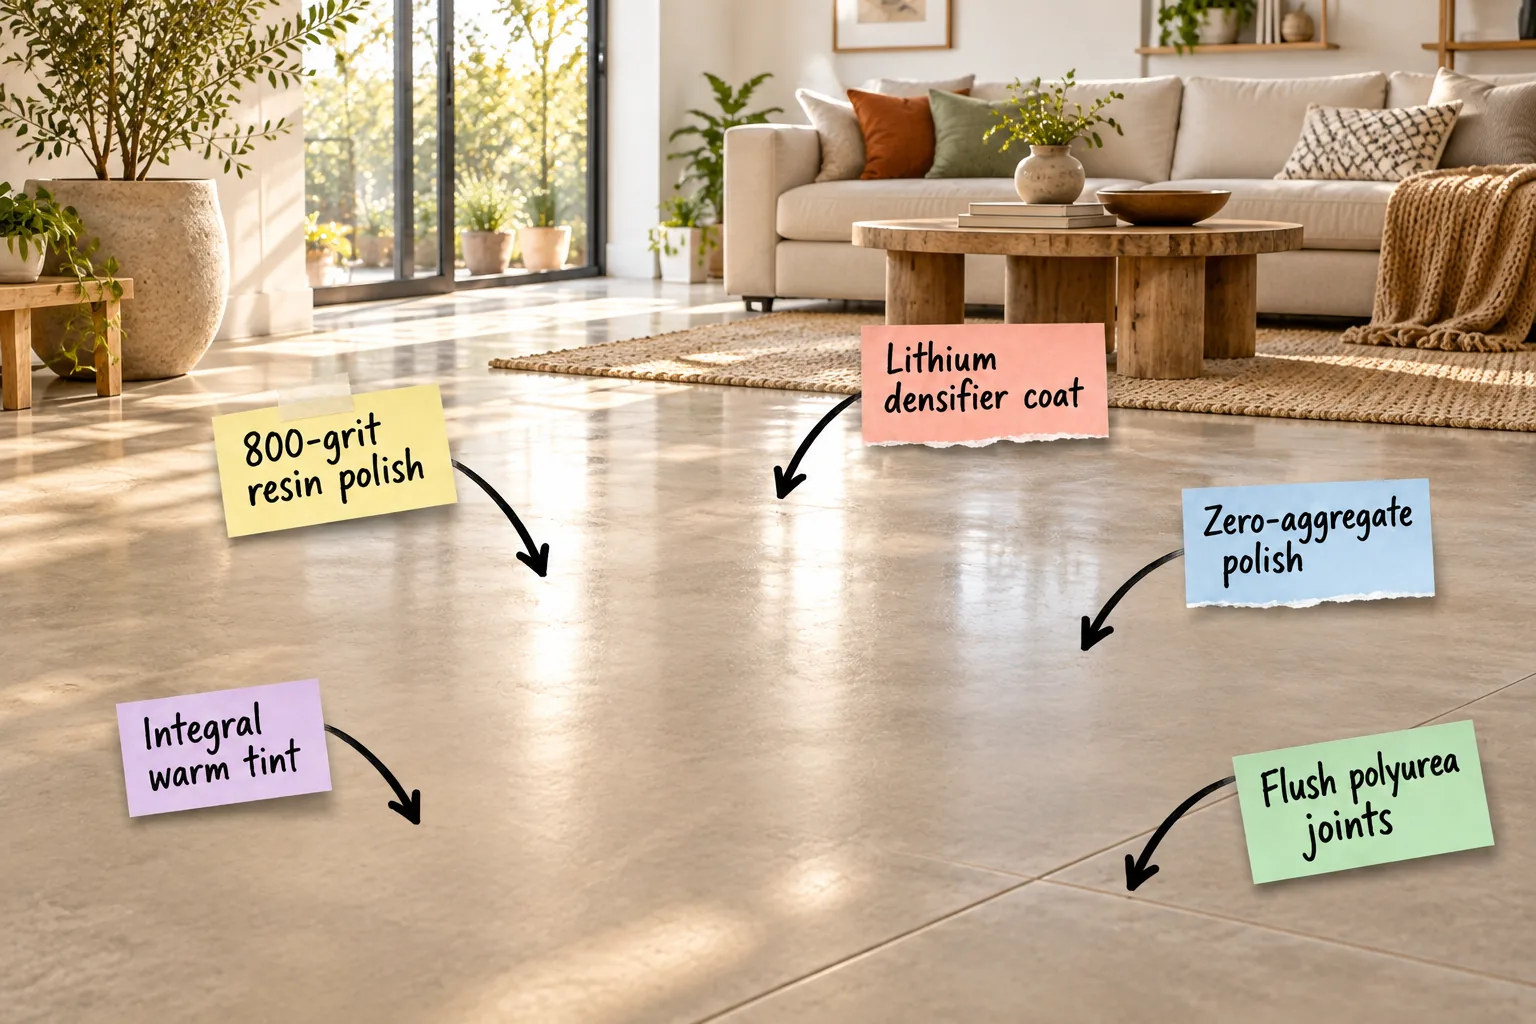
You can hand your contractor this exact finish specification sheet to replicate the warm, inviting concrete floors you see in my Denver design projects. This precise breakdown of tints, grits, and sealers guarantees a cozy living space rather than a cold industrial warehouse.
The Contractor Finish Specification Sheet
In my own living room remodel, I quickly learned that handing a contractor an inspiration photo leaves far too much room for interpretation, so you must specify the exact mechanical and chemical steps from start to finish.
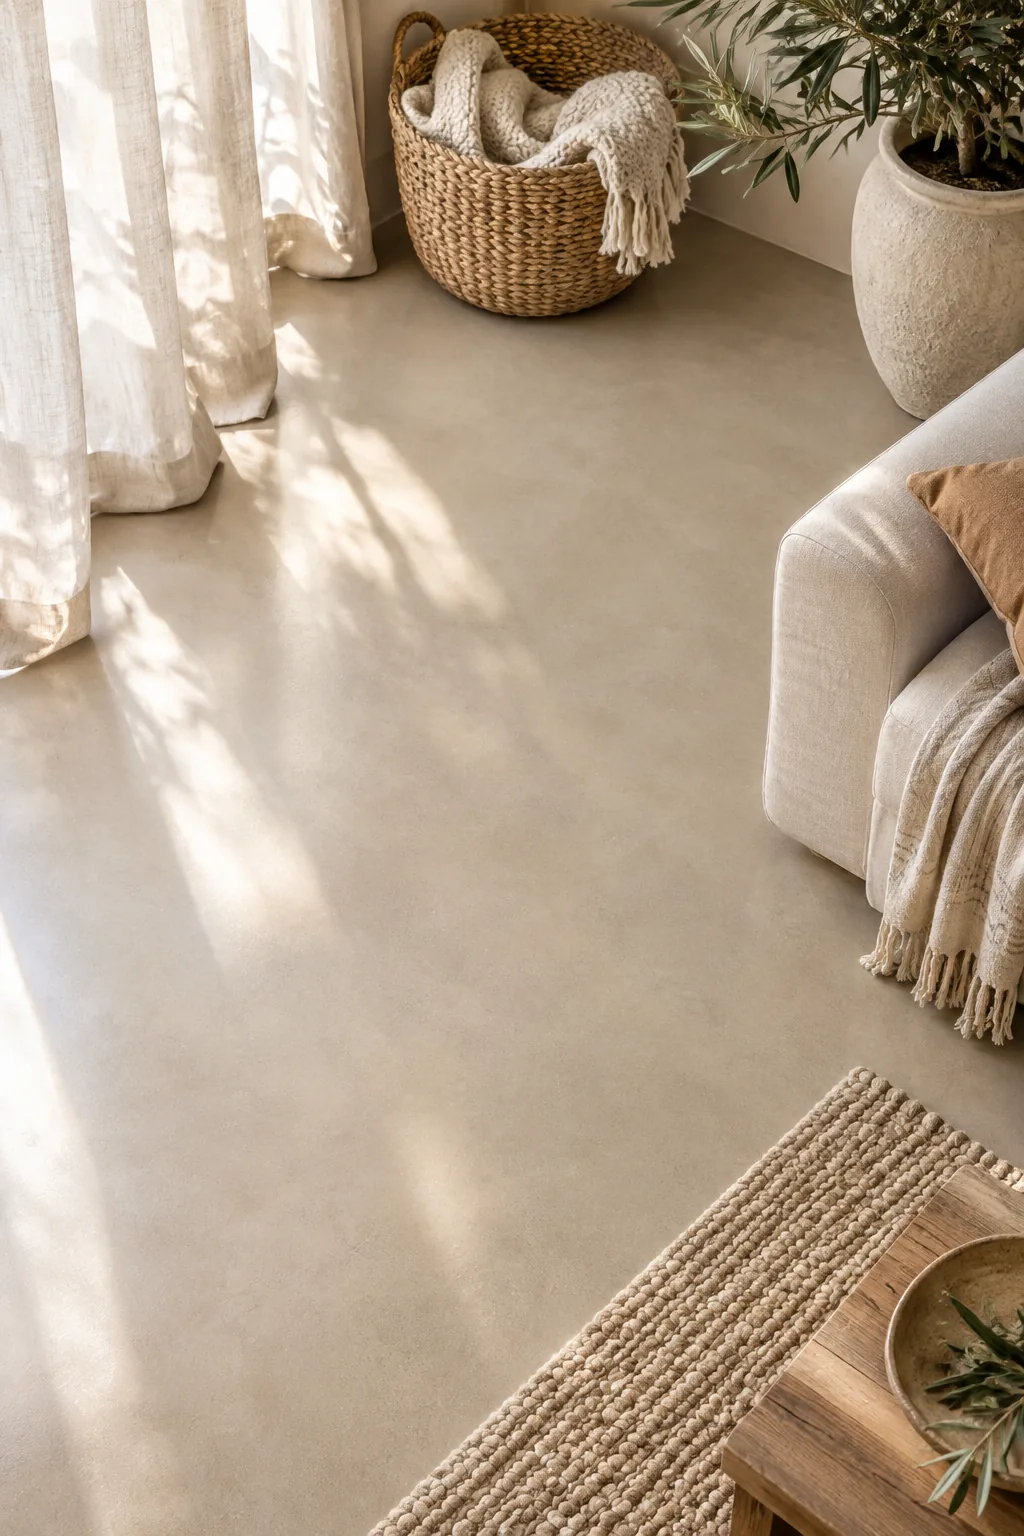
This complete, skimmable specification list provides the exact parameters you need to copy directly into your project brief to ensure the polishing crew understands your expectations before bidding begins.
| Phase | Specification | Purpose |
|---|---|---|
| Base Color | Integral warm greige tint | Consistent color throughout |
| Grind | Zero-aggregate (“cream”) | Smooth, stone-free texture |
| Treatment | Lithium silicate densifier | Hardens and prevents dust |
| Polish | 800-grit resin pad | Soft, diffuse satin reflection |
| Joints | Flush tinted polyurea | Seamless, cleanable surface |
Defining the Project Scope and Budget
Before ordering materials, establish a clear budget that accounts for the specialized labor required to achieve a flawless residential finish, as a true custom architectural pour costs significantly more than a standard garage slab. The polishing process alone requires multiple days of heavy machinery operation.
Evaluating the Existing Subgrade
A perfectly polished surface relies entirely on the structural integrity of the ground beneath it, meaning your contractor must compact the native soil to a 95 percent proctor density to prevent future settling and cracking. Any shifting in the subgrade will instantly telegraph through your finished floor as jagged structural cracks.
Installing the Vapor Barrier System
Moisture migrating up through the earth will ruin your final sealer, so always mandate a continuous 15-mil vapor barrier with all overlapping seams heavily taped before the reinforcing steel grid is placed. This critical isolation layer prevents the concrete from wicking dampness into your cozy living space.
Specifying an Integral Warm Tint
The foundation of a cozy floor is an integral warm greige tint mixed directly into the batch, and achieving this flawless color requires committing to the pigment method before the truck arrives.
Because the chosen pigment is distributed entirely through the wet pour, the warm color remains incredibly rich and consistent even after the top surface is heavily ground away during the mechanical polishing phase.
Selecting the Right Pigment Load
Ask your ready-mix supplier for physical color charts and specify a precise two-pound pigment load per sack of cement to achieve that subtle greige tone without pushing the floor into a heavy, muddy brown territory. Always request a physical cured sample before approving the final batch recipe.
Pouring and Troweling the Slab
The placement crew must use a laser screed to achieve an exceptionally flat surface, followed by intensive power troweling to push the heavy gravel down and bring the fine, creamy cement paste to the very top. This smooth upper crust is absolutely mandatory for achieving a uniform polish.
Requesting a Zero-Aggregate Grind
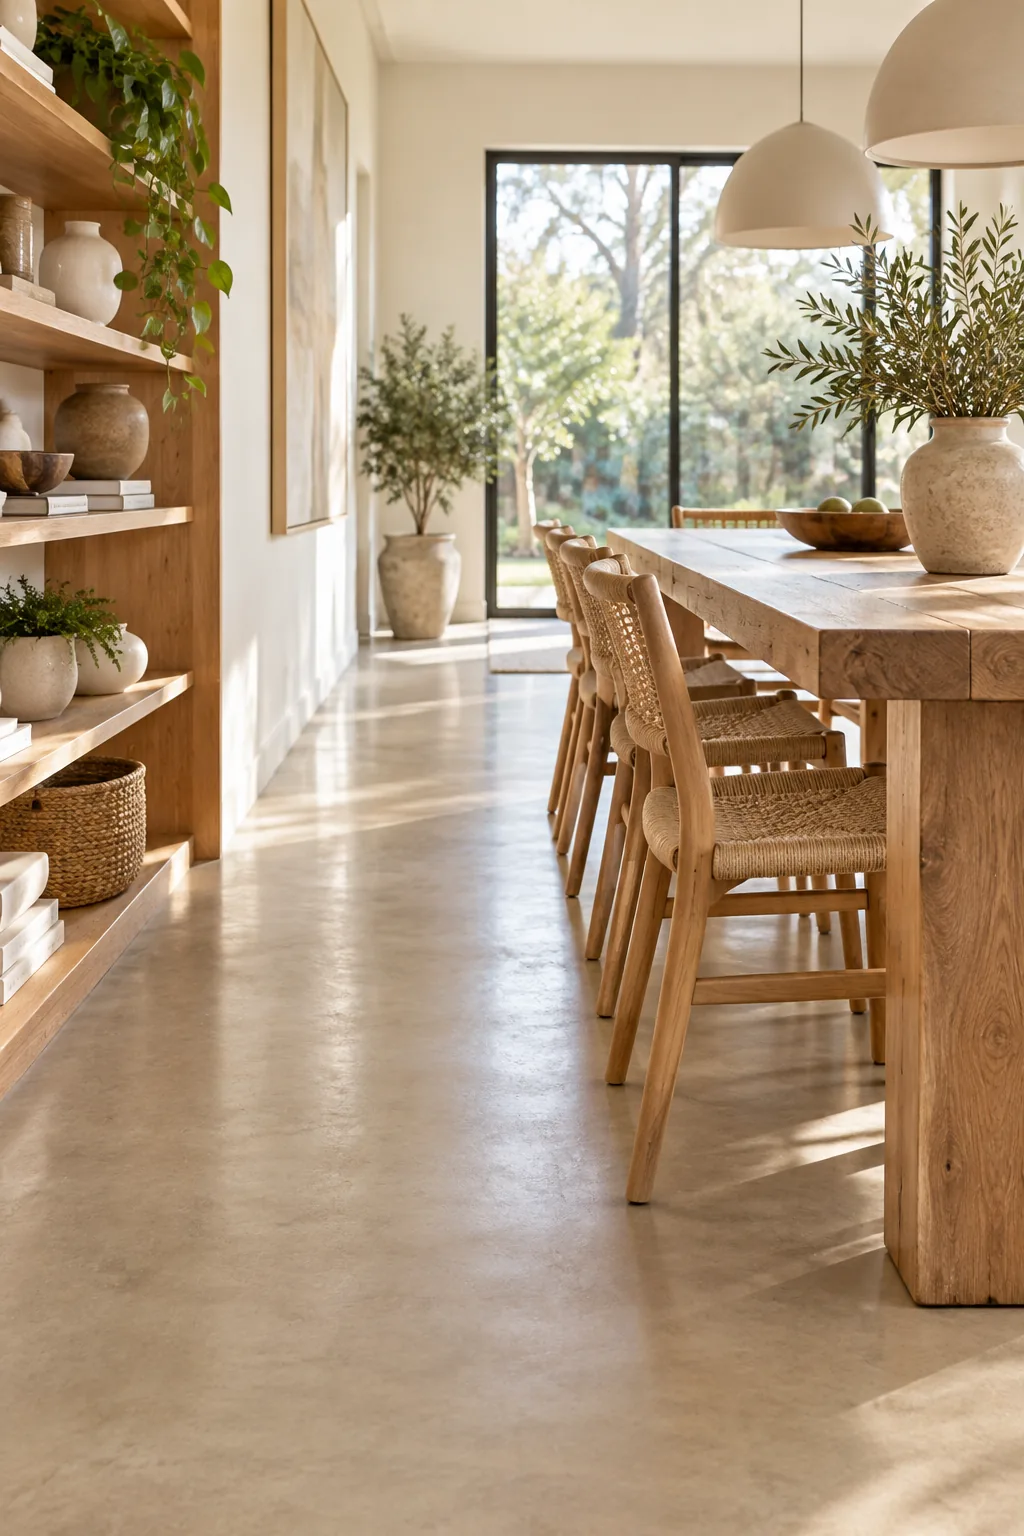
To keep the floor looking like a seamless, intentional design feature, request a zero-aggregate finish where the polishing contractor uses fine-grit diamond pads to smooth the very top layer of the concrete paste.
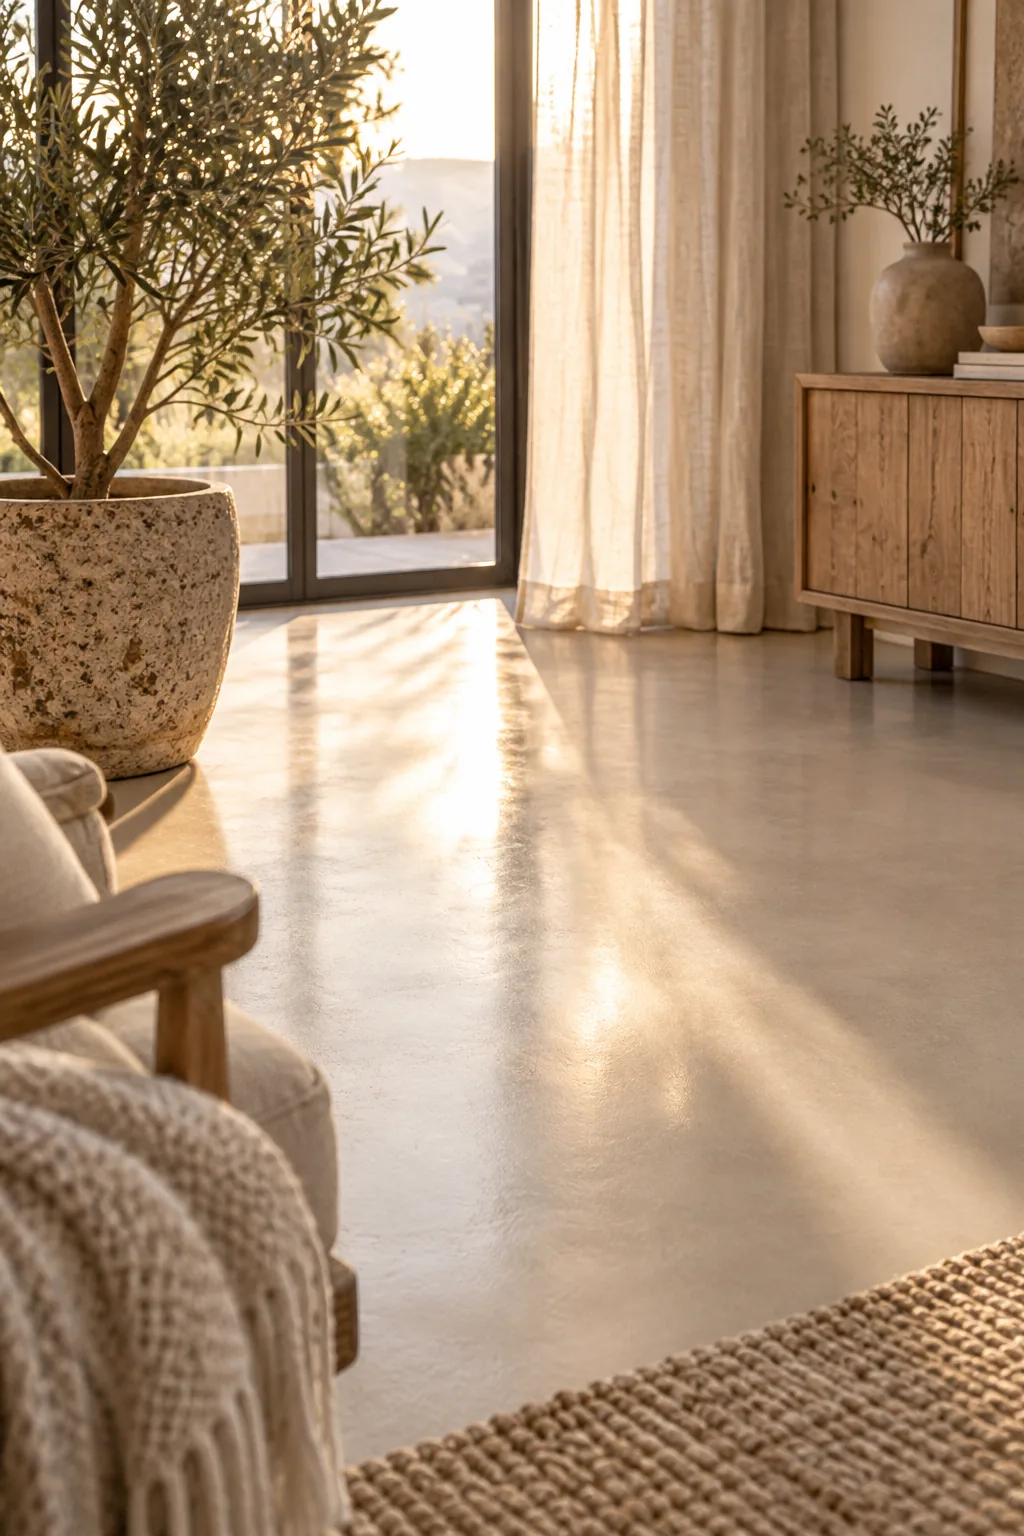
This delicate “cream” finish prevents the space from feeling like a commercial warehouse by ensuring the grinding machine never cuts deep enough to expose the sand and gravel aggregate hidden just beneath the surface.
Understanding the Diamond Grinding Process
The polishing crew will slowly walk massive planetary grinders across the room in overlapping passes, gradually stepping up the abrasive grits to refine the surface scratches until the floor feels as smooth as honed limestone. Each successive pass removes the microscopic peaks left by the previous diamond pad.
Applying the Lithium Densifier Coat
During a recent loft project, I saw firsthand how skipping this step leaves floors chalky, so I always mandate a liquid lithium silicate densifier once the initial grinding opens the concrete pores.
- Open the surface pores: The initial mechanical grinding prepares the concrete to absorb the chemical treatment deeply.
- Saturate with densifier: The lithium silicate is sprayed on and reacts immediately with the free lime in the slab.
- Allow crystallization: A dense, hardened crystalline structure forms internally to permanently prevent surface dust.
This invisible chemical reaction creates a hardened, non-dusting surface that is structurally prepared to take a pristine polish without deteriorating under heavy daily foot traffic.
Monitoring the Chemical Reaction
The contractor must keep the concrete visibly wet with the densifier for a full thirty minutes to ensure maximum penetration, re-applying the liquid to any dry spots before wiping away the excess residue. Proper saturation guarantees the floor will harden uniformly across the entire living room.
Hitting the 800-Grit Resin Polish
The final sheen dictates how light interacts with your living space, and an 800-grit resin polish hits the perfect sweet spot for a warm, inviting residential interior.
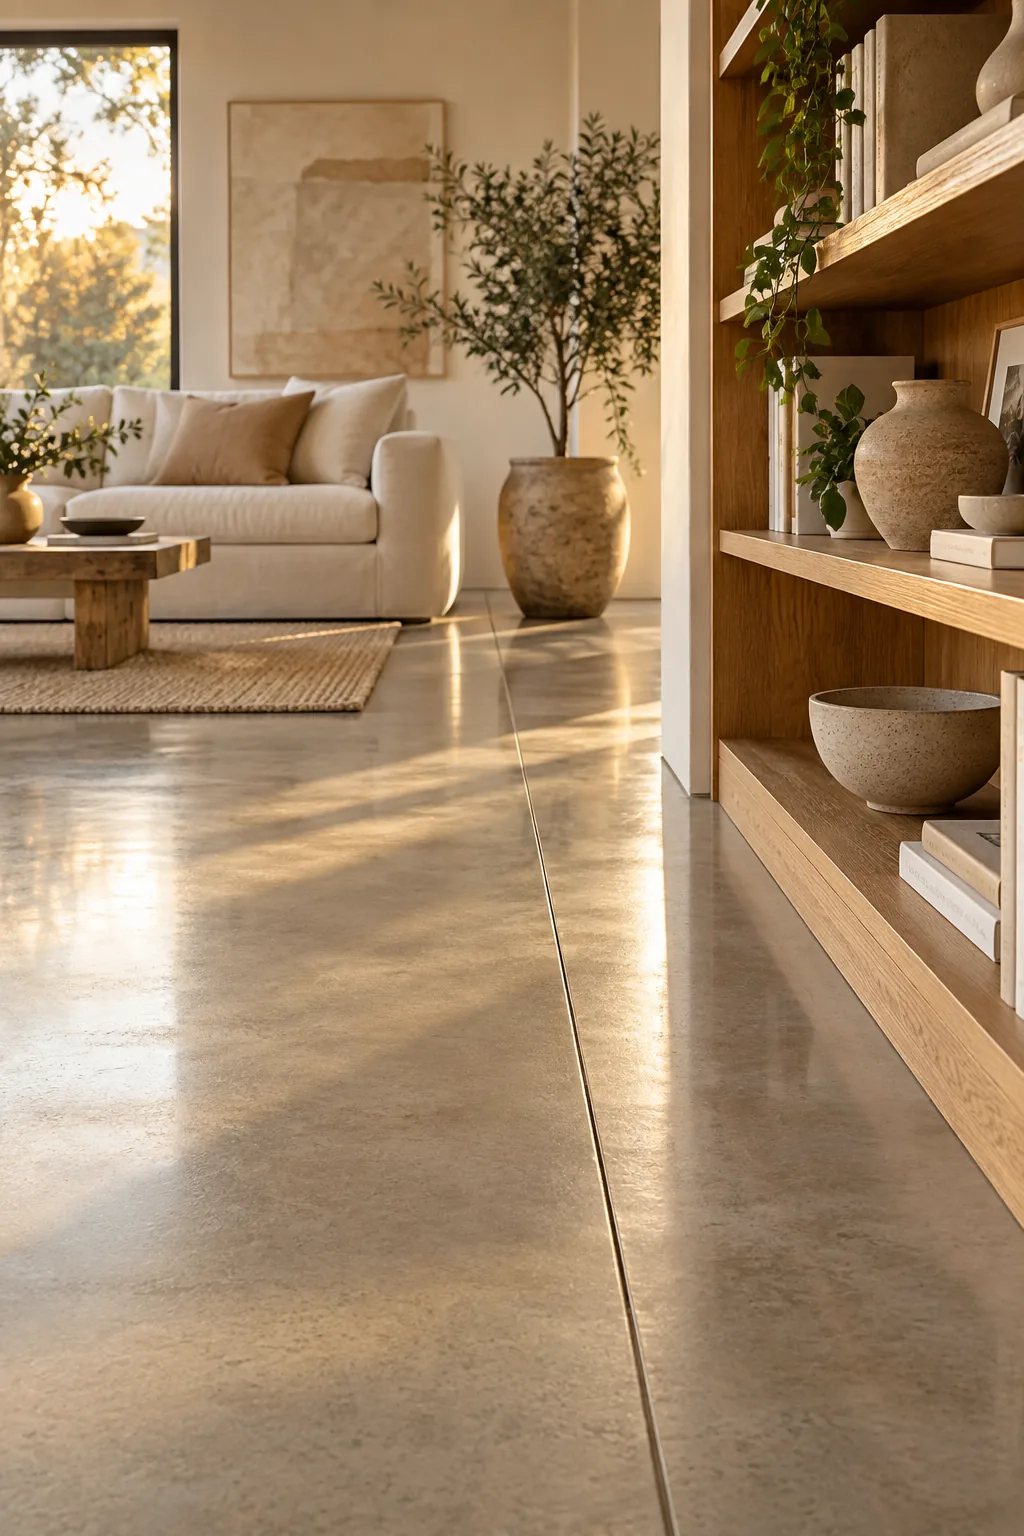
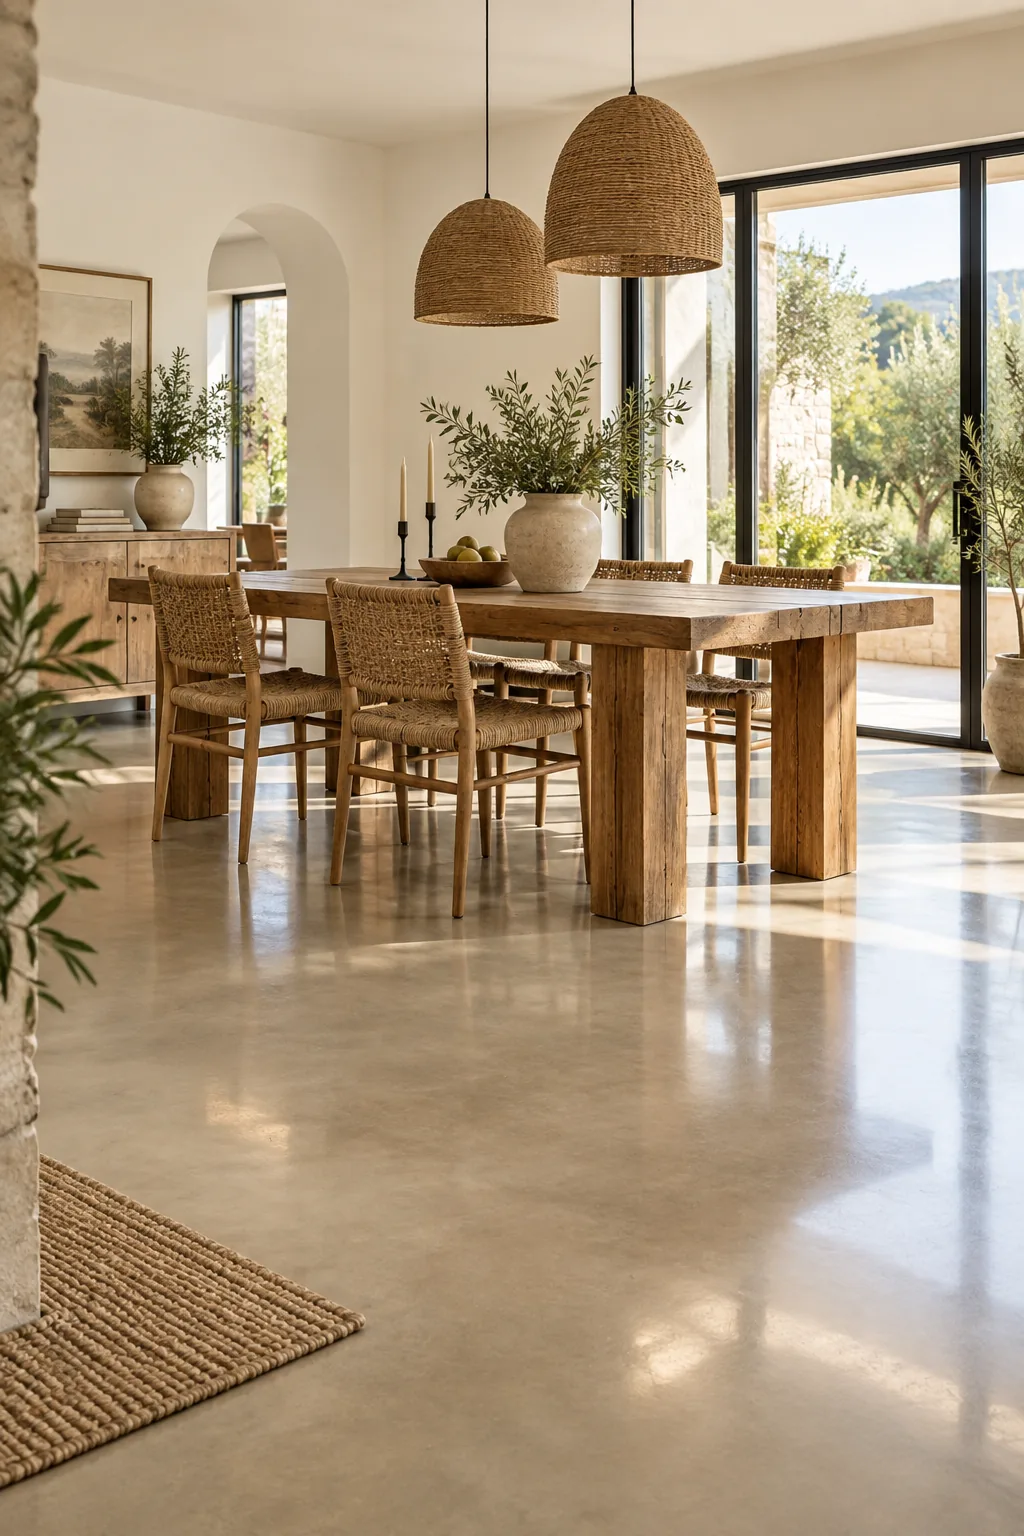
It produces a soft, diffuse satin reflection that bounces window light beautifully without turning the floor into a highly reflective, slippery mirror that looks like poured plastic.
Evaluating the Light Reflectivity Value
A satin finish perfectly balances brightness and maintenance by offering a moderate light reflectivity value that illuminates dark corners while effortlessly hiding the daily household dust and pet hair that a high-gloss floor highlights. It feels incredibly soft underfoot while remaining highly functional for busy households.
Detailing Flush Polyurea Joints
I used to hate the look of structural control joints until I discovered that specifying flush polyurea joints creates a continuous, easy-to-clean surface that blends right into the architecture.
All necessary saw cuts must be filled with a semi-rigid polyurea joint filler tinted to match the floor, which is then shaved perfectly flush with the concrete using a specialized razor scraper.
Aligning Saw Cuts with Room Geometry
Work with your structural engineer to map out the control joints so they align perfectly with interior walls, doorways, or structural columns, transforming a necessary crack-control measure into an intentional grid pattern. Thoughtful placement makes the expansion lines look like deliberate architectural details.
Balancing Sheen and Slip Resistance
While an 800-grit finish provides a beautiful satin glow, it also maintains enough microscopic surface texture to keep the floor safe and slip-resistant for daily living.
Stopping at the 800-grit benchmark ensures the floor remains safe enough for socks and bare feet while still looking incredibly refined and intentionally designed.
Testing the Dynamic Friction Coefficient
If you are concerned about mobility, ask your polishing contractor to perform a slip test to verify the floor meets a minimum 0.42 dynamic coefficient of friction before applying the final penetrating stain guard. This objective measurement provides peace of mind that your cozy space remains entirely safe.
4 Ways to Style Polished Concrete
See how different tints and styling choices completely change the mood of a concrete floor.
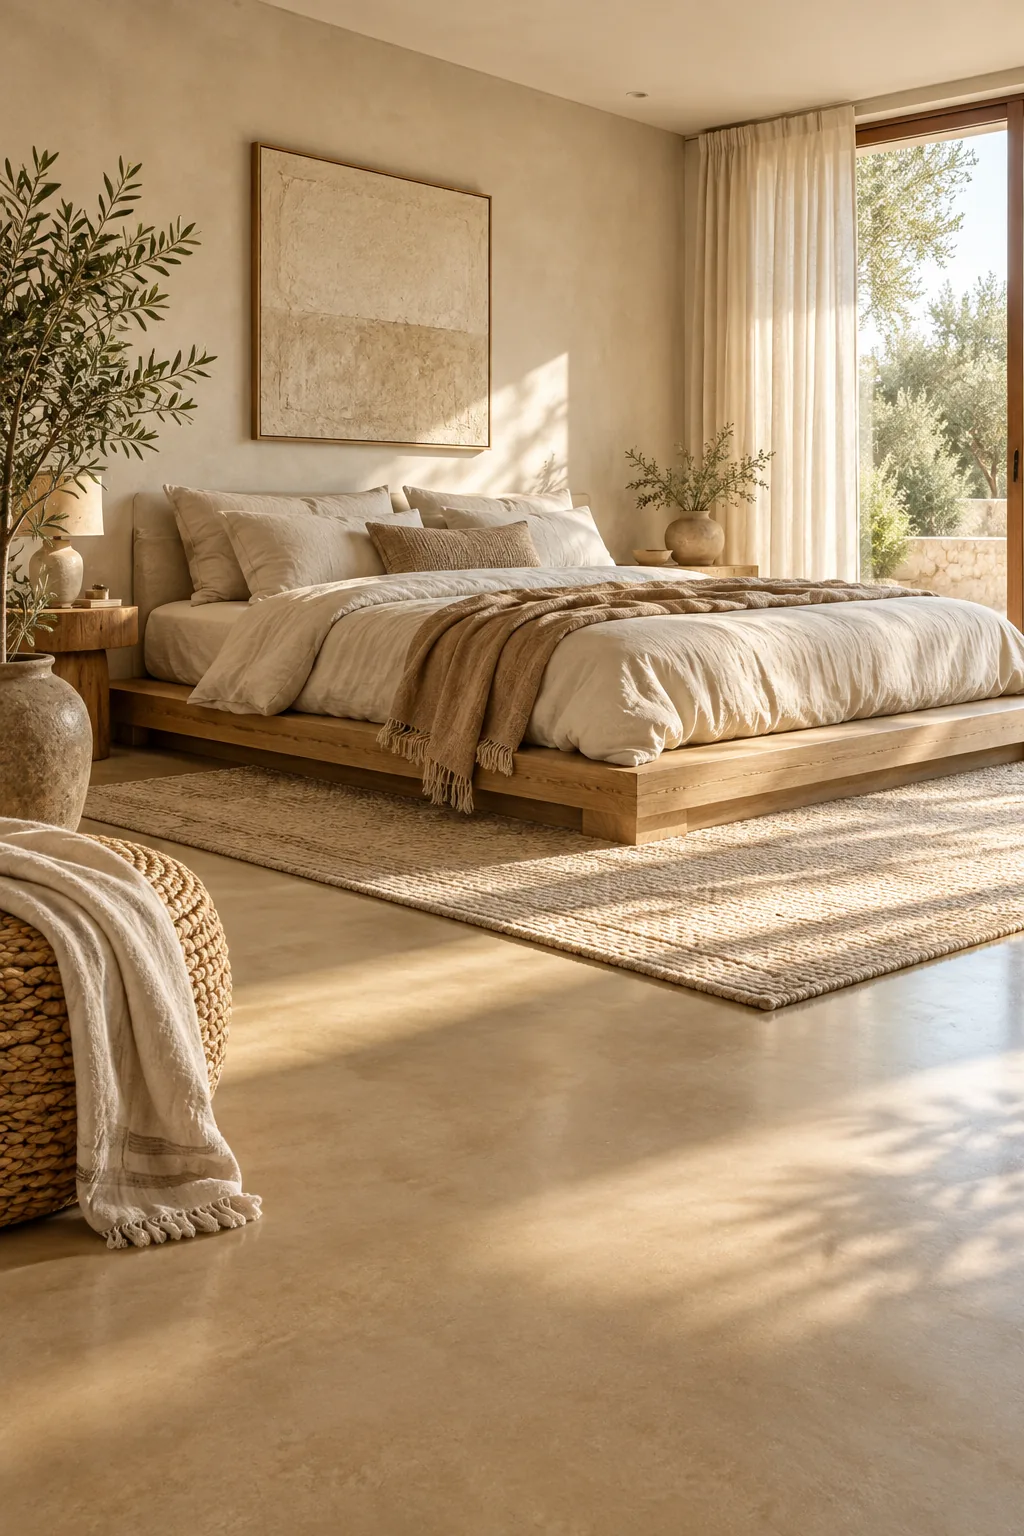
Minimalist Organic Bedroom: A warm sand tint paired with a matte finish grounds this airy bedroom, perfectly complementing natural linen bedding and woven textures.
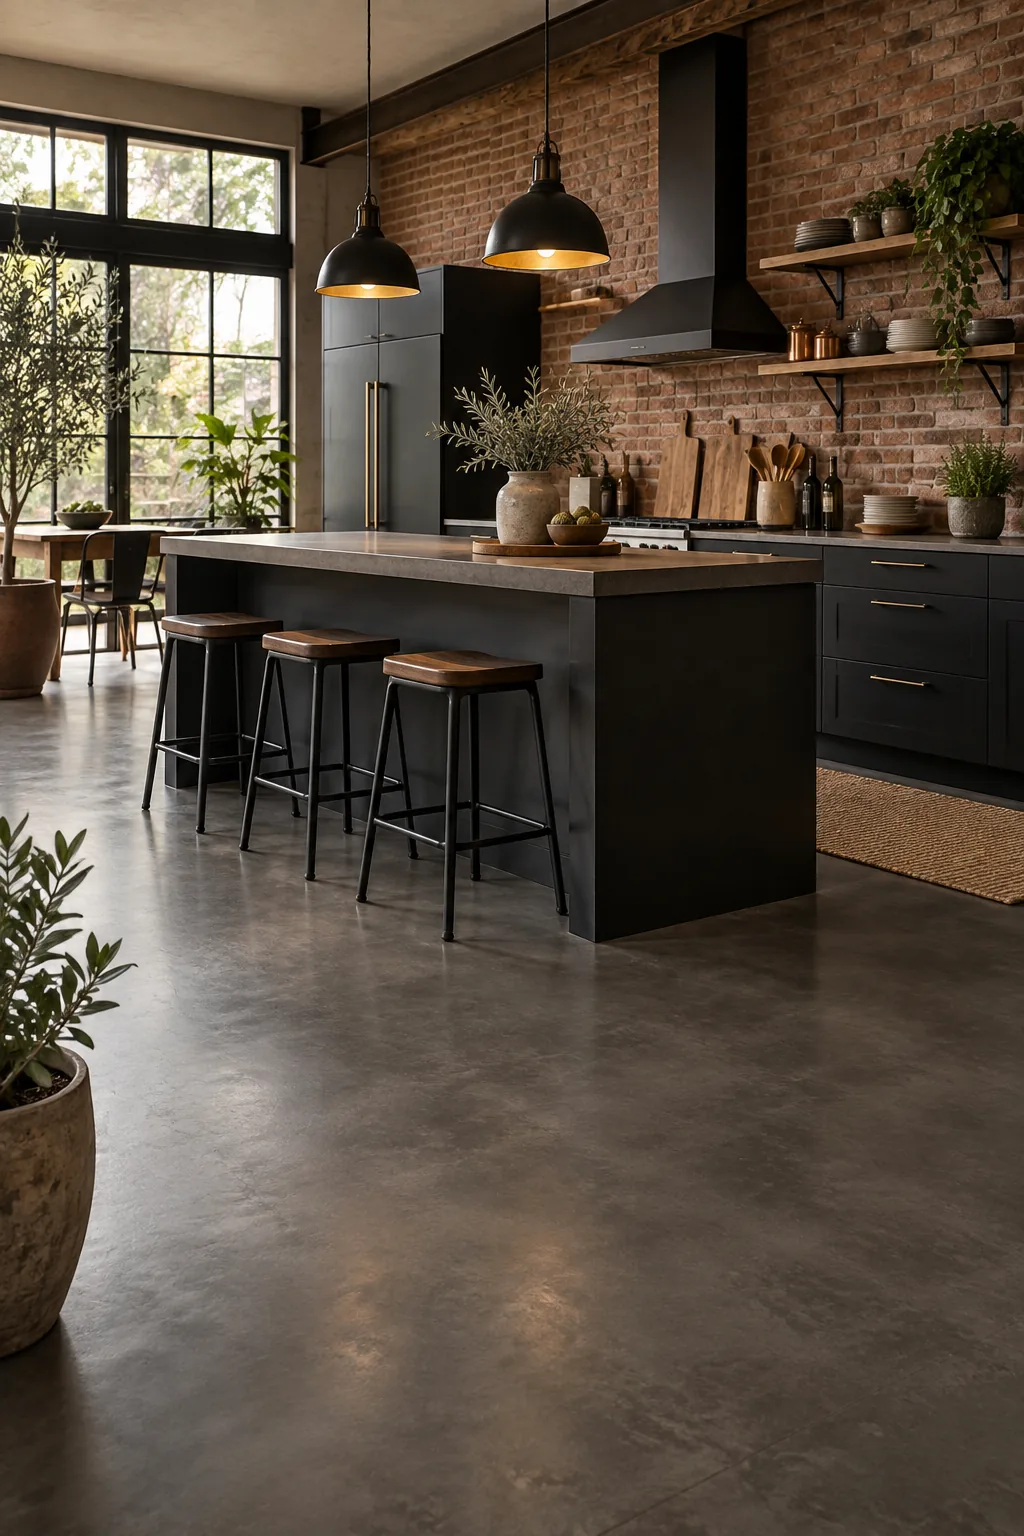
Industrial Chic Kitchen: Deep charcoal pigment and a low-grit matte polish give this kitchen a moody, architectural edge that hides cooking spills effortlessly.
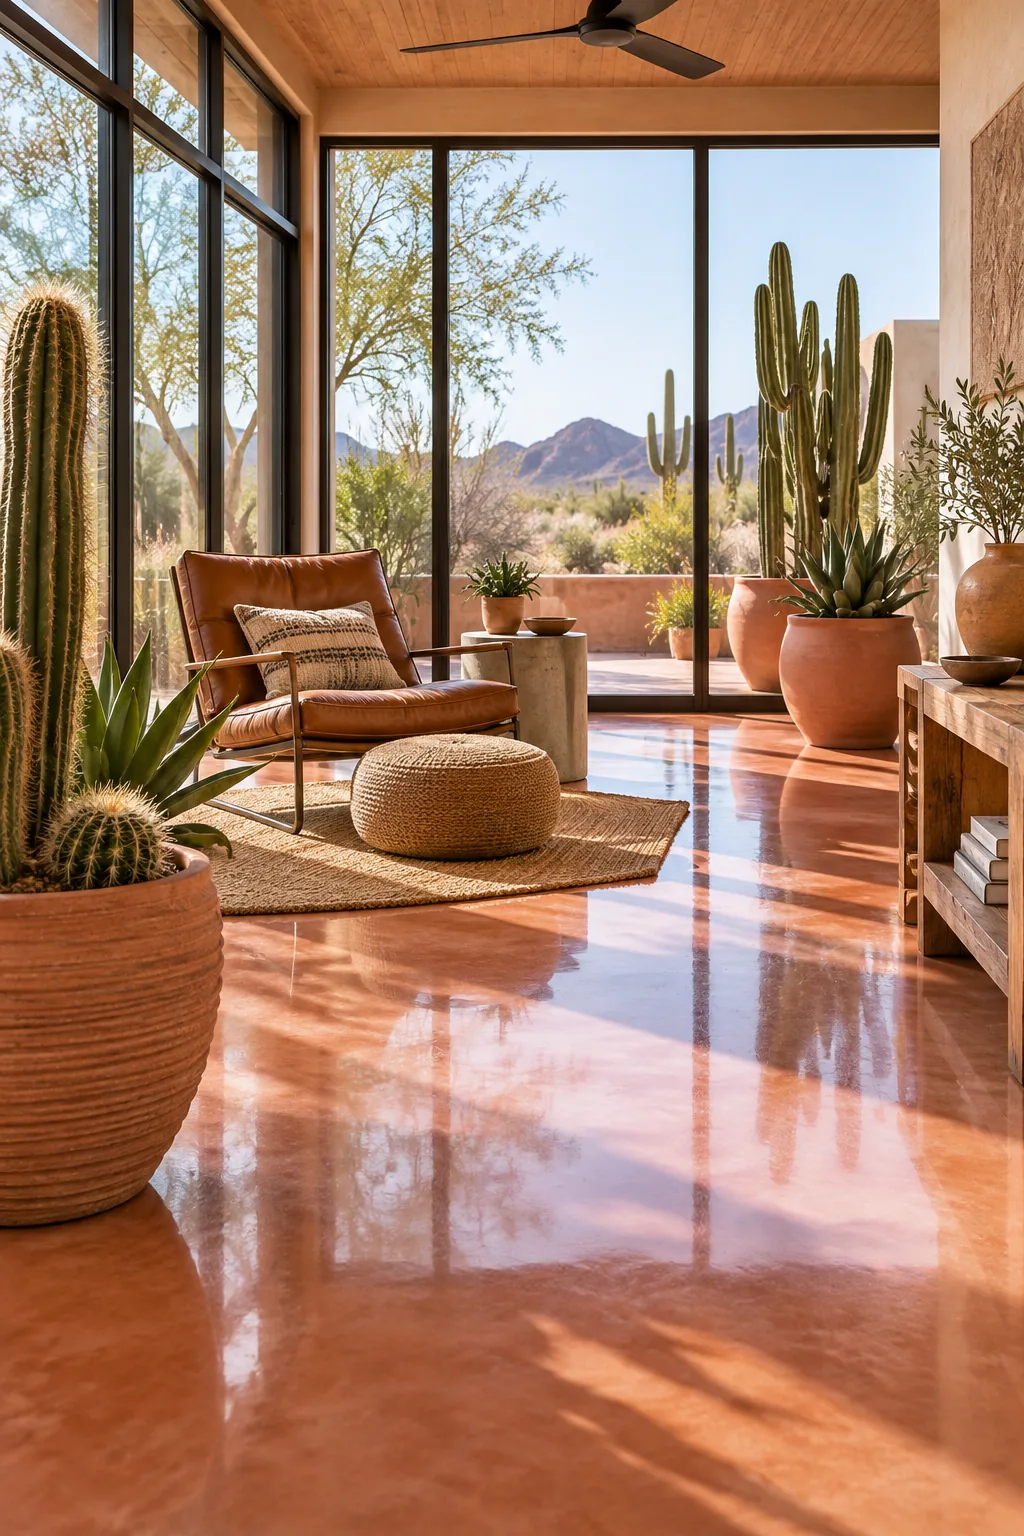
Desert Modern Sunroom: An integral terracotta tint finished with a high-gloss polish reflects abundant sunlight, mimicking the look of traditional earthen floors with modern durability.
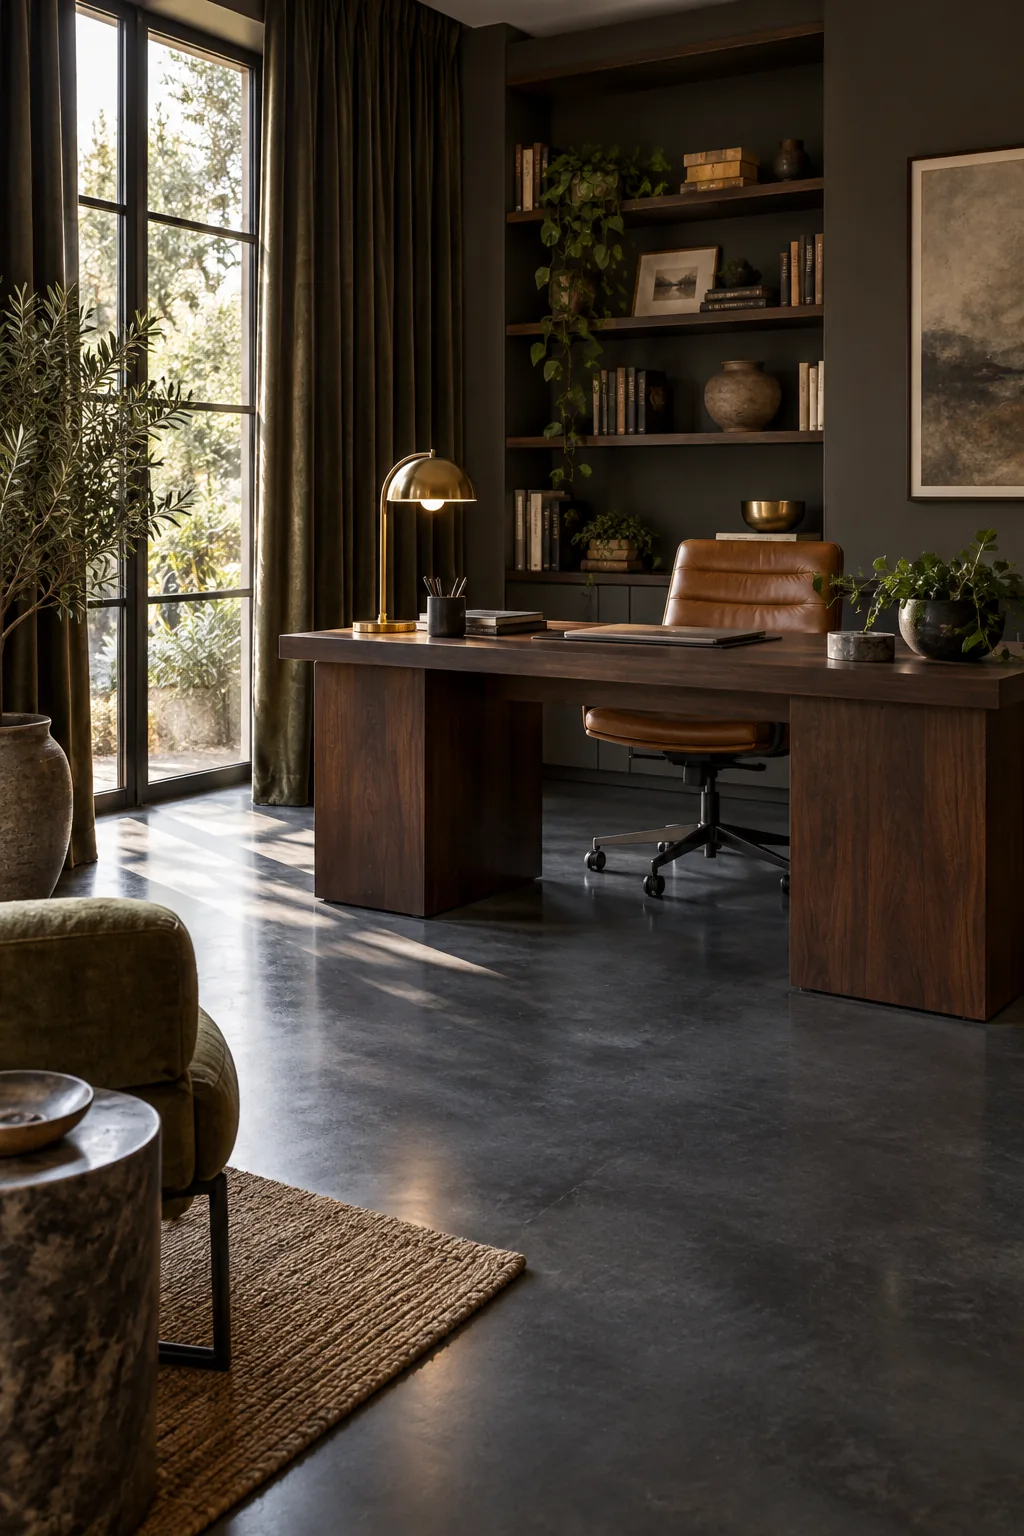
Moody Modern Home Office: A deep slate base color finished to a soft 800-grit satin sheen provides a sophisticated, glare-free foundation for focused work.
Planning the Pour and Curing Timeline
A flawless zero-aggregate polish requires an exceptionally flat initial pour, and the slab must cure for a minimum of 28 days before the final mechanical polishing begins.
Before the first concrete truck arrives, verify that the site conditions will allow the slab to cure slowly and evenly without rapid moisture loss.
Rushing this timeline traps moisture and prevents the densifier from penetrating properly, which ultimately ruins the final satin sheen you worked so hard to specify.