LVP Kitchen Flooring Under $5: The Ultimate Buying Checklist
You can absolutely upgrade your kitchen with stunning, durable floors on a budget, and I am sharing my exact luxury vinyl plank buying specification checklist to prove it. Keep reading to know exactly which features to look for on the box to guarantee realistic, high-end flooring for under $5 per square foot.
Authentic Texture: Embossed in Register
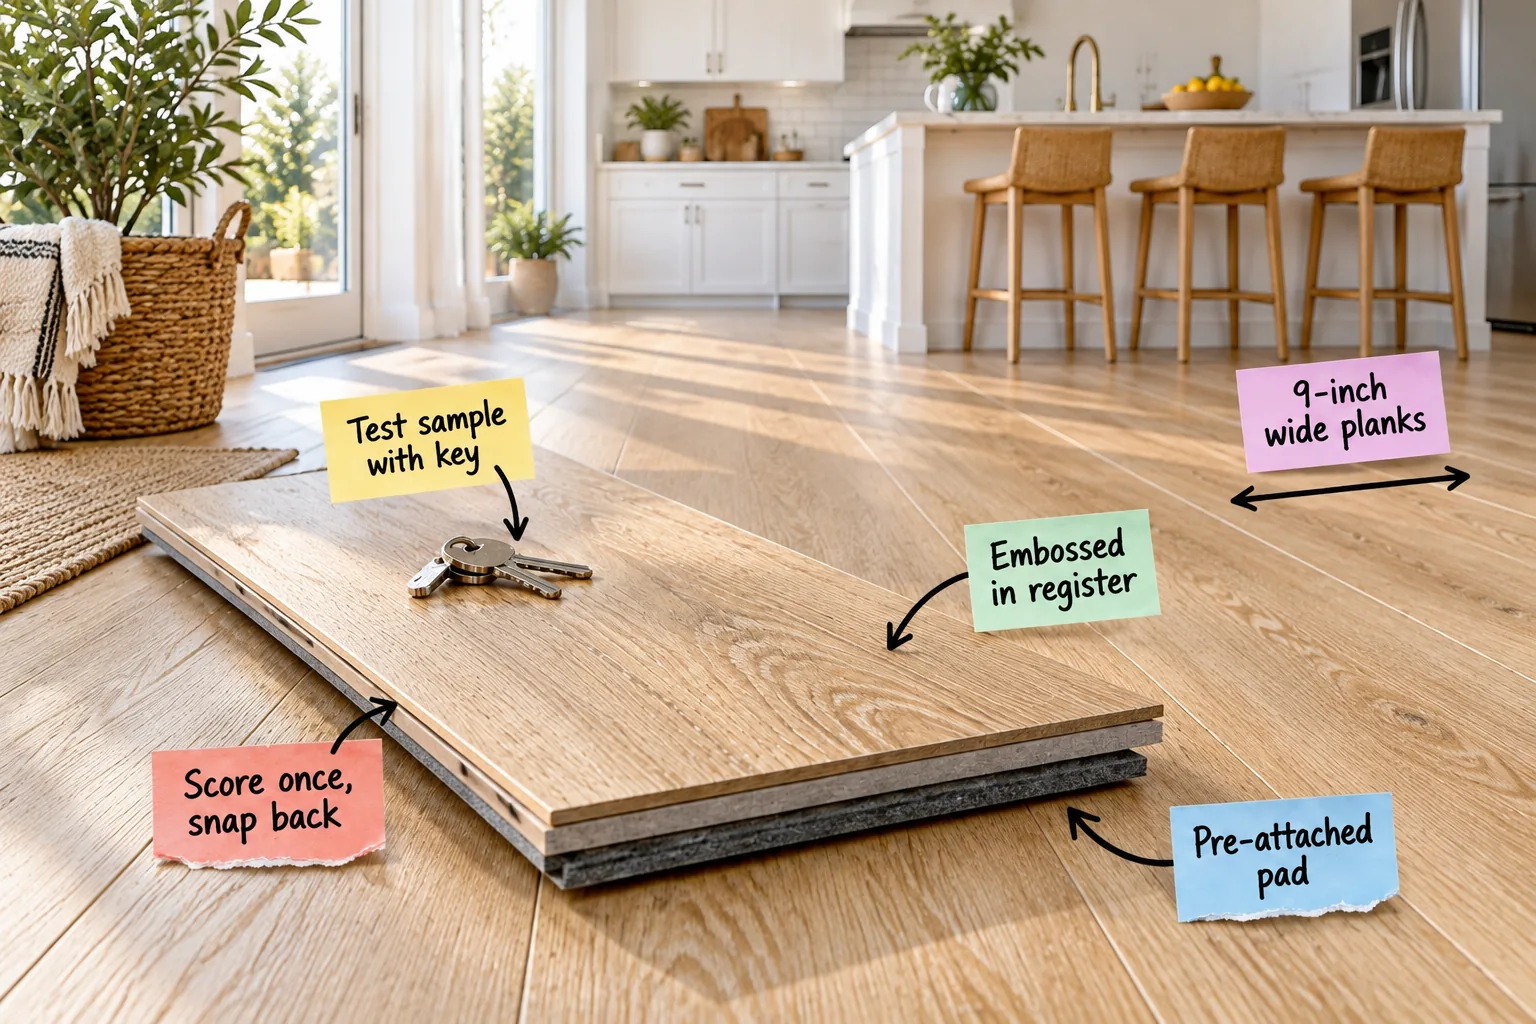
The single most important factor for making vinyl look like real wood is how the surface catches the light. When you examine a sample, look for an embossed in register (EIR) finish where the physical texture grooves perfectly match the printed grain.
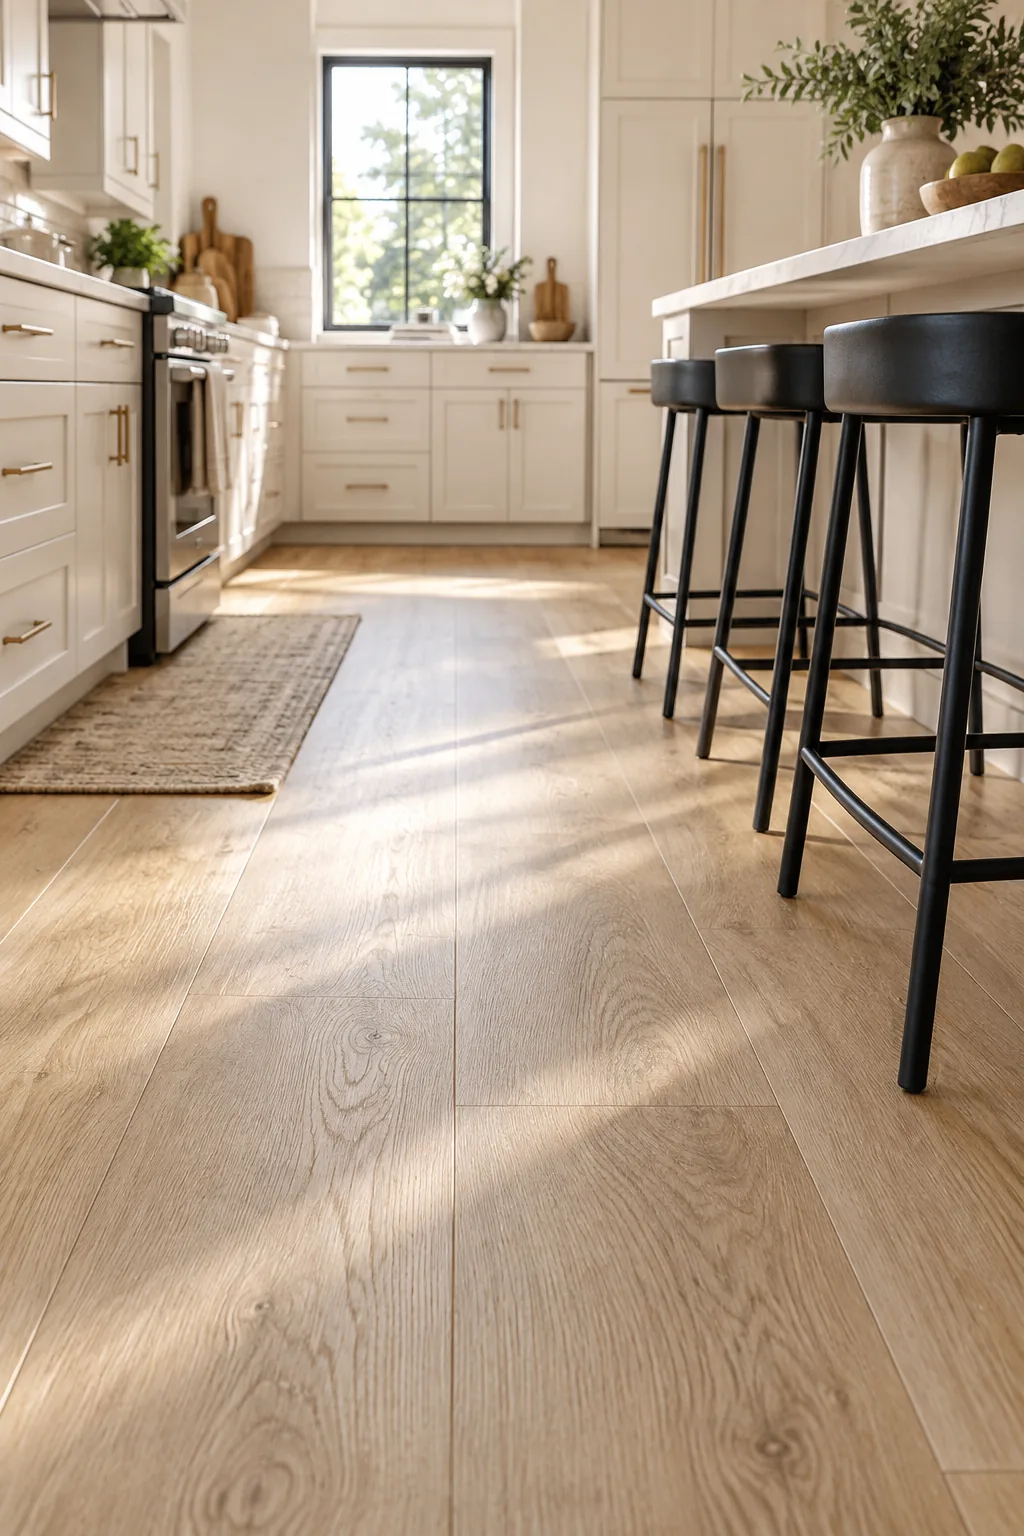
While this sounds like a premium feature, you can absolutely find EIR flooring for under $5 per square foot. It completely eliminates that cheap plastic sheen, making your budget-friendly upgrade look incredibly high-end.
Wear Layer Thickness: Comparing Your Options
Understanding the clear protective coating on top of your planks will save you from premature replacement. I always check the exact millimeter rating before falling in love with a specific color.
| Wear Layer | Durability Level | Best Kitchen Use |
|---|---|---|
| 6mil to 8mil | Light traffic | Guest suites only |
| 12mil | Medium traffic | Standard family kitchens |
| 20mil | Heavy traffic | Homes with large dogs |
A thicker protective barrier naturally resists daily friction from shoes and dropped utensils. Always aim for the highest rating your budget allows to ensure decades of flawless performance.
The Key Test: Verifying Scratch Resistance
Kitchens see constant traffic, so a thick clear wear layer is completely non-negotiable. I learned this the hard way in my own Austin kitchen when sliding metal barstools instantly scratched my cheap builder-grade floors!
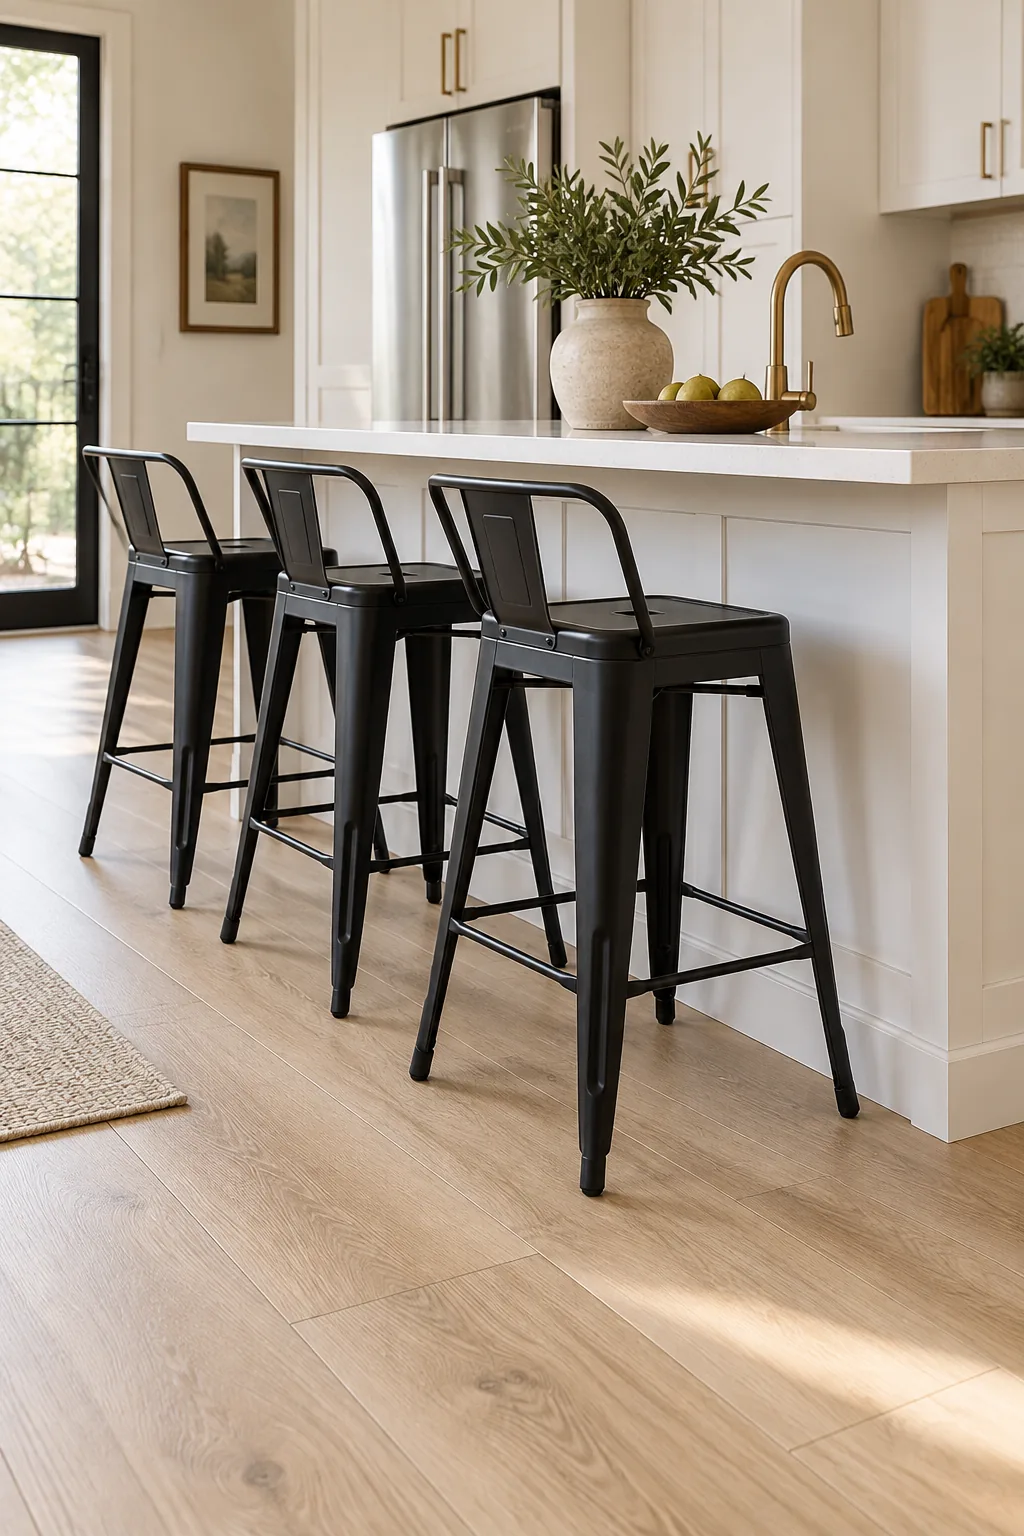
To prevent permanent gouges, always verify the box specifies a 12mil or 20mil wear layer thickness. A high-quality plank will easily pass the “key test,” meaning you can drag a metal house key across the surface without leaving a permanent mark.
Core Stability: Preventing Dents
Beneath that durable top layer lies the structural heart of the plank, which dictates how it handles heavy appliances. Standard flexible vinyl can easily dent under the weight of a loaded double-door refrigerator.
Upgrading to a stone polymer composite core guarantees the floor will not compress under heavy localized pressure. This rigid structure keeps your planks perfectly flat and secure for years.
Clean Edges: The Score and Snap Advantage
Rigid core construction, often labeled as SPC, makes DIY installation incredibly straightforward while creating tight, professional-looking seams. When I installed my island baseboards, having perfectly clean edges meant I didn’t even need to add bulky shoe molding to hide gaps.
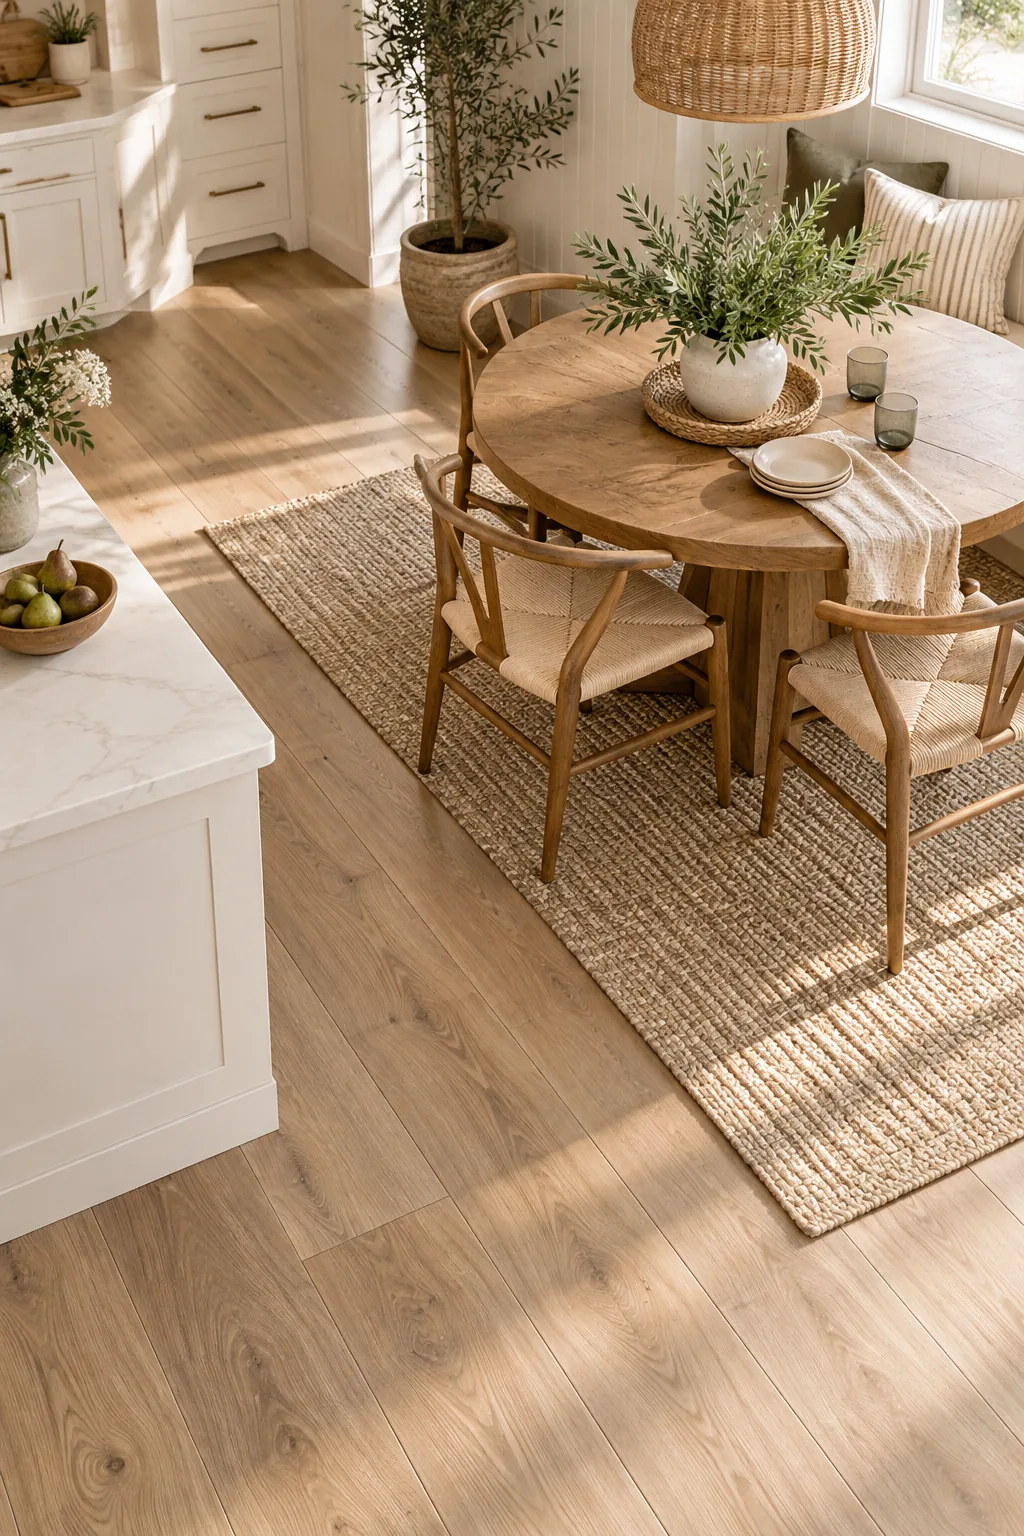
Instead of running outside to a messy saw, you simply score the plank once with a sharp utility knife and snap it back. This exposes a perfectly straight, rigid cut edge that fits flush against your cabinets every single time.
Transition Strips: Seamless Flow
Moving smoothly from the kitchen into an adjoining living space requires careful planning at the doorways. Matching your transition moldings perfectly to your wide planks maintains that expensive, custom-built aesthetic.
- Measure the exact height difference between the two adjoining floors.
- Select a T-molding for floors of equal height to bridge the gap.
- Choose a reducer strip if the kitchen floor sits slightly higher.
- Leave a quarter-inch expansion gap hidden beneath the molding.
Planning these thresholds before you begin laying the main floor prevents awkward, uneven joints later. A seamless flow between rooms visually expands the entire footprint of your home.
Quiet Footsteps: The Pre-Attached Pad
The acoustic backing on the underside of the plank makes a massive difference in how the room feels and sounds. Before I discovered padded rigid core, walking in heels on my old floating floor sounded like a hollow drum echoing through the house.
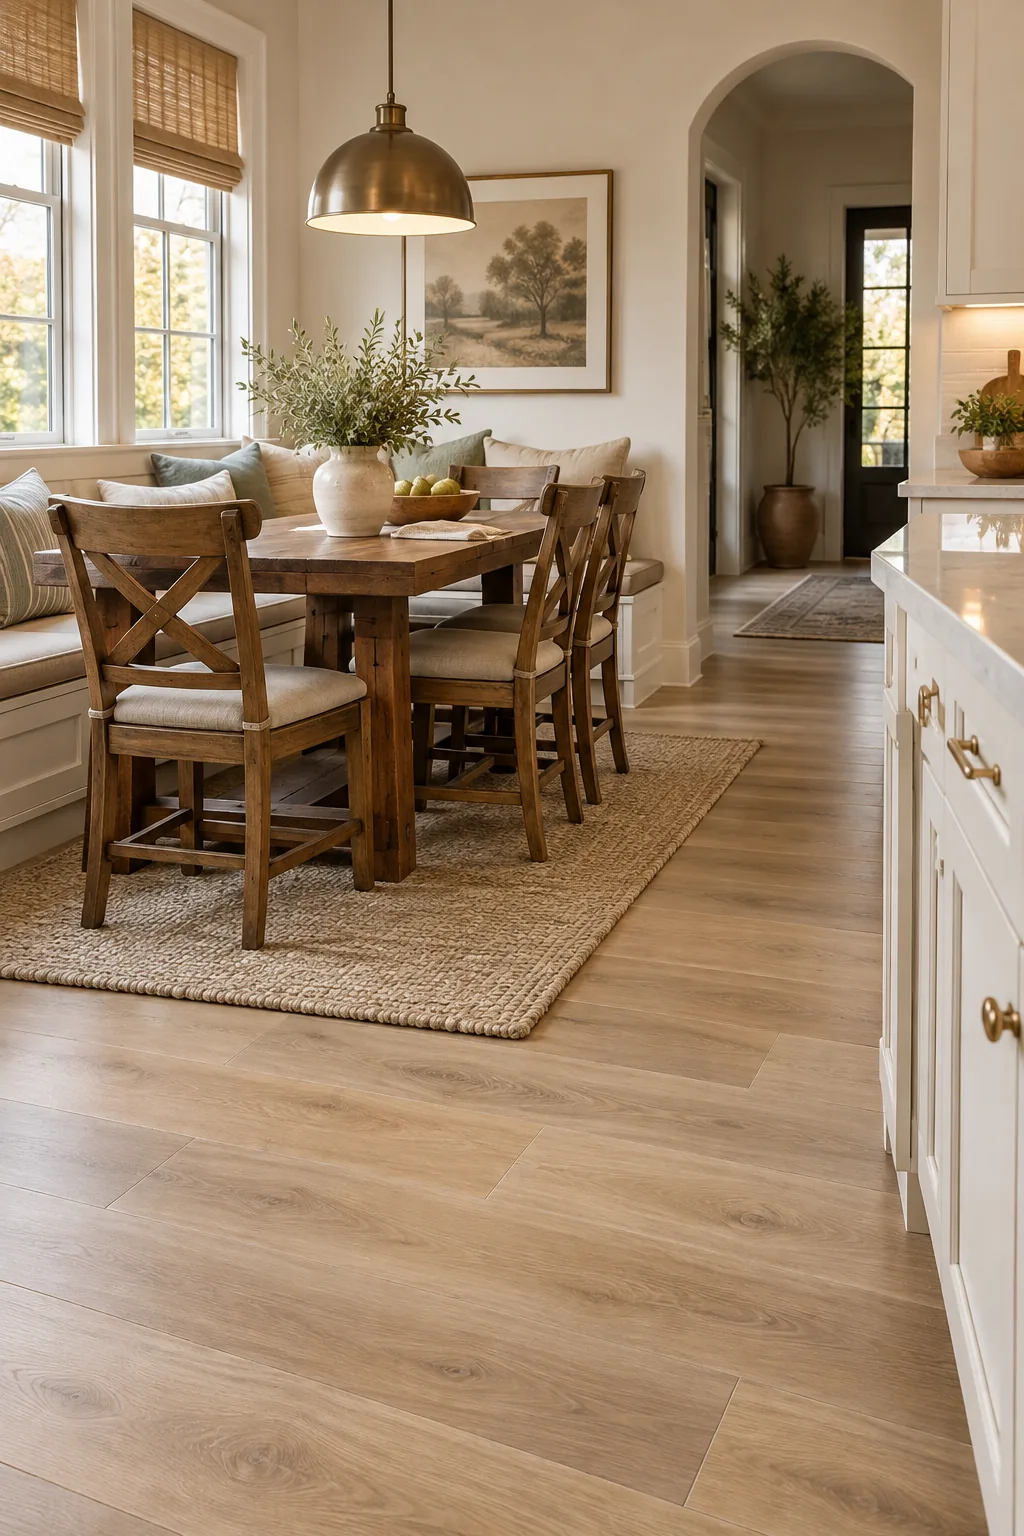
Look for an integrated IXPE or cork pad to effectively dampen that clicking sound. This pre-attached layer absorbs impact noise, ensuring your affordable kitchen floor sounds just as solid and expensive as it looks.
Subfloor Prep: The Hidden Requirement
Even the highest-quality attached pad cannot compensate for a severely uneven concrete or plywood subfloor. Taking the time to level the surface below guarantees your new planks will lock tightly and never separate.
Pouring a self-leveling compound into low spots is a simple weekend task that protects your entire flooring investment. A perfectly flat base ensures those precise locking mechanisms stay securely engaged.
Room Scale: 9-Inch Wide Planks
The physical dimensions of your installed floor can entirely change your perception of the room’s scale. Using oversized planks is a brilliant visual trick that immediately makes standard-sized, tight kitchens feel significantly more expansive.
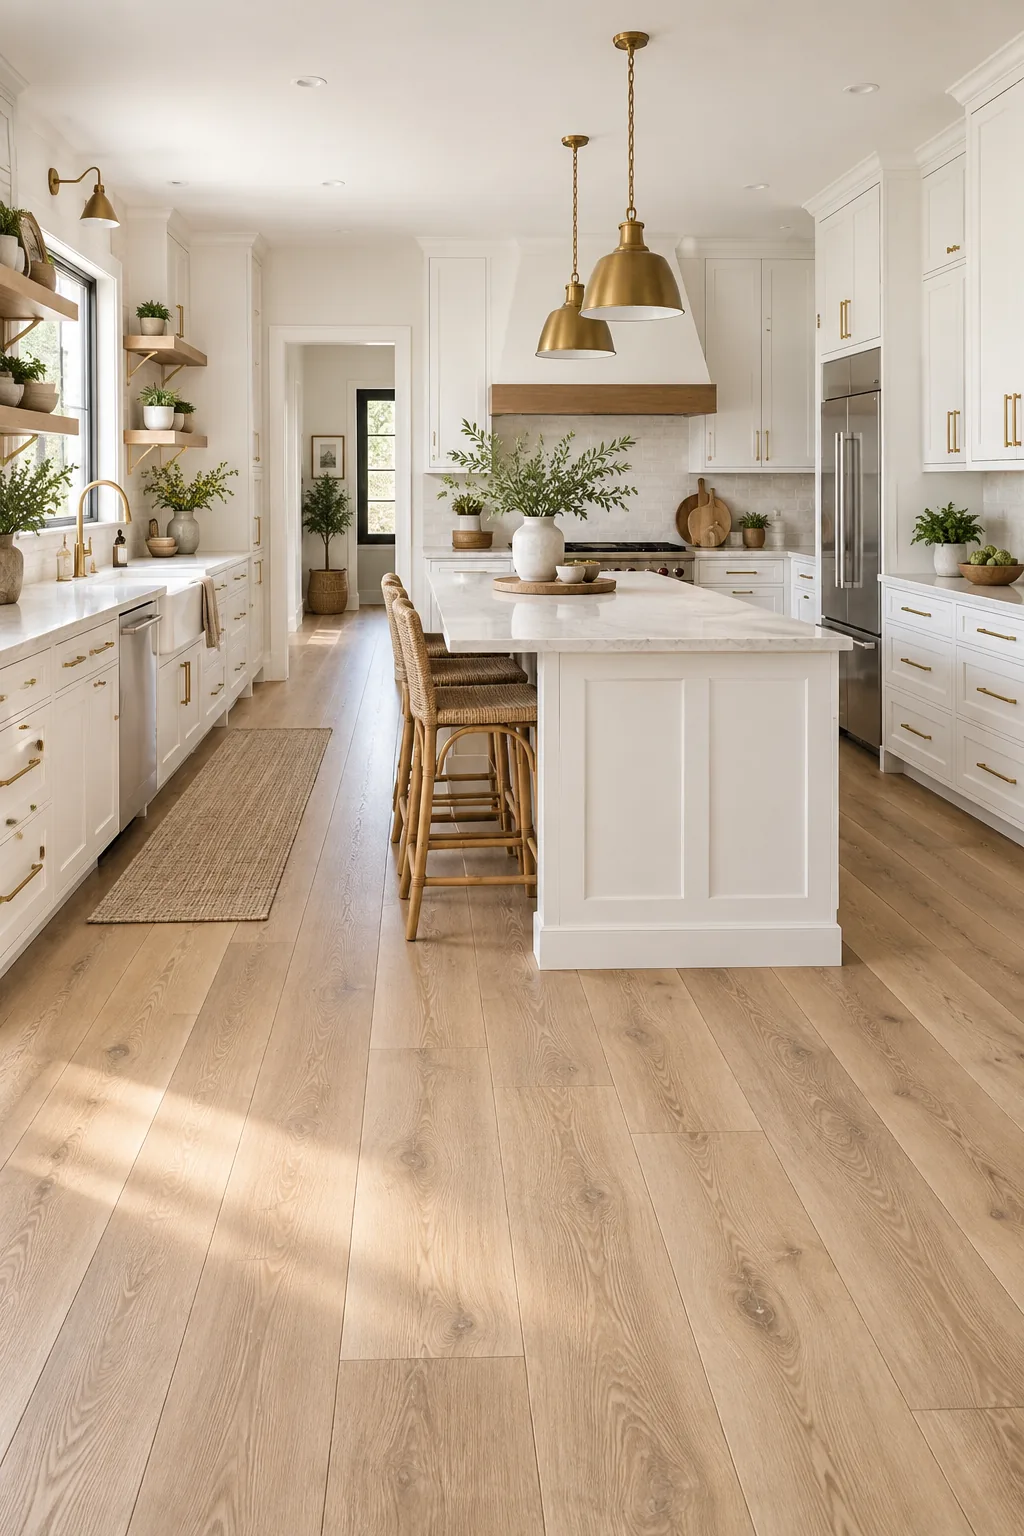
By choosing 9-inch wide planks, you drastically reduce the number of visible seams running across the floor. This creates a smooth, modern layout that visually pushes the walls outward.
Layout Direction: Maximizing Flow
The direction you run those beautiful wide planks dictates how natural light travels across the embossed grain. Running the boards parallel to the longest wall creates an elongated, elegant sightline from the moment you enter the room.
The Under-$5 LVP Buying Spec Checklist
Finding all these premium visual and structural specifications in one smart purchase is highly achievable if you stick strictly to the numbers.
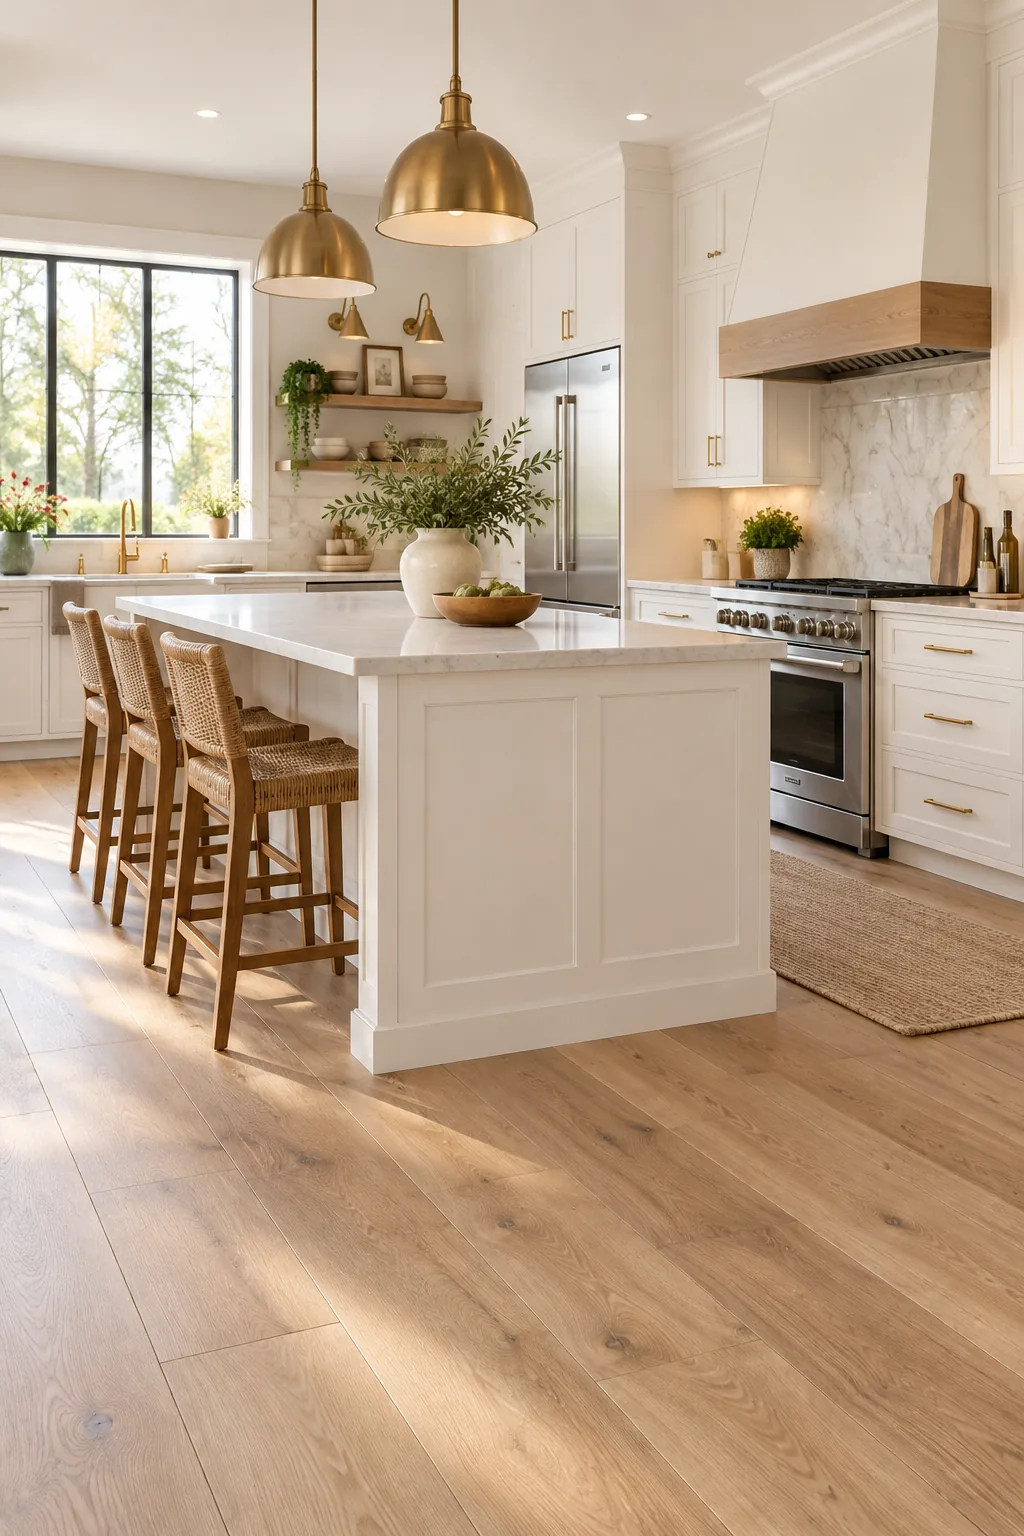
Take this quick specification checklist to the flooring store to ensure your budget-friendly pick performs exactly like a premium product.
Styling Wide-Plank LVP
See how versatile light oak luxury vinyl looks across different room aesthetics.
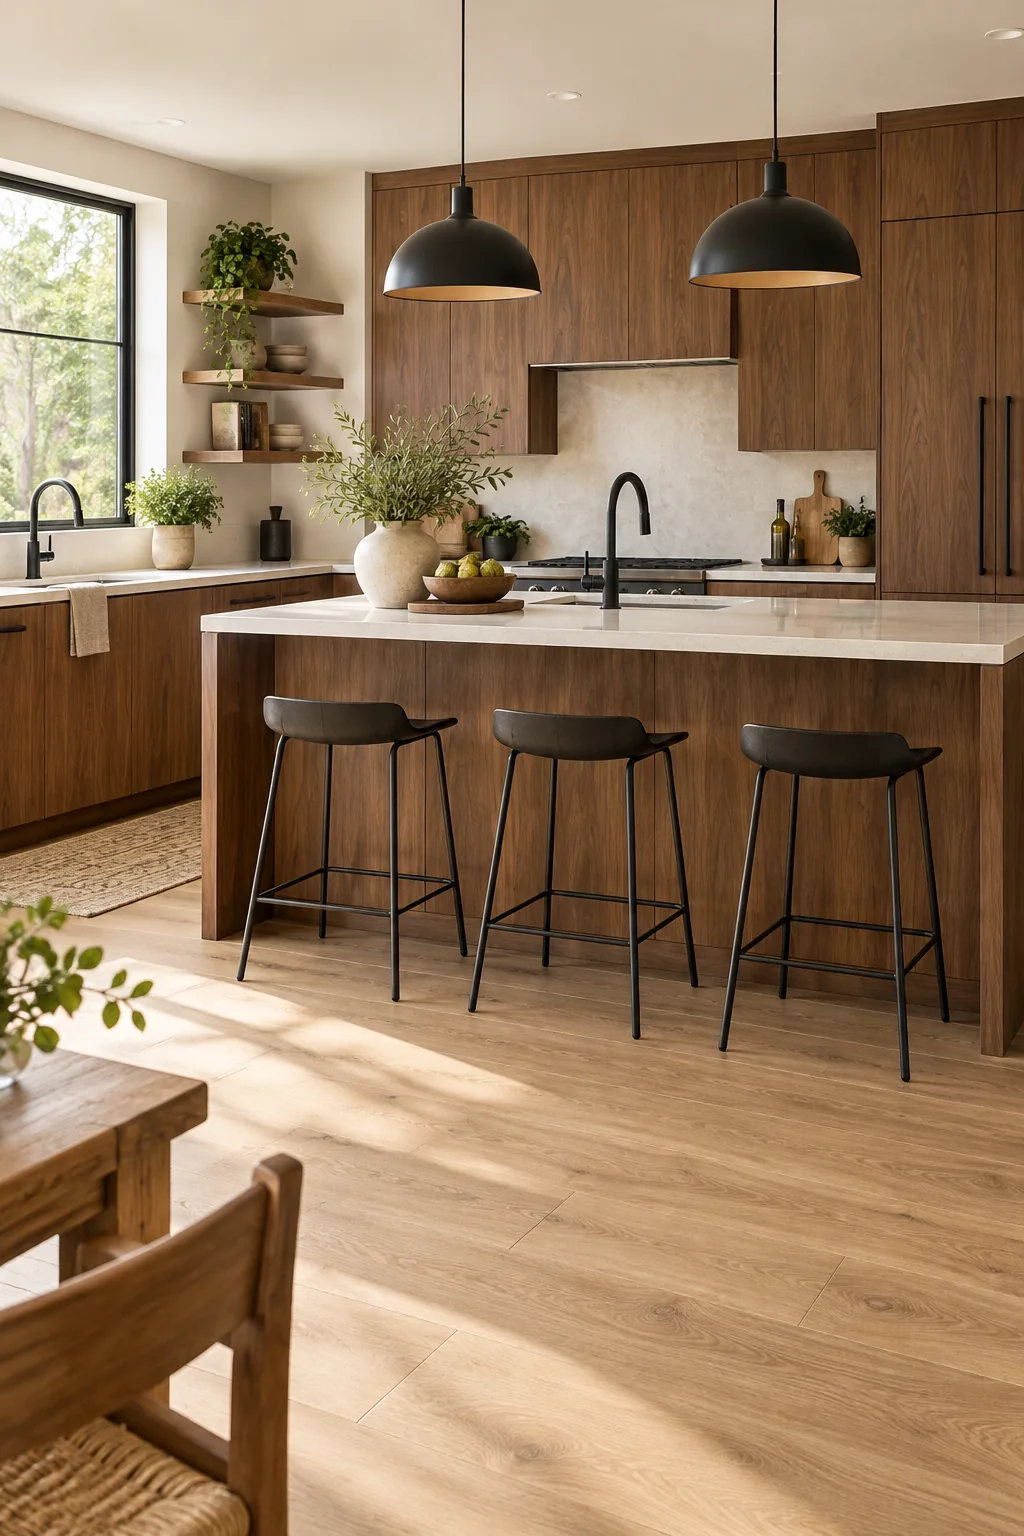
Warm Minimalist Kitchen: Pairing light oak floors with rich walnut cabinetry creates a grounded, organic feel that warms up minimalist spaces.
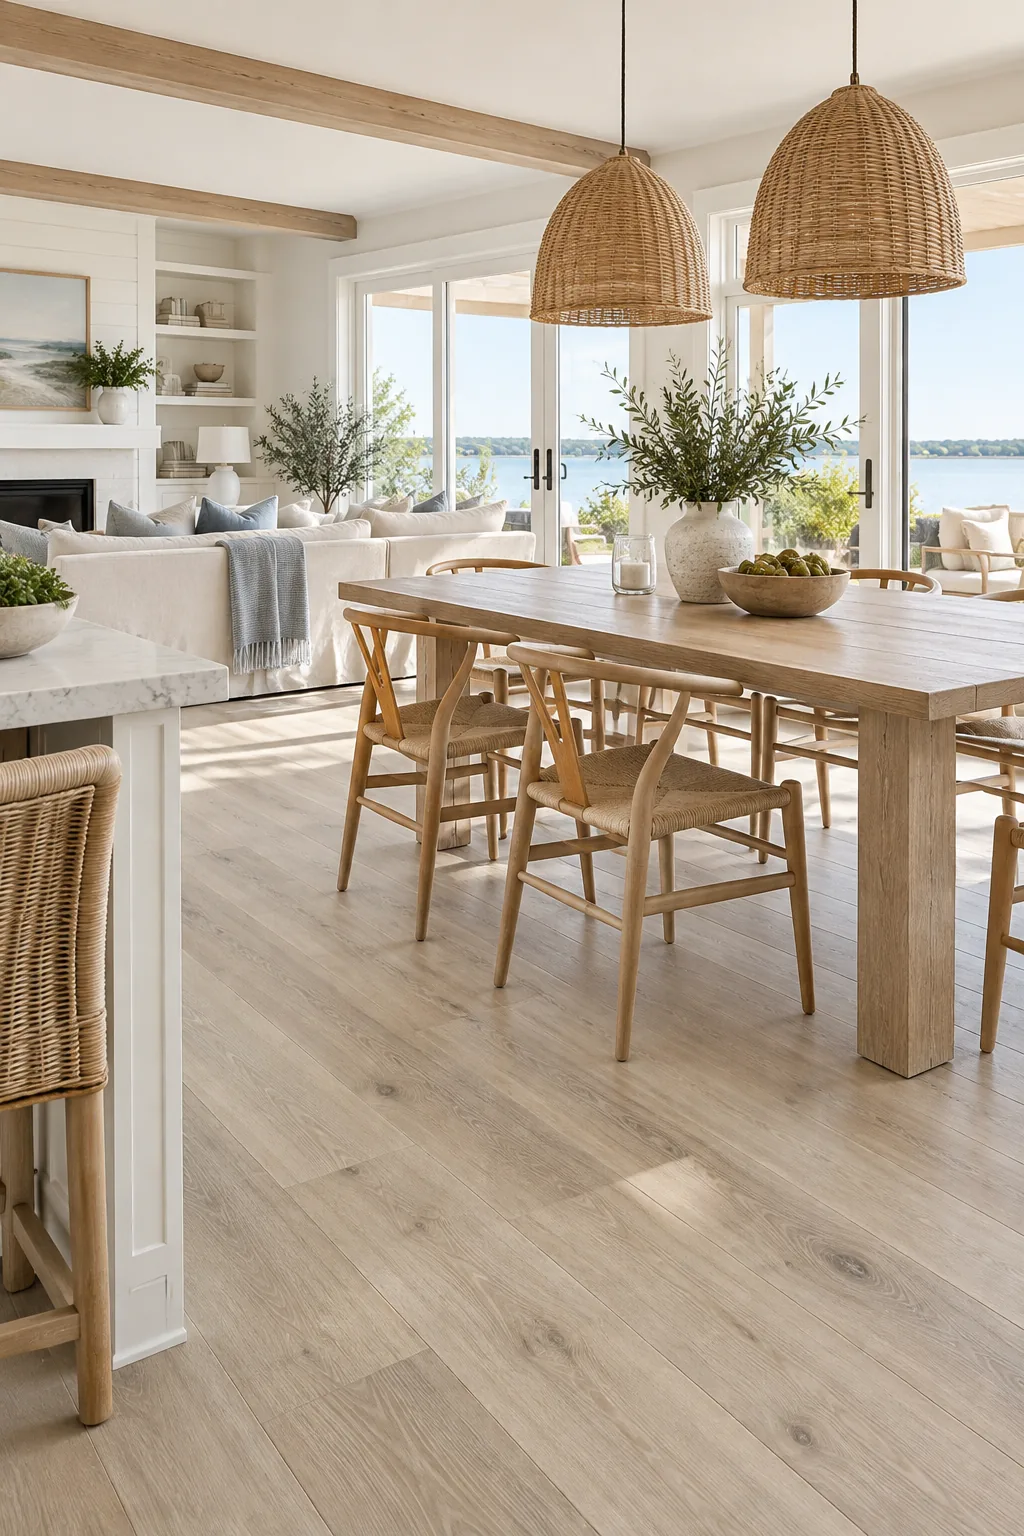
Coastal Open-Plan Dining: A slightly whitewashed oak vinyl plank perfectly complements breezy linen textures and natural light for a relaxed coastal vibe.
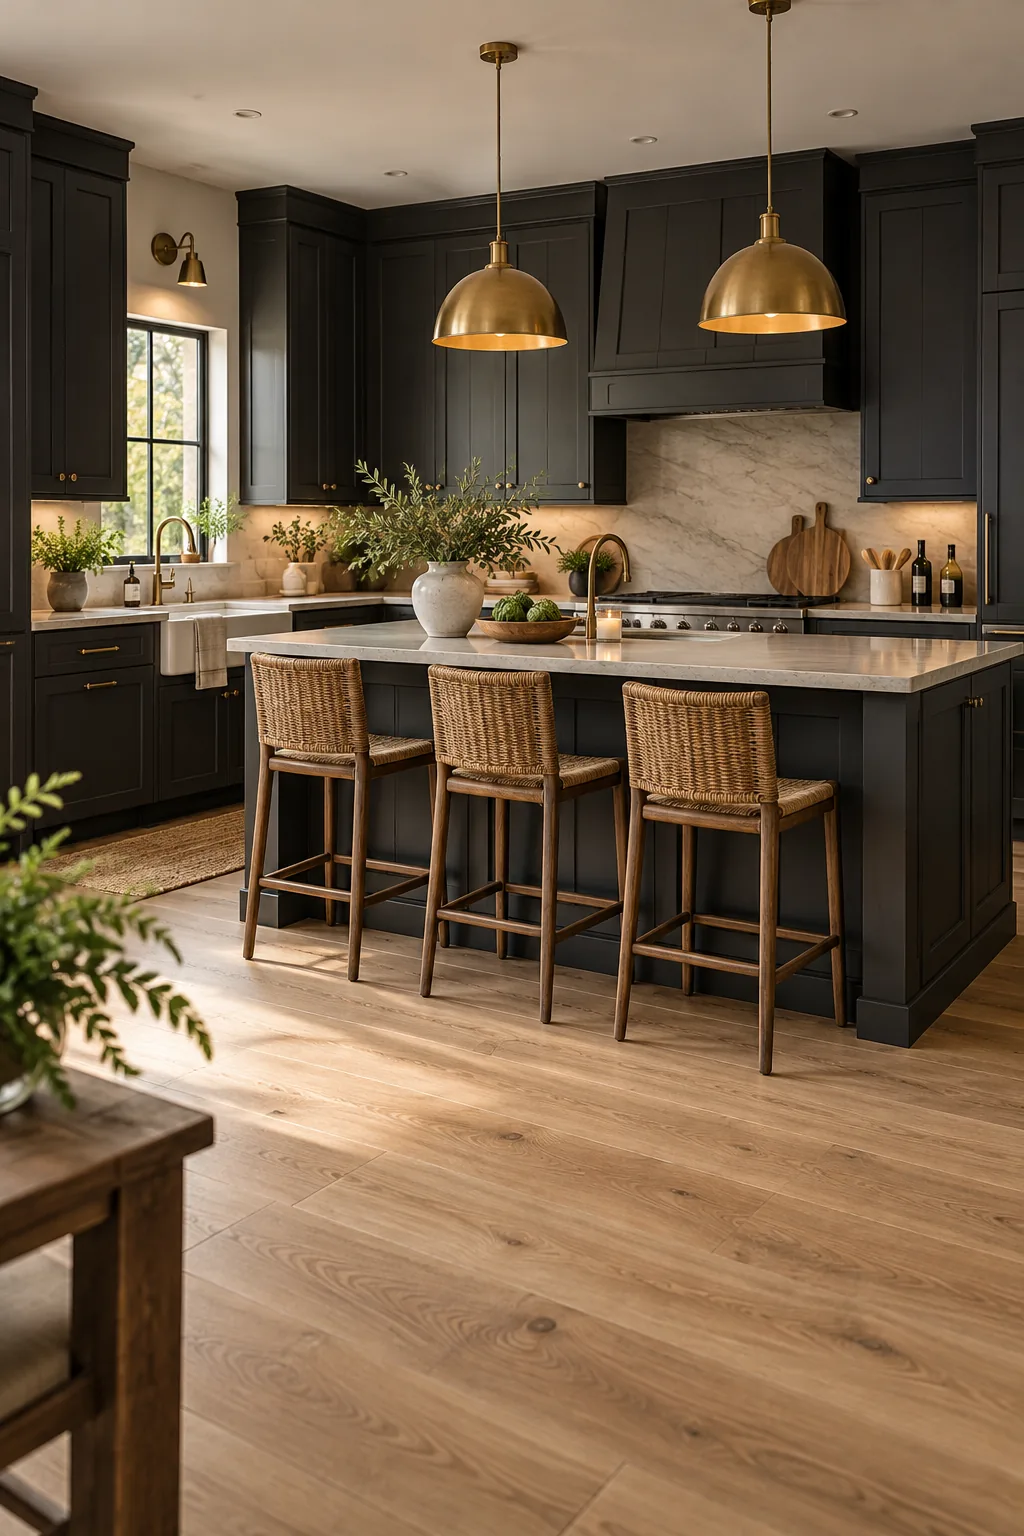
Moody Modern Kitchen: Light wood flooring provides the necessary contrast to keep dark charcoal cabinetry from making the kitchen feel cave-like.
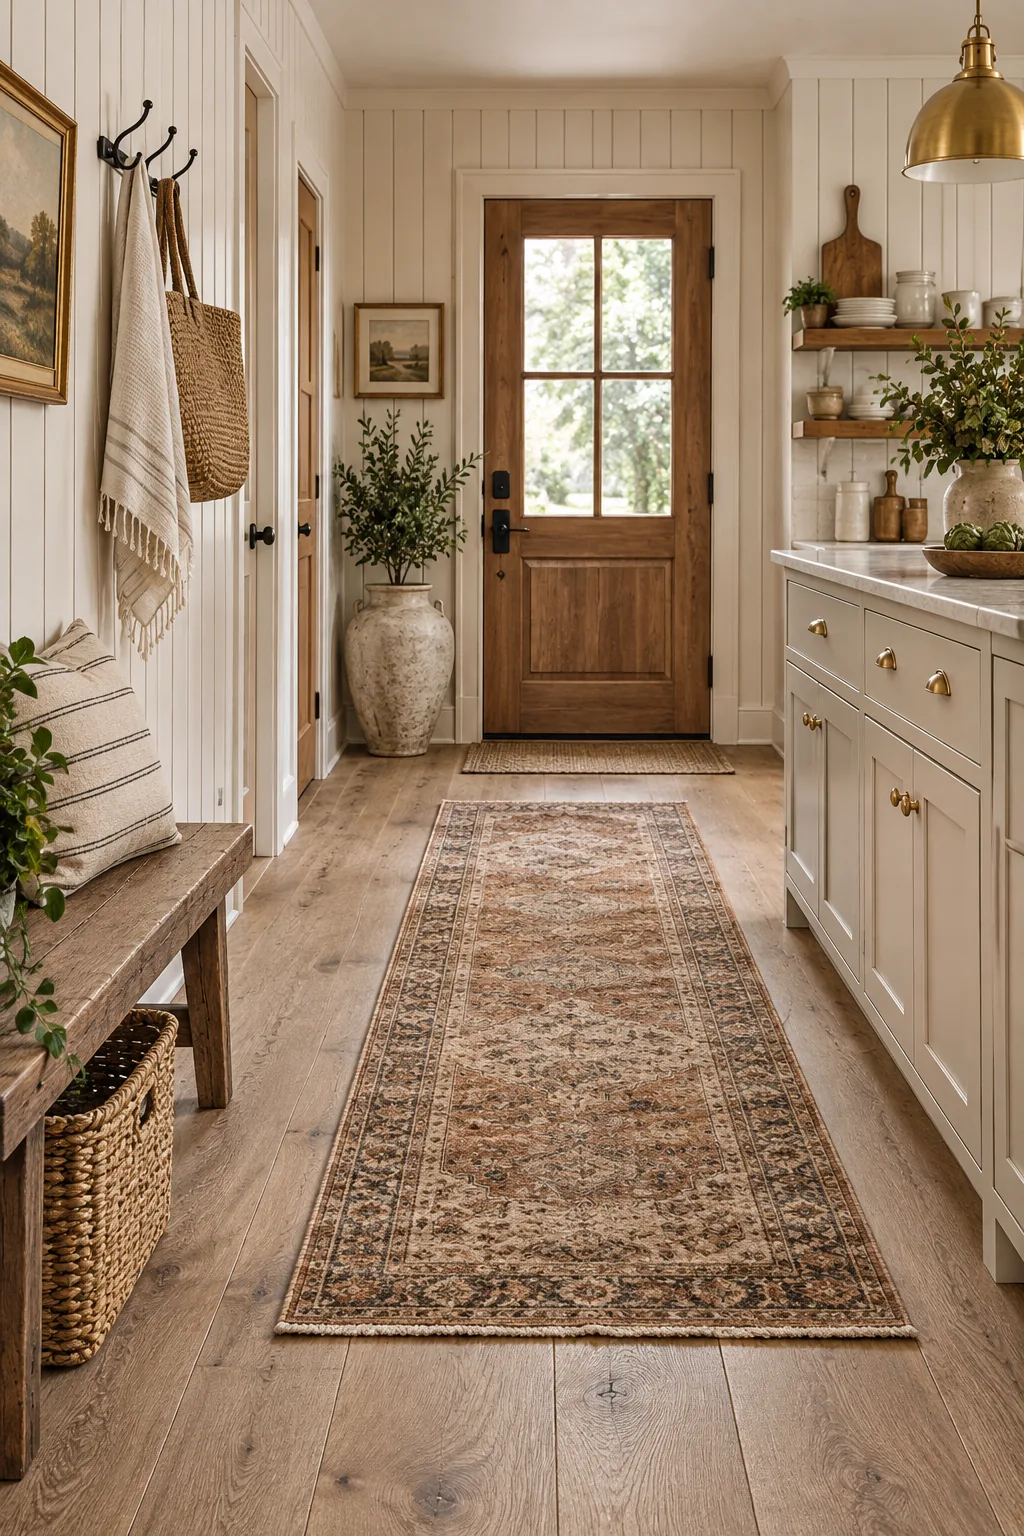
Rustic Farmhouse Entry: Wide planks with a subtle distressed texture hide everyday dirt while adding instant historic charm to a farmhouse kitchen.