Small Space Coffee Bar: From Bare Corner to Café Setup
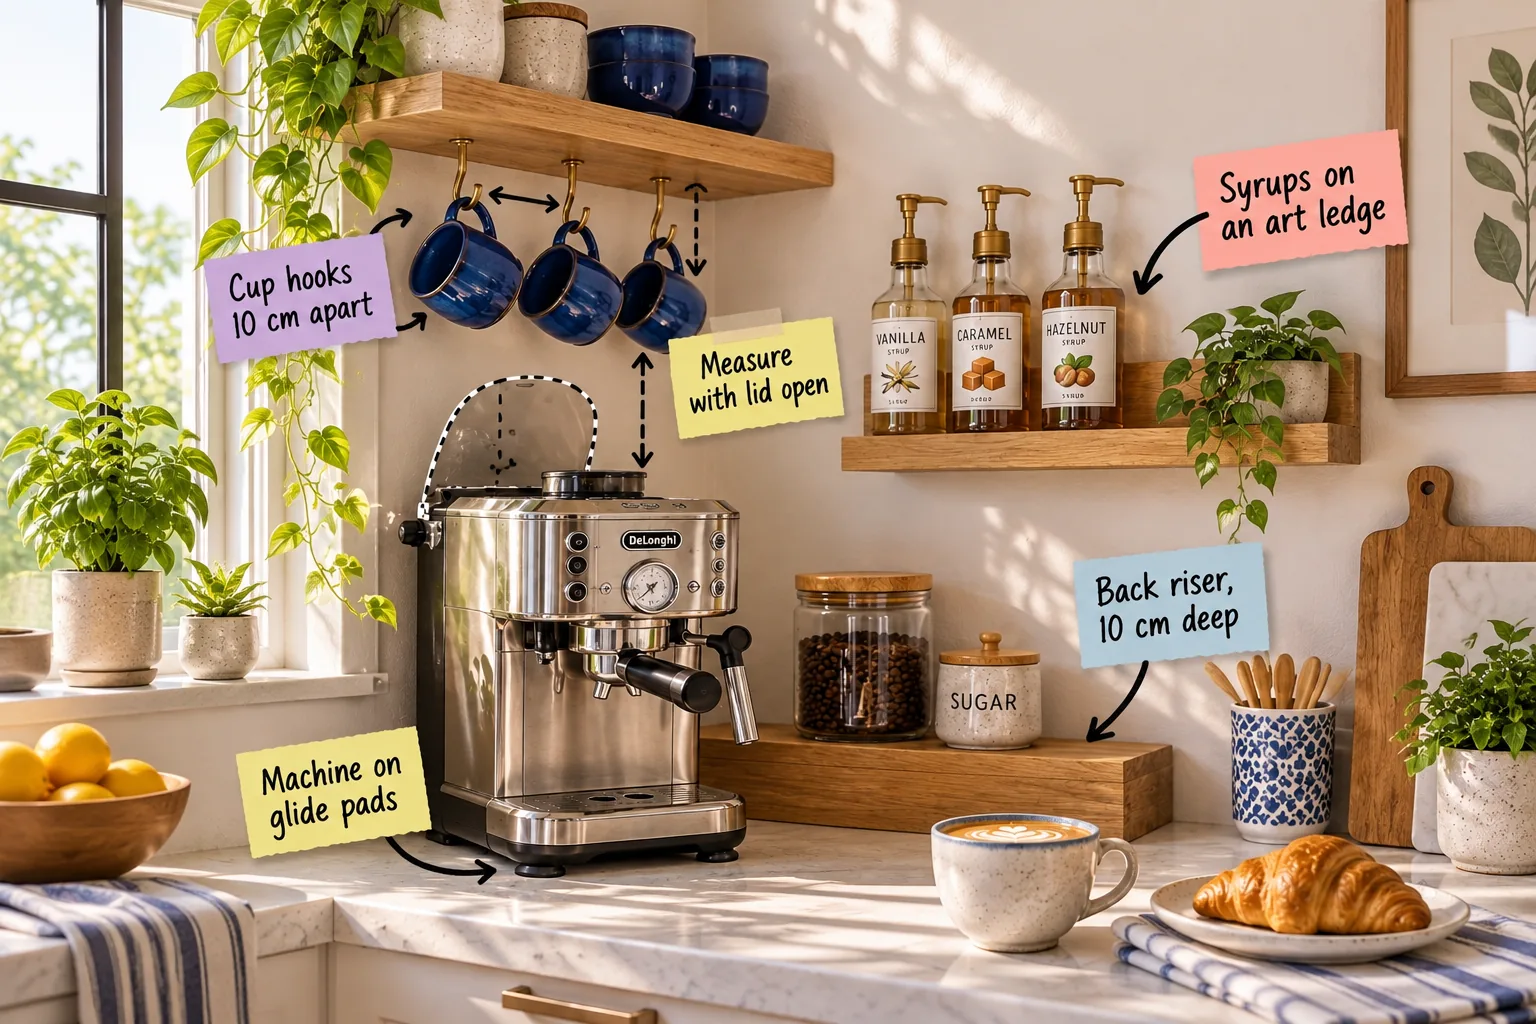
Turn a tight kitchen corner into a complete café setup by layering your tools with precision. You will be able to arrange, measure, and install your station using our Coffee-Corner Measurement Sheet.
Mobilizing the Espresso Machine
Start by placing your espresso machine on the counter to establish your primary visual anchor. Centering the heaviest element first dictates the energy and layout of the surrounding accessories.
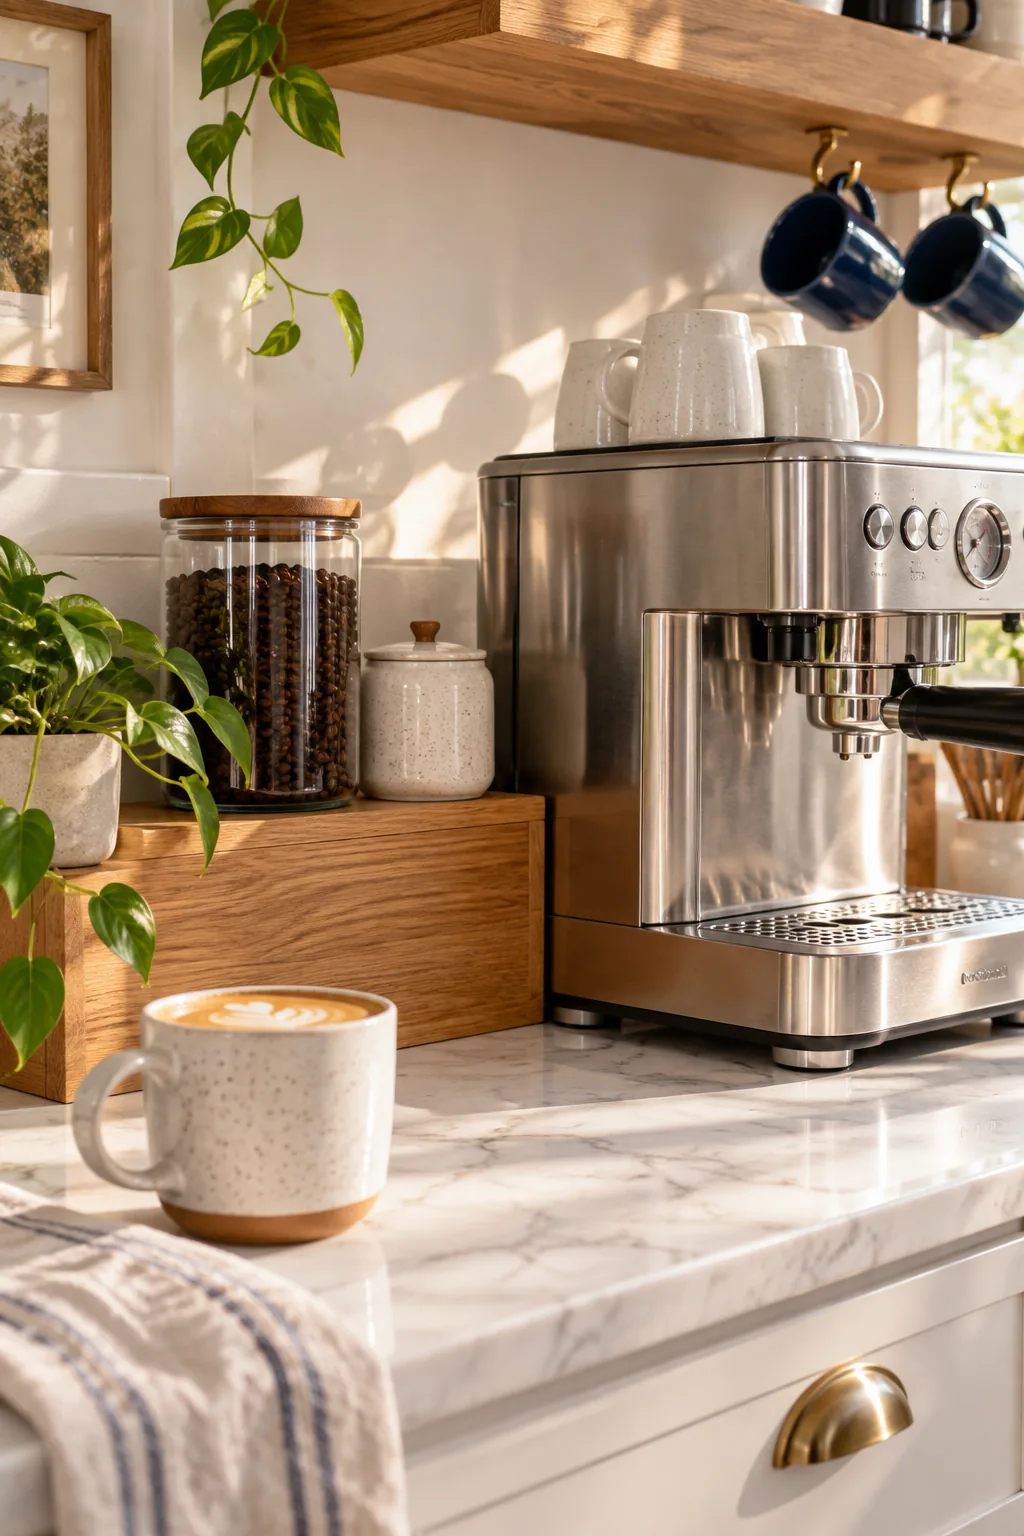
Adhering small felt-and-plastic glide pads under the machine’s feet allows you to effortlessly slide a heavy appliance forward for brewing. You can then push it back against the wall to reclaim counter space.
Assessing Your Counter Depth
Measure your surface from the backsplash to the front bullnose edge to determine your structural limits. Knowing your exact depth ensures you select appliances that leave adequate room for tamping.
| Counter Type | Depth | Ideal Machine Size | Tamp Space |
|---|---|---|---|
| Compact City | 45 cm | Slim line | Tight |
| Standard US | 60 cm | Full prosumer | Generous |
| Extended Island | 90 cm | Dual boiler | Luxurious |
Protecting the Marble Countertop
Stone surfaces absorb vibrations poorly and scratch easily under the weight of stainless steel appliances. Placing a thin silicone mat beneath your primary workspace preserves the natural stone finish.
Locating the Power Outlets
Your coffee station demands significant wattage, so map your electrical access before placing any machines. A dedicated circuit prevents frustrating breaker trips during your morning brewing ritual.
- Test the outlet for a grounded 15-amp capacity.
- Position the machine’s rear plug directly in front of the receptacle.
- Reserve a secondary outlet for your standalone burr grinder.
Selecting the Best Glide Pads
Not all appliance feet are created equal, and hard plastic can gauge delicate stone surfaces over time. Upgrading to thick, industrial-grade felt ensures your machine glides silently without leaving permanent scuff marks.
Leveling the Espresso Machine
An unlevel machine leads to uneven extractions, channeling, and asymmetrical espresso shots that taste sour. Place a small spirit level across the cup warming tray and adjust the threaded feet until the bubble sits perfectly centered.
Establishing the Grinder Station
Position your burr grinder immediately to the right of your espresso maker to support a fluid, right-handed workflow. Keeping these two primary mechanics close together minimizes messy grounds on the counter.
Tucking Away the Tamp and Tools
A dedicated tamping station requires structural support directly over the cabinetry base to absorb pressure. Keep your tamper, distributor, and brush corralled on a small wooden tray to contain stray grounds.
Calculating Vertical Clearance
In my Denver kitchen, I once mounted a shelf too low; always measure with the lid open. To avoid trapping your machine under a low shelf, check these three spatial requirements before drilling any holes.
Understanding Heat Dissipation
Boilers generate significant radiant heat that can warp overhead cabinetry or spoil nearby ingredients. Leave at least a hand’s width of empty space above the cup warmer to allow steam to safely escape.
Building a Back Riser
Reclaim the dead space behind the espresso machine by adding a narrow wooden step. I designed a simple riser for a client’s cramped loft, and it instantly doubled their usable prep zone without feeling cluttered.
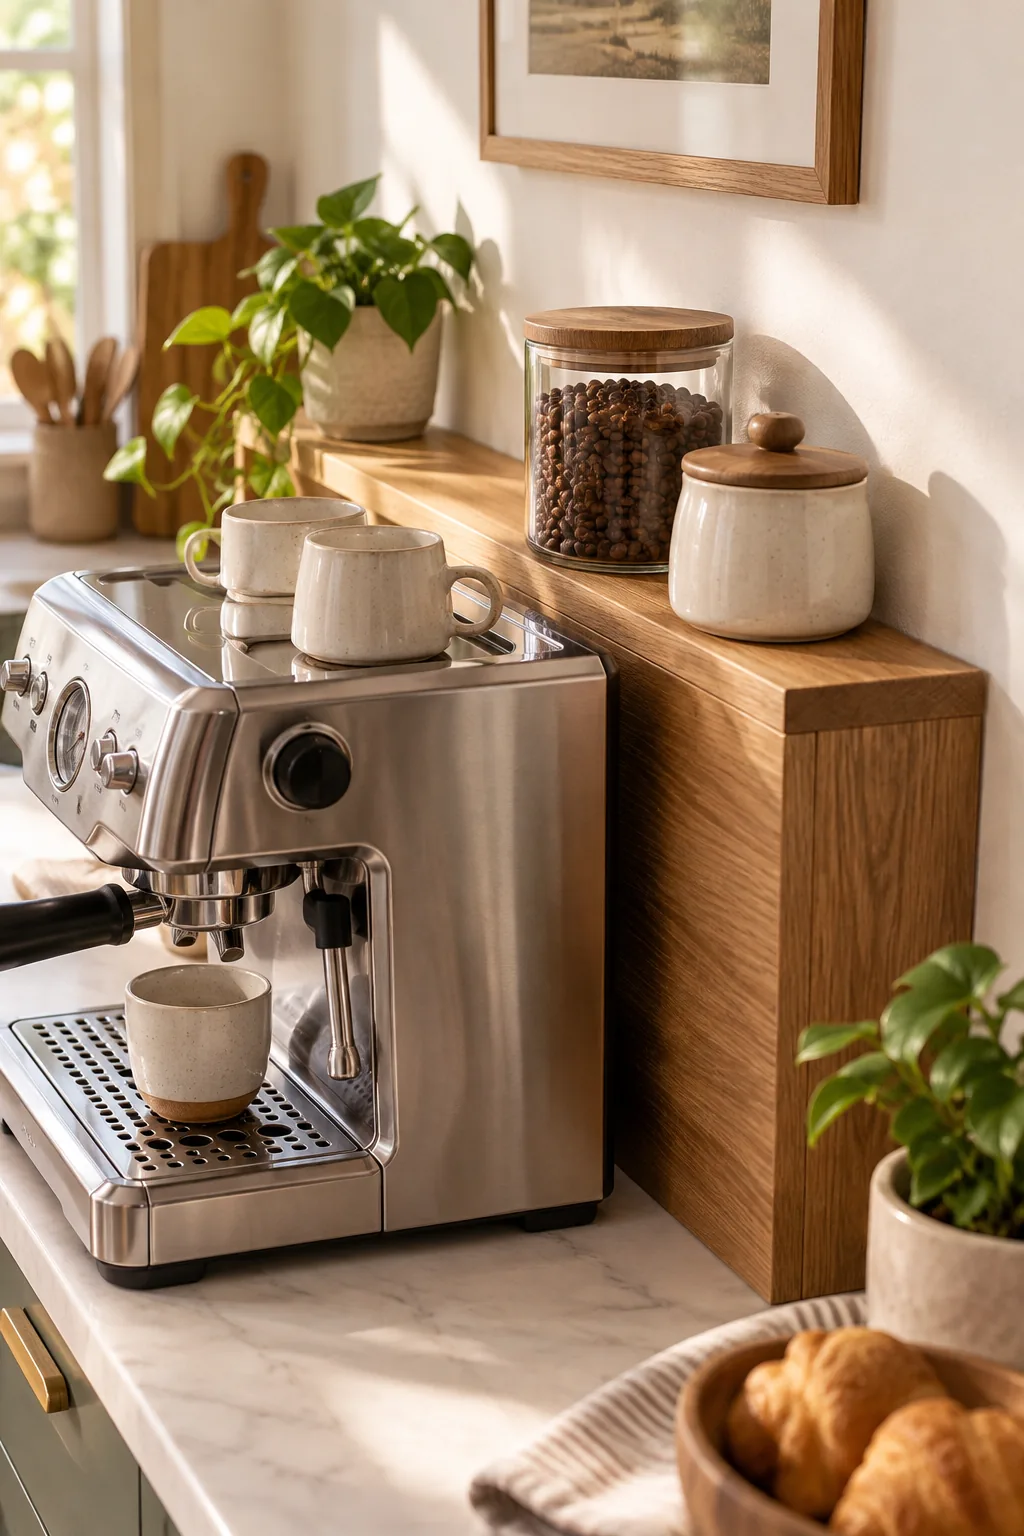
A back riser exactly 10 cm deep provides just enough stable surface area to hold daily necessities. Elevating a bean canister and a sugar jar keeps them accessible without pushing the machine forward.
Maintaining the Wooden Riser
Raw wood positioned near a steam wand absorbs ambient moisture and can warp or splinter over time. Sealing your custom back riser with food-safe mineral oil every three months repels water and deepens the natural grain.
Selecting Airtight Canisters
Freshly roasted beans degrade rapidly when exposed to oxygen, light, and ambient kitchen humidity. Transferring your coffee into opaque, vacuum-sealed canisters preserves the delicate crema-producing oils for a superior extraction.
- Wash and thoroughly dry the glass canister body.
- Pour in a single bag of freshly roasted beans.
- Seal the lid tightly and place it on the wooden riser.
Integrating a Knock Box
Disposing of spent espresso pucks requires a sturdy vessel that can withstand sharp, downward force. Nestle a stainless steel knock box next to the grinder to catch drips and streamline your cleanup.
Repurposing an Art Ledge for Syrups
Standard floating shelves are too deep for small bottles, creating a cluttered and unbalanced look. Mounting a slim picture ledge to the backsplash introduces a shallow, tailored storage layer.
I now use these ledges in almost every small kitchen I design because they display flavors beautifully. The raised front lip perfectly cradles glass bottles so your syrups on an art ledge face forward.
Organizing the Syrup Ledge
Group your flavor additions by frequency of use to streamline your morning drink preparation. Placing vanilla and caramel toward the center ensures the most popular syrups are always within an arm’s reach during a busy morning.
Selecting the Perfect Syrup Bottles
Commercial plastic syrup containers disrupt the organic warmth of a carefully styled coffee corner. Decanting your sweeteners into uniform glass dispensers with gold pumps elevates the entire visual experience.
Choosing the Right Floating Shelf
The overhead floating shelf acts as the architectural roof of your café station, grounding the composition. Select a thick, solid wood slab that matches your back riser to create material harmony across the installation.
Anchoring into Kitchen Tile
Mounting heavy wooden shelves over a tile backsplash requires specialized diamond drill bits and patience. Always anchor your steel brackets directly into the wooden wall studs to support the weight of ceramic mugs.
Illuminating the Prep Zone
Shadows cast by the overhead floating shelf can make it difficult to monitor your espresso extraction. Installing a slim, battery-operated LED light bar directly under the wood provides crisp task lighting right where you need it.
Choosing the Right Brass Hooks
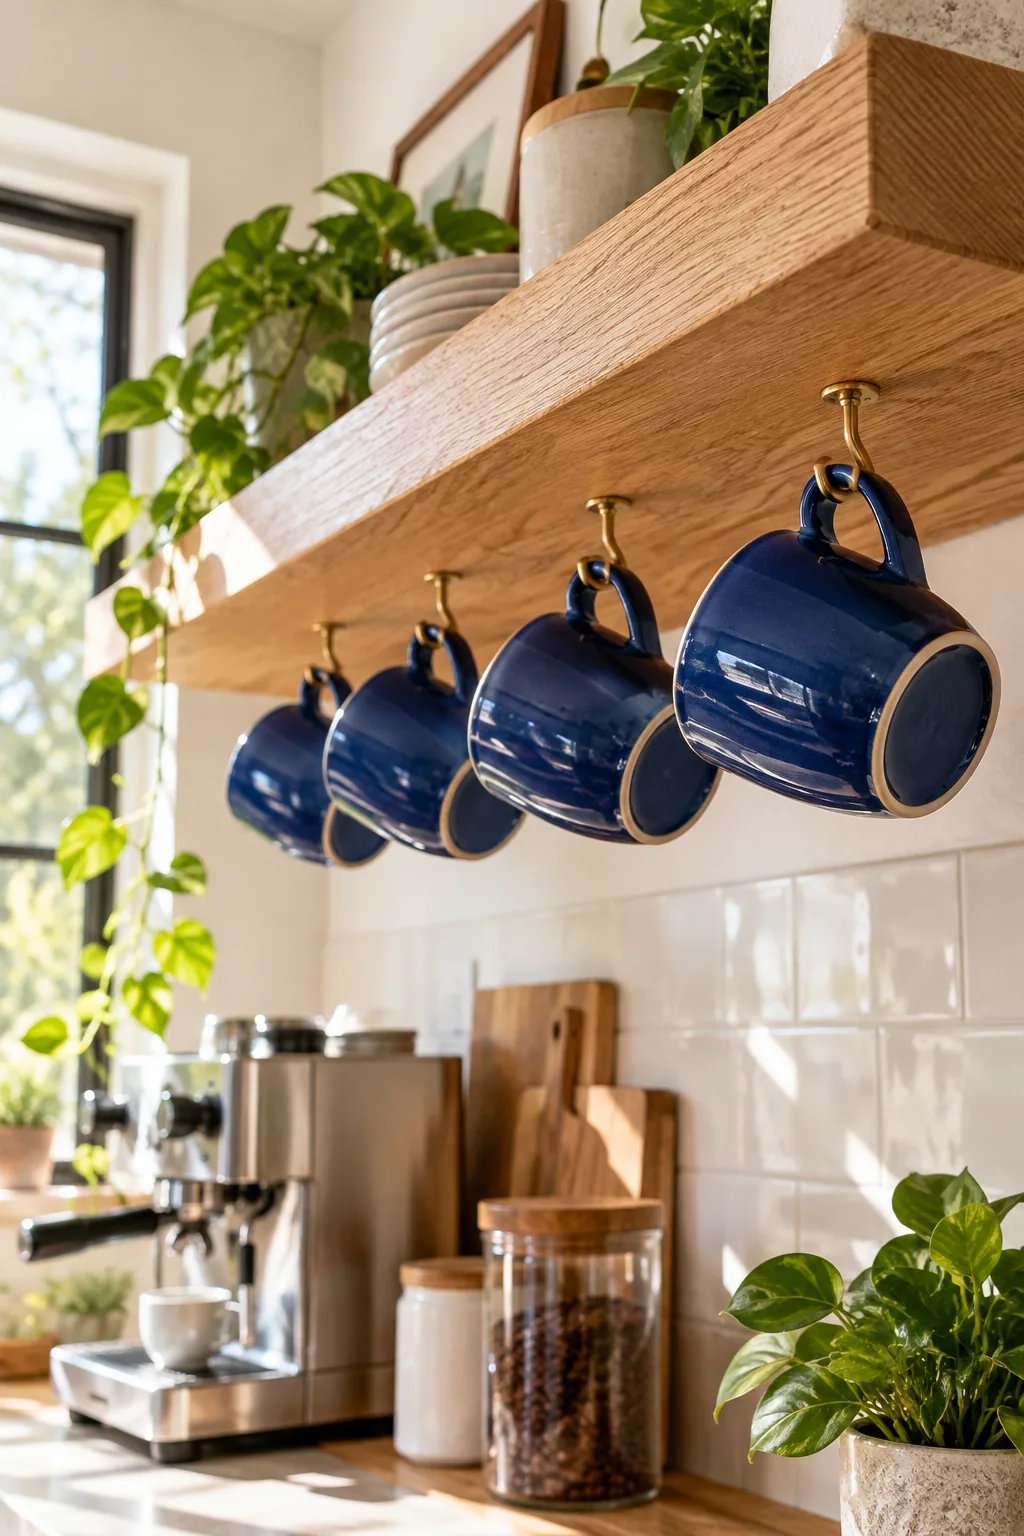
Flimsy wire hooks bend under the weight of heavy, artisanal ceramic mugs and ruin the aesthetic. Source solid, unlacquered brass cup hooks with a deep curve to securely cradle thick mug handles while developing a beautiful patina.
Spacing the Under-Shelf Cup Hooks
Maximize vertical storage by installing brass cup hooks underneath your main floating shelf. Hanging your favorite mugs draws the eye upward, making a cramped kitchen corner feel intentionally designed and spacious.
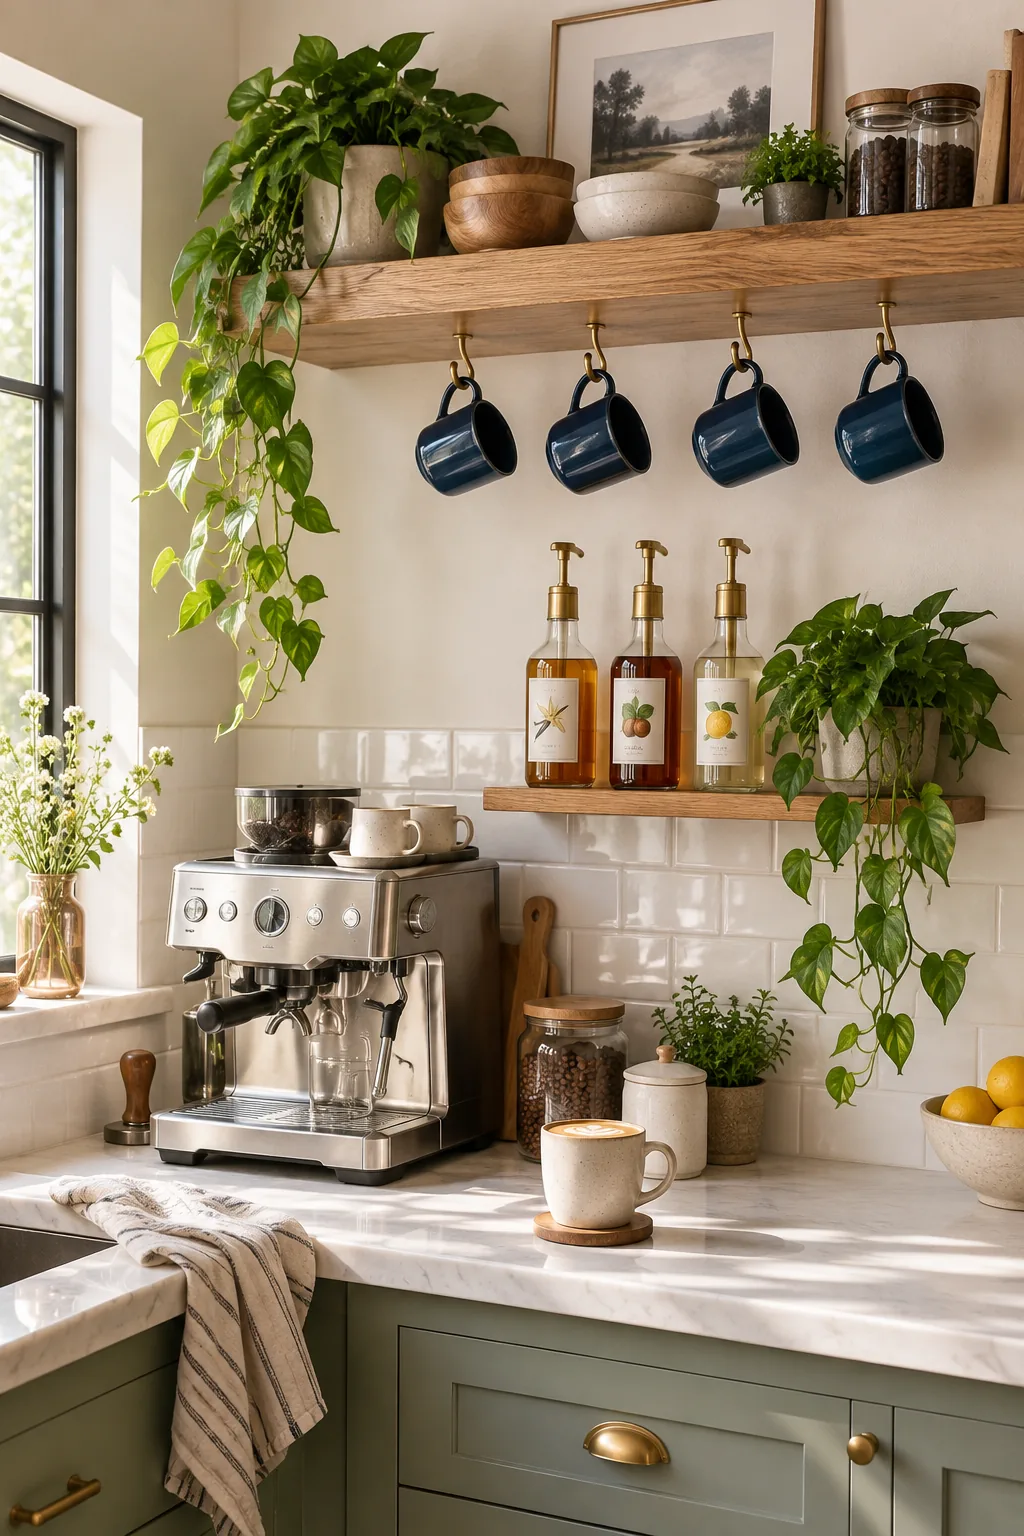
Screwing the cup hooks exactly 10 cm apart ensures standard ceramic mugs have enough breathing room. This precise spacing allows them to hang securely without clinking together when you reach for one.
Styling the Coffee Bar Shelf
The top surface of your floating shelf should balance functionality with quiet, negative space. Displaying a single trailing plant alongside your spare pour-over cones softens the hard metallic edges of the machinery.
Managing Cords in a Tight Corner
A compact coffee station quickly looks messy if thick black appliance cords are left sprawling across the marble. Bundle the excess cable with a velcro tie and tuck it directly behind the wooden back riser.
Scaling the Setup for Your Kitchen
This layered approach works beautifully in a 60 cm corner, but a 90 cm stretch allows for a wider ledge and an integrated knock box. When adjusting the shelf lengths for your specific counter size, use your primary appliance as a visual anchor.
Adapting for Left-Handed Brewing
If you tamp and pour with your left hand, simply mirror the entire layout to suit your body mechanics. Moving the grinder and knock box to the left side prevents awkward cross-body reaching.
Your Printable Coffee-Corner Measurement Sheet
Taking the guesswork out of installation makes building this café setup a simple weekend project. Printing this guide saved my latest kitchen remodel hours of frustrating layout math and costly redrilling.
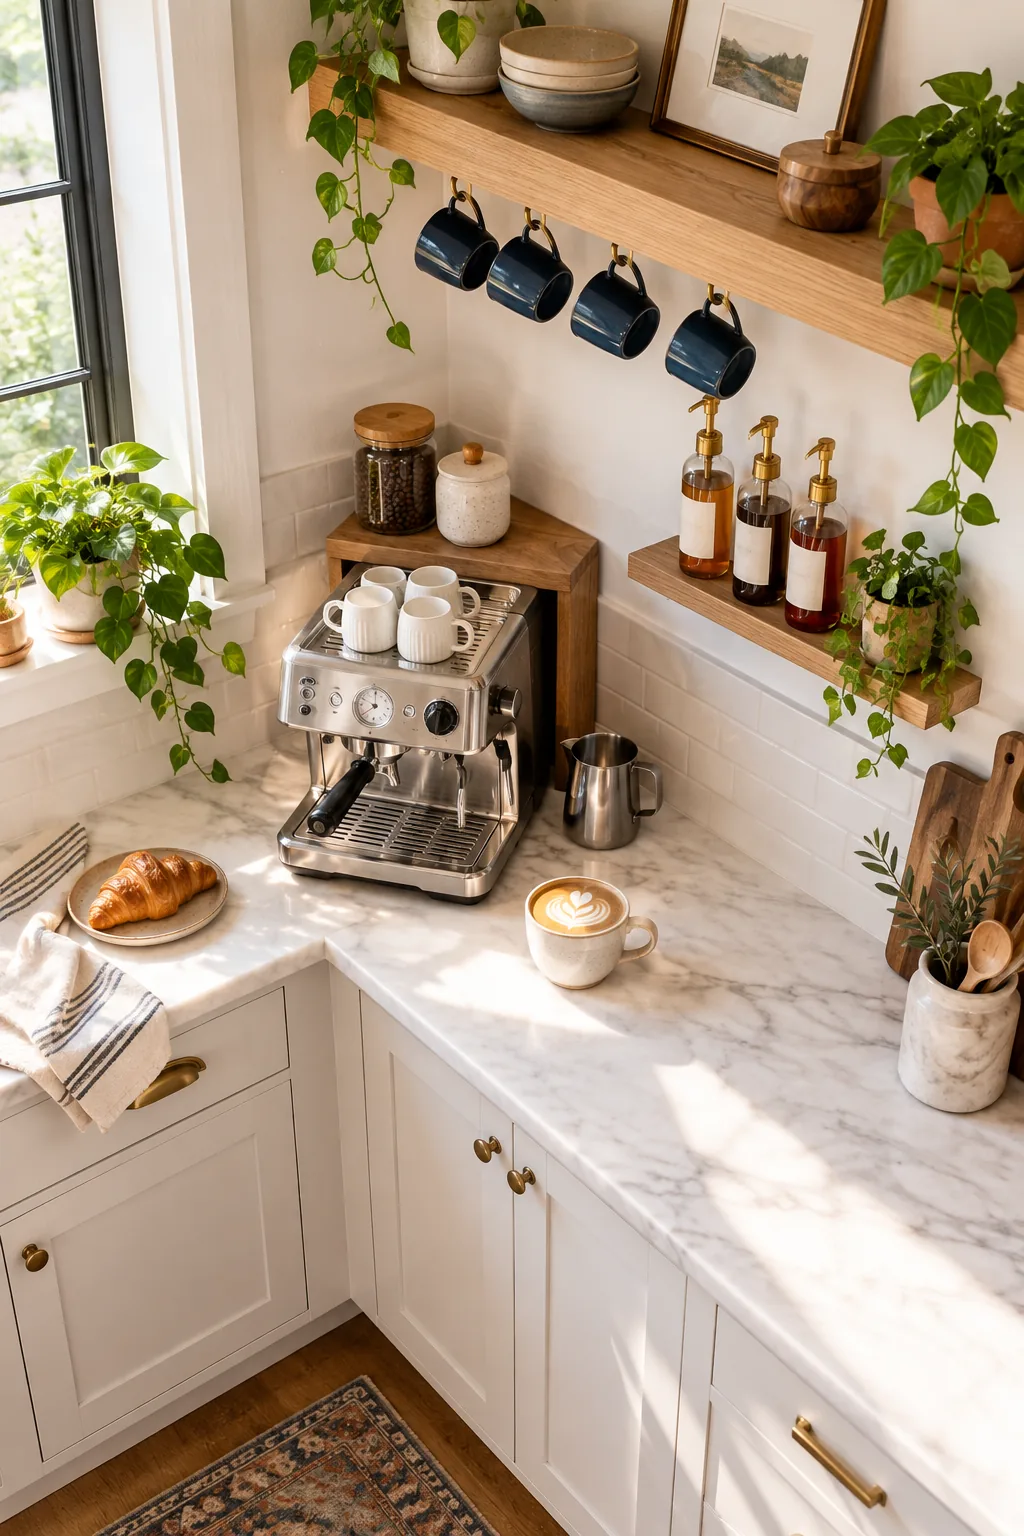
Grab our Coffee-Corner Measurement Sheet to instantly access the exact shelf clearance, riser depth, hook spacing, and ledge depth needed. This printable one-page chart scales perfectly for 45, 60, and 90 cm counter corners.
4 Ways to Style a Coffee Corner
Find the perfect material palette to match your kitchen's aesthetic.
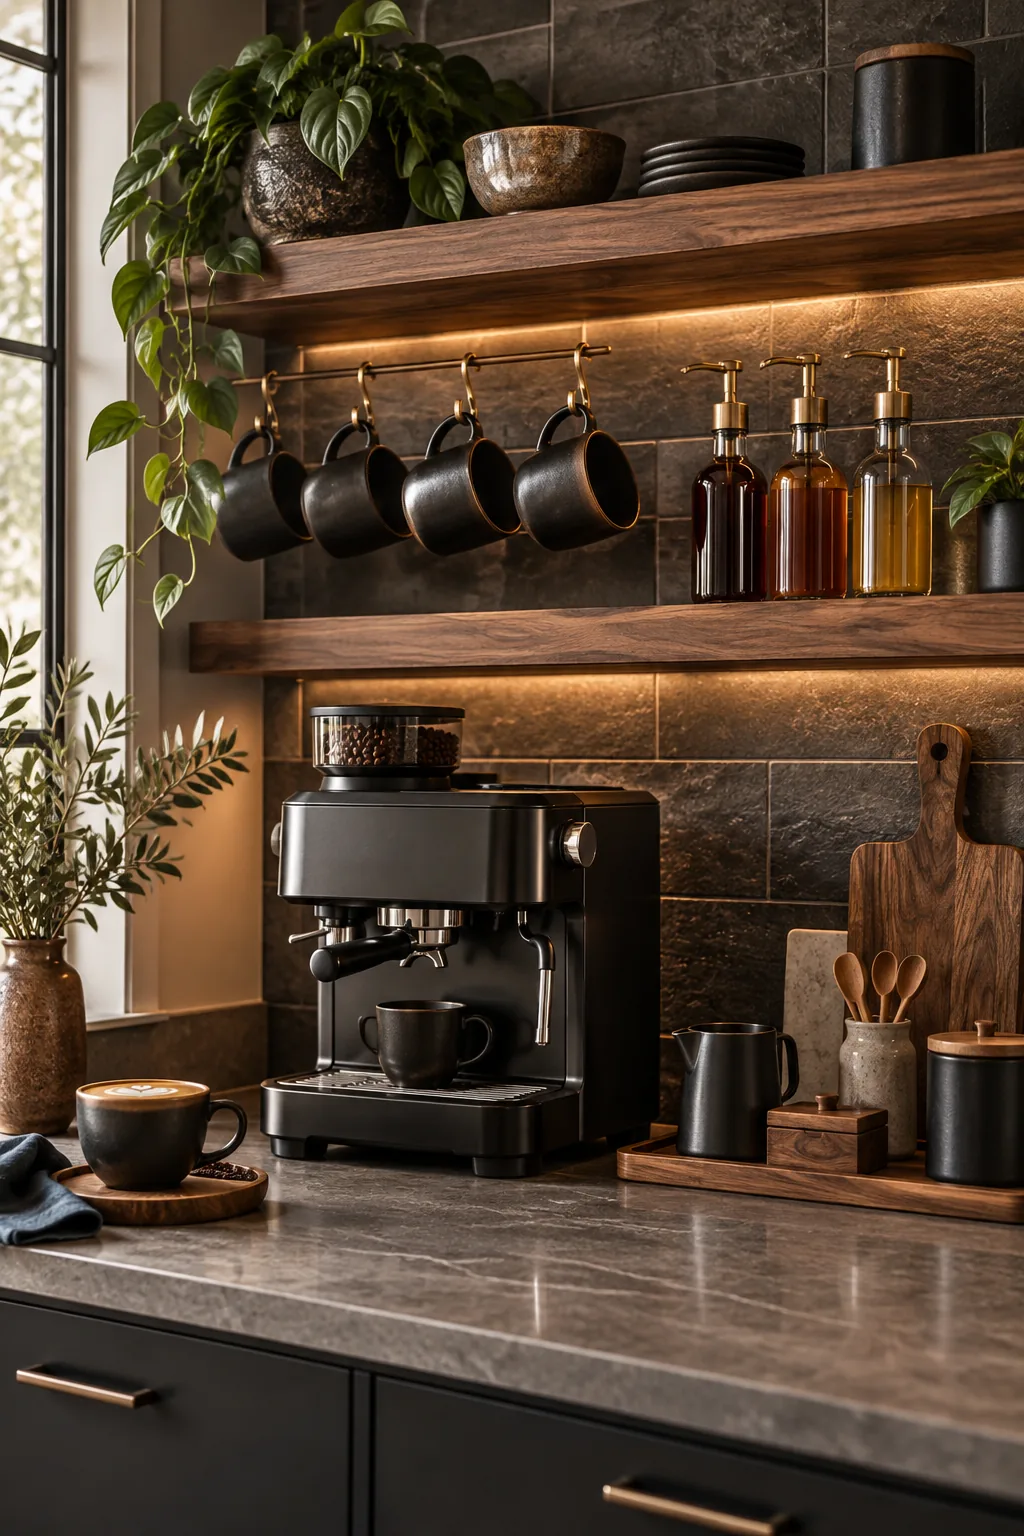
Moody Modern Walnut: Dark walnut wood and a slate backsplash create a sophisticated cafe vibe, anchored by a matte black espresso machine.
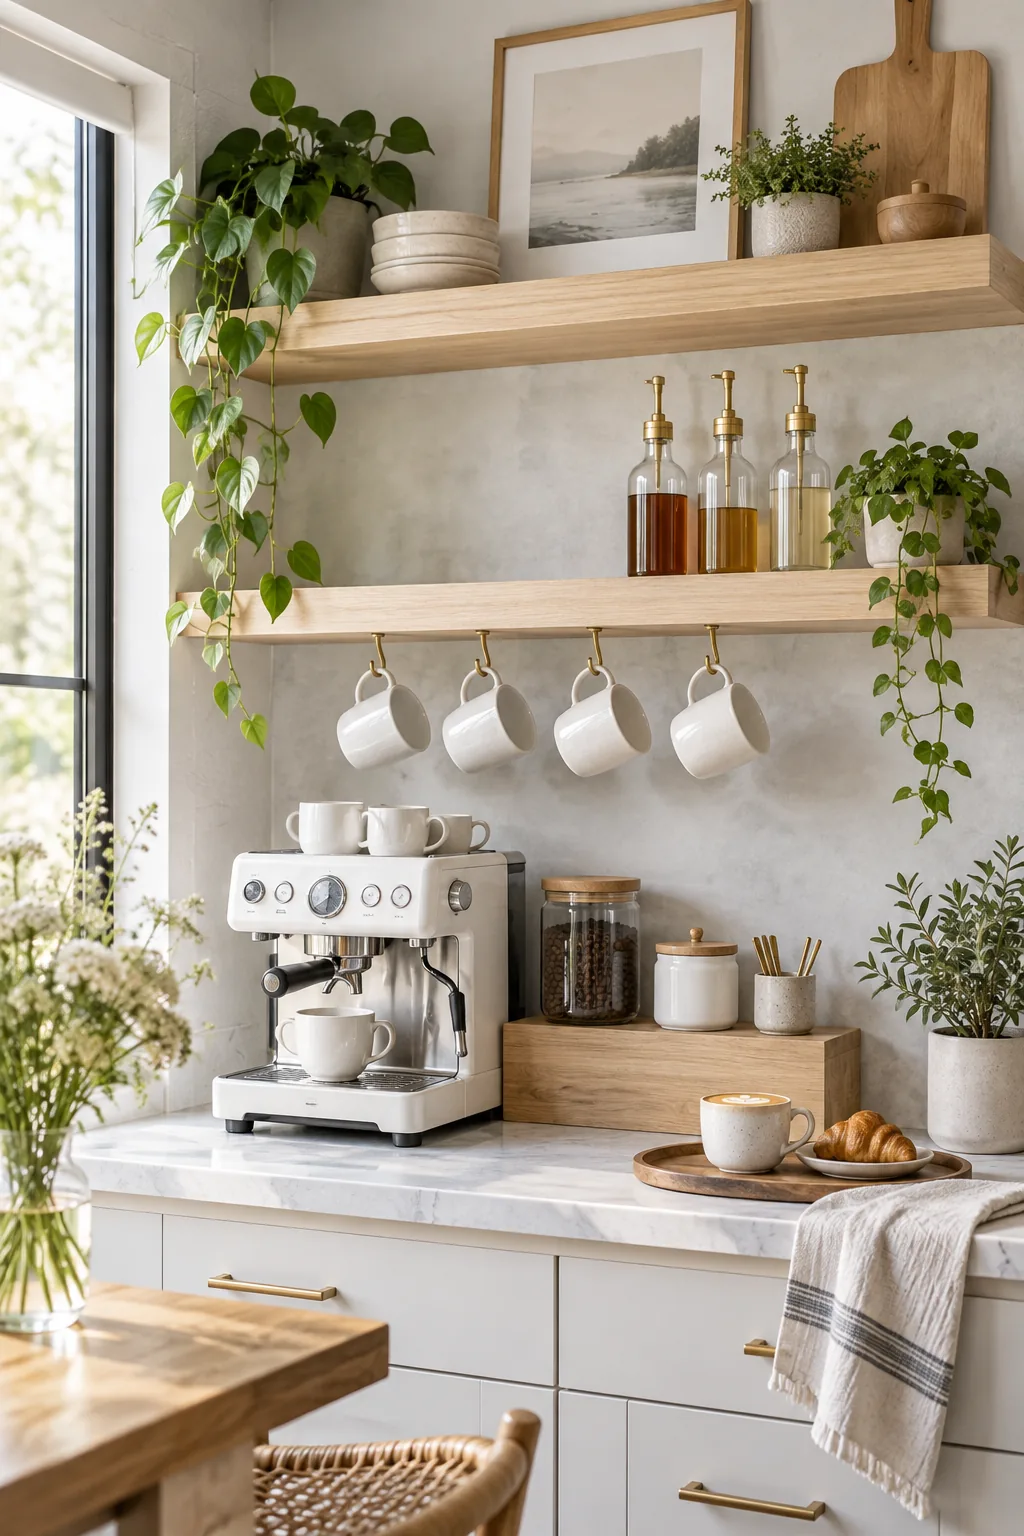
Scandi Minimalist Ash: Keep the corner feeling airy and bright by pairing a white appliance with pale ash wood and minimalist ceramics.
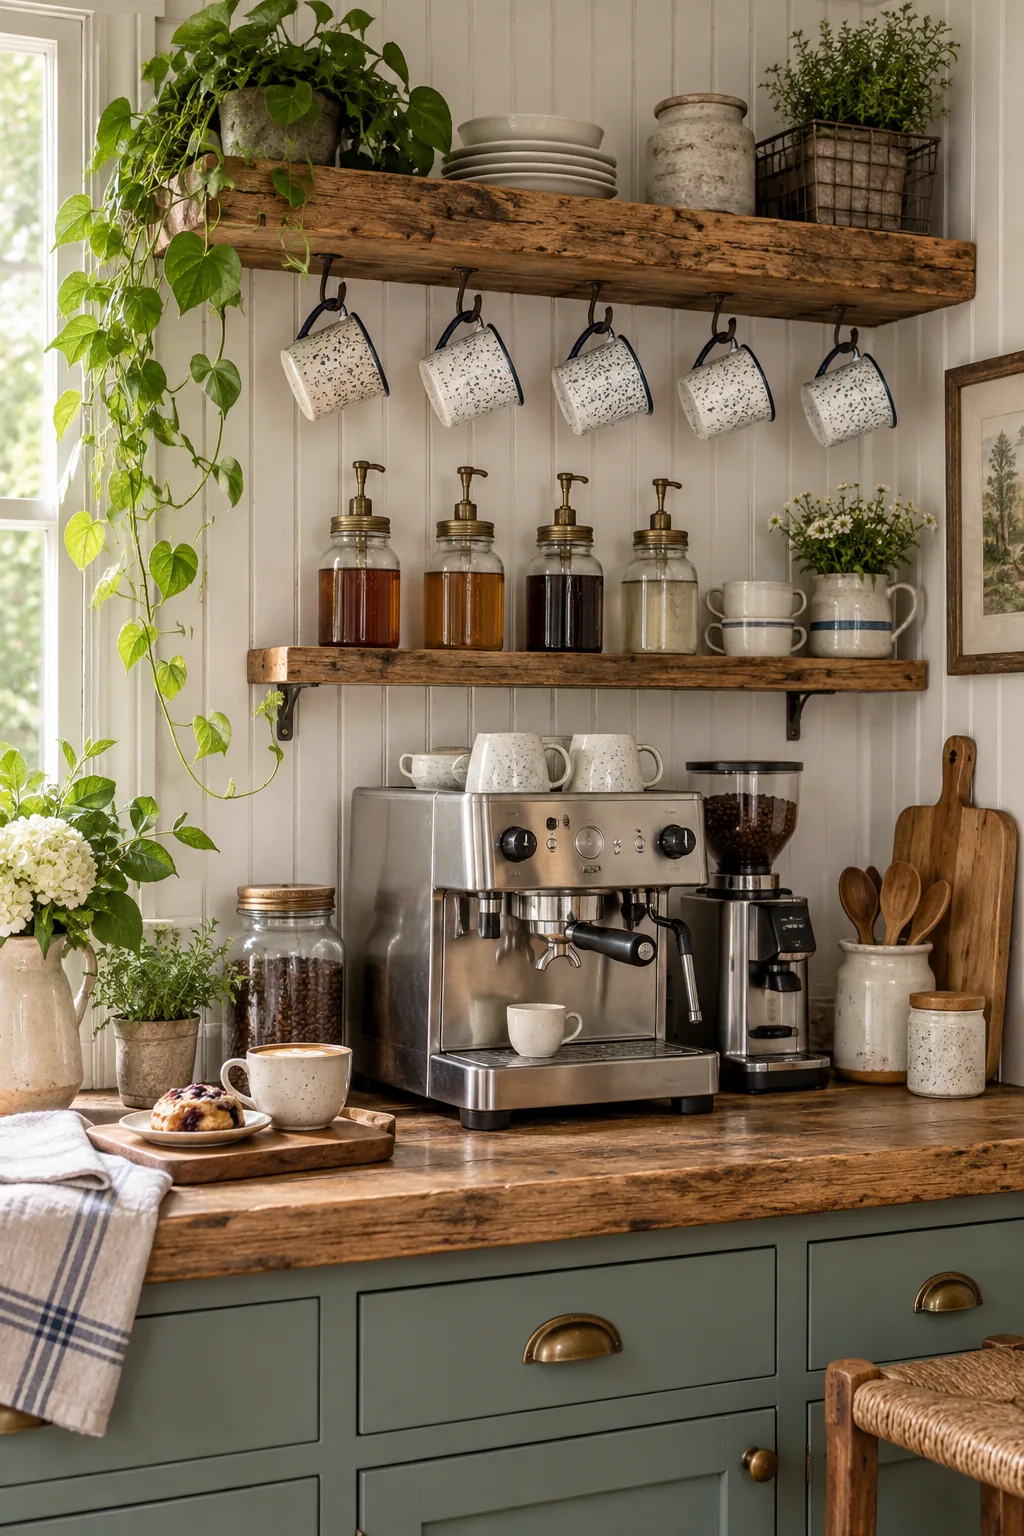
Rustic Farmhouse Reclaimed: Thick reclaimed wood shelves and a classic beadboard backsplash bring immediate warmth and vintage character to the morning routine.
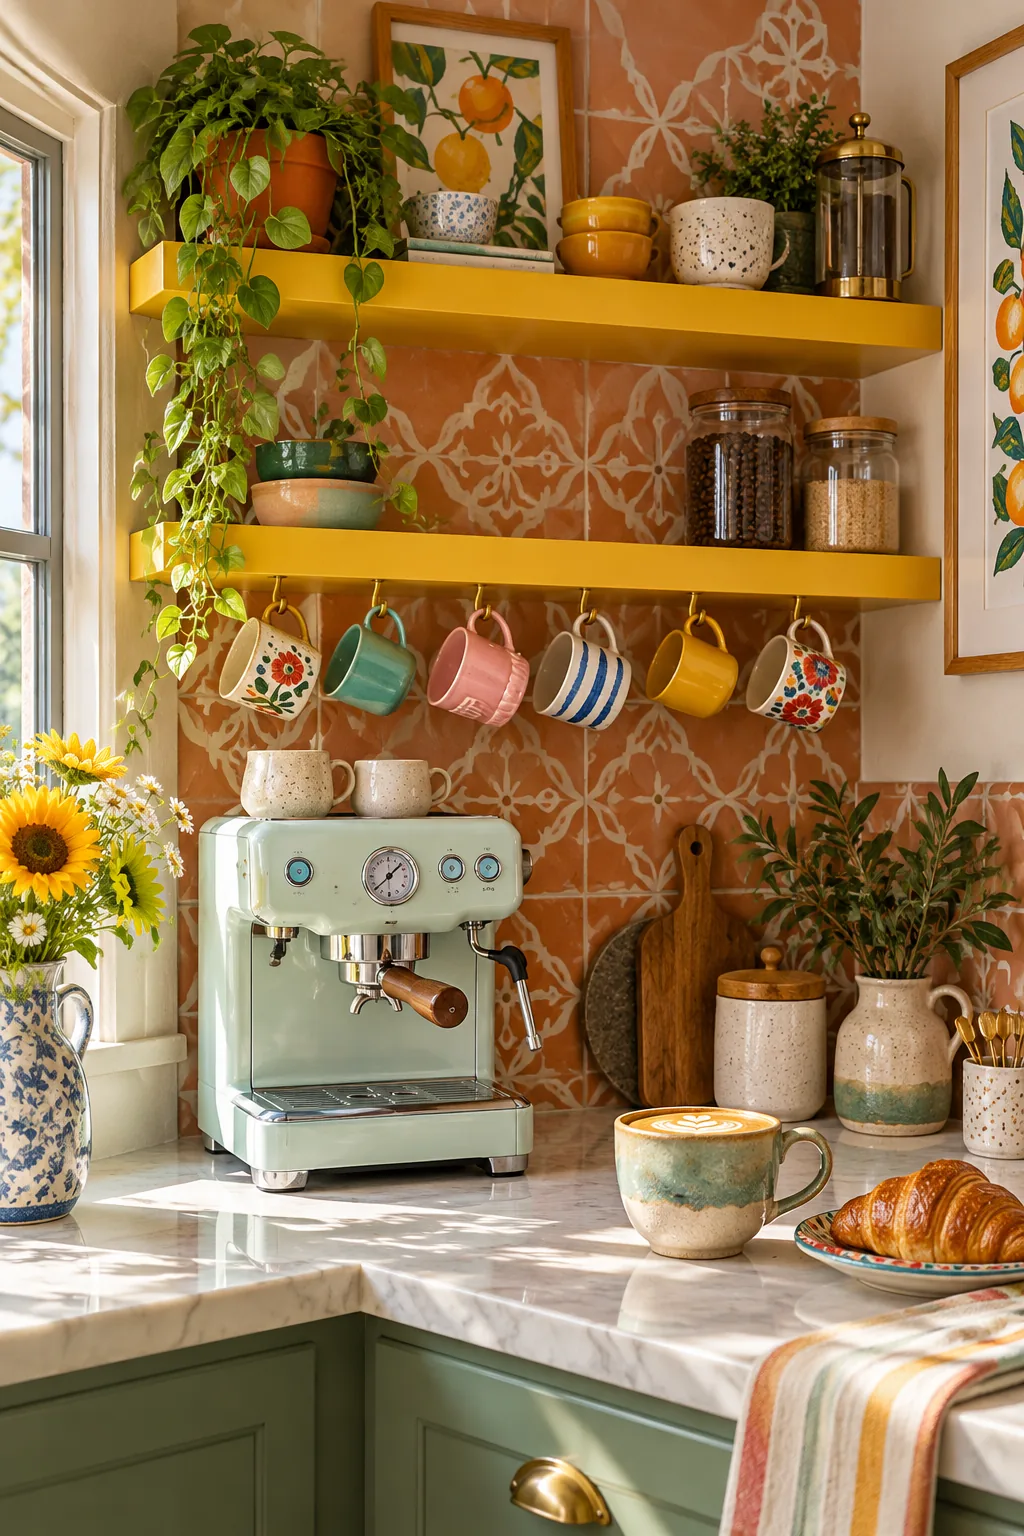
Colorful Eclectic Tile: Embrace vibrant energy with painted mustard shelves, a pastel mint machine, and a playfully patterned terracotta tile backdrop.