
Wooden Tray Before and After: Rich Walnut and Bright Brass
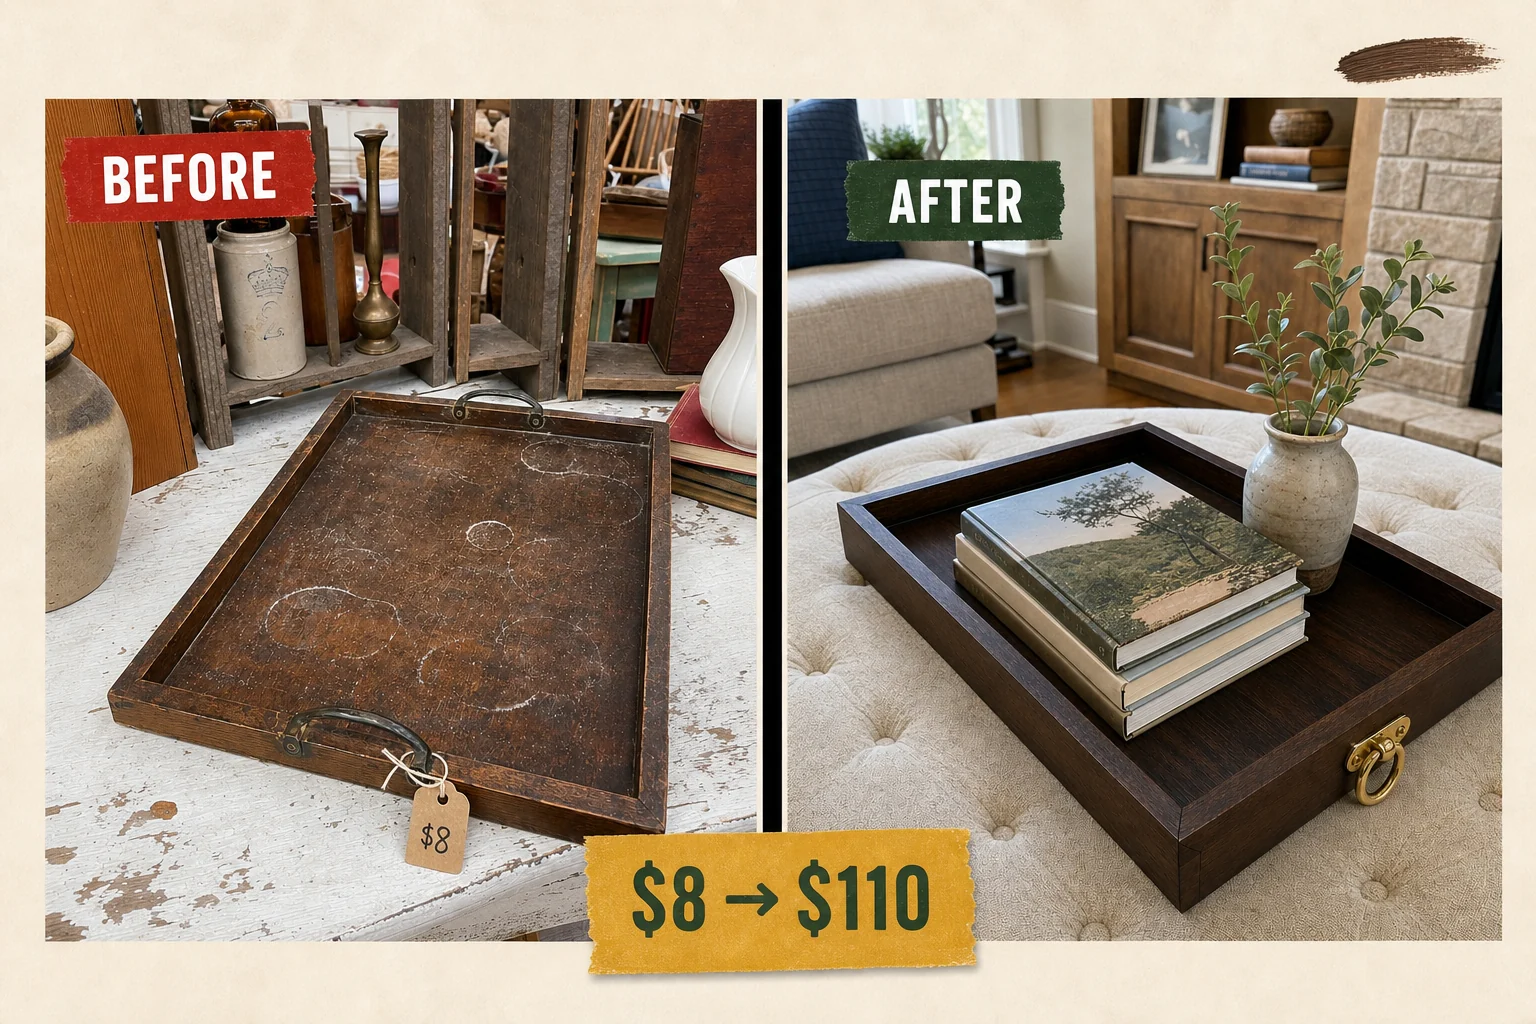
Transform a sticky, neglected pine find from an antique market into a refined, campaign-style serving piece. This complete method covers stripping degraded varnish, applying blotch-free gel stain, and restoring vintage brass hardware.
Step 1: Assess and Detach Hardware
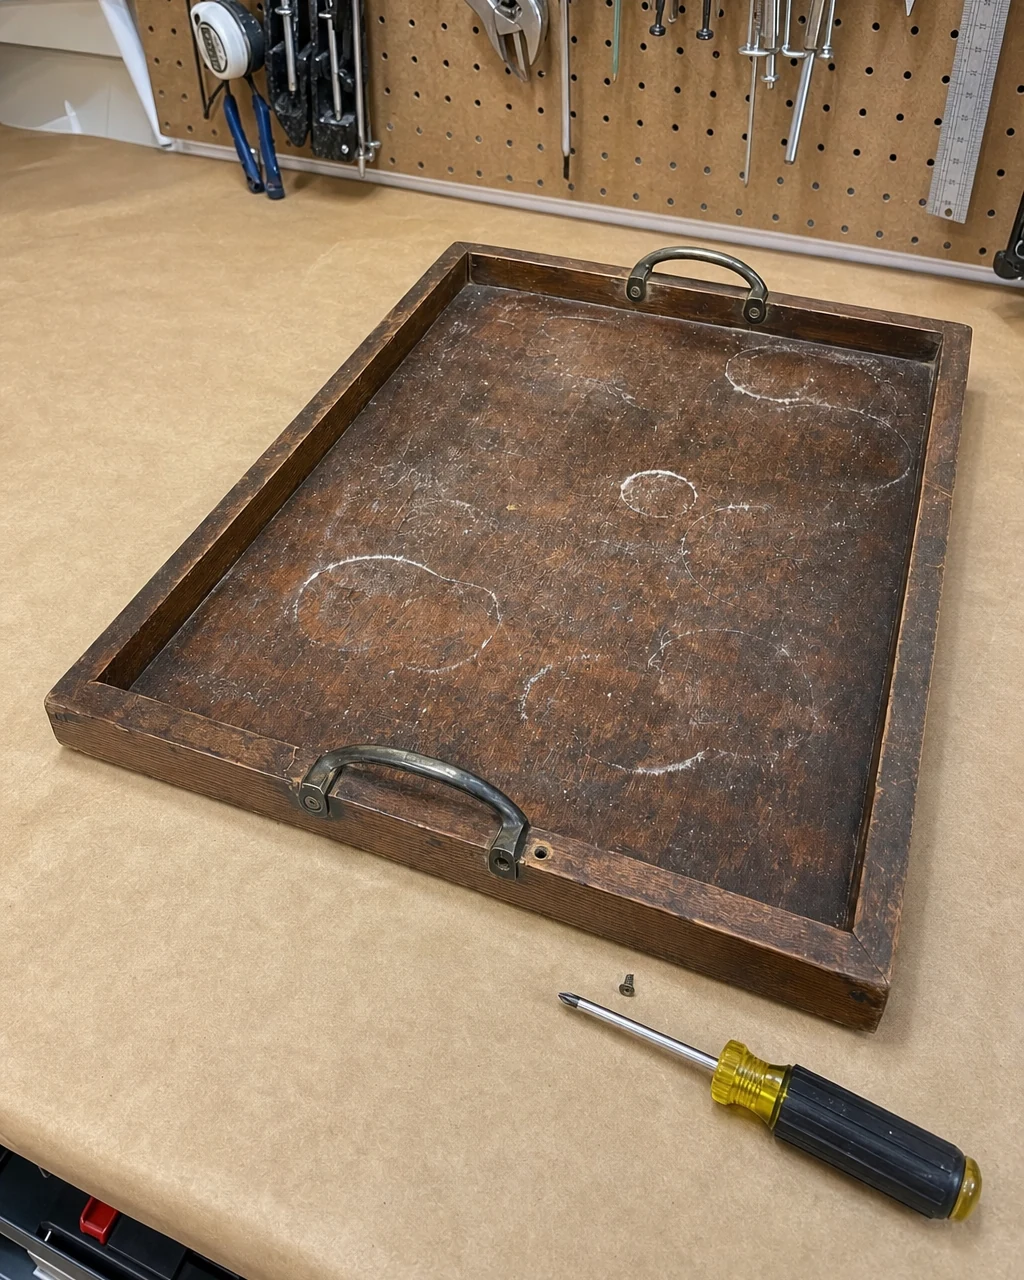
This solid pine tray featured beautiful mitered edges and heavy D-ring handles, but the surface was completely unusable. The degraded topcoat was tacky to the touch, holding onto dust and leaving a sticky residue on anyone who handled it. White circular moisture marks embedded in the tray bed visually ruined the wood, while the blackened, dull brass handles made the piece look entirely neglected.
Materials checklist
Before applying any chemical treatments, isolate the wood by removing these tarnished metal components. Use a manual Phillips screwdriver to carefully back out the original screws from the sticky tray bed. Setting the hardware aside prevents harsh strippers from damaging the vintage brass. Keep track of the vintage screws in a small container so they are not lost during the restoration.
Step 2: Strip the Varnish
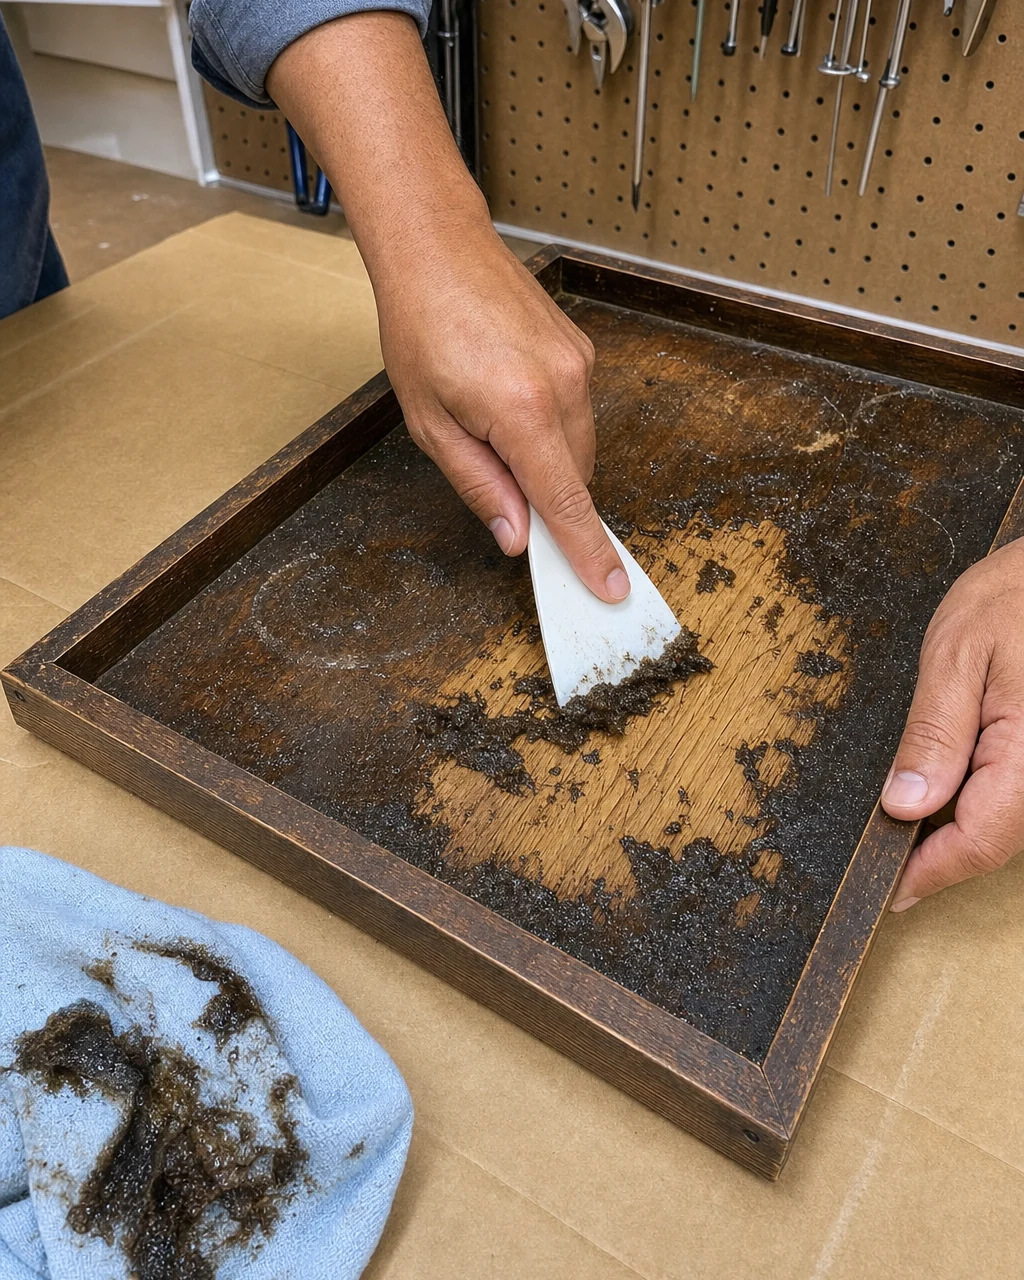
Brush a thick, even layer of citrus stripper over the sticky finish and let it sit undisturbed for 30 minutes. The active ingredients will dissolve the old sludge without raising the natural pine grain underneath. Always wear nitrile gloves and work in a well-ventilated area when using chemical strippers to ensure safety during the removal process.
| Item | Cost |
|---|---|
| Purchase Price | $8 |
| Citrus Stripper | $12 |
| Plastic Putty Knife | $3 |
| Sanding Sponges | $6 |
| Walnut Gel Stain | $18 |
| Cotton Rags | $5 |
| Brass Polish | $8 |
| Materials Total | $52 |
| Total Investment | $60 |
| Estimated Resale Value | $110 |
| Value Gain | $50 |
Once the varnish softens into a gel, gently scrape away the dissolved mess using a flexible plastic putty knife. This reveals the raw pine underneath without gouging the soft wood surface. Note that the estimated resale value is an editorial calculation based on similar restored campaign-style trays, not a completed sale.
Step 3: Sand Out Rings
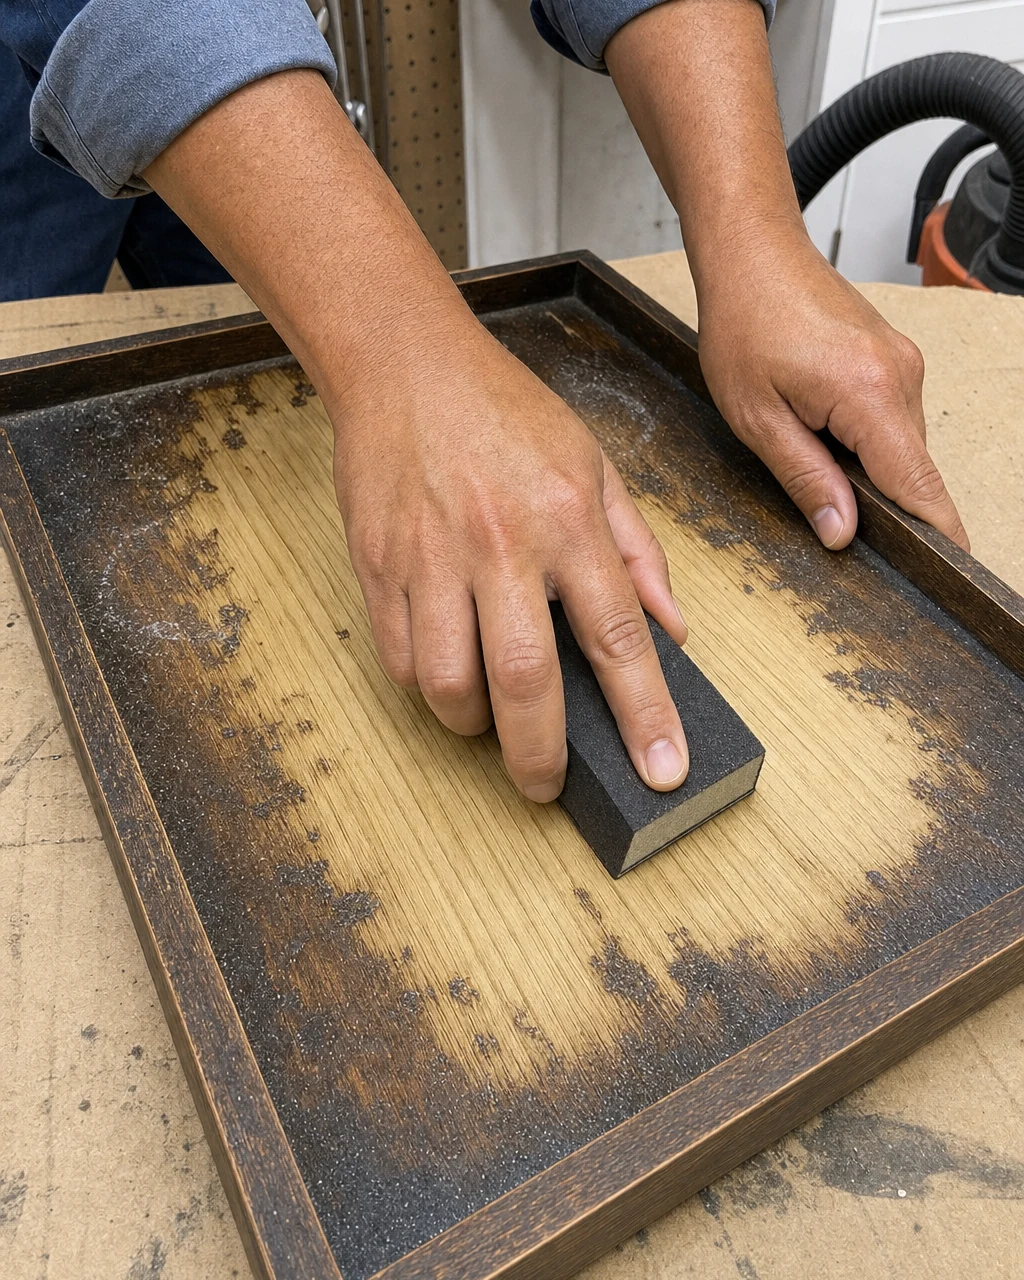
With the bulk of the finish removed, tackle the embedded white water rings left by years of condensation. Sand the bare pine along the grain using a 120-grit sanding block to erase the deep moisture damage. Wear a dust mask and wipe away all sanding dust before applying any new finish.
- Start with medium 120-grit abrasives to level the surface and remove the deepest white moisture rings.
- Follow up with a fine 220-grit sanding sponge to smooth the entire tray bed evenly.
- Apply consistent pressure to remove the defects without creating unwanted dips in the flat surface.
Taking the extra time to properly prep the bare wood ensures the final color applies evenly across the entire tray. Any remaining patches of old varnish or deep cross-grain scratches will stand out drastically once the dark pigment hits the surface.
Step 4: Apply Gel Stain
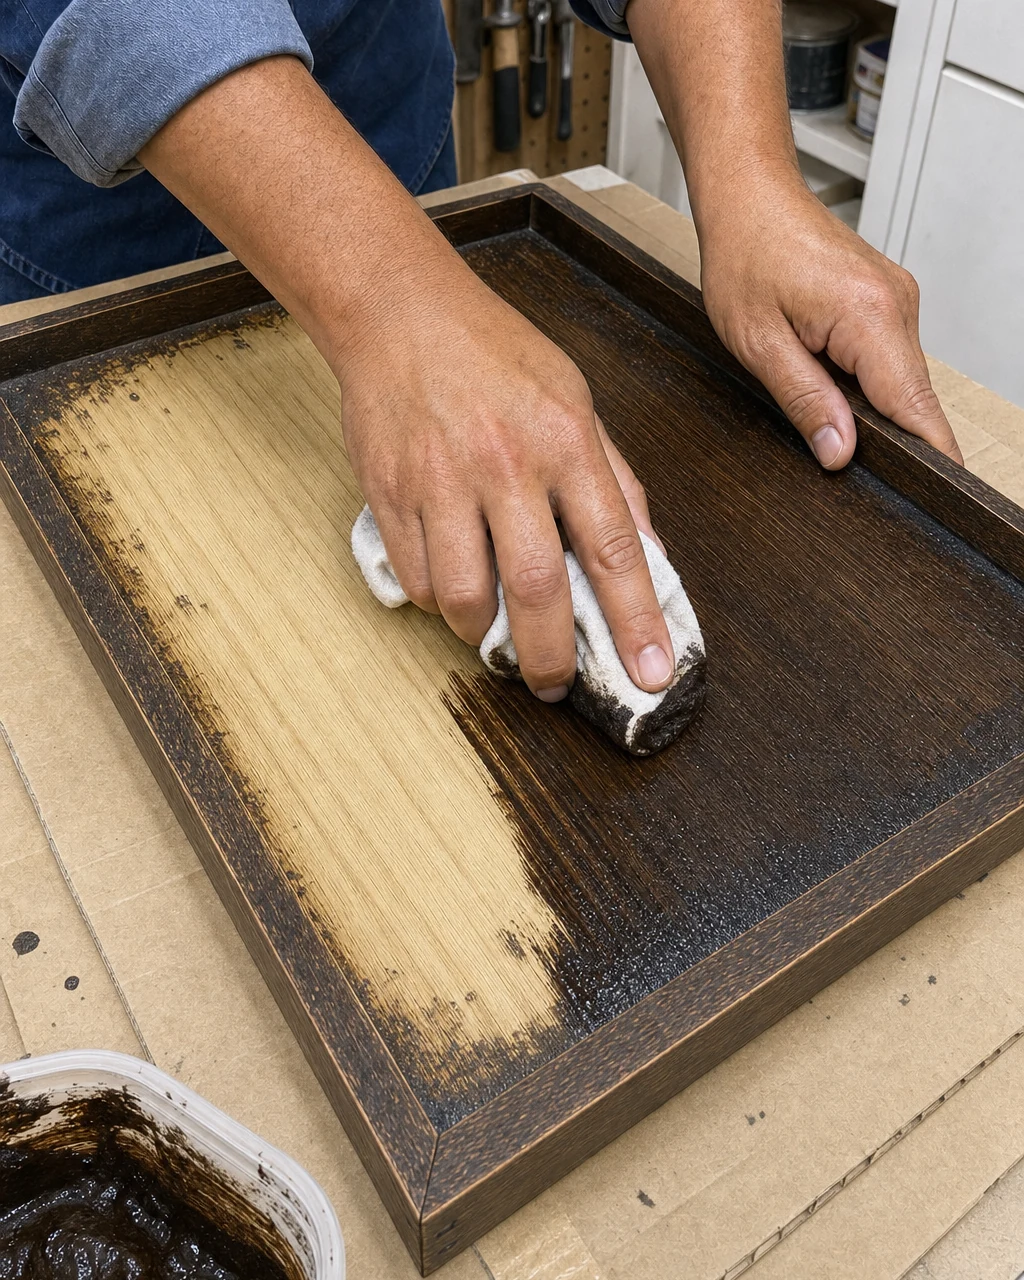
Pine is notoriously difficult to stain evenly with penetrating liquids. Instead, wipe a thick coat of walnut gel stain onto the sanded surface using a folded, lint-free cotton rag. Because gel formulas sit on top of the wood rather than soaking in deeply, they prevent blotching on soft pine and deliver a uniform, rich tone.
Wipe off the excess stain immediately, working in long strokes along the grain, and let the rich dark walnut color cure for 24 hours. Always lay stain-soaked rags flat outside to dry completely before disposal to prevent spontaneous combustion.
Step 5: Polish the Brass
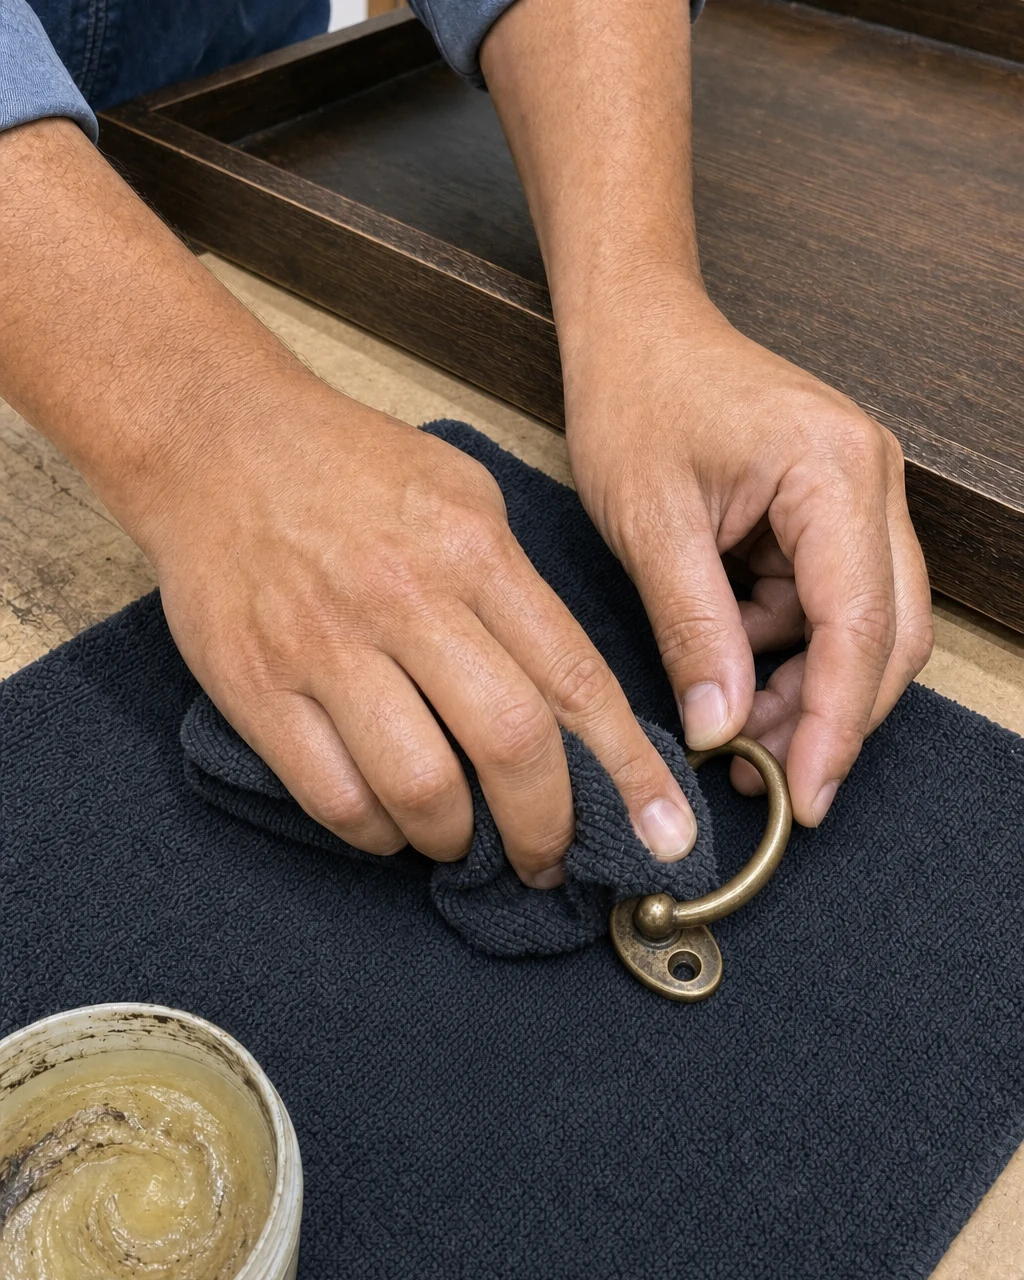
While the stain cures, focus on the heavily oxidized handles. Rub a liquid brass polish into the detached metal using a dark microfiber cloth to cut through the blackened tarnish. Mild abrasives in the polish remove years of neglect without scratching the genuine brass. Continue buffing firmly until the original bright, gleaming shine is fully restored. Wash hands thoroughly after handling metal polish.
Step 6: Reattach the Handles
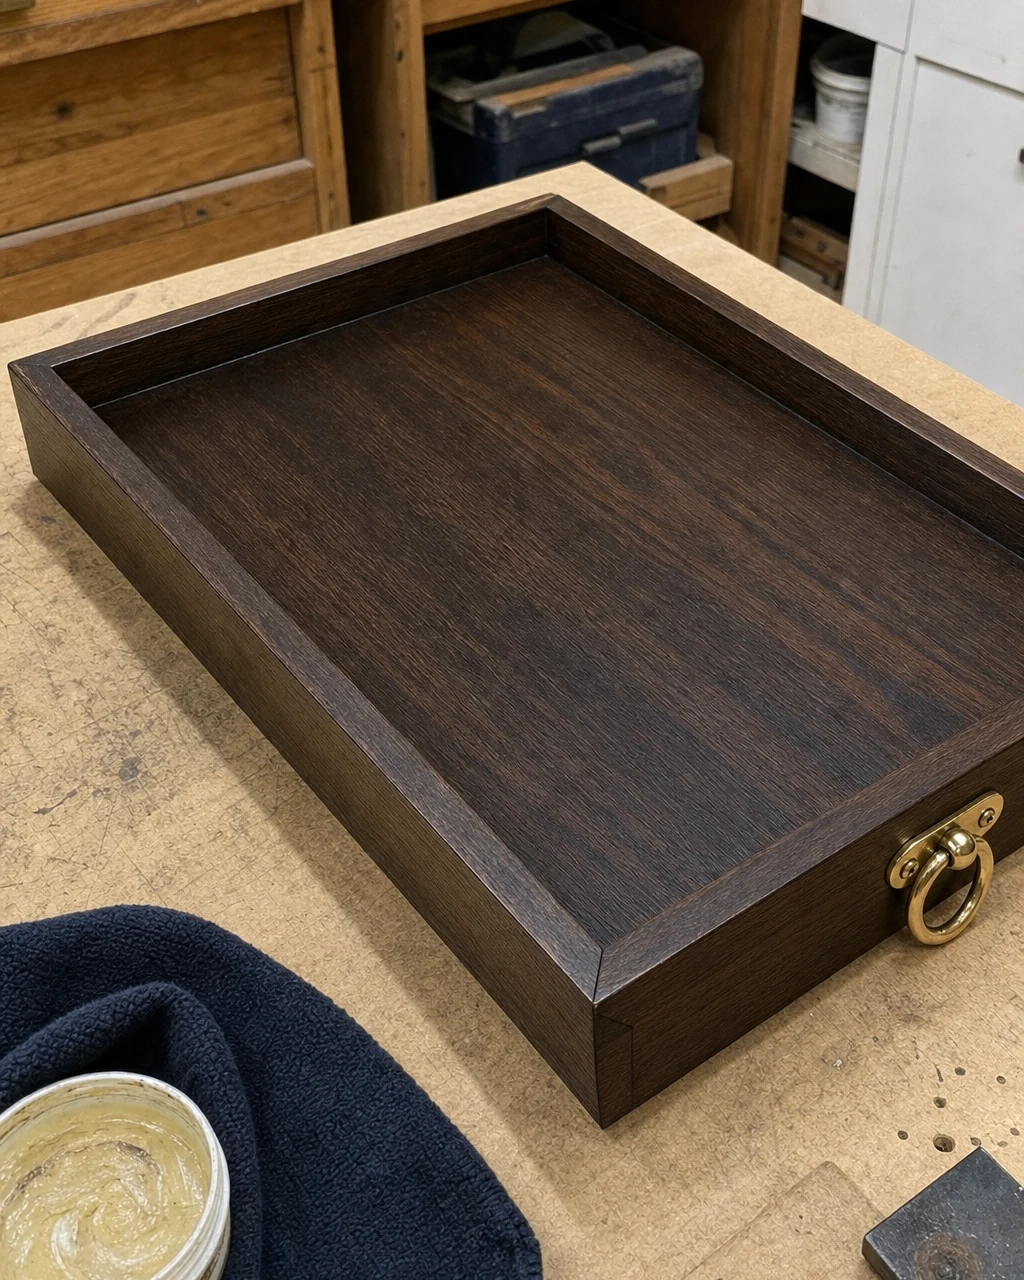
Once the dark walnut finish is completely dry and no longer tacky, align the polished brass handles with their original pilot holes. The contrast between the dark wood and bright metal is striking. Drive the original brass screws back through the handle bases using a manual screwdriver. Do not overtighten the screws, as old pine threads can strip easily under too much torque.
Step 7: Style the Tray
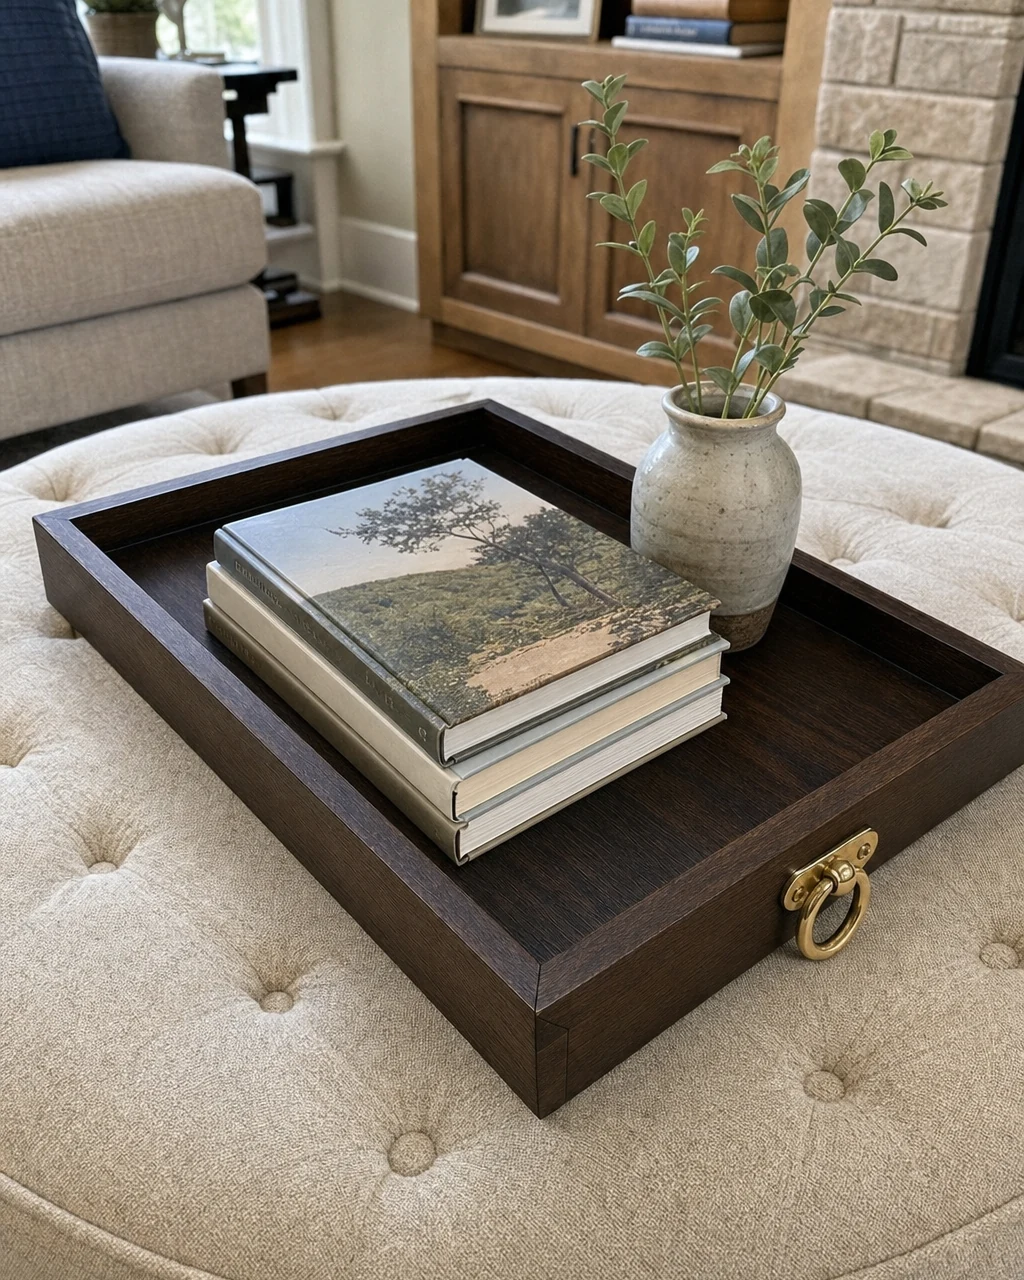
Bring the fully assembled serving tray into the living room to serve as a stylish, functional centerpiece. Resting it on a tufted fabric ottoman provides a stable base for drinks and decor. Ensure the tray is placed on a flat, stable section of the ottoman to prevent accidental spills when holding beverages.
- Solid wood campaign-style trays featuring genuine brass hardware consistently retail at a premium in the home decor market.
- The heavy D-ring handles on this piece indicated its underlying quality despite the initial surface damage.
- Properly restoring the finish and polishing the metal elevates this from a flea-market castoff to a boutique-quality home accent.
This careful restoration completely erases the sticky, water-stained past. The rich, flawless finish easily holds a stack of coffee table books and a small ceramic vase, proving that basic pine can achieve true elegance with the right techniques.