
Painted Counter Stool Upcycle with a Rich Walnut Finish
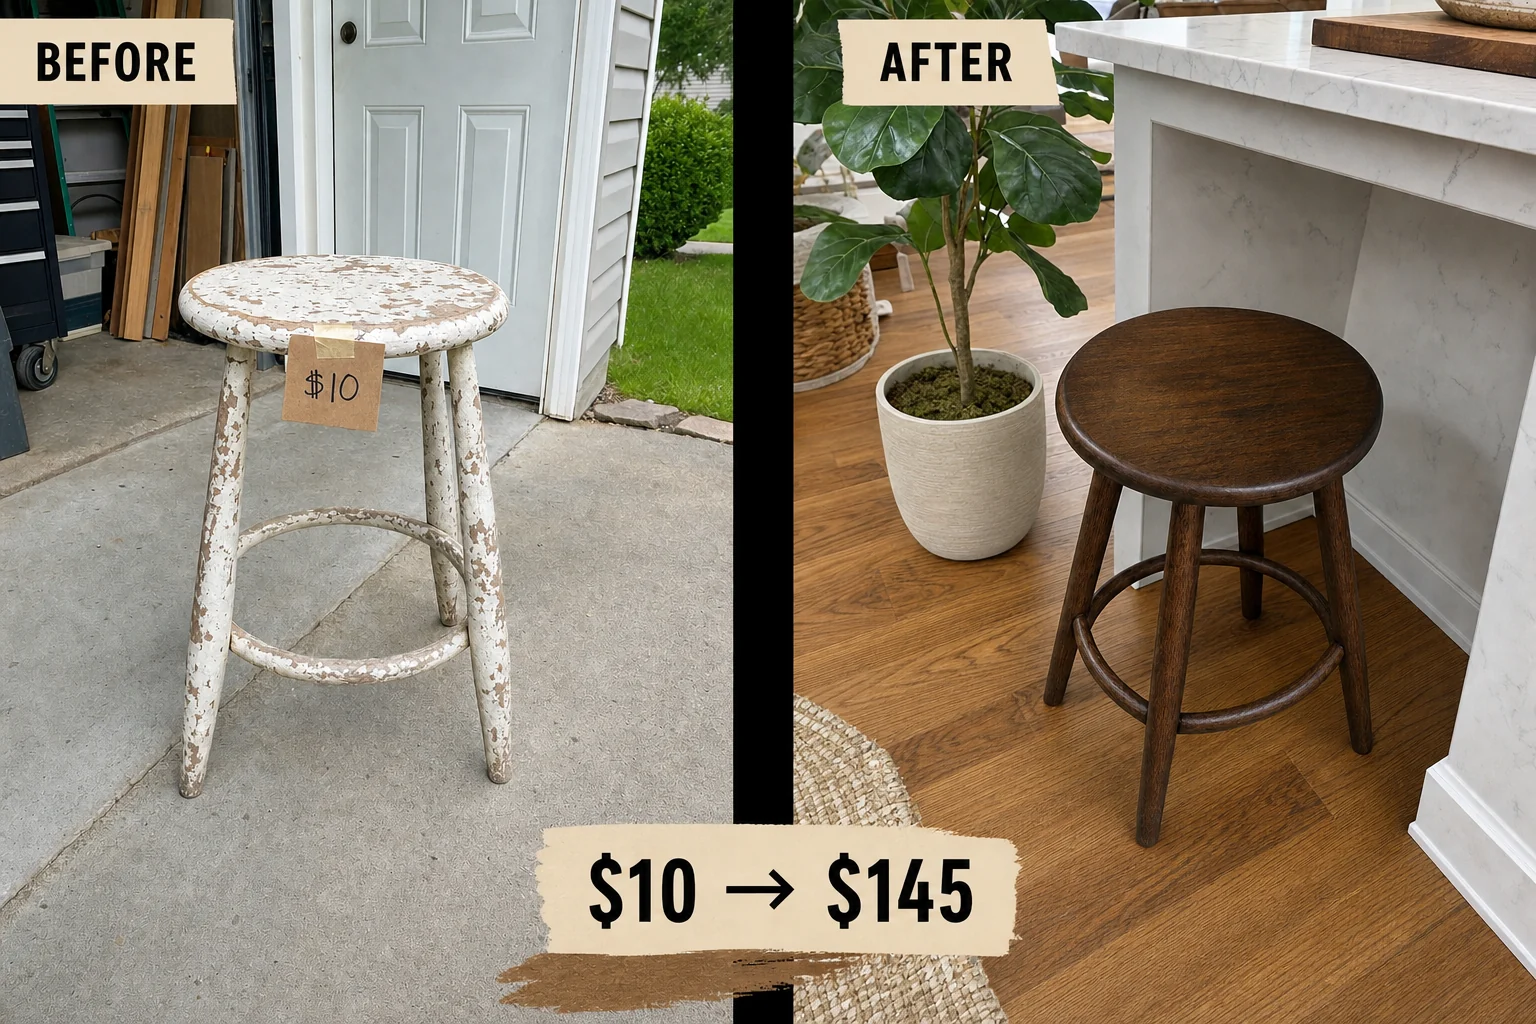
Found on a neighborhood app waiting for a local listing pickup, this heavy stool was covered in peeling white paint. We stripped the damaged layers to reveal the original grain, applying a rich dark walnut finish for a warm, rustic accent piece.
Assessing the Vintage Stool
This 1950s backless wooden counter stool featured a classic round top, four splayed tapered legs, and a circular footrest rung. The heavy weight immediately suggested solid hardwood underneath the neglected exterior. Before beginning the restoration, we evaluated the piece closely to identify the most pressing structural and cosmetic issues that demanded immediate attention to ensure a successful, long-lasting rustic transformation.
- Thick, chipped white paint flaking off the surface obscured the natural wood grain and prevented any new finish from adhering properly to the seat and legs, creating a messy appearance.
- Two loose leg dowels caused the base to rattle and shift, making the stool structurally unsafe to sit on without a permanent, secure wood glue repair to stabilize the joints.
Step 1: Assess the Condition and Clean the Surface
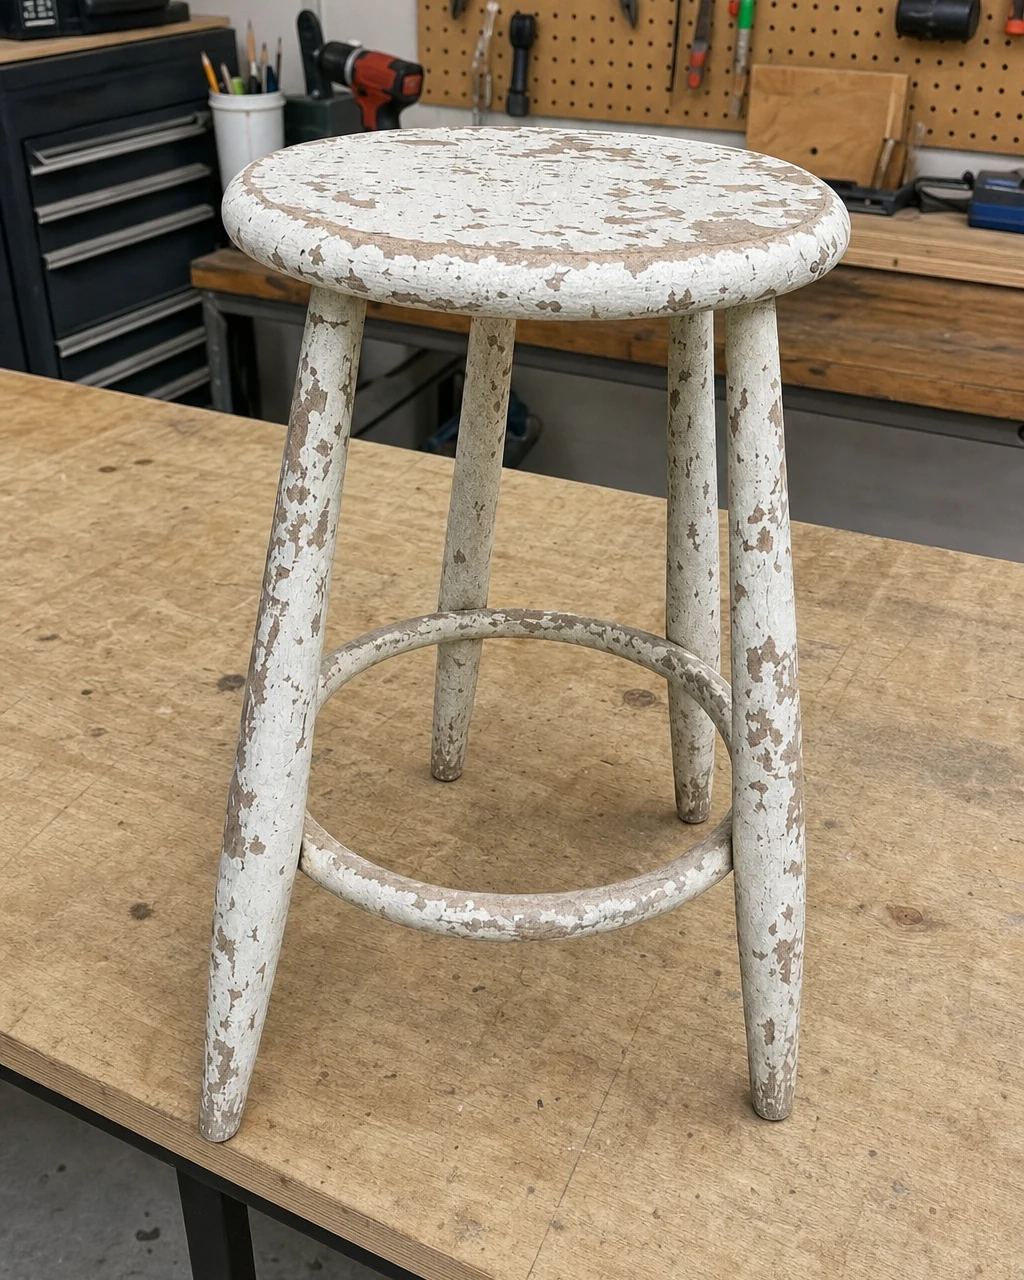
Wipe down the entire stool with a dry cotton shop rag to remove loose debris, cobwebs, and peeling paint flakes from the wooden seat. This initial cleaning reveals the true condition of the remaining paint and allows you to evaluate the extent of the loose joints before starting repairs. Always wear a dust mask when brushing off unknown debris from vintage furniture finds.
| Item | Cost |
|---|---|
| Purchase Price | $10 |
| Cotton shop rags | $5 |
| Citrus paint stripper | $15 |
| Wood glue | $6 |
| Sanding sponges | $8 |
| Dark walnut Danish oil | $14 |
| Styling accessories | $0 |
| Materials Total | $48 |
| Total Investment | $58 |
| Estimated Resale Value | $145 |
| Value Gain | $87 |
Gathering the right supplies ensures a smooth transition from stripping the stubborn paint to applying the final protective oil. Look for lint-free cotton rags for smooth buffing, a thick gel stripper that clings to vertical legs, and an interior wood glue with a strong initial tack for the loose joints. Medium-grit flexible sponges are ideal for sanding the curved wooden legs.
Materials checklist
Step 2: Strip Away the Thick White Paint
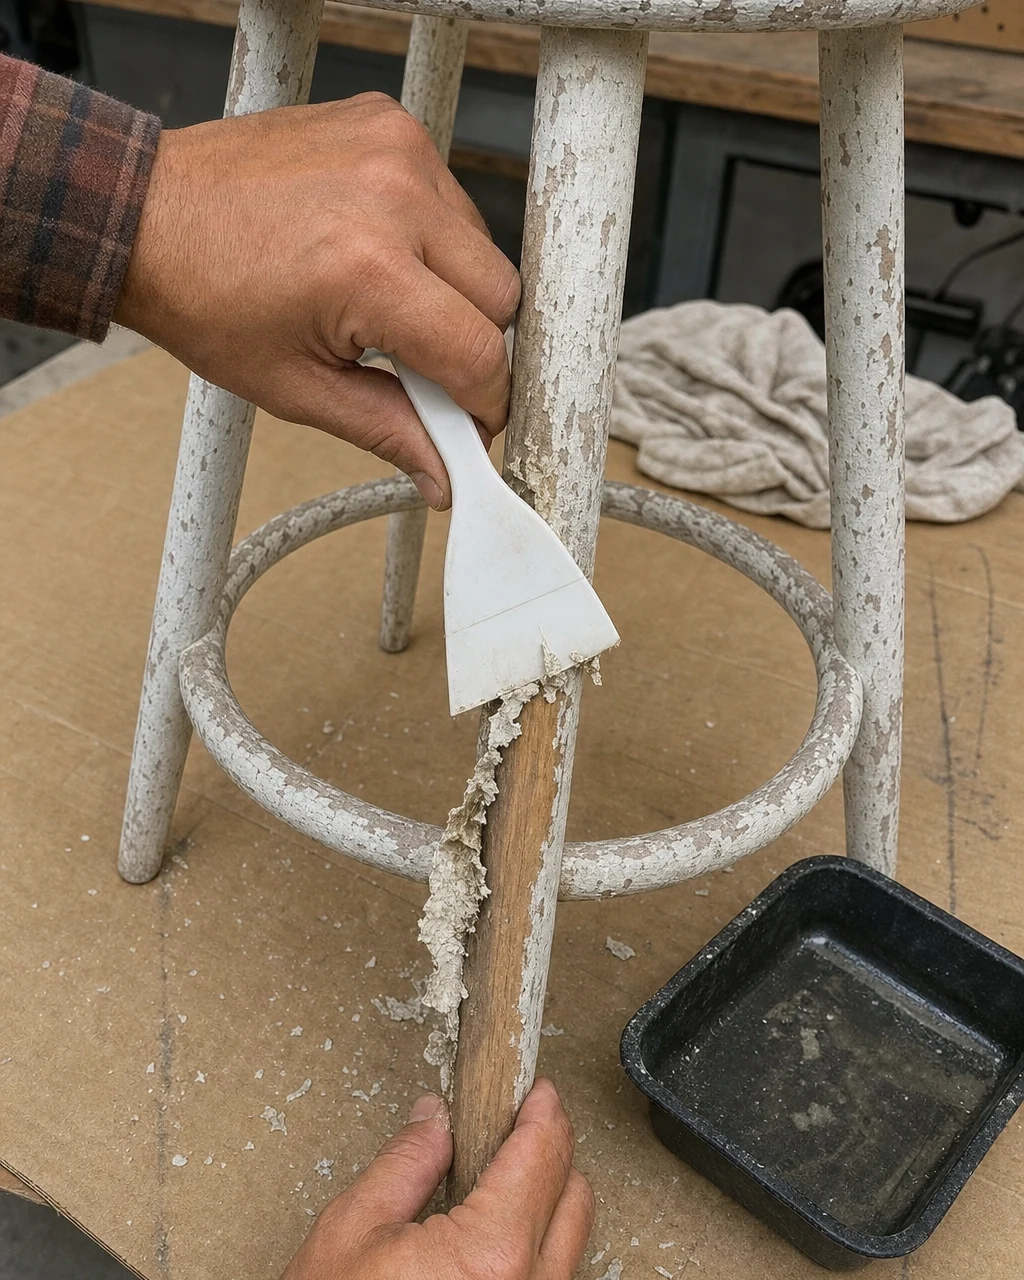
Apply a thick layer of citrus paint stripper using a chip brush and wait thirty minutes for it to soften the layers. Push a plastic scraper along the stool legs and seat to peel away the heavy white paint, exposing the raw wood underneath. Wear chemical-resistant gloves and work in a well-ventilated area during this messy step to ensure complete safety.
Step 3: Re-glue the Loose Leg Dowels
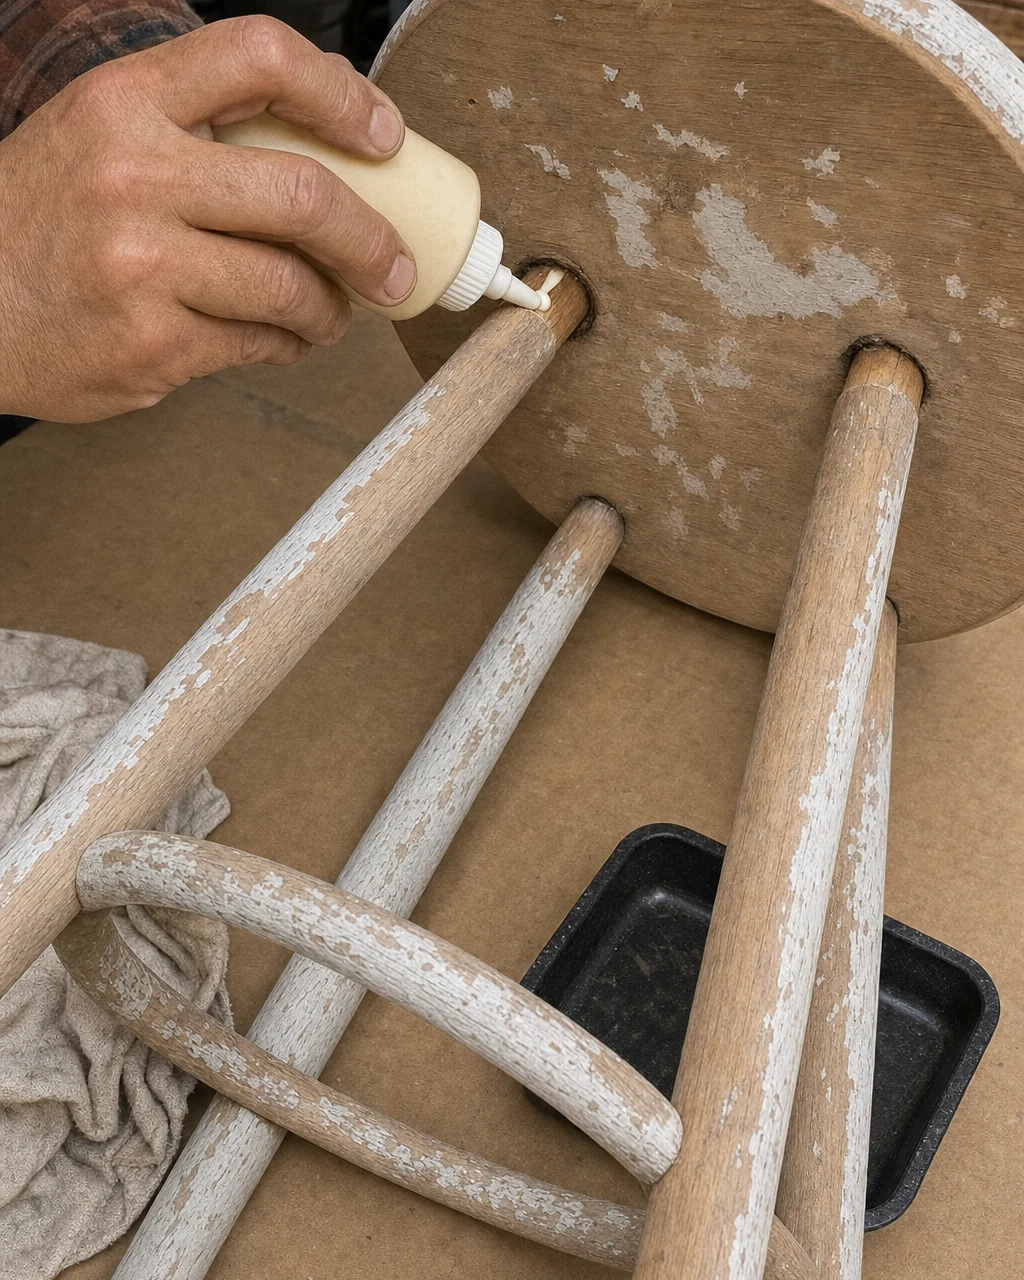
Pull the loose joints slightly apart and inject wood glue directly into the exposed dowel joints of the stool legs. Clamp the base tightly with a strap clamp until the adhesive dries completely, ensuring the legs are secure and no longer rattle. Wipe away excess glue immediately with a damp rag to prevent permanent finishing issues on bare wood later in the process.
Step 4: Sand the Surface to Bare Wood
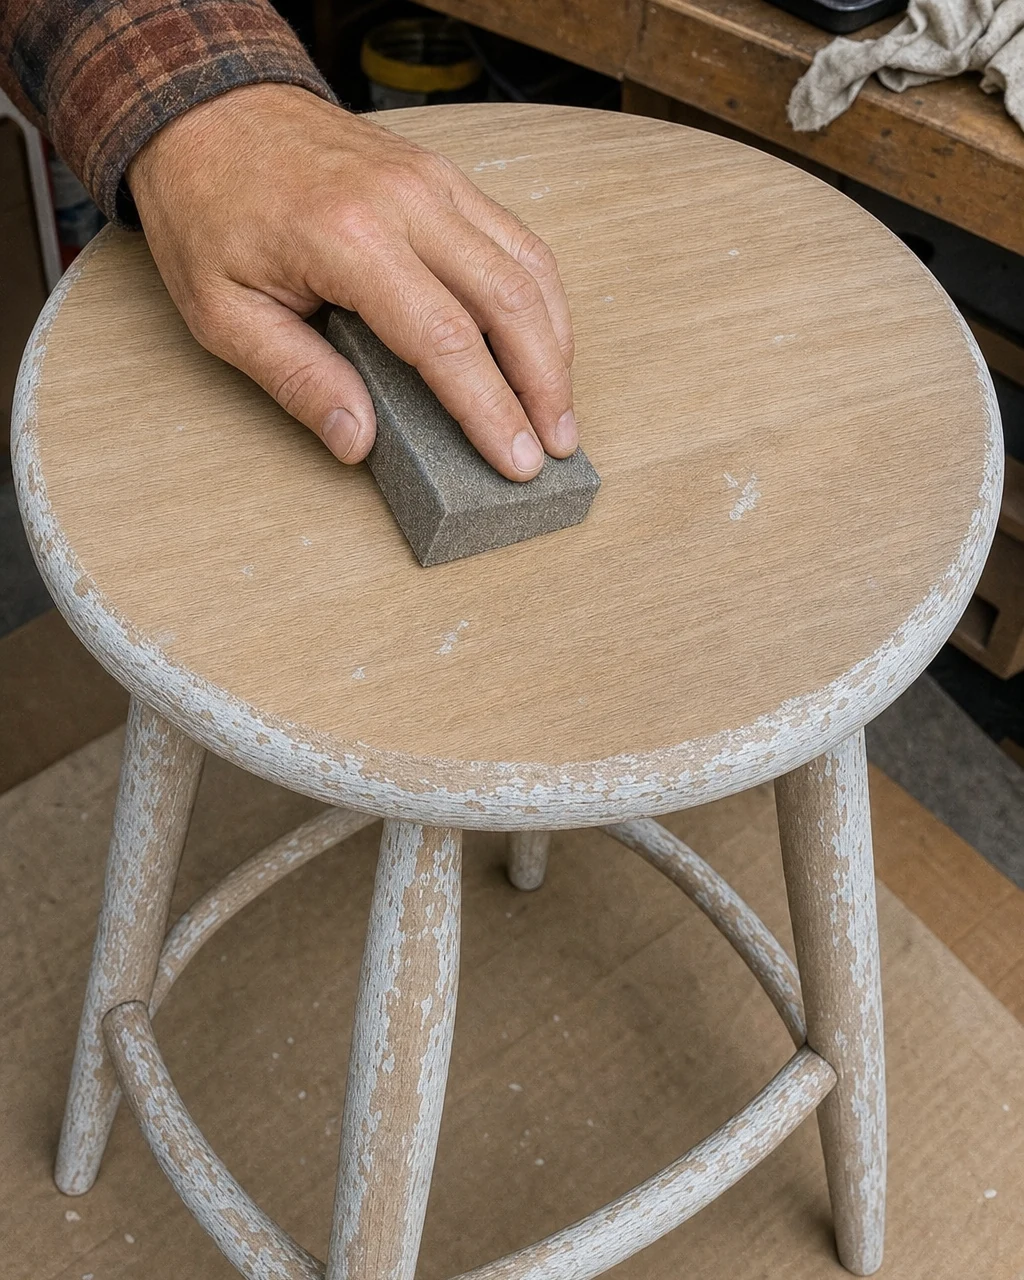
Rub a medium-grit sanding sponge back and forth across the raw wooden seat and curved legs to remove leftover paint residue. This smooths the grain so the stool is completely bare and ready to absorb a new finish evenly. Wear a dust mask and sand in a well-ventilated space to protect your lungs from fine particulate matter during the preparation phase.
Step 5: Apply the Dark Walnut Danish Oil
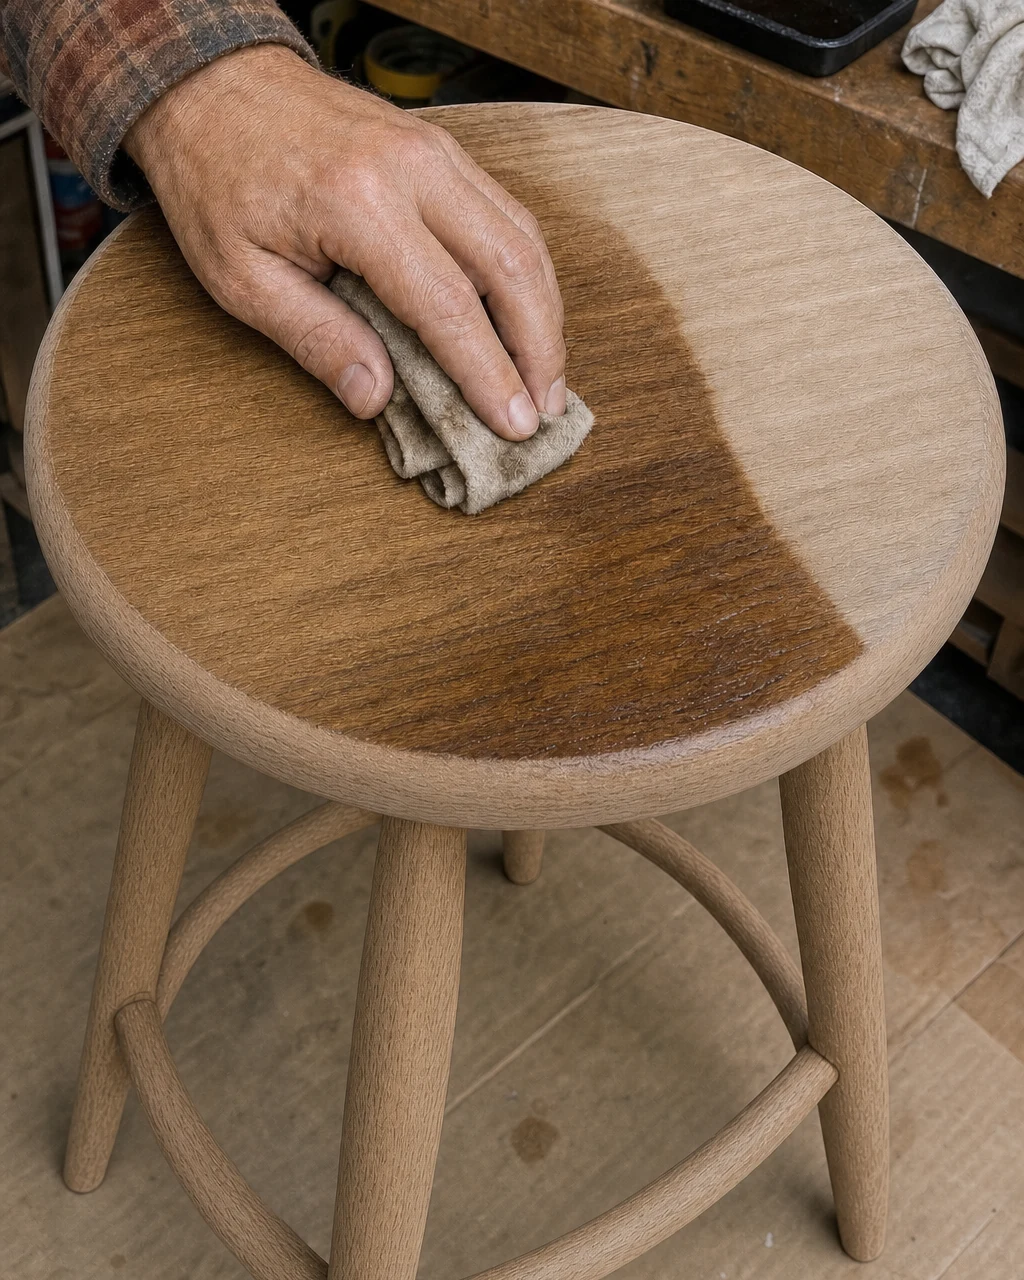
Flood the bare wood with dark walnut Danish oil using a folded lint-free cloth. Wipe the oil deep into the grain of the seat and legs, allowing the wood to take on a rich, dark walnut color with enhanced grain visibility. Lay oil-soaked rags flat outside to dry completely to prevent spontaneous combustion before safely disposing of them in the outdoor trash.
Step 6: Buff the Final Satin Finish
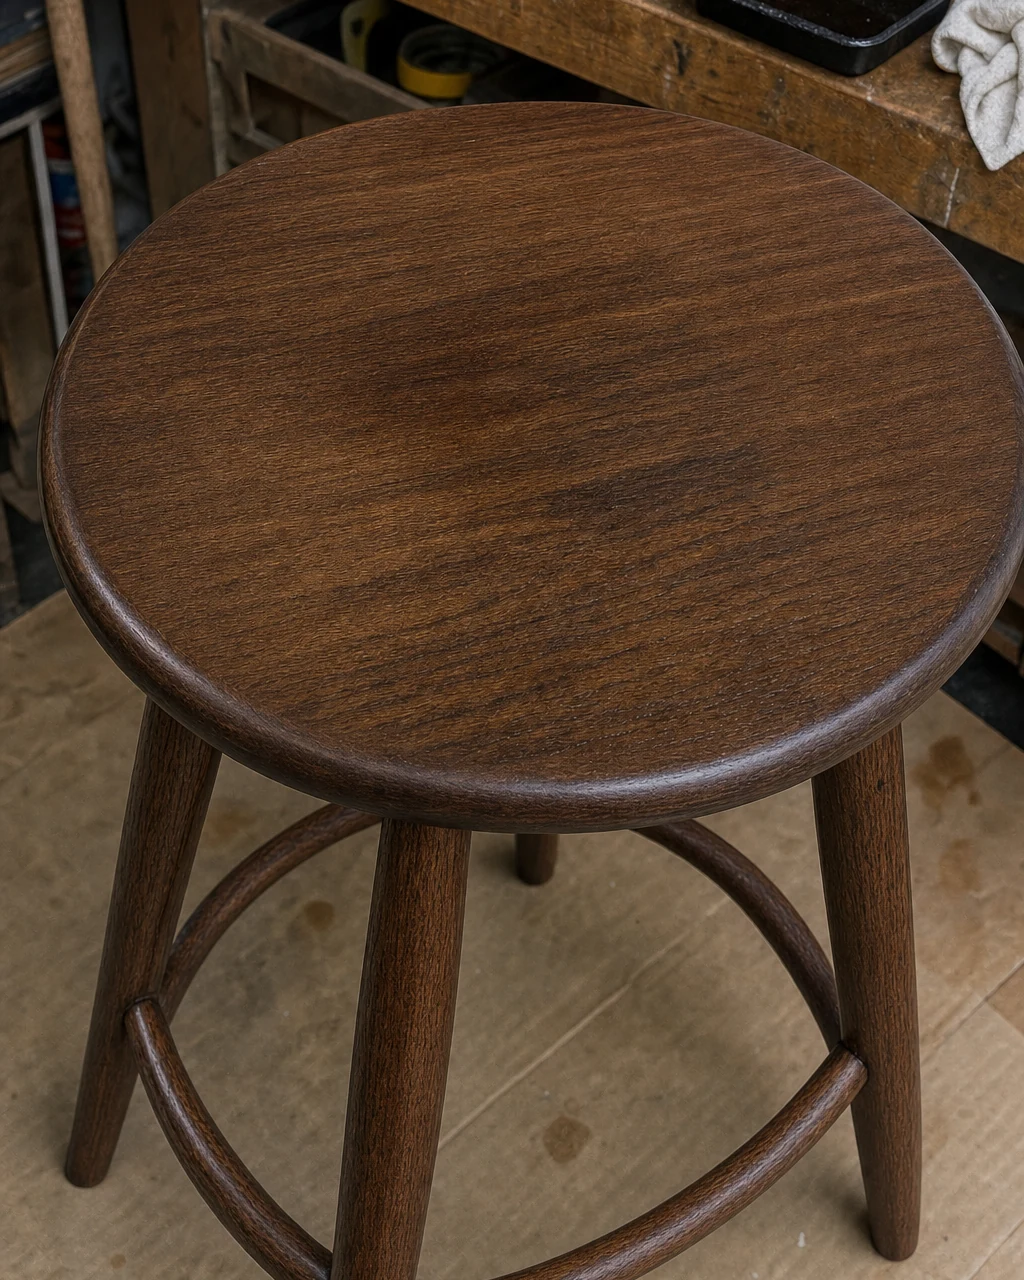
Once the oil has penetrated and dried to a slightly dull surface, vigorously buff the entire stool with a clean cotton rag. This removes excess oil, builds a soft, even satin sheen, and protects the wood for daily use. Ensure the piece is fully cured before placing it on finished floors to avoid transferring any residual oil to your clean home surfaces.
Step 7: Position the Stool at the Kitchen Counter
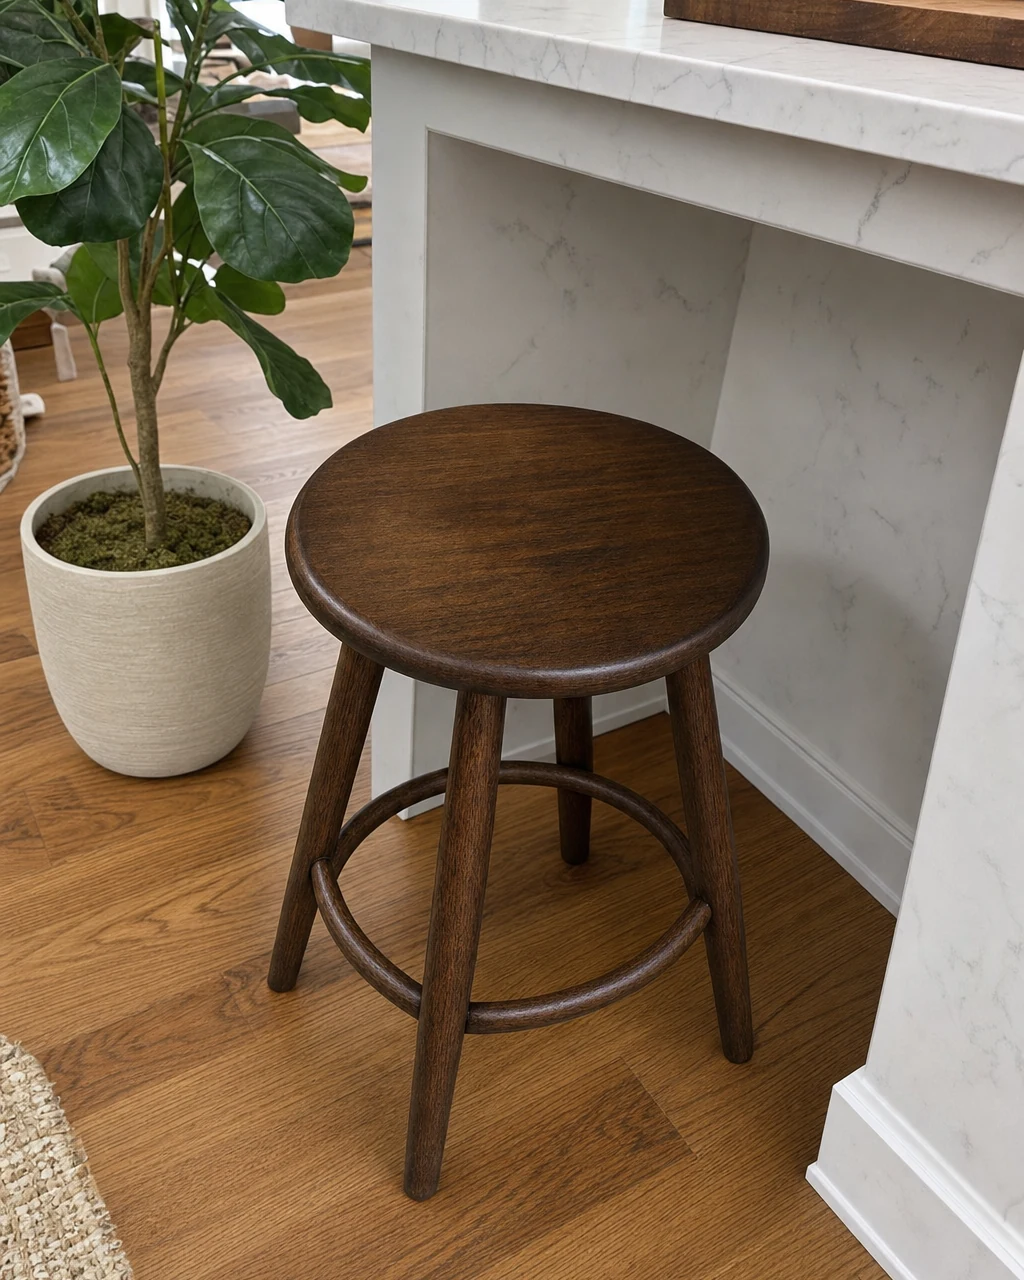
Move the fully finished and cured stool into the kitchen. Place it at the island on the hardwood floor, styling it next to a large potted indoor plant to highlight its warm, rustic character. Remember to lift with your legs when moving solid wood furniture to avoid straining your back during the final room setup and everyday daily use at the counter.
Estimated Resale Value
While this is an editorial estimate rather than a guaranteed actual sale, solid hardwood vintage stools with a high-quality, hand-rubbed finish easily command premium prices in boutique home decor shops. The deep, exposed natural wood grain on the seat elevates this once-neglected piece into a highly desirable, high-end rustic wooden stool that brings instant warmth and timeless character to modern kitchens.