
Terracotta Pot Secondhand Makeover: Faux Terrazzo Planter
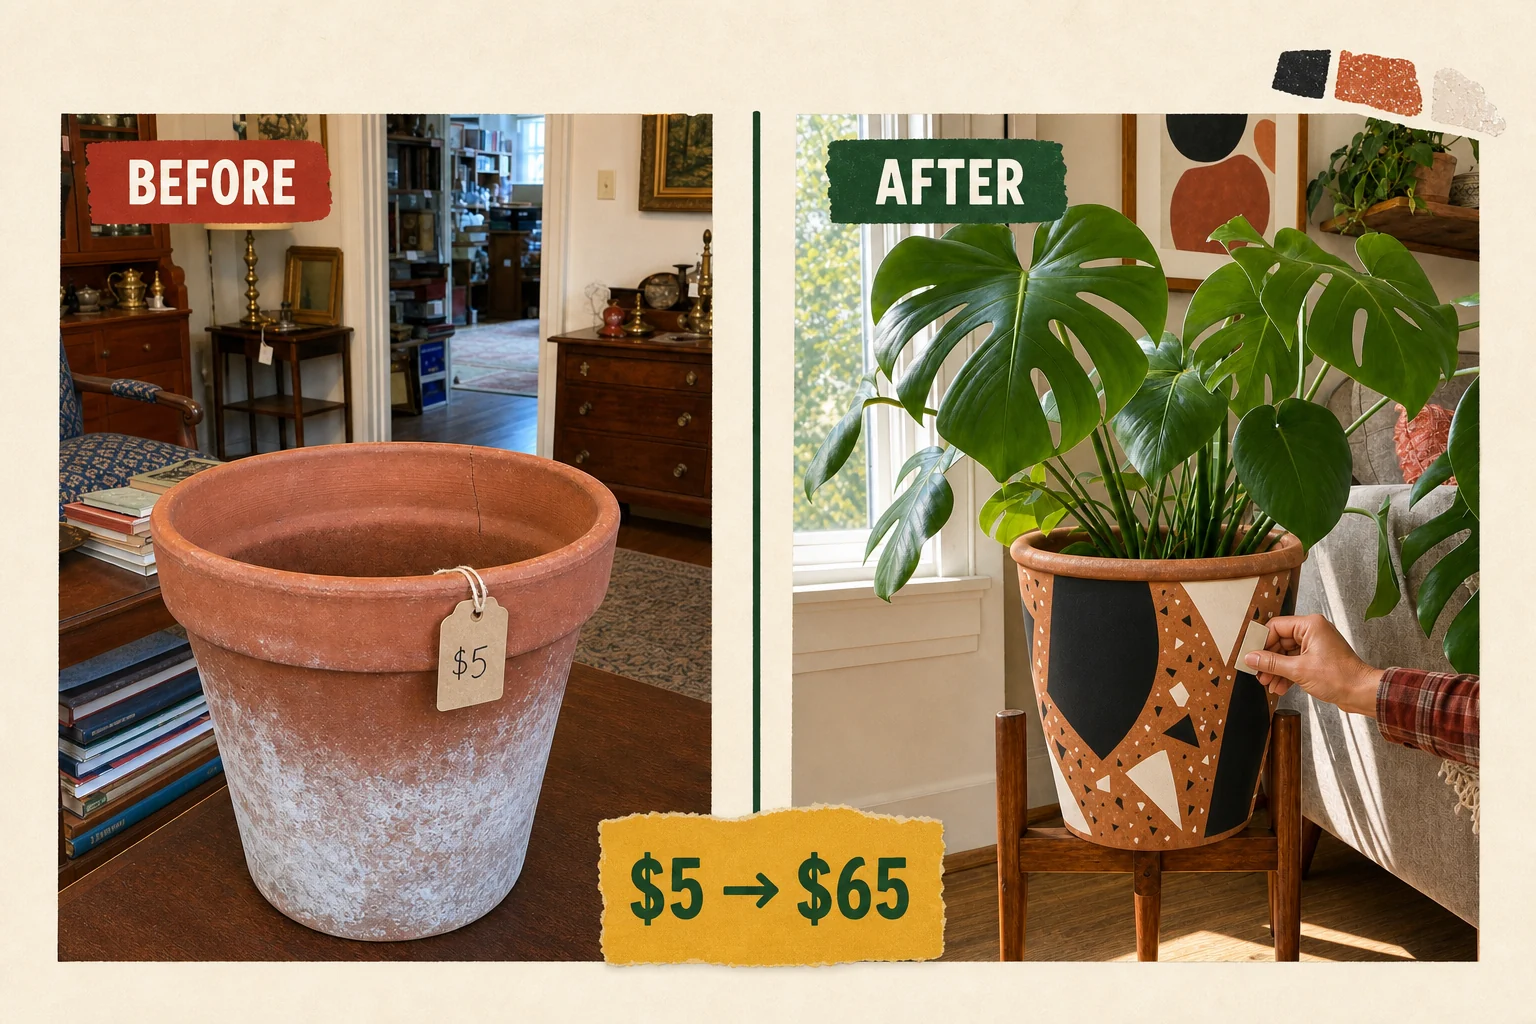
Tucked behind a floral armchair at an estate sale, this weathered garden pot still had its original paper tag. We transformed the crusty clay vessel into a bold, modern graphic planter by sealing the surface and applying hand-cut vinyl shapes.
Evaluating the Estate Sale Find
Finding this classic tapered cylinder with a thick rolled top rim was a stroke of luck, but the single-piece molded unglazed clay required serious attention. An initial inspection revealed three primary issues that needed addressing before any decorative updates could successfully adhere to the exterior.
- Heavy mineral scaling formed a thick white crust on the lower exterior, which prevents any adhesive from bonding to the surface.
- A visible 2-inch vertical hairline crack starting at the top edge threatened to split the pot open under the pressure of wet soil.
- The raw, unglazed terracotta texture absorbs moisture and will cause contact paper to peel over time if left unsealed.
Planning the Transformation
The immutable features of this vessel are the rolled rim profile and the tapered shape, which provide an excellent canvas for a modern update. The allowed transformations for this project include deep cleaning, epoxy crack repair, clear sealing, and a bold surface vinyl application.
Understanding the Faux-Terrazzo Planter Valuation
Large, modern graphic planters command a premium in boutique garden centers, easily reaching our $65 estimated resale value. The durable sealed finish ensures the design holds up to indoor use, elevating a crusty clay vessel into a high-end decor piece.
| Item | Cost |
|---|---|
| Estate Sale Purchase | $5 |
| Cleaning Vinegar | $3 |
| Two-Part Epoxy | $6 |
| Clear Spray Sealer | $8 |
| Matte Black Contact Paper | $7 |
| Matte Cream Contact Paper | $7 |
| Total Investment | $36 |
| Estimated Resale Value | $65 |
| Value Gain | $29 |
Step 1: Inspect the Damage and Prepare the Workspace
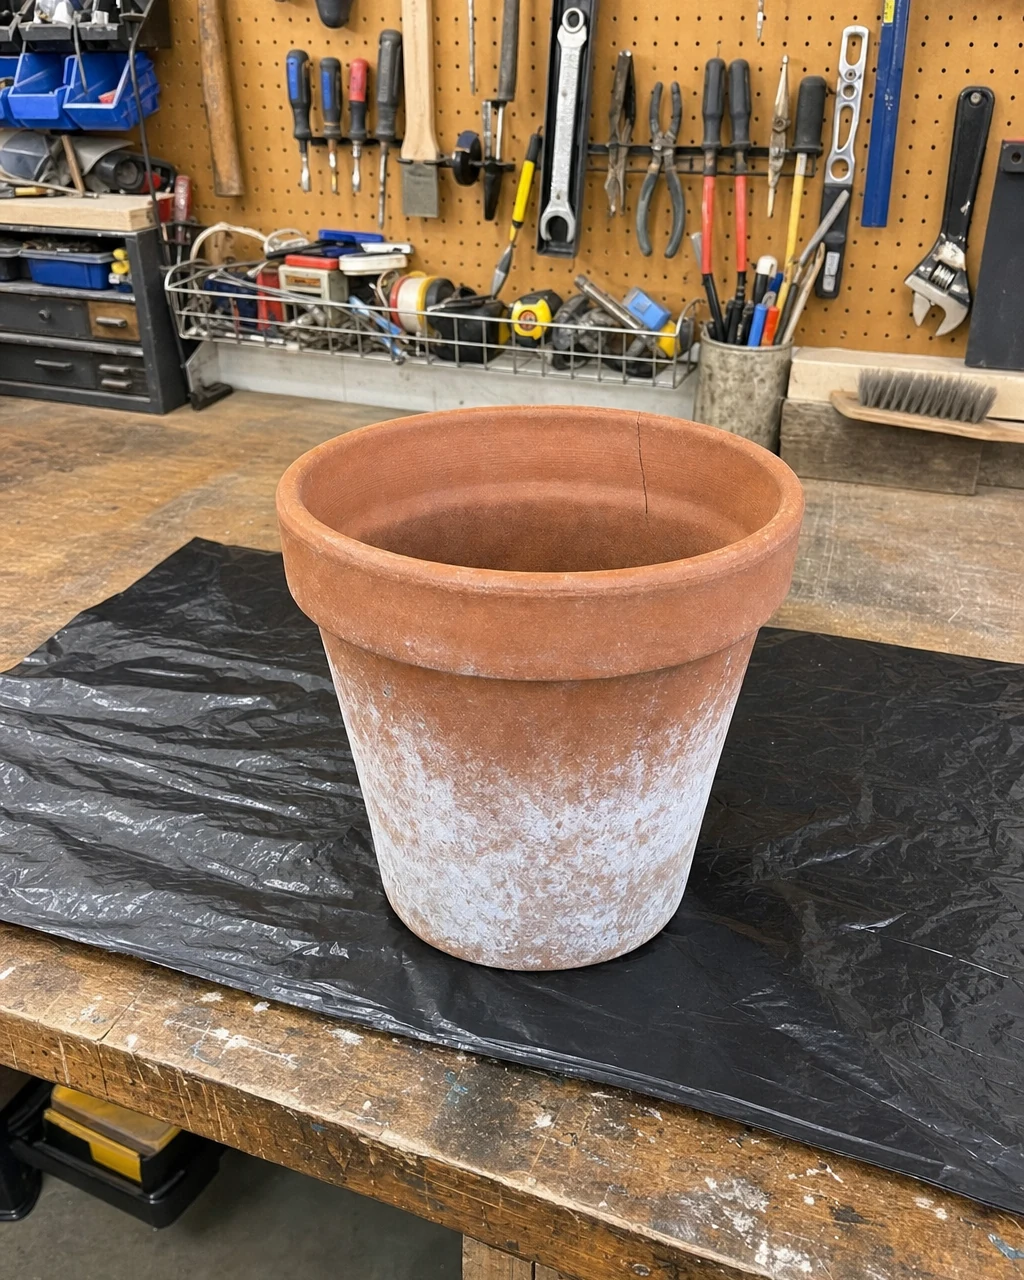
Place the found terracotta pot on a heavy plastic drop cloth on the workbench. Evaluate the extent of the white mineral buildup and locate all structural damage before beginning the cleaning process. Handle the cracked rim gently to avoid breaking the clay during your inspection.
Materials checklist
Step 2: Dissolve Stubborn Mineral Crusts
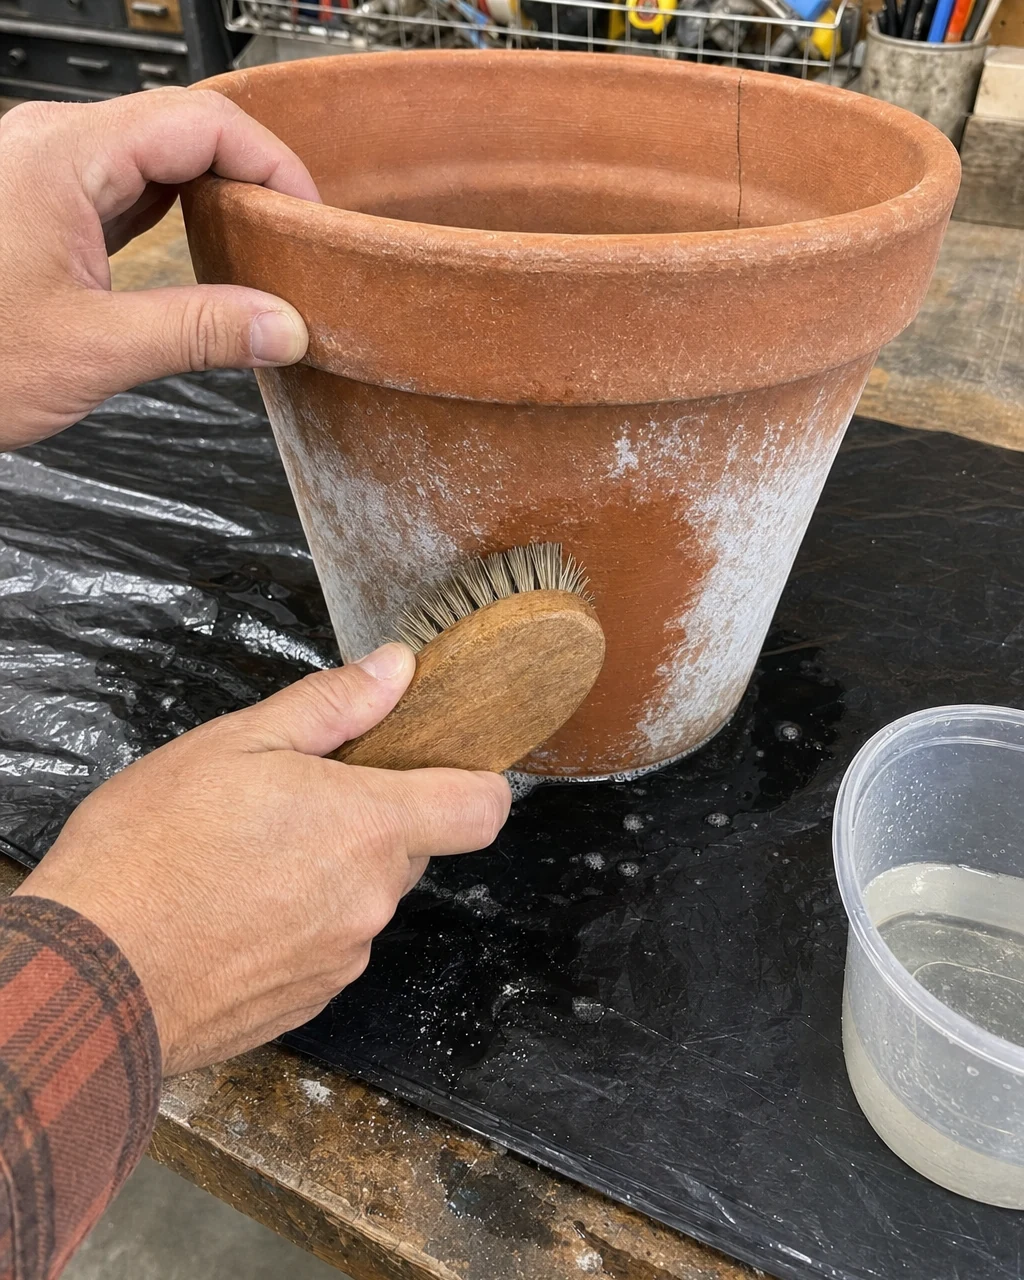
Mix a 50/50 solution of white vinegar and water in a bowl to begin dissolving the calcium deposits. Scrub the white mineral scaling on the lower half of the pot using a stiff bristle brush and the vinegar solution. Wear gloves to protect hands from the acidic vinegar, then allow the clay to dry completely.
Step 3: Stabilize Hairline Cracks With Epoxy
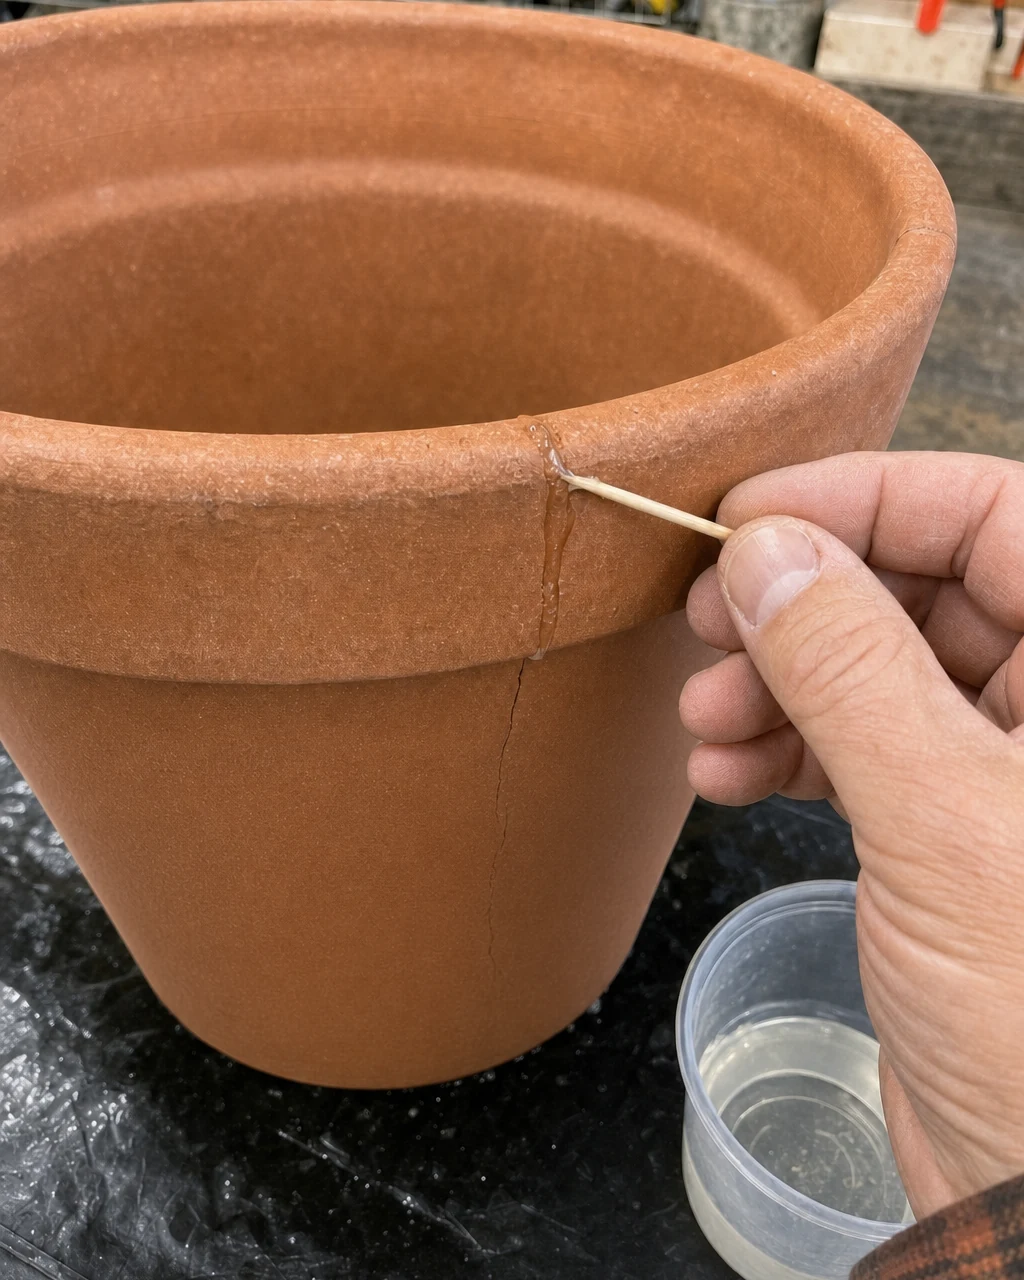
Mix the clear two-part epoxy on a disposable palette to prepare for the structural repair. Press the mixed epoxy deeply into the vertical hairline crack using a wooden toothpick until it sits flush with the rim. Work in a ventilated area, avoid skin contact with uncured epoxy, and allow the repair to cure for one hour.
Evaluating the Cured Repair
Once the hour has passed, check that the crack is filled flush with clear, hardened epoxy. This vital step prevents existing fissures from expanding under soil pressure, ensuring the vessel remains structurally sound for long-term indoor use.
Step 4: Seal the Clay for Vinyl Adhesion
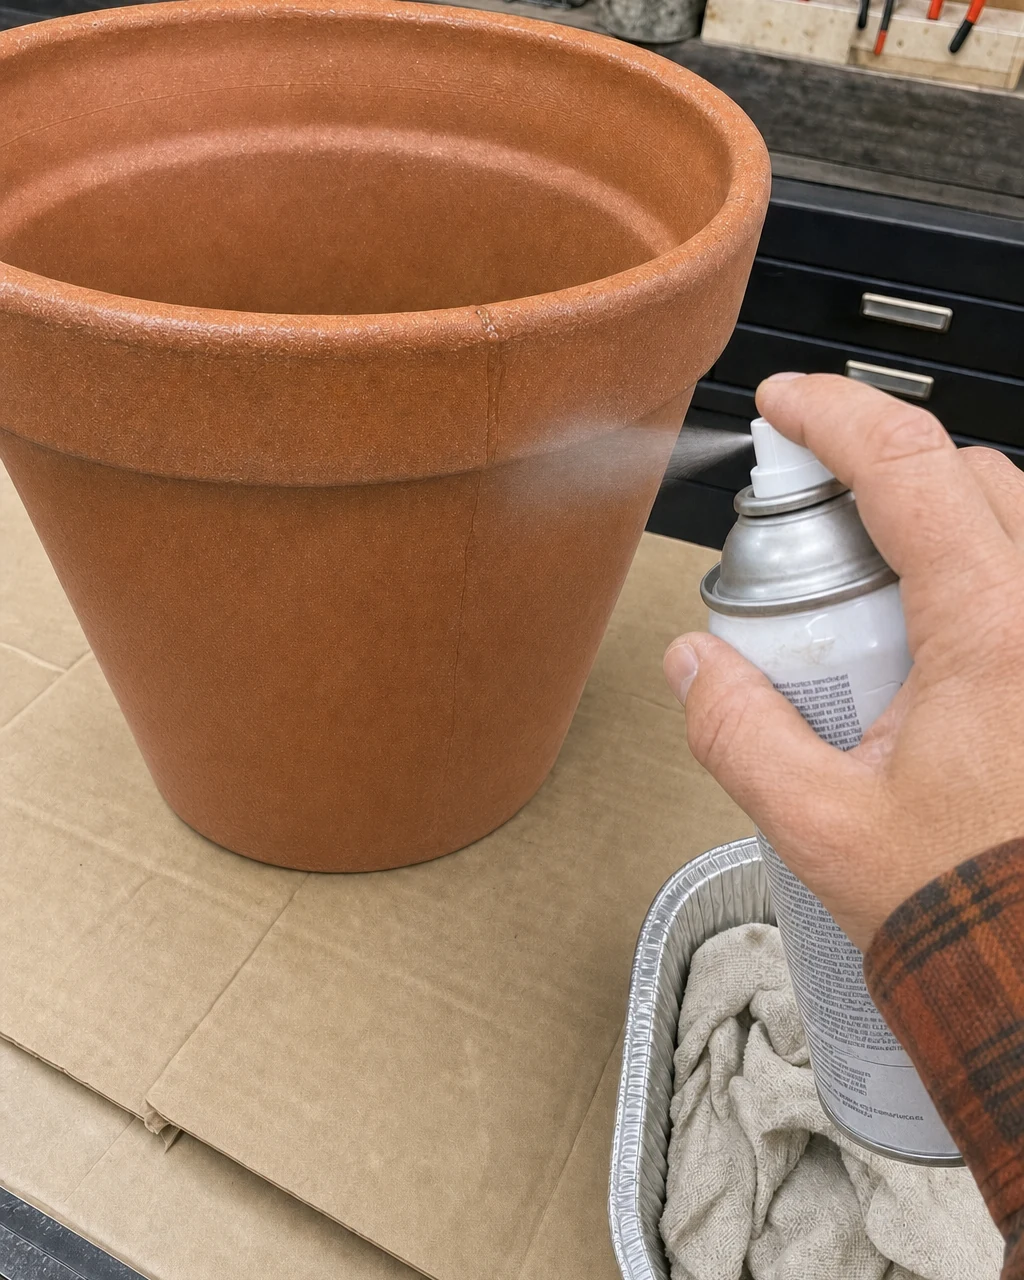
Set up a cardboard spray enclosure to protect the surrounding workspace from overspray. Spray a continuous coat of matte acrylic sealer over the entire exterior to block moisture and create a smooth, slightly sheened bonding surface. Spray outdoors or in a highly ventilated workshop space while wearing a respirator mask.
Preparing for the Pattern
Sealing the porous surface is mandatory for long-term vinyl adhesion, as raw unglazed clay will otherwise absorb moisture and reject the adhesive. Allow the clear sealer to dry completely until the pot exhibits a slight, even sheen across the entire exterior.
Step 5: Create a Terrazzo Pattern With Vinyl
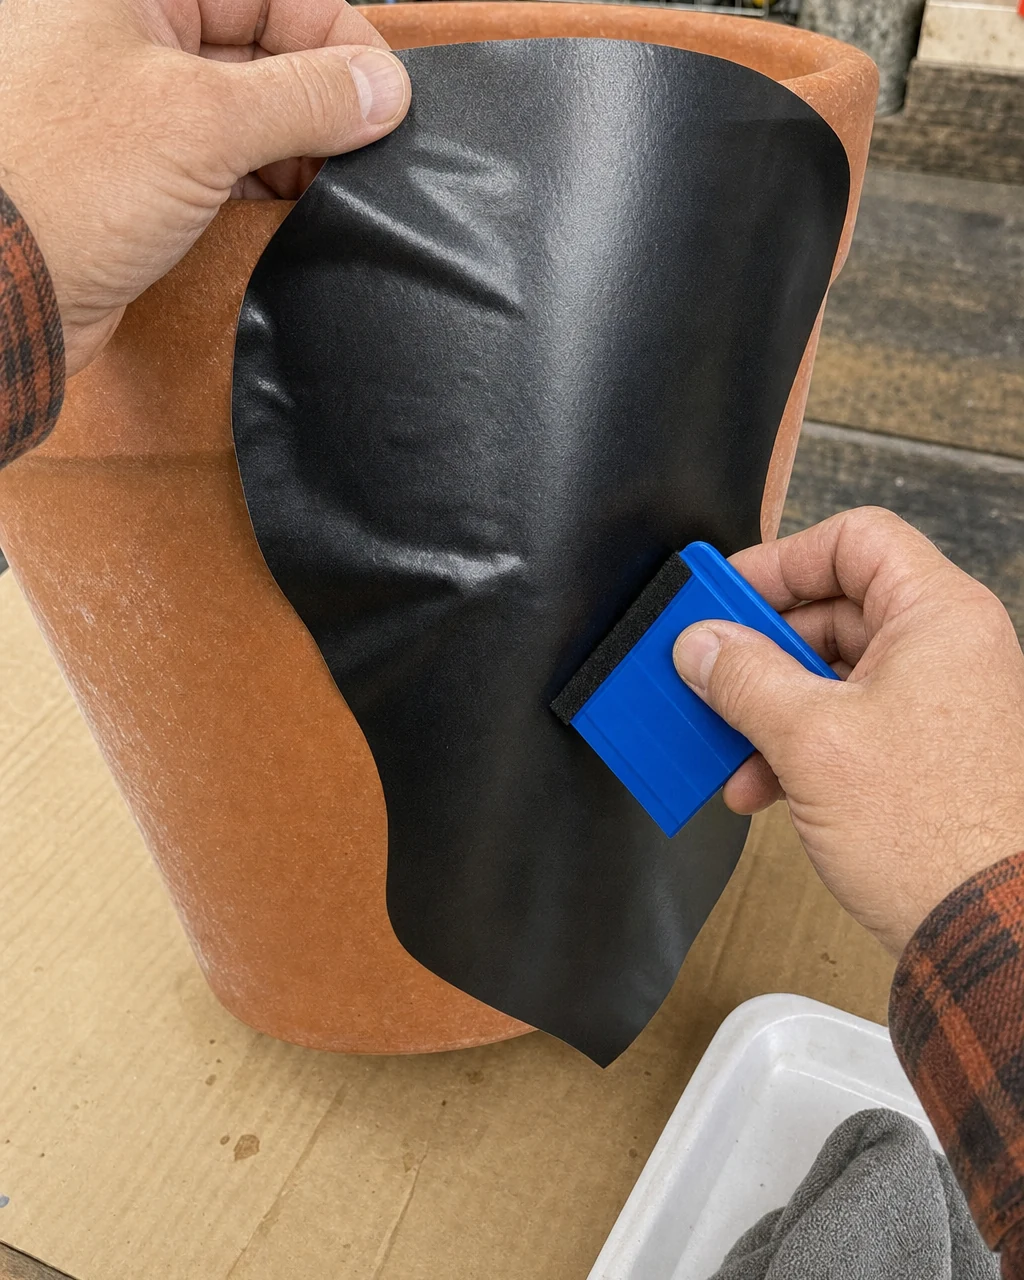
Cut irregular, oversized geometric shapes from both the matte black and matte cream contact paper. Smooth the cut shapes firmly onto the sealed clay surface using a squeegee to create a scattered, bold faux-terrazzo pattern. Always keep sharp scissors clear of the non-cutting hand during this process.
Step 6: Check Final Adhesion and Clean Up
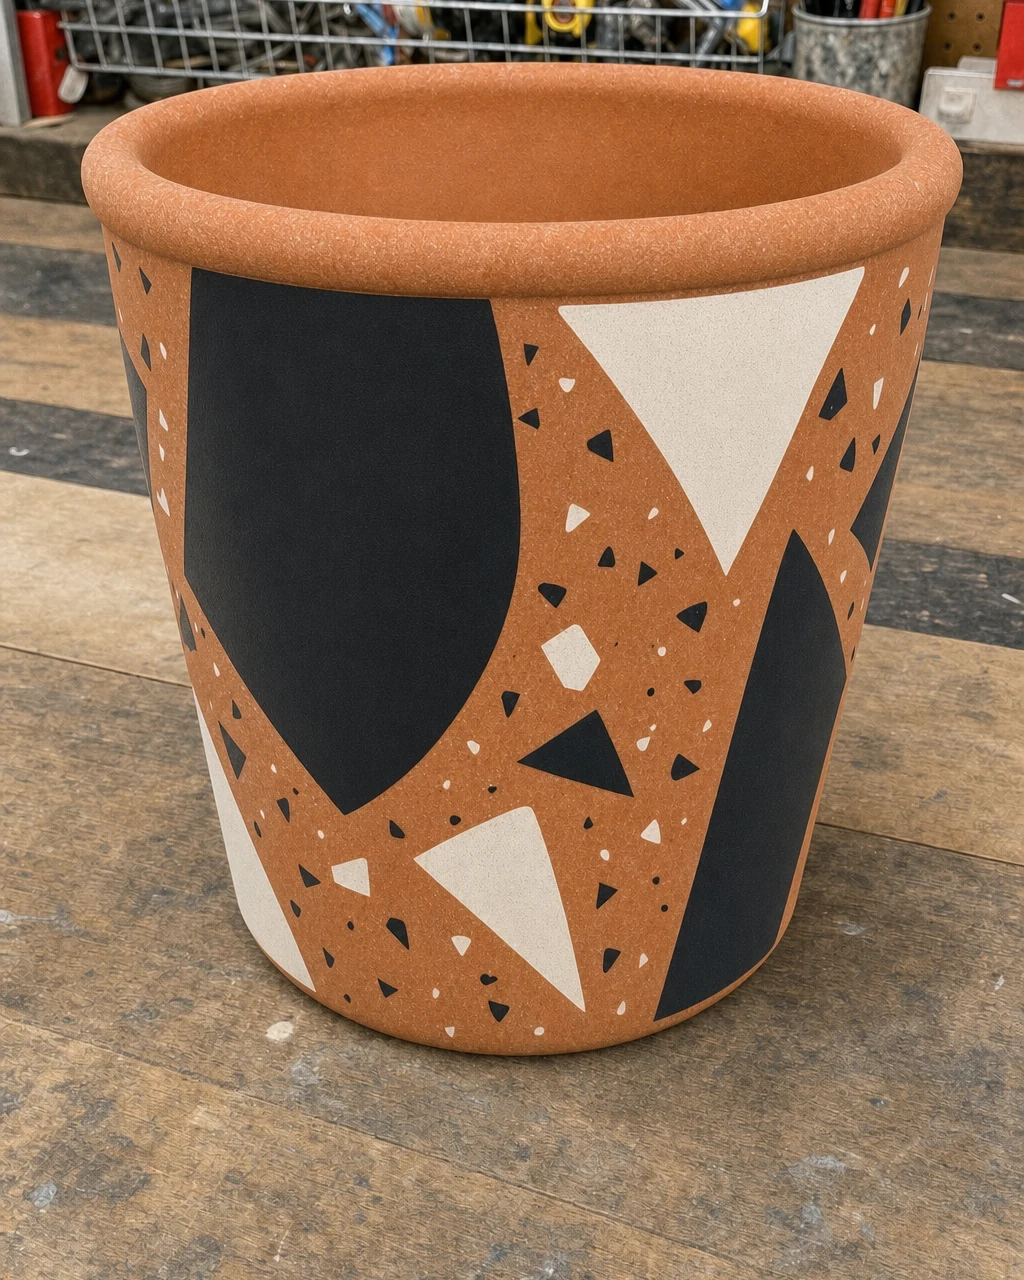
Inspect the edges of all the contact paper shapes to ensure full adhesion against the sealed terracotta. Scattered geometric cutouts bypass the difficulty of wrapping curved surfaces, but they require careful pressing. Dispose of vinyl backing paper immediately to prevent slipping hazards on the floor.
Clearing the Workbench
Clear away the remaining backing paper, scissors, and tools from the workbench, leaving the finished pot on a tidy surface. The matte finish mimics high-end painted ceramics for pennies, completing the transformation from a crusty traditional clay vessel to a modern graphic planter.
Step 7: Style With a Statement Plant
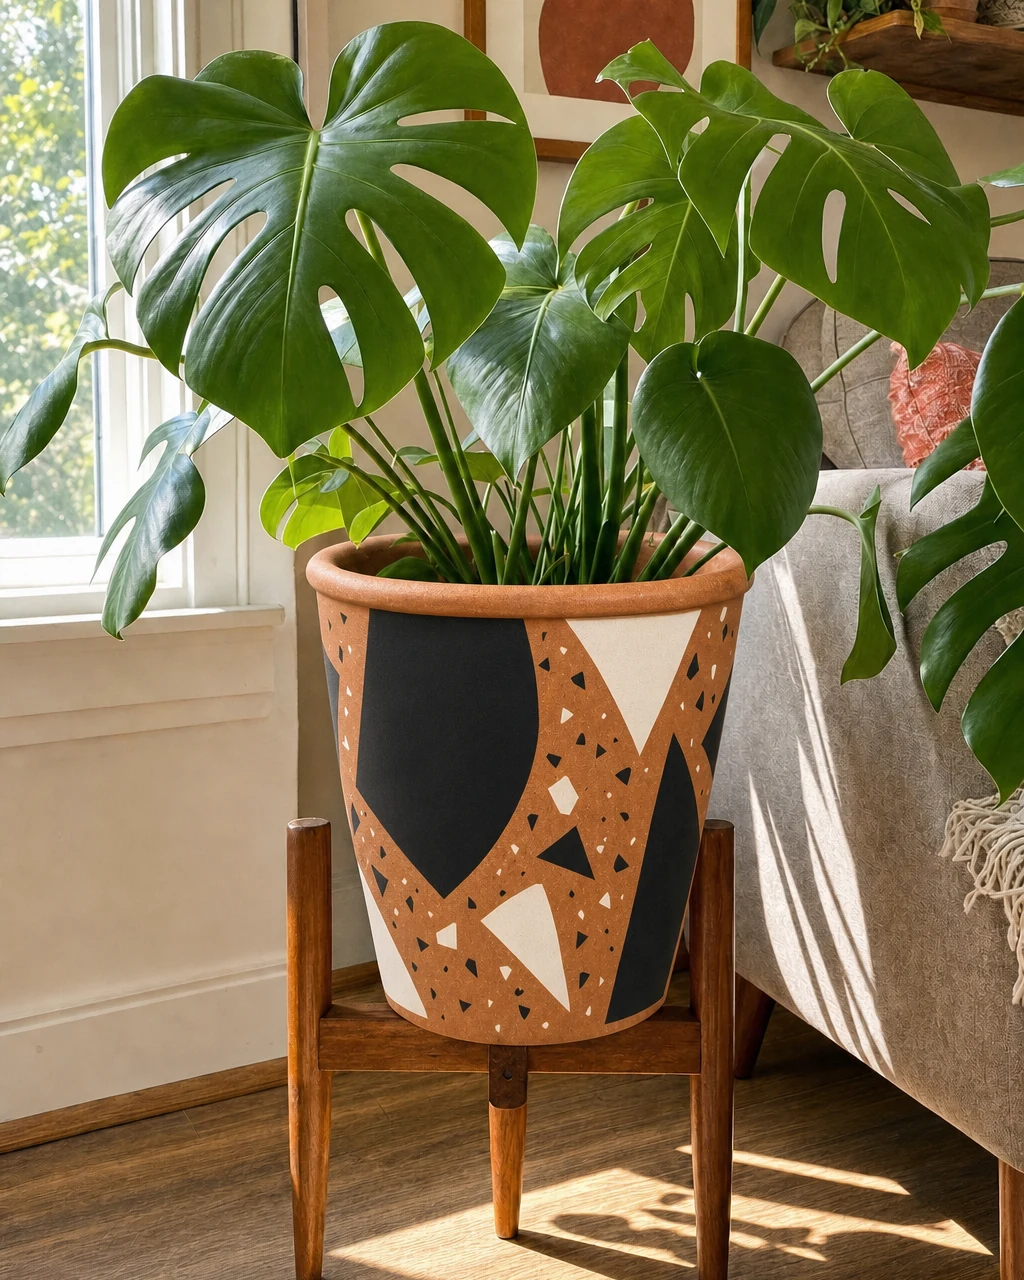
Place a nursery pot containing a large Monstera directly inside the finished faux-terrazzo planter. Set the styled planter on a mid-century wooden stand in a sunlit room to elevate the corner space. Ensure the plant stand is rated for the combined weight of the pot and plant.
Enjoying the Modern Planter
A bold graphic pattern modernizes traditional terracotta instantly, bridging the gap between vintage garden supplies and contemporary interior design. The oversized black and cream faux-terrazzo pattern brings a fresh, signature detail to the room without requiring expensive ceramic investments.