
Metal Serving Tray DIY Makeover with Faux Stone Plaster
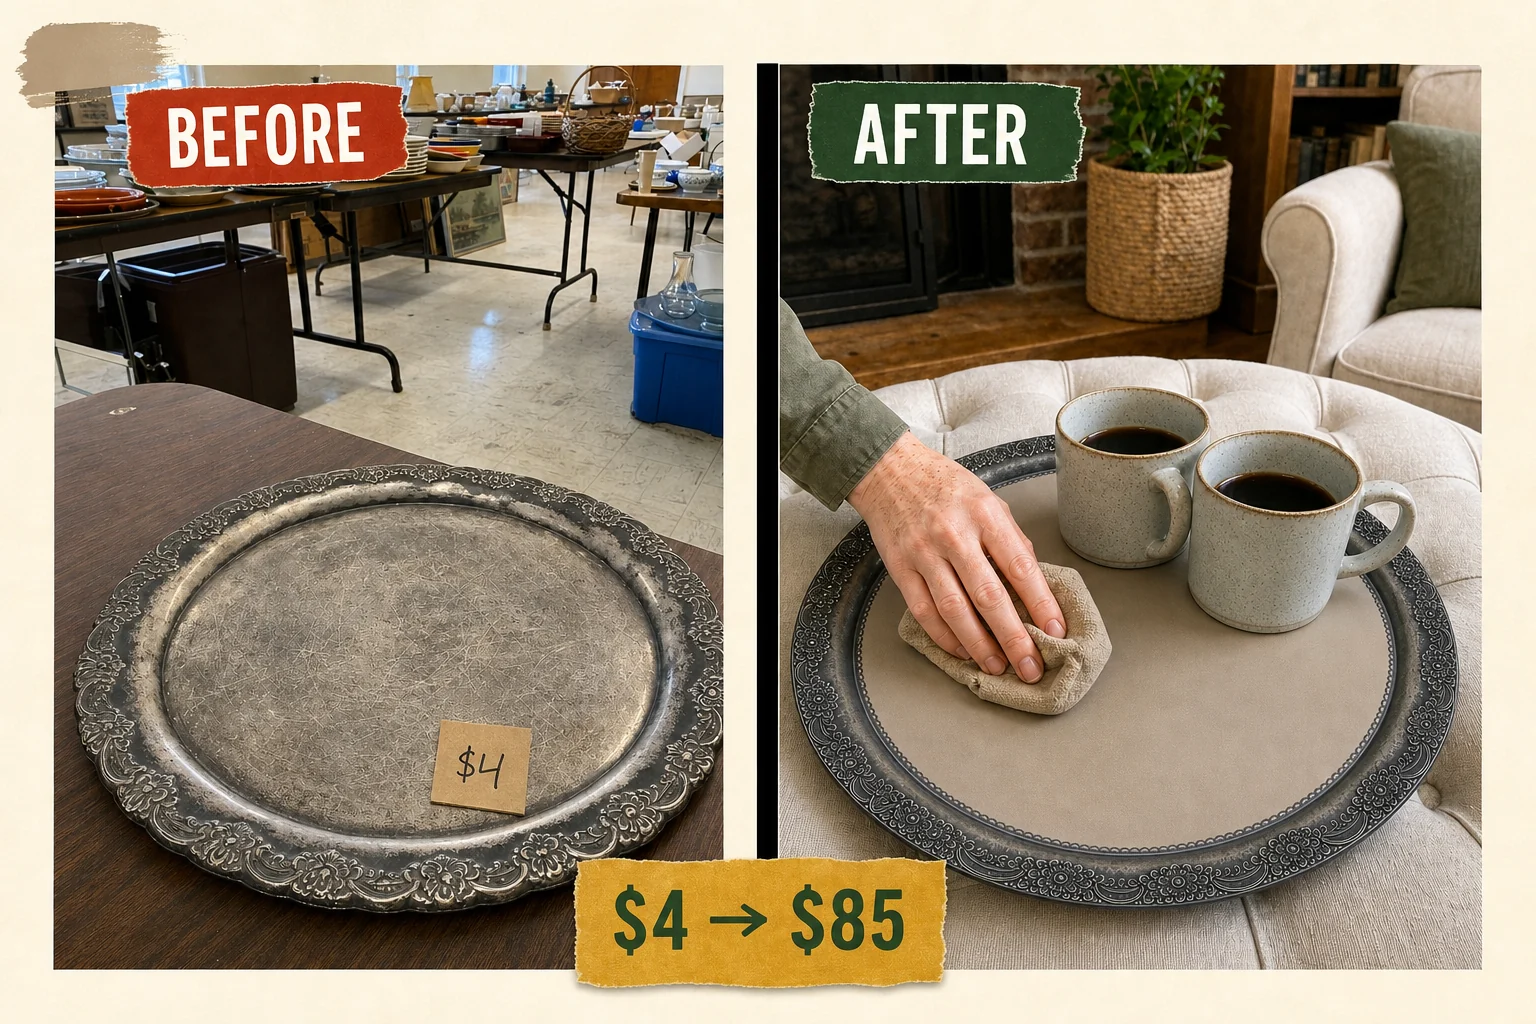
I spotted this scratched silverplate serving tray buried under flatware at a church rummage sale. This DIY makeover transforms the damaged metal center into a sophisticated faux-stone surface using warm taupe Venetian plaster, leaving the ornate floral rim beautifully exposed for a stunning contrast.
Evaluating the Damaged Silverplate Tray
Found at a modest church rummage sale with scuffed linoleum floors and long folding tables, this heavy 16-inch diameter tray sat marked with a handwritten masking tape price tag. The round flat disc featured a raised 1-inch scalloped edge with an ornate stamped floral pattern, but the silverplate center suffered from distinct damage requiring a complete resurfacing strategy.
- Deeply scratched center: Visible deep, unpolishable gouges in the flat silverplate cannot be polished out, requiring an opaque textured fill to restore the surface.
- Slick non-porous metal: The smooth factory finish on the base rejects standard paint or plaster, requiring aggressive scuffing and a specialized bonding primer.
Project Cost and Resale Valuation
High-end stone and metal serving trays retail for well over $100 in boutique home decor shops. The authentic plaster texture elevates this piece from a heavily scratched, dull silverplate disc to a sophisticated home accent, easily justifying an estimated resale value of $85. Resurfacing the damaged flat center with warm taupe Venetian plaster creates a highly durable faux-stone serving surface.
| Item | Cost |
|---|---|
| Thrifted serving tray | $4 |
| Coarse sanding sponge | $4 |
| High-adhesion bonding primer | $12 |
| Taupe Venetian plaster | $18 |
| Clear paste wax | $15 |
| Total Investment | $53 |
| Estimated Resale Value | $85 |
| Value Gain | $32 |
Step 1: Scuff The Silverplate
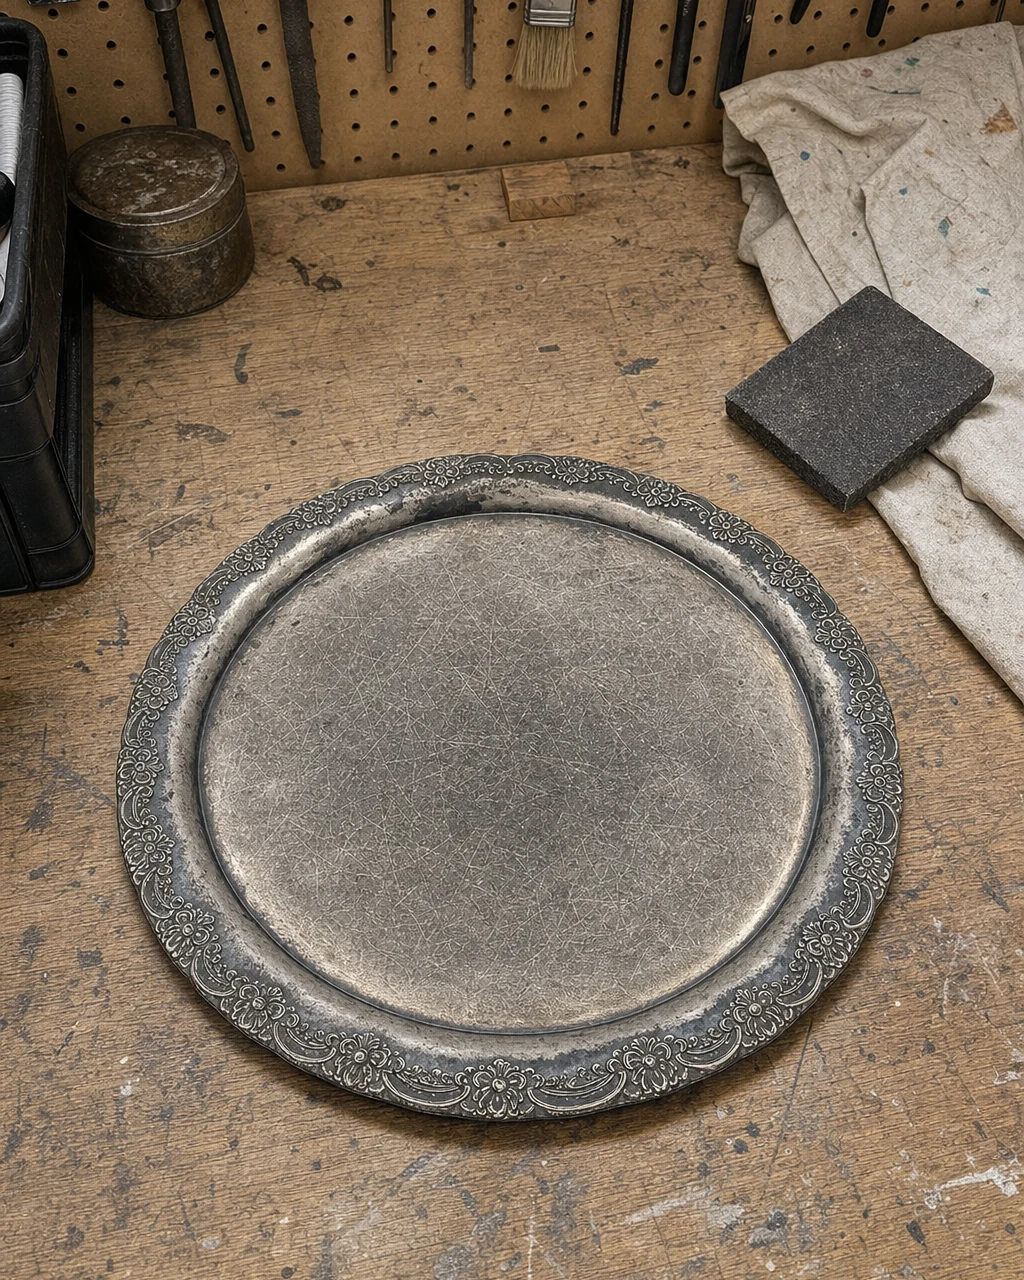
Place the single-piece stamped heavy metal tray on your plywood workbench and aggressively sand the flat scratched center with a coarse sponge. Look for a coarse grit sponge that can easily conform to the edges of the flat tray center. Hand rubbing in tight circular motions breaks the surface tension and creates mechanical tooth for the primer to grip.
Step 2: Apply Bonding Primer
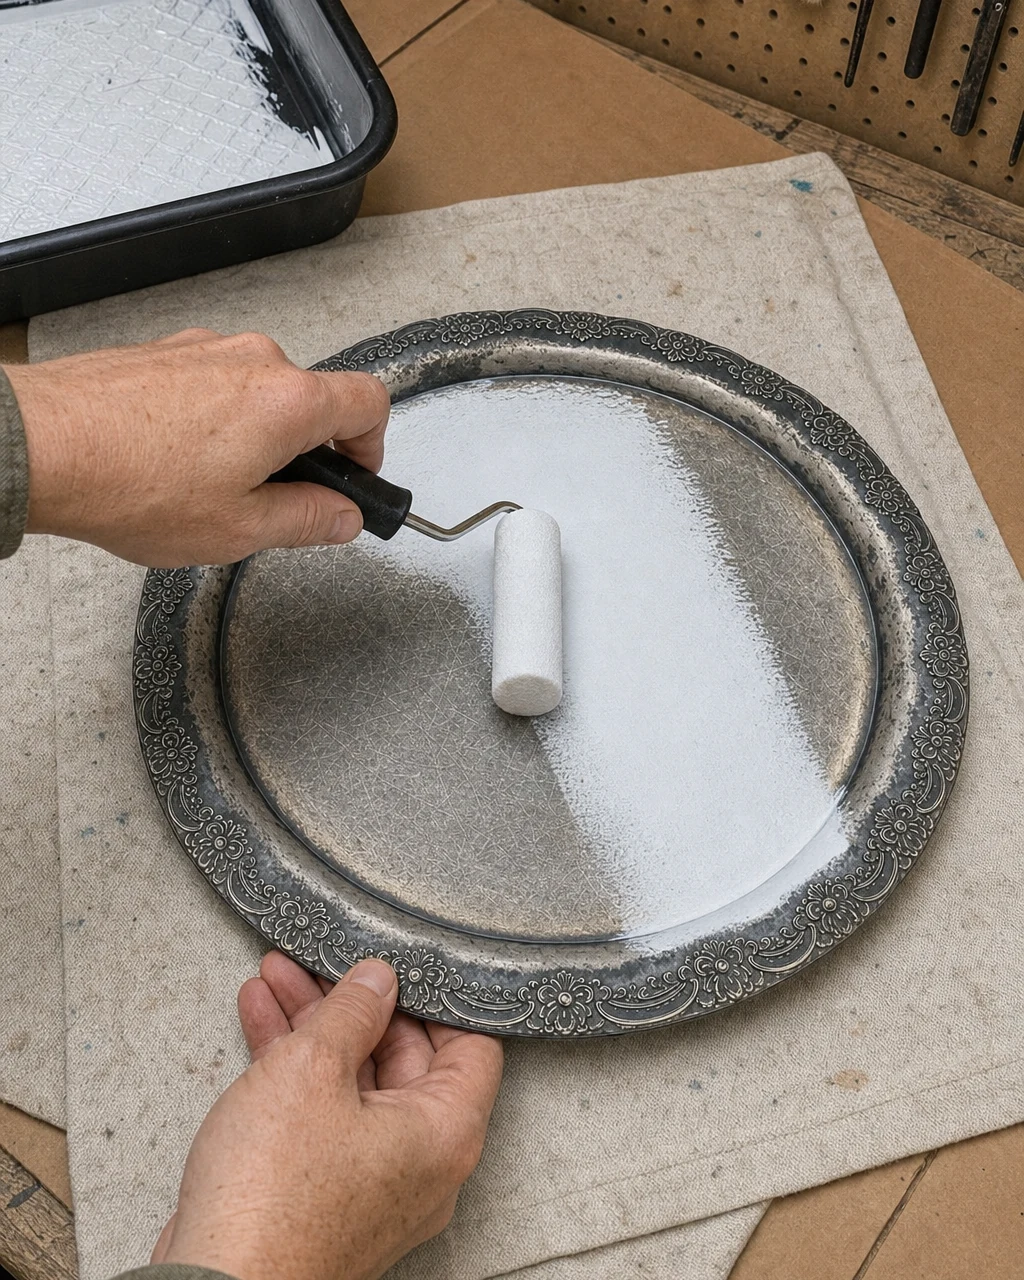
Wipe away all dust and roll a high-adhesion bonding primer directly across the scuffed circular base using a small foam roller and paint tray. Choose a high-adhesion urethane acrylic primer specifically formulated to stick to slick, non-porous metals. This ensures the heavy plaster will stick permanently. Work in a ventilated area when applying chemical primers, allowing it to cure fully.
Materials checklist
Step 3: Trowel First Plaster Coat
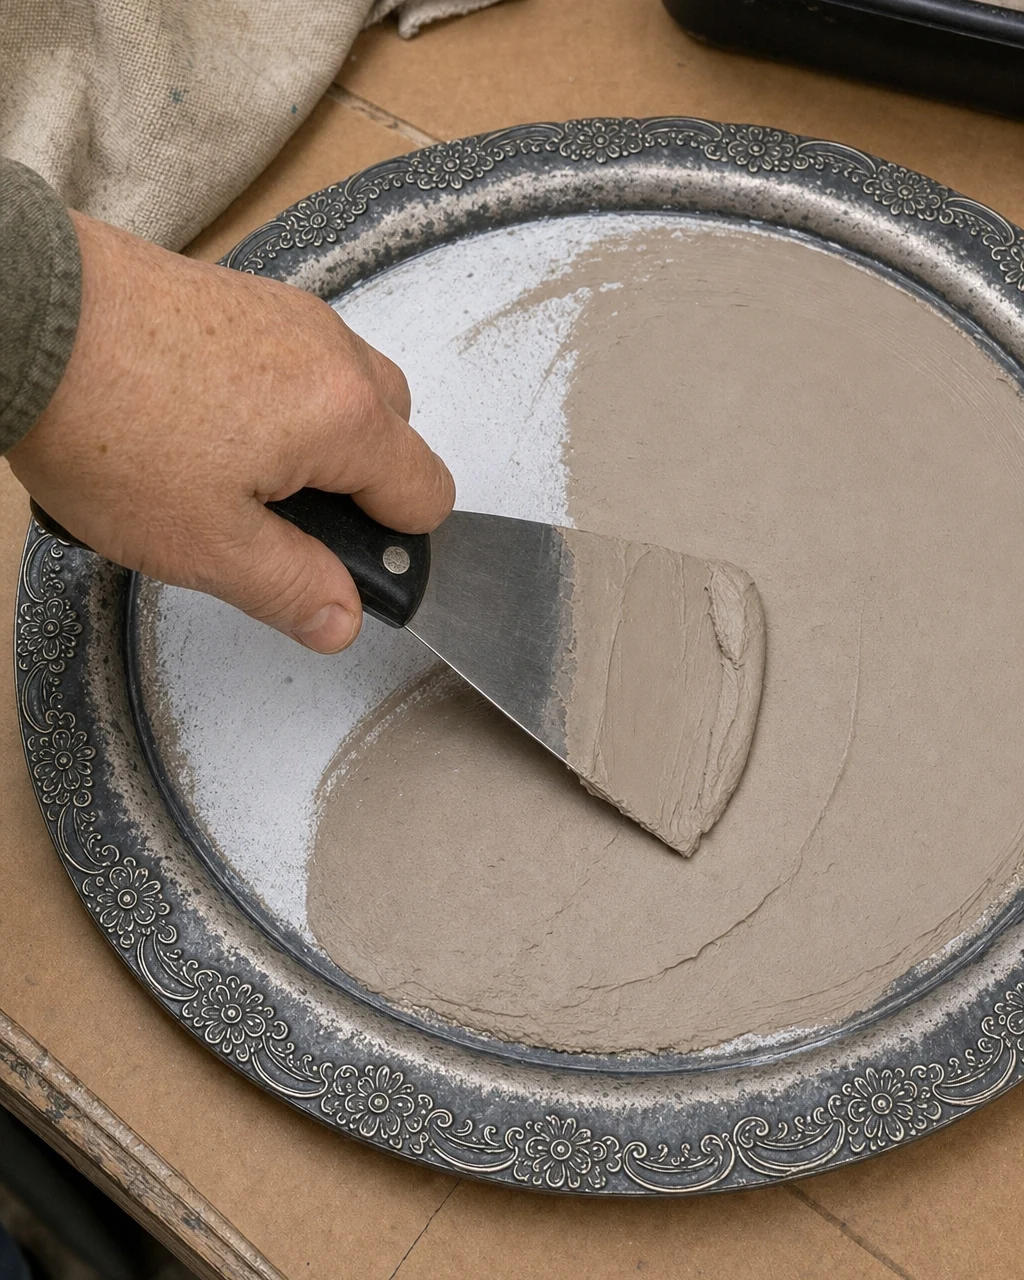
Once the primer is fully cured and dry to the touch, use a flexible metal putty knife to spread a thin layer of warm taupe Venetian plaster. Select an authentic lime-based plaster rather than synthetic joint compound for a harder, polishable finish. Keep wet plaster away from skin to prevent drying and irritation during this application phase.
- Scoop a small amount of authentic lime plaster onto the edge of your flexible metal putty knife.
- Pull the blade across the primed tray center at a shallow angle to establish the initial faux-stone texture.
- Leave this textured, matte taupe layer to dry completely for at least four hours before proceeding.
Step 4: Burnish Second Coat
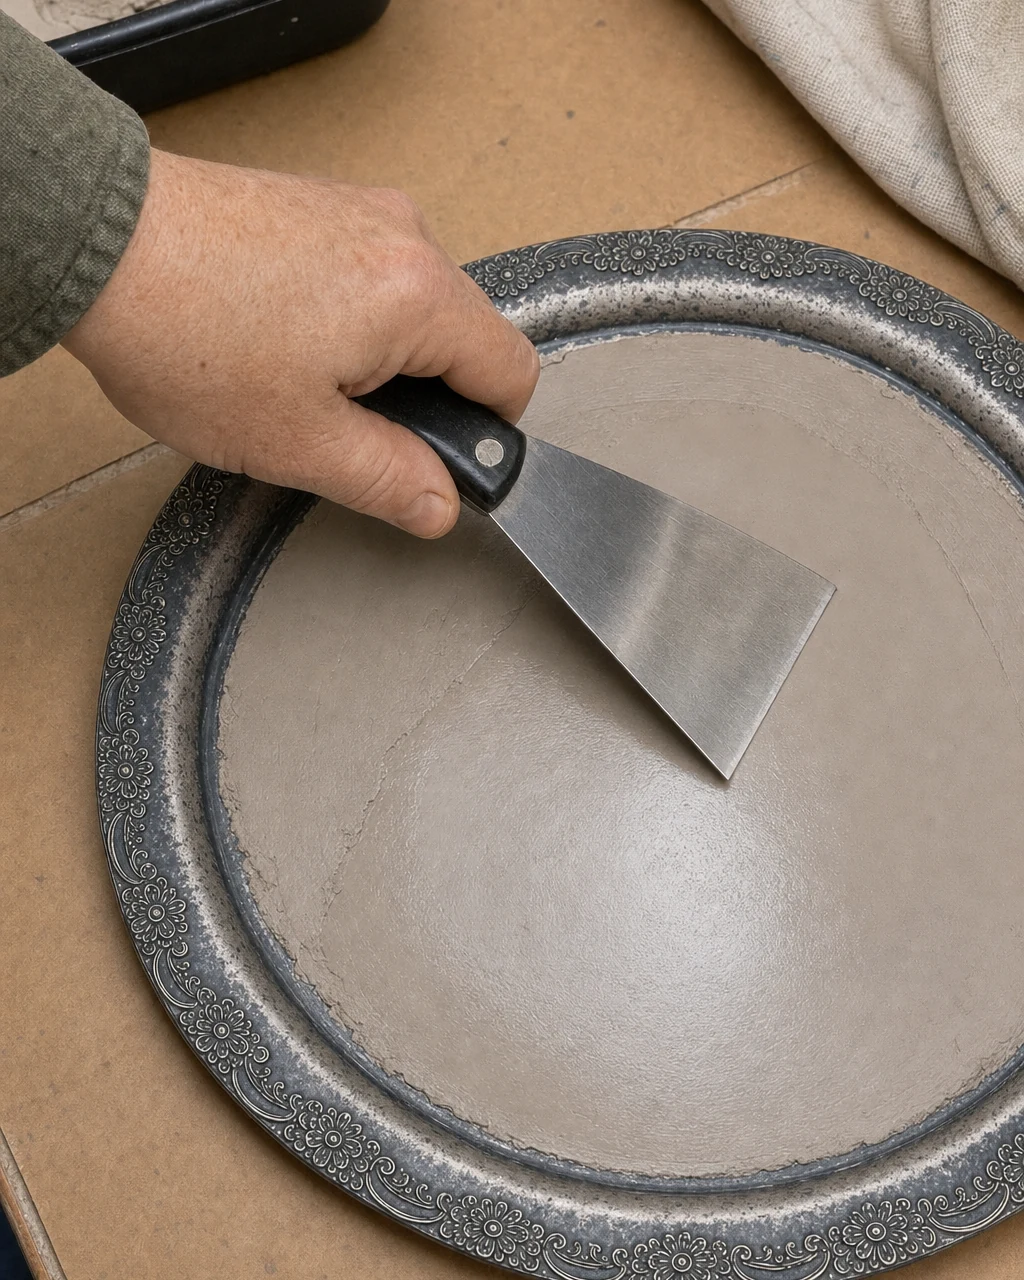
After the first coat dries matte, apply a second skim coat. As it sets, press the clean edge of a metal trowel firmly against the drying surface. Friction from the steel blade forces the minerals to shine, polishing the plaster to create a smooth, slightly glossy marble effect. Apply even pressure to avoid gouging the drying plaster during this critical step.
Step 5: Buff Protective Wax
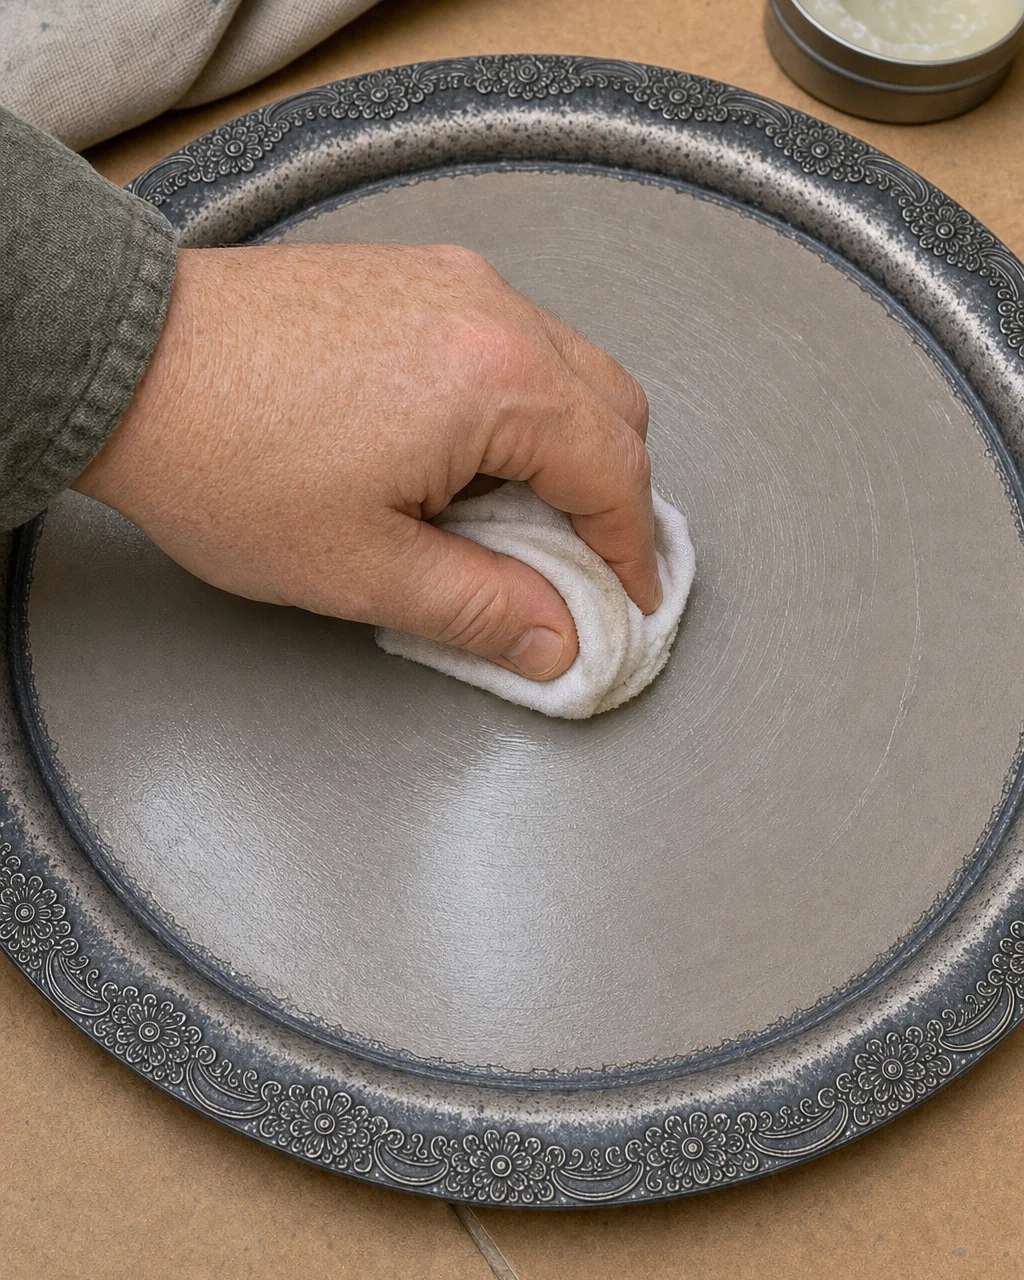
Seal the porous plaster against moisture by rubbing clear paste wax over the center in tight circles using a white cotton cloth. Opt for a clear carnauba paste wax to provide a hard, water-resistant seal for serving drinks without altering the taupe color. Let the wax harden completely before buffing. Dispose of wax-soaked rags properly to prevent serious spontaneous combustion risks.
Step 6: Inspect The Finish
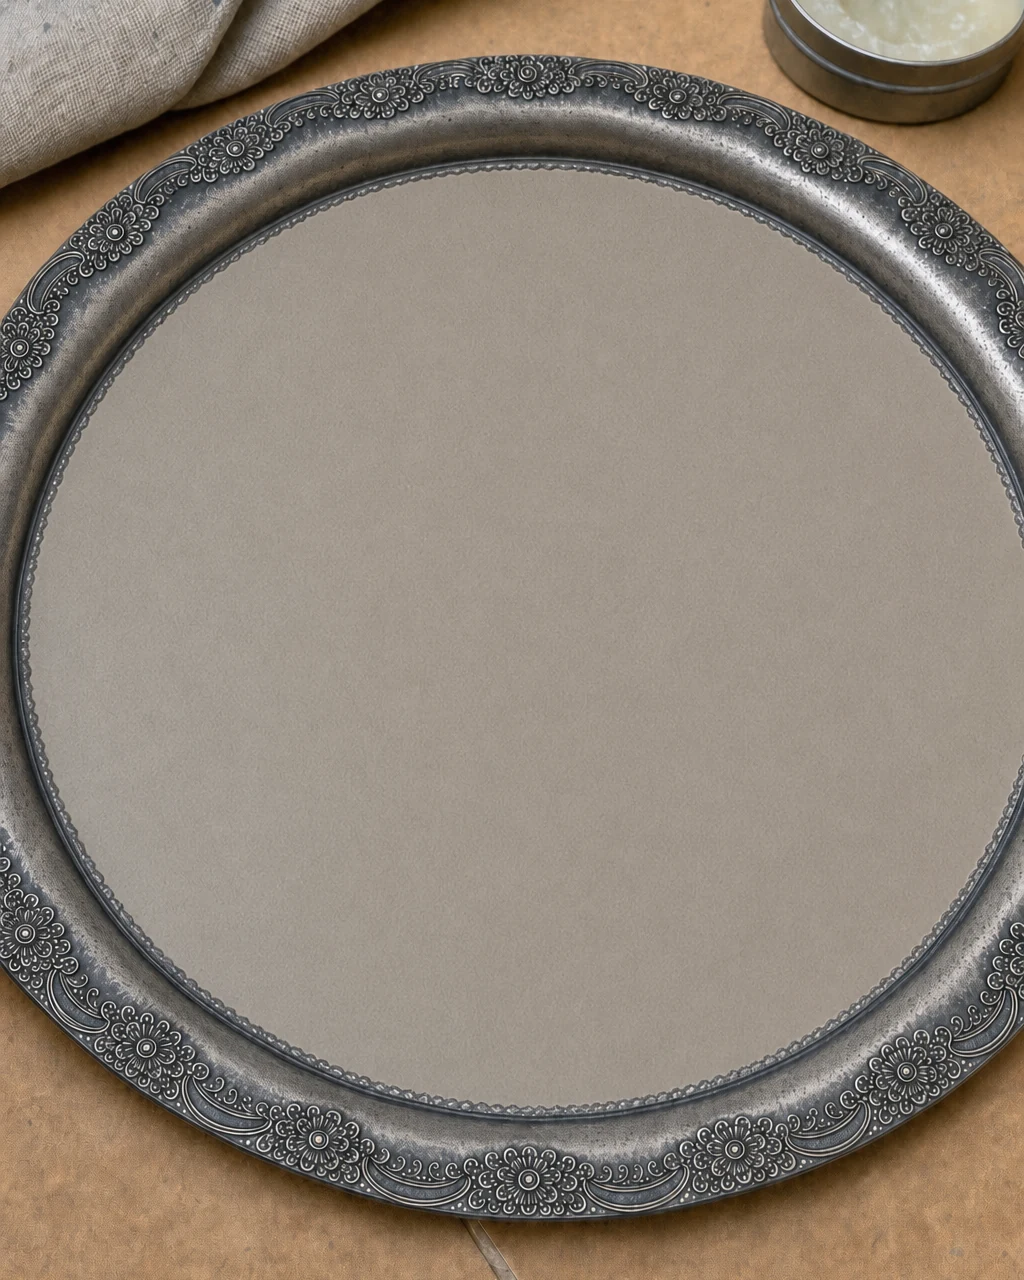
Review the completed faux-stone tray on your workbench using a cleaning sponge and lint-free cloth to ensure the plaster edges meet the metal rim cleanly. The heavy metal base provides a rigid, authentic stone-like feel. The polished, marble-like taupe plaster center completely transforms the once deeply scratched silverplate disc into a boutique-style home accent. Ensure the wax is fully cured before placing objects.
Step 7: Style For Serving
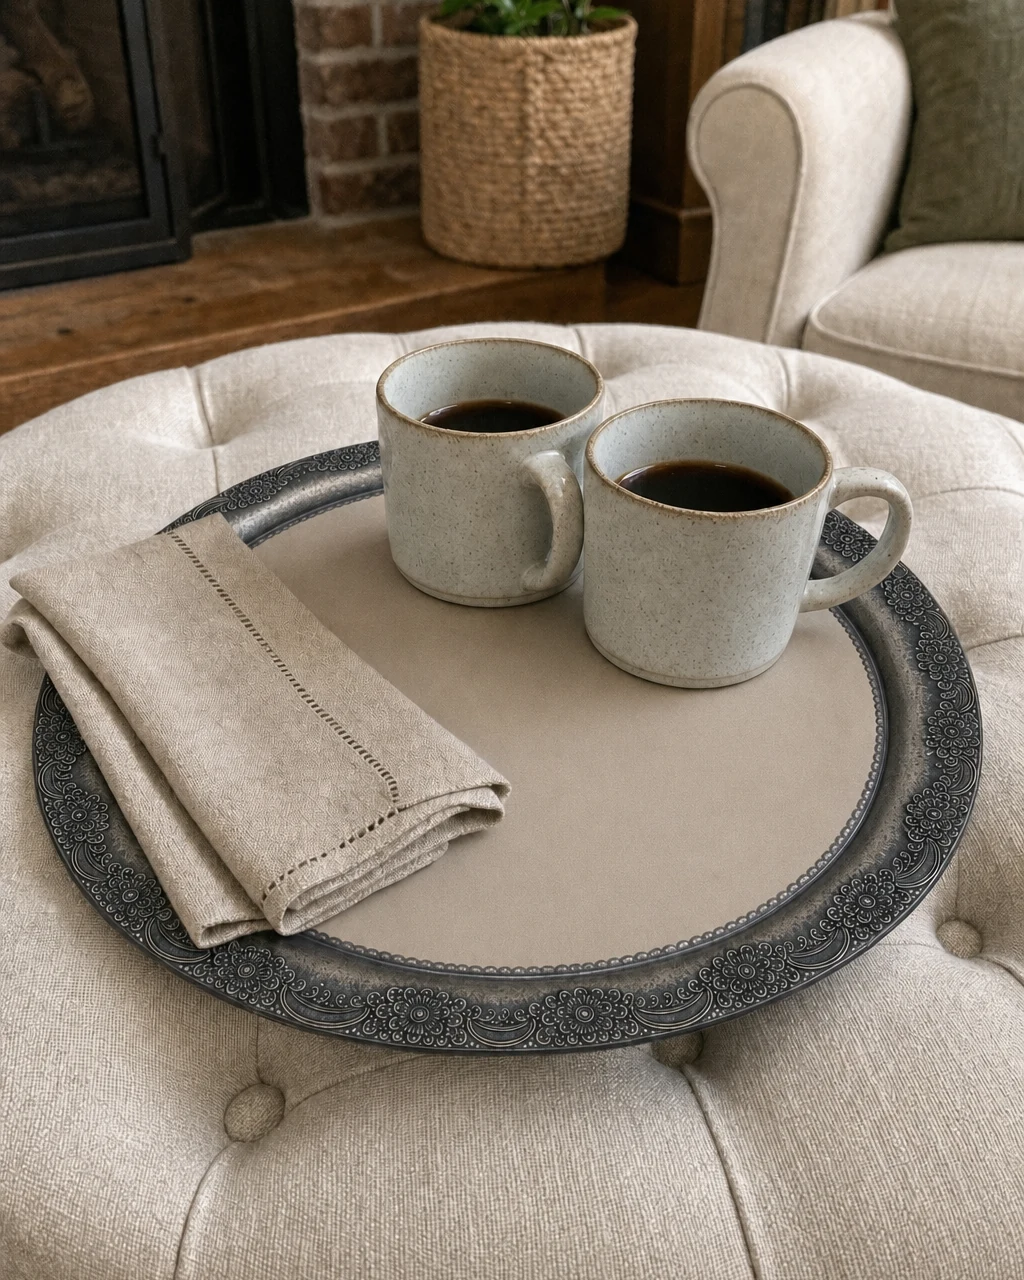
Place the finished tray in a cozy living room setting to demonstrate its new function as a sturdy coffee table centerpiece. The faux-marble surface easily repels condensation from cold ceramic coffee mugs, elevating an ordinary fabric ottoman with its sophisticated earthy texture. The smooth faux-stone perfectly contrasts with the vintage metal rim. Always lift heavy trays from the sturdy metallic floral border.