
Kids Chair DIY Makeover with a Glossy Y2K Resin Finish
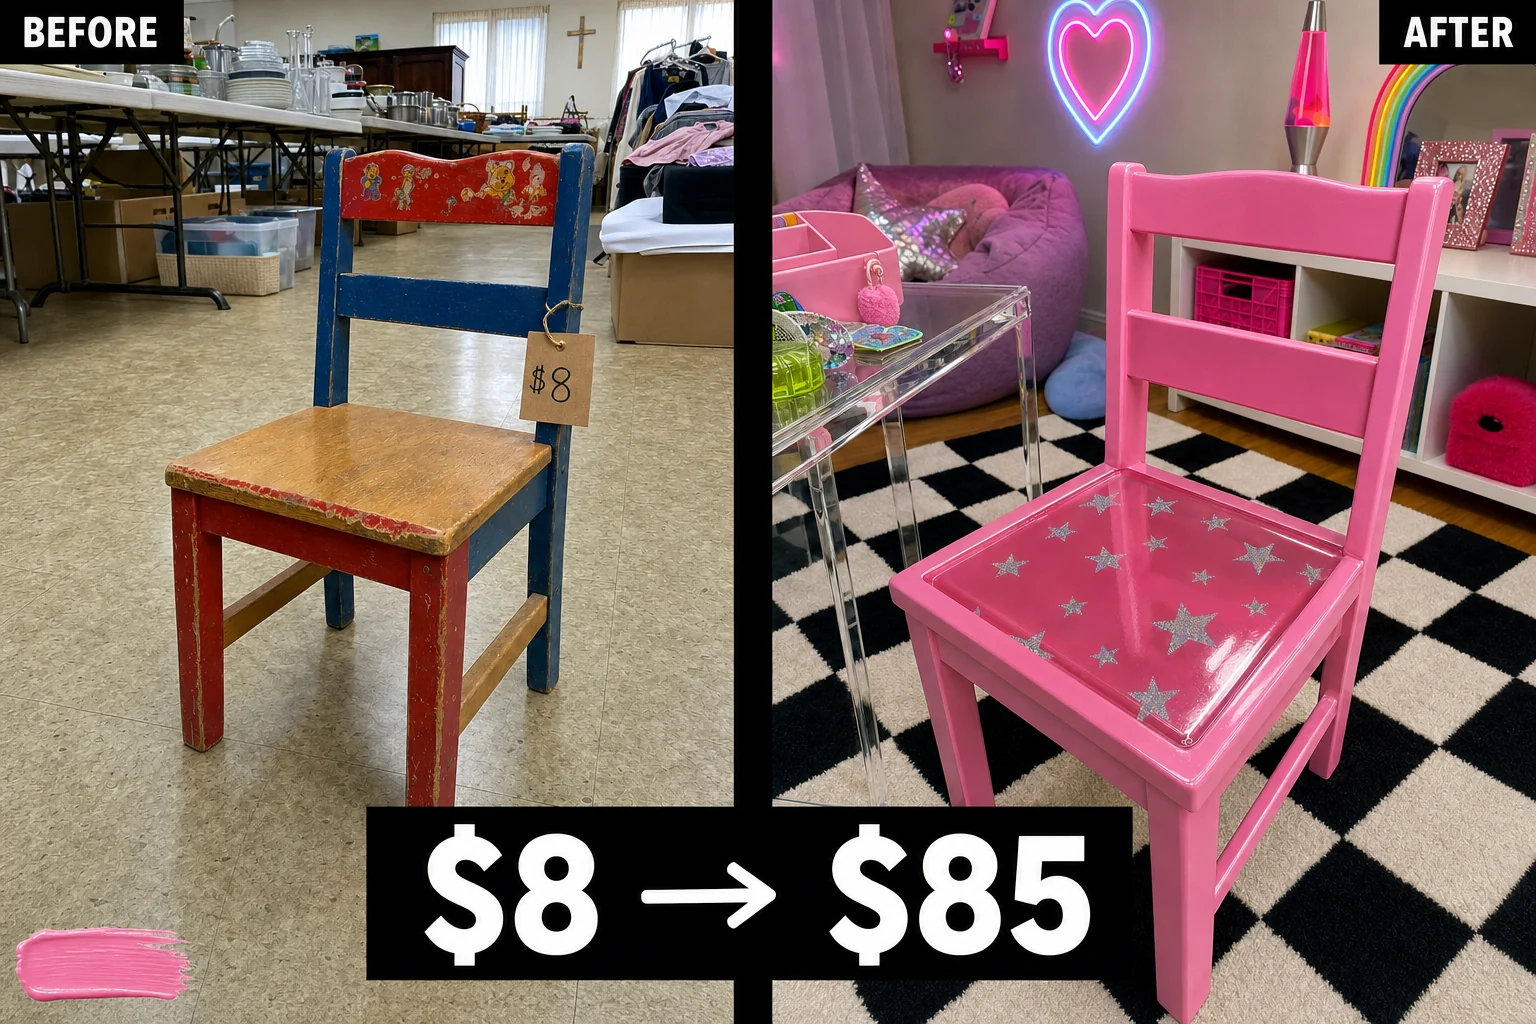
Spotted at a church rummage sale for just $8, this solid maple toddler chair had great bones. We gave it a glossy Y2K DIY makeover using bubblegum pink paint, holographic decals, and a thick epoxy resin seat.
Assessing the Thrifted Toddler Chair
Before beginning the transformation, a thorough condition audit revealed several cosmetic issues on the original surface that required attention. Spotted tucked under a folding table full of stuffed animals, this classic schoolhouse-style chair featured a flat square seat, four straight legs, and a rigid two-slat curved backrest.
- Peeling character stickers and gummy adhesive residue covered the top backrest slat, preventing new paint from adhering smoothly.
- The high-wear front seat edge suffered from flaking red and blue primary paint that exposed the bare maple underneath.
Project Costs and Materials
Transforming this piece required a modest budget for abrasives, paint, and the signature resin finish. The solid maple wood construction with steel screws provided an excellent foundation for the new materials, making the upgrade highly cost-effective. The following table details the complete financial breakdown, comparing the initial purchase against the final estimated resale value to highlight the project’s overall profitability.
| Item | Cost |
|---|---|
| Purchase Price | $8 |
| 120-Grit Sanding Sponges | $6 |
| Bubblegum Pink High-Gloss Spray Enamel | $14 |
| Holographic Star Vinyl Decals | $8 |
| Clear Table Top Epoxy Resin Kit | $22 |
| Painter’s Tape | $5 |
| Total Investment | $63 |
| Estimated Resale Value | $85 |
| Value Gain | $22 |
Materials checklist
Step 1: Inspecting the Frame and Joints
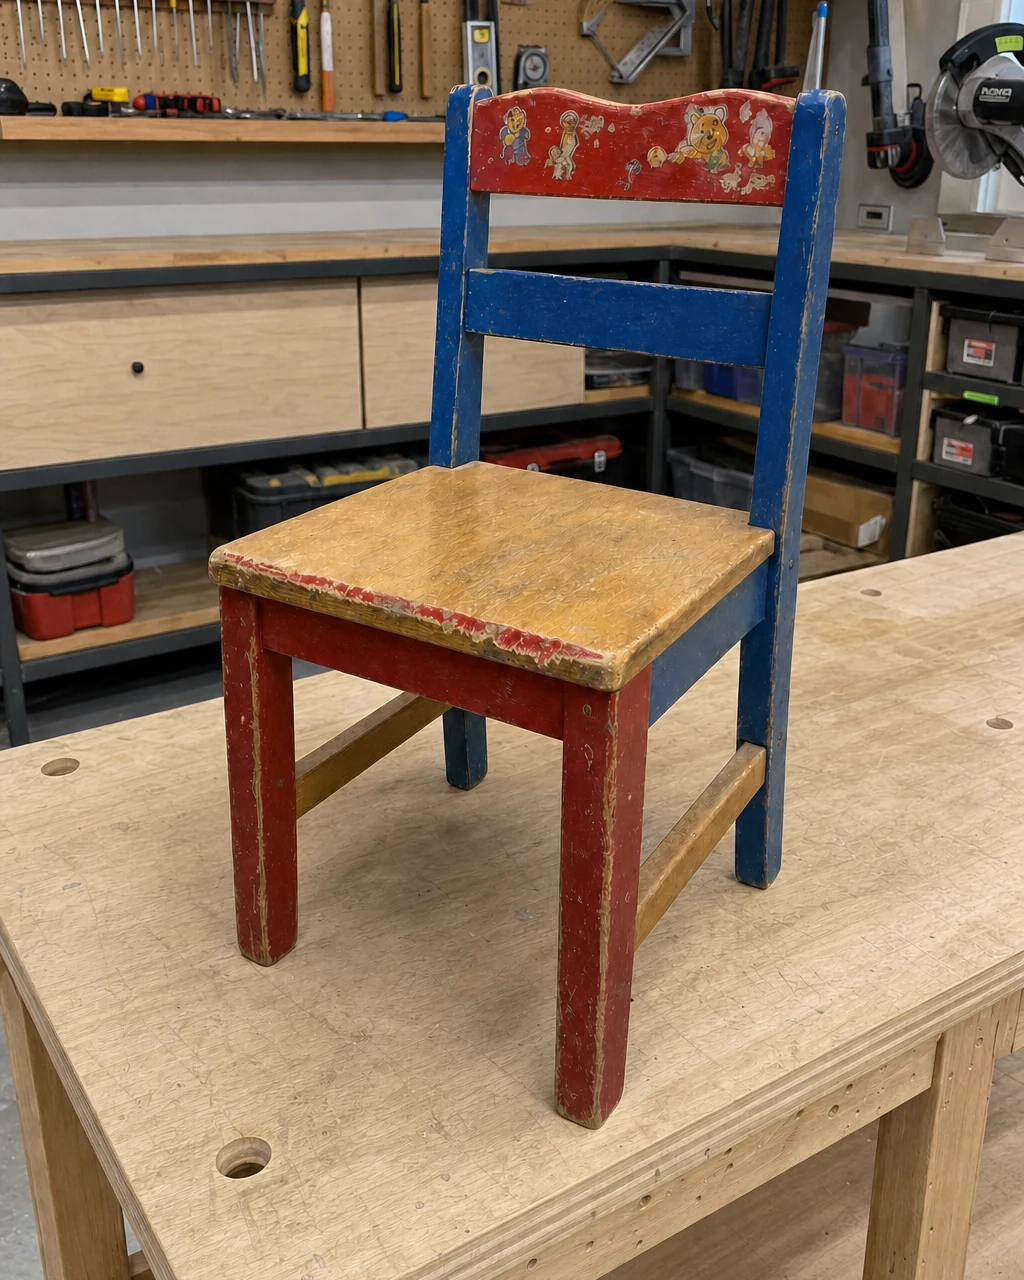
Place the unedited toddler chair on a stable plywood workbench to evaluate its overall condition before planning the cosmetic work. Rest a hand on the chair back and apply pressure to confirm the glued and screwed mortise-and-tenon joints are completely tight. Ensure the workbench is stable before applying pressure to test the joints, confirming the solid maple frame remains structurally sound.
Step 2: Sanding the Old Finish
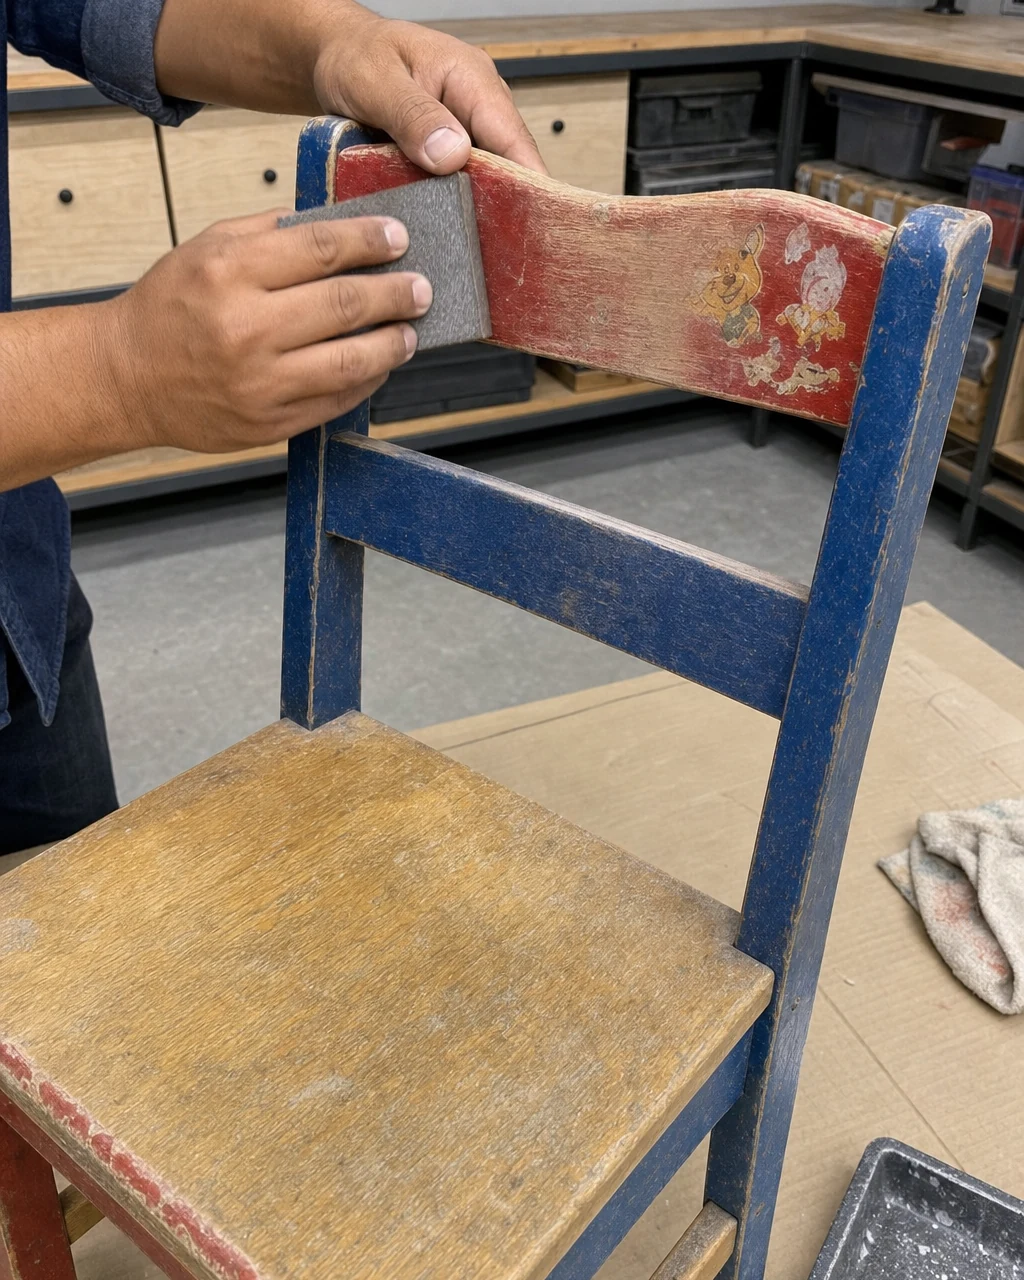
Rub a 120-grit sanding sponge vigorously over the top backrest slat to scrub away the torn paper and gummy sticker residue. Feather the chipped primary paint edges down to the bare maple so the old finish blends seamlessly into the wood. Wear a dust mask when sanding old paint, and always work in a well-ventilated area.
Step 3: Spraying the Gloss Pink Paint
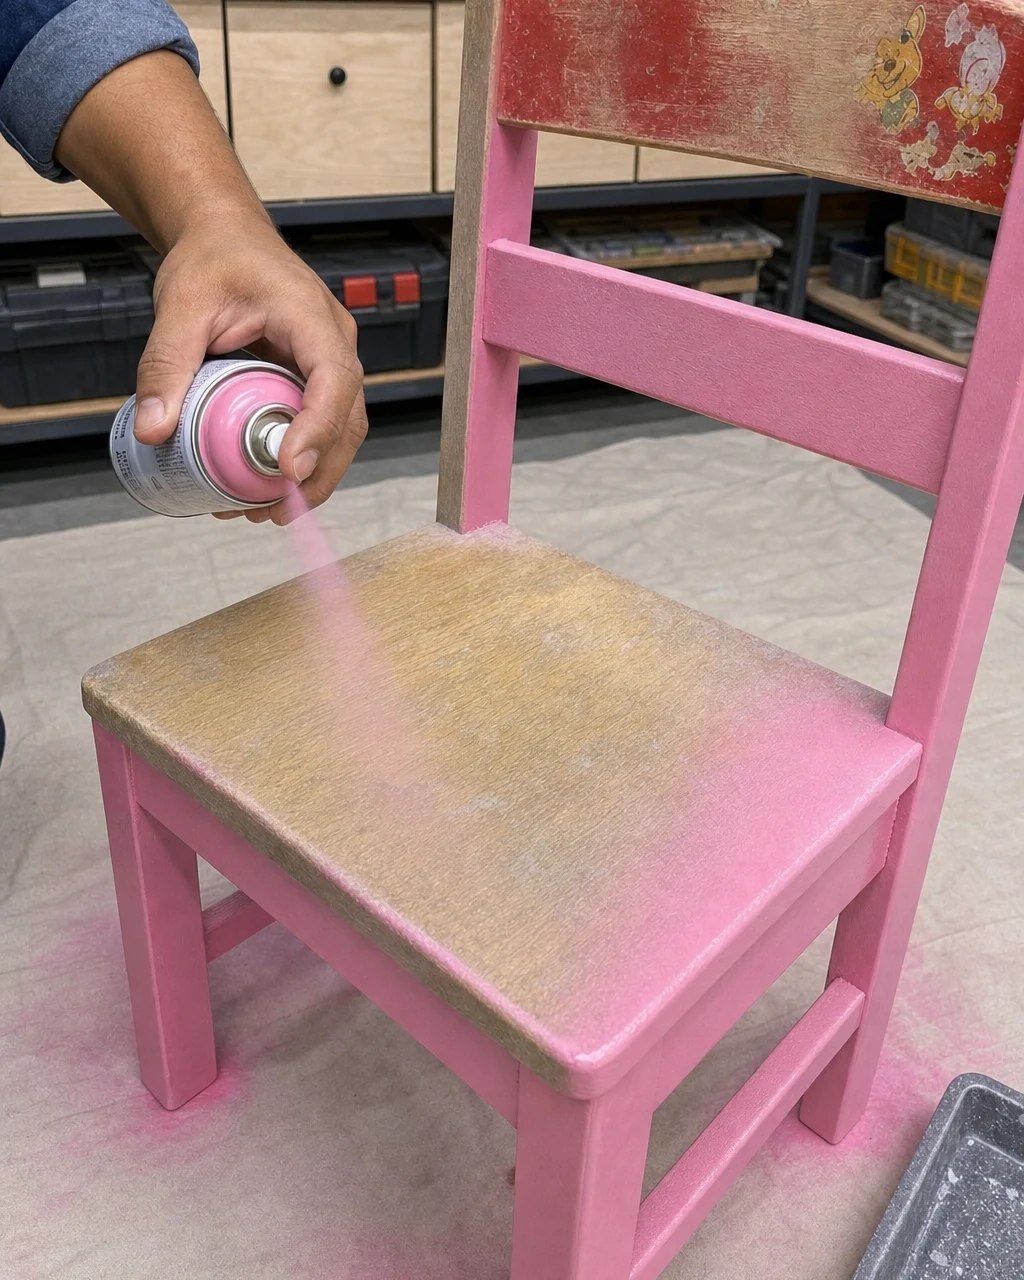
Wipe the fully sanded chair clean of dust and set it on a drop cloth to protect your workspace. Apply three light, even coats of high-gloss bubblegum pink enamel spray paint over the entire frame, holding the can eight inches away and allowing 20 minutes of drying time between coats. Spray paint outdoors or in a heavily ventilated garage while wearing a respirator.
Step 4: Applying Holographic Star Decals
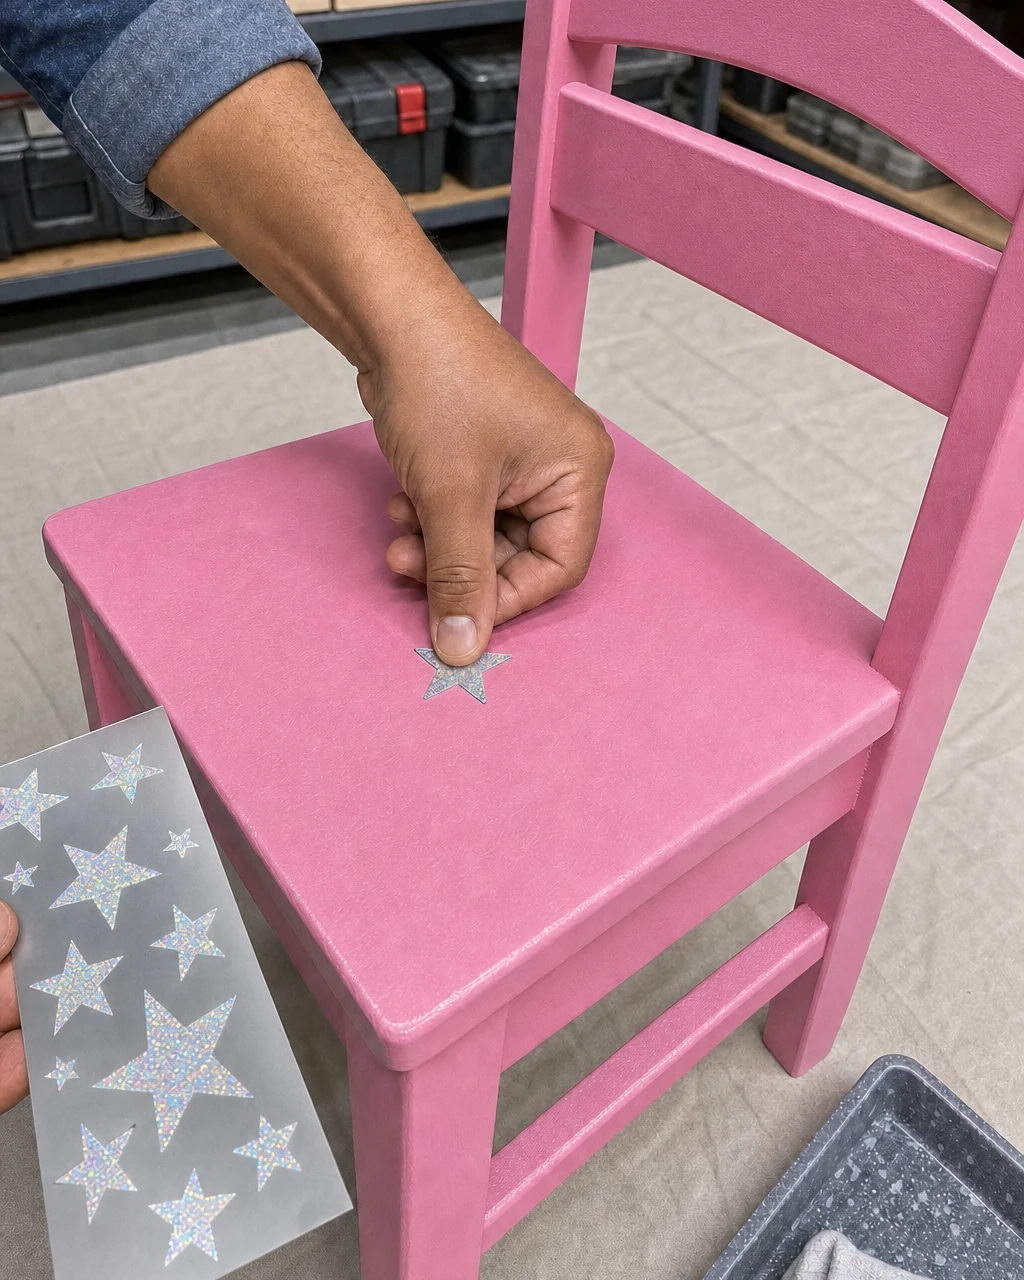
Wait until the pink enamel paint is fully cured and dry to the touch before decorating the seat. Peel the holographic vinyl star decals from their backing and press them firmly onto the flat wooden seat in a random, scattered pattern using your fingers. Ensure the paint is fully cured for at least 24 hours so the decals adhere properly without lifting the finish.
Step 5: Pouring the Clear Resin Seat
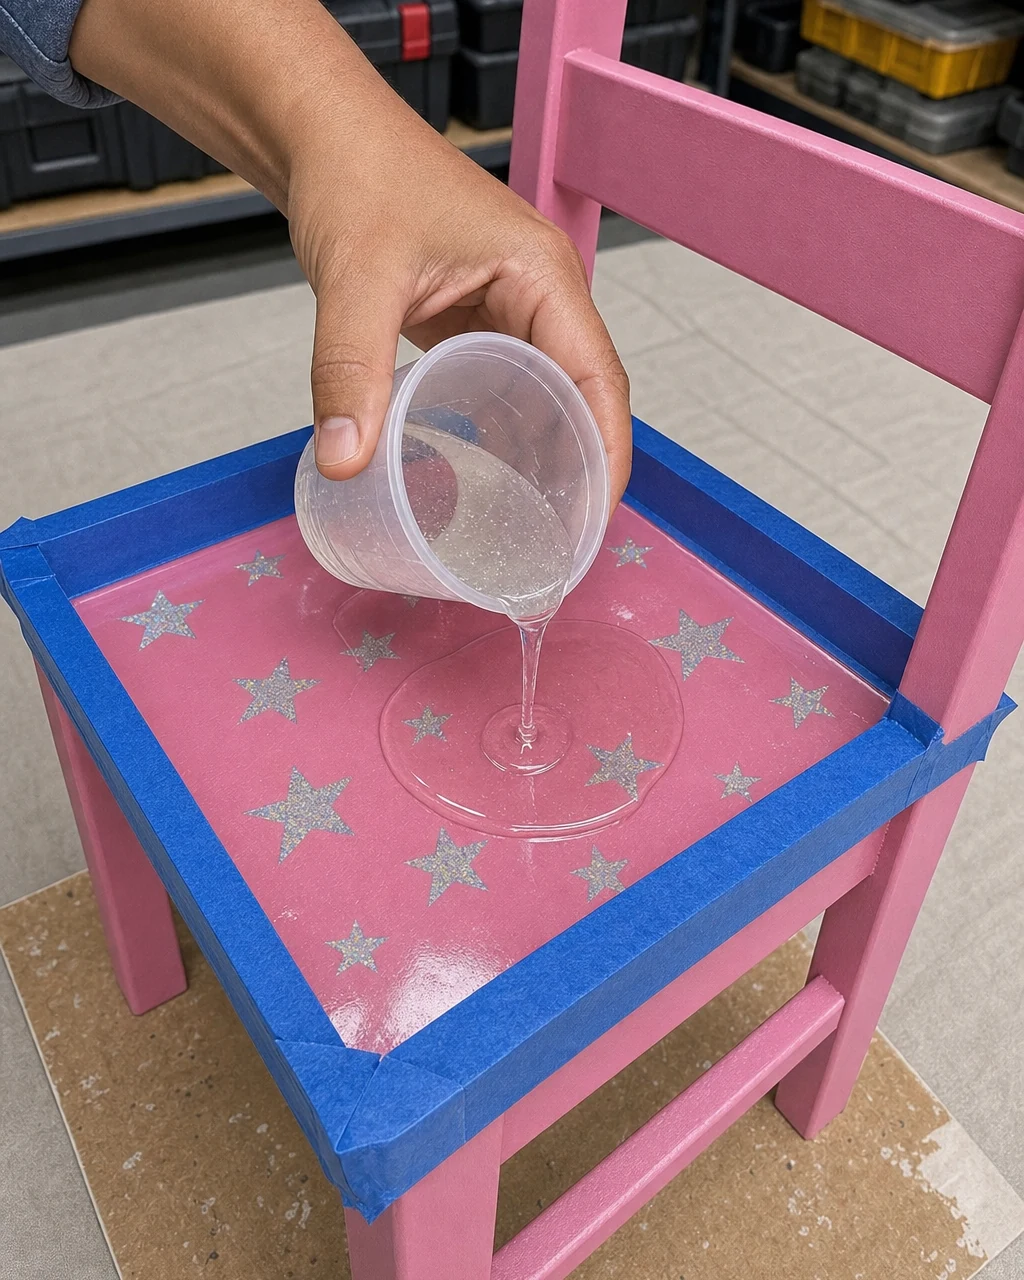
Wrap the seat edges tightly with painter’s tape to create a temporary dam that will contain the wet pour. Mix the two-part epoxy resin in a cup with a stir stick, then pour it directly over the center of the taped-off pink seat to self-level and encapsulate the stars. Wear nitrile gloves and work in a dust-free room when mixing epoxy.
Step 6: Curing the Epoxy Finish
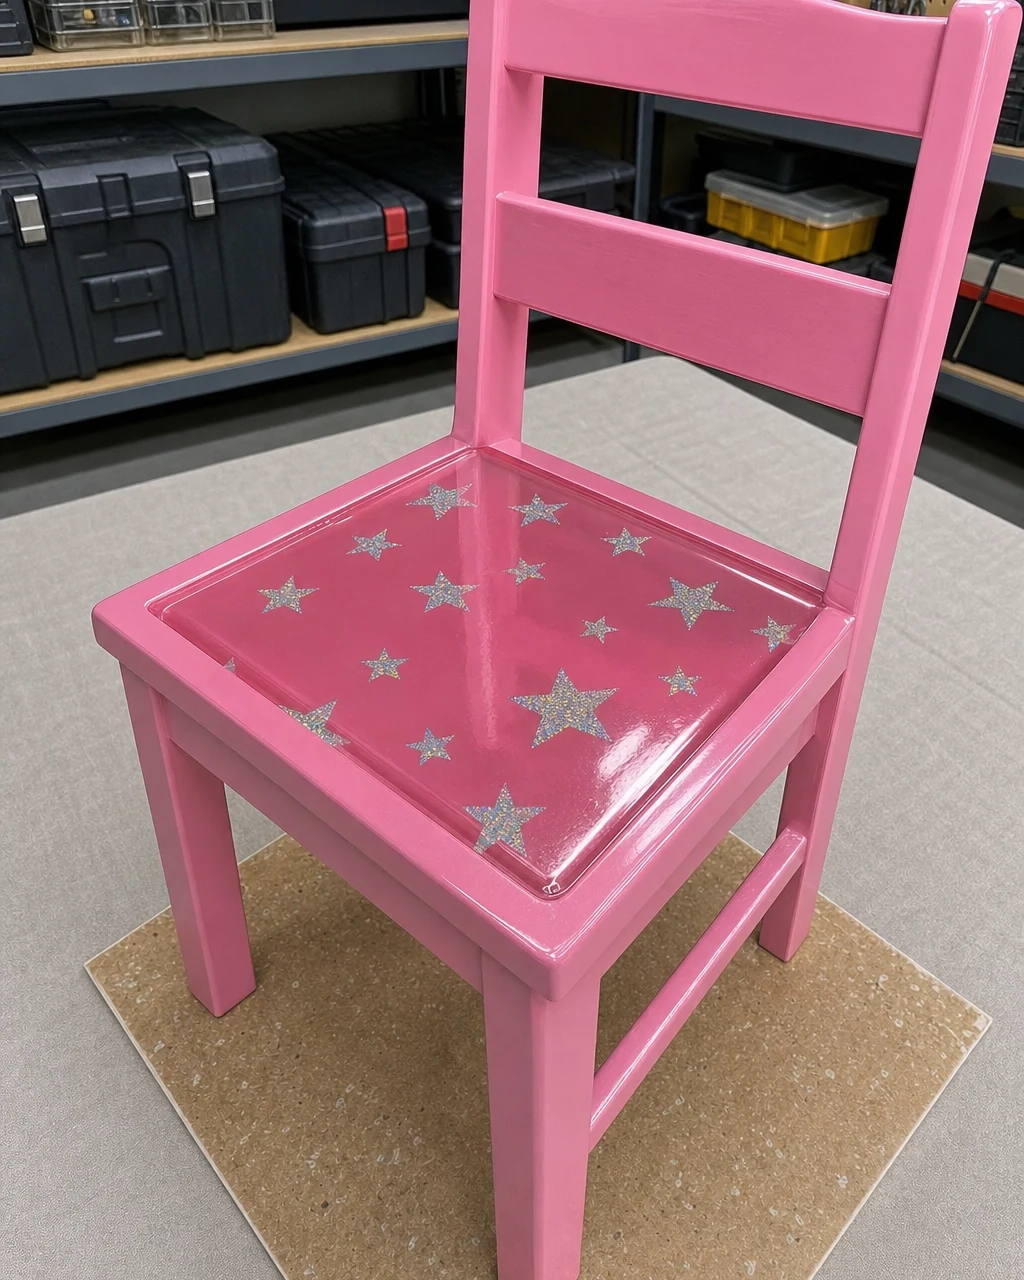
Allow the clear resin to cure undisturbed on the workbench for a full 48 hours. Peel away the painter’s tape dam and review the fully assembled chair under the workshop lights to ensure the resin edges are smooth and the glossy pink frame is flawless. Wait the full 48-hour cure time before touching the resin to avoid leaving permanent fingerprints on the glass-like surface.
Step 7: Styling the Y2K Playroom Chair
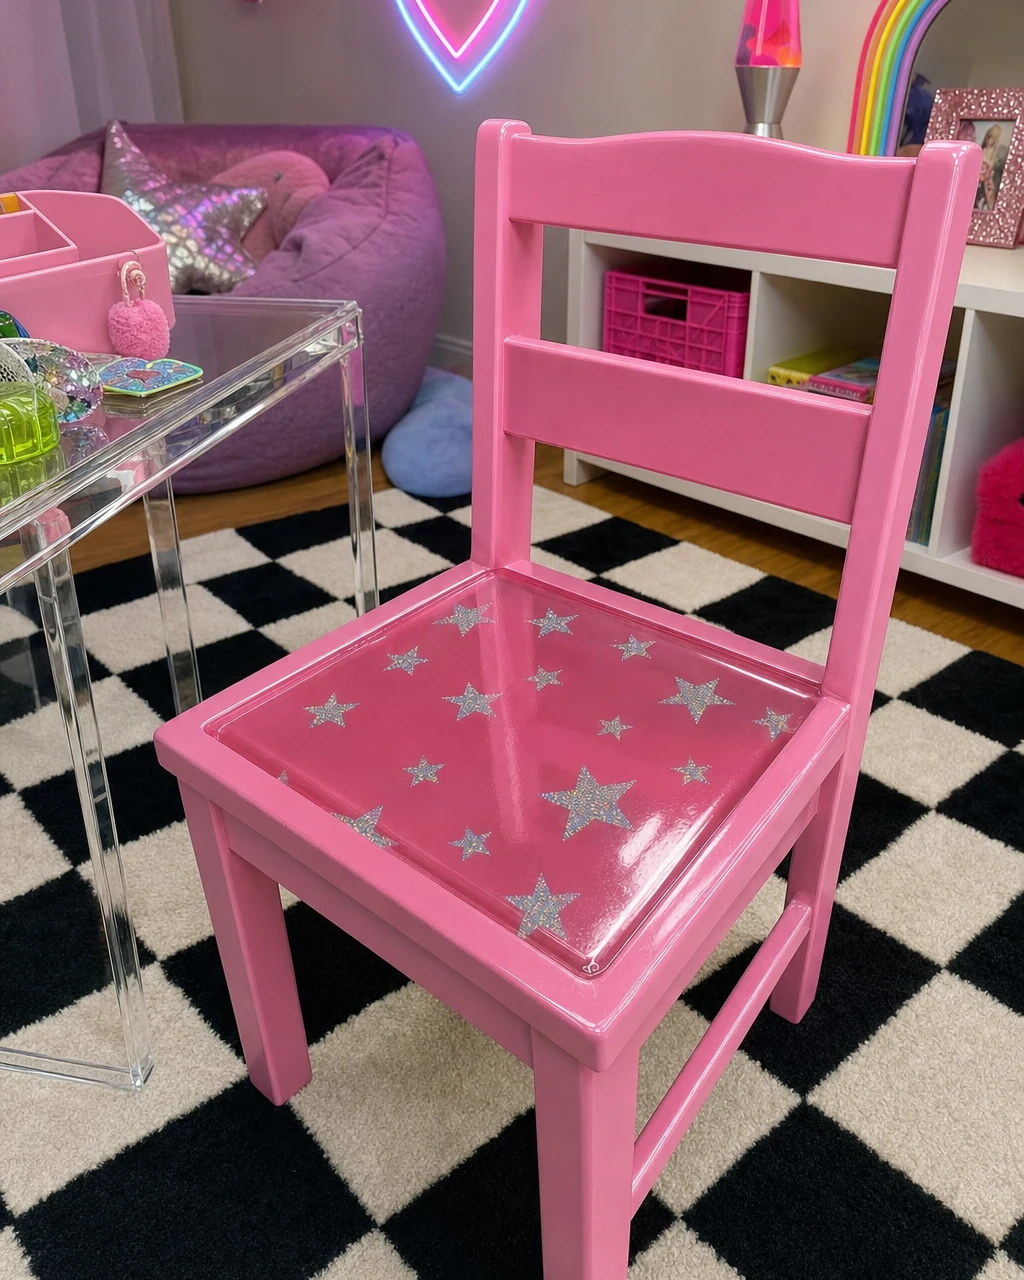
Bring the finished chair indoors once all the new finishes have completely off-gassed. Position the pink and holographic chair on a black-and-white checkerboard rug next to a low acrylic play table to create a vibrant, nostalgic statement piece. Ensure the resin is fully hardened before allowing children to use the chair.
Valuation and Resale Potential
The solid maple construction provides lasting durability that far outpaces modern plastic alternatives. The trendy Y2K aesthetic, custom holographic decals, and durable epoxy resin seat elevate this piece from a basic thrift find to a boutique-style decor object. This editorial estimate places the resale value at $85, yielding a solid return on the modest investment while creating a highly unique, functional statement piece.