
Wooden Salad Bowl Thrift Flip with a Ceramic Tile Inlay
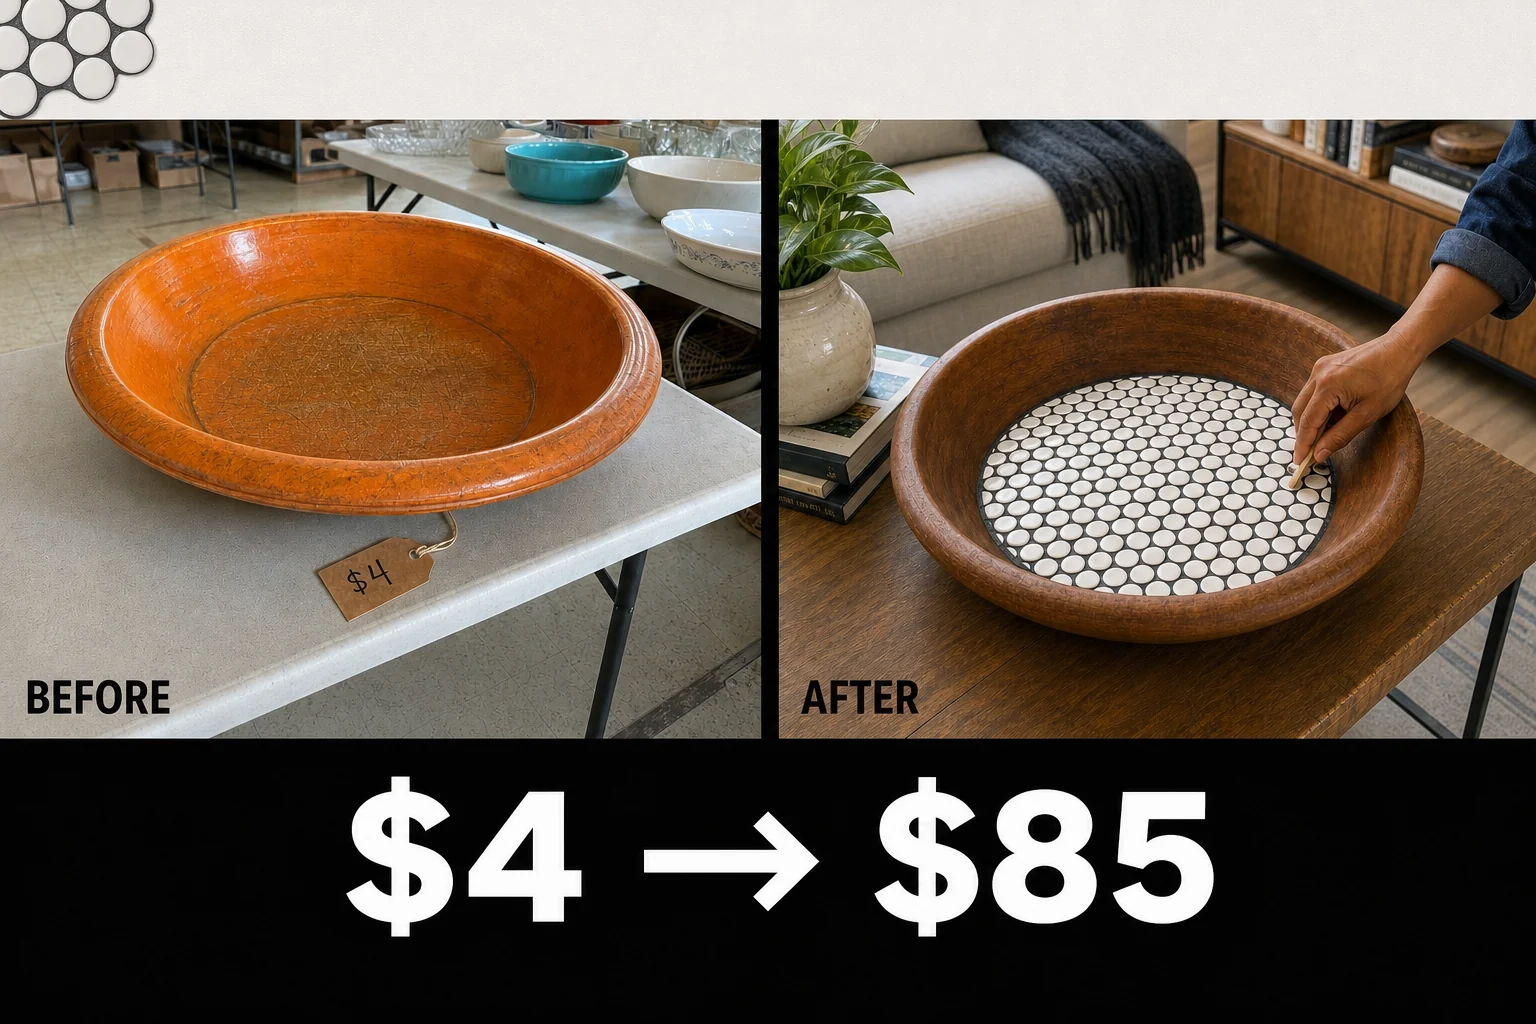
Buried at a church rummage sale, this scratched, orange-lacquered acacia bowl cost just four dollars. Stripping the dated finish and adding a custom penny-tile inlay transforms the damaged vessel into a striking natural wood centerpiece.
Assessing the Thrifted Bowl’s Damage
Found at a modest church-hall rummage sale with scuffed linoleum floors and long folding tables, this oversized acacia bowl was priced to move. Buried under a stack of plastic colanders and marked with simple handwritten masking-tape pricing, the piece featured a thick, intact turned rim but suffered from obvious wear.
- The exterior and rim were coated in a faded, flaking orange lacquer that obscured the natural acacia grain and gave the piece a dated, plastic appearance.
- The flat interior base suffered from deep, crisscrossing knife gouges from decades of aggressive salad chopping, trapping dirt and making the bowl unhygienic for food.
Materials and Investment
Transforming this scratched wooden vessel requires a few basic abrasives and mosaic supplies to conceal the interior knife gouges.
Materials checklist
| Item | Cost |
|---|---|
| Thrifted wooden bowl | $4 |
| Sandpaper pack | $6 |
| Penny tiles | $8 |
| Tile adhesive | $7 |
| Sanded grout | $9 |
| Mineral oil | $6 |
| Total investment | $40 |
| Estimated resale value | $85 |
| Value gain | $45 |
Step 1: Inspect the Bowl for Damage
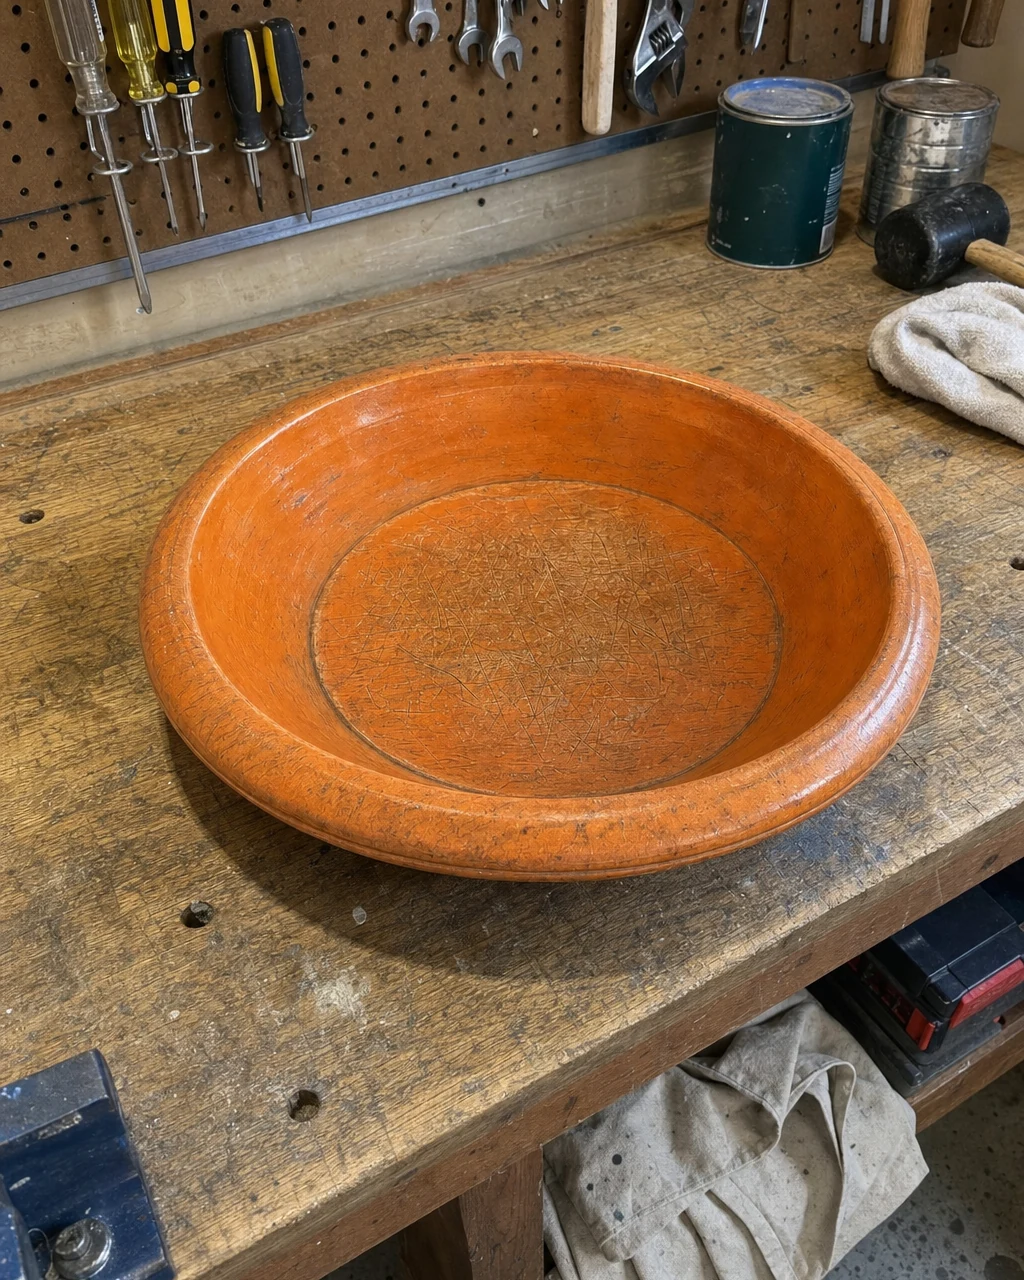
Take stock of the piece on a brightly lit workbench to identify the depth of the knife marks. Determine the exact boundary between the curved walls and the flat interior base to plan the mosaic layout. Ensure the workbench is clear of debris before inspecting to prevent exterior scratching. The thick, intact turned rim provides a sturdy framework for the transformation.
Step 2: Strip the Old Orange Finish
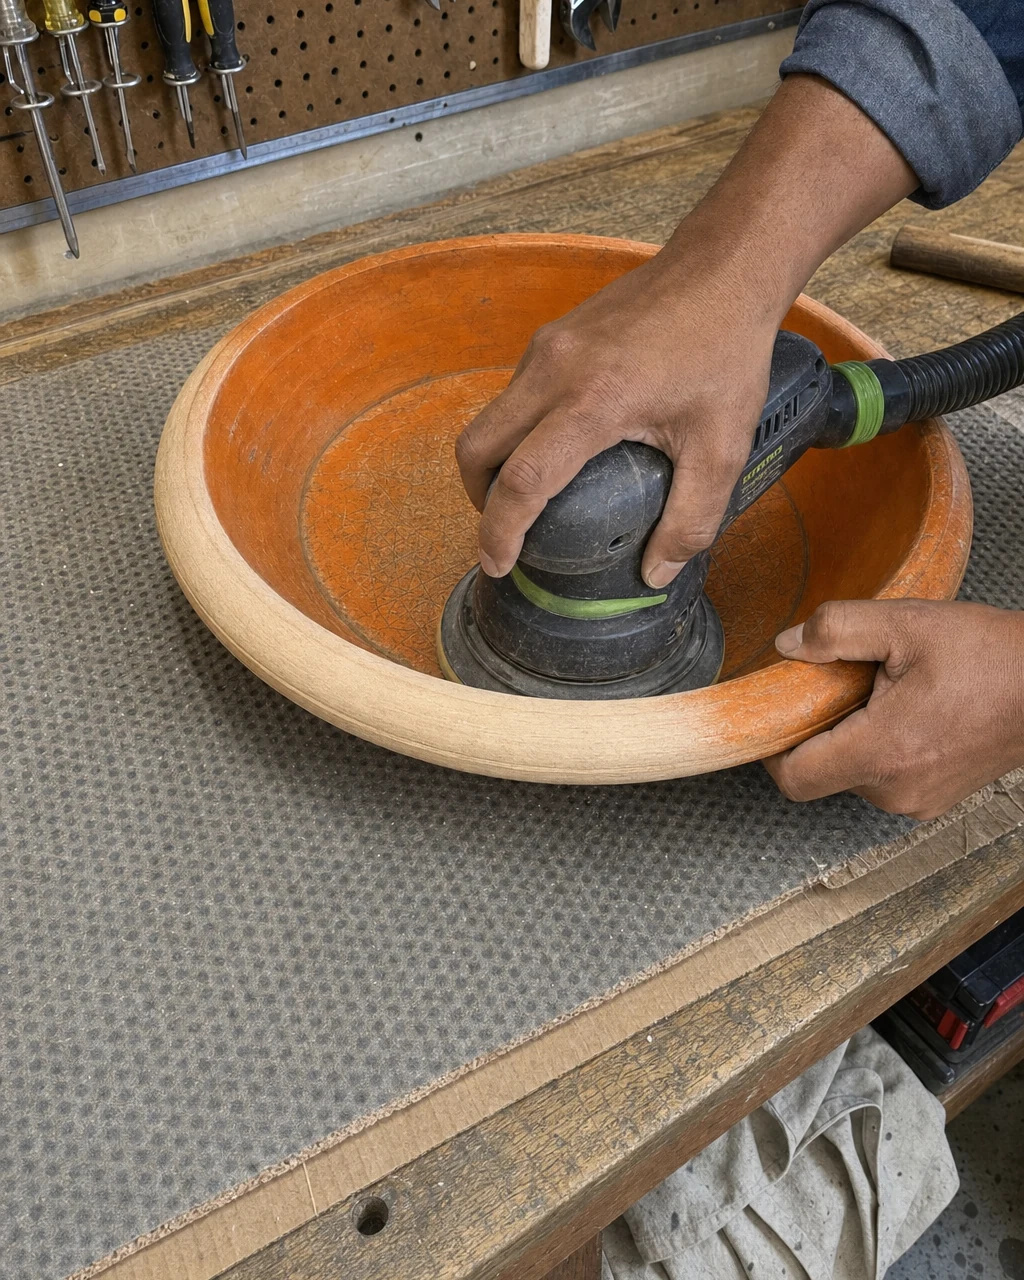
Sand the walls using a random orbital sander to remove the faded orange lacquer. Continue sanding until the pale, raw acacia wood is completely revealed. Wear a dust mask and safety glasses while sanding old lacquer to protect your lungs. The eighty-grit paper cuts through the old finish efficiently, stripping away the glossy tint that obscures the natural grain.
Step 3: Hide Deep Gouges With Tile
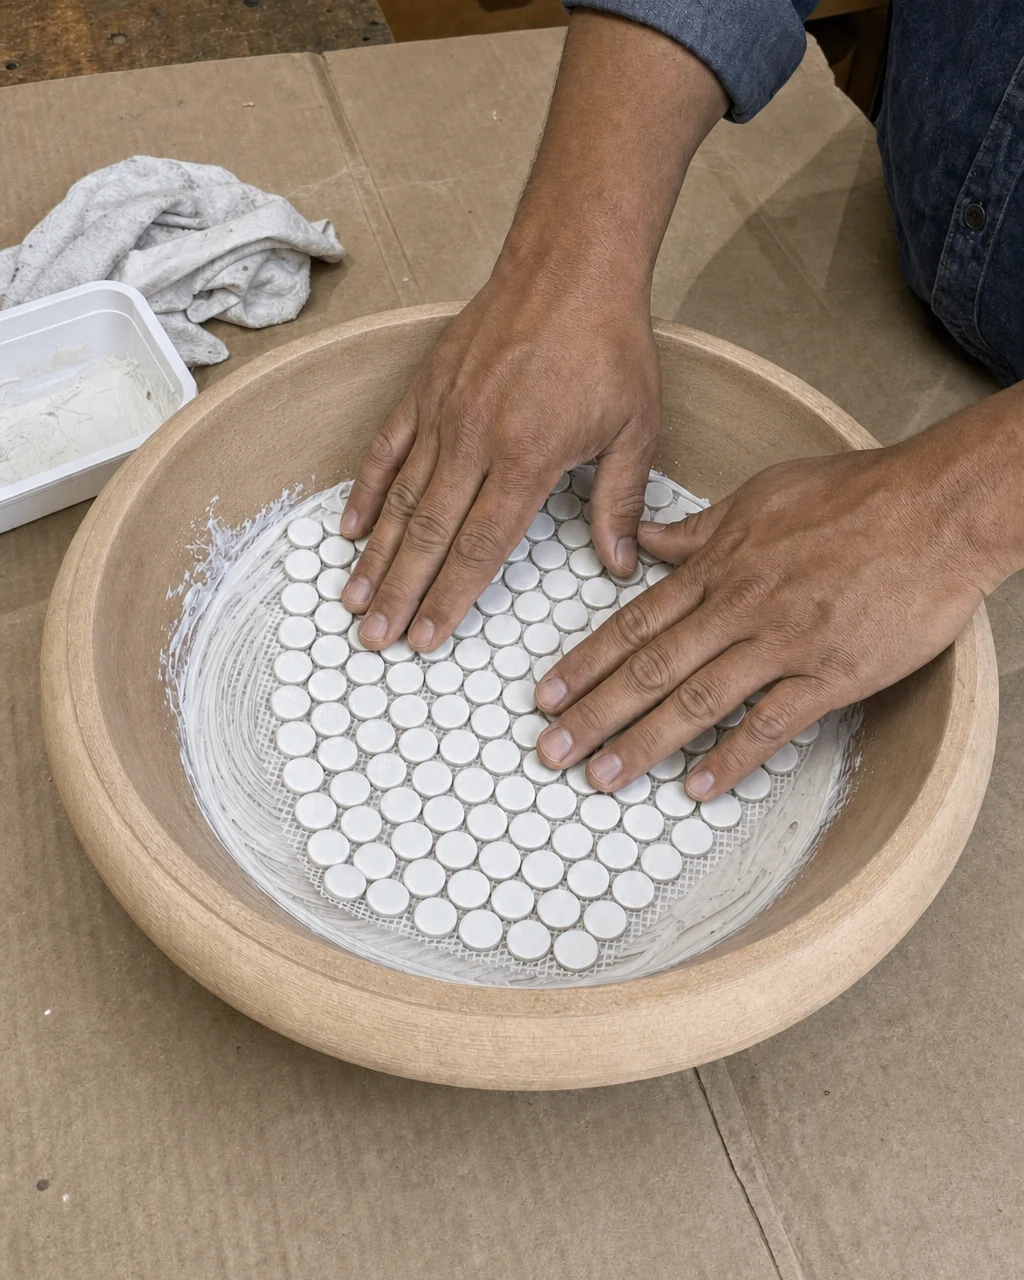
Apply a thin layer of tile adhesive to the damaged interior base using a small notched trowel. Press a pre-cut circular mesh-backed sheet of white penny tiles firmly into the adhesive. Work in a ventilated area when using adhesive to minimize fumes. The mesh backing keeps the small tiles perfectly spaced, creating a flat layer that covers the scarred wood.
Step 4: Apply Contrasting Dark Grout
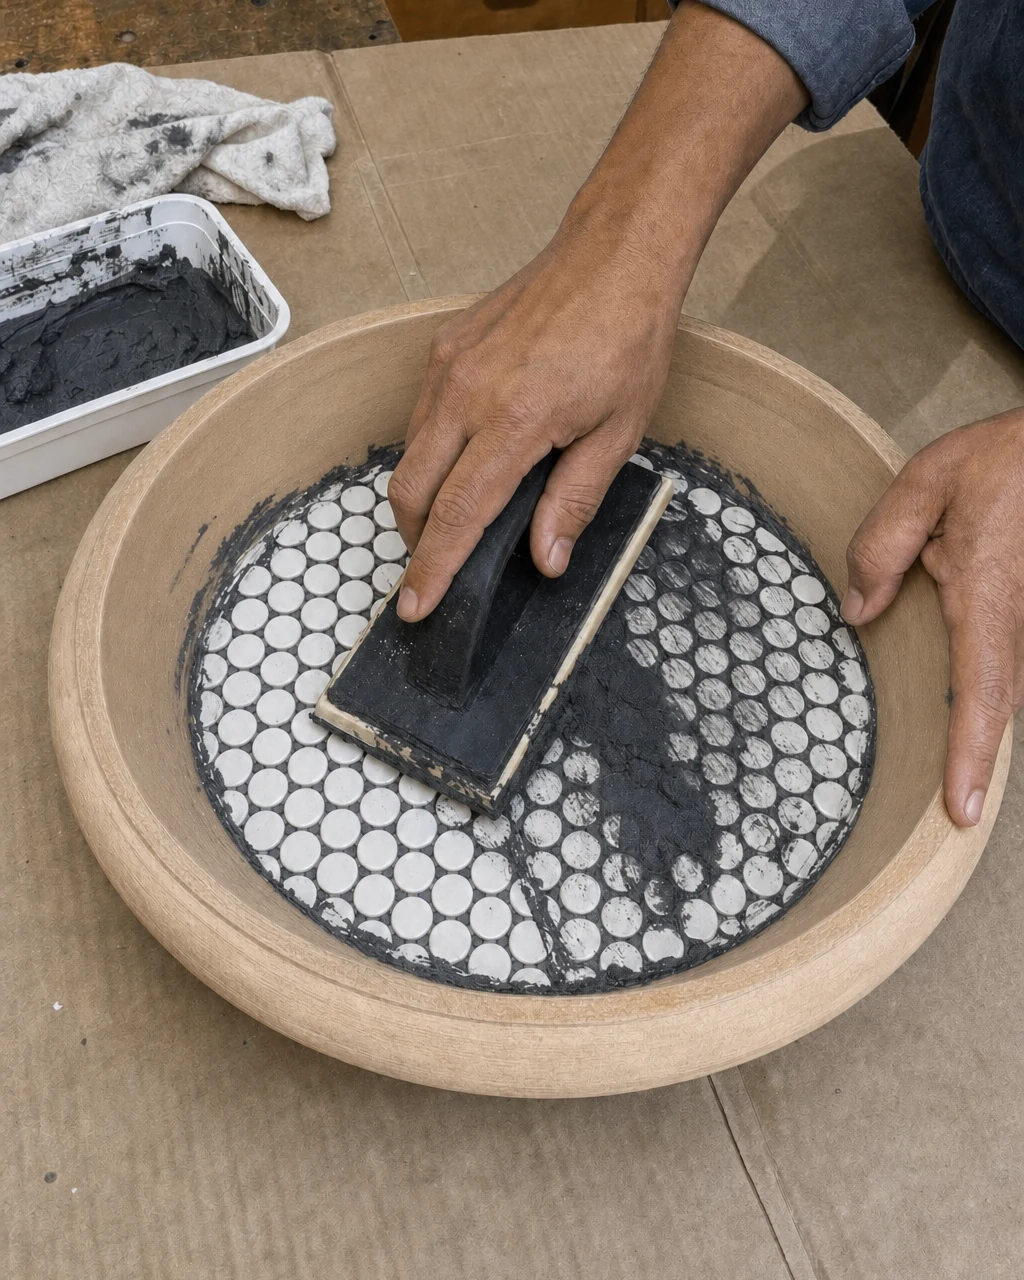
Once the adhesive cures, push grout into the tile joints using a small rubber float. Scrape the float across the tiles at a 45-degree angle to ensure all gaps are completely filled. Wear nitrile gloves to protect skin from alkaline grout. The dark sanded charcoal grout provides necessary grip and resists cracking, leaving a messy smear on the tile surfaces.
Step 5: Reveal the Clean Tile Pattern
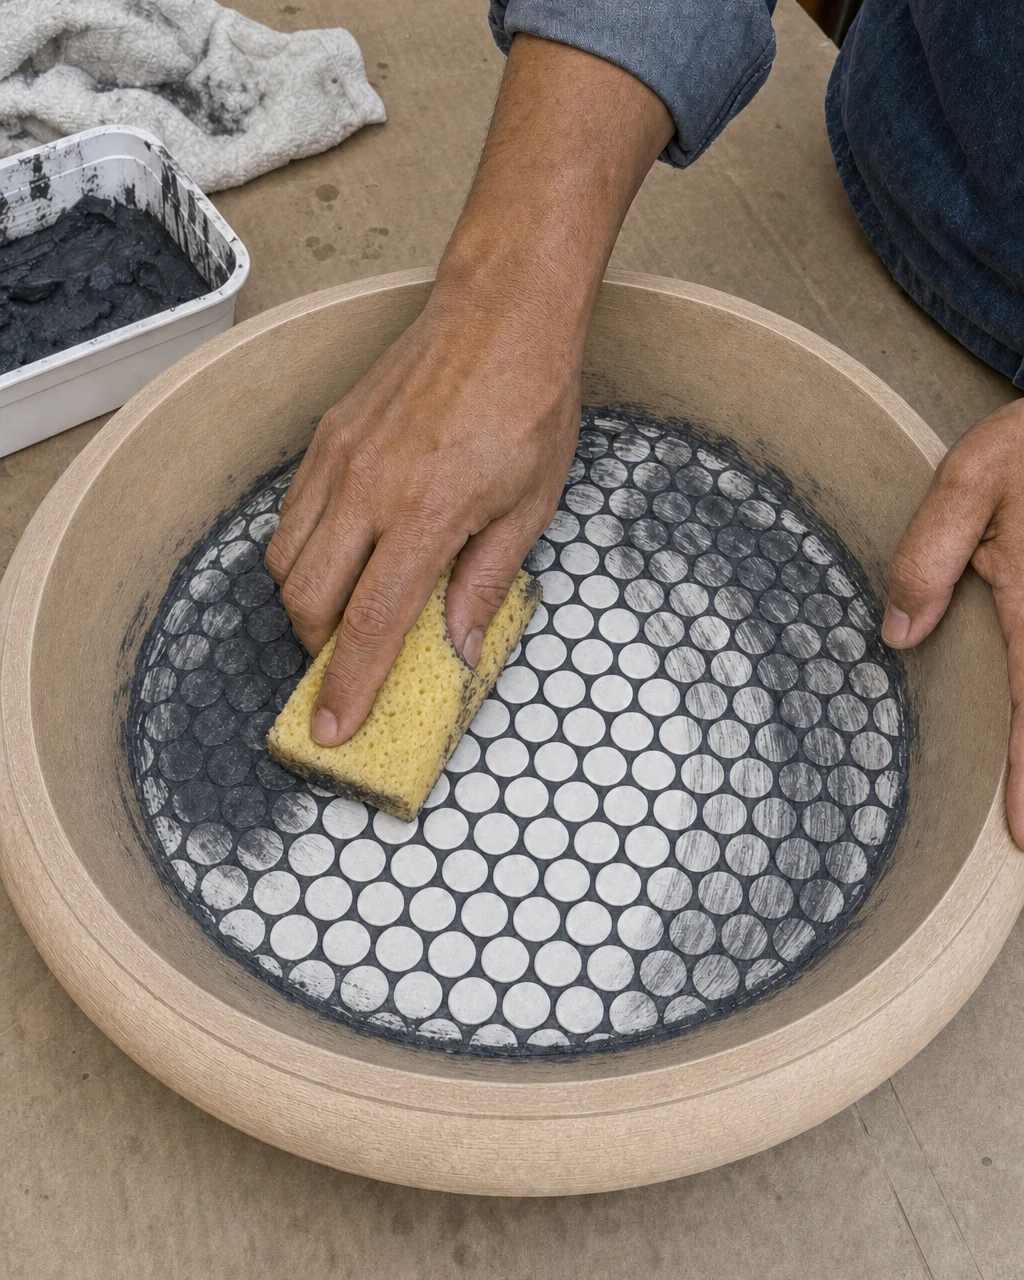
Wipe the excess grout off the face of the tiles with a damp yellow sponge. Rinse the sponge frequently in a bucket of water, wiping repeatedly until the white ceramic is completely clean. Dispose of grout rinse water outdoors, never down a household sink. This careful cleaning process ultimately reveals clean white penny tiles with crisp, dark grout lines.
Step 6: Hydrate the Raw Acacia Wood
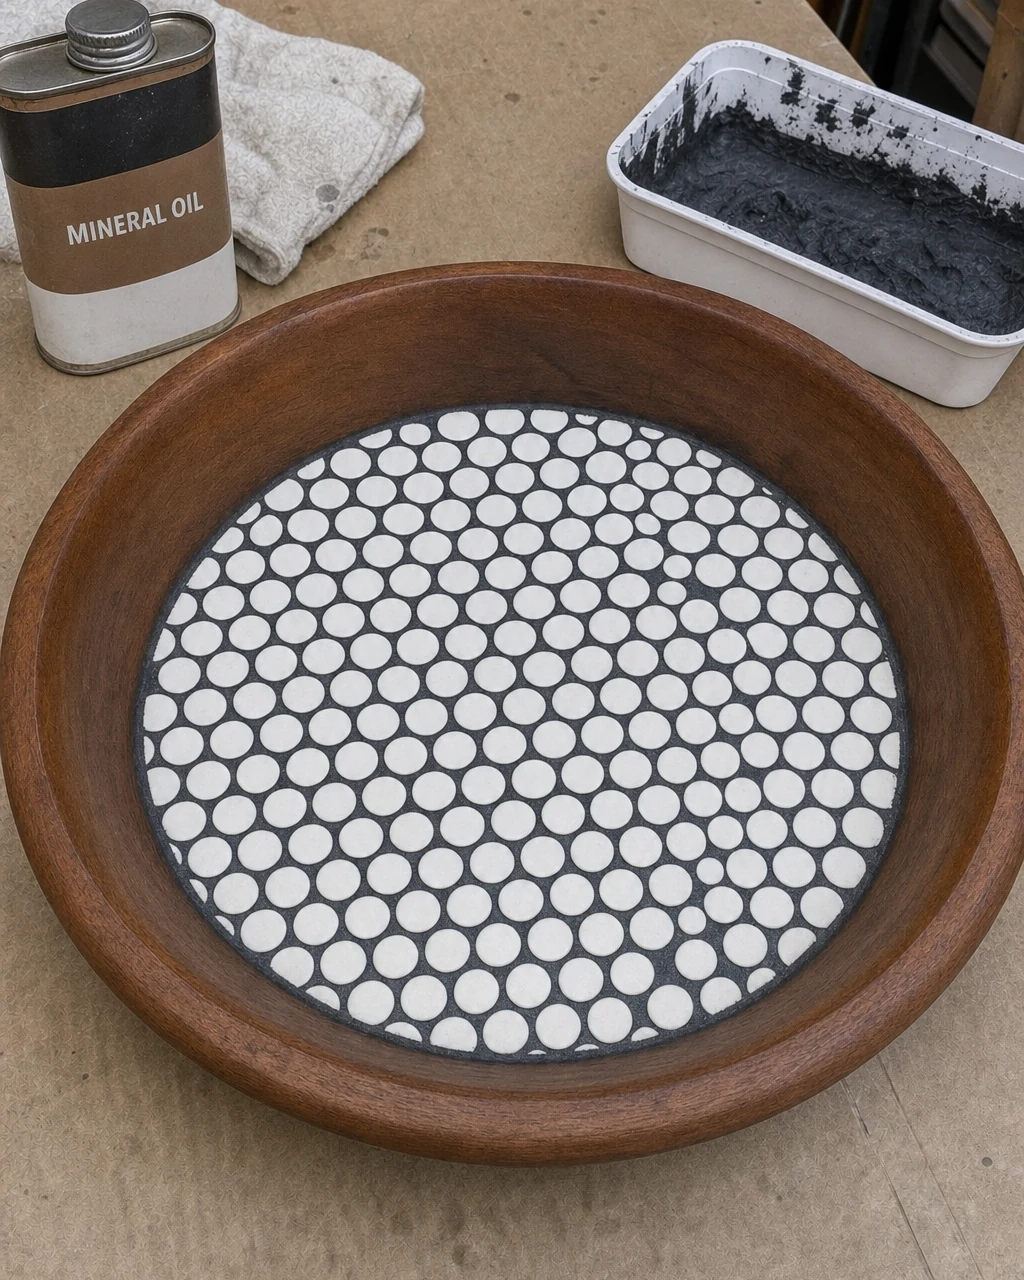
Rub food-safe mineral oil into the raw acacia wood using a clean, lint-free cloth. Allow the oil to soak in, instantly darkening and enriching the natural grain. Lay oily rags flat to dry before disposal to eliminate the risk of spontaneous combustion. The oil safely hydrates the wood without toxic chemical off-gassing, creating rich walls that frame the tiled center.
Step 7: Style the Finished Centerpiece
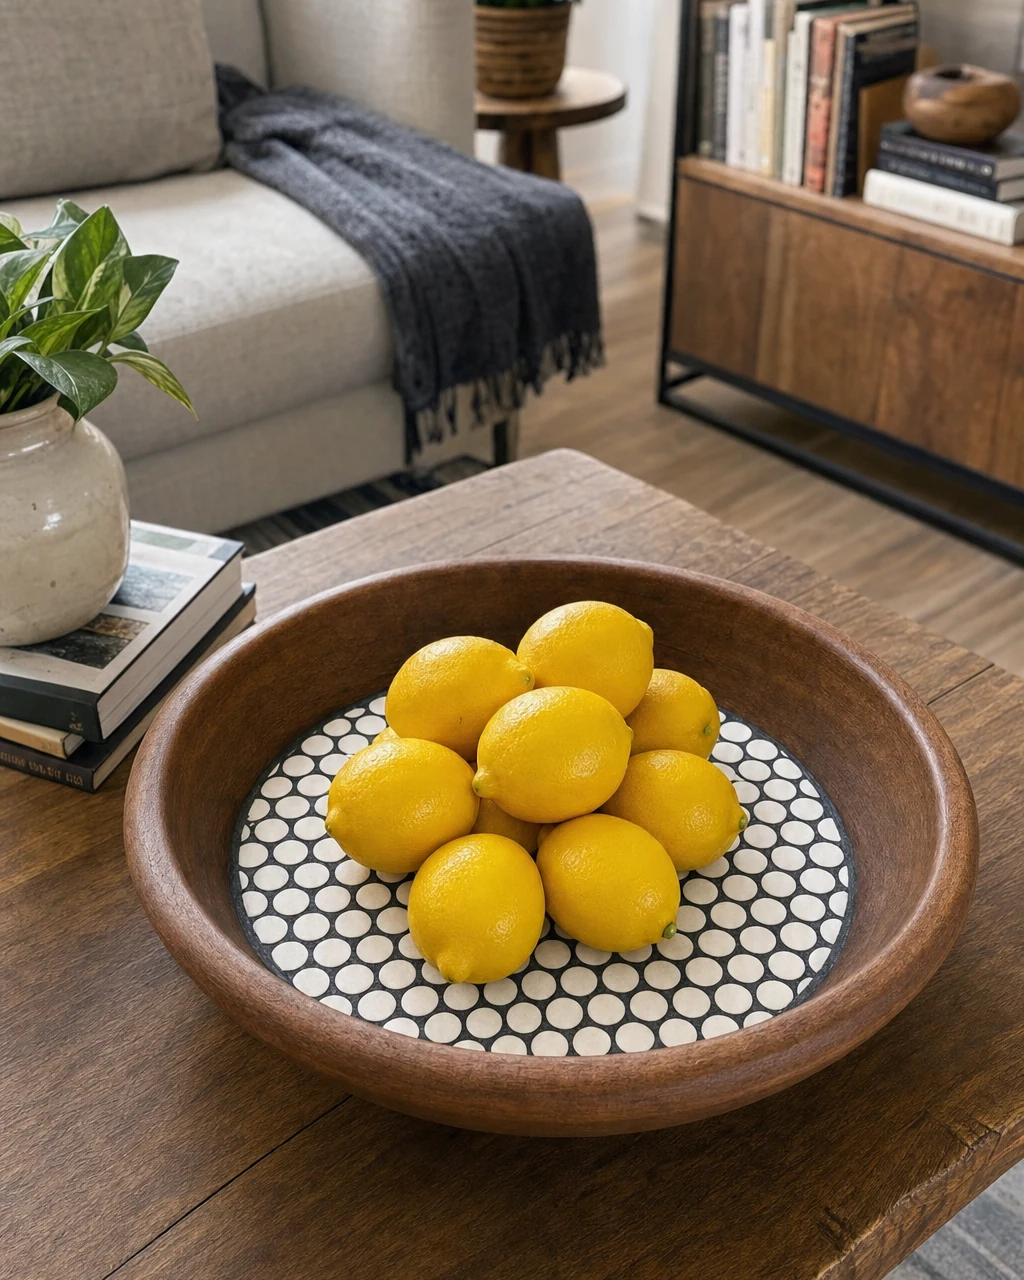
Place the finished bowl on a living room coffee table to serve as a heavy, decorative catchall. Fill the tiled center with fresh lemons to highlight the crisp contrast. Ensure the bottom of the bowl is completely dry before placing it on finished furniture. The heavy base anchors the arrangement, allowing the piece to function as a vibrant, eye-catching centerpiece.
Evaluating the Upcycled Centerpiece
The combination of solid acacia wood and a custom ceramic inlay elevates this from a damaged thrift store find to a bespoke artisan centerpiece. This unique material contrast commands a premium price at boutique home goods markets. While the original vessel cost merely four dollars, the final editorial estimate reflects a significant value gain, proving that thoughtful restoration rescues scarred items.