
Accent Cabinet Thrift Flip with a Glossy Faux Marble Top
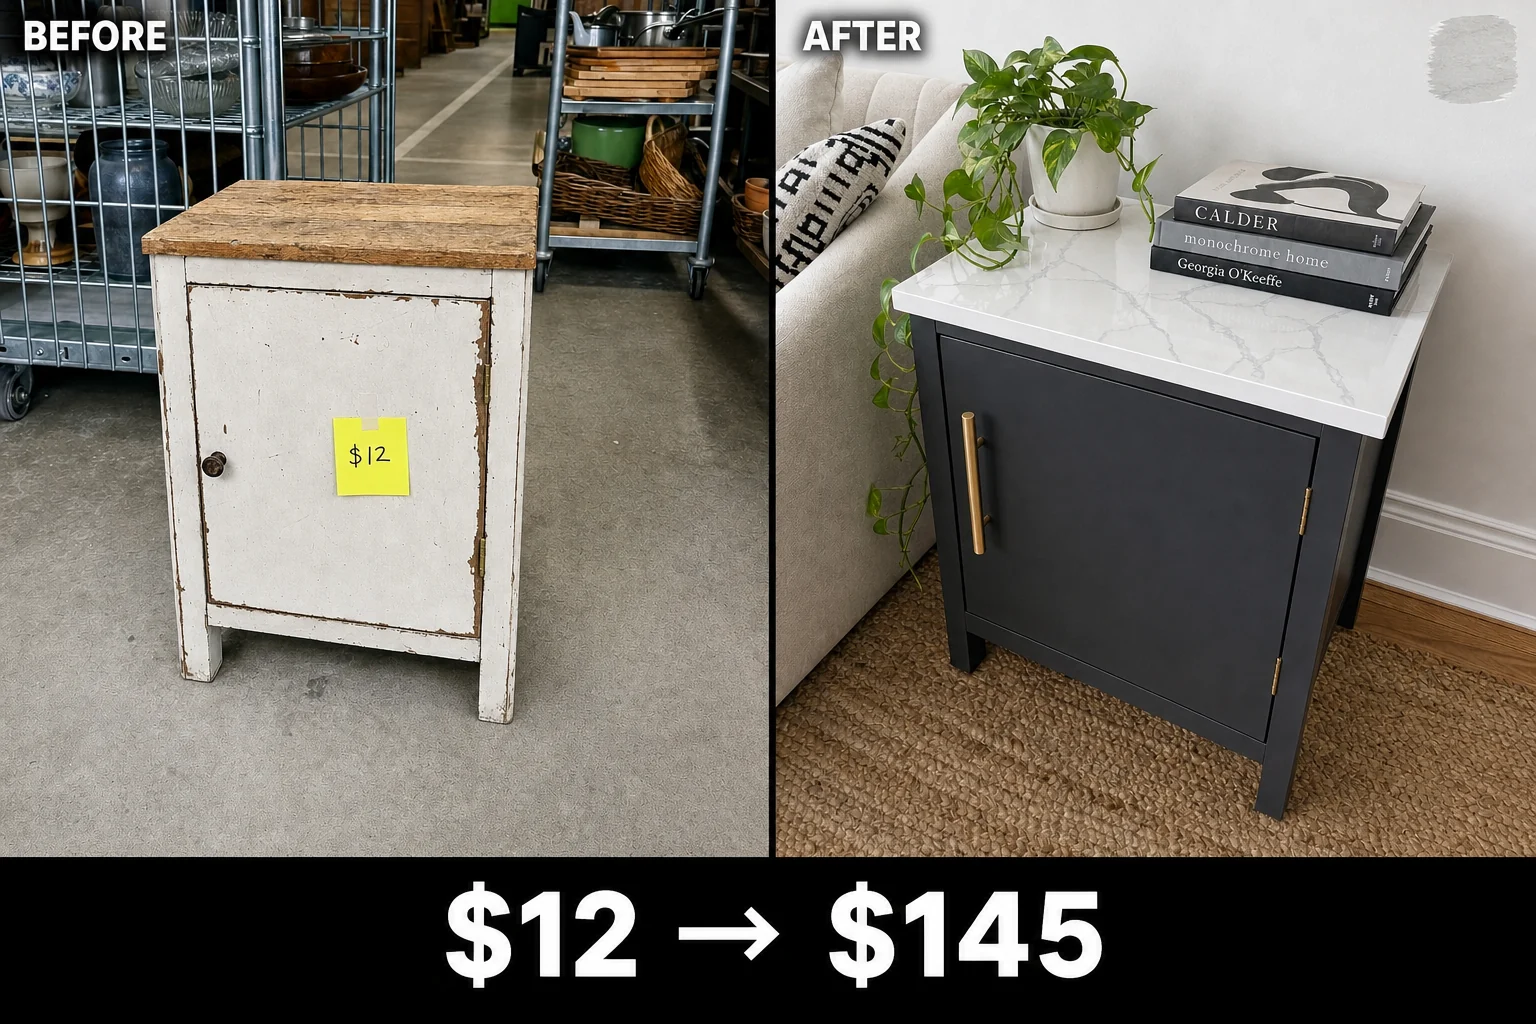
Tucked between rolling carts at a community reuse center, this solid but neglected cabinet was priced to move. We transformed the chipped 1960s piece with a deep charcoal body and a high-gloss epoxy faux marble top.
Evaluating the Thrifted Cabinet
This small square accent cabinet featured a solid wood frame and straight legs, but jagged chips along the door edges prevented any smooth application of new paint. The exposed wood grain on the top surface had deep grooves where the original finish wore away, requiring heavy filling and sealing before any delicate faux finish could be successfully applied.
Identifying Missing Elements
A missing door pull left an empty screw hole on the front panel, making the cabinet difficult to open and visually incomplete. The combination of a durable, glass-like epoxy top and a modern charcoal finish elevates this basic piece to resemble boutique accent furniture, driving our editorial estimate for the final resale value.
Step 1: Inspect the Damage and Prep Requirements
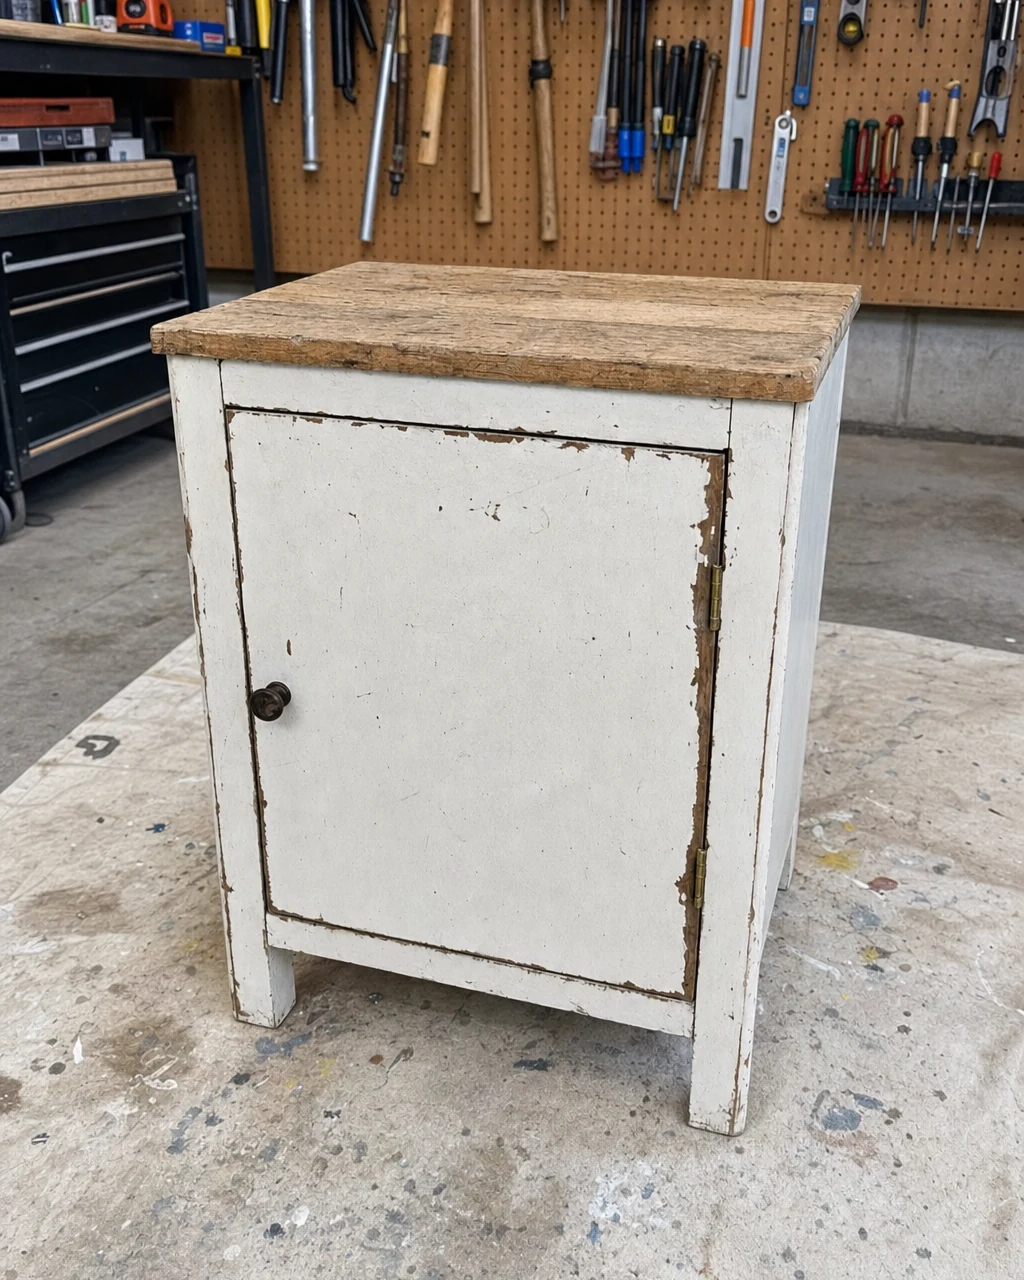
Evaluate the flaking enamel and rough top surface to determine the exact level of sanding required for the new finishes. Identify areas needing heavy preparation under bright workshop lighting before beginning your physical work. Carefully run your hands over the deep gouges to feel the texture. Always inspect for lead paint if the piece predates 1978 before sanding the original finish.
Step 2: Smooth Out the Chips and Wood Grain
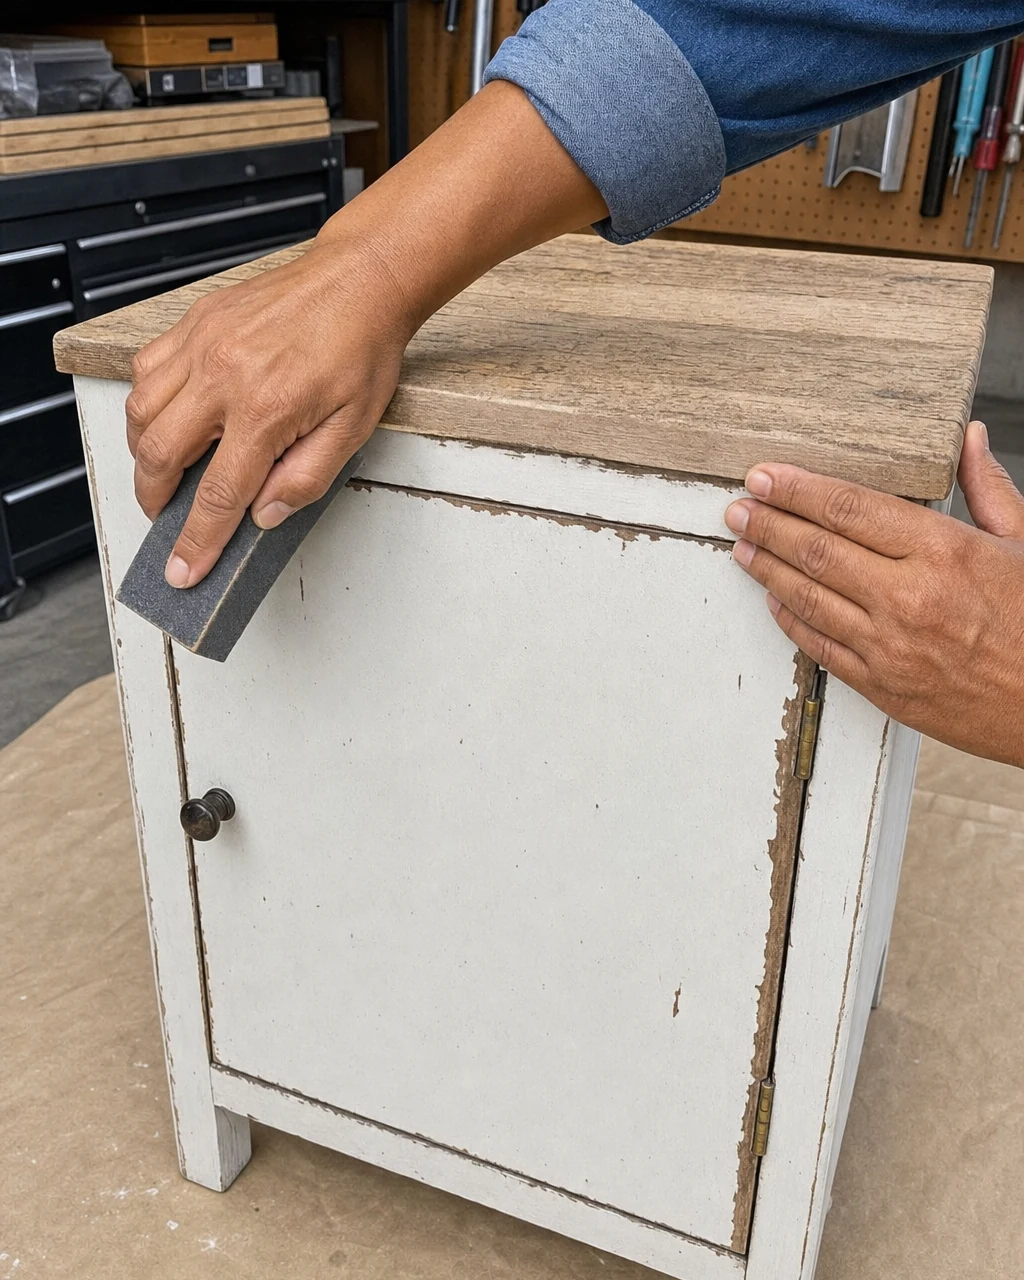
Scuff-sand the entire cabinet body with a sanding block to remove loose flakes, and heavily sand the top surface to level the deep wood grain until smooth and dull. Look for medium-grit sponges to easily contour around door edges. Wear a dust mask and work in a well-ventilated staging area.
Materials checklist
Use a shop vacuum to thoroughly remove all sanding dust from the cabinet and workspace. A clean surface is critical before opening any paint cans, as leftover debris will ruin the smooth texture of your new enamel and epoxy layers. Wipe the wood down with a damp cloth afterward.
Step 3: Roll on Bold Charcoal Color
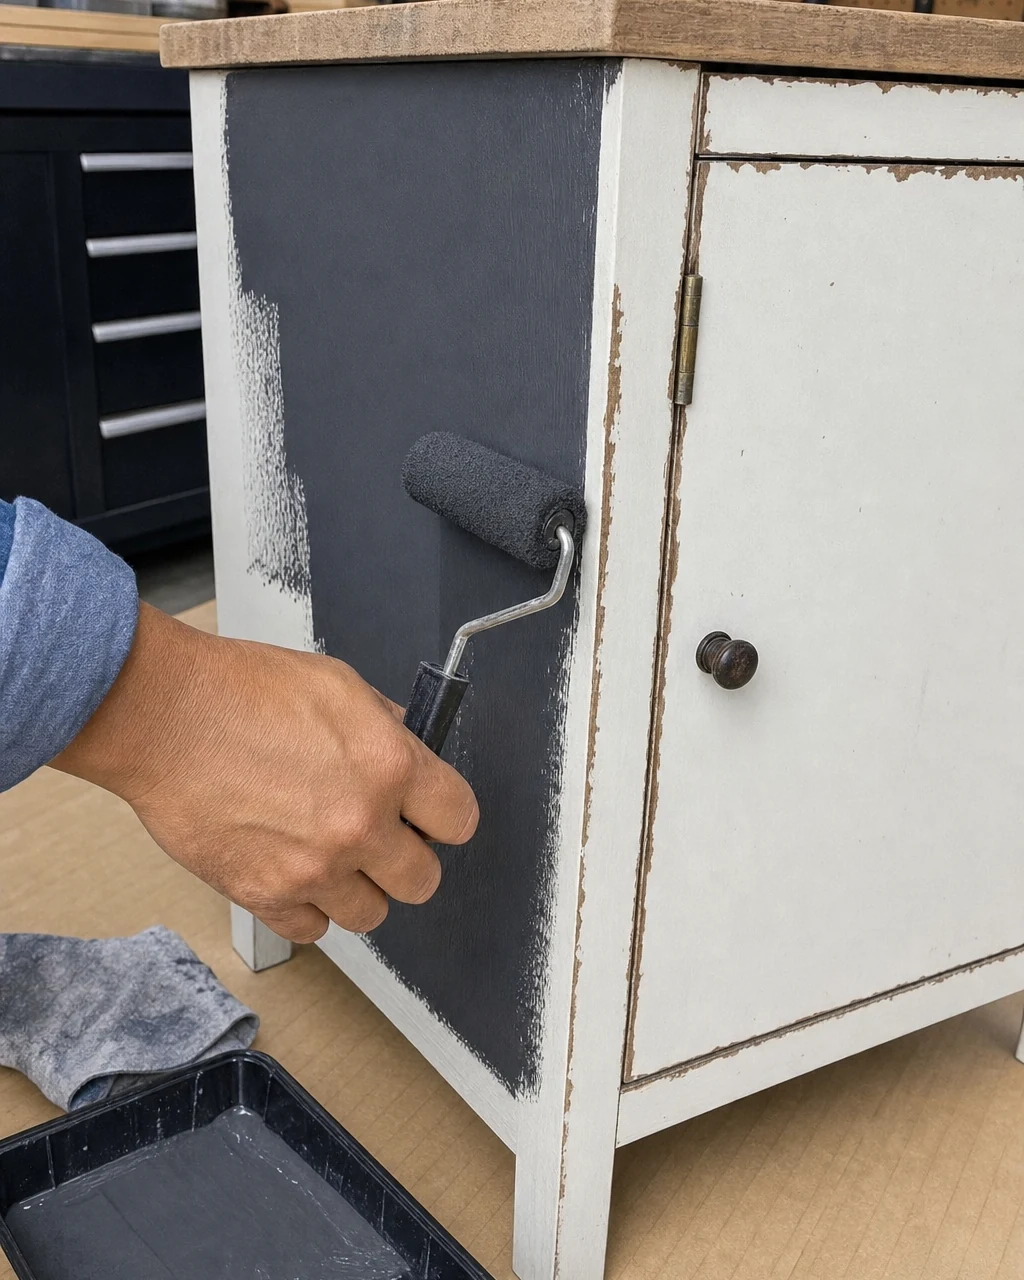
Apply two coats of charcoal grey enamel to the cabinet base and door using a foam roller and paint tray. Choose a durable enamel finish that resists chipping and provides solid, opaque coverage over the old white paint. Leave the top bare for the upcoming faux marble treatment. Protect the floor with a drop cloth to catch any accidental splatters.
- Roll the first coat of charcoal enamel evenly across the side panels and front door, maintaining light pressure.
- Allow two hours of drying time between applications to ensure a solid, durable base finish.
- Apply the second coat, maintaining a wet edge to avoid visible roller marks on the flat surfaces.
Step 4: Paint Realistic Faux Marble Veins
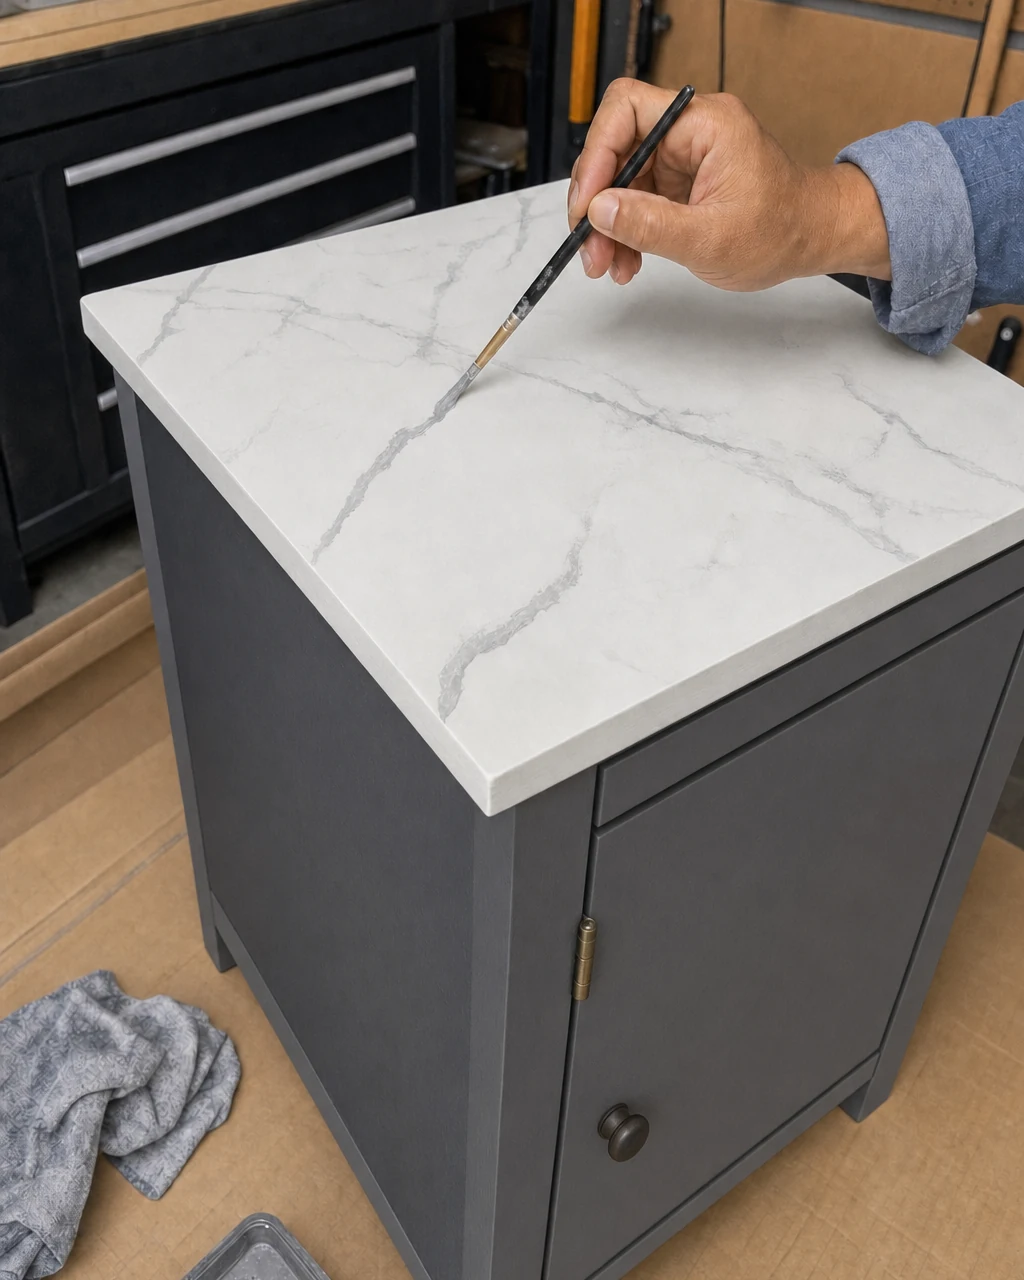
Brush a solid white acrylic base onto the bare wood top. Basic white and grey acrylics work perfectly for wet-blending faux marble veins without expensive specialty glazes. Immediately use a fine artist brush to feather grey acrylic paint into diagonal marble-like veins while the white background is still entirely wet. Keep water nearby to quickly wipe up any acrylic drips.
Use a sponge to lightly blend the edges of the grey veins for a highly realistic stone appearance. Working quickly prevents the acrylic base from drying before your veining pattern is complete. Step back occasionally to check the visual balance of your faux marble design across the entire top surface.
Step 5: Pour a Glass-Like Epoxy Finish
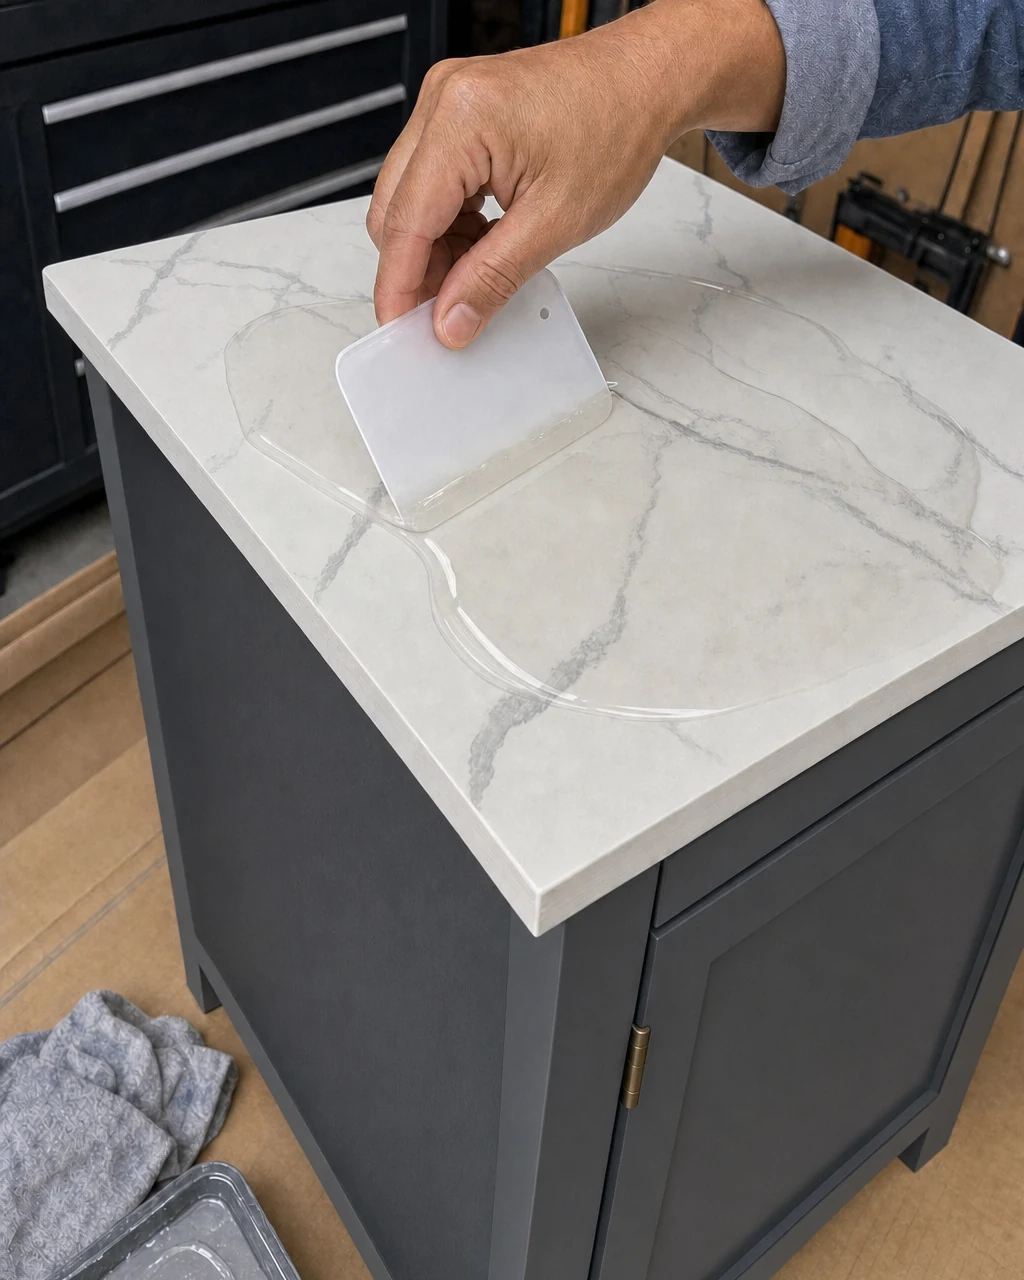
Mix a clear two-part tabletop epoxy in measuring cups and pour it directly over the dry marbled top. Select a resin designed specifically for self-leveling, high-gloss finishes. Spread the thick liquid to the edges with a plastic scraper for a glass-like finish. Wear nitrile gloves and ensure the room is well-ventilated during the entire epoxy pour process.
Wait 72 hours for the thick, highly reflective layer of epoxy to fully cure into a shell. Touching the surface too early will leave permanent fingerprints in your smooth faux stone. Keep the room dust-free and close any windows to prevent airborne particles from settling into the wet resin.
Step 6: Add Modern Brass Hardware
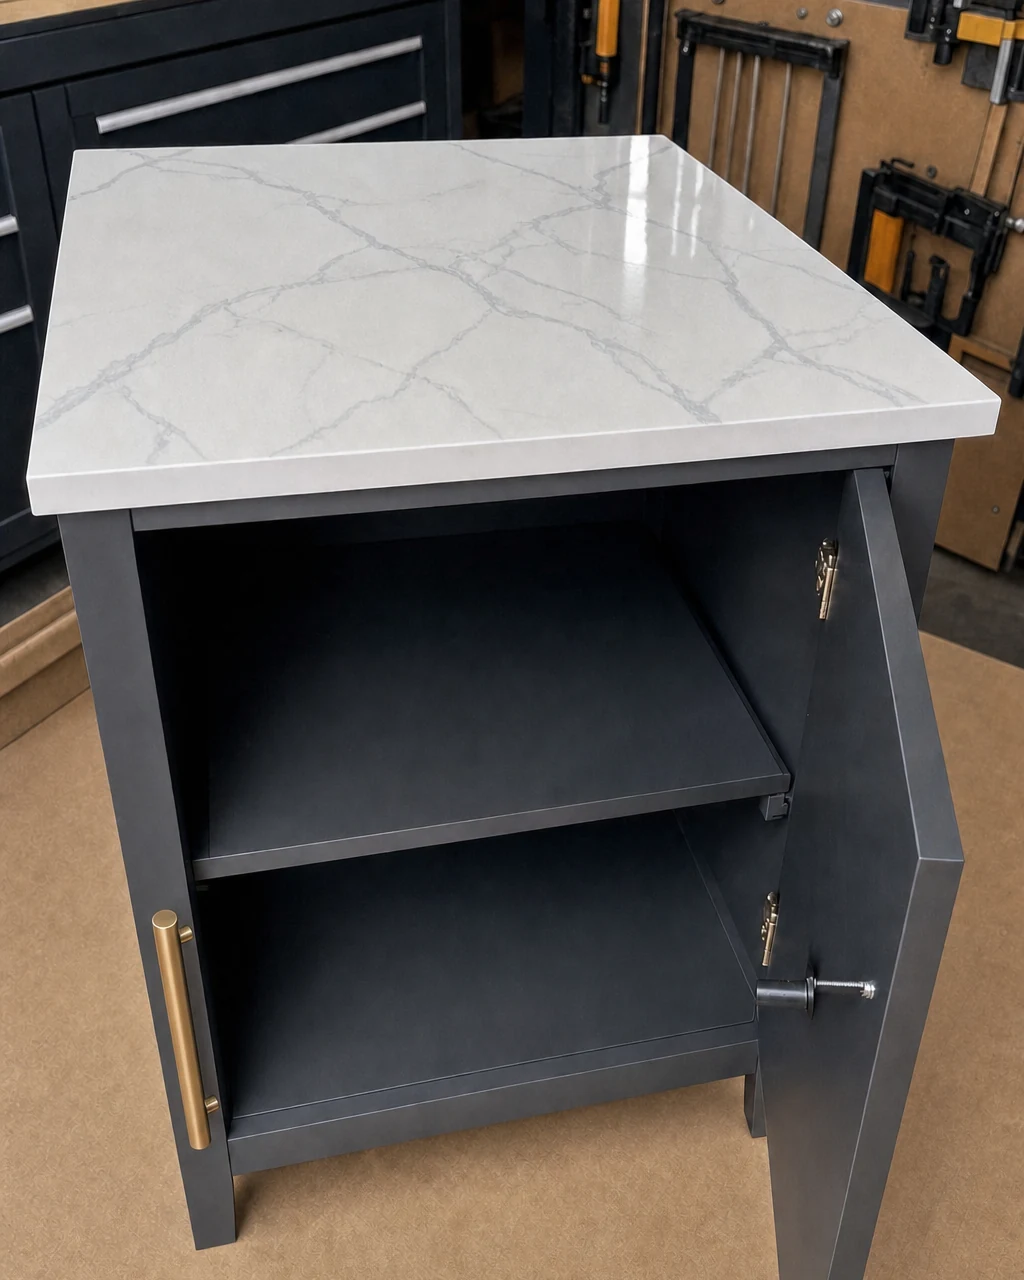
Attach a modern brass bar pull to the original door hole using a screwdriver. Measure the existing hole placement or choose a single-hole T-bar pull to fit the original drilling perfectly. This replaces the missing hardware and completes the functional restoration of the cabinet, making the door easy to open again.
Securing the New Pull
Ensure the screwdriver is properly seated to avoid stripping the screw head during installation. The gleaming brass provides a striking metallic contrast against the matte charcoal door, instantly updating the mid-century silhouette for contemporary interiors. Tighten the hardware firmly from the inside so the heavy pull does not wobble.
Step 7: Style the Finished Accent Piece
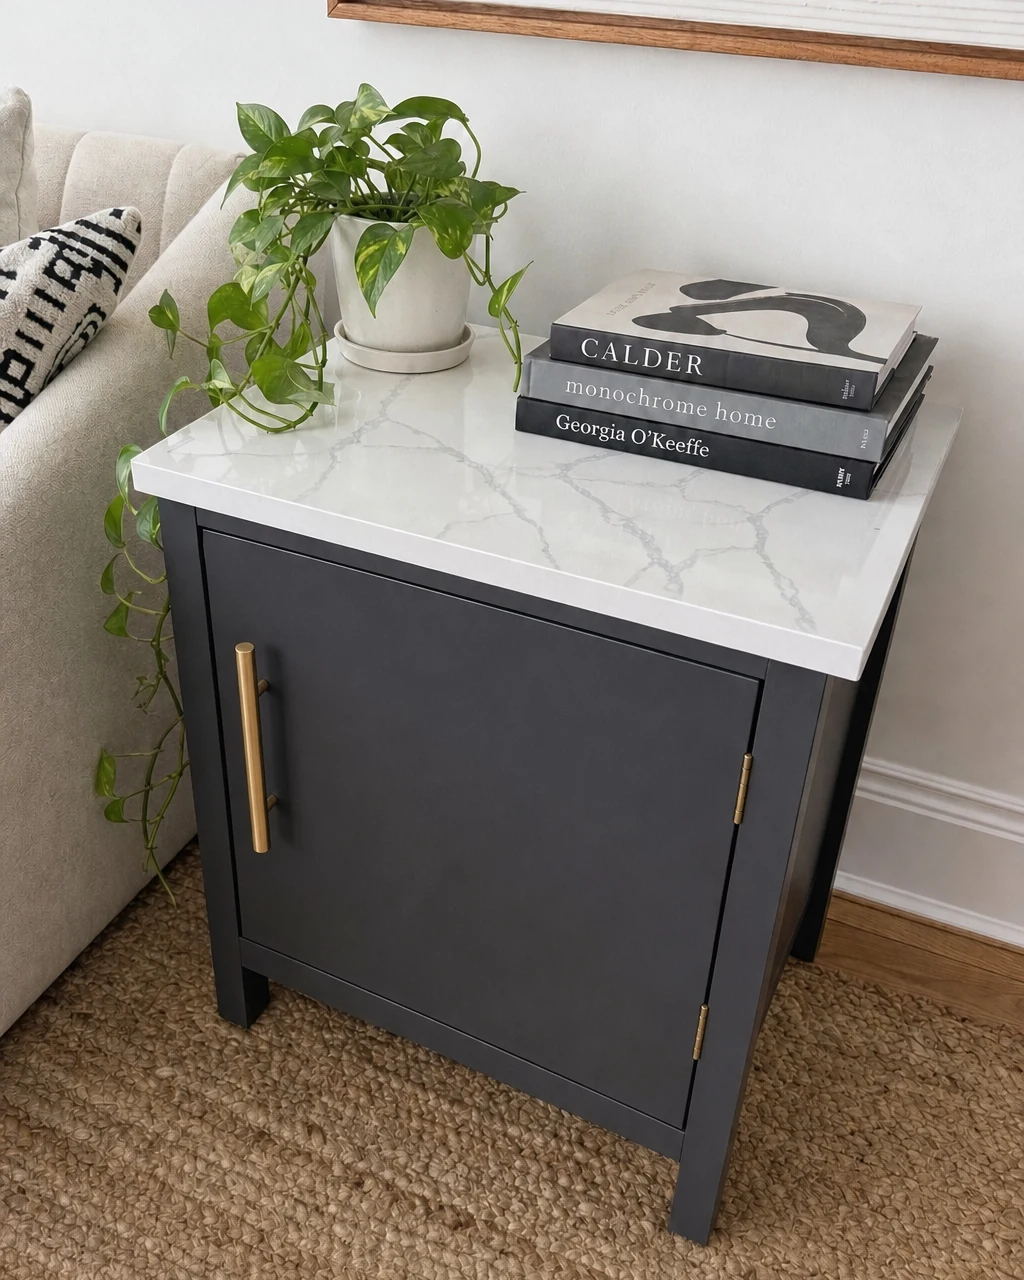
Move the finished cabinet into a living room setting. Utilize the durable, highly reflective epoxy top to display decorative items like a small potted pothos and a stack of art books. Always lift the cabinet from the sturdy base, not the newly poured top edge, to protect the fresh resin seal.
Understanding the Resale Value
The combination of a durable, glass-like epoxy top and a modern charcoal finish elevates this basic piece to resemble boutique accent furniture. This dramatic shift from chipped enamel to faux stone drives the estimated resale value, proving that thoughtful painting techniques and modern hardware yield impressive, high-end interior design results.
| Item | Cost |
|---|---|
| Cabinet Purchase | $12 |
| Sanding Sponges | $6 |
| Charcoal Enamel | $18 |
| Acrylic Craft Paint | $4 |
| Tabletop Epoxy | $25 |
| Brass Bar Pull | $8 |
| Materials Total | $61 |
| Total Investment | $73 |
| Estimated Resale Value | $145 |
| Value Gain | $72 |